The project has landed!

This site contains affiliate links for which LandyZone may be compensated if you make a purchase.
Not a lot done to the Landy Project due to the crap weather!

I refitted the passenger side floor pan today along with new nuts and bolts. Also filled up the radiator with water to check for leaks as I have promised my nephew that we will try and get the old girl running when he visits next weekend.

Oh the Landy has also been named.....we shall call him "Mator" as in the rusty old pick up in the film Cars. Thanks to a close family friend, you know who you are, who came up with it last week and now its stuck whenever I try to talk about anything Land Rover related!
 
Well I have been jumping underneath Mator the Landy between rain storms Trying to get the under sealing finished but as I was making some really good headway in a rain free couple of hours I ran out of underseal.

So a quick trip to the shops to buy some more, and my god hasn't the stuff gone up in price!, I gave the rain a chance to blow back in and it's now coming down in a steady drizzle the type of when you look out you think "It's not too bad" but within minutes you are drenched. No more playing out today before work now then.

On a more positive note I have just bought a whole new/replacement set of 24v lights for the old girl so that's another major parts find scrubbed off of my list.

I must pick some petrol up before Saturday so my nephew and I can try and start it.

Landy Project Costs

Land Rover £375

Sanding Discs £11.70

Ignition Barrel £20

Heritage letter £21.75

2x Batteries and rear 1/4 light £35

Pair Battery Terminal Clamps £3.99

Floor pan nuts & bolts £6.50

Grinding disc £2.25

Under Seal £8.99

Complete set of lights £85

TOTAL £570.18
 
lol....

me, from the old school I`m afraid, and bought so many cars for banger racing in the long ago past, that the first thing we done was to see if the bloody thing ran, normaly on the end of a rope on the way home from purchase :D
even if the motor had to come out to be fitted with a "racing" lump..

even now, I`d never be so dam patient as you in getting it running....lol

but saying that, I cant fault you methodical approach to it all.
good luck, and keep the updates coming....
great reading....
 
Racking & Bolts
Main
Posted by min200 Sat, May 31, 2014 19:11:06


Today the last of the FFR racking came out of the Landy along with more bolts than I can believe! Honestly I must have removed quarter of a ton in metal from the motor!

Still looks a lot better in there now with access from the front to the back without having to get out and walk around to each door!


This also involved moving the seat belt holders to the side panel. Now these seat belts are about knackered but I wanted to make sure the bolts were the right size for the holes on the side and if I am honest I am not sure the actual belt tensioners are mounted in the right place as they seem to snag at a funny angle when the belt is returned.

Moved from here...


To here...


Then my Brother and nephew arrived so the big moment had come to see if I could get the old thing running. I put some fuel into the drivers side tank switched the changeover to RH side...


And nothing. It turned over fine but no firing up. Now I am not sure if I have the tank switch on the right tank and will endeavour to find out.

Not to be defeated I poured a little fuel into the carb and it fired up on the first turn of the key and ran for about ten seconds!!!! SO the engine runs just fine! It will need a good service but it will be staying in for now :)

All in all a pretty good day!
 
""Not to be defeated I poured a little fuel into the carb and it fired up on the first turn of the key and ran for about ten seconds!!!! SO the engine runs just fine!""

best way mate..
at least you now know it runs --- that WAHOOOOO moment :)

It was indeed! I don't know who was smiling more me or my nephew!
 
you may have to remove the pipe off the fuel pump and give it a suck (good job for the nephew) to prime it up and find out if the switch over tap works

Thats if it a mechanical pump, if its ellecy its easier

Go steady with the spending you may be getting close to half the normal buying price :D
 
you may have to remove the pipe off the fuel pump and give it a suck (good job for the nephew) to prime it up and find out if the switch over tap works

Thats if it a mechanical pump, if its ellecy its easier

Go steady with the spending you may be getting close to half the normal buying price :D

I shall have a look later today if I get time. The nephew being used as a tool so I don't get fuel in my mouth??!! I have to say that that is a superb idea!

As for the costs of this little project I do realise that the spending is running away with itself and I will try to keep a check on it
 
Well after grabbing 30 minutes to myself this morning I have had a good nose through the fuel system. It has a manual primer much like an old diesel? and a clear glass bulb that you could see the fuel sitting in if it was coming through at all.

But there is no fuel coming through at all and if im honest the fuel pipes look past their best as well as there being jelly in the bottom of the glass bulb. It's the old fuel that's been sat in there that long its turned bad and reduced to jelly!

So I will have to strip down the whole fuel system so I have the opportunity to change it over from twin tanks if I feel like it but at the moment I am not sure. I will be taking the drivers wing off for access to the fuel lines and pumps as well as the brake and clutch cylinders so do I go the whole hog and stick a 200tdi lump in it or do I keep it original 24v petrol...decisions decisions.
 
How about getting it all up and running and live with it for a while before you decide on and engine swop
It will be on the road quicker
and if you decide to do an engine swop you can source the parts at your leisure while running it
 
Keep it original, is that not the point of an ex army rebuild? However, I appreciate economy is important too. I think similar to the post above, get it going and see how you use it and how it works out
 
You guys are probably right! I am in a mix of get it on the road asap and take my time to get it bang on right.

On the road will win though I expect!
 
Scrubbing.
Main
Posted by min200 Tue, June 03, 2014 16:18:37


I had quite a lot of time on my hands today because I don't have to be at work until this evening for my last CPC course (what a bloody waste of time and an obvious money maker for those in control but that's another whine for another day)

SO as I looked first at the sky hoping the clouds would keep their water then at the dog who sat there with her lead in her mouth I went for a wander and contemplated what to do for the day. I had ordered some primer for the Landy over the weekend but it hadn't arrived yet, that was until I got home! There sat on the doorstep was my big shiny tin of primer! So my day was planned!

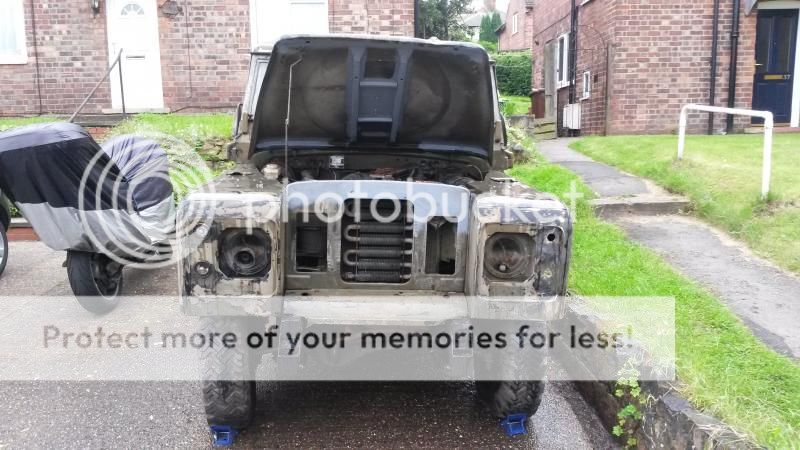
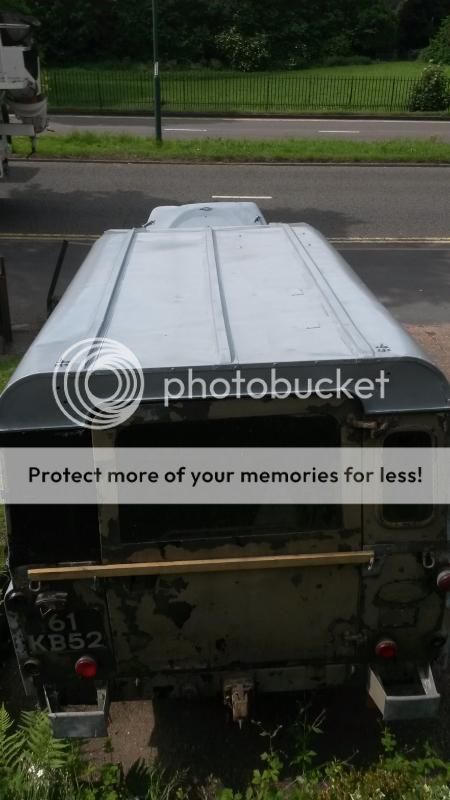
First I poked out the Landy's eyes that were full of water and then set to scrubbing the roof down as it still had some dirt layers and mould on from the the years it was stood.


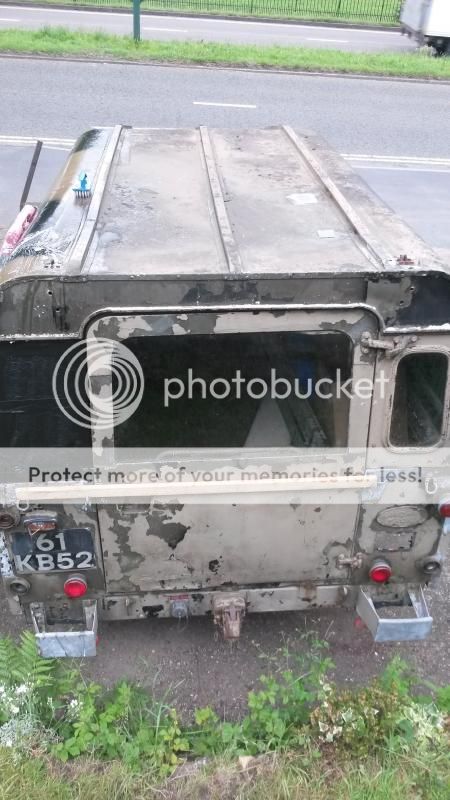
Before the scrubbing...


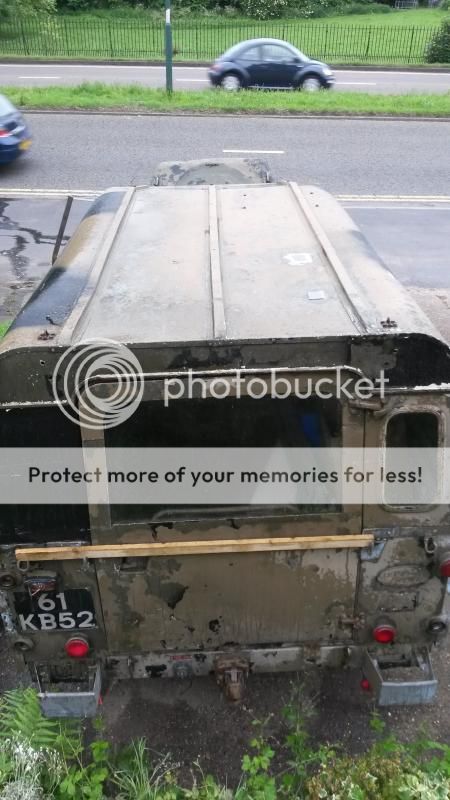
After the scrubbing!


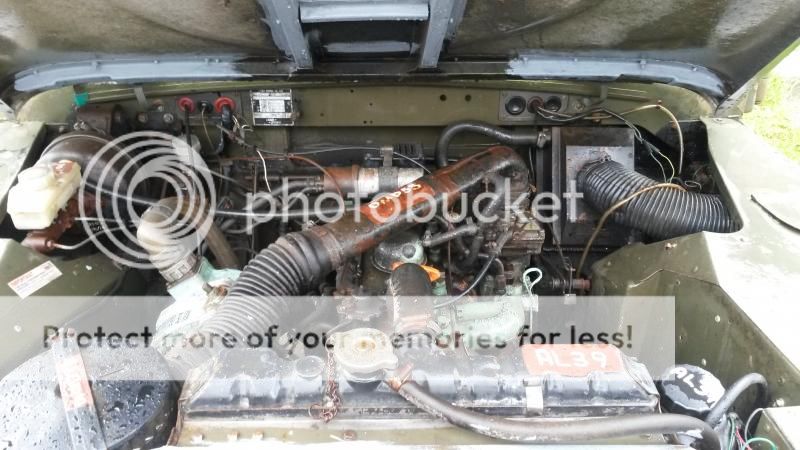
And whilst I was throwing water around I even gave the engine bay a good scrub down!


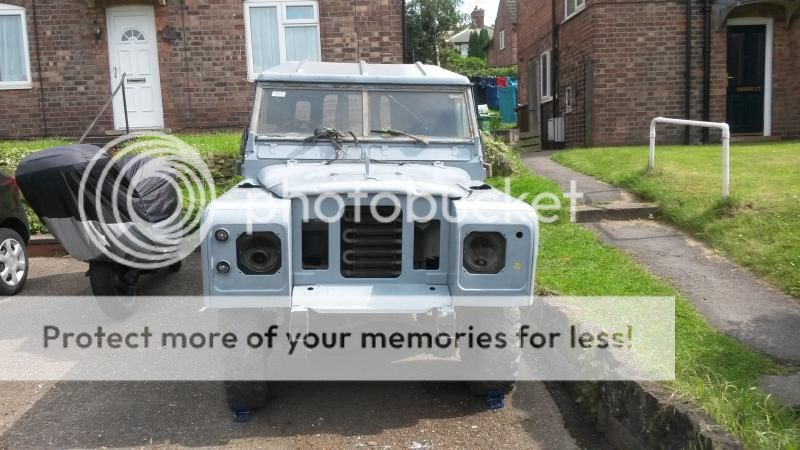
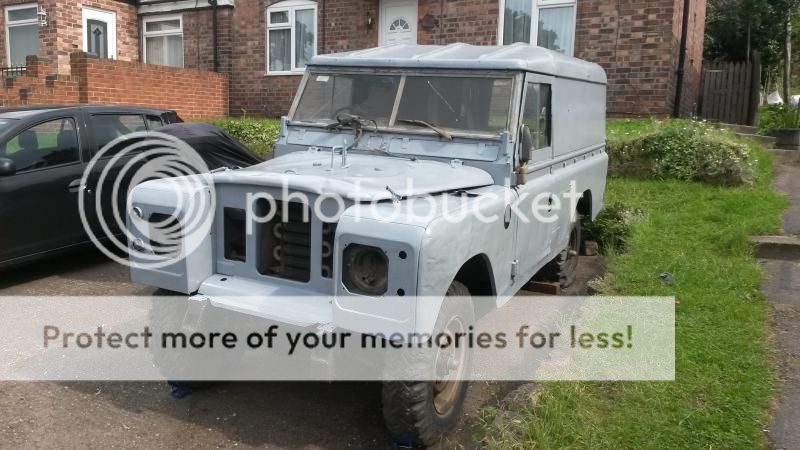
A rumbling stomach halted play as gave time for the water to dry off but then I got stuck into sanding down the bonnet and roof. This done and a wipe down later it was time for the primer to come out!

I set to using a cheap gloss roller from Wilkinsons as I had read somewhere that it worked quite well on metal. Seeing as this old motor will never be a show course car I thought I would give it a go and I have to say it works very well!

This is just the first coat and I expect it will take at least 3 to give a reasonable finish but considering I was starting with a pigs ear paintwork wise the results so far are promising! Its also really nice to see some progress on the outside rather than just underneath!


Landy Project Costs

Land Rover £375

Sanding Discs £11.70

Ignition Barrel £20

Heritage letter £21.75

2x Batteries and rear 1/4 light £35

Pair Battery Terminal Clamps £3.99

Floor pan nuts & bolts £6.50

Grinding disc £2.25

Under Seal £8.99

Complete set of lights £85

5 Litres Primer £24.99

TOTAL £595.17
 
Last edited:
Back
Top