johnny curt 1
Well-Known Member
- Posts
- 9,118
- Location
- manchester
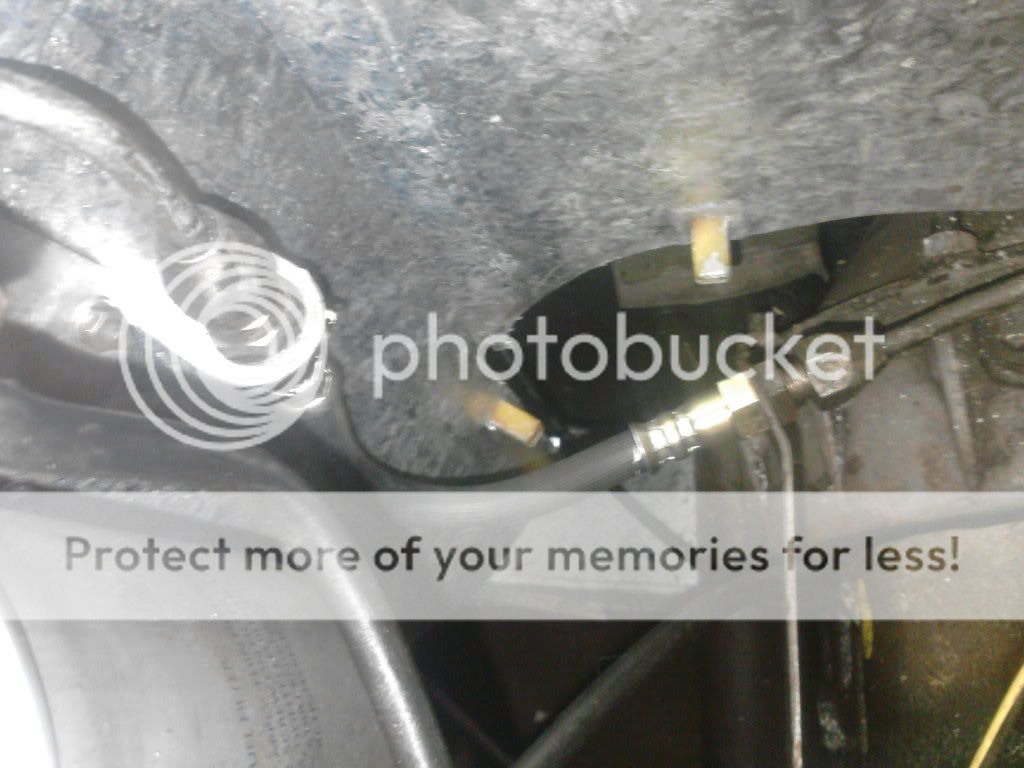
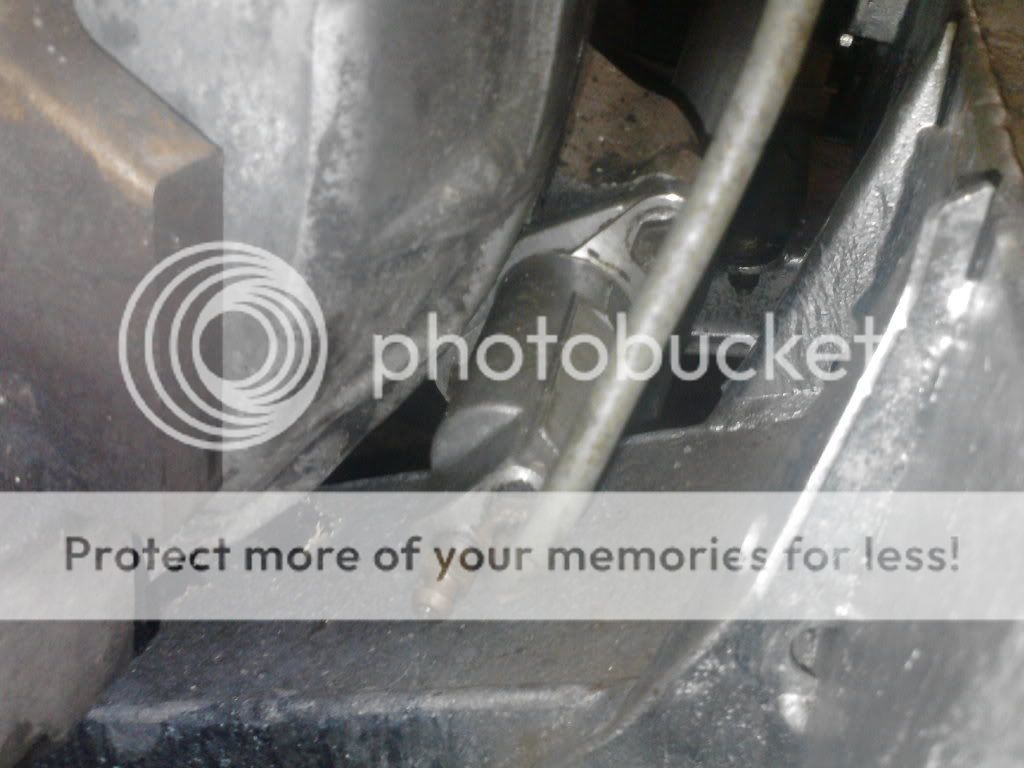
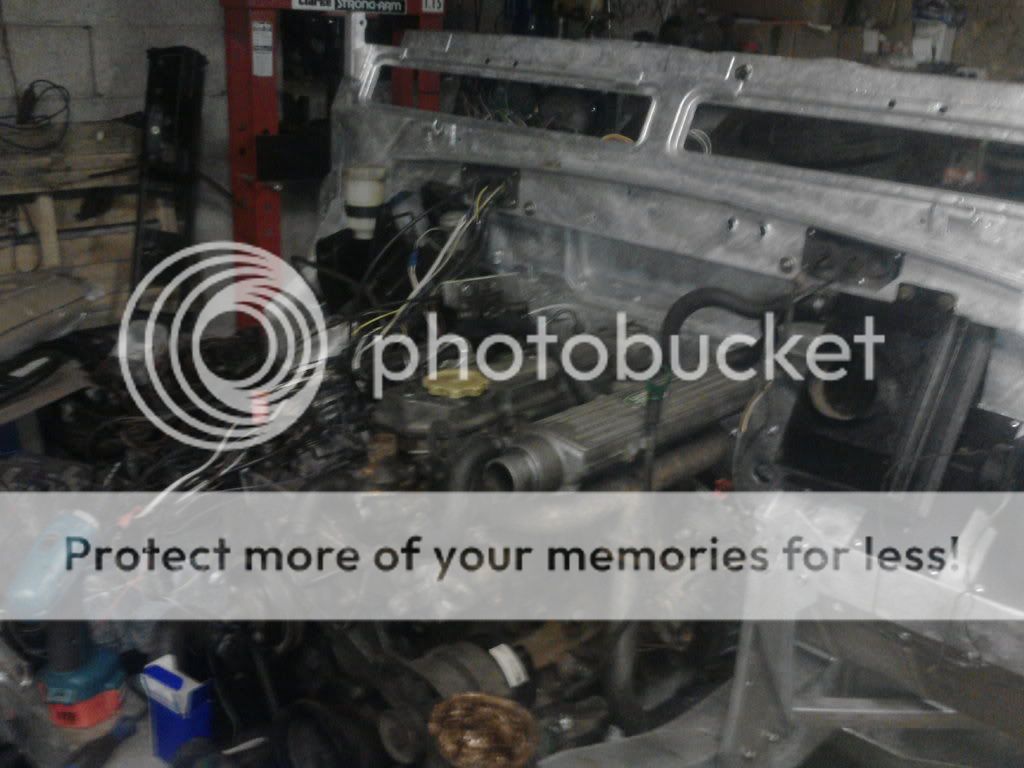
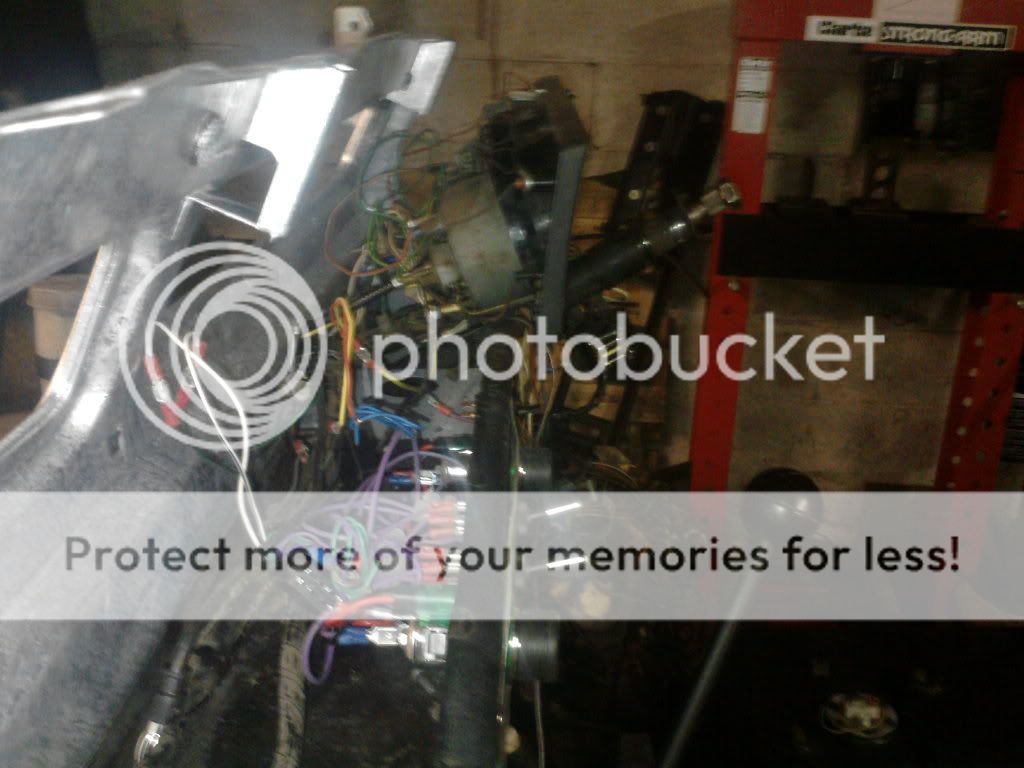
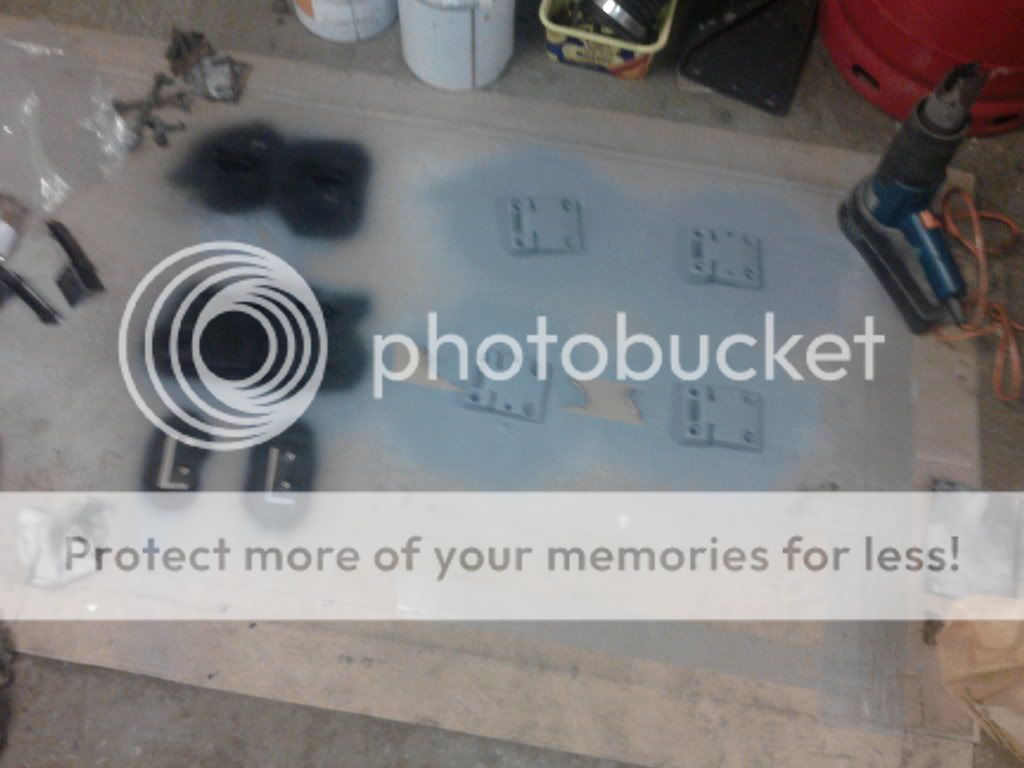
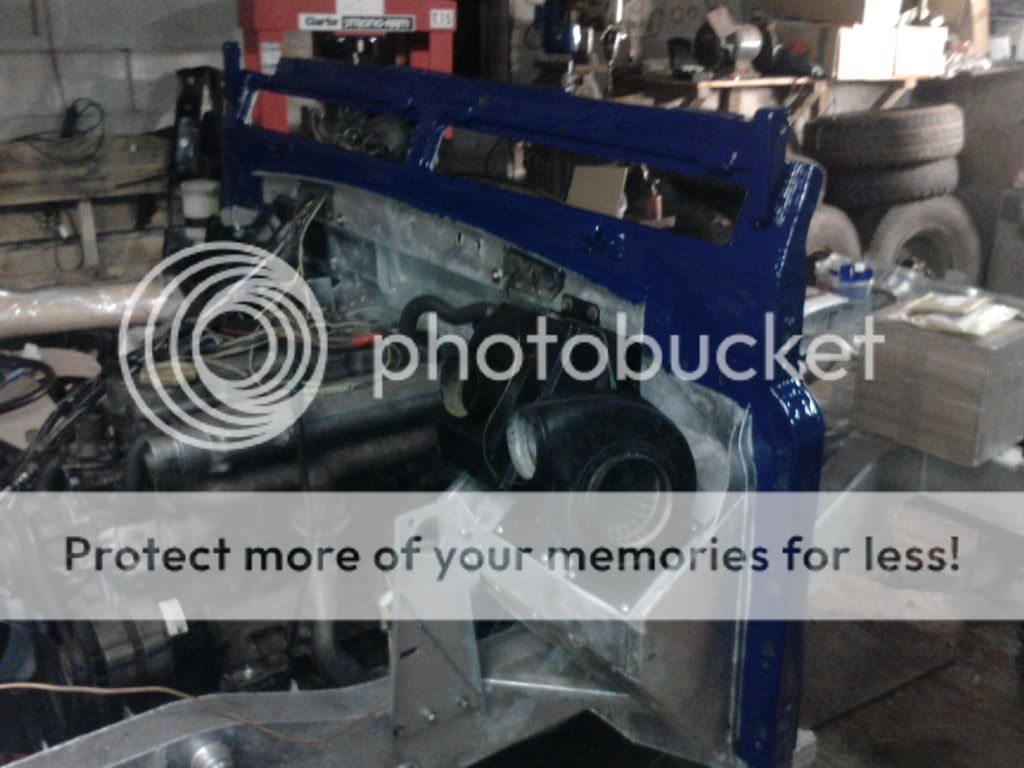
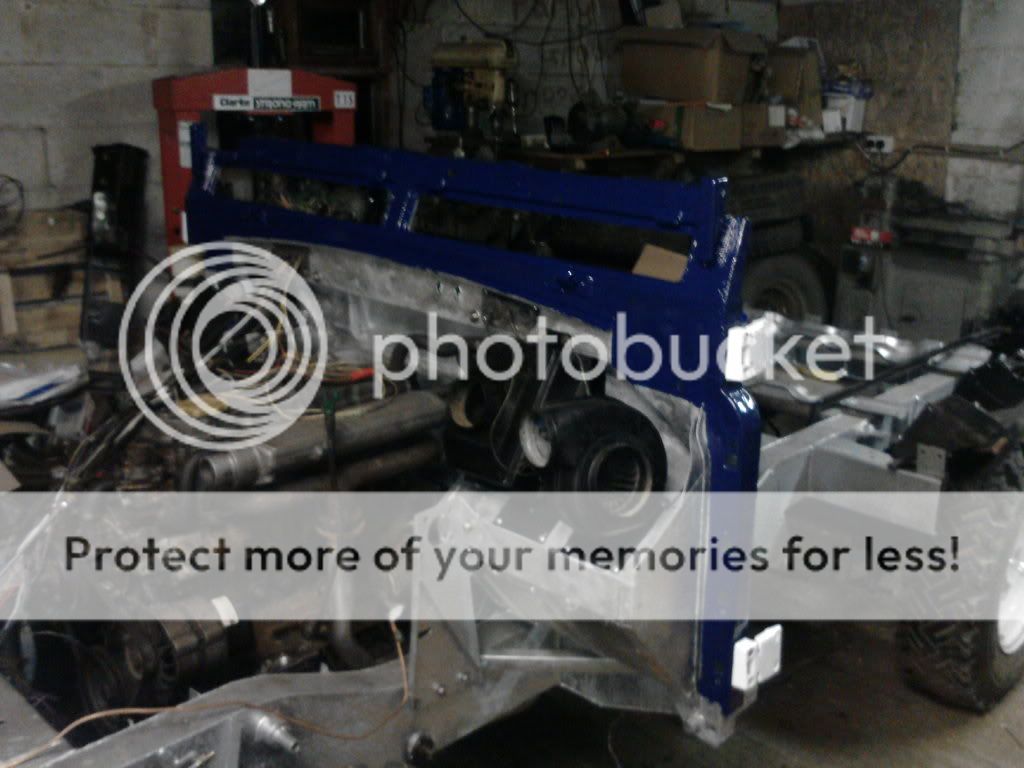
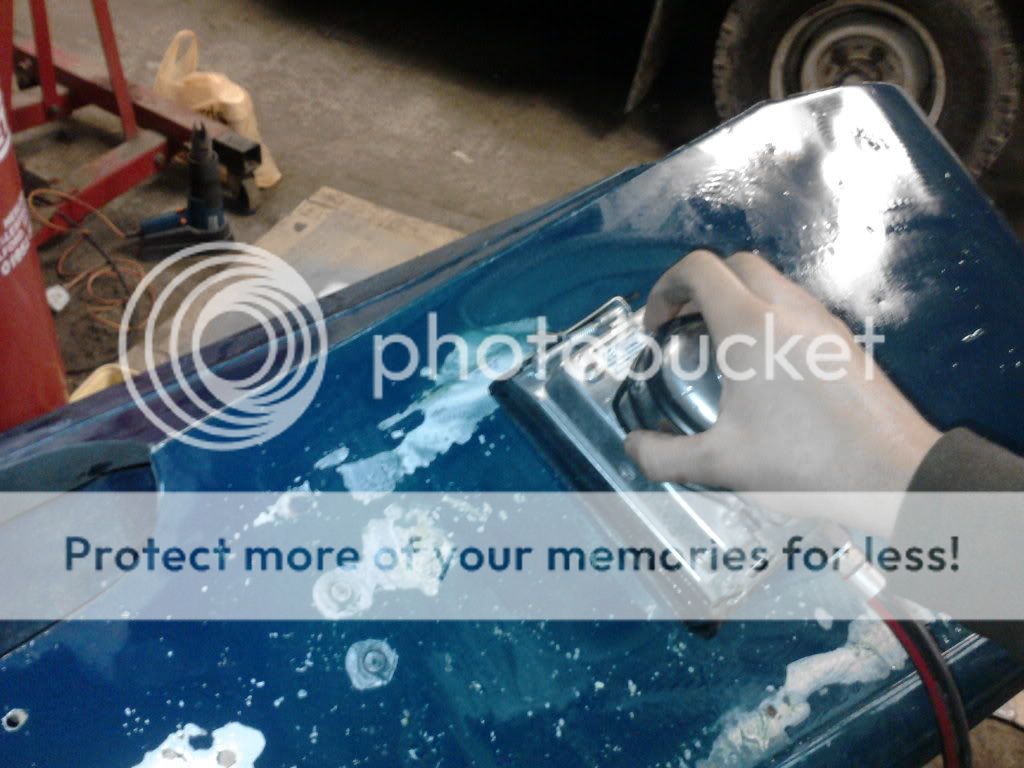
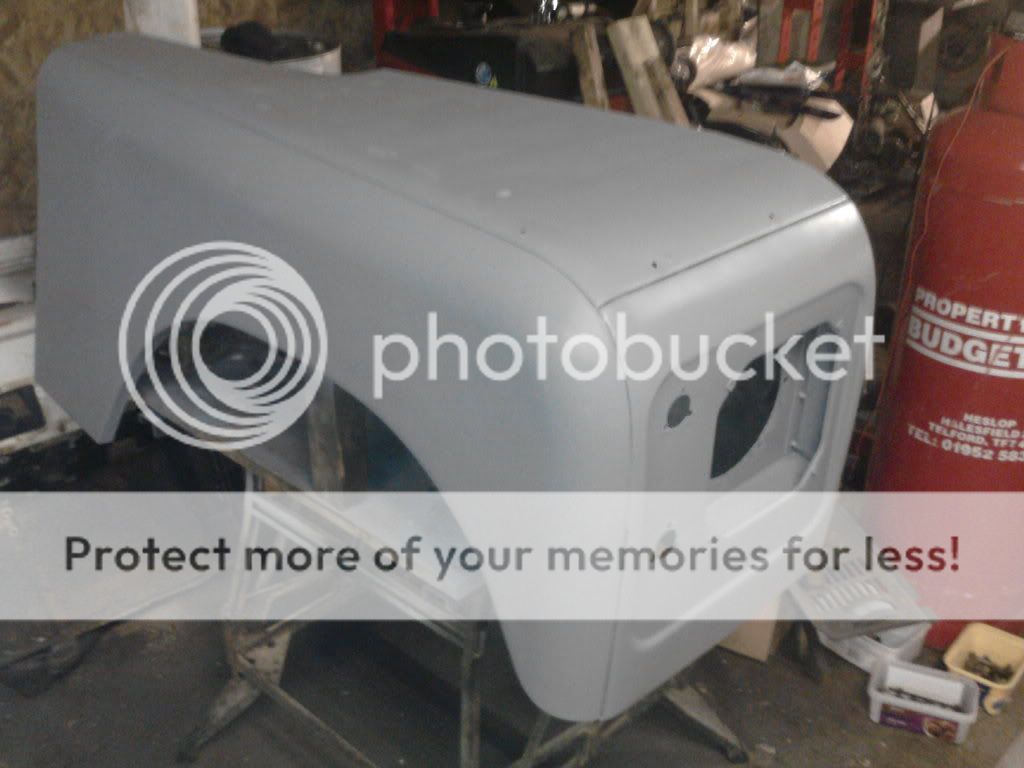
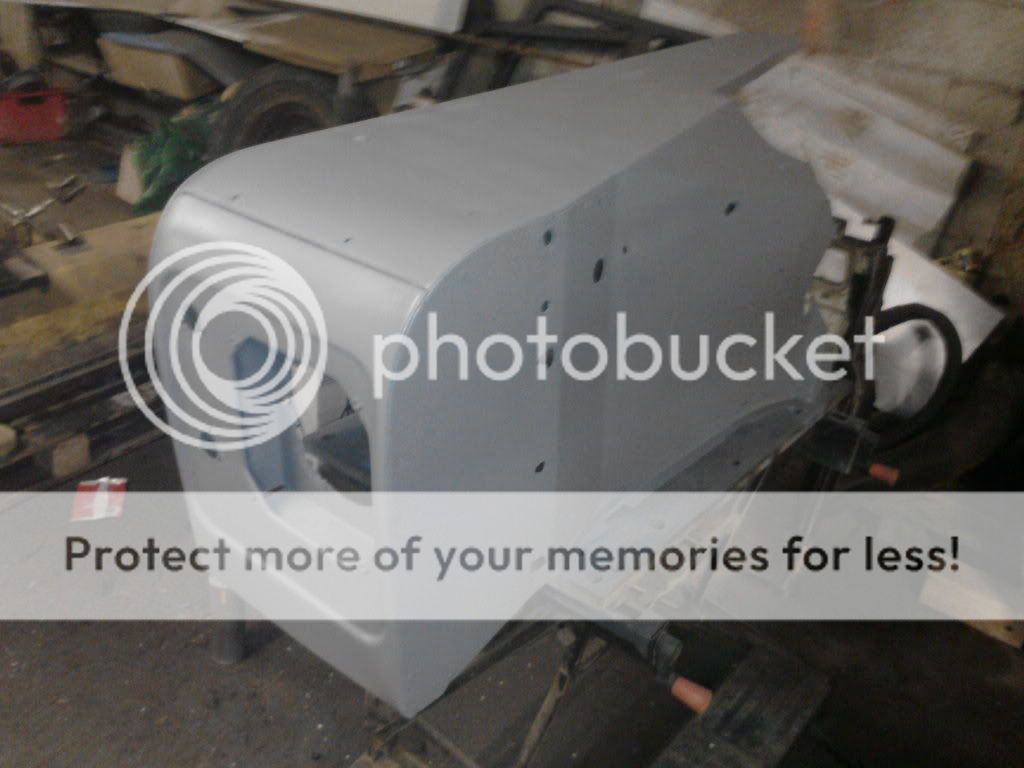
thanks mate , i think its coming along now,
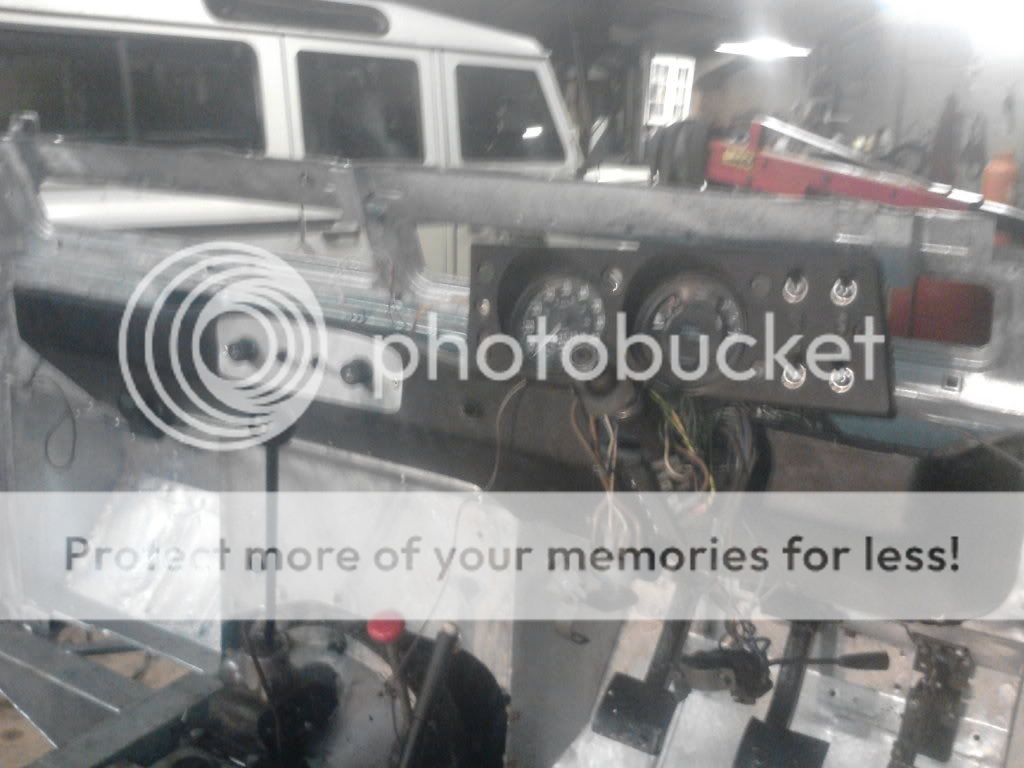
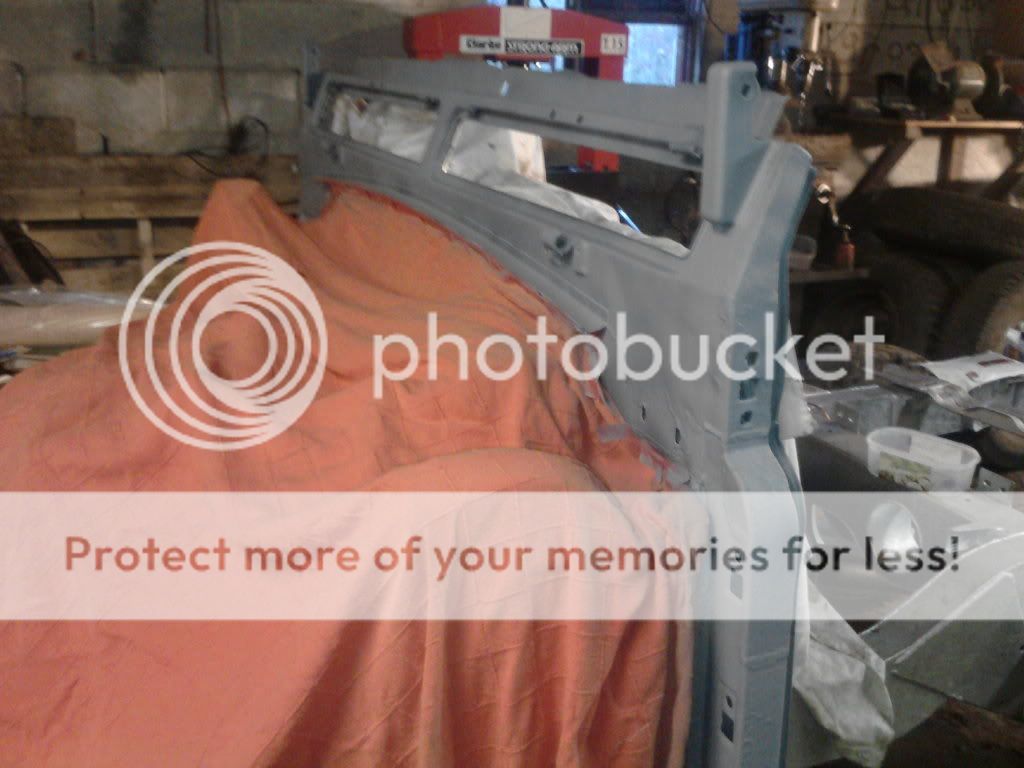
im the same, i cant wait to see how good i can get it to look as a finished car")
i admire your dexterity mate im almost insanely jealous as i have not yet either found my old series nor been able to convince the missus to let me take on such a project
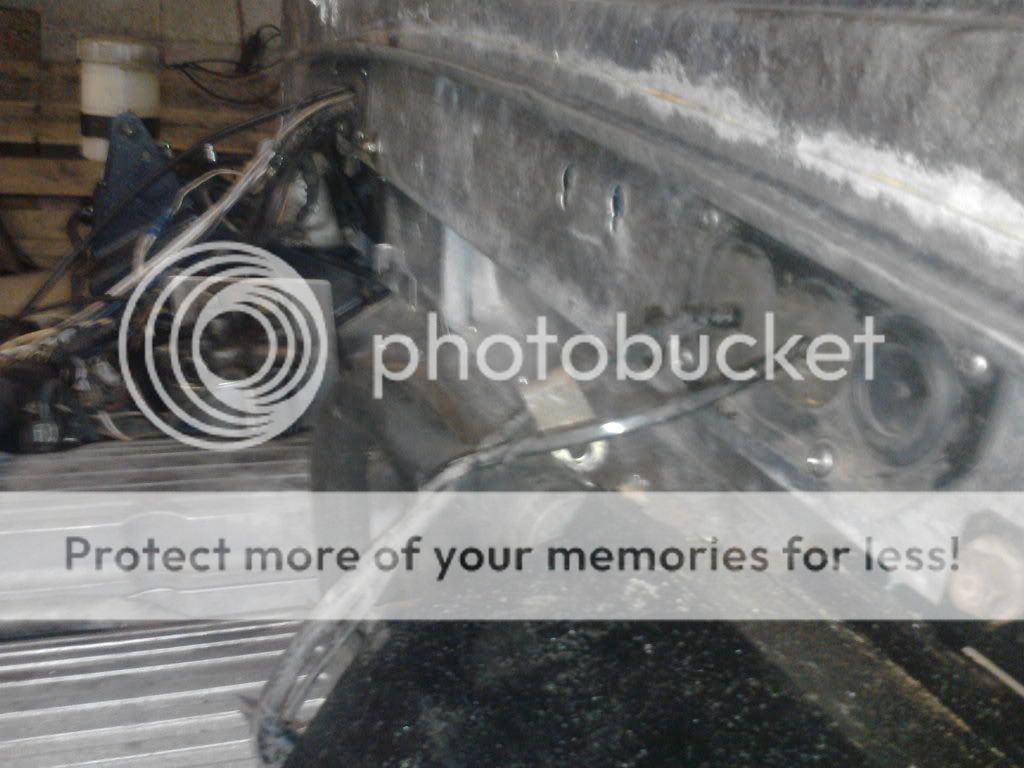
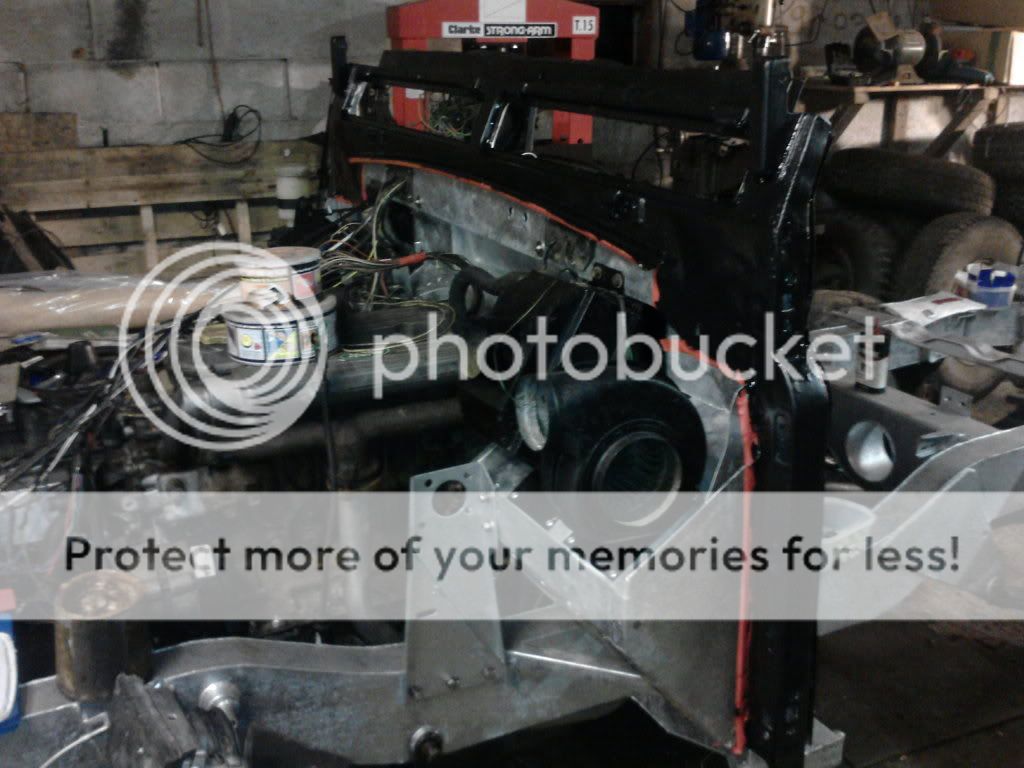
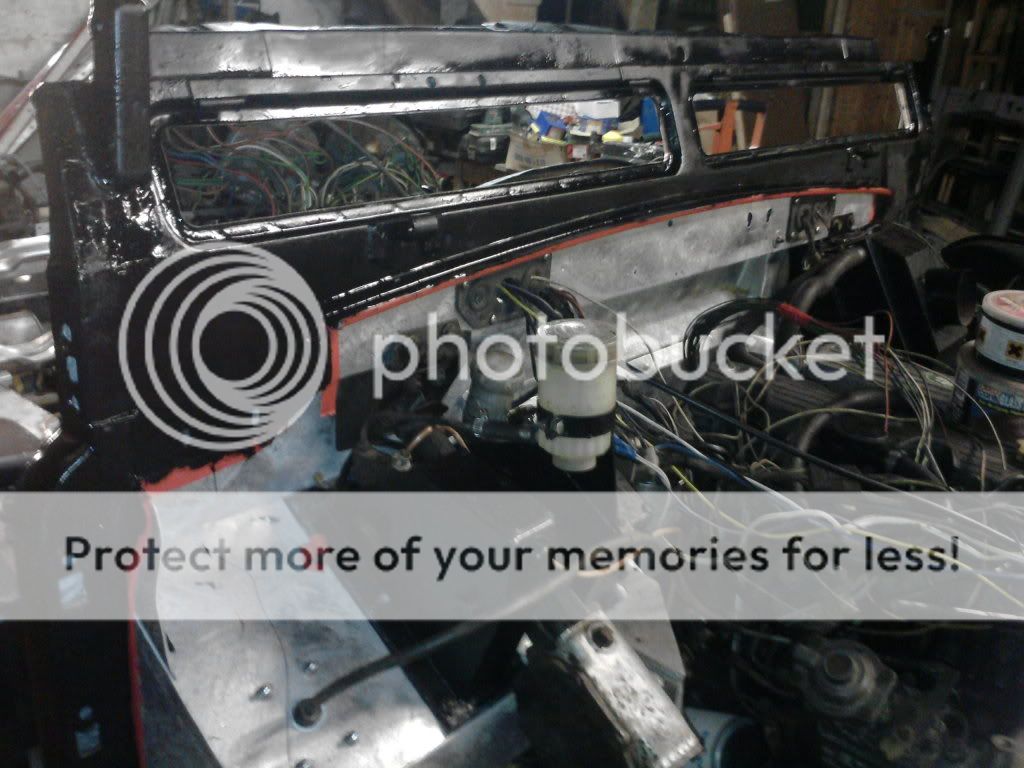
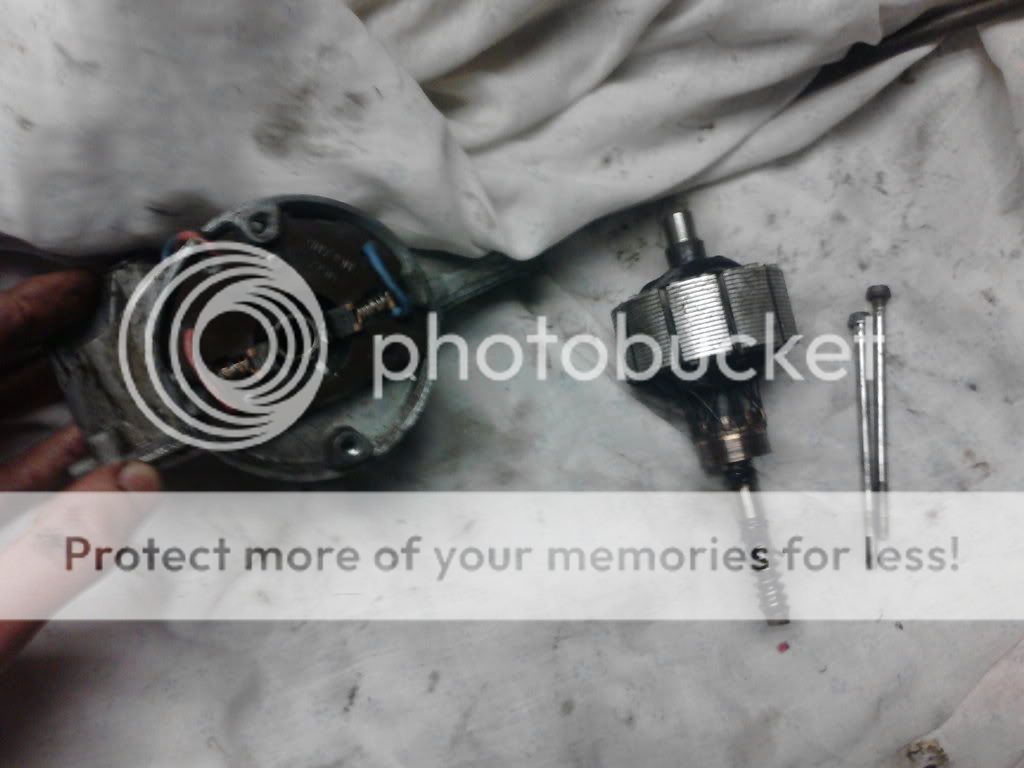
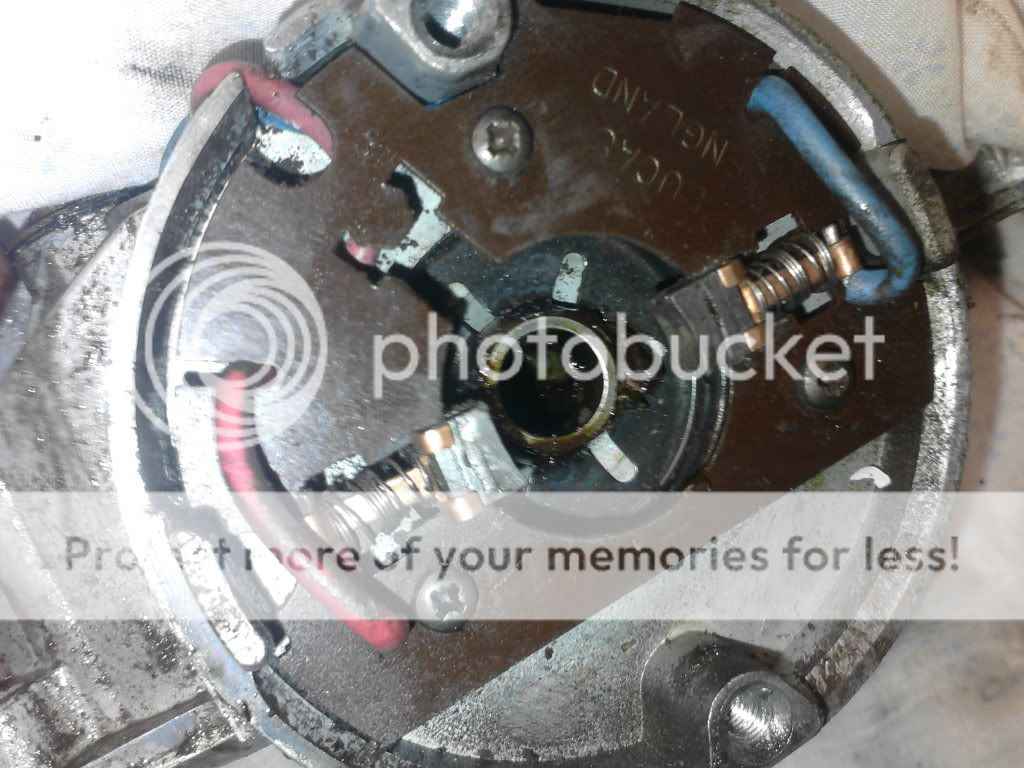
just a little pointer itll never be finnished its a series there will always be something to tinker with or a modification to try thats what these vehicles are rolling projects
im following with intent to see the outcome of this beast just dont get hasty and rush the thing youve gone too far and done far too well to spoil it now
keep up the good work matey and youll soon have a life long companion