JackSeriesIII
Member
- Posts
- 40
Hello All,
Right well i started this project in march and am nearing the end of the build so i thought i would share the highs and lows of my build on here as this is where i get most of my inspiration.
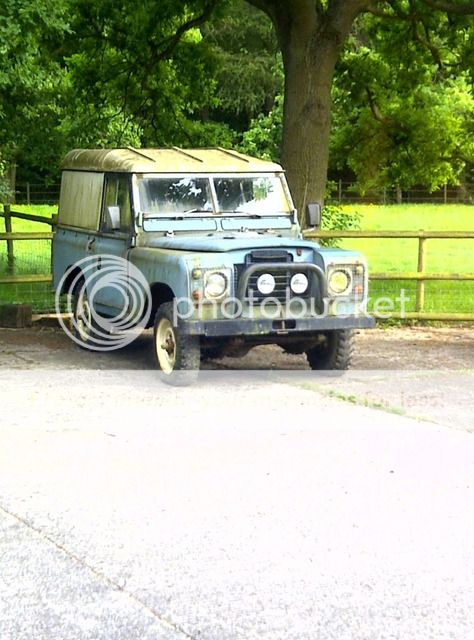
The project was funded by this 1983 Series 3 that we bought initially to use as a donor vehicle to complete the rebuild but decided that it was too good to split so we rebuilt it and sold it for a healthy profit.

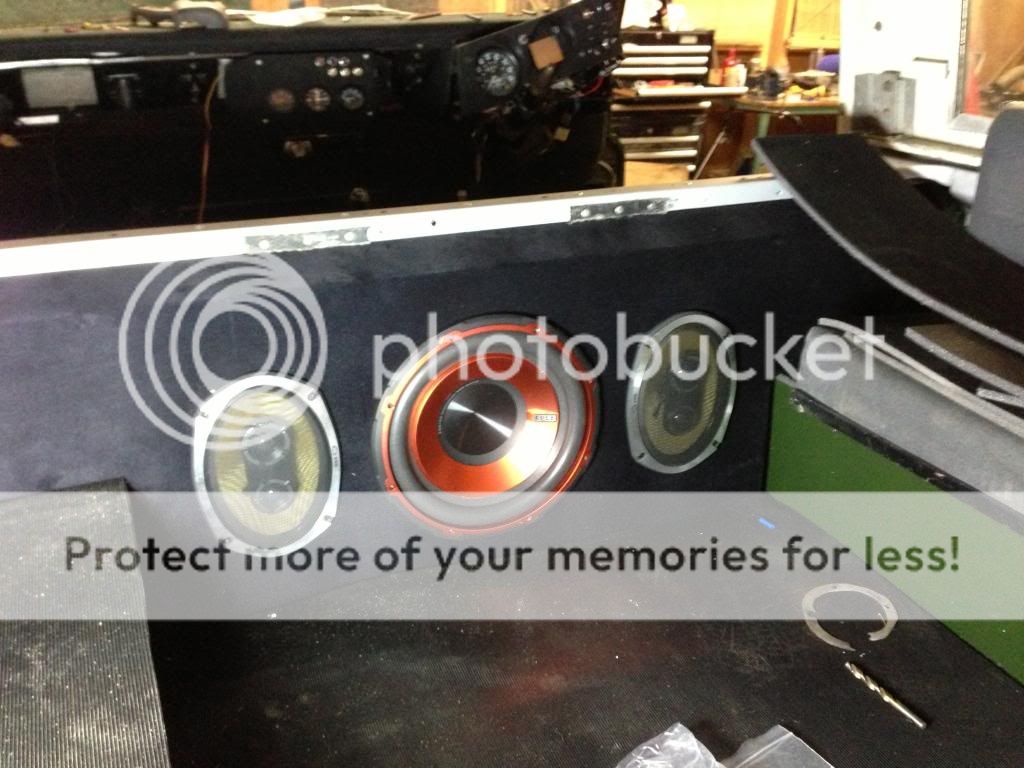
The 1982 series 3 we started with had the usual defects of a series that had been sat on a dairy farm for the last 10 years. The engine was an untested 2.25 diesel and everything was pretty much standard except for some bodging due to the previous teenage owner fitting a massive sub woofer in the back. The body work wasn't too bad except for an outer wing full of filler that was falling off. The bulkhead had a hole in the top drivers corner and the footwells were shot, but this didnt seem too much bother.
First thing to get on with strip all the body work off and get it down to a rolling chassis.
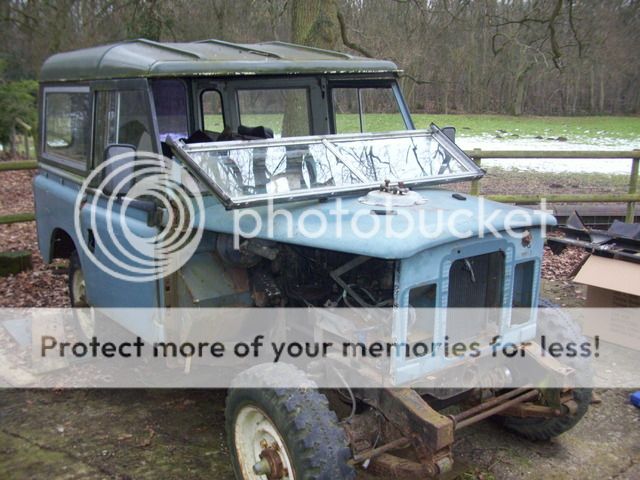
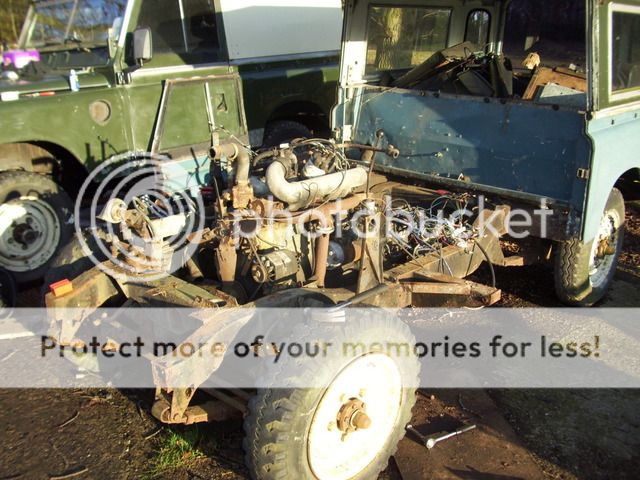
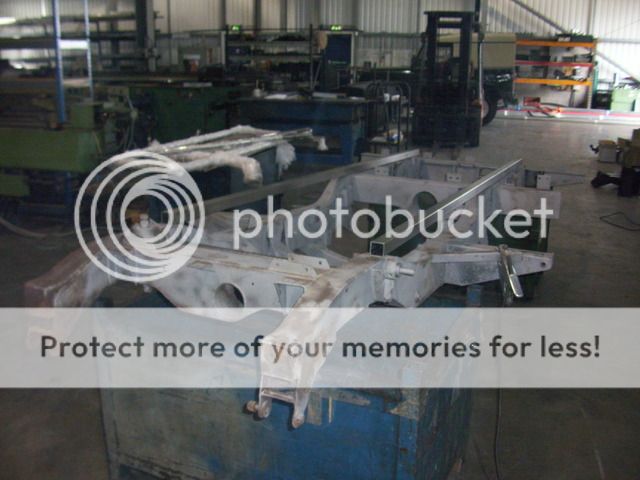
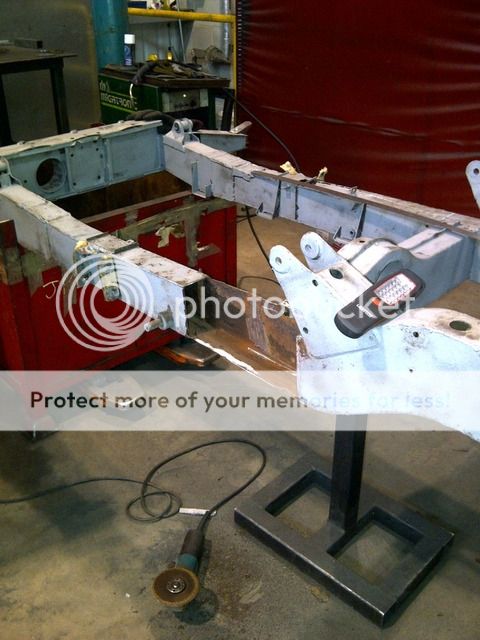
2 half days later and the body and engine were out. Of course uncovering all the holes in the chassis and making us wander if it was even worth bothering with.
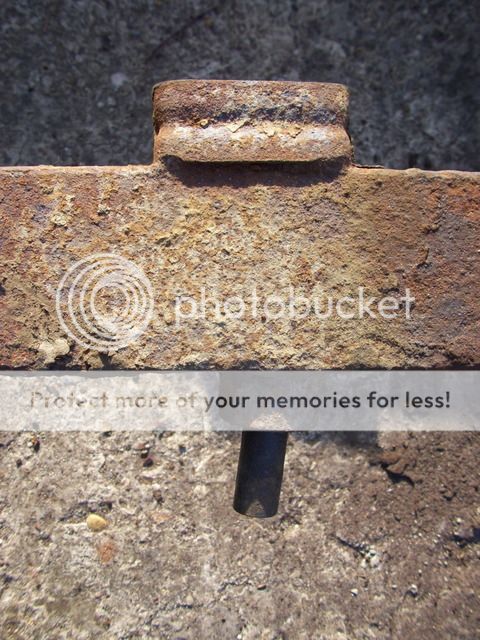
The chassis had rotted so much that the shock absorber bolt had clearly been taking a beating to the extent that the bolt guide had bent.

So the chassis was looking pretty bad, it was sent off for shot blasting and this showed up the holes very well but also showed up the strong metal remaining underneath so on to the chassis repair work.
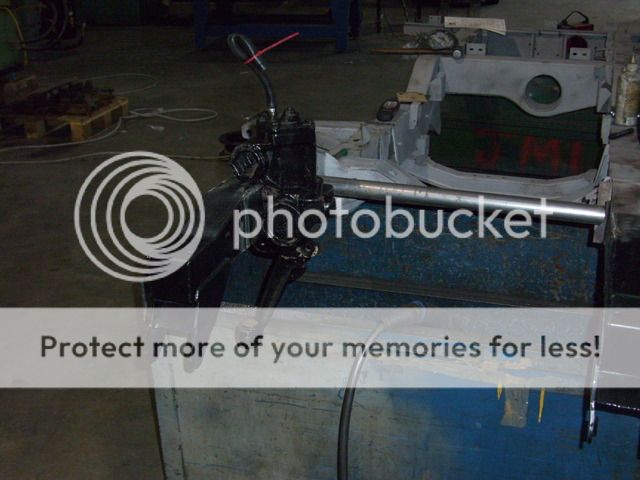
Literally a few days before the work started we decided to fit power steering as now was the ideal time and for £20 extra for the PAS box why not.
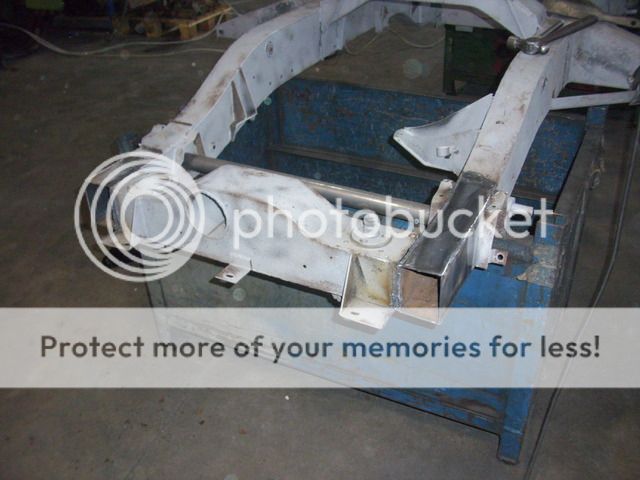
Front end finished now over to the back end for the major work.
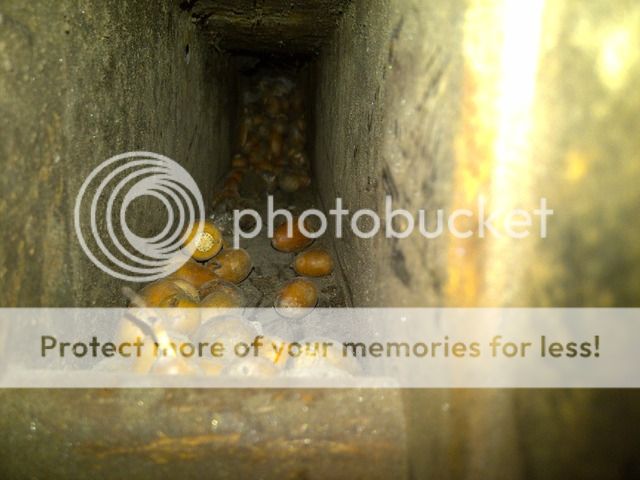
The inside of the chassis was really well reinforced, clearly been quite a hoard for a few mice.
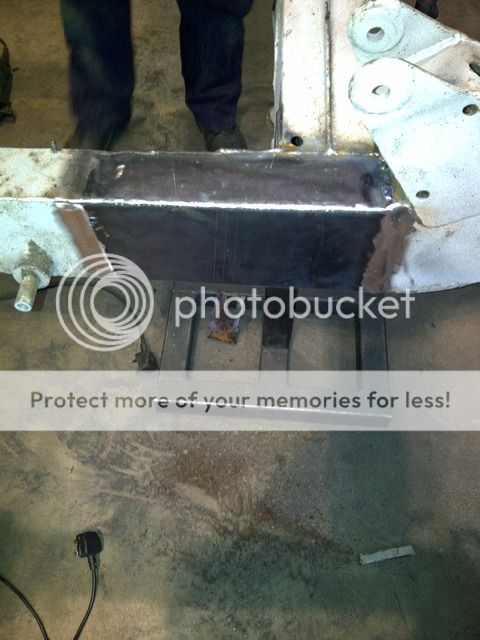
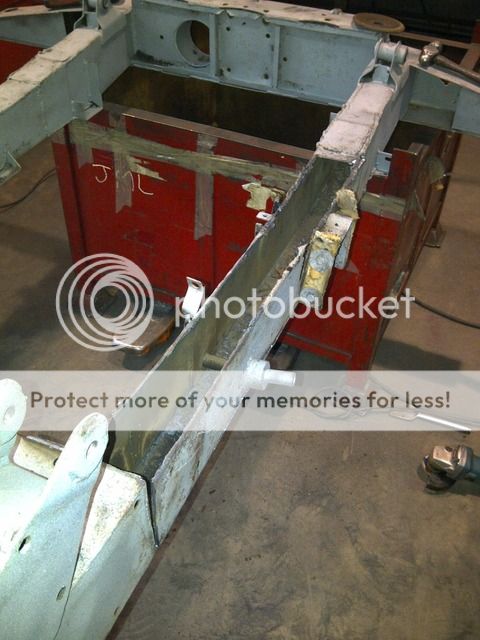
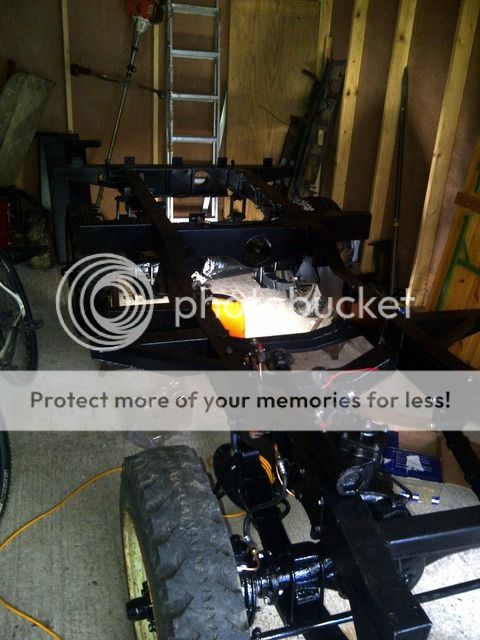
With a full set of new outriggers PAS bolt holes new front spring legs, and the extensive chassis repairs 2 long days were swallowed up, leaving it ready for some paint.
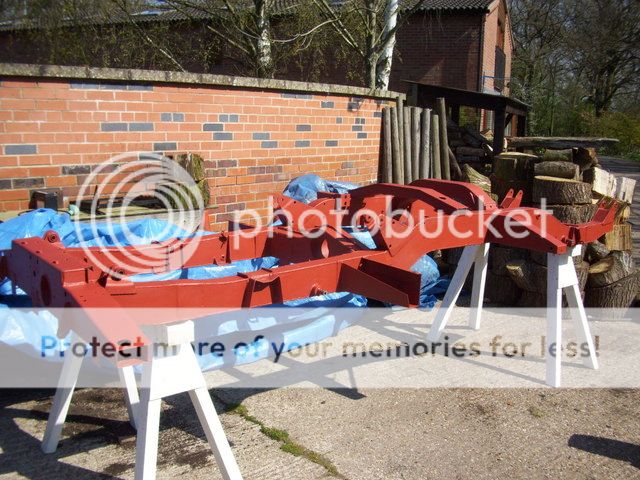
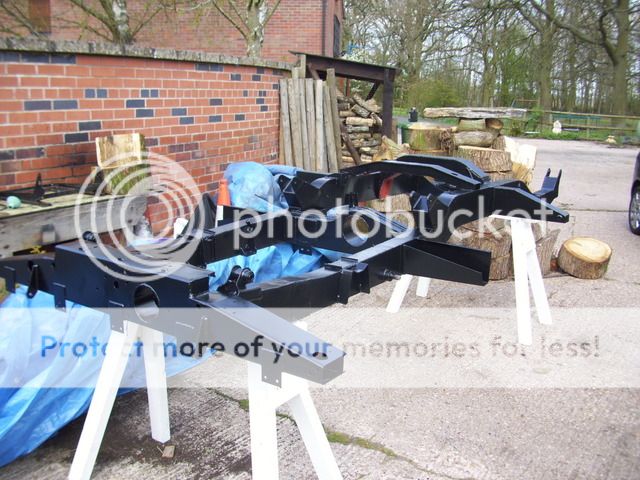
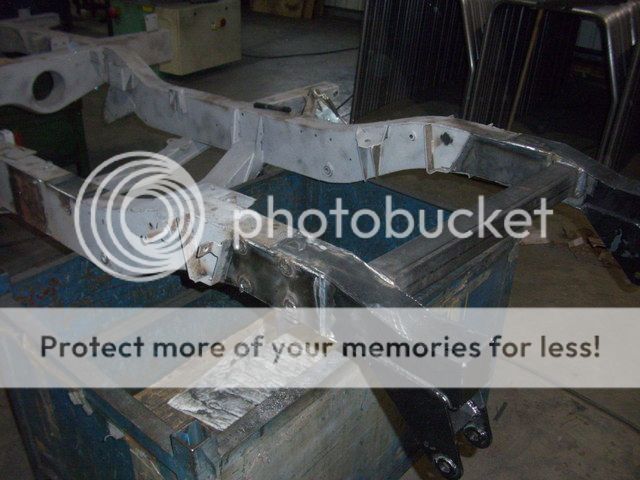
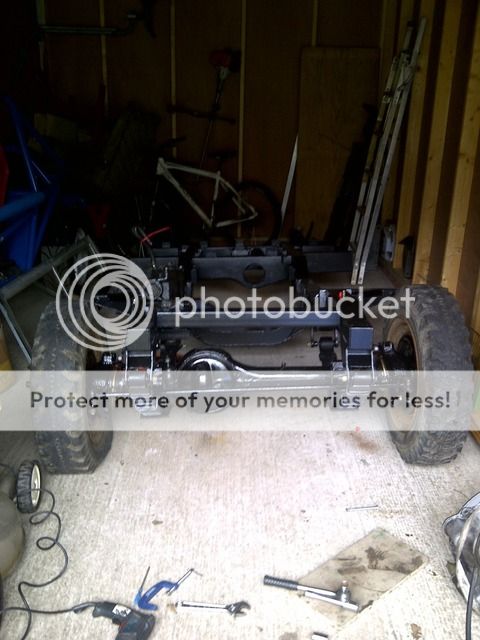
2 coats of red oxide and 2 coats of marine grade matte black chassis was ready for some axles.
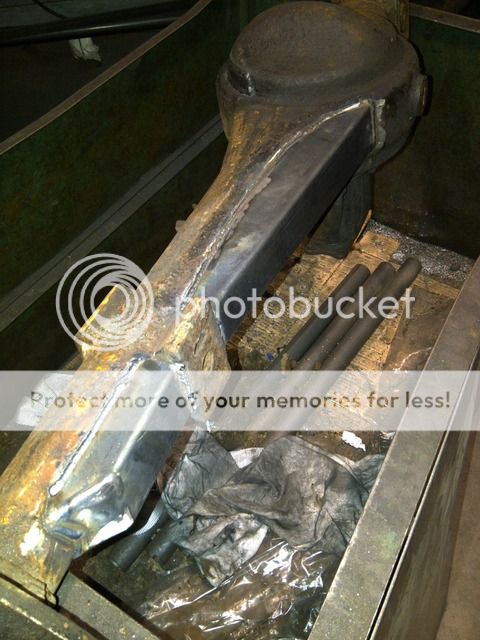
We were unsure as to why the axle had this extra piece but we just cut the old rusty one off and fitted a new one, doesnt really seem necessary but it was there so might as well replace it.
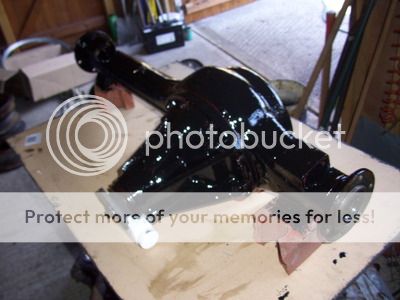
First coat of gloss black, the swivels were in good condition so just replaced the swivel seals and retaining plates and filled with new swivel grease.
I just used new standard springs as i couldn't see the need for parabolic springs at the time my view on this is changing so this may be a future change.
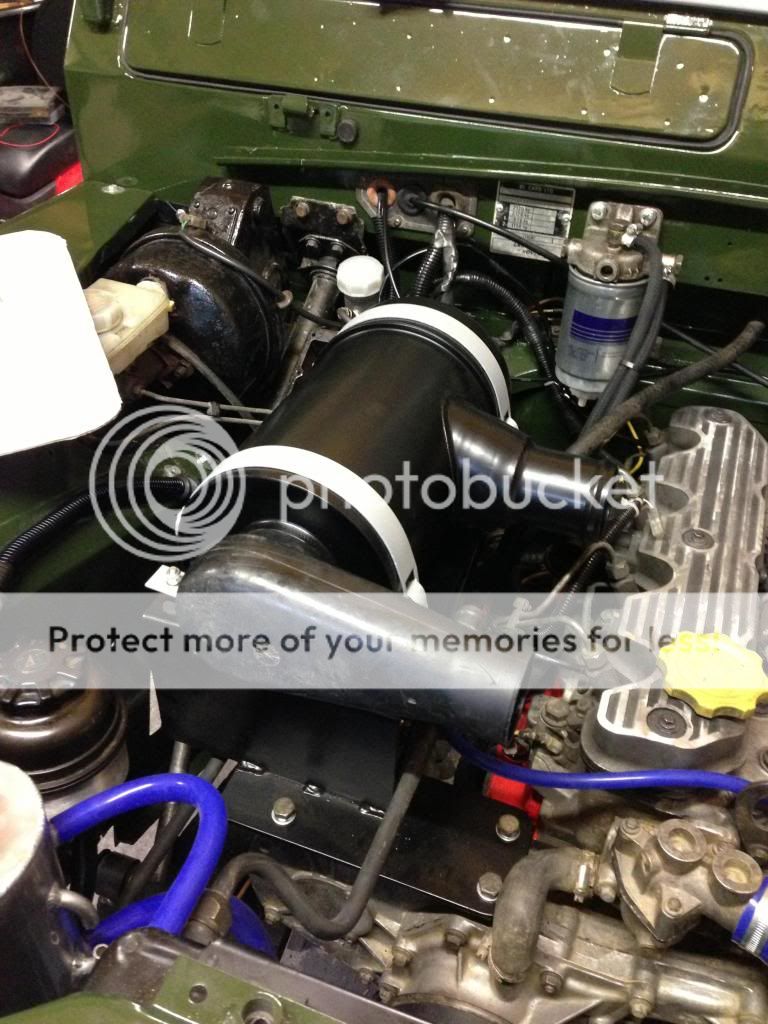
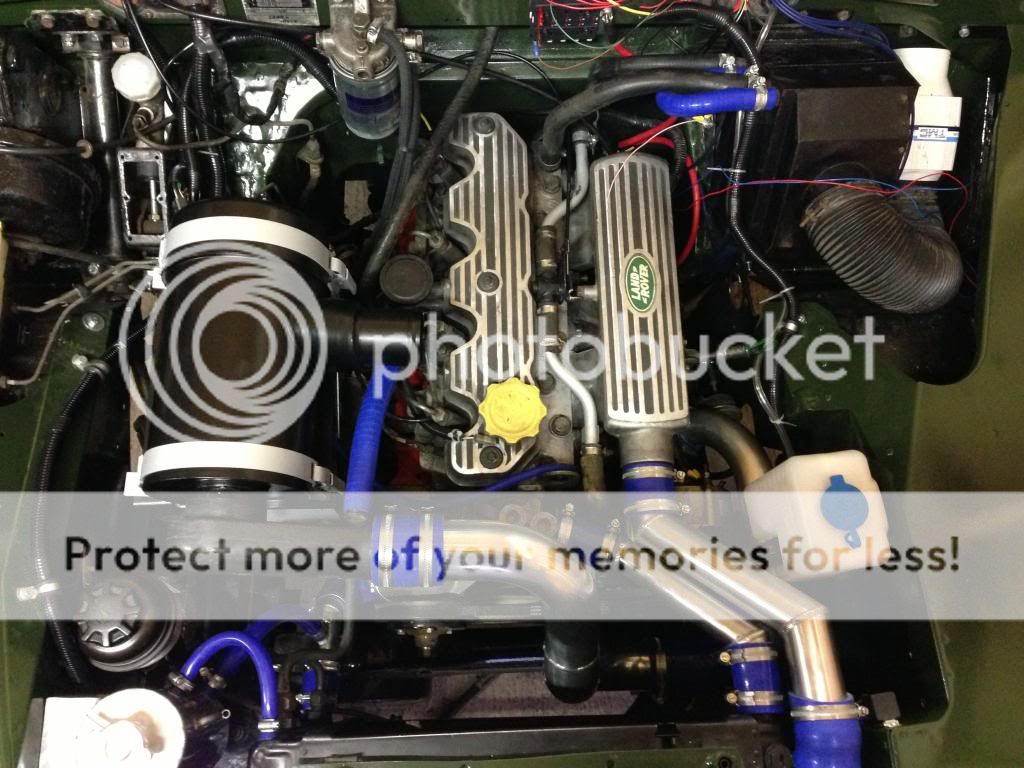
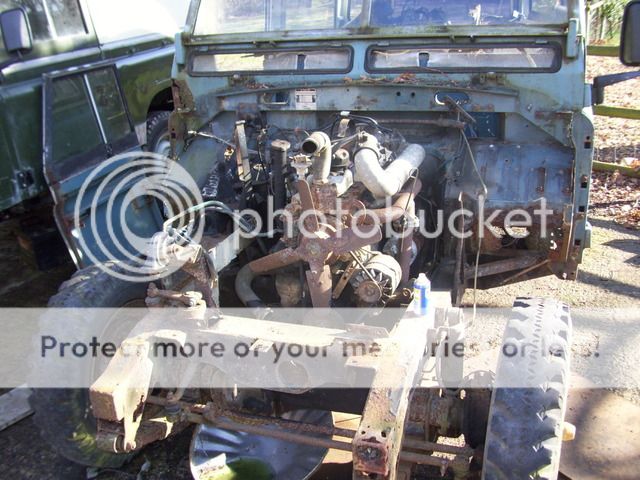
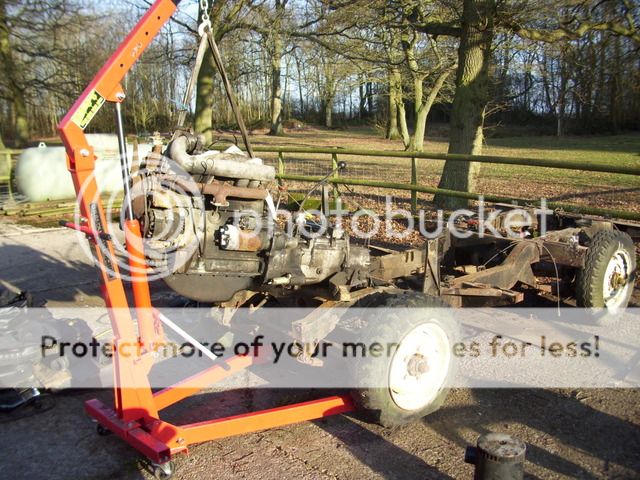
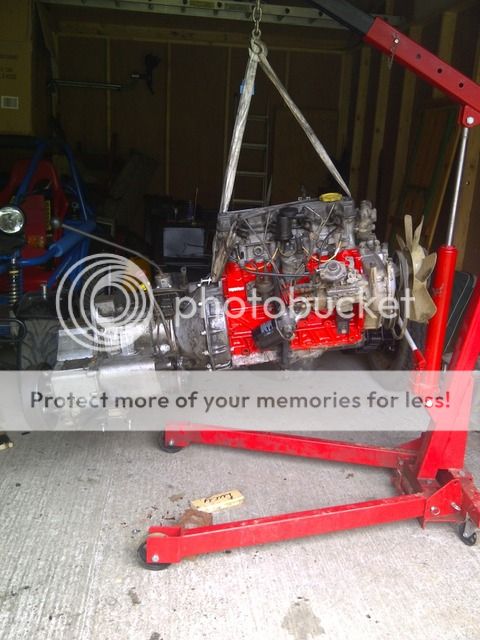
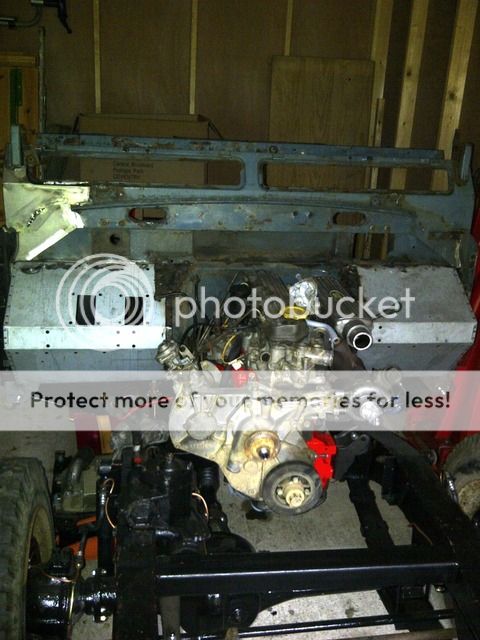
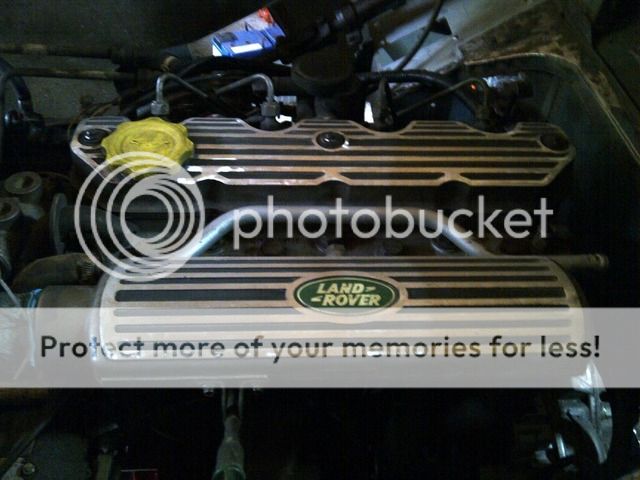
Before we started the plan was to use the same standard engine but make it look as new, but being 20 i changed my mind and snapped up a 200tdi for the sale price of the 2.25 diesel allowing the power steering to be fitted easily.
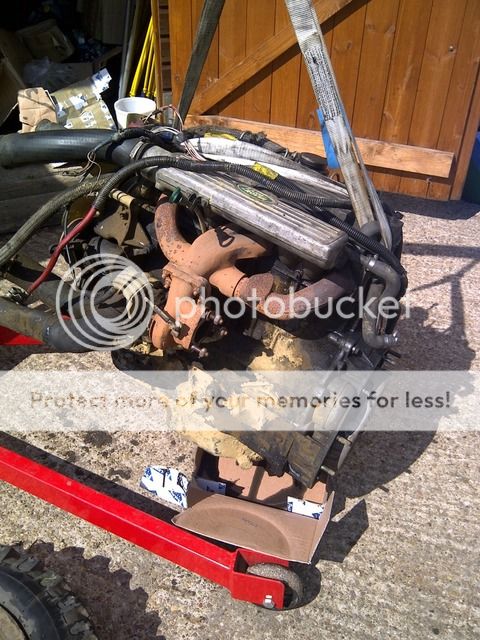
The flywheel was in need of a skim and the turbo impeller was shot so the flywheel was removed and sent off and a second hand turbo was bought.
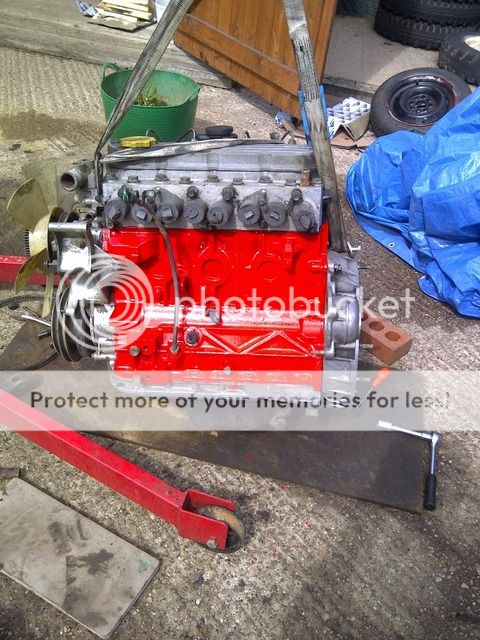
Pressing on with an untested engine, a new coat of paint and its ready for the gearbox.
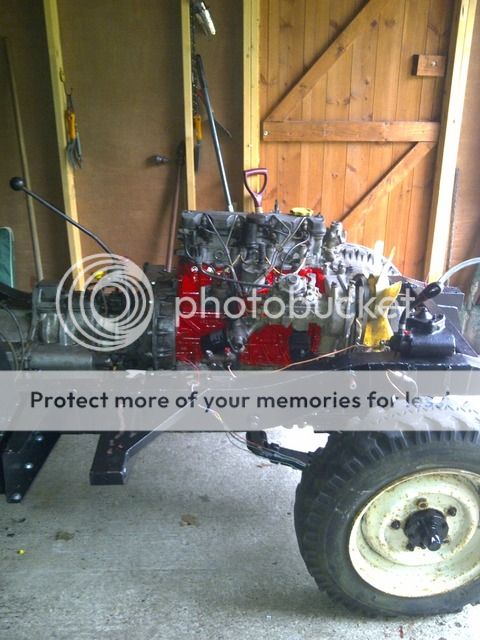
Didnt feel the need to cover the conversion process as it is so widely done these days. We changed the cambelt and all the seals we touched were replaced along with a new spigot bush, clutch and cover. We also relocated the oil pipe in the sump as it was very close to the prop shaft.
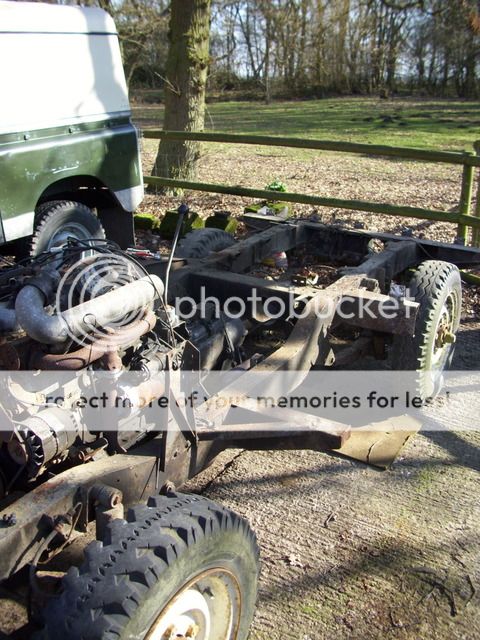
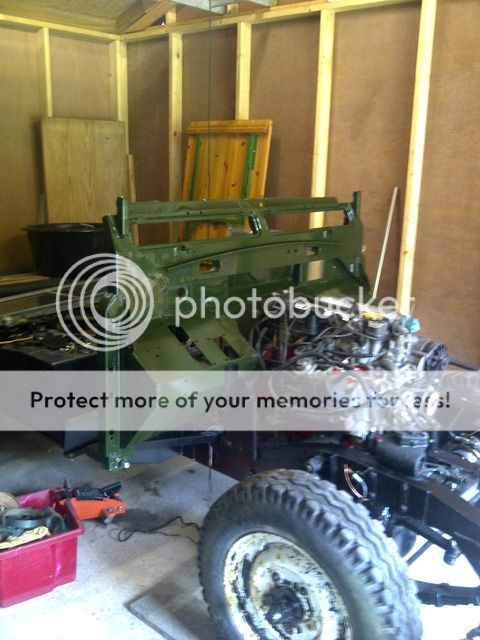
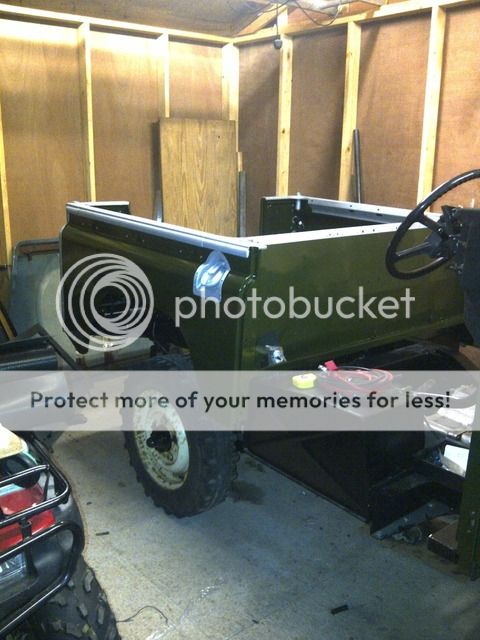
With the running gear in place on to the body work repairs.
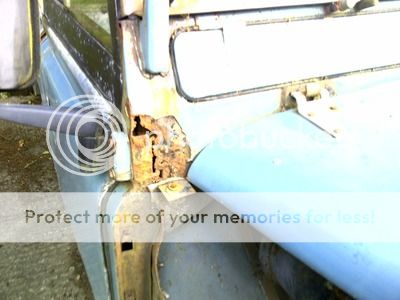
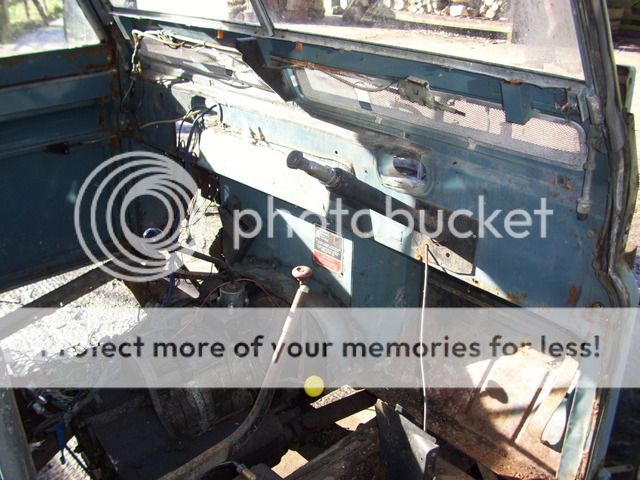
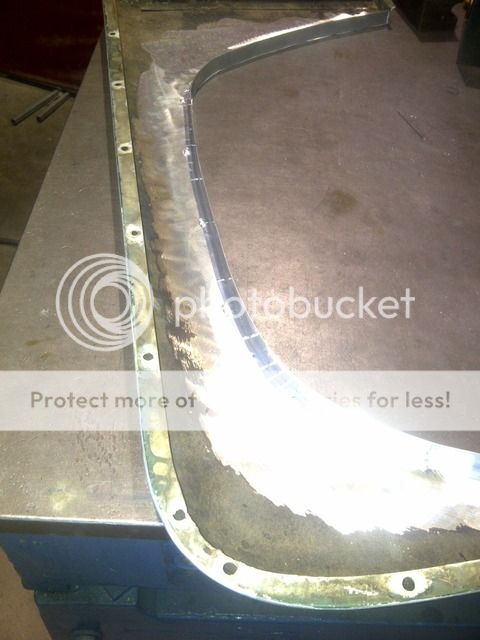
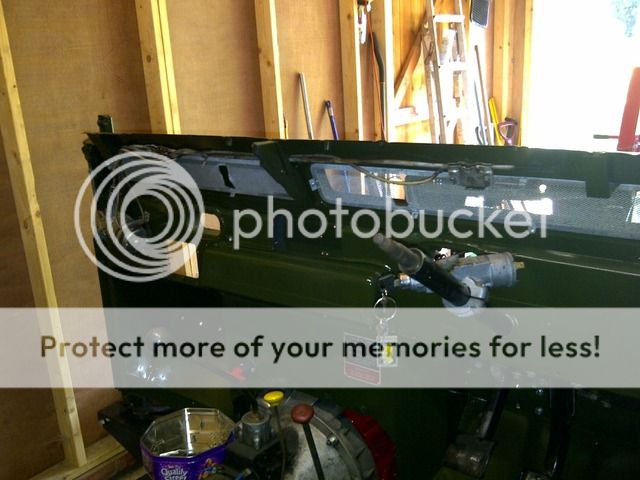
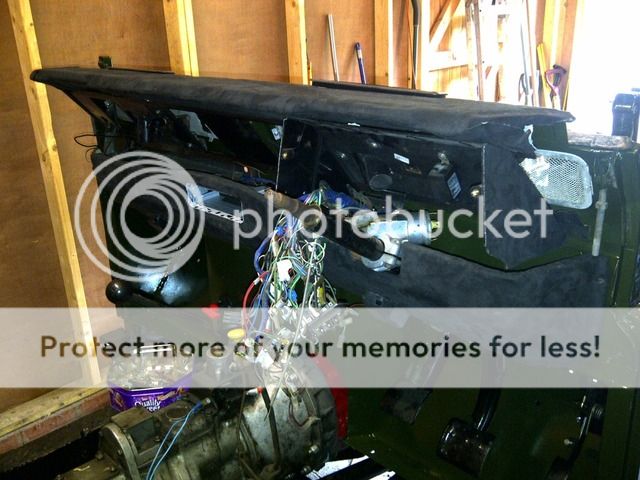
The bulkhead was also filled with filler over a nice big hole and a fair bit of rust so that needed repairing.
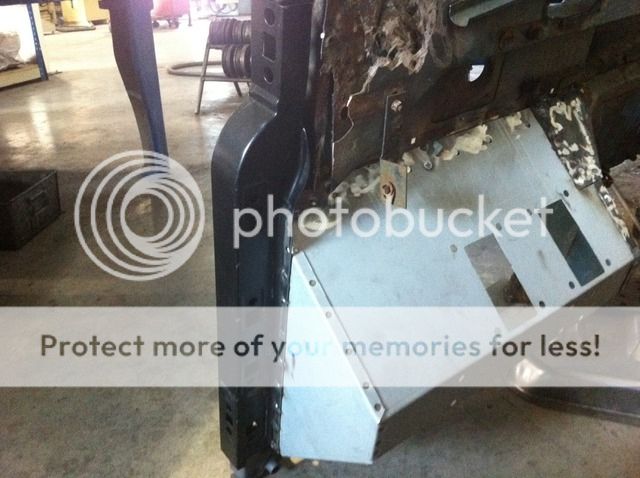
The door pillar footwells and mounts were replaced leaving the top corner to repair,
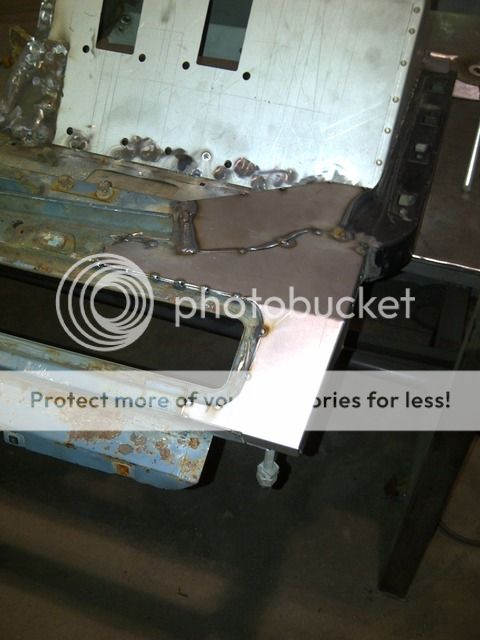
Basic repair done just some blending required, not as bad as expected although a lot of fretting was done as we were unsure if it would fit when the door was lined up.
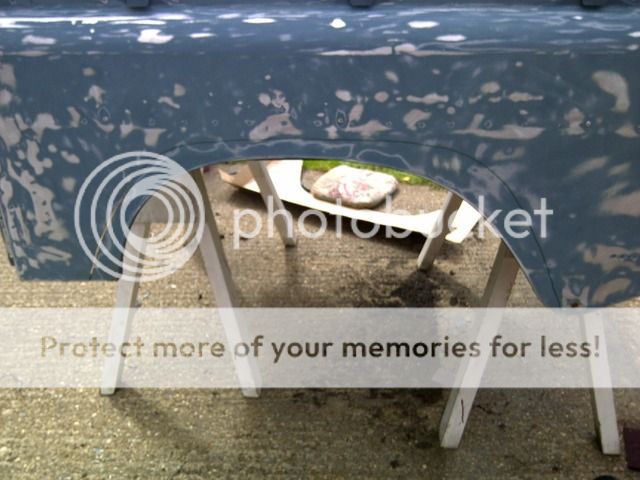
Test fitting to check the lower mounts all lined up perfect so that was a load off the mind.
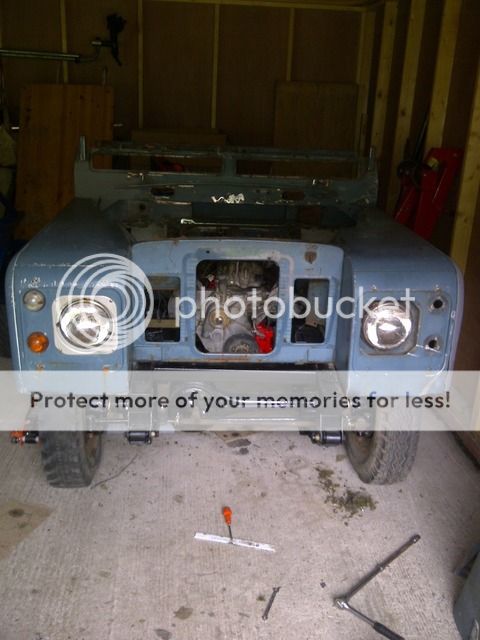
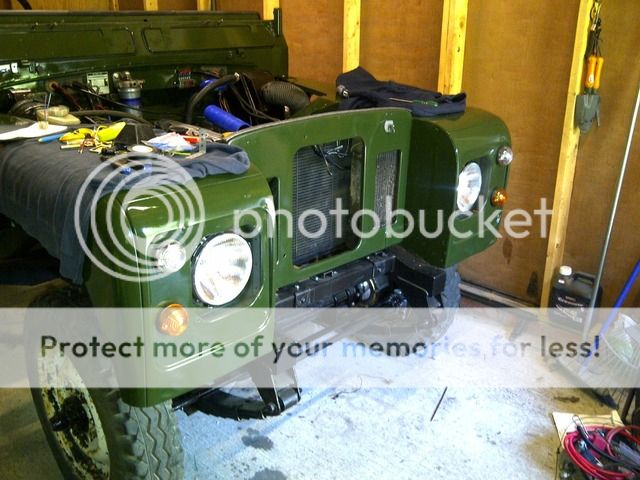
Dropped some body work on to check that it lined up and also to work out rad and intercooler mountings.
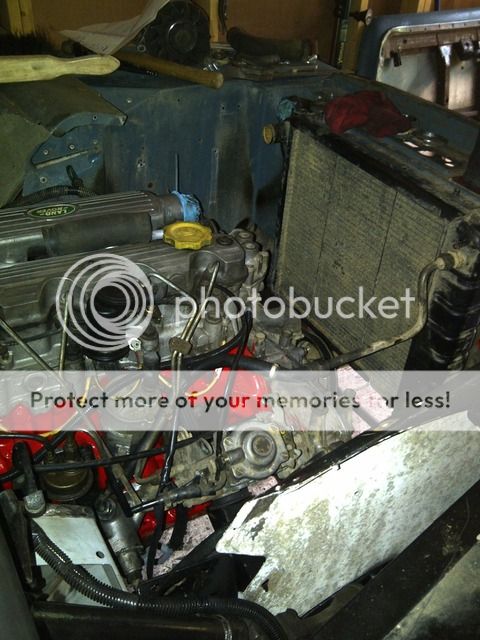
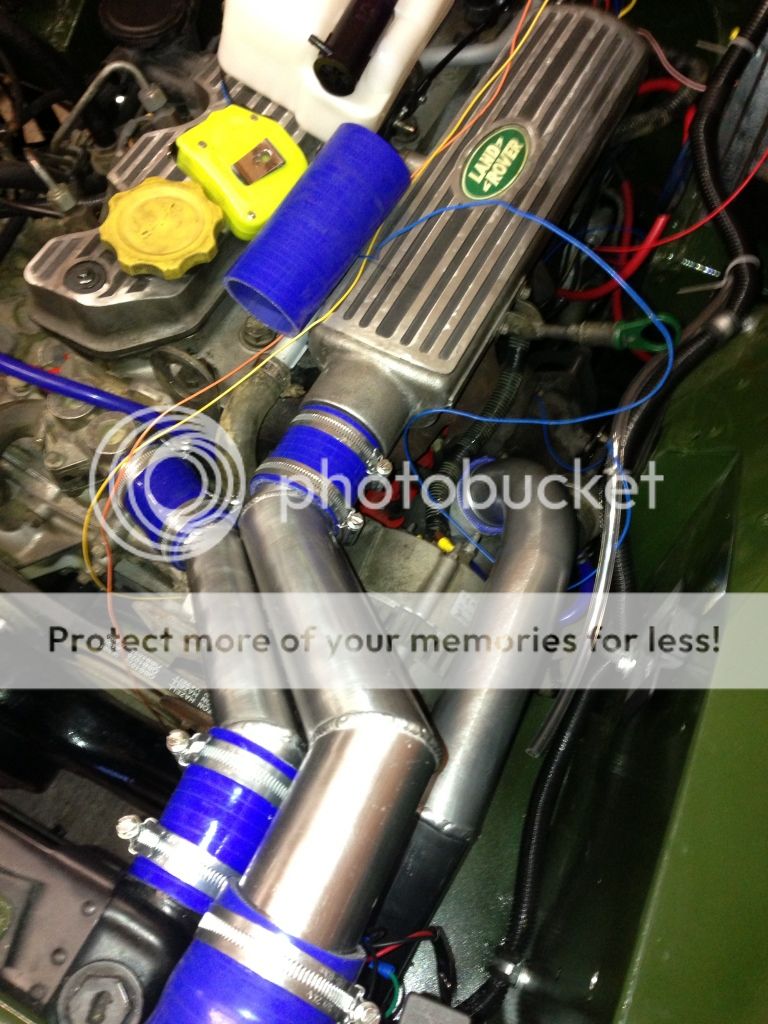
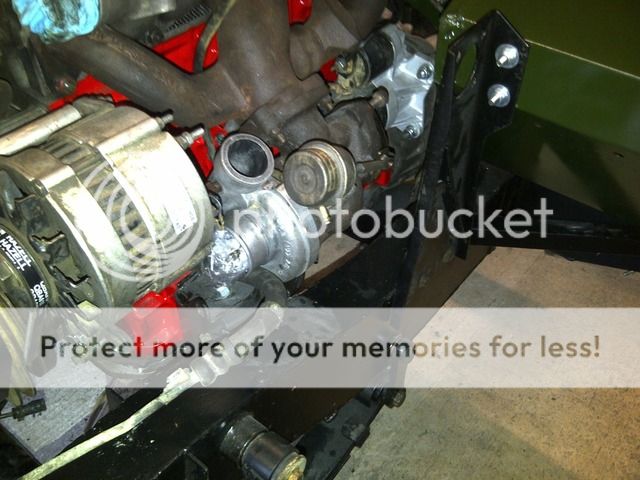
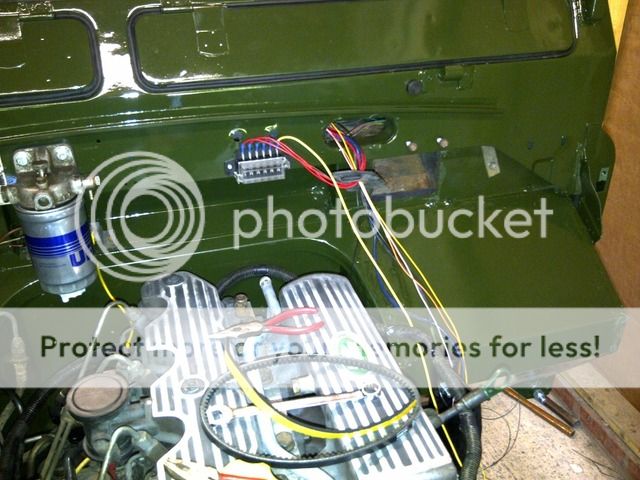
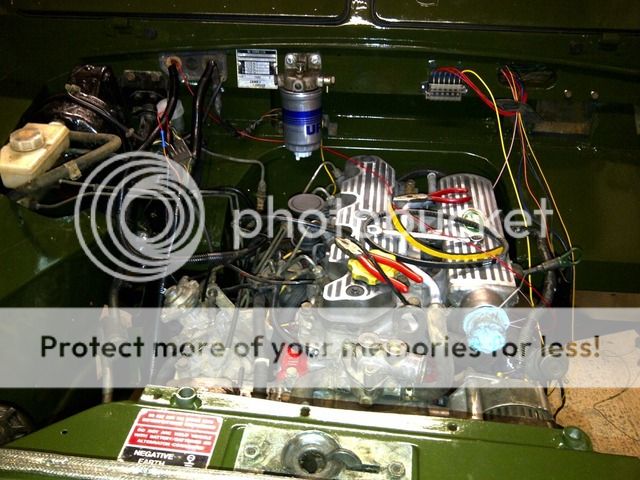
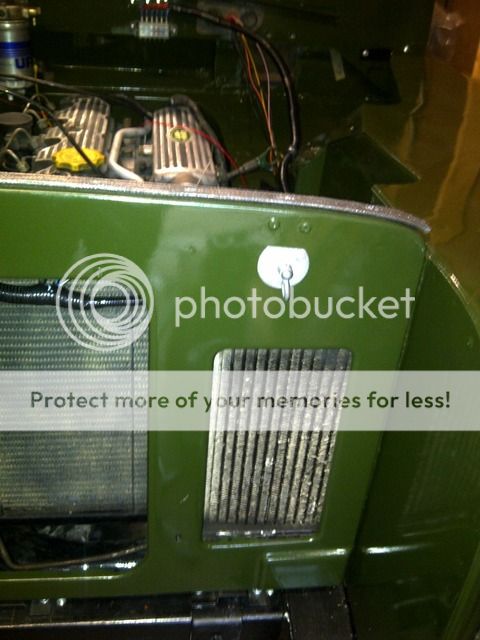
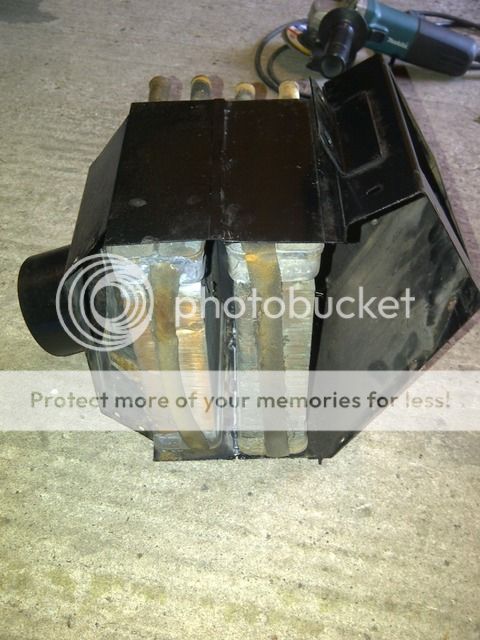
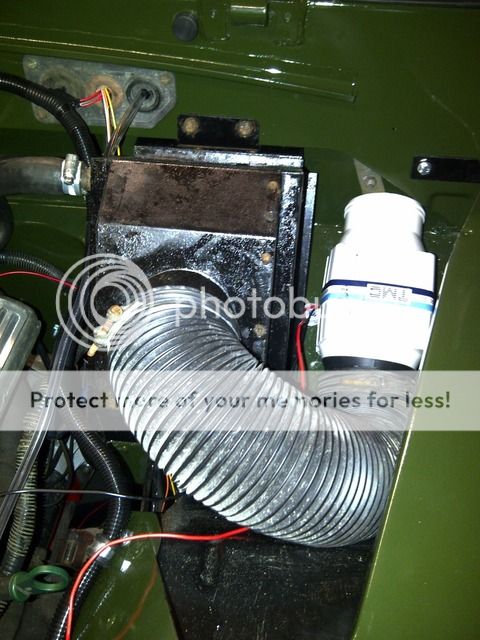
Discovery radiator and a 300tdi intercooler fit very tightly in even with the power steering box providing a rather annoying obstacle.
Couldnt wait to do this so thought i may as well before the new paint goes on, it could have done with some gloss enamel paint in there but i used high heat paint to reduce the risk of flaking or bubbling.
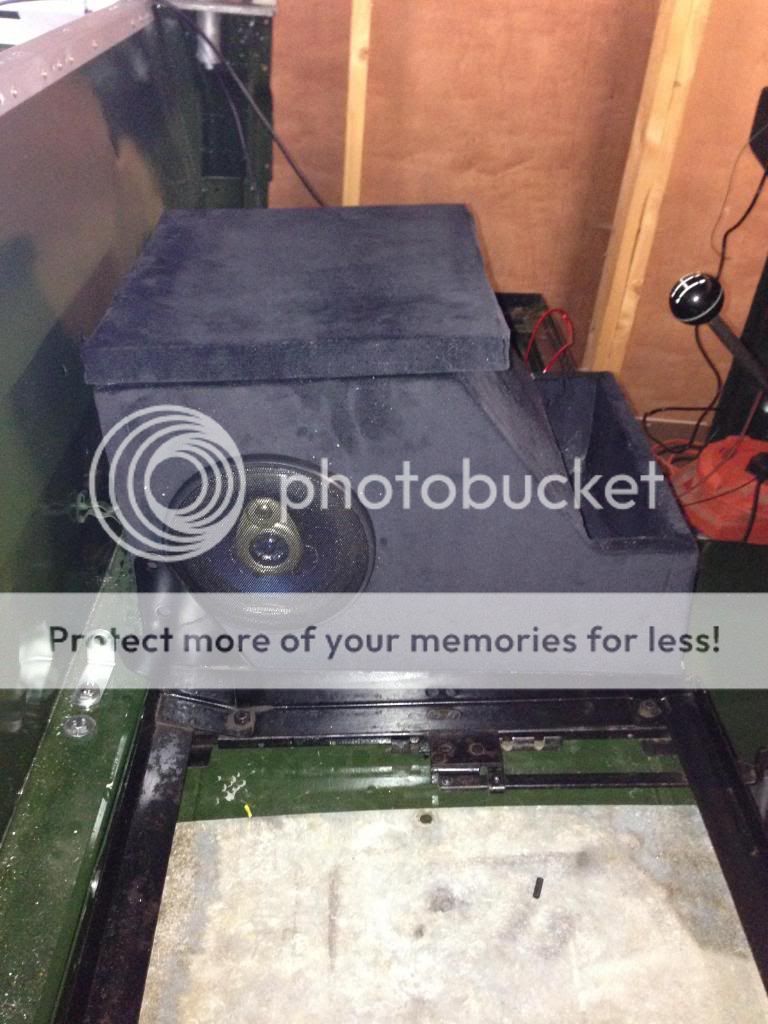
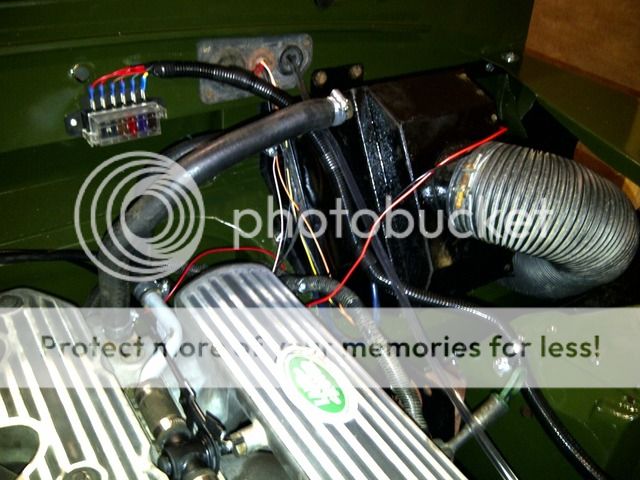
Battery relocation under the passanger seat.
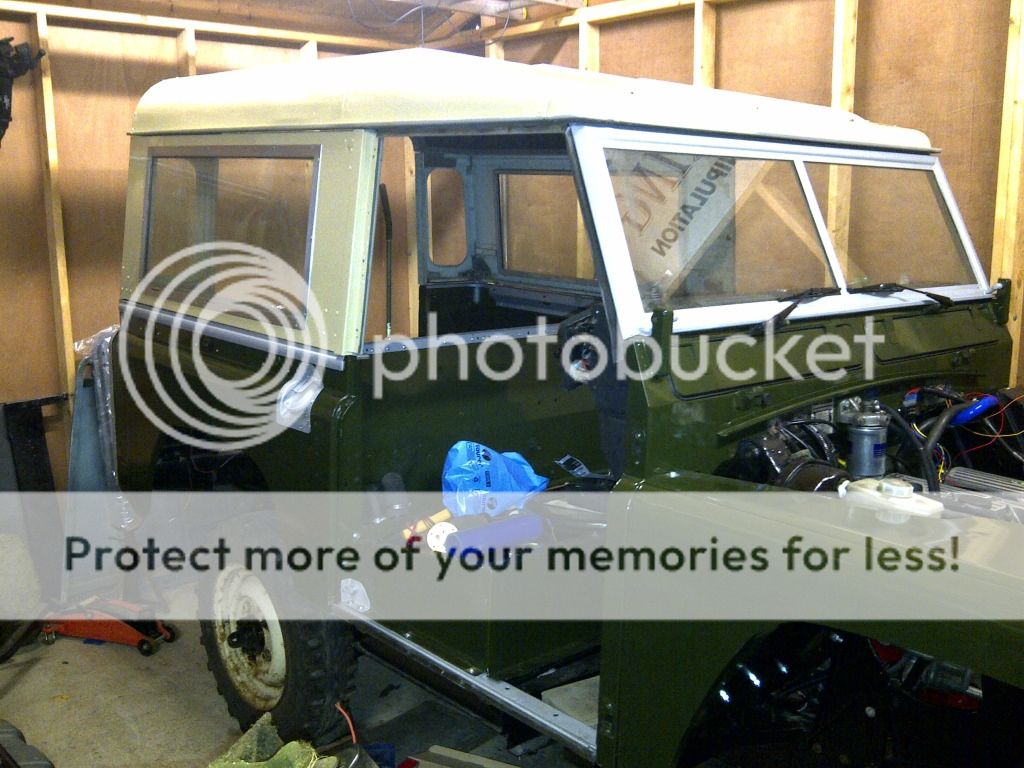
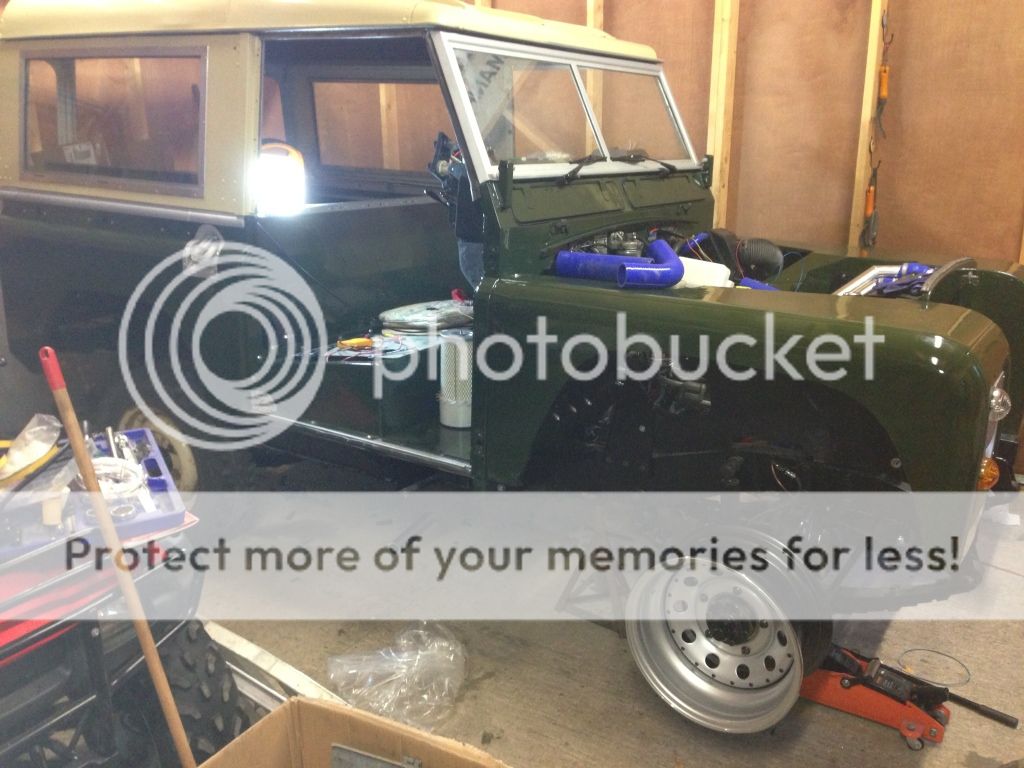
Time for the first controversial change, Defender wheel spats. I decided i wanted to fit these as i saw a glimpse of a series 3 with them on and i loved it with nice wide tyres and a good offset to fill them. So fitting the aluminium angle to allow them to fit up in the series wings. This did require a LOT of cutting and leaves none of the characteristics of the series 3 wings, so be warned, im not even 100% sure what they will look like yet but i imagine they will suit this particular vehicle.
The rear doesnt require as much cutting out.
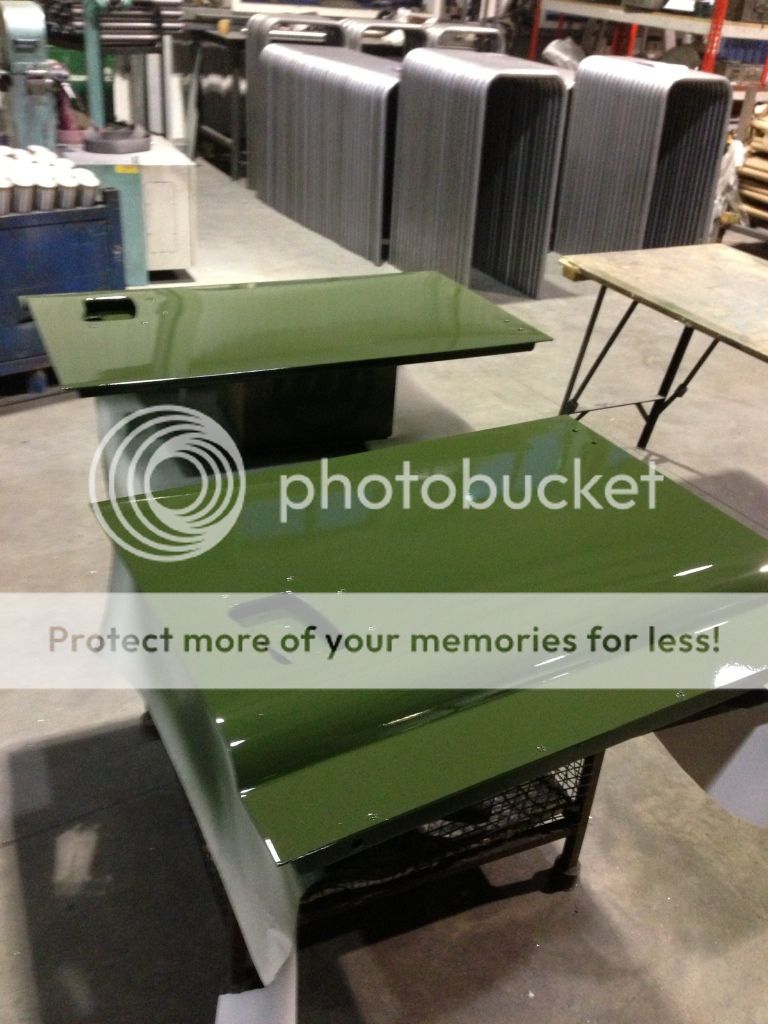
Time for some paint, I got all the paint from the paint man nice and easy to deal with and a very good price, preparation for the paint takes a long time !

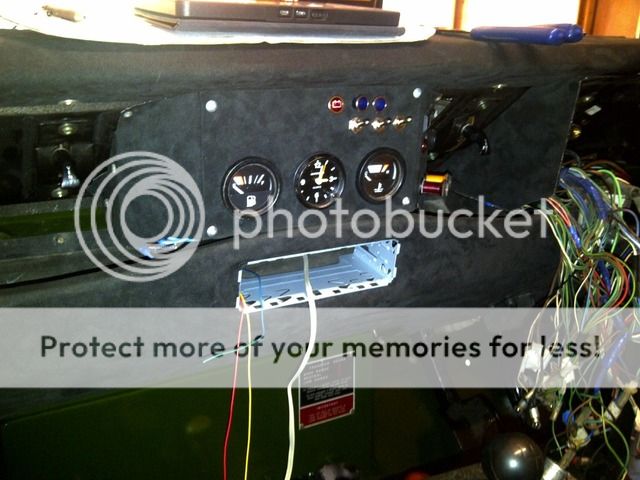
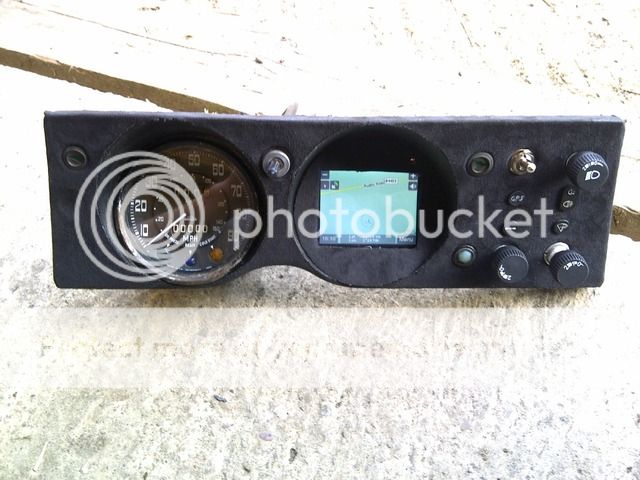
Ill just post a picture of each stage to reduce the number of pictures.
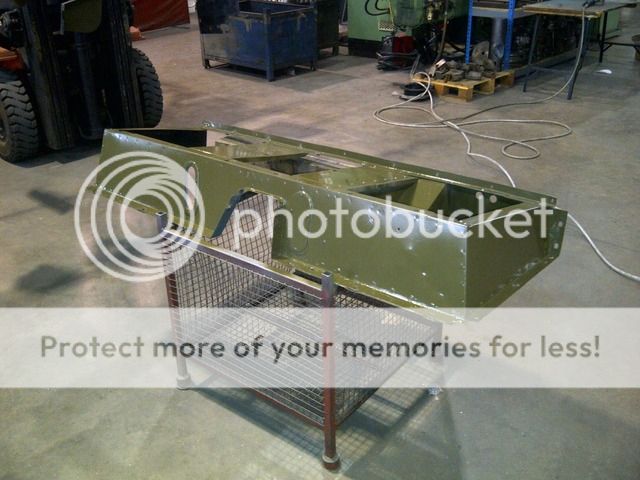
We used a green undercoat to give a better finish, which proved to be a very different paint to the grey primer we had a few runs so we had to go back over that again to get a good finish.
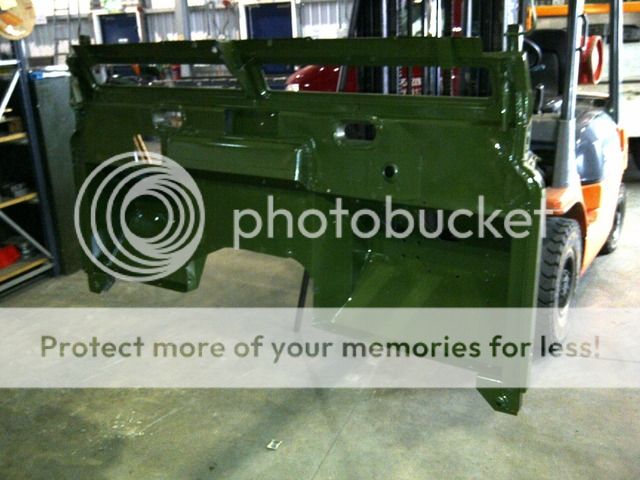
This picture was taken on the 8th of august just to give a perception of time in the rebuild.
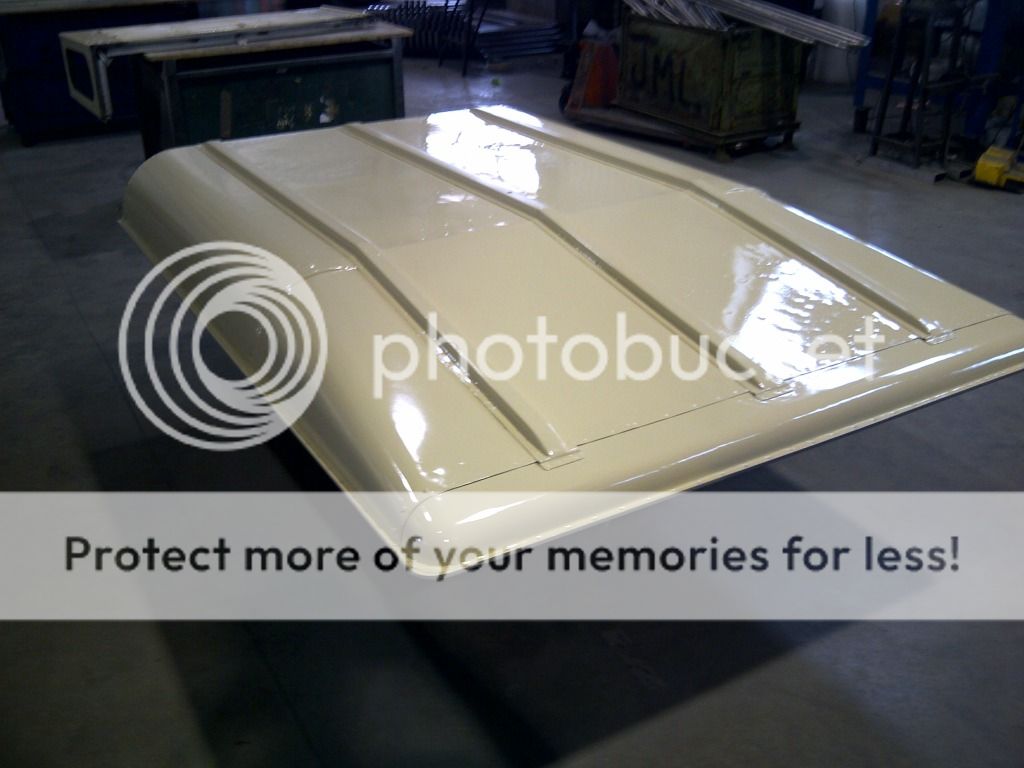
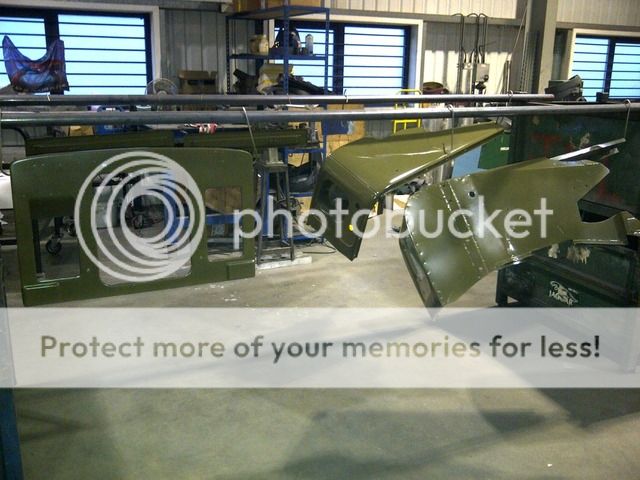
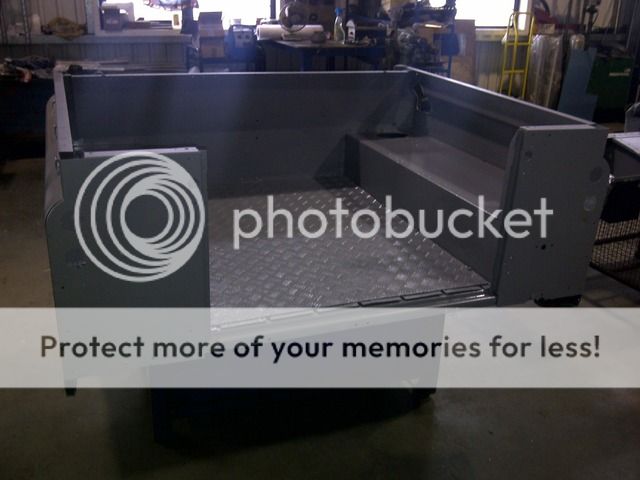
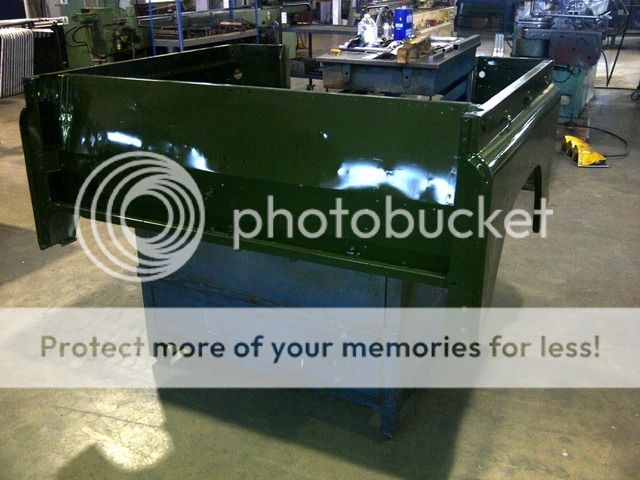
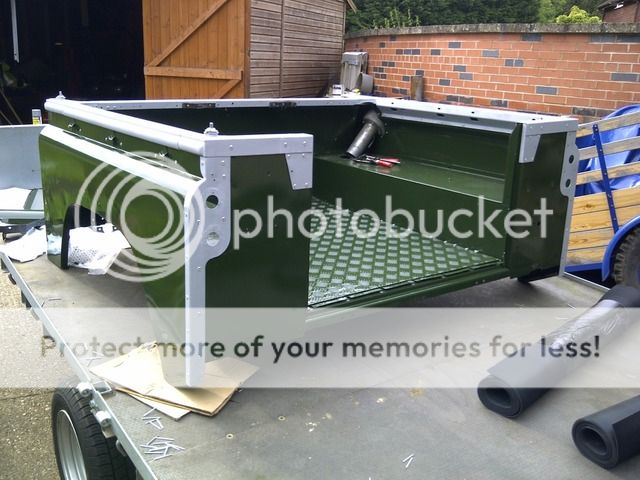
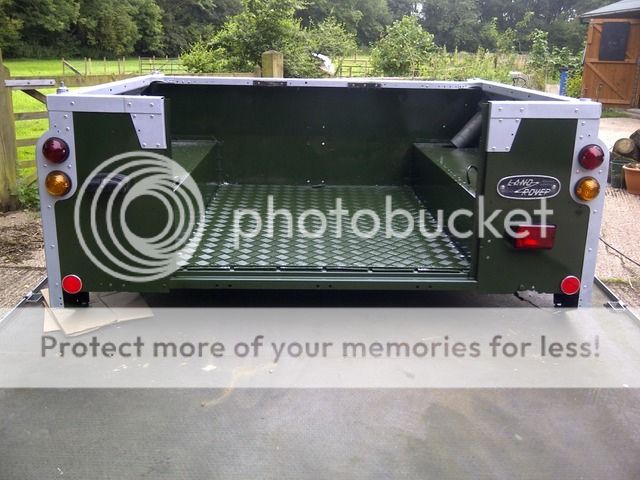
Nice thick top coat gave a very nice finish and was very easy to apply using the spray gun and correctly thinned down.
Right well i started this project in march and am nearing the end of the build so i thought i would share the highs and lows of my build on here as this is where i get most of my inspiration.
The project was funded by this 1983 Series 3 that we bought initially to use as a donor vehicle to complete the rebuild but decided that it was too good to split so we rebuilt it and sold it for a healthy profit.
The 1982 series 3 we started with had the usual defects of a series that had been sat on a dairy farm for the last 10 years. The engine was an untested 2.25 diesel and everything was pretty much standard except for some bodging due to the previous teenage owner fitting a massive sub woofer in the back. The body work wasn't too bad except for an outer wing full of filler that was falling off. The bulkhead had a hole in the top drivers corner and the footwells were shot, but this didnt seem too much bother.
First thing to get on with strip all the body work off and get it down to a rolling chassis.
2 half days later and the body and engine were out. Of course uncovering all the holes in the chassis and making us wander if it was even worth bothering with.
The chassis had rotted so much that the shock absorber bolt had clearly been taking a beating to the extent that the bolt guide had bent.
So the chassis was looking pretty bad, it was sent off for shot blasting and this showed up the holes very well but also showed up the strong metal remaining underneath so on to the chassis repair work.
Literally a few days before the work started we decided to fit power steering as now was the ideal time and for £20 extra for the PAS box why not.
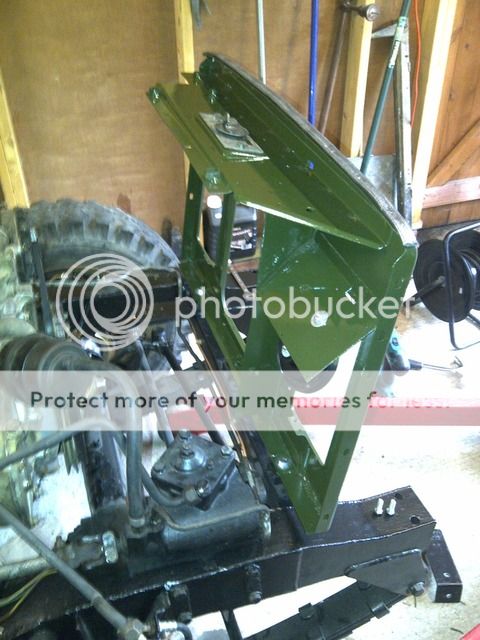
Front end finished now over to the back end for the major work.
The inside of the chassis was really well reinforced, clearly been quite a hoard for a few mice.
With a full set of new outriggers PAS bolt holes new front spring legs, and the extensive chassis repairs 2 long days were swallowed up, leaving it ready for some paint.
2 coats of red oxide and 2 coats of marine grade matte black chassis was ready for some axles.
We were unsure as to why the axle had this extra piece but we just cut the old rusty one off and fitted a new one, doesnt really seem necessary but it was there so might as well replace it.
First coat of gloss black, the swivels were in good condition so just replaced the swivel seals and retaining plates and filled with new swivel grease.
I just used new standard springs as i couldn't see the need for parabolic springs at the time my view on this is changing so this may be a future change.
Before we started the plan was to use the same standard engine but make it look as new, but being 20 i changed my mind and snapped up a 200tdi for the sale price of the 2.25 diesel allowing the power steering to be fitted easily.
The flywheel was in need of a skim and the turbo impeller was shot so the flywheel was removed and sent off and a second hand turbo was bought.
Pressing on with an untested engine, a new coat of paint and its ready for the gearbox.
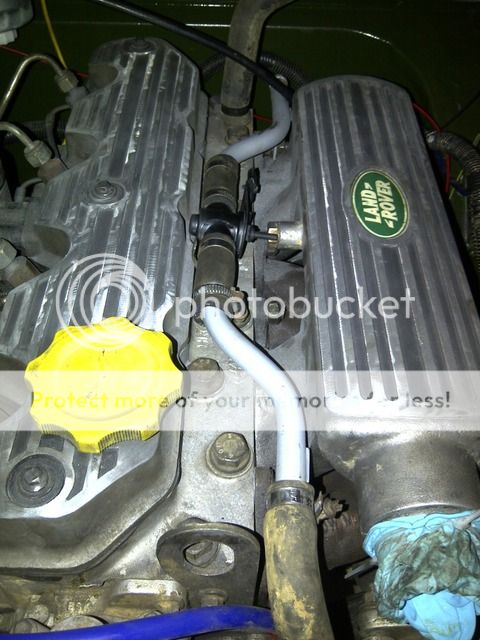
Didnt feel the need to cover the conversion process as it is so widely done these days. We changed the cambelt and all the seals we touched were replaced along with a new spigot bush, clutch and cover. We also relocated the oil pipe in the sump as it was very close to the prop shaft.
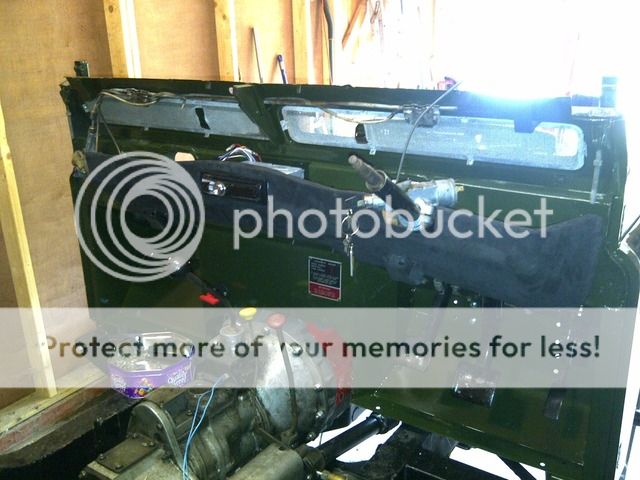
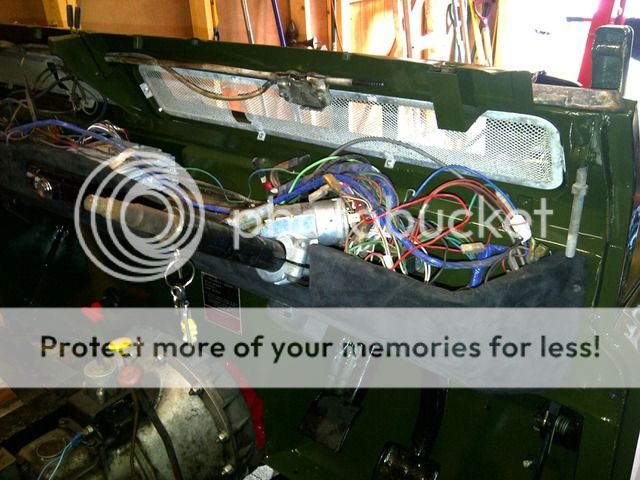
With the running gear in place on to the body work repairs.
The bulkhead was also filled with filler over a nice big hole and a fair bit of rust so that needed repairing.
The door pillar footwells and mounts were replaced leaving the top corner to repair,
Basic repair done just some blending required, not as bad as expected although a lot of fretting was done as we were unsure if it would fit when the door was lined up.
Test fitting to check the lower mounts all lined up perfect so that was a load off the mind.
Dropped some body work on to check that it lined up and also to work out rad and intercooler mountings.
Discovery radiator and a 300tdi intercooler fit very tightly in even with the power steering box providing a rather annoying obstacle.
Couldnt wait to do this so thought i may as well before the new paint goes on, it could have done with some gloss enamel paint in there but i used high heat paint to reduce the risk of flaking or bubbling.
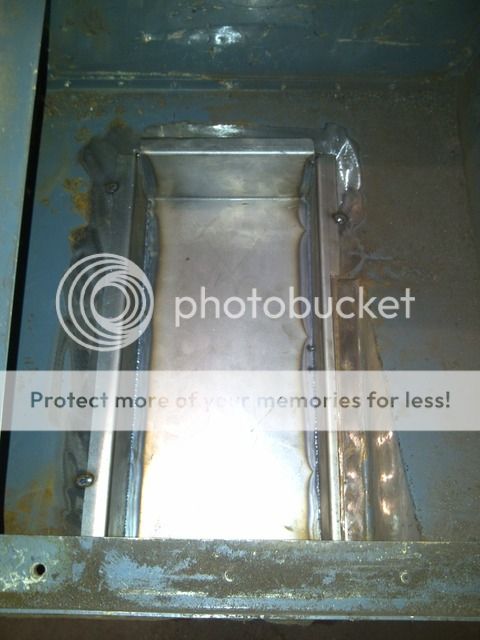
Battery relocation under the passanger seat.
Time for the first controversial change, Defender wheel spats. I decided i wanted to fit these as i saw a glimpse of a series 3 with them on and i loved it with nice wide tyres and a good offset to fill them. So fitting the aluminium angle to allow them to fit up in the series wings. This did require a LOT of cutting and leaves none of the characteristics of the series 3 wings, so be warned, im not even 100% sure what they will look like yet but i imagine they will suit this particular vehicle.
The rear doesnt require as much cutting out.
Time for some paint, I got all the paint from the paint man nice and easy to deal with and a very good price, preparation for the paint takes a long time !
Ill just post a picture of each stage to reduce the number of pictures.
We used a green undercoat to give a better finish, which proved to be a very different paint to the grey primer we had a few runs so we had to go back over that again to get a good finish.
This picture was taken on the 8th of august just to give a perception of time in the rebuild.
Nice thick top coat gave a very nice finish and was very easy to apply using the spray gun and correctly thinned down.
")