scottonthefen
Well-Known Member
- Posts
- 532
- Location
- England
I've been recording my progress on a blog for my own sake over the first year of work on my 2A. It does make for a good log of work done but there's no conversation around it so I'm going to start sharing here. I can use all the help I can get, as you'll soon see from my posts! 
I'm restoring my '69 2A Petrol SWB back to roadworthy status. I bought it a year ago after it had been beaten up a bit off-road (I think) and subsequently SORN'd for around 8 years. I'm making good progress and hope to go for an MOT next summer. Work, family, and a house that also needs a bit of work makes this very much a 1-2 hour per week project, but I'm enjoying it immensely so far.
Anyway, you can catch up at http://spannersonthefen.blogspot.com/ if you like, but I'll just start sharing here from where I'm at, which at the moment is getting sidetracked, as usual..
Steering Link and Relay
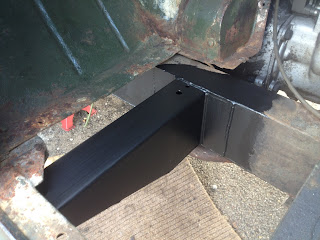
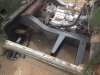
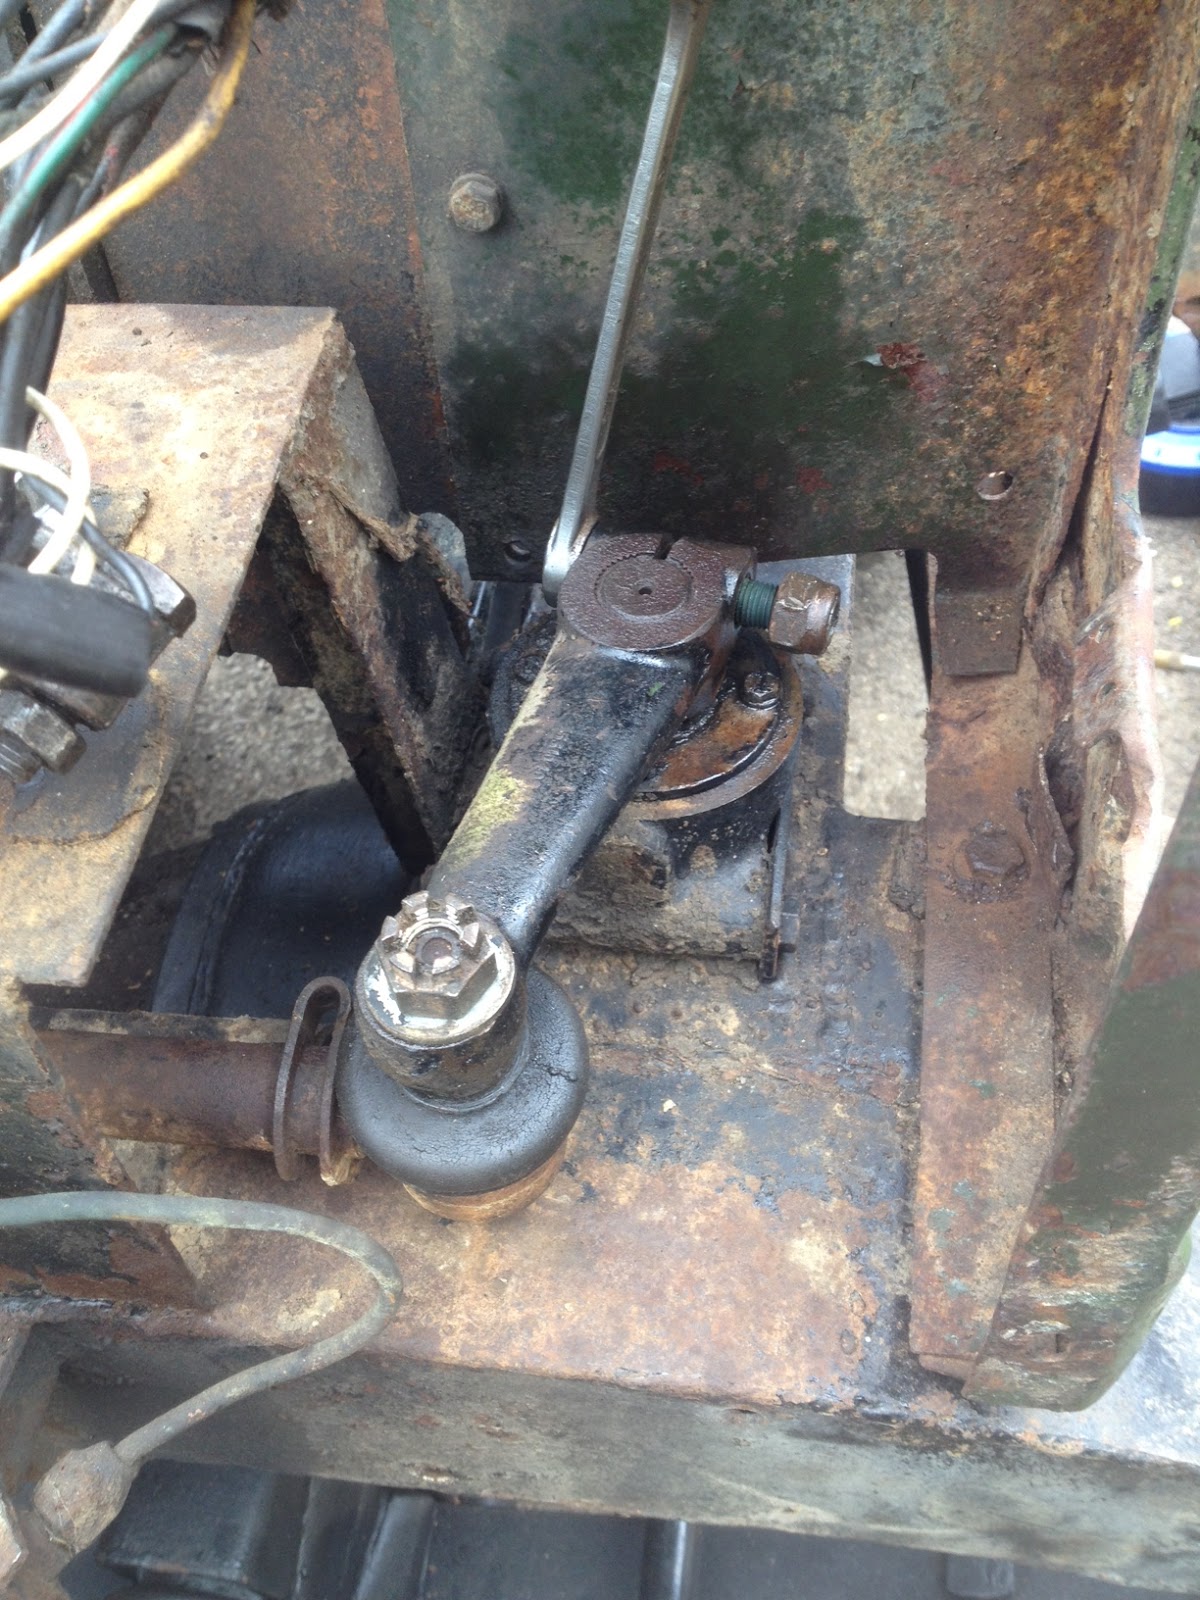
With the battery and air filter cage off my attention was drawn to the condition of the steering link assembly that joins the steering box drop arm to the top of the steering relay in the front crossmember.
The steering link is a 22" tube with a ball joint each end, just like the drag link and track rod underneath. Closer inspection revealed the balljoints were at least dried out, if not worse, and the tubing had seen better days. With the other steering components now renewed, and wanting to clean and paint the front chassis as far back as the front outriggers, I decided it was time to remove this steering link and refurb or replace it.
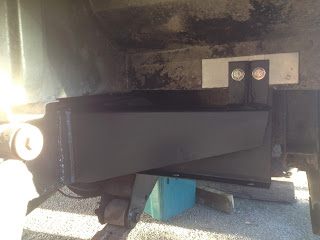
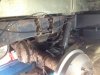
The upper relay lever sits on a splined shaft, keyed slightly by a pinch bolt that has to be completely removed. The pinch gap can then be opened out with a screwdriver and the lever levered up and off. (You can't get a hammer to this as the chassis is immediately beneath it. I used a balljoint splitter that a friend had widened out with an angle grinder - this turned out to be a perfect fit.)

The drop arm is harder to remove. It's also on a splined shaft (the steering box rocker shaft), and is tight up against a brake pipe union which makes getting even a small 2-arm puller on it very difficult. There's a custom Leyland tool that is designed to fit (#600000), now made by Laser and sold for £35, but as it turned out, I didn't need to remove it.
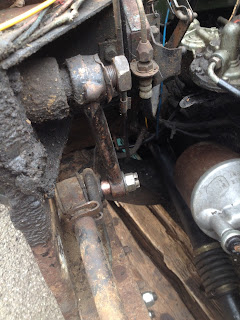
With the upper relay lever off, you can pull the steering link further towards the front of the vehicle, which pulls the drop arm with it far enough to remove the ball joint on the front side of the steering box mounting bracket. Short version: you only have to take the upper relay lever off, which is easy.
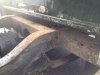
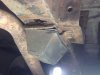
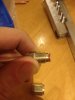
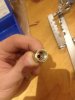
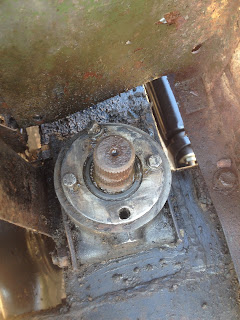
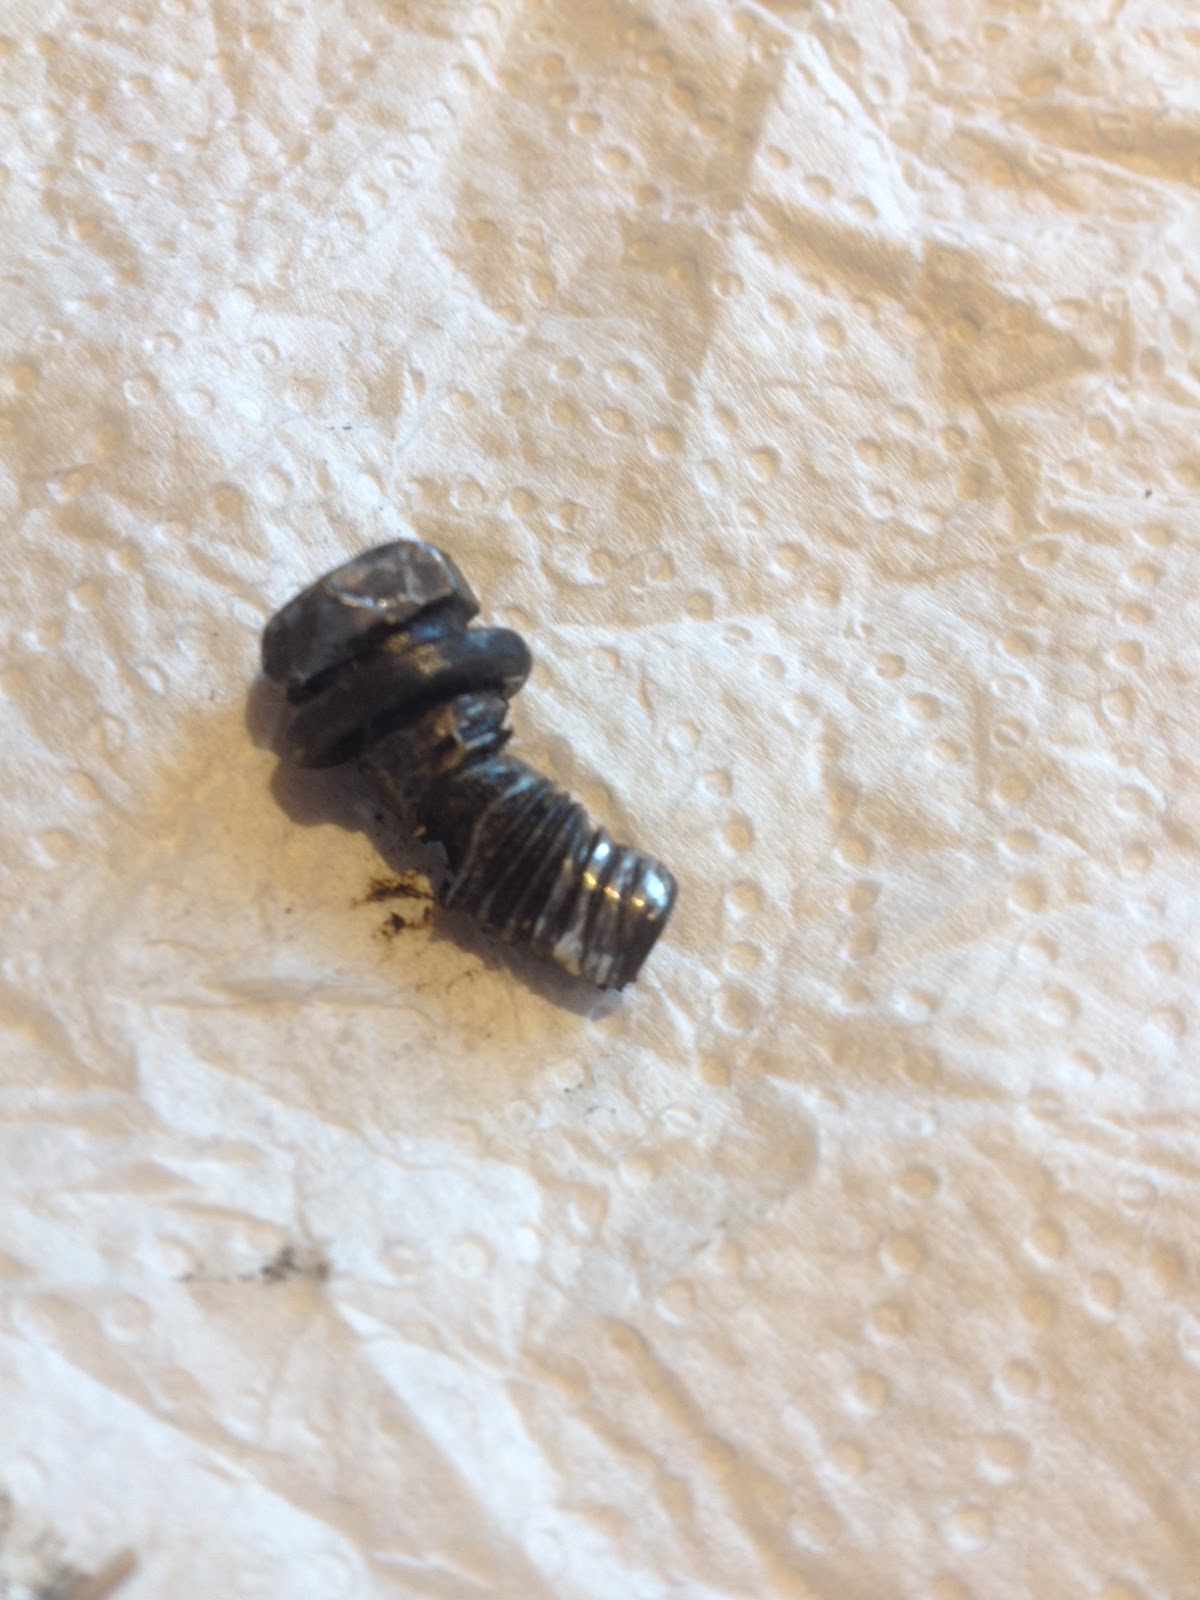
I could now see one bolt was missing from the upper relay housing, exposing the inside to the weather, and another was bent in place(!). I carefully, and luckily, extracted the bent bolt without breaking it.
It looks like this top plate was fit very slightly off centre to the bolt holes, so when this third bolt was wound in it seized and started to cross-thread, but he continued winding until it stopped completely, and then..
I don't know what happened to the 4th bolt.
I am hoping when I remove this plate to replace the seal and gasket beneath it, when I go to refit it, I don't find the thread damaged on that side.
The more things like this I find, the more looking I feel like doing..
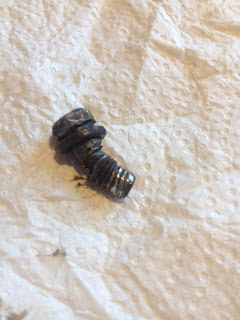
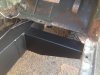
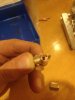
I was lucky to get this out in one piece..
I've ordered a new steering link assembly inc. balljoints, plus new bolts, seals, and gaskets for the steering relay, top and bottom. Next job will be get all that fit and the relay topped up with oil again.
I'm restoring my '69 2A Petrol SWB back to roadworthy status. I bought it a year ago after it had been beaten up a bit off-road (I think) and subsequently SORN'd for around 8 years. I'm making good progress and hope to go for an MOT next summer. Work, family, and a house that also needs a bit of work makes this very much a 1-2 hour per week project, but I'm enjoying it immensely so far.
Anyway, you can catch up at http://spannersonthefen.blogspot.com/ if you like, but I'll just start sharing here from where I'm at, which at the moment is getting sidetracked, as usual..
Steering Link and Relay
With the battery and air filter cage off my attention was drawn to the condition of the steering link assembly that joins the steering box drop arm to the top of the steering relay in the front crossmember.
The steering link is a 22" tube with a ball joint each end, just like the drag link and track rod underneath. Closer inspection revealed the balljoints were at least dried out, if not worse, and the tubing had seen better days. With the other steering components now renewed, and wanting to clean and paint the front chassis as far back as the front outriggers, I decided it was time to remove this steering link and refurb or replace it.
The upper relay lever sits on a splined shaft, keyed slightly by a pinch bolt that has to be completely removed. The pinch gap can then be opened out with a screwdriver and the lever levered up and off. (You can't get a hammer to this as the chassis is immediately beneath it. I used a balljoint splitter that a friend had widened out with an angle grinder - this turned out to be a perfect fit.)
The drop arm is harder to remove. It's also on a splined shaft (the steering box rocker shaft), and is tight up against a brake pipe union which makes getting even a small 2-arm puller on it very difficult. There's a custom Leyland tool that is designed to fit (#600000), now made by Laser and sold for £35, but as it turned out, I didn't need to remove it.

With the upper relay lever off, you can pull the steering link further towards the front of the vehicle, which pulls the drop arm with it far enough to remove the ball joint on the front side of the steering box mounting bracket. Short version: you only have to take the upper relay lever off, which is easy.
I could now see one bolt was missing from the upper relay housing, exposing the inside to the weather, and another was bent in place(!). I carefully, and luckily, extracted the bent bolt without breaking it.
It looks like this top plate was fit very slightly off centre to the bolt holes, so when this third bolt was wound in it seized and started to cross-thread, but he continued winding until it stopped completely, and then..
I don't know what happened to the 4th bolt.
I am hoping when I remove this plate to replace the seal and gasket beneath it, when I go to refit it, I don't find the thread damaged on that side.

The more things like this I find, the more looking I feel like doing..
I was lucky to get this out in one piece..
I've ordered a new steering link assembly inc. balljoints, plus new bolts, seals, and gaskets for the steering relay, top and bottom. Next job will be get all that fit and the relay topped up with oil again.