Not sure if this will help anyone, but I replaced my Alpine window seals over the weekend and this is a brief how I done it..
Ok, so this (if the picture works), is why the seals needed renewing:
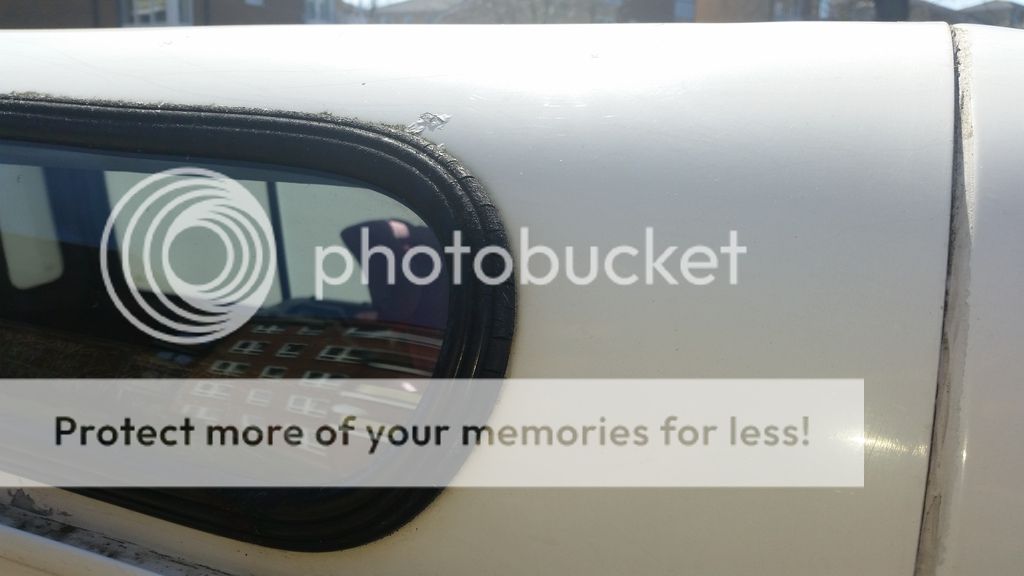
As you can see, the seals were cracked and letting in water.
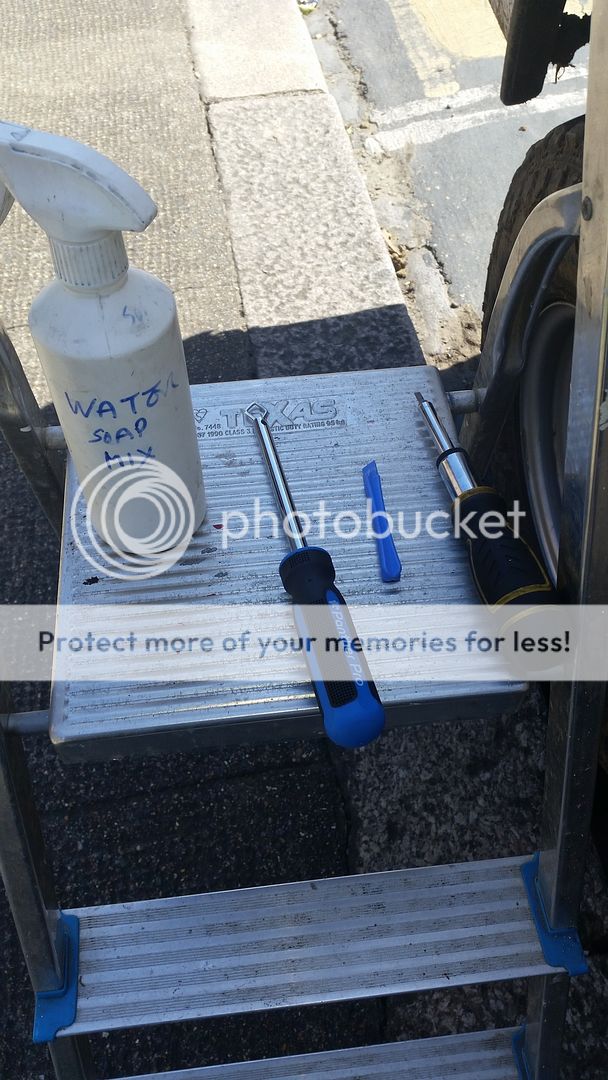
These are the tools needed, along with some rag and a stanley knife:
So where to start?
First, remove the filler strip. I used a screwdriver and prised the old one up and pulled it out.
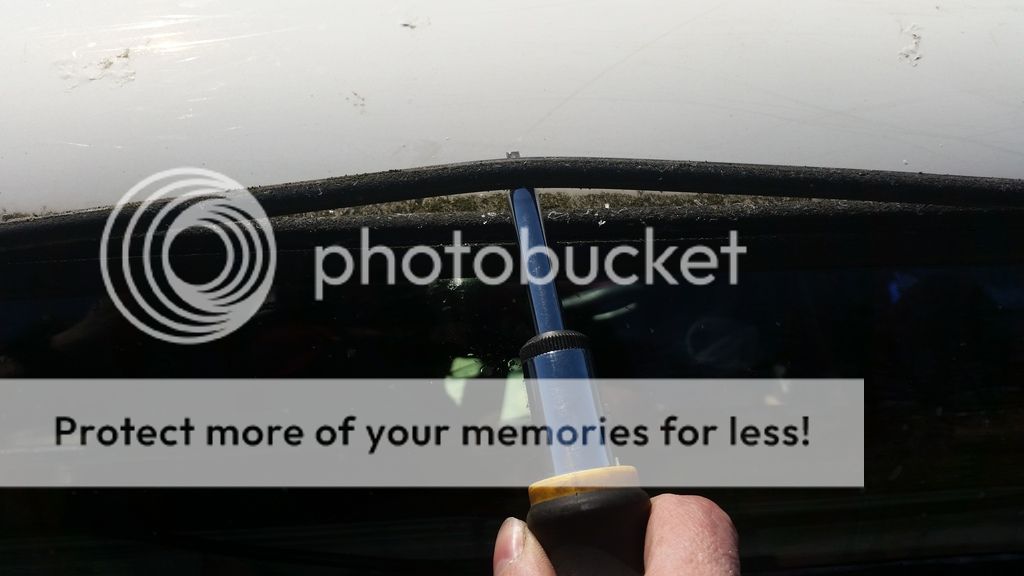
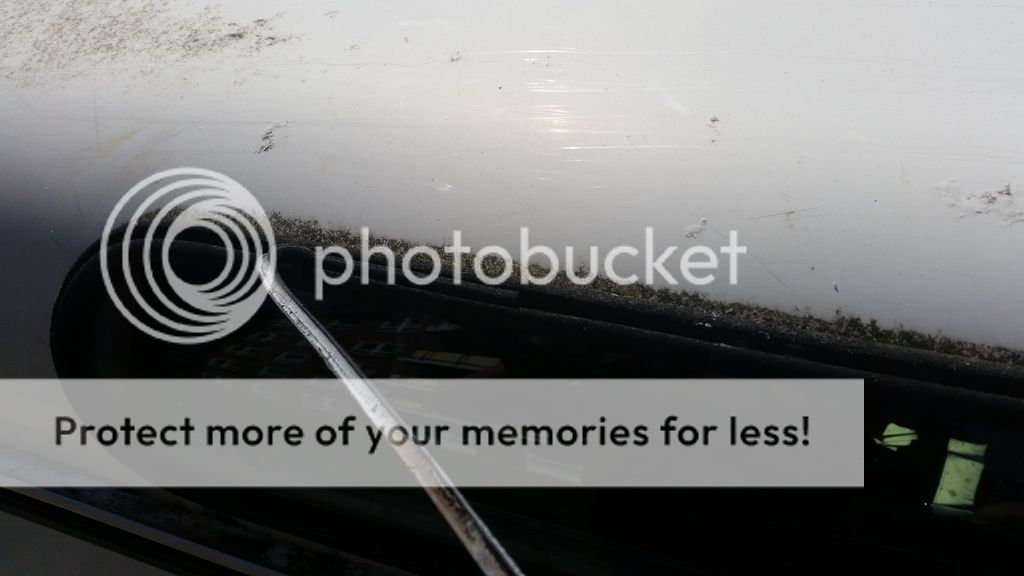
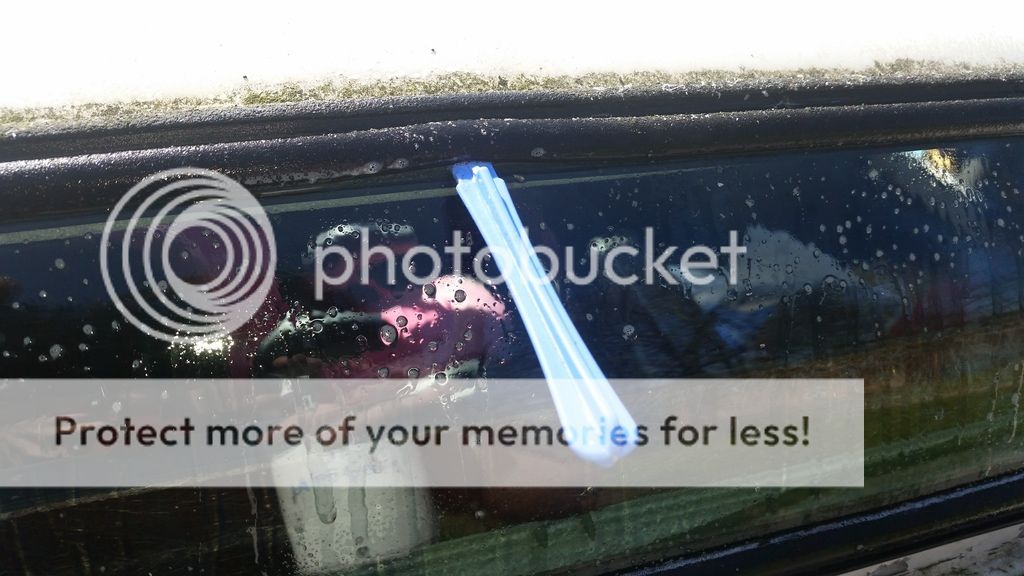
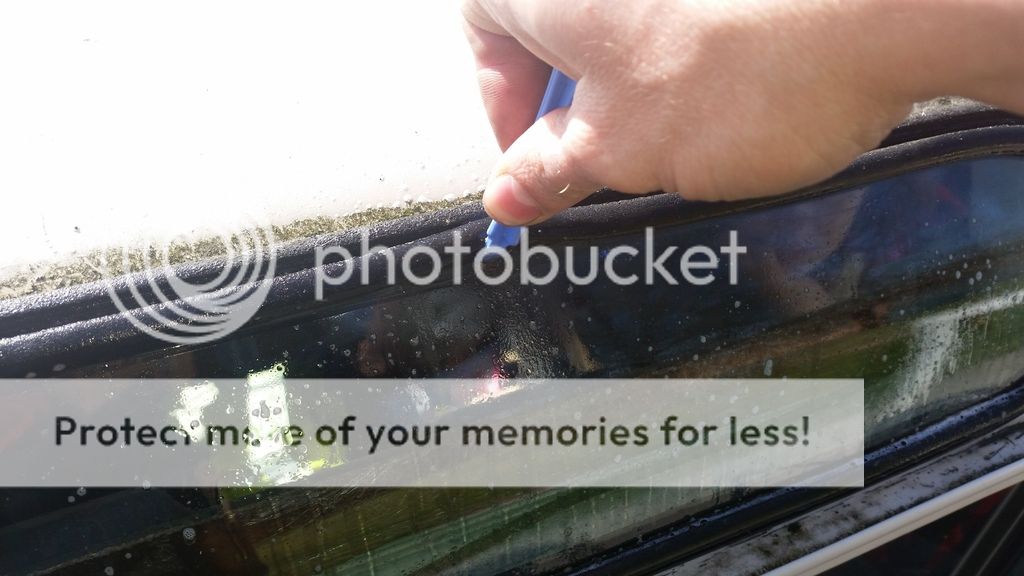
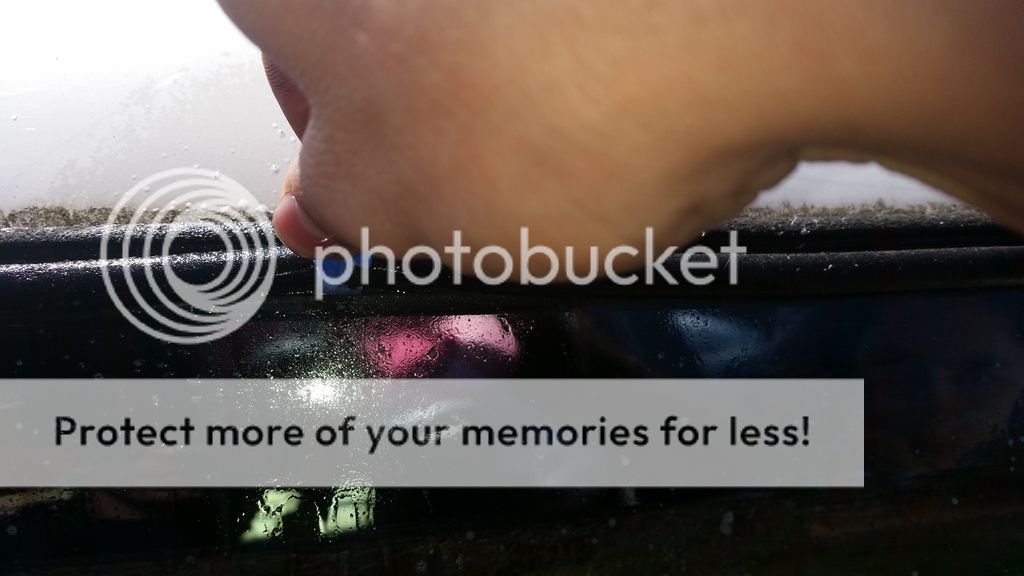
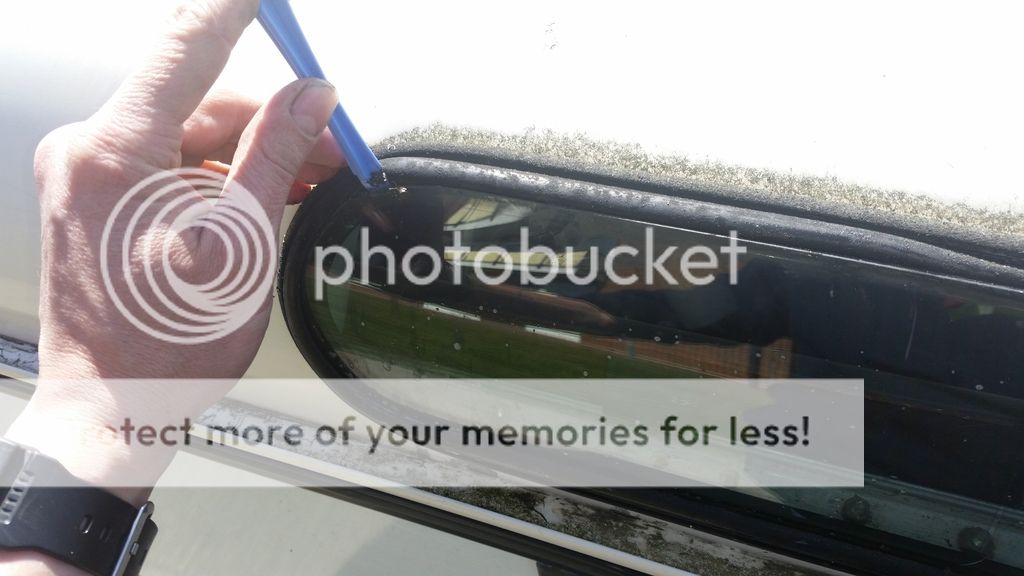
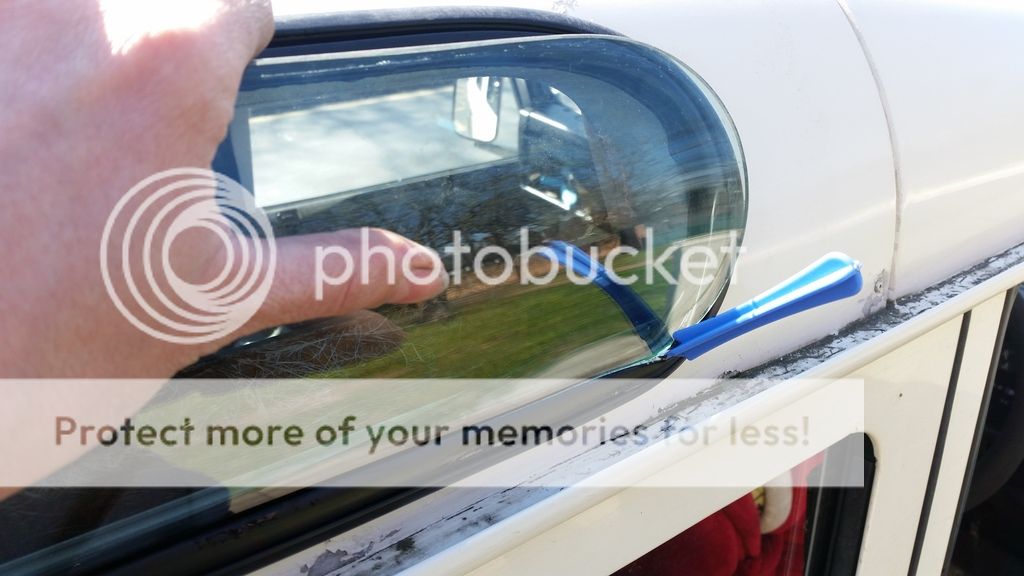
Next, I sprayed the soapy water mix all over the seal, then I used a plastic 'spudger' (in this case, a mobile phone prizing tool) to break the join between the glass and rubber. I did this all the way round, let the water get in and then started to work the rubber off the glass.

Once the top and sides have been freed, the glass should lift out:

Voila!
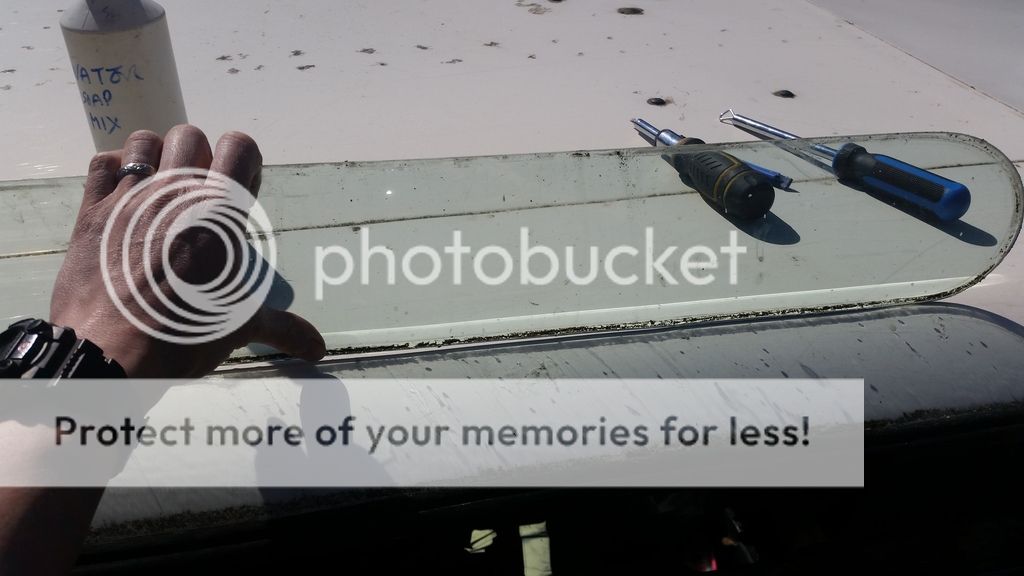
Next, remove the old rubber seal:
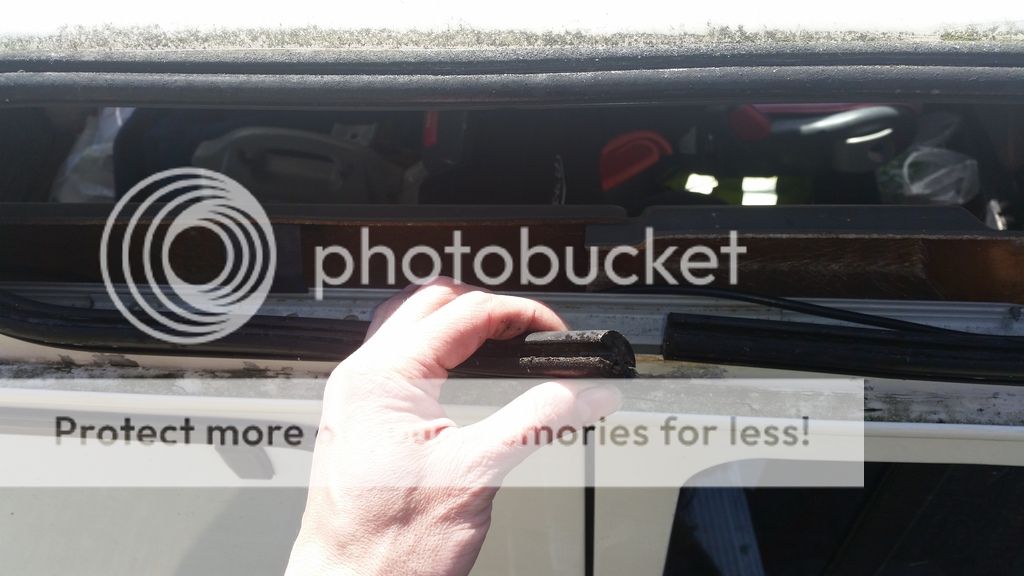
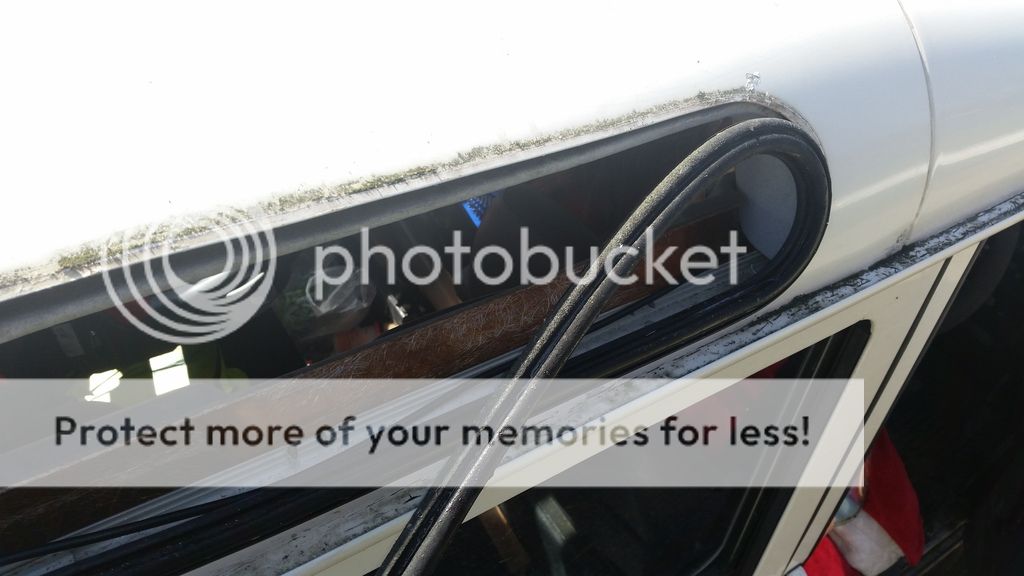
This should be what you have removed:
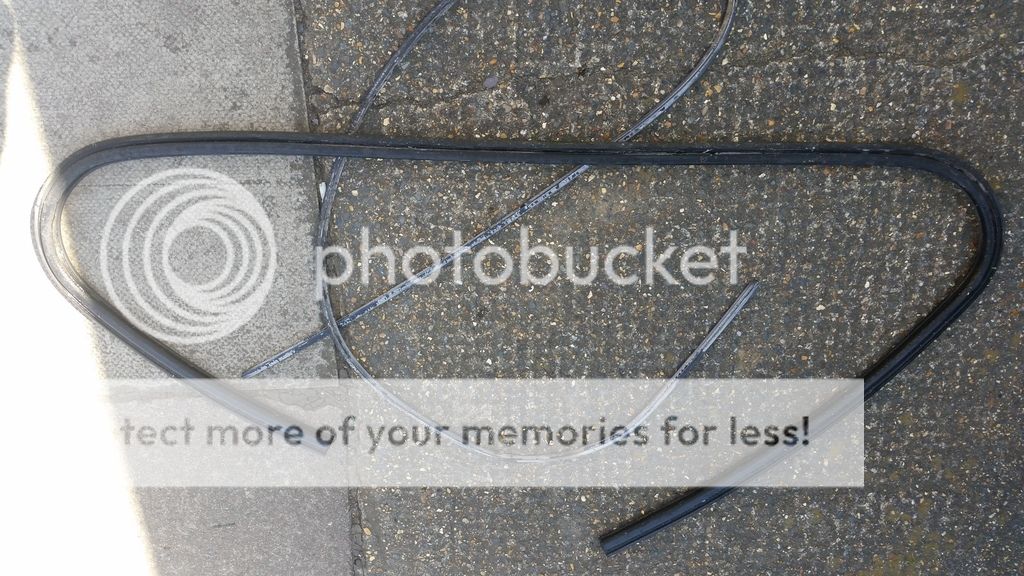
This is the window aperture, it will need cleaning prior to fitting the new rubber
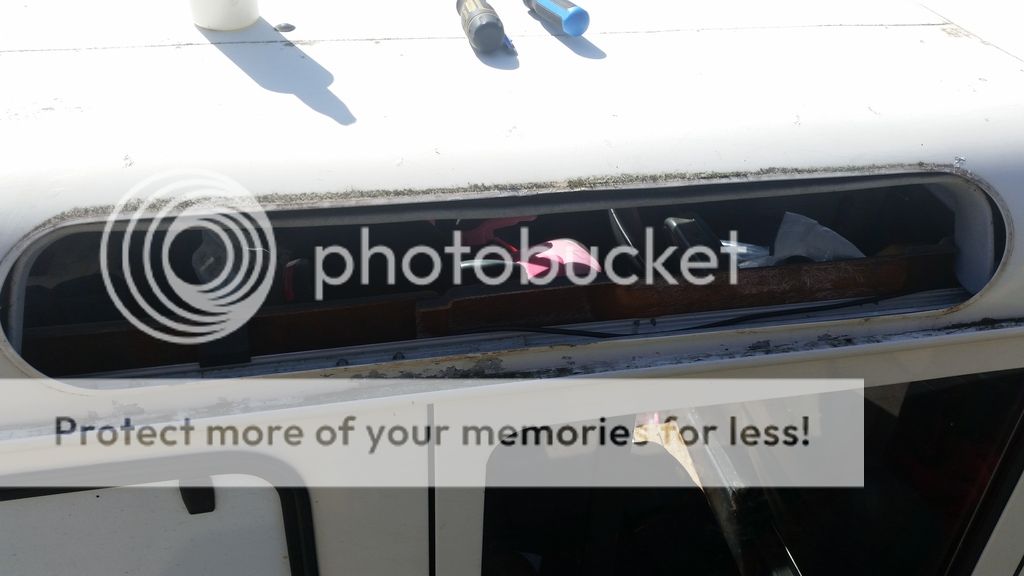
Cleaned:

Clean the glass too..
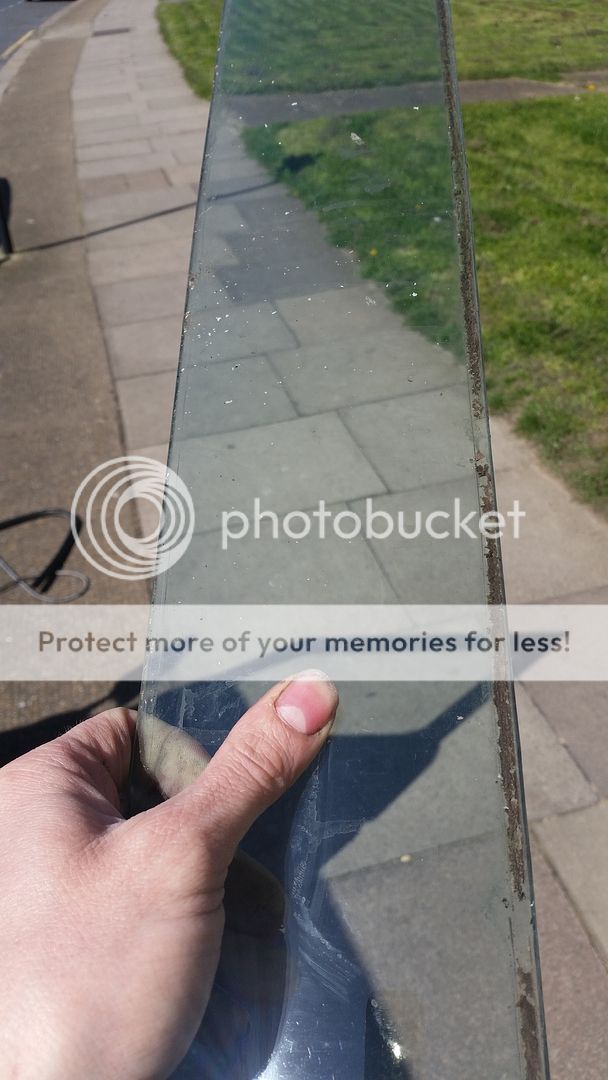
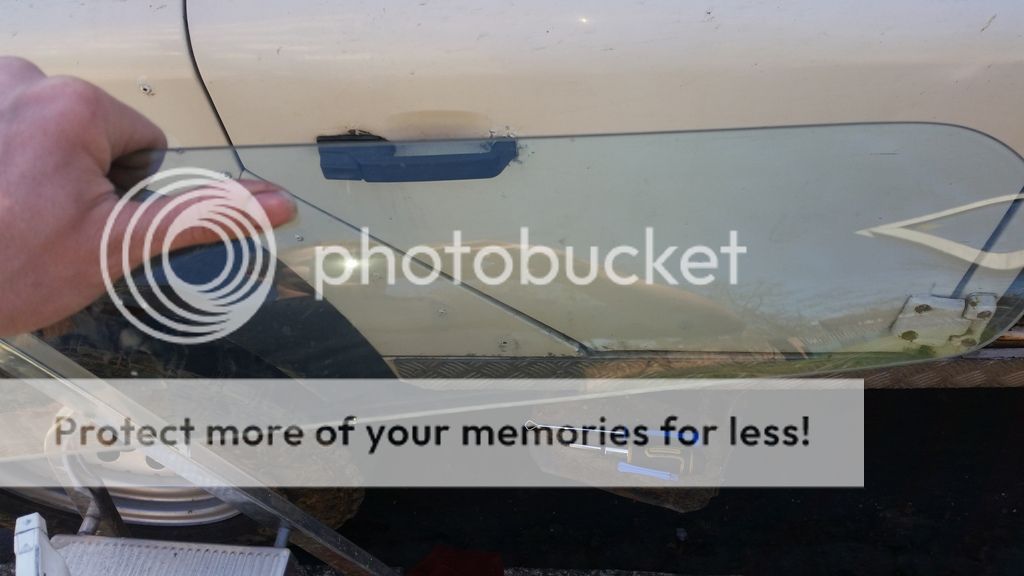
So, time to fit the new seal, here it is:
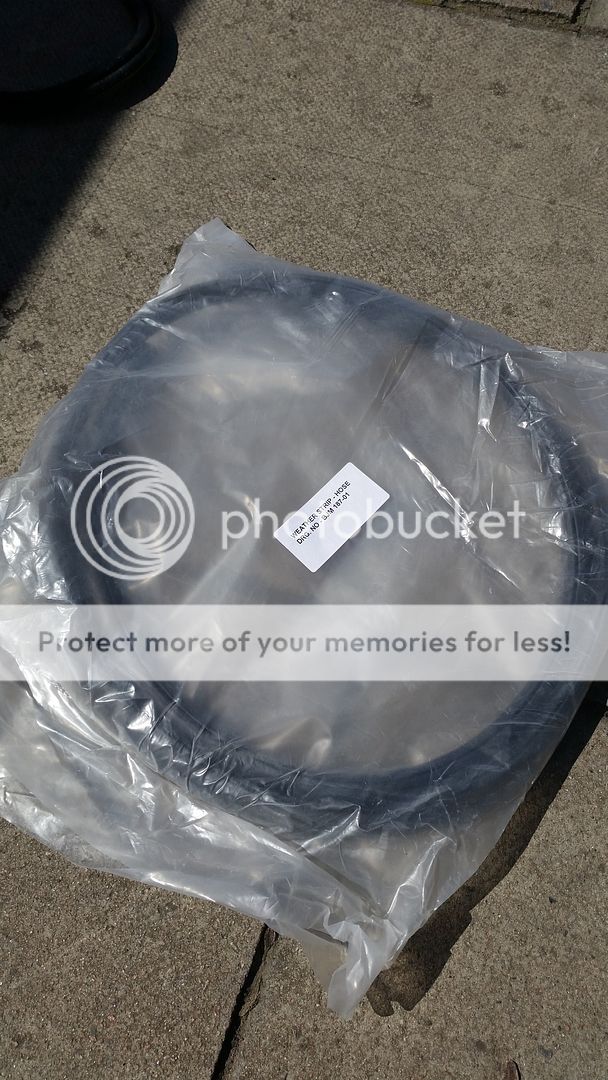
This photo shows the rubber profile. The top wide section is for the glass, the centre shaped section for the filler strip and the bottom narrow section goes on the body.
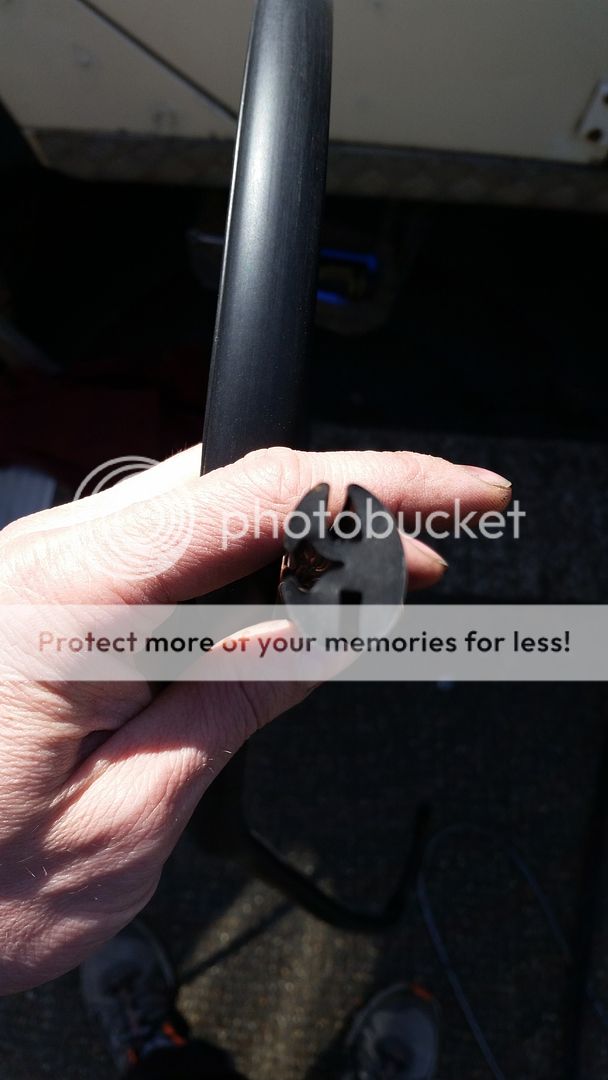
I fitted the seal dry and started halfway along the bottom, so the join would look neat.
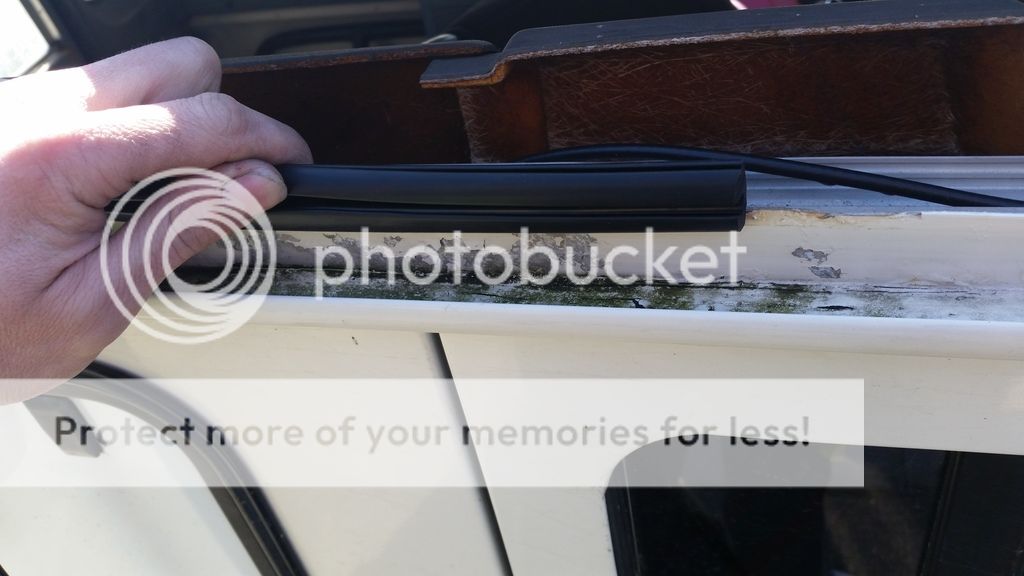
Work the seal all the way around, until you get back to where you started:
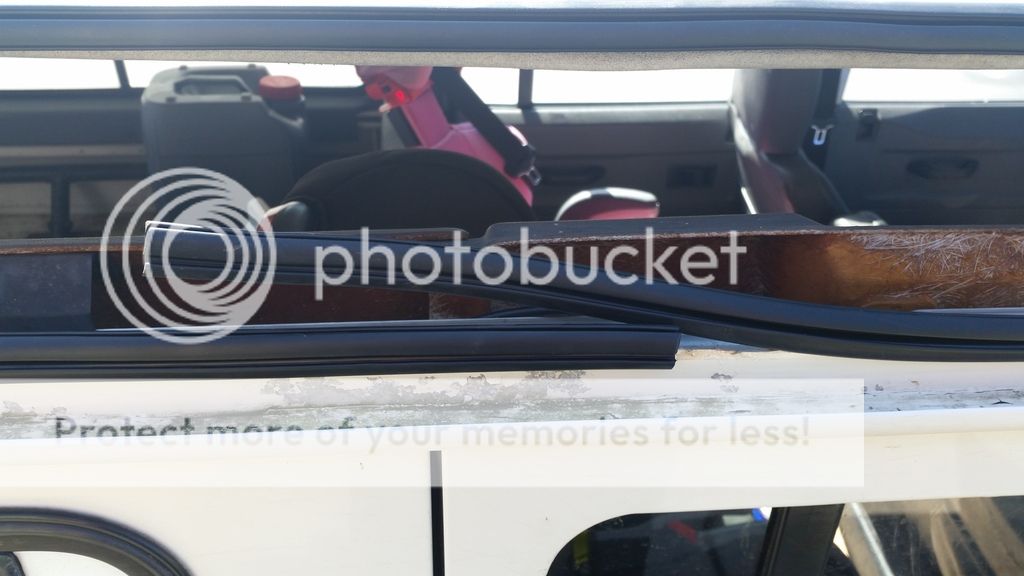
I cut the seal, using a stanley knife, and left about 5/8" (16mm) overlap
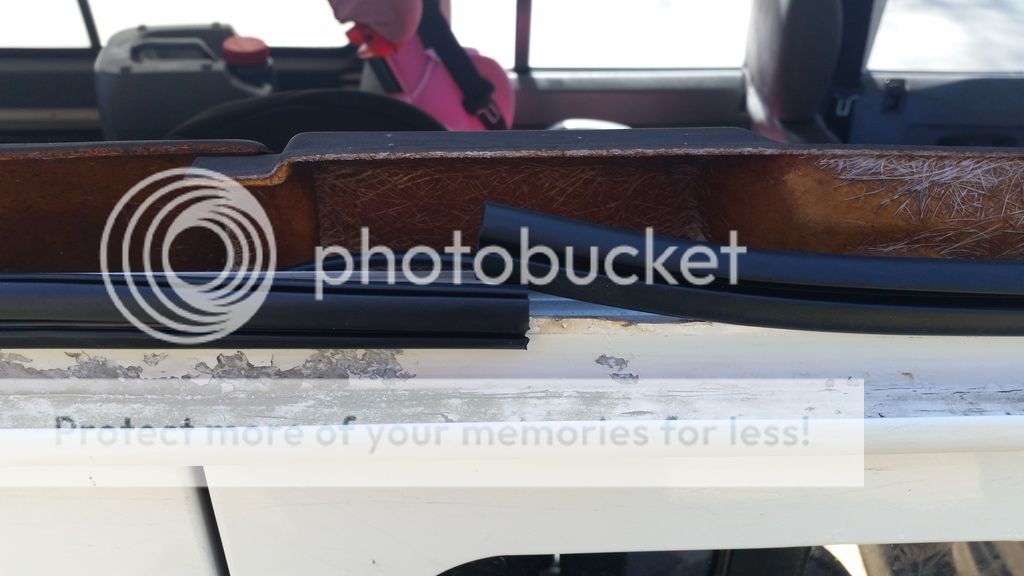
Then i fitted the 2 ends together and compressed the seal into place. The extra piece of seal will help to keep it tight in it's aperture and help keep it watertight.
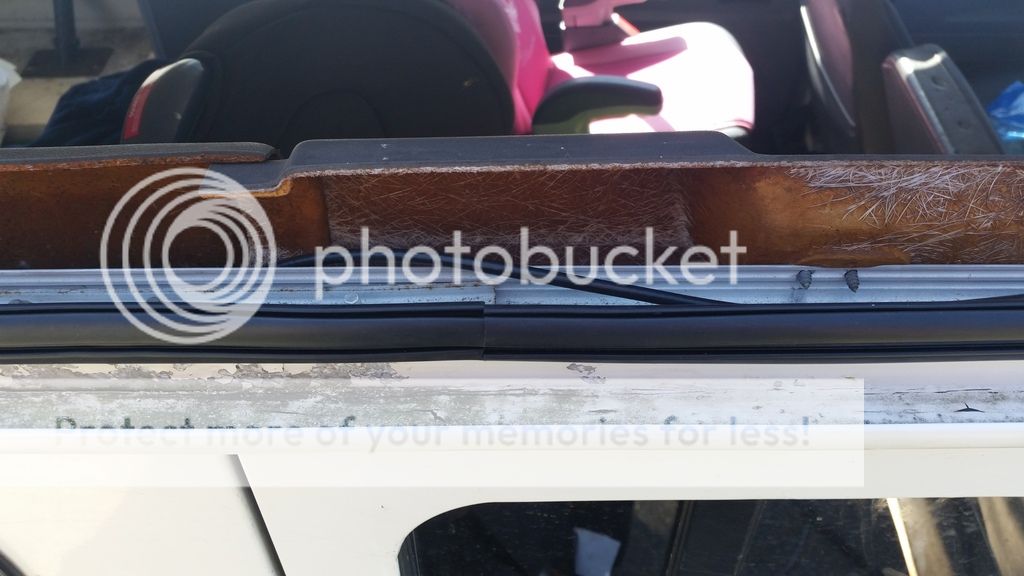
Next, wet the seal all the way round
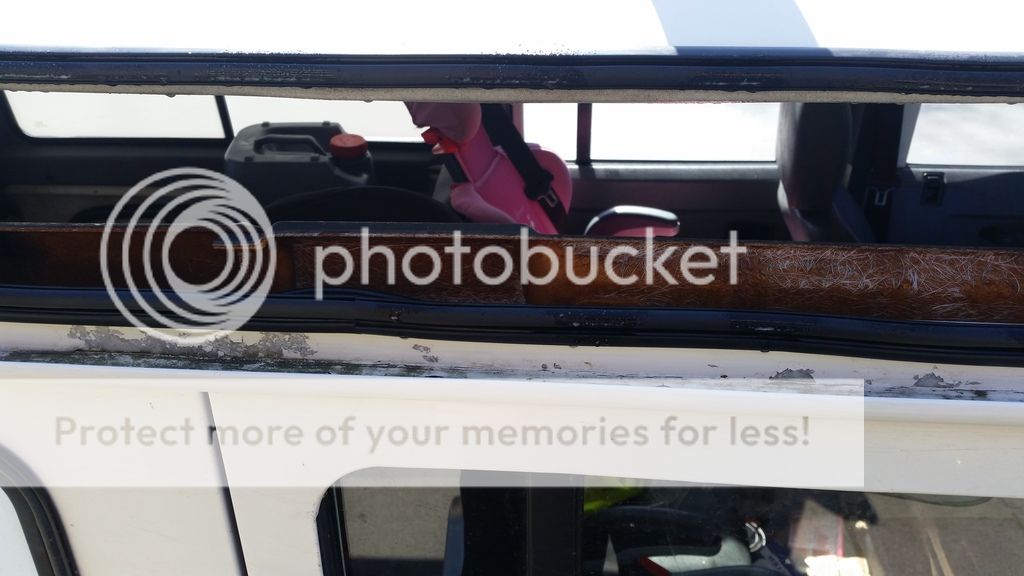
Next, I slid the window into the lower part of the seal
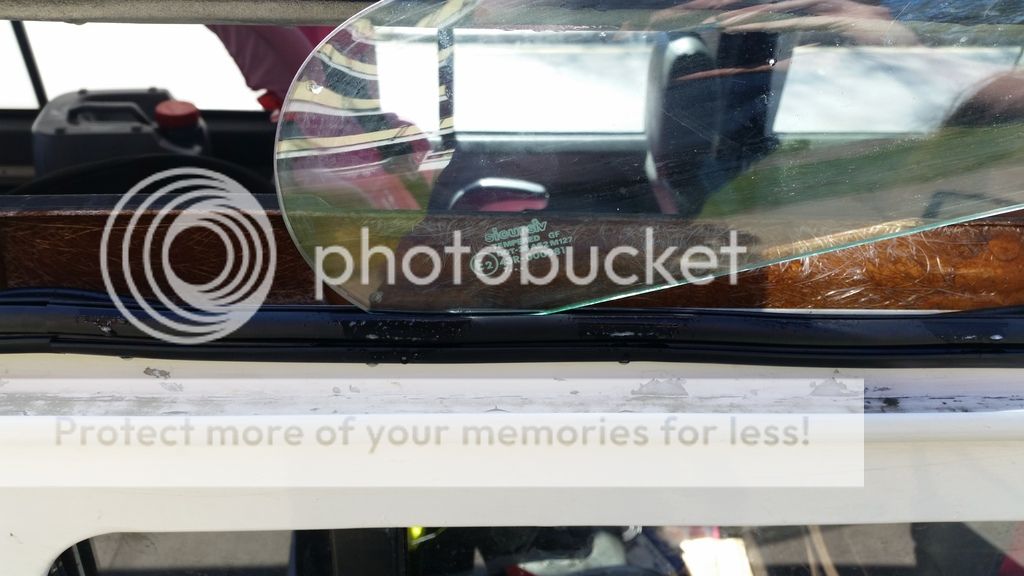
And slid it up to the end (the top part of the glass is still not in the rubber)
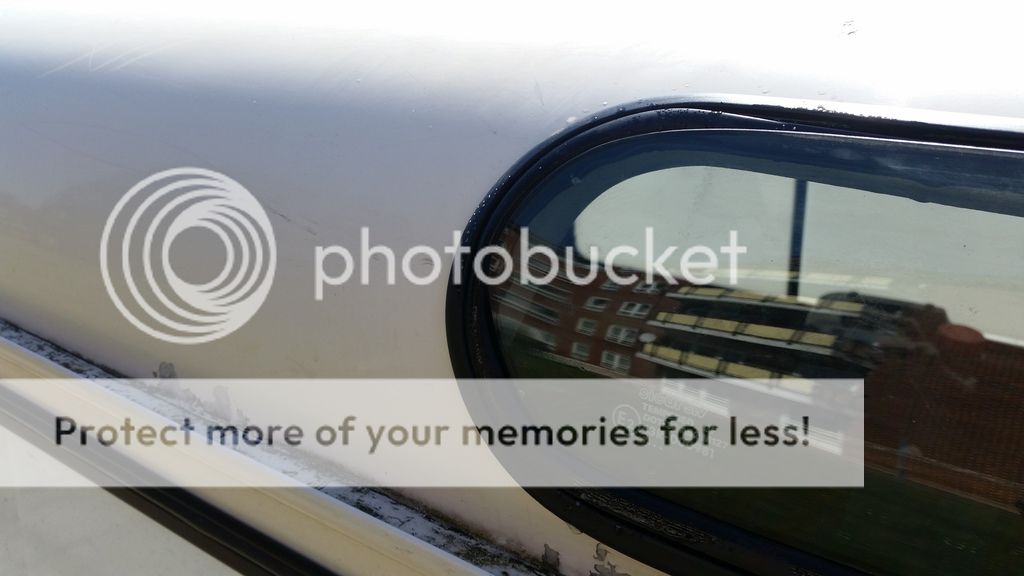
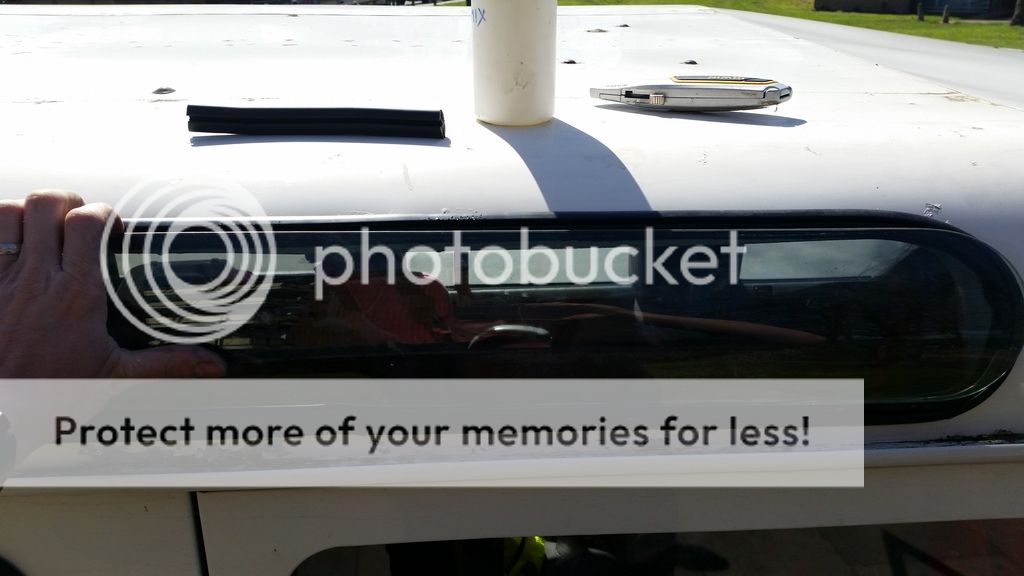
Next, use the spudger, soapy water and work the glass into the seal
You should then have the glass in the seal and in place
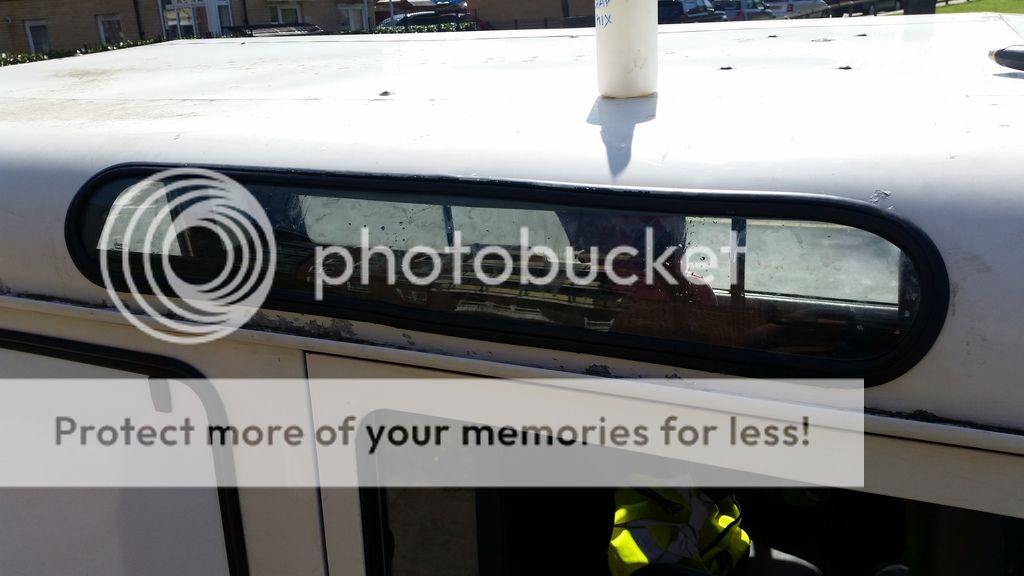
Give the glass a few gentle bashes with your hand, this will help it settle and allow the seal to settle.
Then it's time to fit the filler strip:
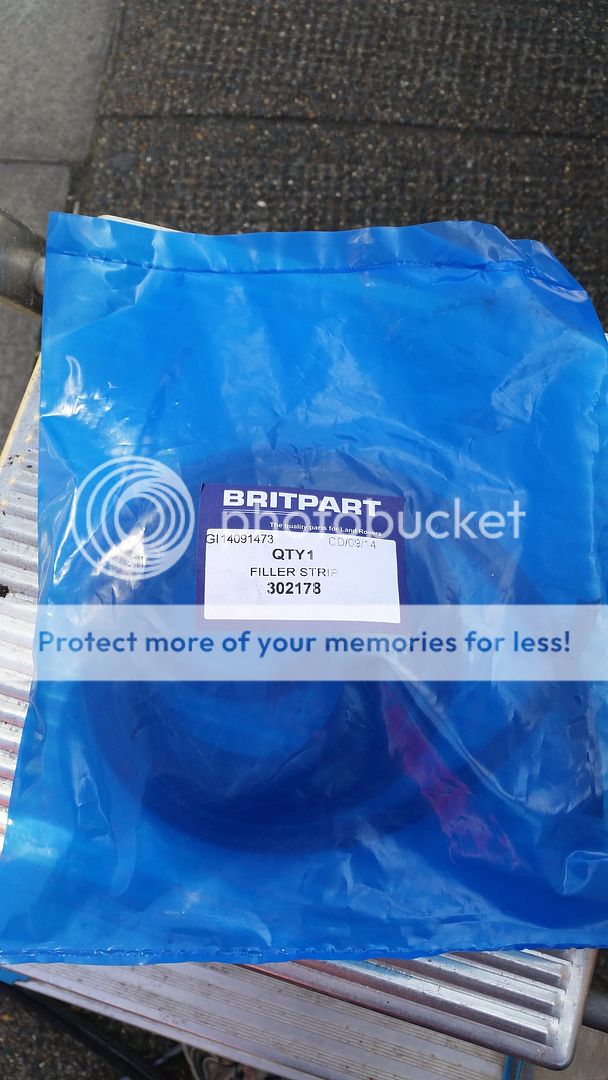
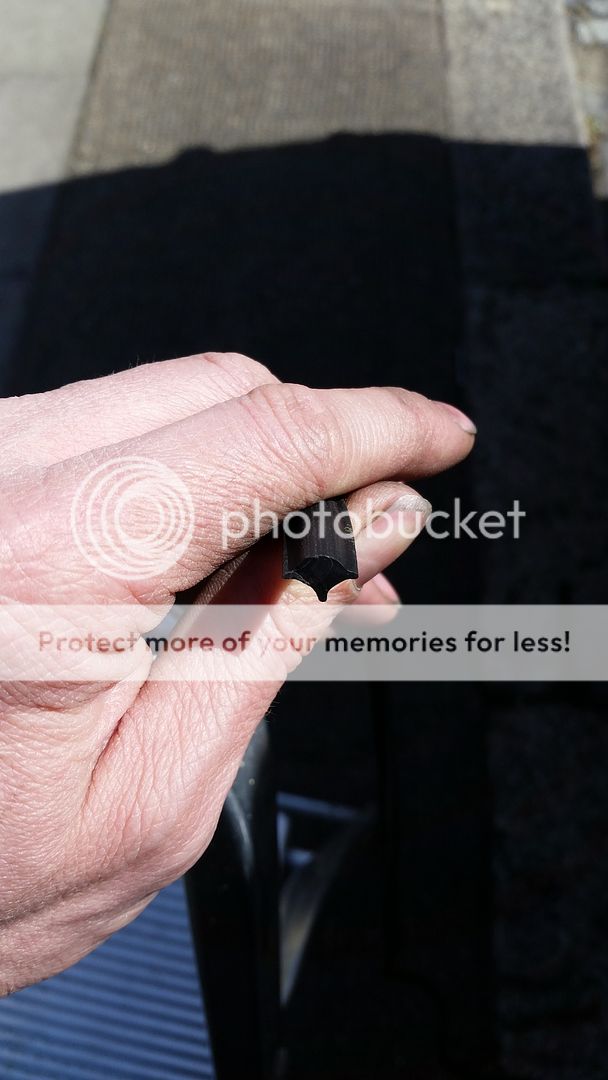
This is the profile of the strip. the pointed lower piece is the bit that sits in the seal
Using a window filler strip tool, open up the gap in the rubber, use soapy water mix to help.
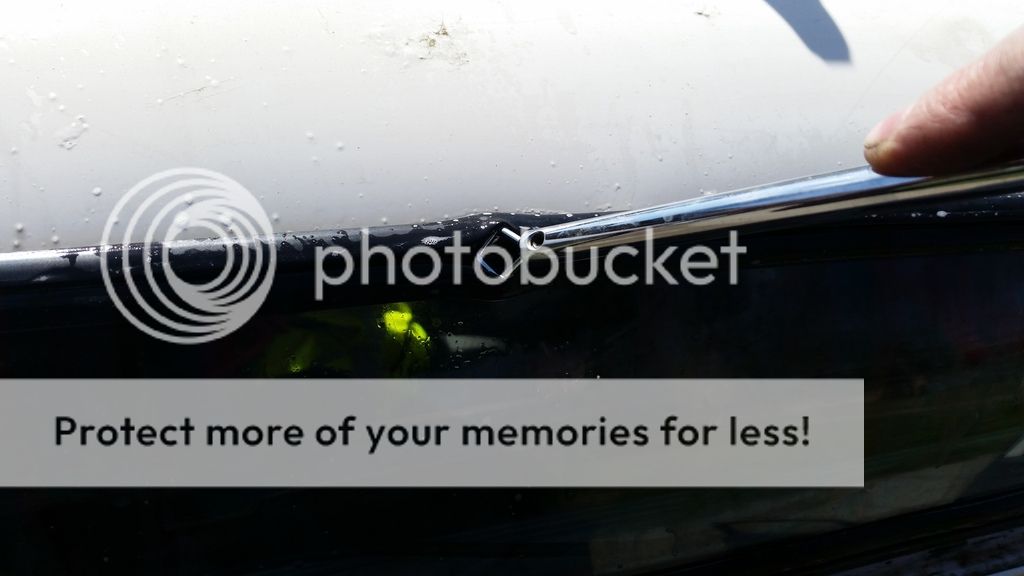
And insert the filler strip through the tool, into the gap
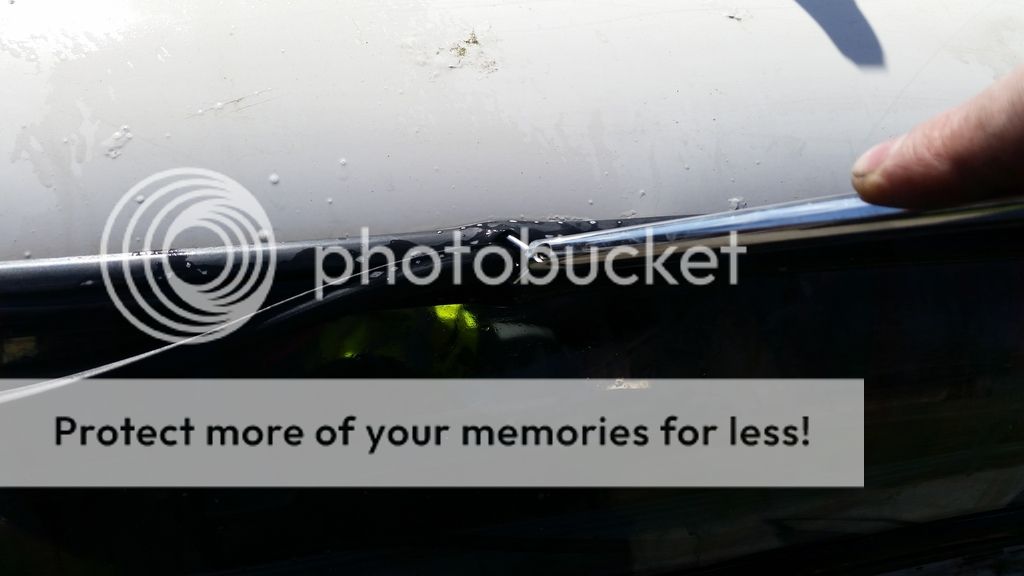
Work the filler strip around and into the seal, by sliding the tool along the gap in the seal
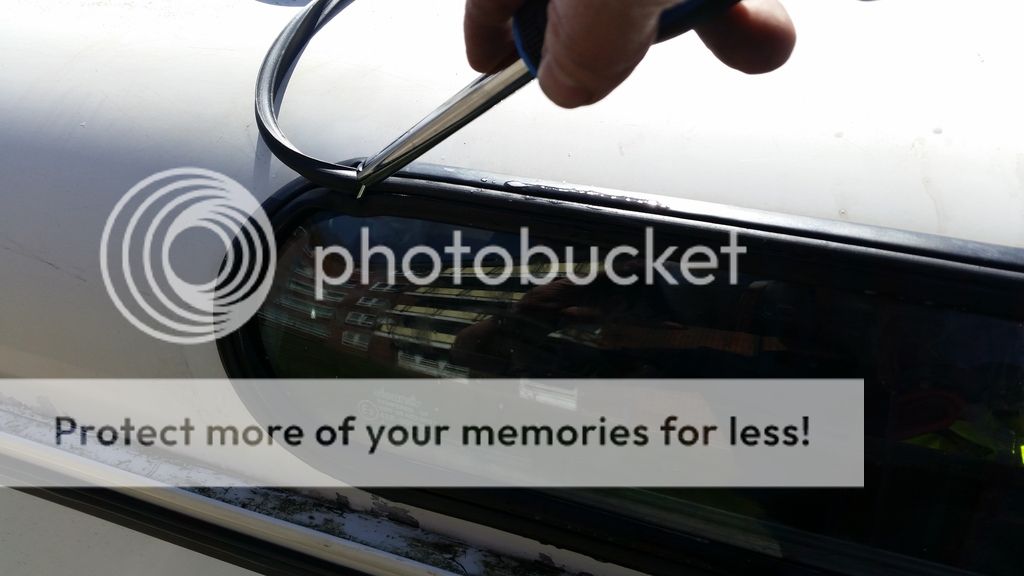
Soapy water helps on the filler strip and seal:
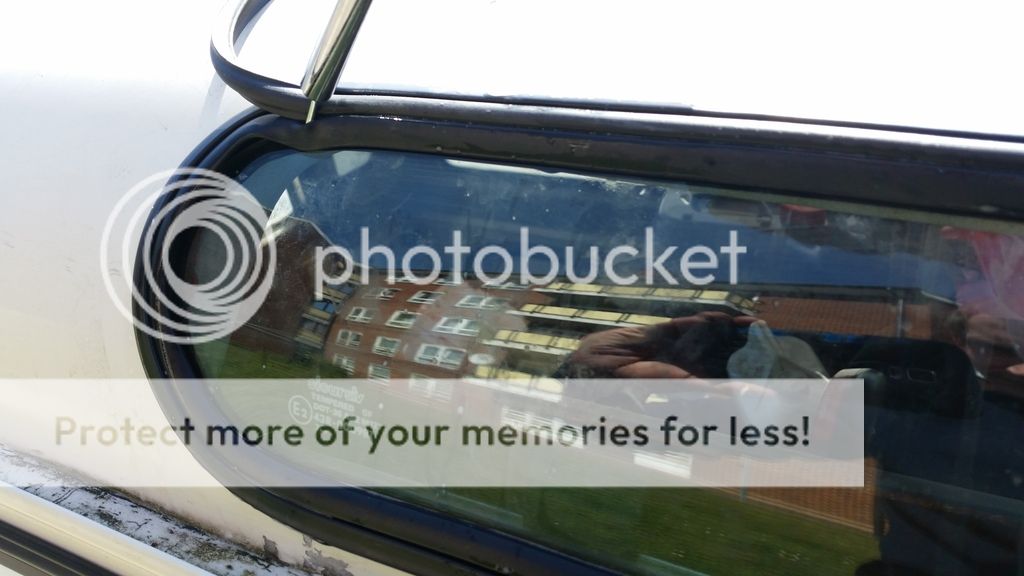
Carefully work it past the join in the seal
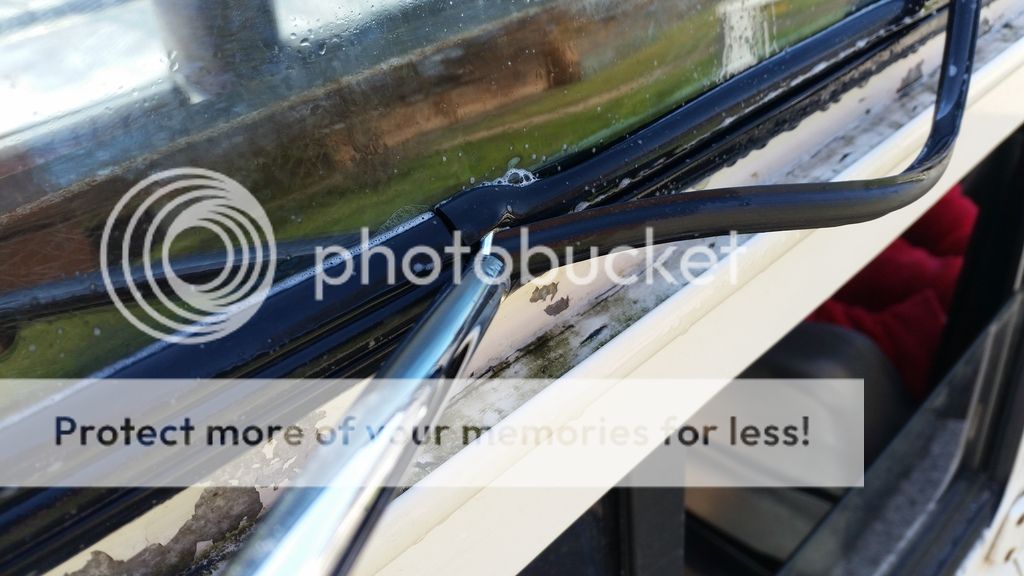
Work until you reach the end, where you started
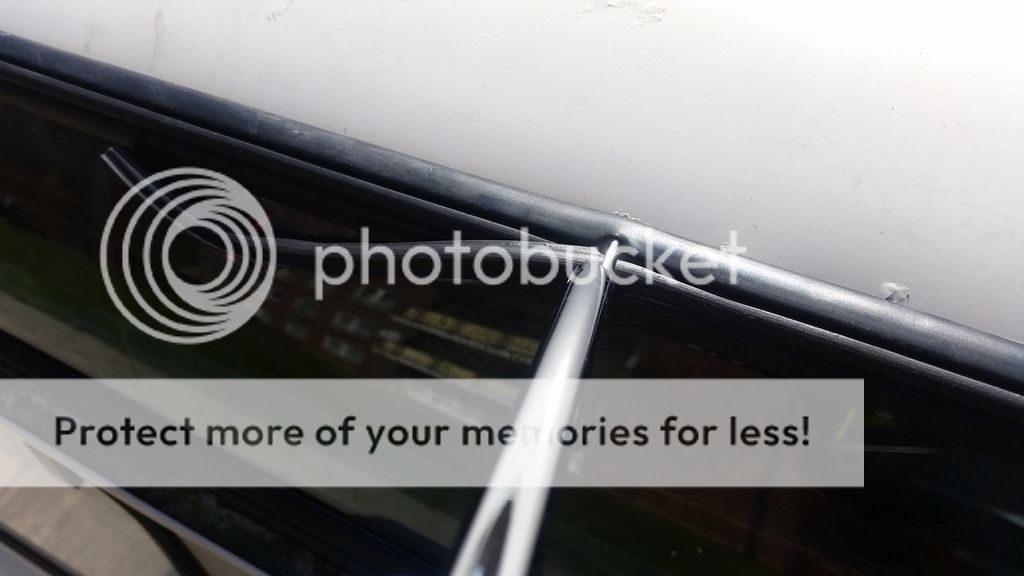
I cut the filler strip about 3/8" (9mm) longer than needed
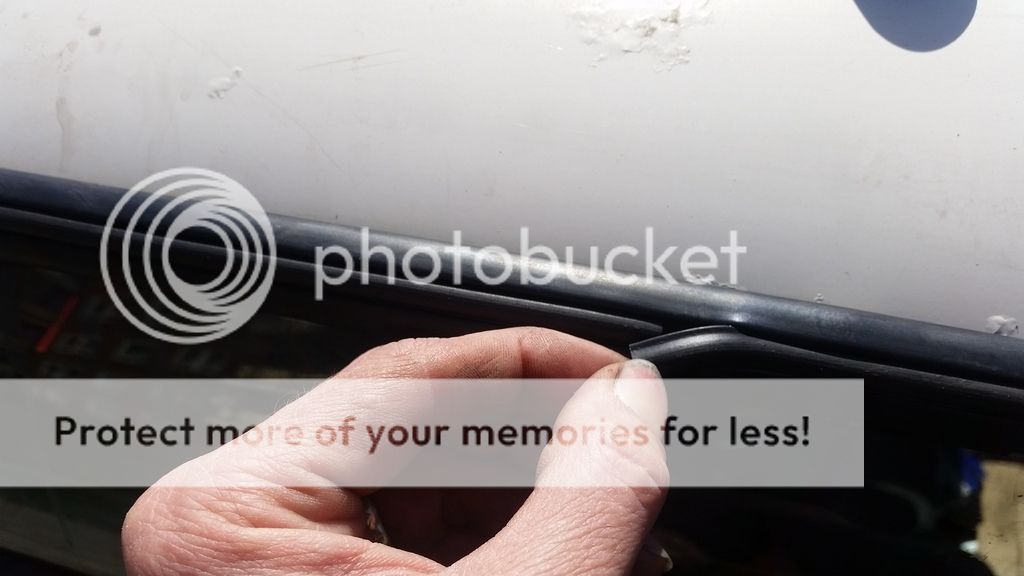
And then fed it in and compressed it to make the join and apply pressure to the seal

Inside, I had a couple of places, where the seal had lifted, i just pushed these flat to the glass and they stayed put.

Voila! 1 down, 1 to go (if you're doing both)
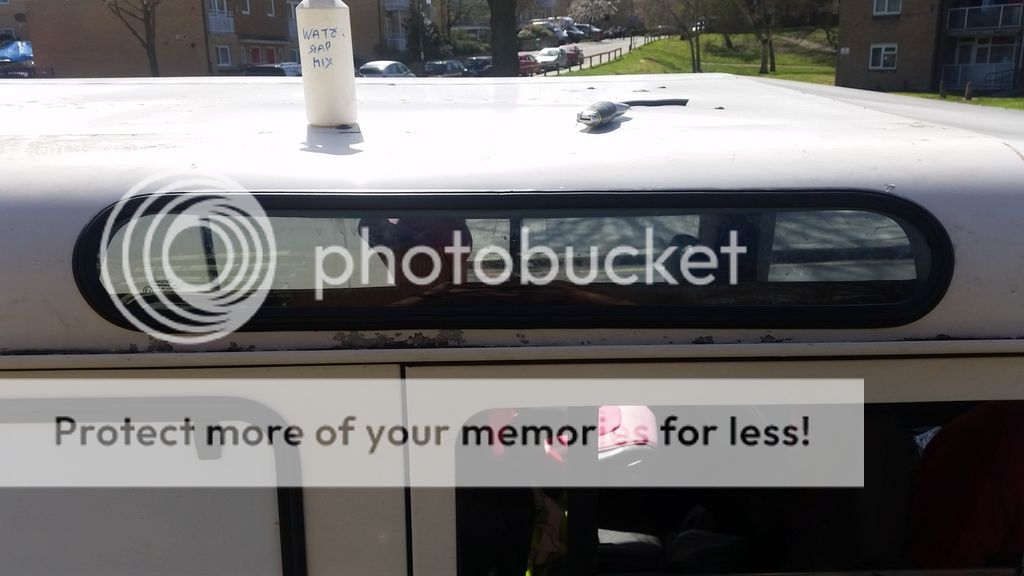
Hope this is of help..
Ok, so this (if the picture works), is why the seals needed renewing:

As you can see, the seals were cracked and letting in water.
These are the tools needed, along with some rag and a stanley knife:

So where to start?
First, remove the filler strip. I used a screwdriver and prised the old one up and pulled it out.


Next, I sprayed the soapy water mix all over the seal, then I used a plastic 'spudger' (in this case, a mobile phone prizing tool) to break the join between the glass and rubber. I did this all the way round, let the water get in and then started to work the rubber off the glass.


Once the top and sides have been freed, the glass should lift out:

Voila!

Next, remove the old rubber seal:


This should be what you have removed:

This is the window aperture, it will need cleaning prior to fitting the new rubber

Cleaned:

Clean the glass too..


So, time to fit the new seal, here it is:

This photo shows the rubber profile. The top wide section is for the glass, the centre shaped section for the filler strip and the bottom narrow section goes on the body.

I fitted the seal dry and started halfway along the bottom, so the join would look neat.

Work the seal all the way around, until you get back to where you started:

I cut the seal, using a stanley knife, and left about 5/8" (16mm) overlap

Then i fitted the 2 ends together and compressed the seal into place. The extra piece of seal will help to keep it tight in it's aperture and help keep it watertight.

Next, wet the seal all the way round

Next, I slid the window into the lower part of the seal

And slid it up to the end (the top part of the glass is still not in the rubber)


Next, use the spudger, soapy water and work the glass into the seal

You should then have the glass in the seal and in place

Give the glass a few gentle bashes with your hand, this will help it settle and allow the seal to settle.
Then it's time to fit the filler strip:

This is the profile of the strip. the pointed lower piece is the bit that sits in the seal

Using a window filler strip tool, open up the gap in the rubber, use soapy water mix to help.

And insert the filler strip through the tool, into the gap

Work the filler strip around and into the seal, by sliding the tool along the gap in the seal

Soapy water helps on the filler strip and seal:

Carefully work it past the join in the seal

Work until you reach the end, where you started

I cut the filler strip about 3/8" (9mm) longer than needed

And then fed it in and compressed it to make the join and apply pressure to the seal

Inside, I had a couple of places, where the seal had lifted, i just pushed these flat to the glass and they stayed put.

Voila! 1 down, 1 to go (if you're doing both)

Hope this is of help..


