Replacing Alpine Window Seals

This site contains affiliate links for which LandyZone may be compensated if you make a purchase.
Not sure if this will help anyone, but I replaced my Alpine window seals over the weekend and this is a brief how I done it..

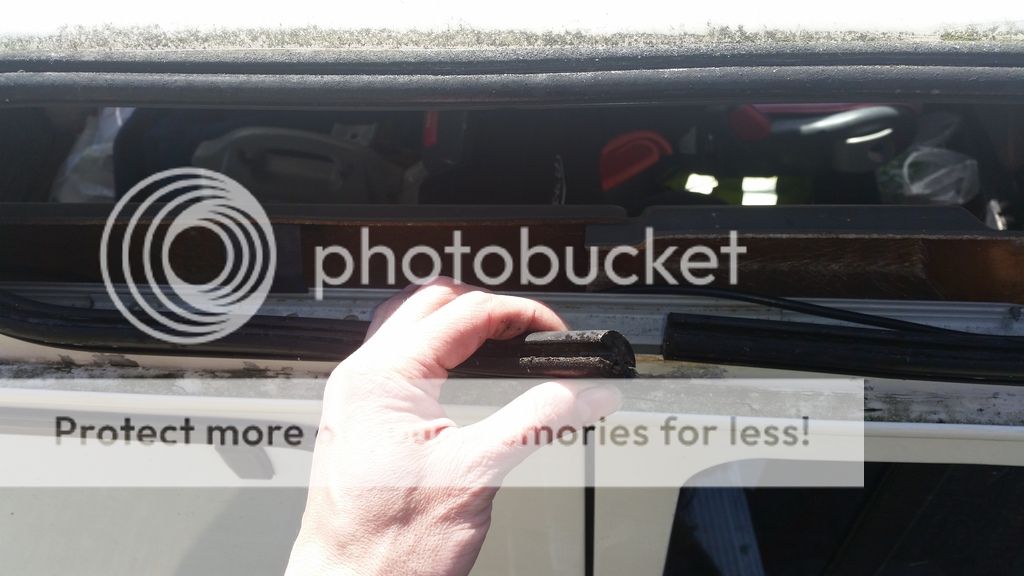
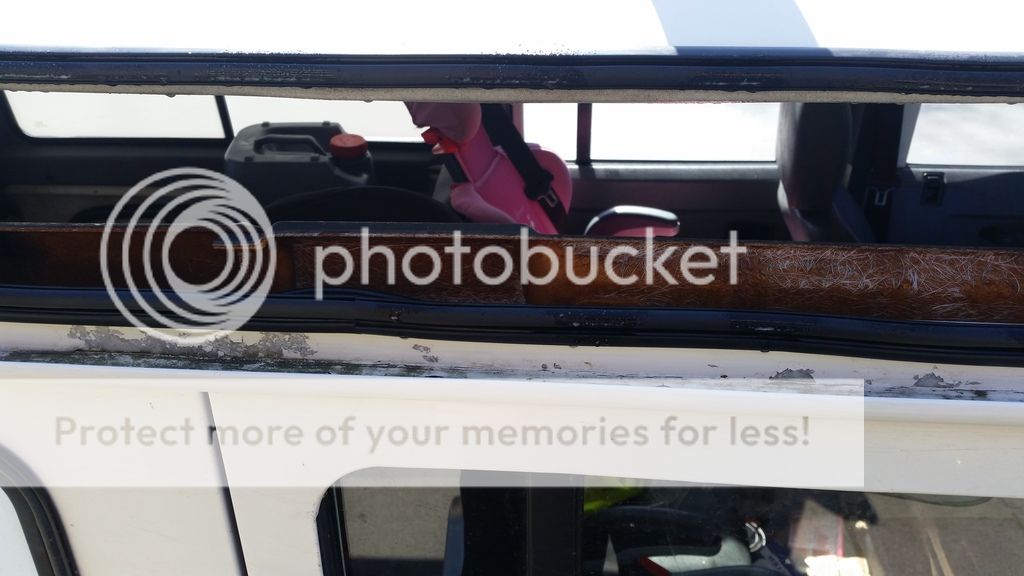
Ok, so this (if the picture works), is why the seals needed renewing:
20150412_122153_zpsgjs3j6n4.jpg


As you can see, the seals were cracked and letting in water.

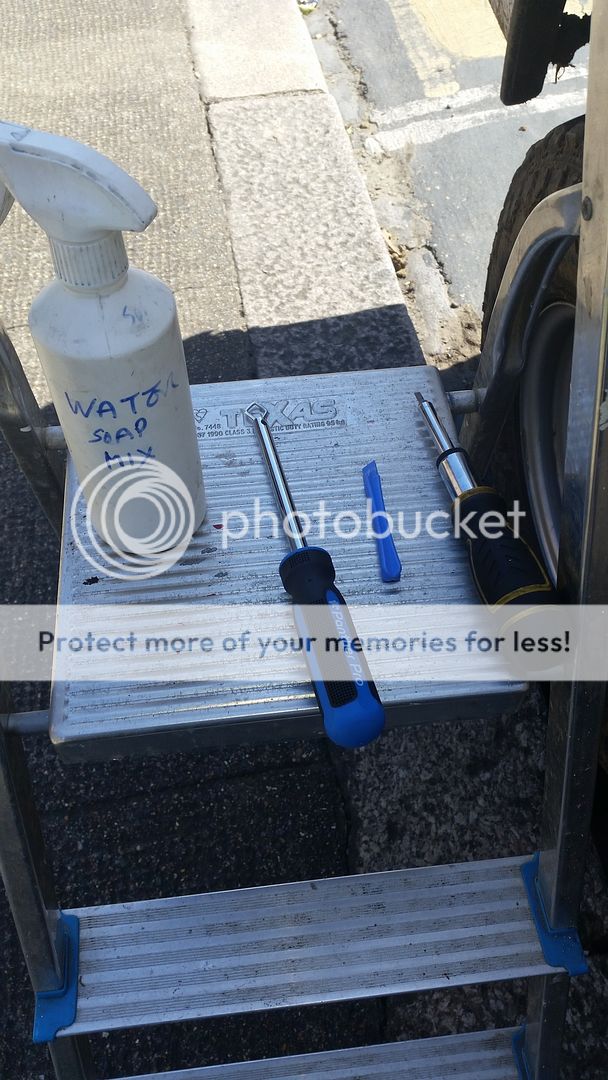
These are the tools needed, along with some rag and a stanley knife:
20150412_122330_zpsr9sek003.jpg


So where to start?
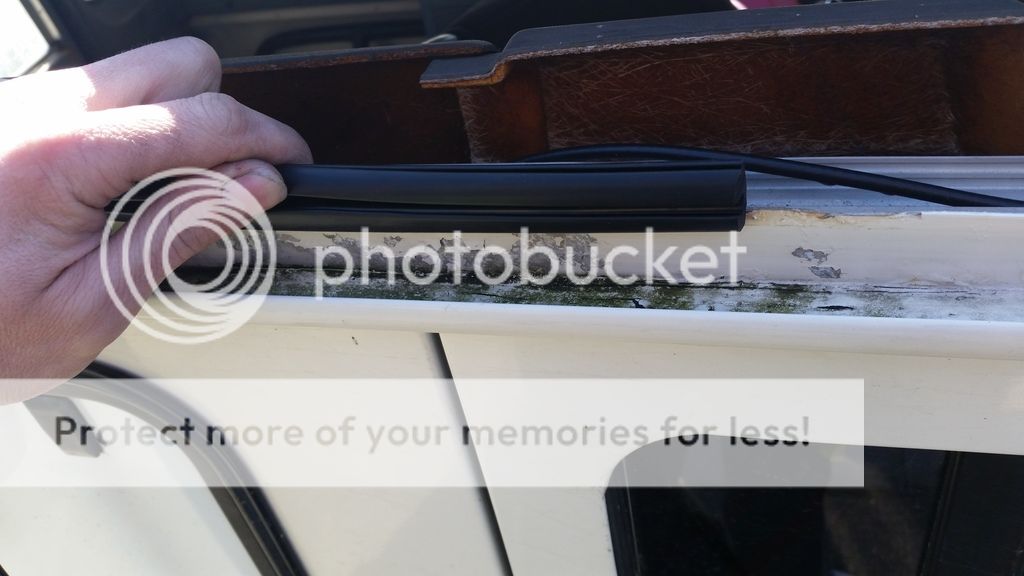
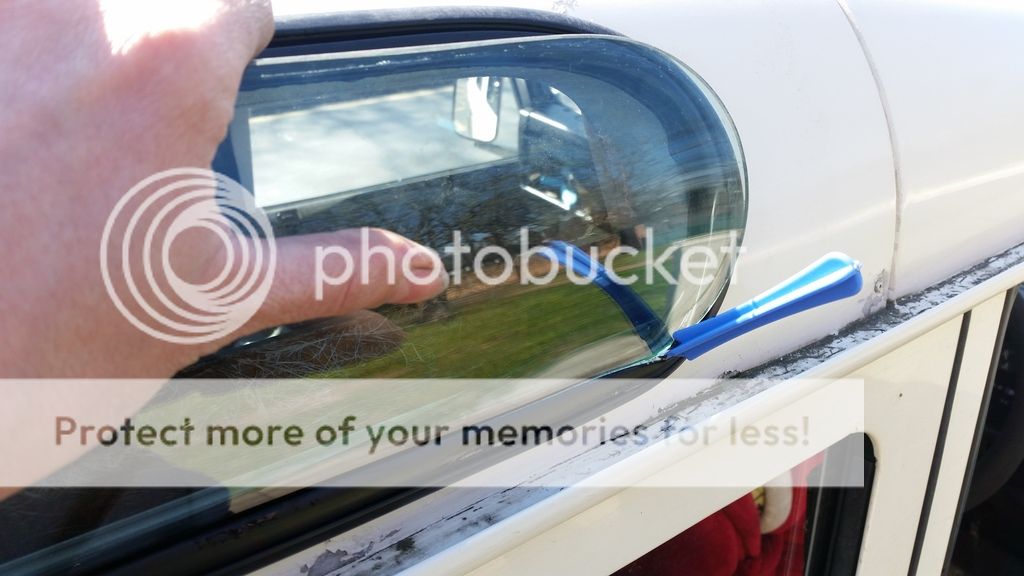
First, remove the filler strip. I used a screwdriver and prised the old one up and pulled it out.
20150412_122502_zpsrzklfpqd.jpg

20150412_122519_zpsfkt5sb0p.jpg


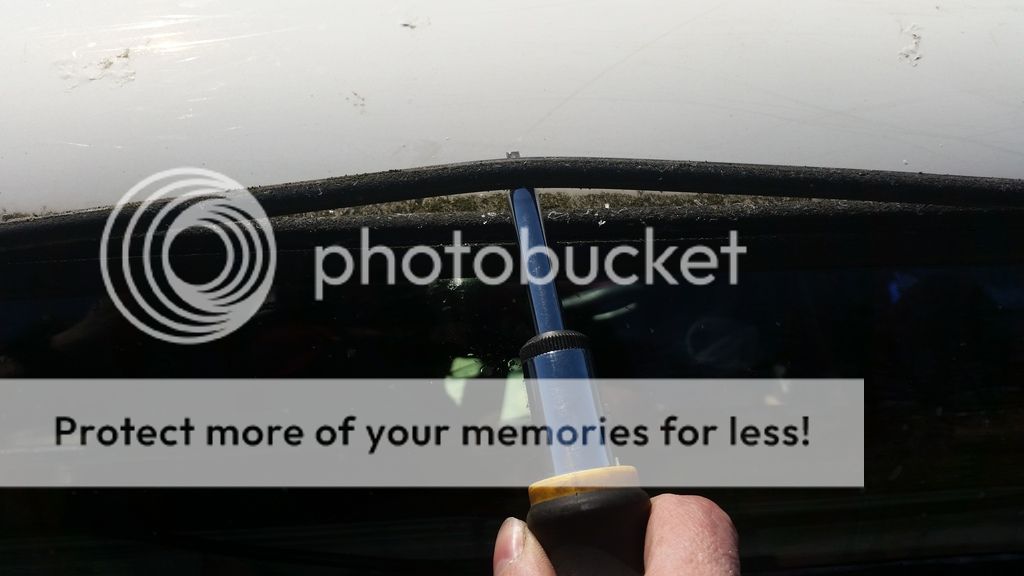
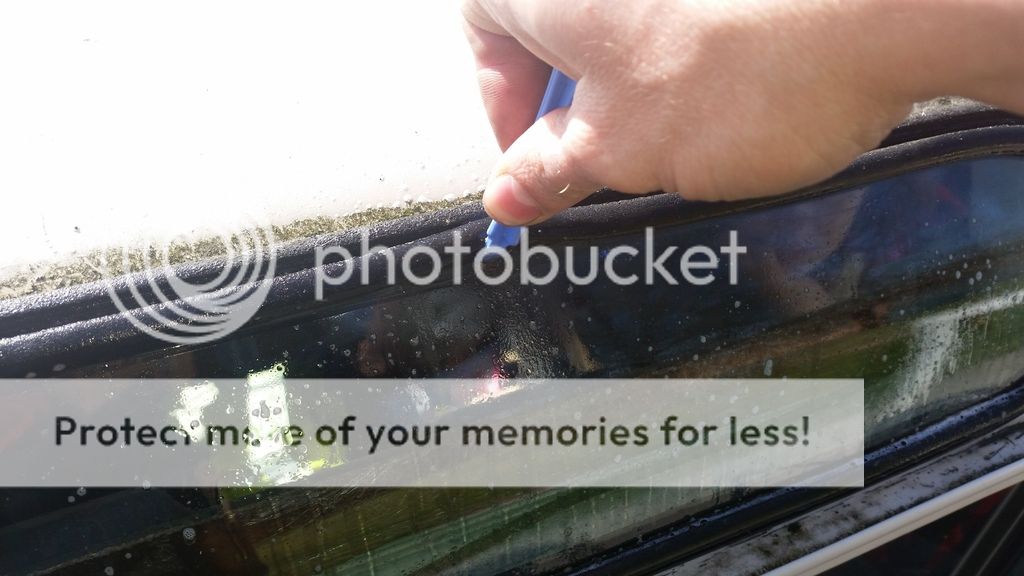
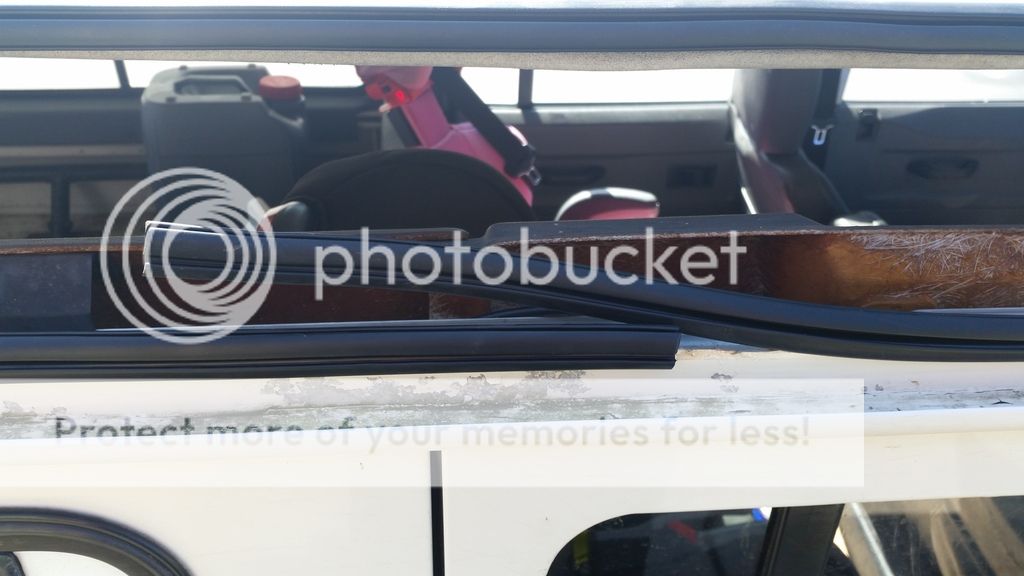
Next, I sprayed the soapy water mix all over the seal, then I used a plastic 'spudger' (in this case, a mobile phone prizing tool) to break the join between the glass and rubber. I did this all the way round, let the water get in and then started to work the rubber off the glass.
20150412_122546_zps82pdshcz.jpg

20150412_122622_zpsom11lmax.jpg

20150412_122631_zpsvsyhtelu.jpg

20150412_122717_zpsvyf5nbin.jpg

20150412_122724_zpspfijdigw.jpg


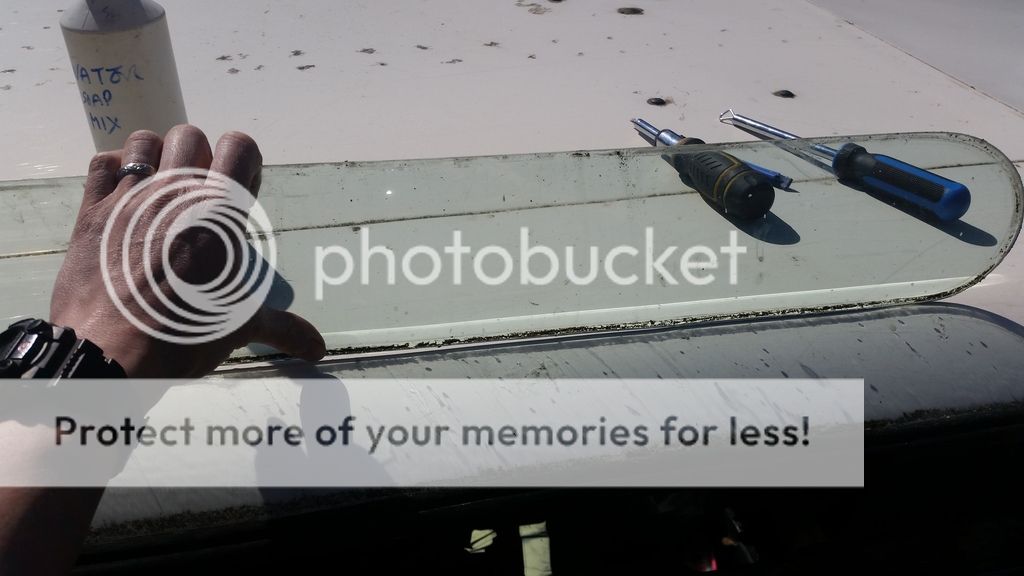
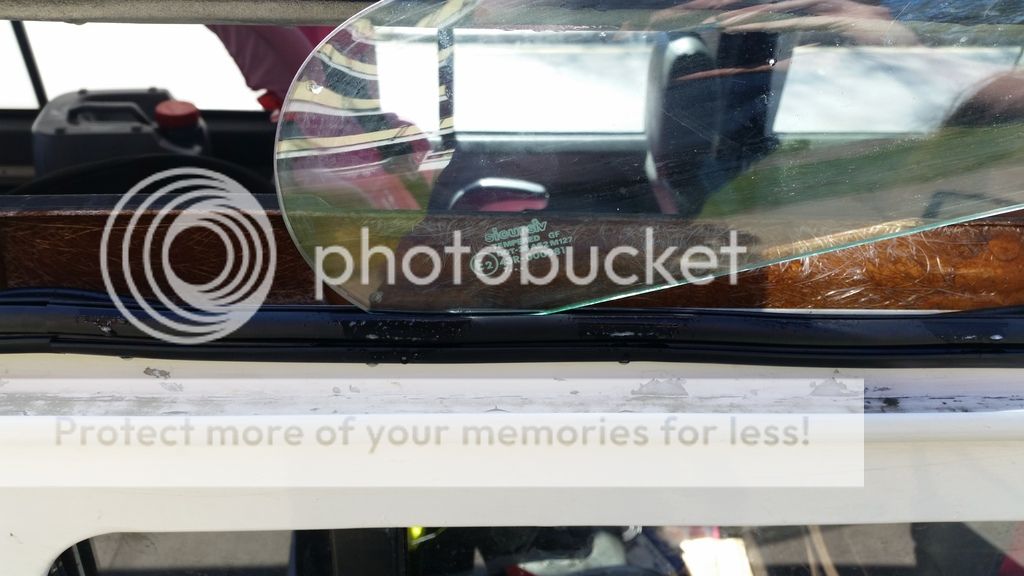
Once the top and sides have been freed, the glass should lift out:
20150412_122801_zpsqoaa1vfm.jpg


Voila!
20150412_122812_zpss0vookaw.jpg


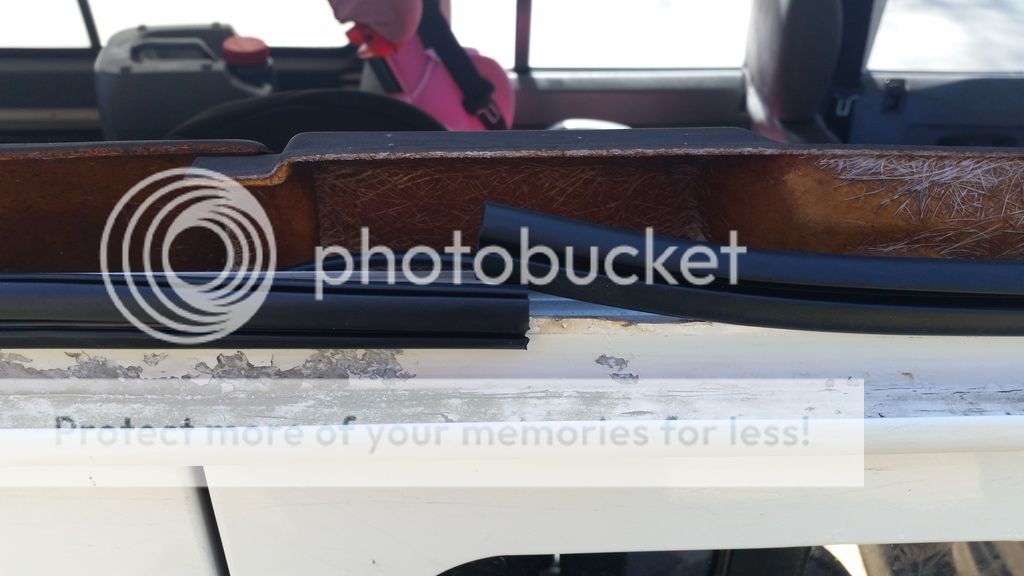
Next, remove the old rubber seal:
20150412_122840_zpsvc0112yr.jpg

20150412_122847_zpsca7zdvz3.jpg


This should be what you have removed:
20150412_122906_zpsezwb18po.jpg


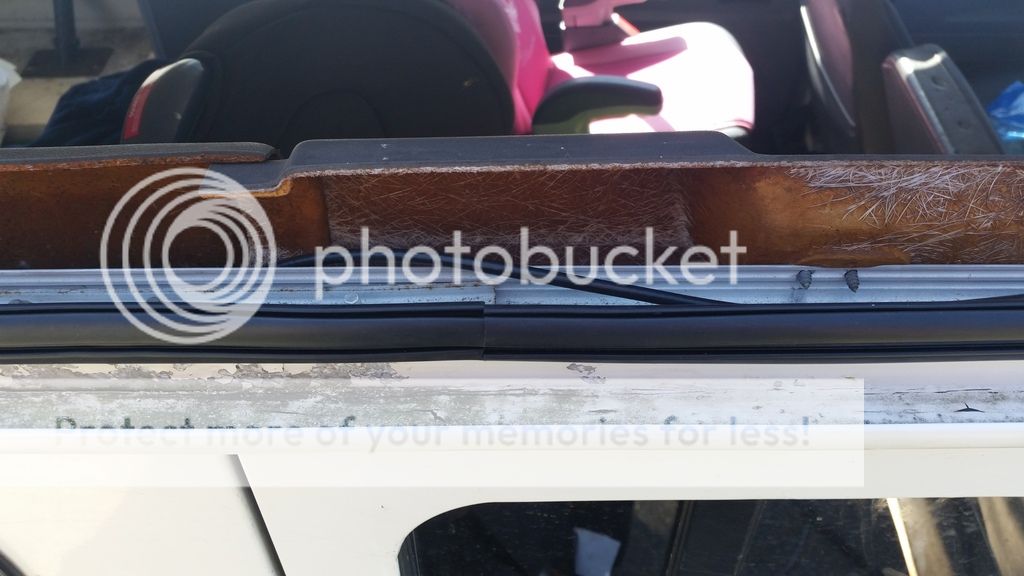
This is the window aperture, it will need cleaning prior to fitting the new rubber
20150412_122924_zpseqaafdwq.jpg


Cleaned:
20150412_123133_zpshzr4m2yb.jpg


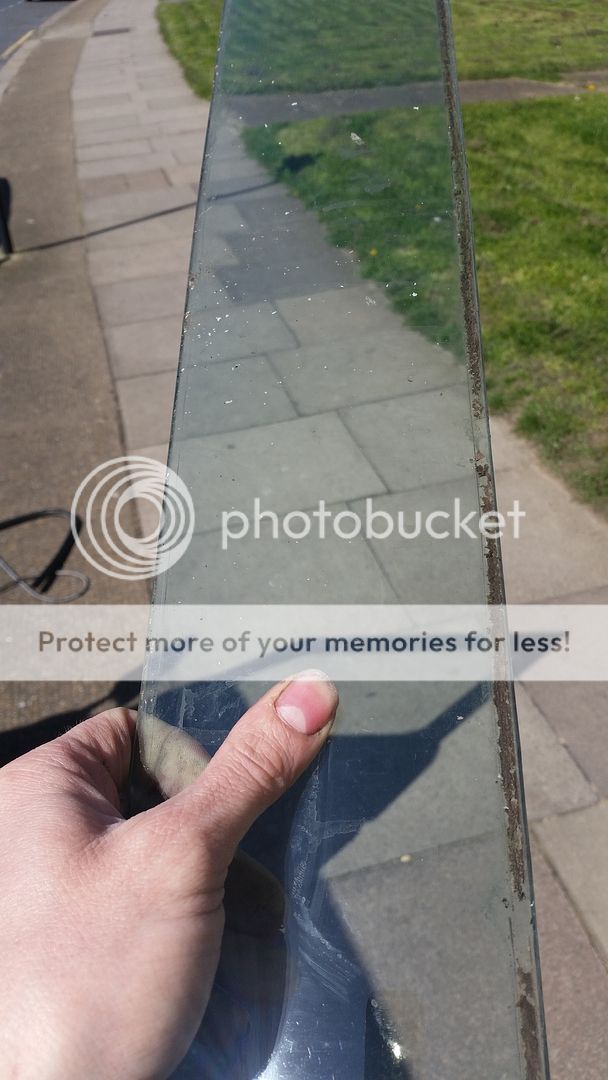
Clean the glass too..
20150412_123155_zpsumusdbmg.jpg

20150412_123428_zpsyrnbdenc.jpg


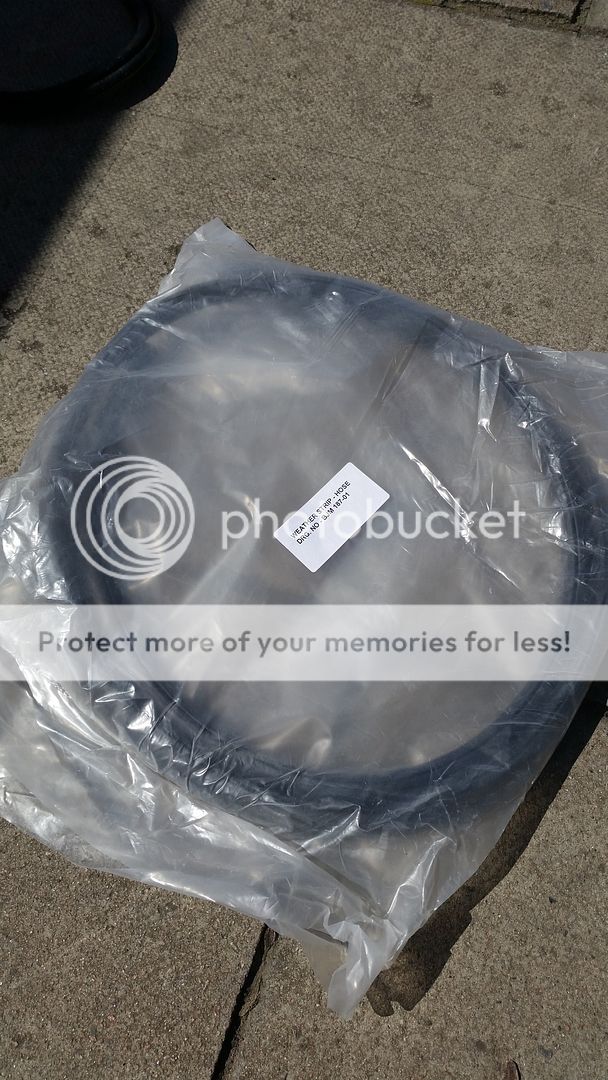
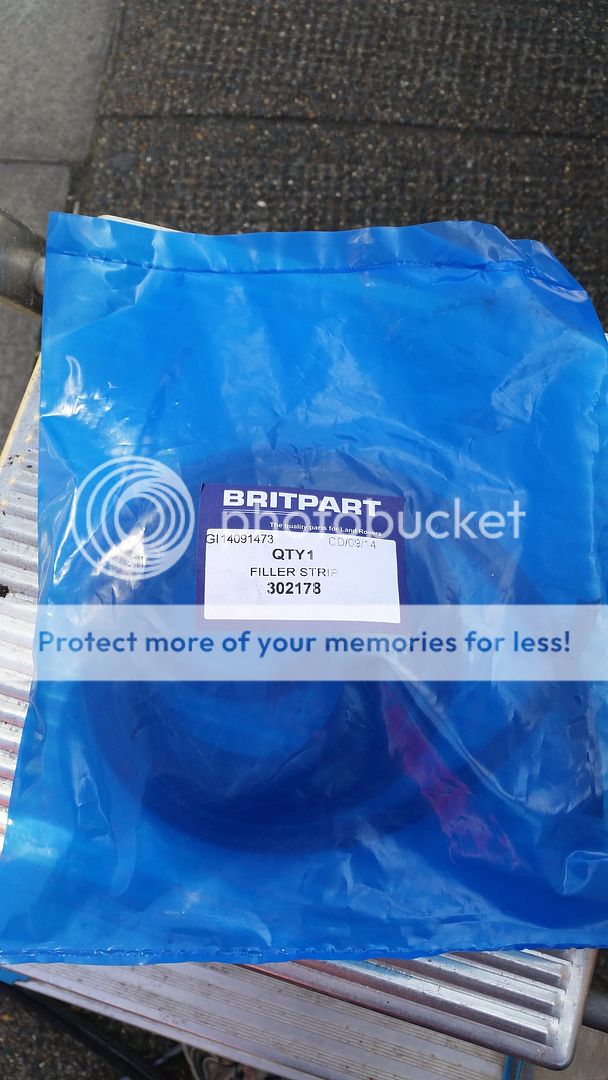
So, time to fit the new seal, here it is:
20150412_123502_zpsluplh0xy.jpg


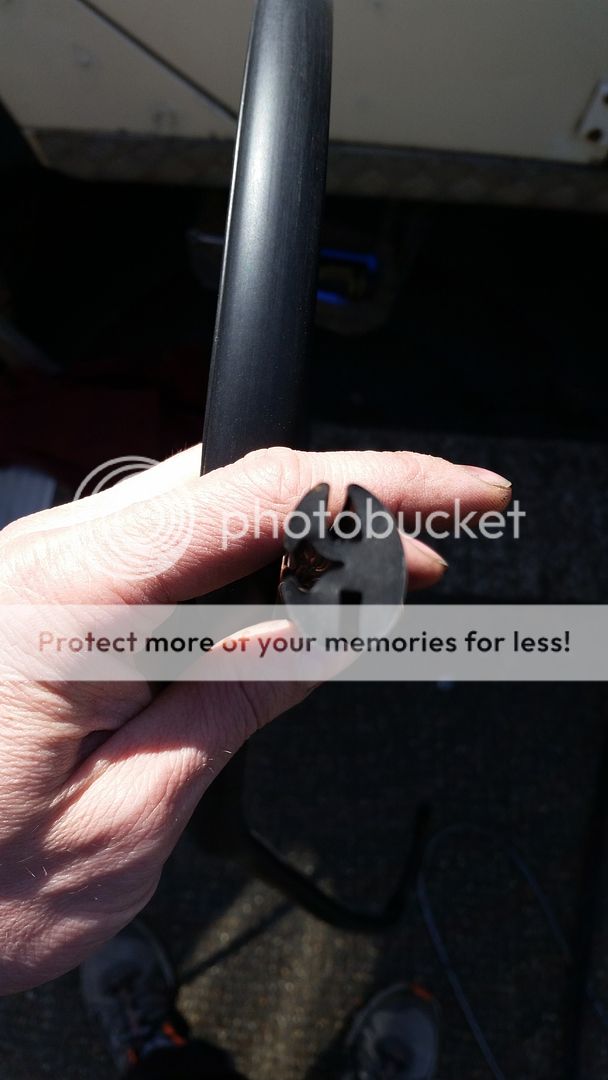
This photo shows the rubber profile. The top wide section is for the glass, the centre shaped section for the filler strip and the bottom narrow section goes on the body.
20150412_123626_zpsaei2o4dl.jpg


I fitted the seal dry and started halfway along the bottom, so the join would look neat.
20150412_123727_zpsybjmkdg4.jpg


Work the seal all the way around, until you get back to where you started:
20150412_123923_zpszcxitkry.jpg


I cut the seal, using a stanley knife, and left about 5/8" (16mm) overlap
20150412_124912_zpshd5lgait.jpg


Then i fitted the 2 ends together and compressed the seal into place. The extra piece of seal will help to keep it tight in it's aperture and help keep it watertight.
20150412_125009_zpslf9oqzi6.jpg


Next, wet the seal all the way round
20150412_125100_zpskq9d9h3e.jpg


Next, I slid the window into the lower part of the seal
20150412_125110_zpsvuel3cea.jpg


And slid it up to the end (the top part of the glass is still not in the rubber)
20150412_125131_zpsw39tfrax.jpg

20150412_125138_zpsjwo7ngeh.jpg


Next, use the spudger, soapy water and work the glass into the seal
20150412_125207_zpsbgmydhq8.jpg


You should then have the glass in the seal and in place
20150412_130118_zps1lonb2ti.jpg


Give the glass a few gentle bashes with your hand, this will help it settle and allow the seal to settle.
Then it's time to fit the filler strip:
20150412_130138_zpst3ekzvpg.jpg


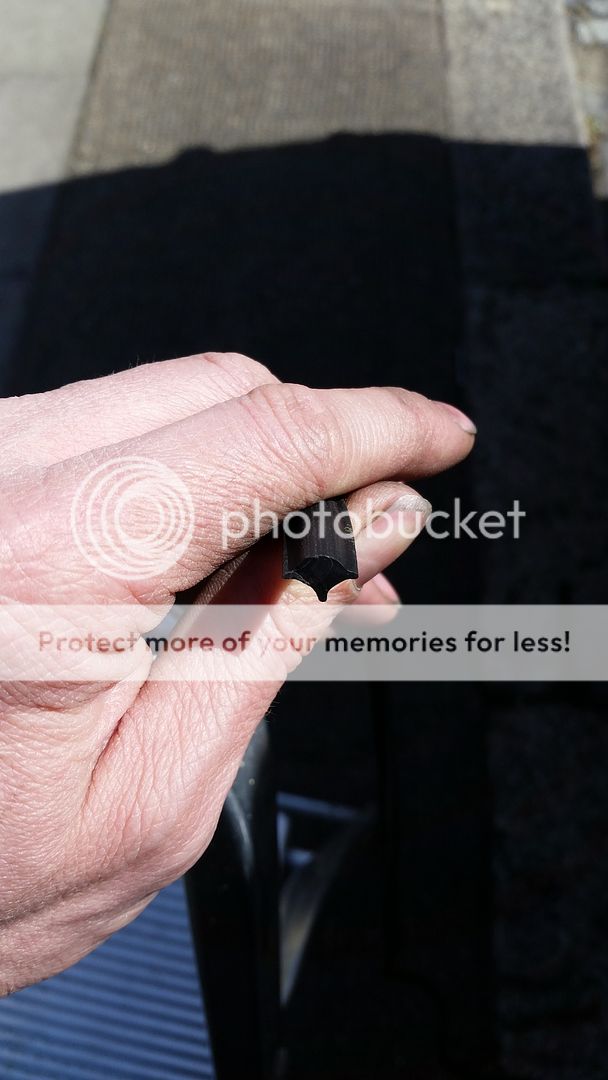
This is the profile of the strip. the pointed lower piece is the bit that sits in the seal
20150412_130250_zps6yatxekn.jpg


Using a window filler strip tool, open up the gap in the rubber, use soapy water mix to help.
20150412_130346_zpsu0lwmzht.jpg


And insert the filler strip through the tool, into the gap
20150412_130405_zpsceu53pze.jpg


Work the filler strip around and into the seal, by sliding the tool along the gap in the seal
20150412_130441_zpsoptavmuf.jpg


Soapy water helps on the filler strip and seal:
20150412_130448_zpsu4lejbvw.jpg


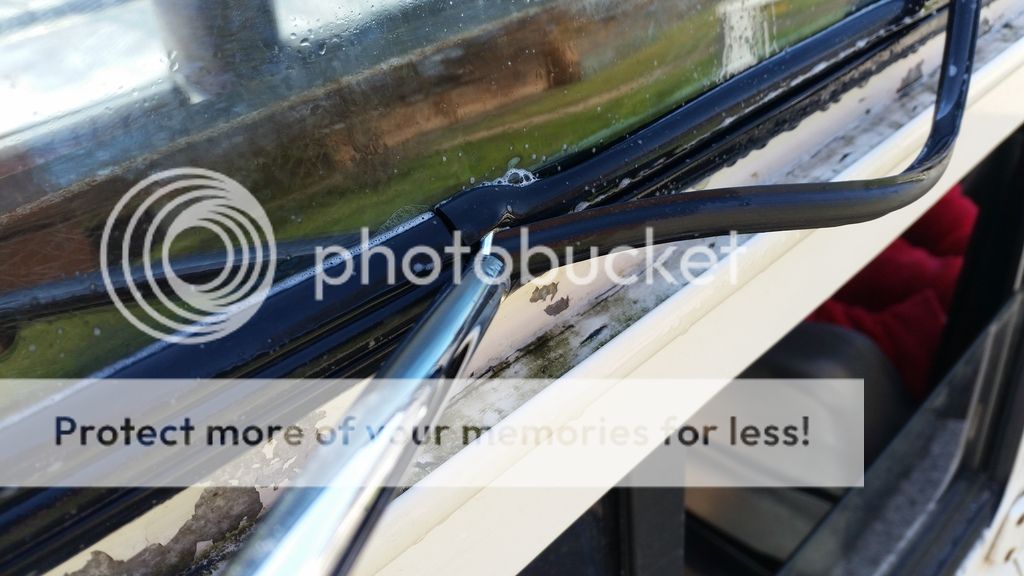
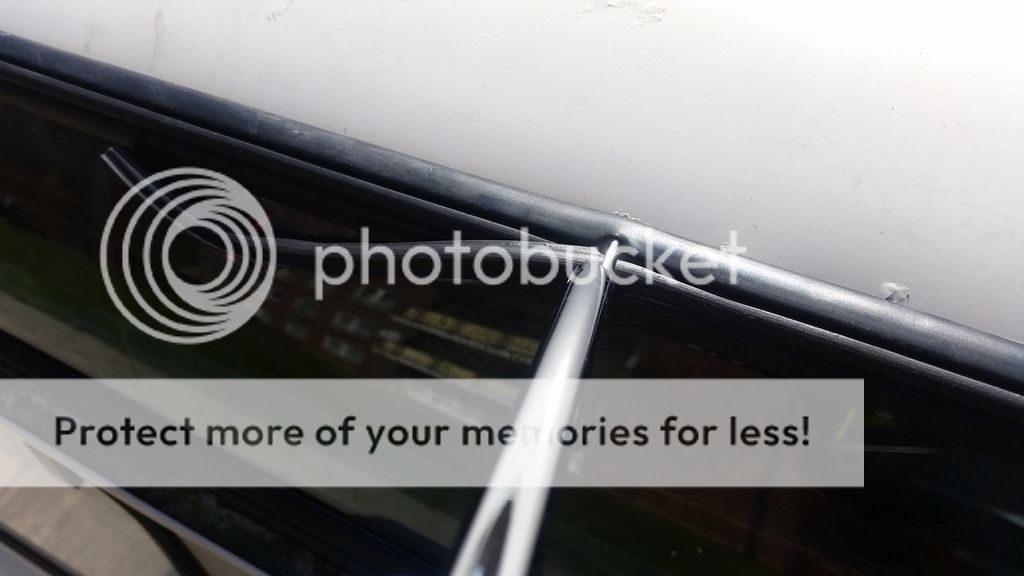
Carefully work it past the join in the seal
20150412_130718_zpsbdi1q4t8.jpg


Work until you reach the end, where you started
20150412_131005_zpswpawsvlj.jpg


I cut the filler strip about 3/8" (9mm) longer than needed
20150412_131045_zpss0ad9zid.jpg


And then fed it in and compressed it to make the join and apply pressure to the seal
20150412_131146_zps3wofr5il.jpg


Inside, I had a couple of places, where the seal had lifted, i just pushed these flat to the glass and they stayed put.
20150412_131258_zpsv3kklswy.jpg


Voila! 1 down, 1 to go (if you're doing both)
20150412_131227_zps6o3n2m5w.jpg


Hope this is of help..
Very good post with lots of meaningful images.
 
Followed your instructions. Very useful and when finished mine looks pretty decent and not too many new scratches. Couldn't see the pictures - they must have expired. Took me 2 hrs per window doing it by myself. Tricky to get the windows into the rubbers and a real beast of a job to get the strip in around the radius. Someone said to use a piece of string to help. I could see that helping in getting the window into the rubber. I used a trim removal tool to push in the strip. There is probably a better special tool for this task.
 
I made a tool for this out of some welding rod - pictures to follow if anybody wants. I also used Tyre soap on all my rubber, makes it so lovely and easy to work with and doesn't irritate the skin.
 
Great guide - I did the job yesterday on my 88” SW and it took about 3 hours to do both sides. Main problem I found was inserting the sealing strip: partly because, as others have said, it’s a really tight fit, partly because the insertion tool I used was just slightly too narrow for the strip, and mostly because I am not ambidextrous!

Main learning from this: leave more overlap than you think you’ll need, particularly on the final sealing strip - pushing it into place really tightens up both seals and it’s surprising how much they stretch, even in situ. You can always trim the excess off, but you can’t easily add it back!

John
 
Back
Top