Replacing 110 door pillars / posts

This site contains affiliate links for which LandyZone may be compensated if you make a purchase.

min200

Active Member
Posts
918
Location
Nottingham
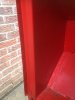
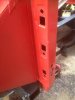
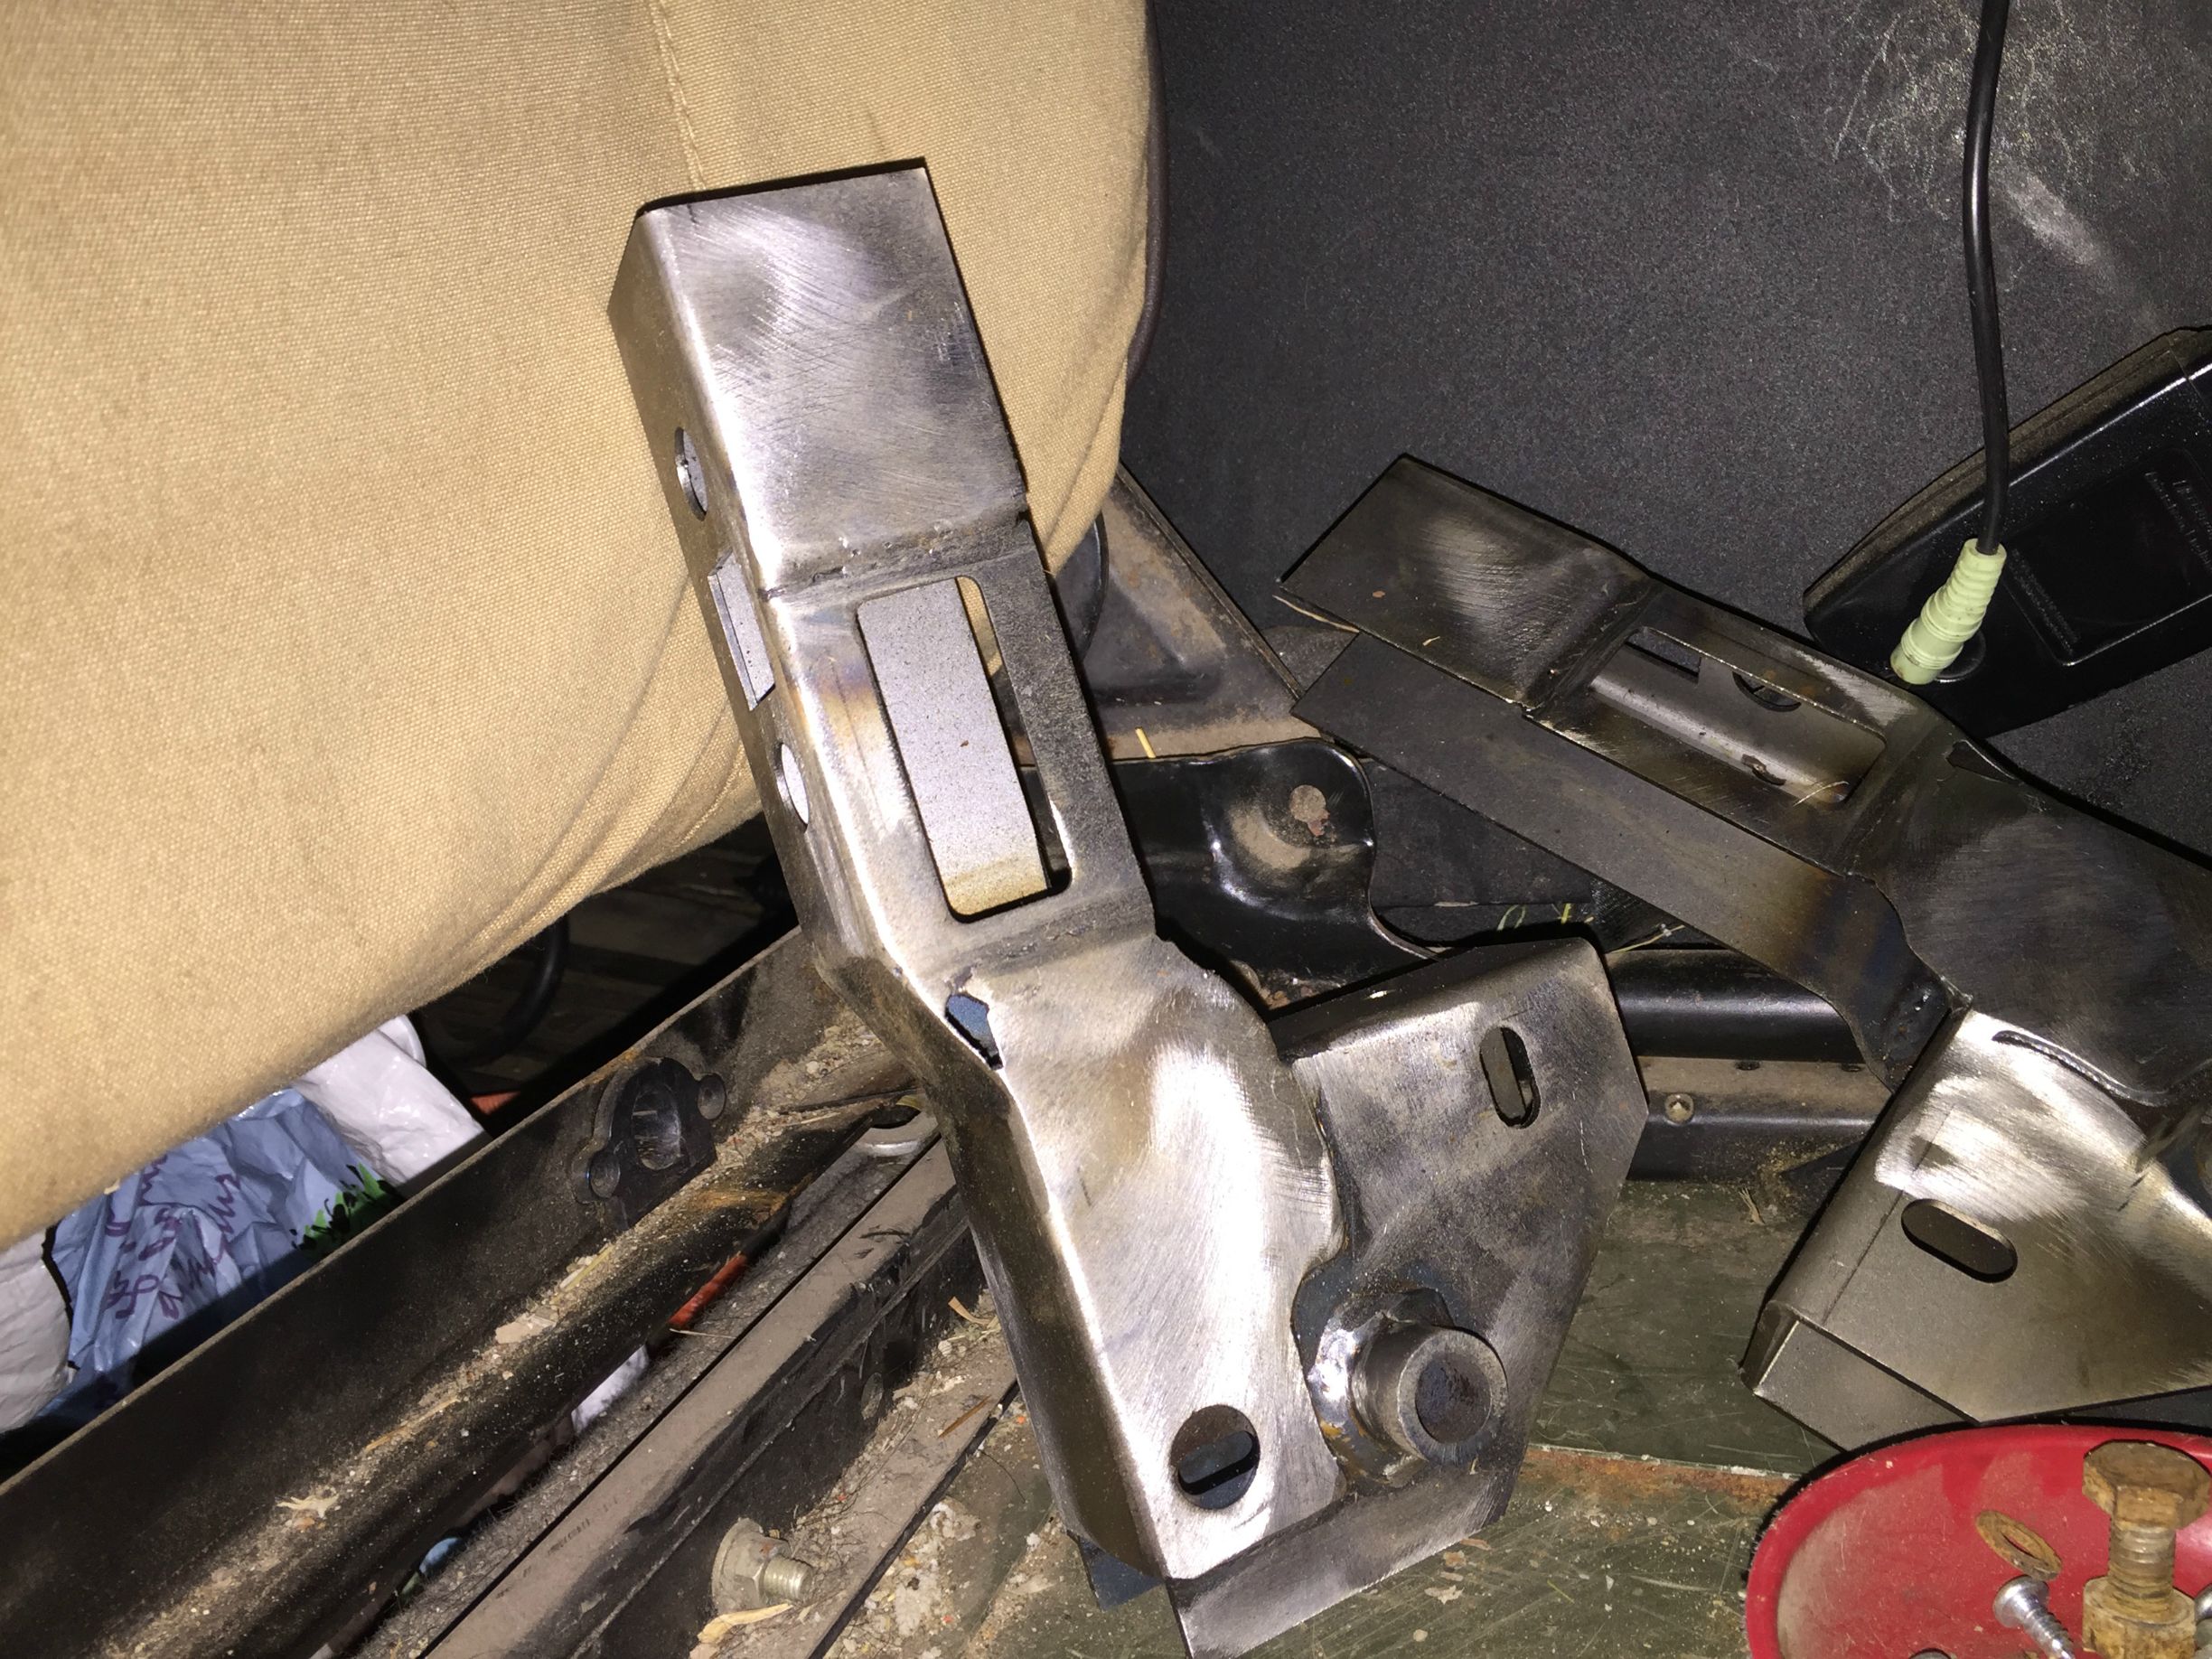
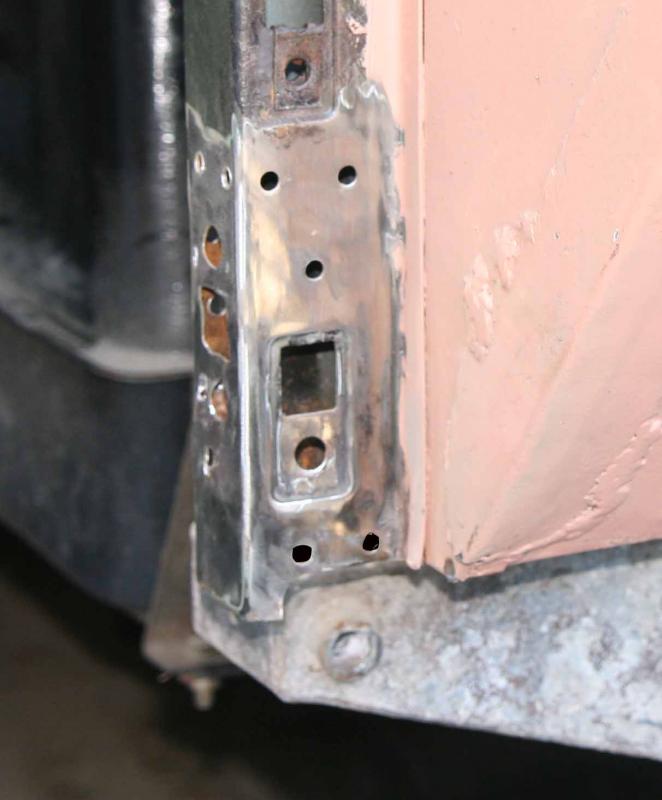
OK then folks I need to replace the door pillars on both sides of my 110 but could you all give me some advice on the best way to do it please.
Do I just remove as much of the old rotten ones before fitting the new or cut the whole lot out as you would do with any other welding leaving the hinge supports in place or have I got it all completely wrong if so would you tell me how!
I don't intend on doing a thing until I get some advice and there seems to be bugger all on you tube for a change!
 
You shouldn't have to cut anything, it's all spot welded. Are you buying the bits from YRM? (They're very good). Have you considered removing the bulkhead and doing it more thoroughly?
 
Already got the bits here from paddocks just a panel for each side it seems. Nope the bulkhead isn't coming out its going to be in situ chap. Any advice on how?
 
No direct advice on the pillars as mine were ok, I did my foot wells And top corners but made everything instead of doing it the easy way and buying it. What do your new parts look like?
 
Like door pillars lol don't have the nuts for the hinges fitted into them though and from looking through the rot on mine they seem to be on a separate bit of strengthened metal on the bulkhead.
 
Looking at mine, it seems you just have to drill out a few spot welds to release the pillar. A line of them down the seal lip and a line down the inside of the footwell. Then I suppose you do have to cut across the pillar at some point.
 

Attachments

  • image.jpg
    image.jpg
    220.4 KB · Views: 114
  • image.jpg
    image.jpg
    257.1 KB · Views: 119
Like door pillars lol don't have the nuts for the hinges fitted into them though and from looking through the rot on mine they seem to be on a separate bit of strengthened metal on the bulkhead.
Its important to understand the below item is in the middle of the pillar itself at the bottom, spot welded in. So depending on how you are replacing the pillar keep this in mind. You can see the bottom door hinge holes to get an idea where you can cut safely.

2PJJAls.jpg


If you want more pics let me know as have just stripped mine down and pulled out the foot (above) to refit.
 
ER1C more pics would be great thank you!

Discokids spot welds...mine are all just rust covered lol BUT these replies are great folks thanks you it is slowly building up a picture of what I need to do. Would you both mind if I steal the pictures as we go and stick them into the blog as a bit of a guide for others?
 
ehrmmm... so we do the graft and you post it online making it look like a guide ?

MXbvplY.jpg

Be Careful.. above is someone else's spot welds, I made the mistake of using this as a template it would appear they are somewhat random as mine were not like this at all.
 
LOL no I will be doing the work as well what I am thinking of is putting together a before advice guide then as I do mine compare the two like you have just done about spot welds showing what mine was like in pictures as well so when searched it will hopefully be pretty comprehensive rather than just the odd bit that I have been able to find so far :)
 
Its important to understand the below item is in the middle of the pillar itself at the bottom, spot welded in. So depending on how you are replacing the pillar keep this in mind. You can see the bottom door hinge holes to get an idea where you can cut safely.

2PJJAls.jpg


If you want more pics let me know as have just stripped mine down and pulled out the foot (above) to refit.
Sorry, I thought he was replacing more than the foot looking at one of the earlier pictures.
Rusty spot welds -
So were mine, wire brush in a drill usually shows them up. And yes, if you think any of my pictures are useful - be my guest.
 
Back
Top