devonian77
New Member
- Posts
- 2
- Location
- Exeter
Hello all,
A newbie here: great to join the forum! I've had a 2007 Freelander 2 for a few years and really love the car. I don't do much off-roading but with living in rural Devon I've loved the car's capabilities. Its a 12-year-old Land Rover so I'm always aware that faults may start racking up....")
I'm reasonably practical but, considering that I'm asking these questions here rather than hunting for all the answers myself, I'm no vehicle technician!
My question: I had my car MOT'd the other day and it came back with the following advisories:
- Stop lamp(s) non-obligatory stop lamp not working Central: The rear, top centre brake light doesn't work. Is this a bulb to replace or a whole unit to switch?
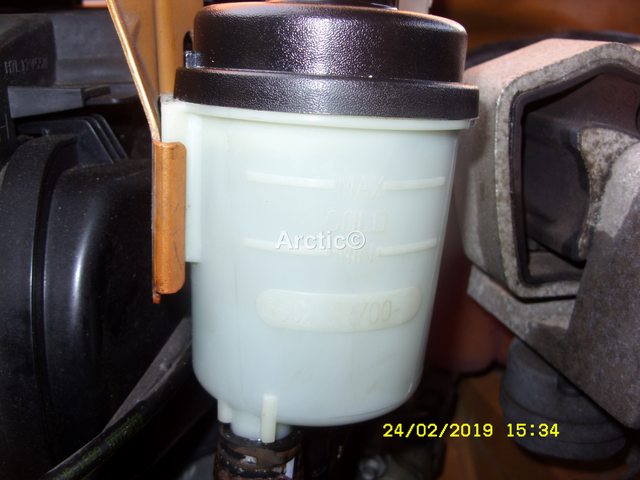
- Power steering close to minimum mark: The garage topped it up so its now fine but... Can I top this up myself as and when needed or is it more challenging that that?
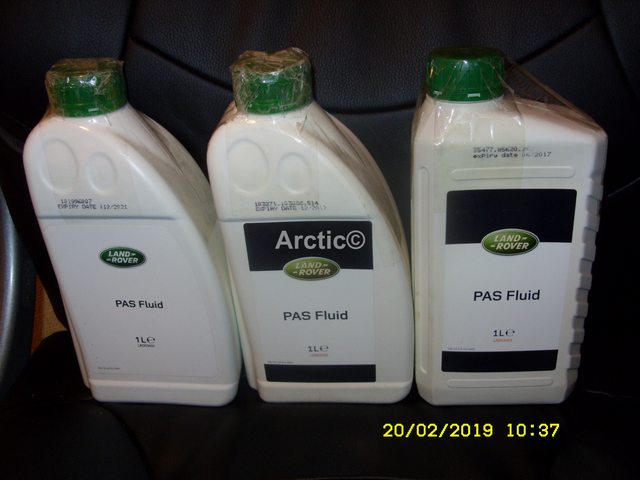
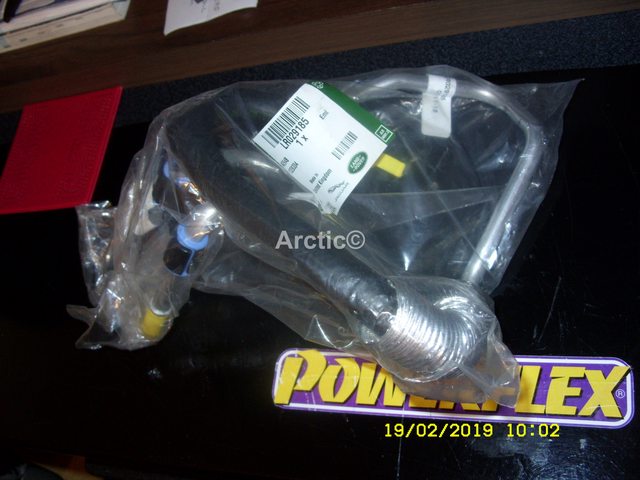
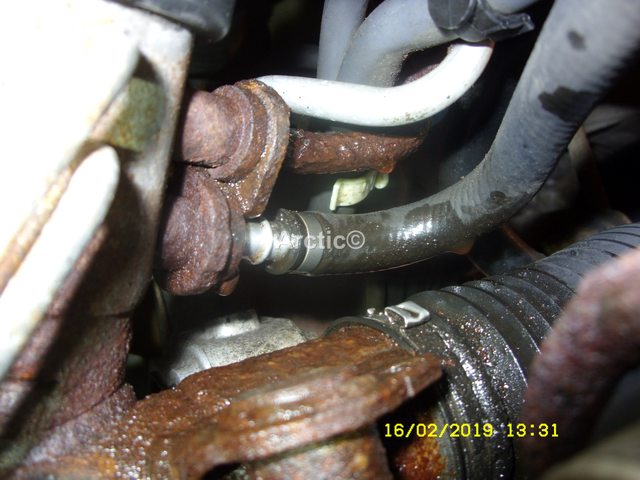
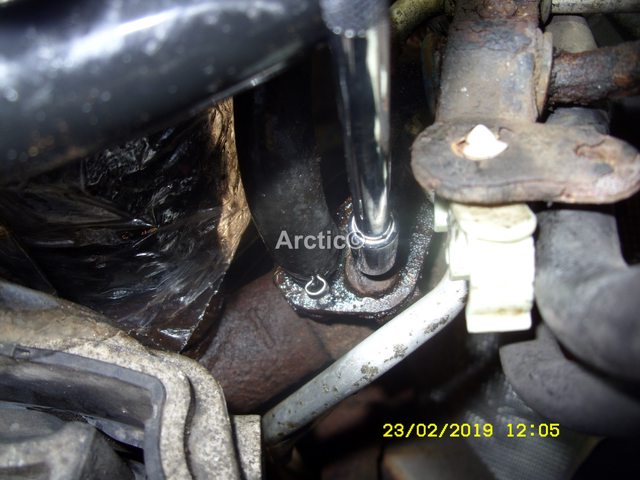
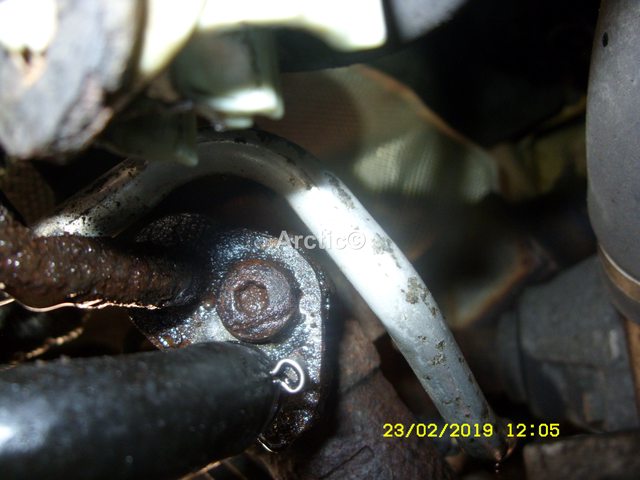
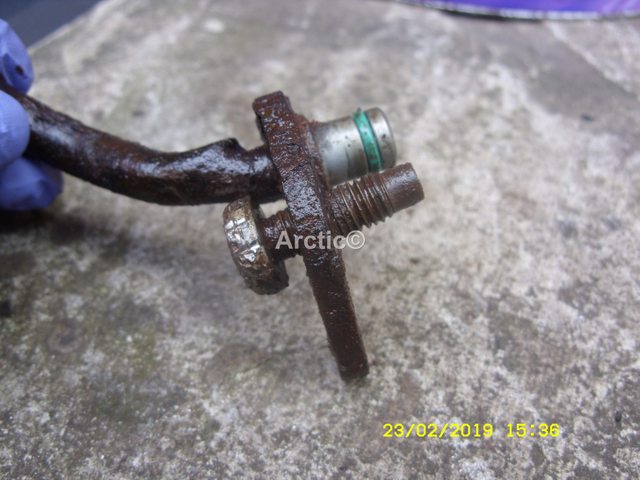
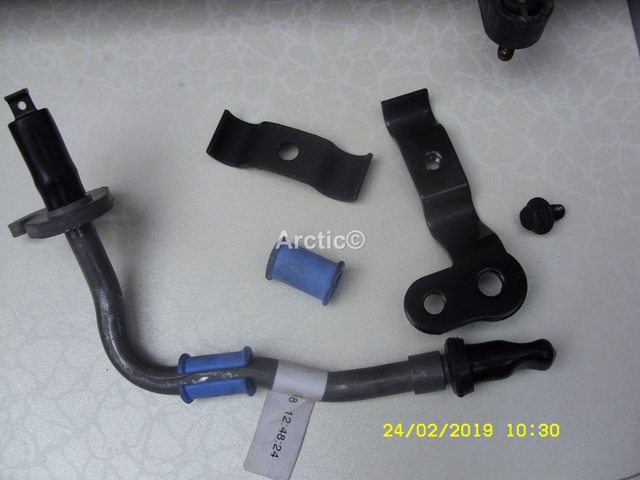
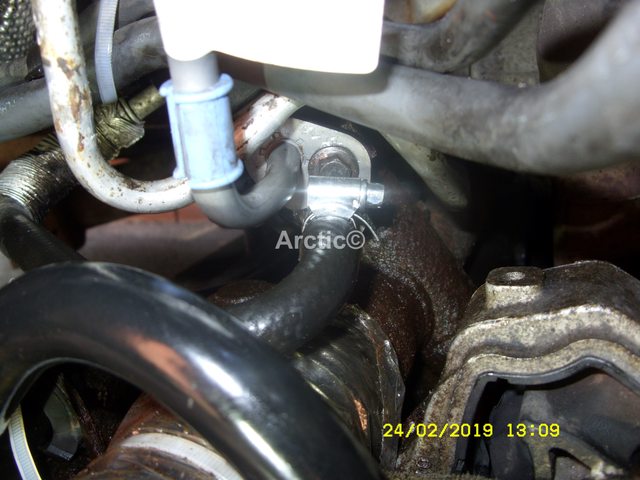
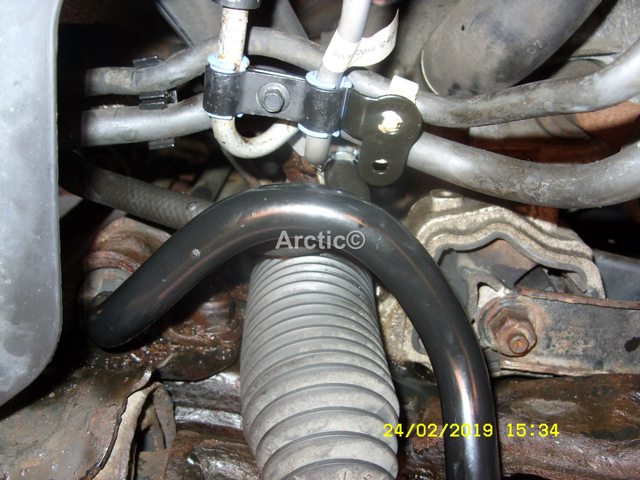
- Power steering pipe/hose slightly corroded AND Power steering pipe/hose has slight seepage: Are these commons faults on older Freelanders? I should have asked the garage to point out the corrosion and seepage but I forgot to do so. Should it be easy to find the problems? Can I swap the pipes/hoses over myself or is it a garage job?
Cheers all,
Devvy
A newbie here: great to join the forum! I've had a 2007 Freelander 2 for a few years and really love the car. I don't do much off-roading but with living in rural Devon I've loved the car's capabilities. Its a 12-year-old Land Rover so I'm always aware that faults may start racking up....
I'm reasonably practical but, considering that I'm asking these questions here rather than hunting for all the answers myself, I'm no vehicle technician!
My question: I had my car MOT'd the other day and it came back with the following advisories:
- Stop lamp(s) non-obligatory stop lamp not working Central: The rear, top centre brake light doesn't work. Is this a bulb to replace or a whole unit to switch?
- Power steering close to minimum mark: The garage topped it up so its now fine but... Can I top this up myself as and when needed or is it more challenging that that?
- Power steering pipe/hose slightly corroded AND Power steering pipe/hose has slight seepage: Are these commons faults on older Freelanders? I should have asked the garage to point out the corrosion and seepage but I forgot to do so. Should it be easy to find the problems? Can I swap the pipes/hoses over myself or is it a garage job?
Cheers all,
Devvy