bustersbus
Well-Known Member
- Posts
- 13,755
- Location
- Near Dumfries, Scotland
Rear axle removal
Here's how ah did it.....
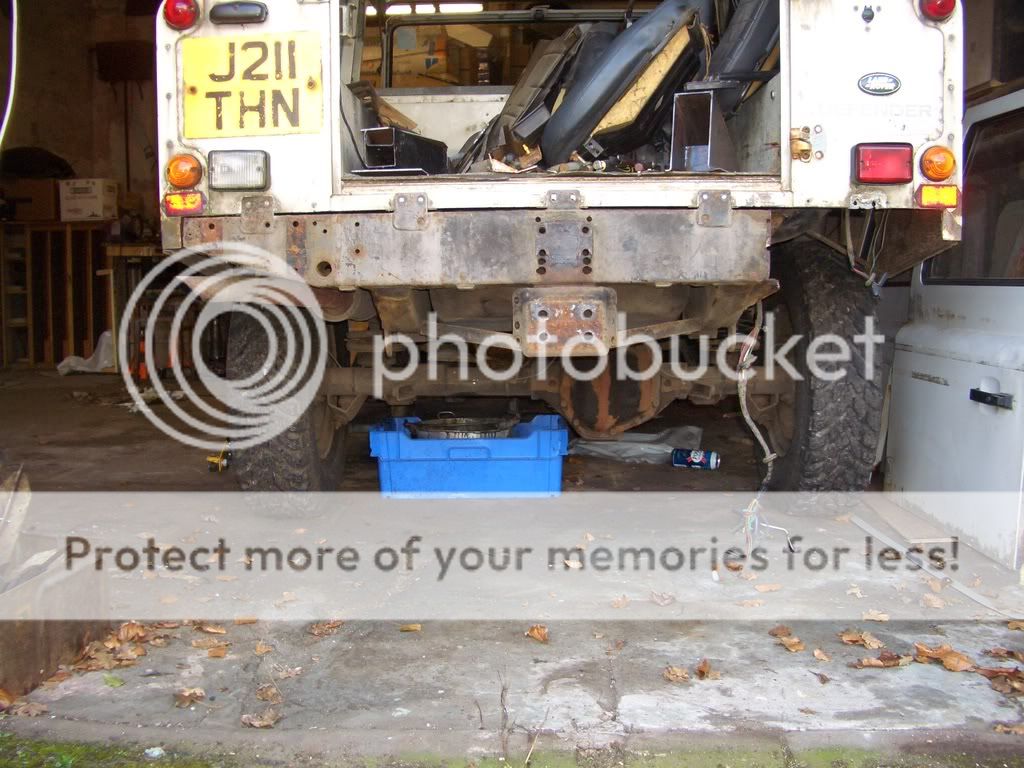
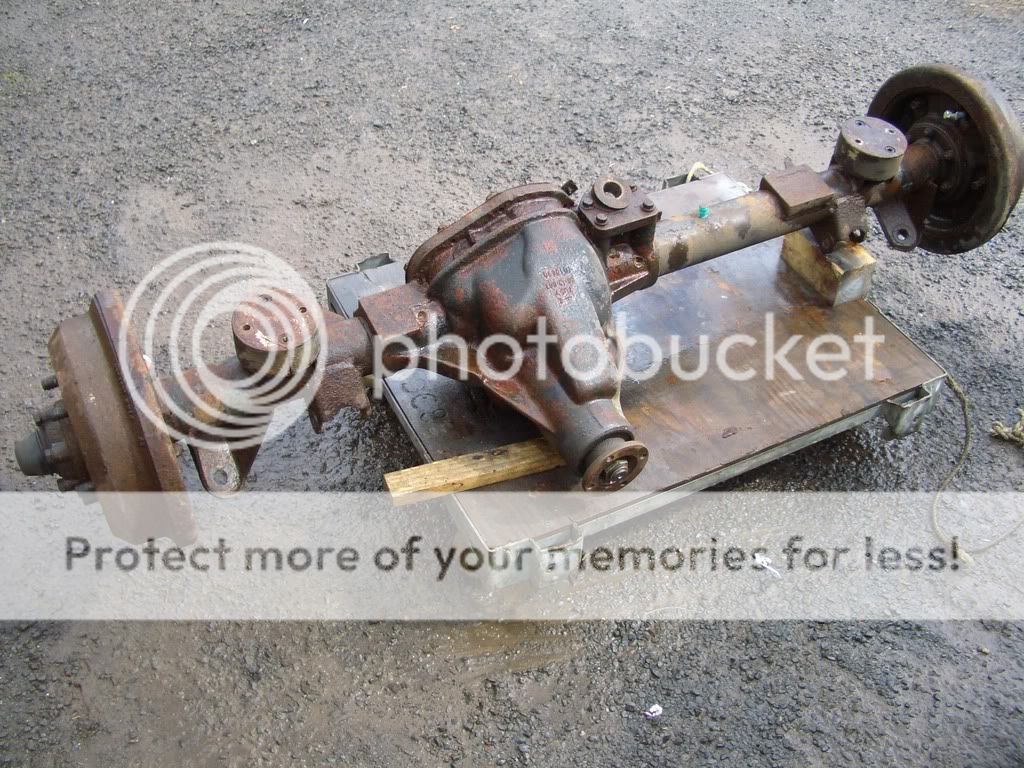
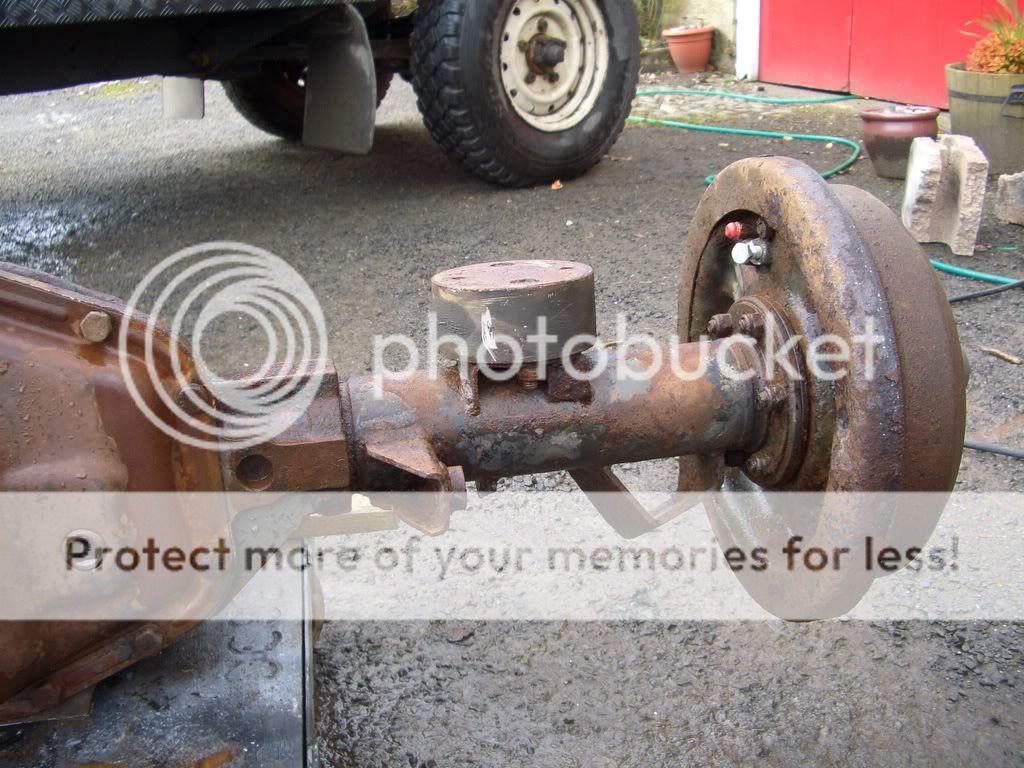
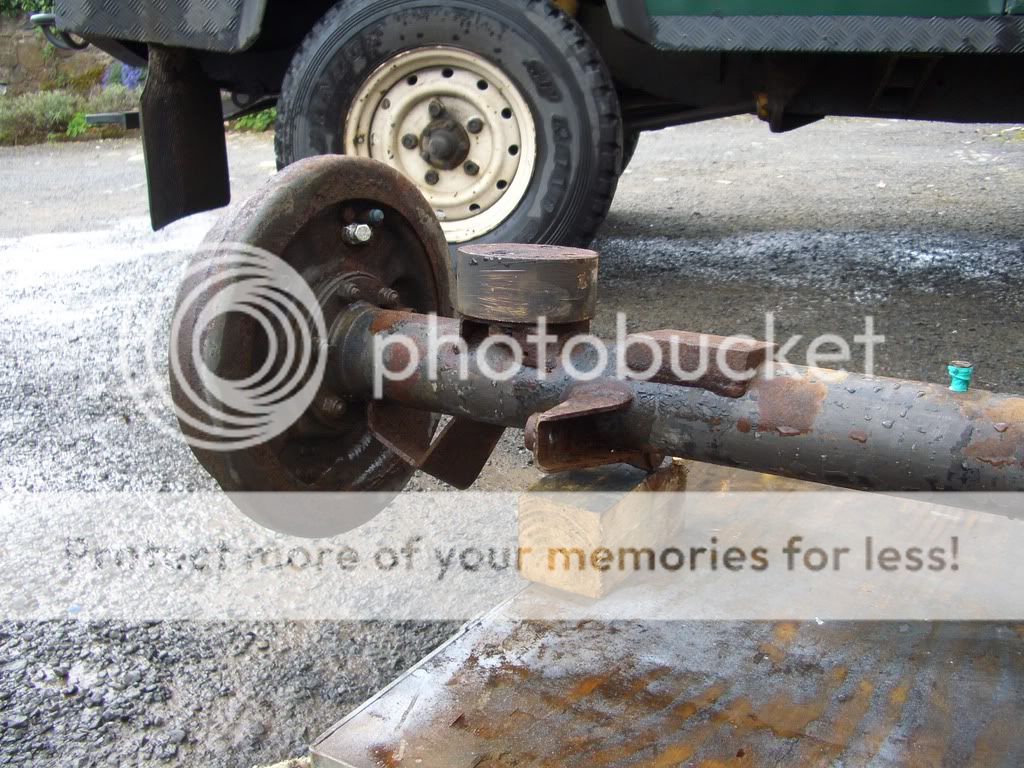
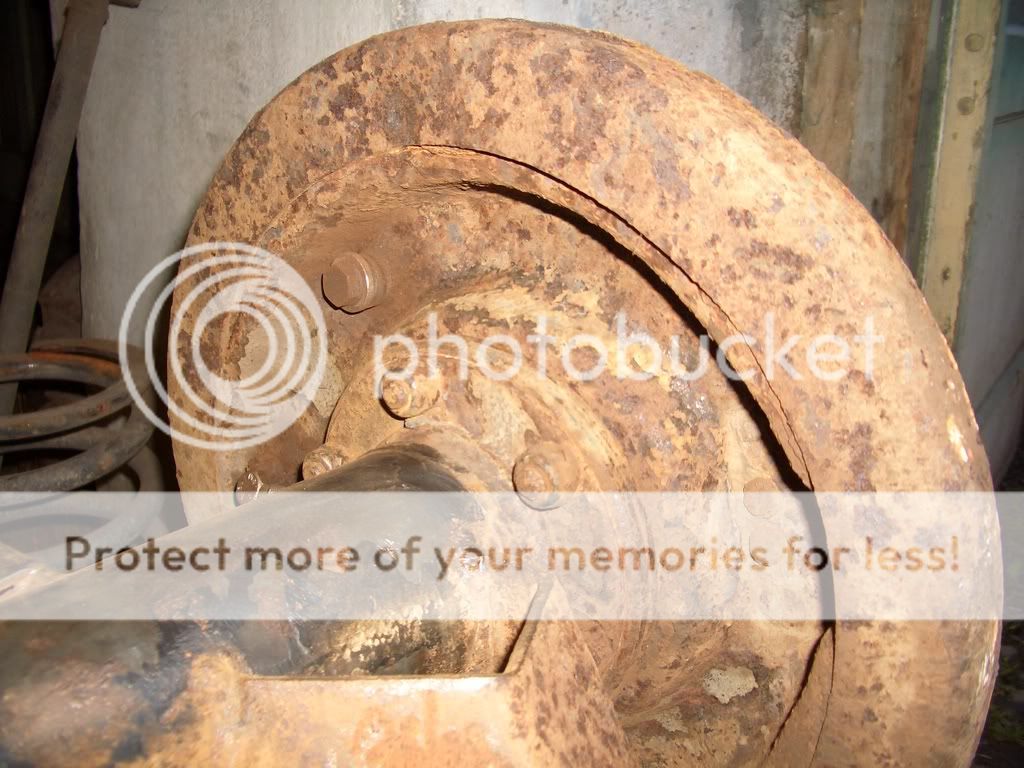
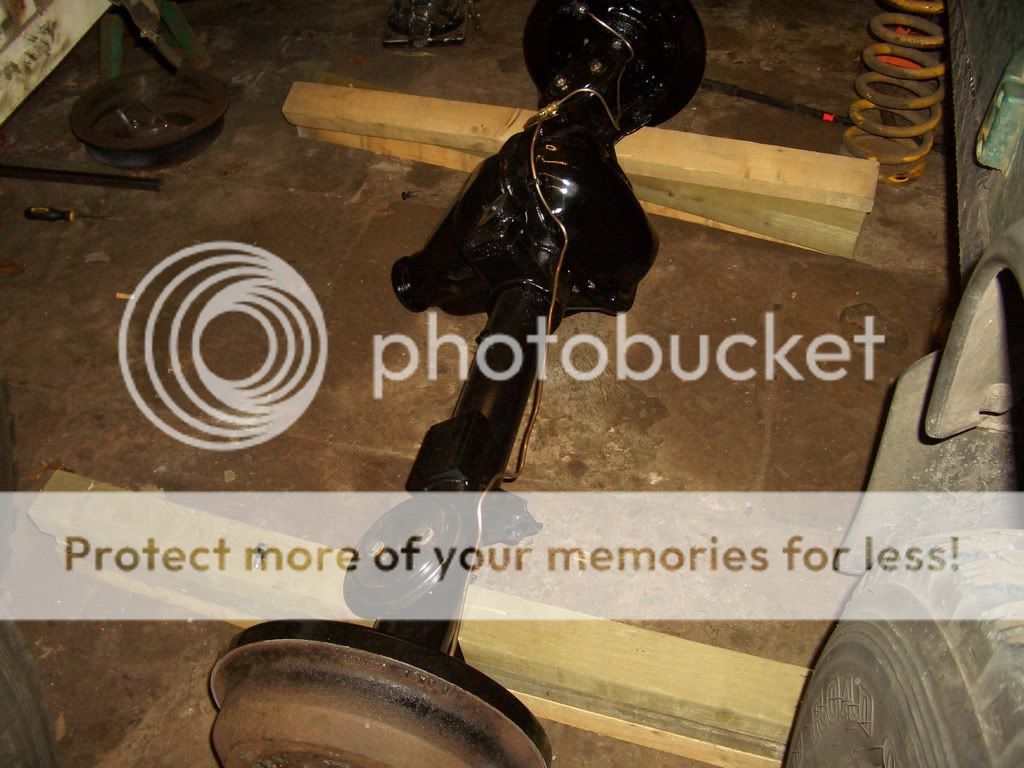
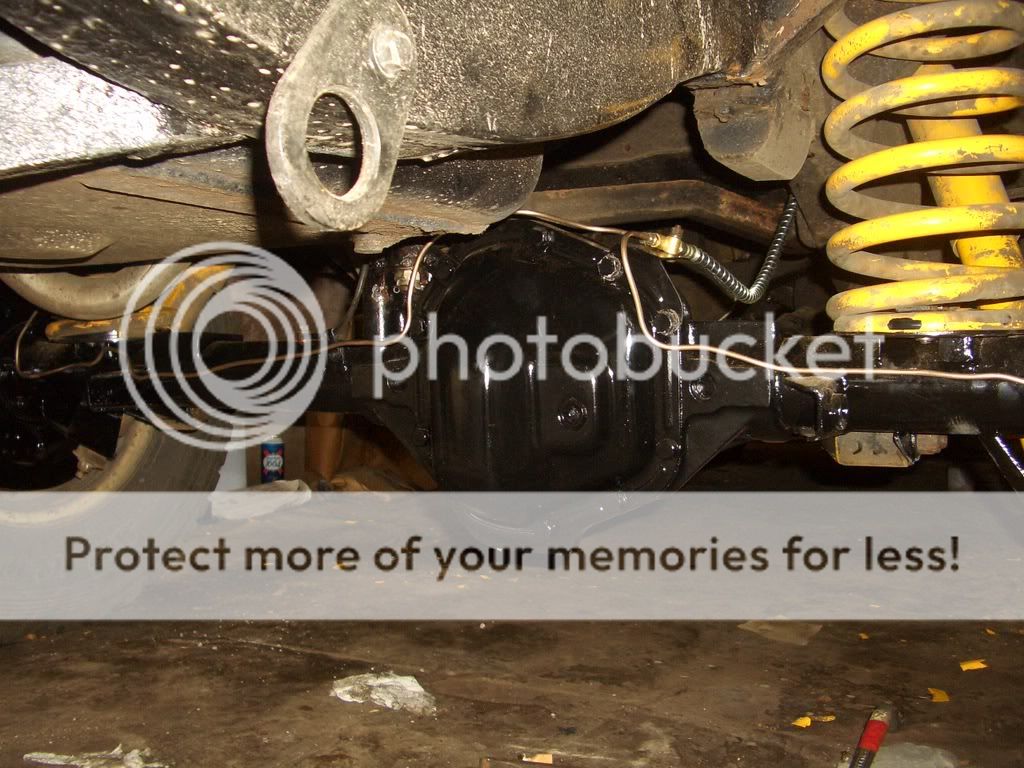
the donor axle..
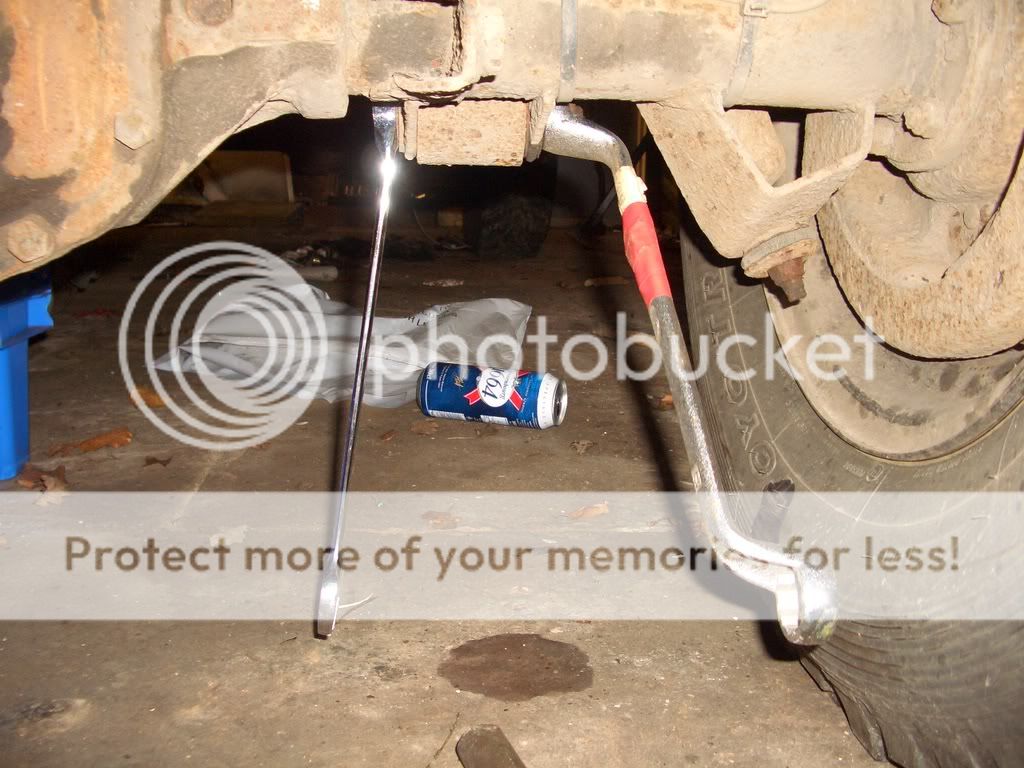
ah 'loosened' off the trailin' arm nuts and bottom shock nuts (only because ah wasn't sure how tight or stuck they were, and it would be a bit easier with the bus still on the ground).....
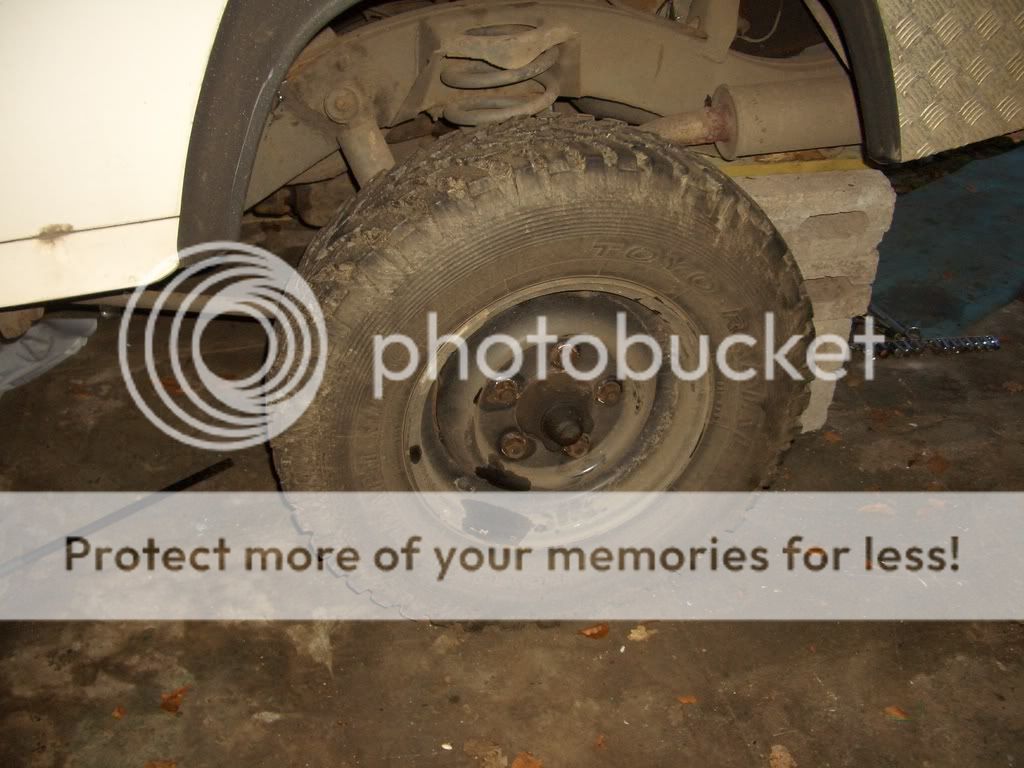
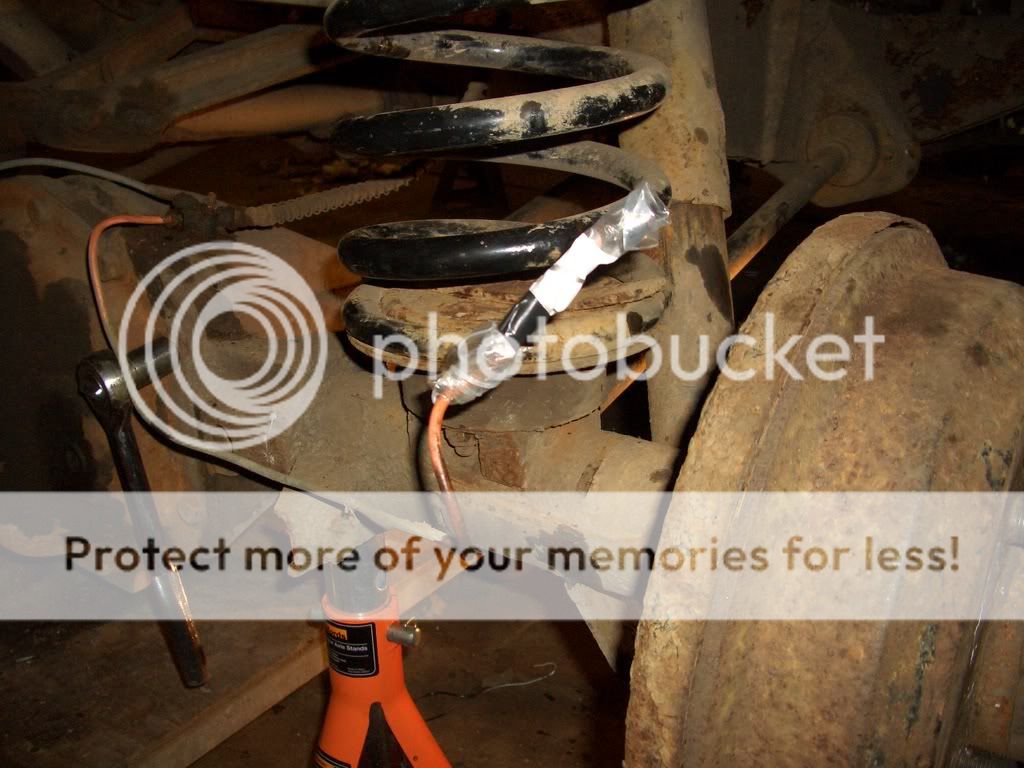
slackened the wheel nuts, jacked it up and sat the axle on stands....
Then secured the bus by stickin' blocks and a couple of pieces of wood under the chassis and took the wheels off....
next thing was the brakes...
Haynes manual says summit about removin' the cap from the reservoir, puttin' some polythene over the hole and stickin' the cap back on to minimise fluid loss, so ah cut a bit off a bin liner and used that (sorry no pic cos the edges weren't neatly trimmed") )
)
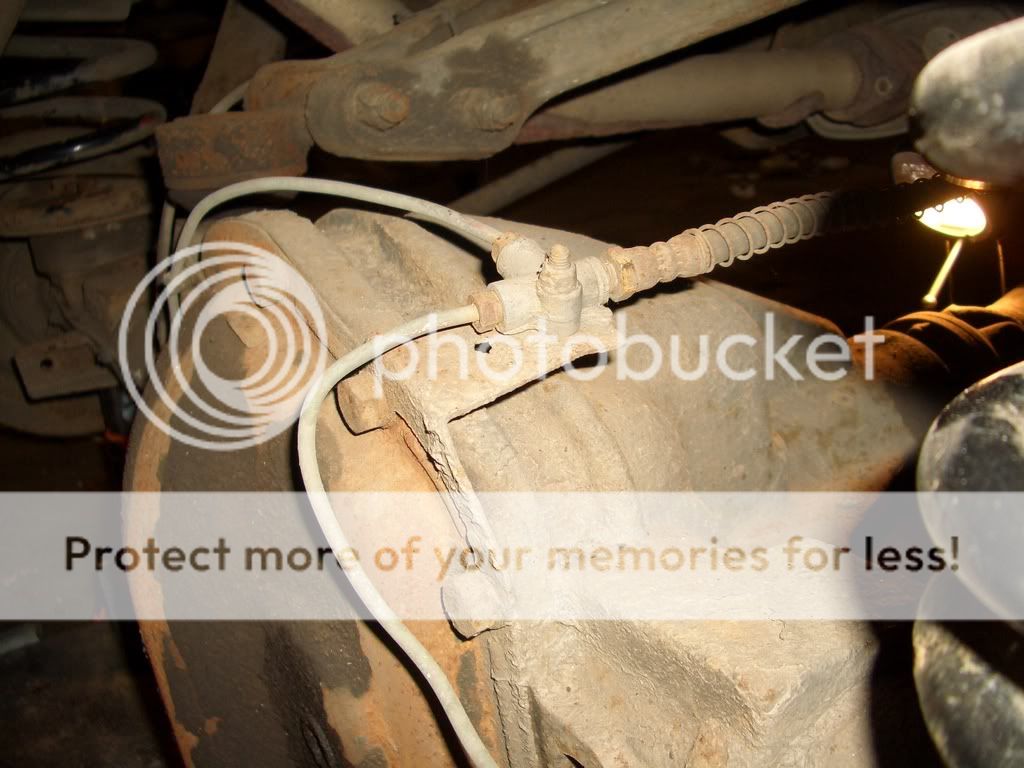
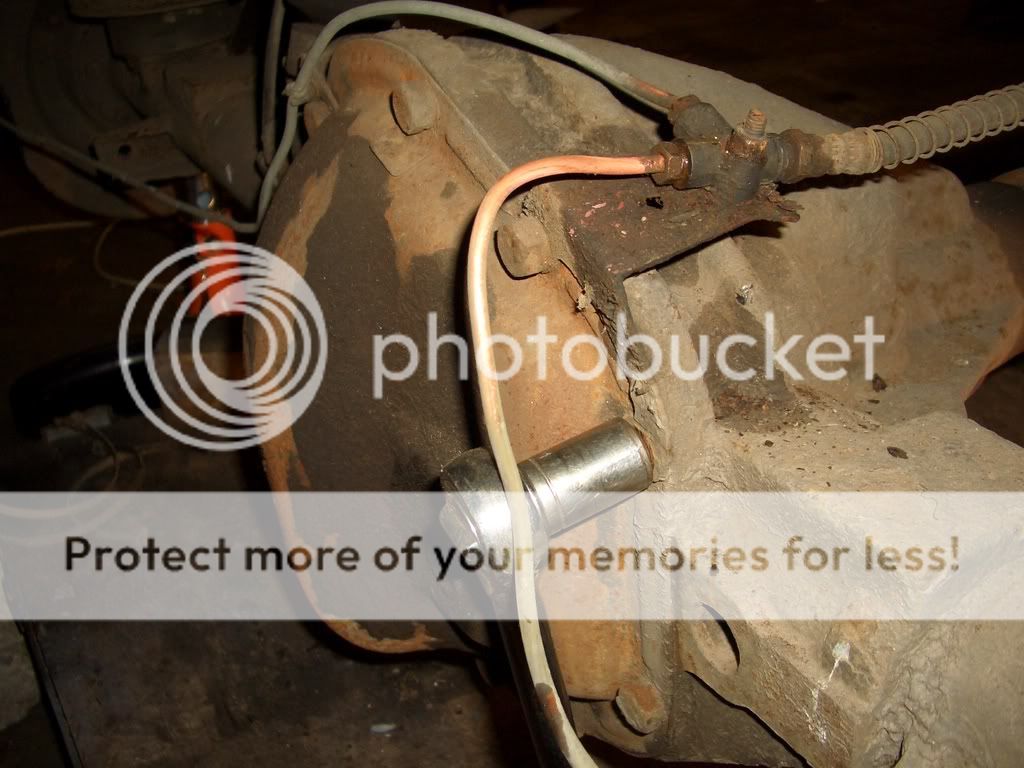
Ah removed the pipes from the brake drums...
and taped a wee bag over the ends to stop any crap gettin' onto them....
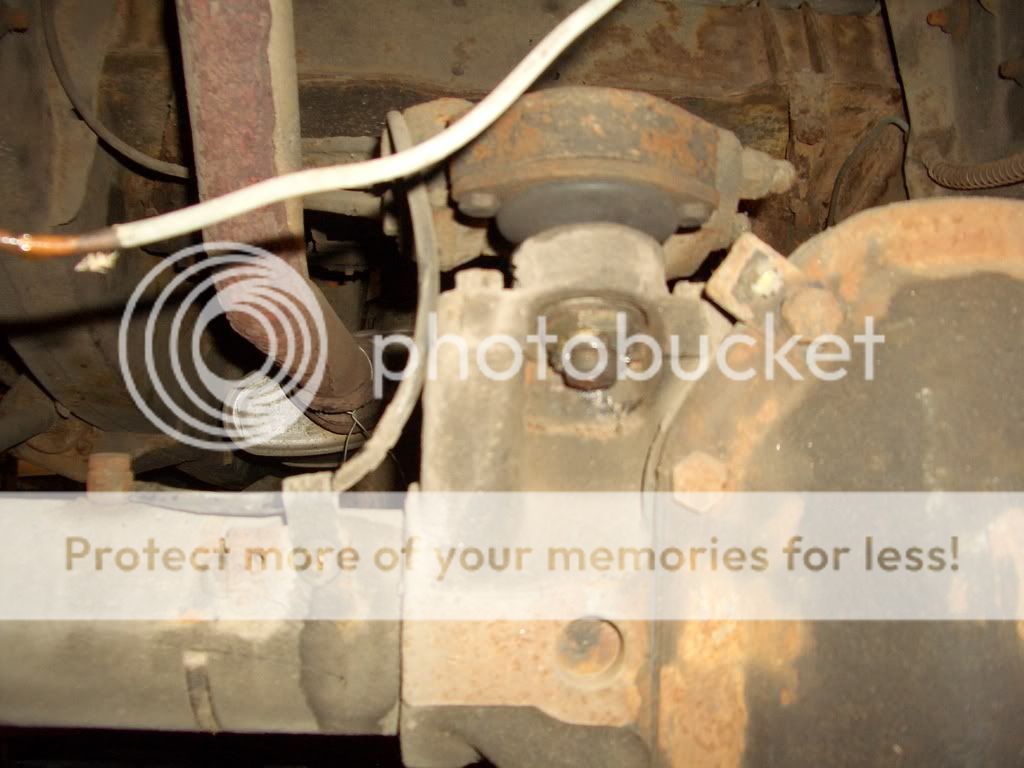
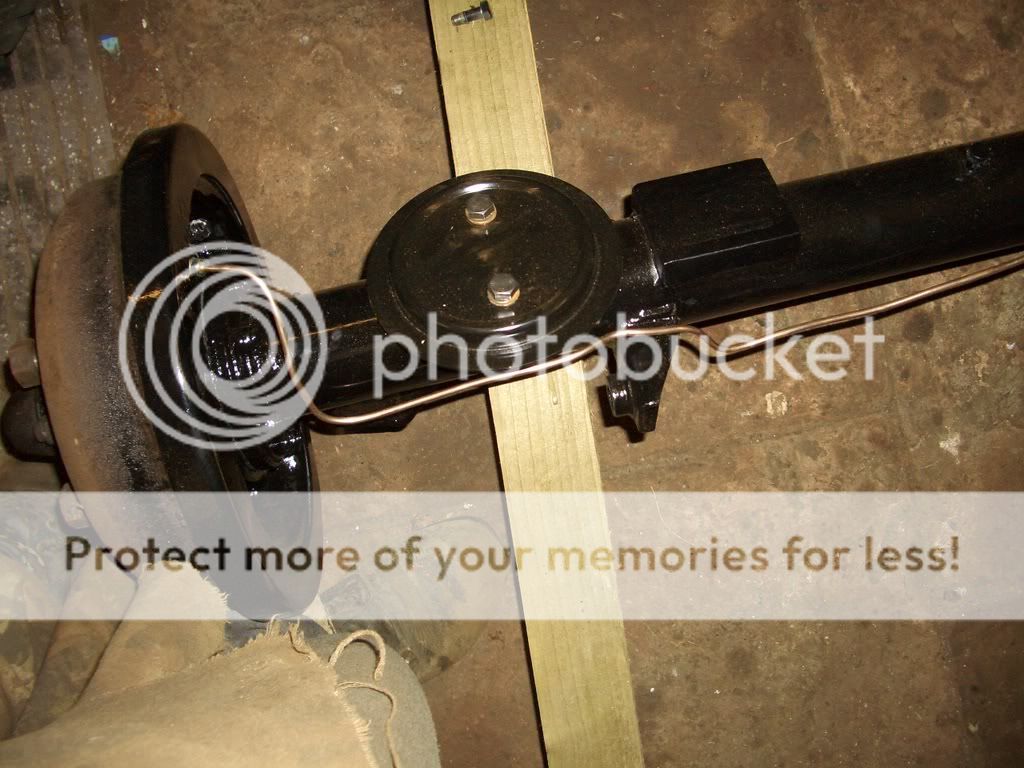
then ah unid the bracket from the top of the axle...
and tied them up out of the way...
Next thing ah did was undo, remove from diff and tie the propshaft up out of the way....
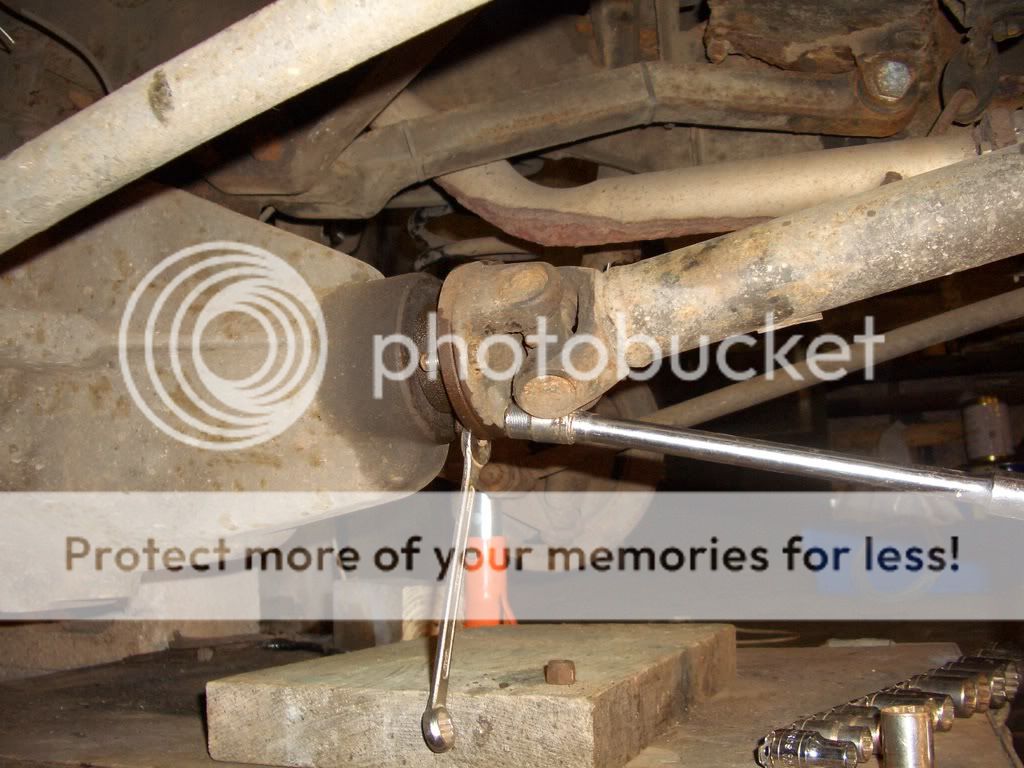
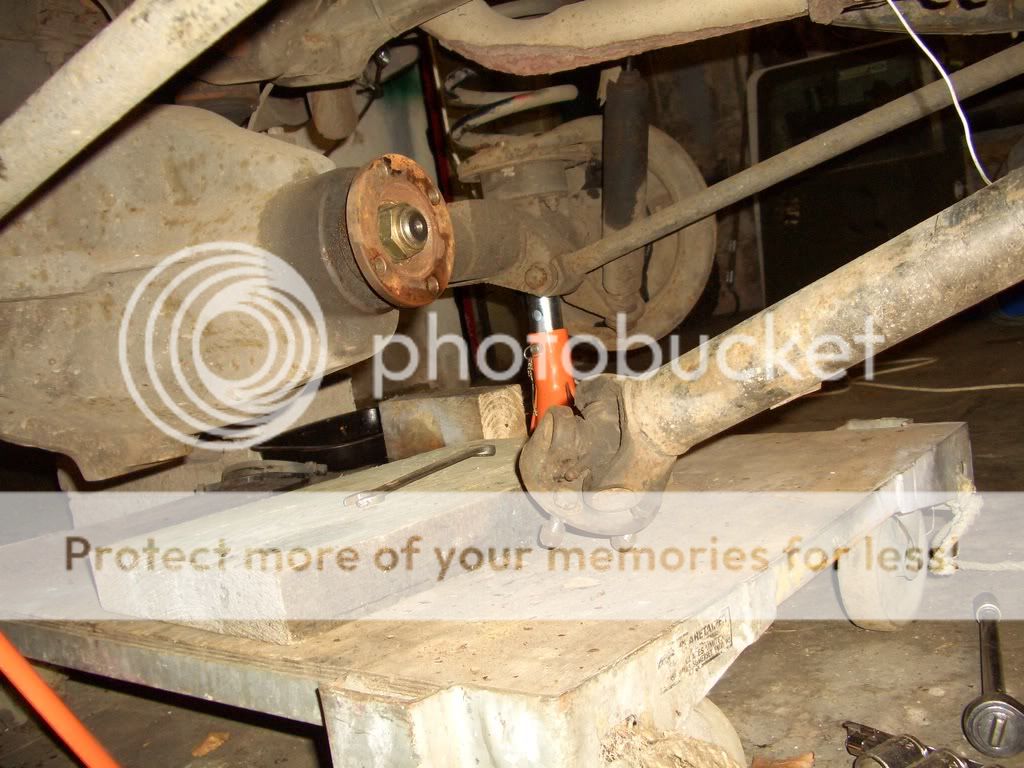
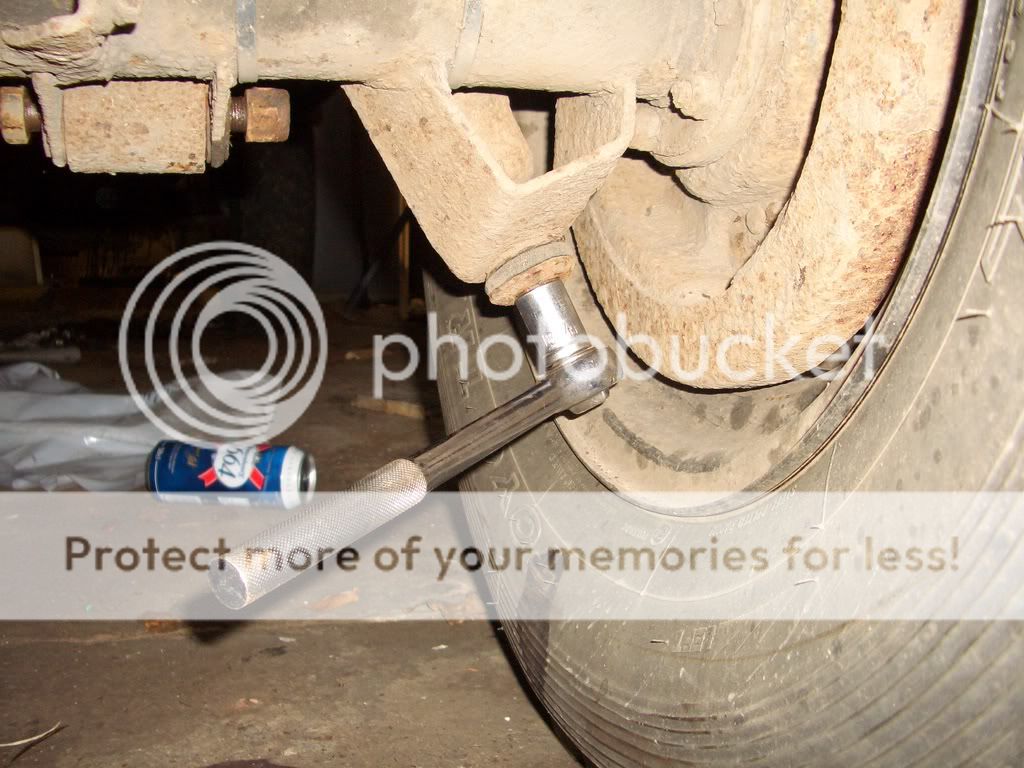
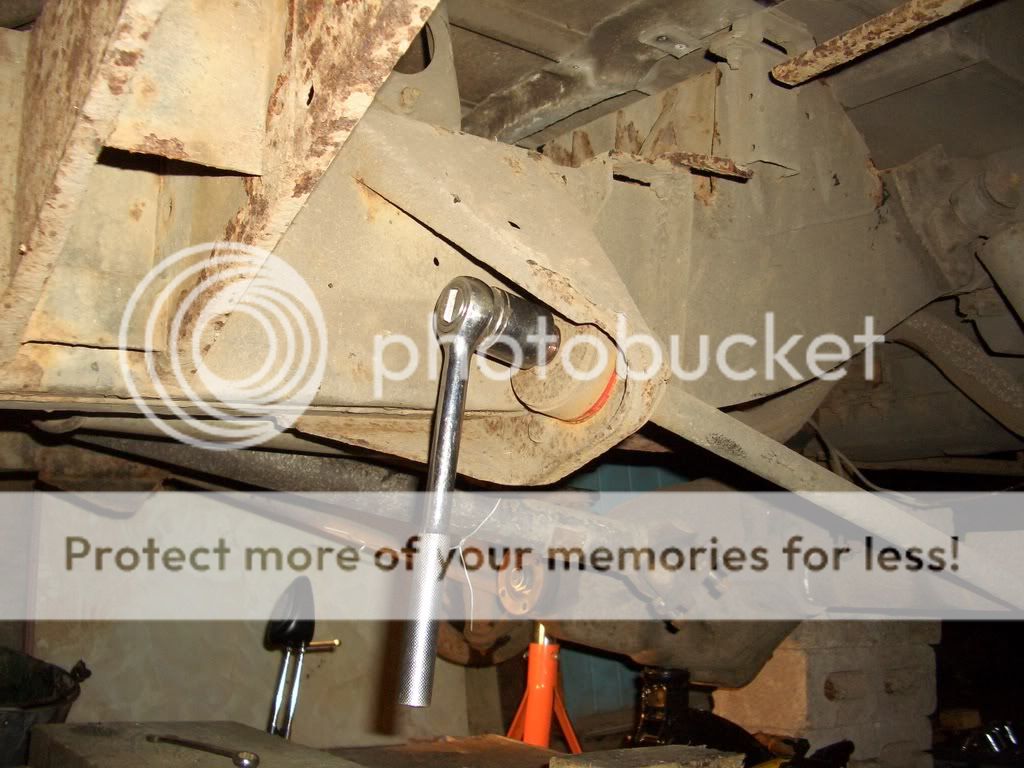
After that, ah removed the split pin from the A frame ball joint and removed the nut...
(A slight tap with a hammer may be needed to shift it, becarefull of the threads, use a drift or summit similar)

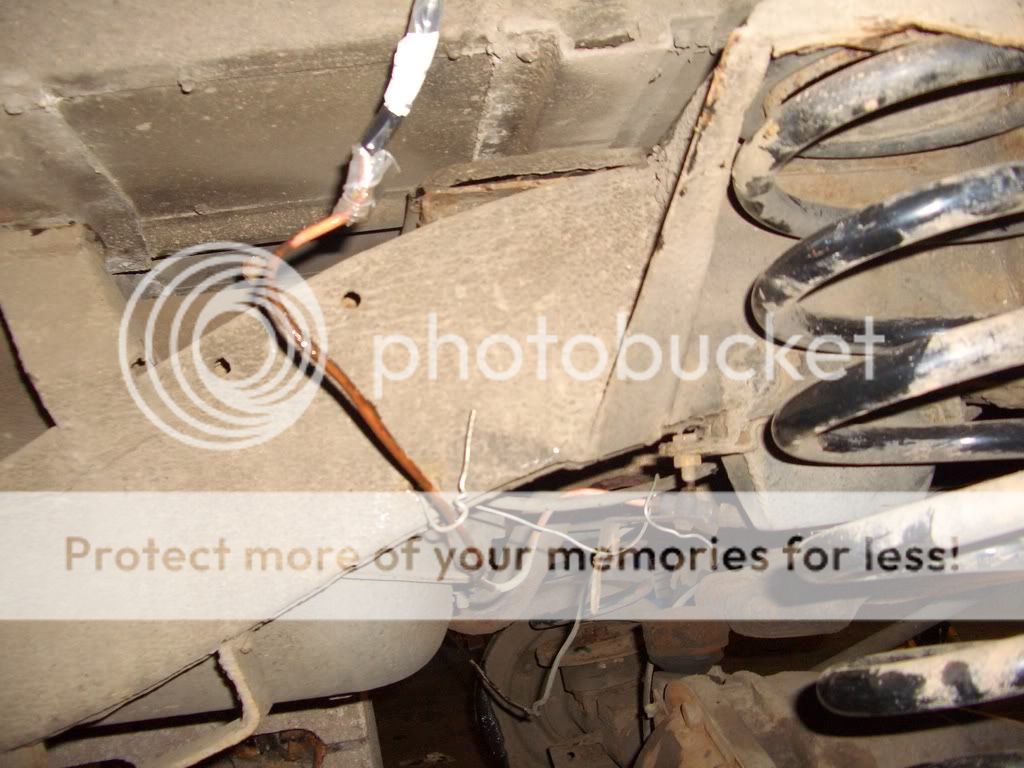
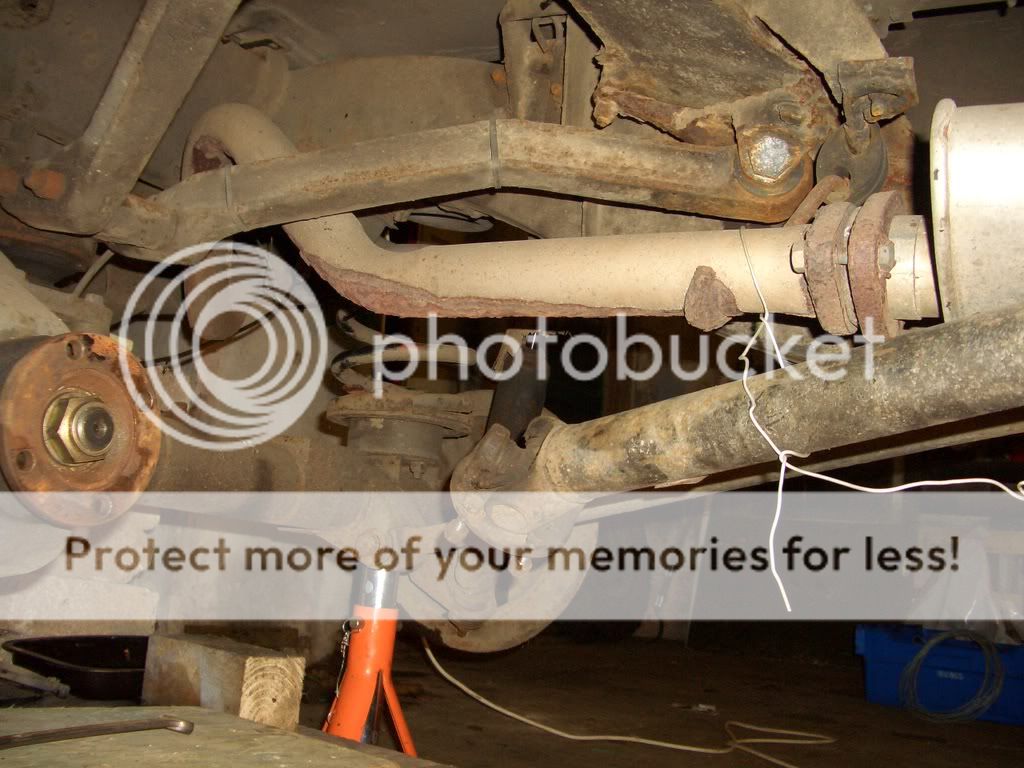
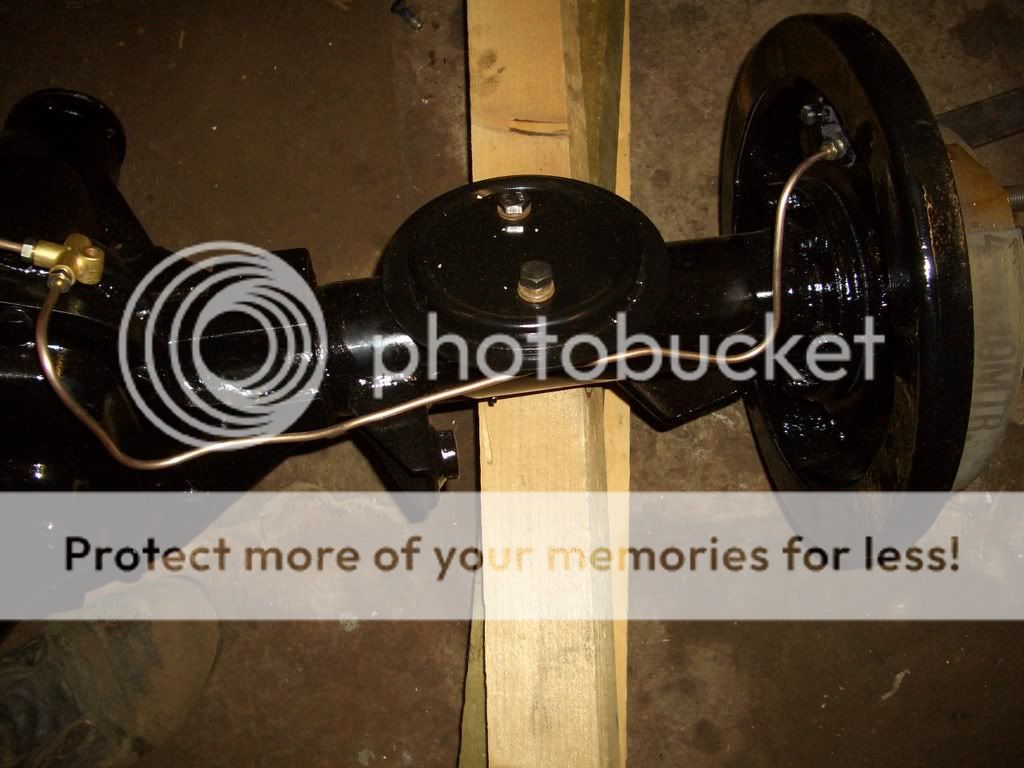
Ah then removed the axle breather pipe...

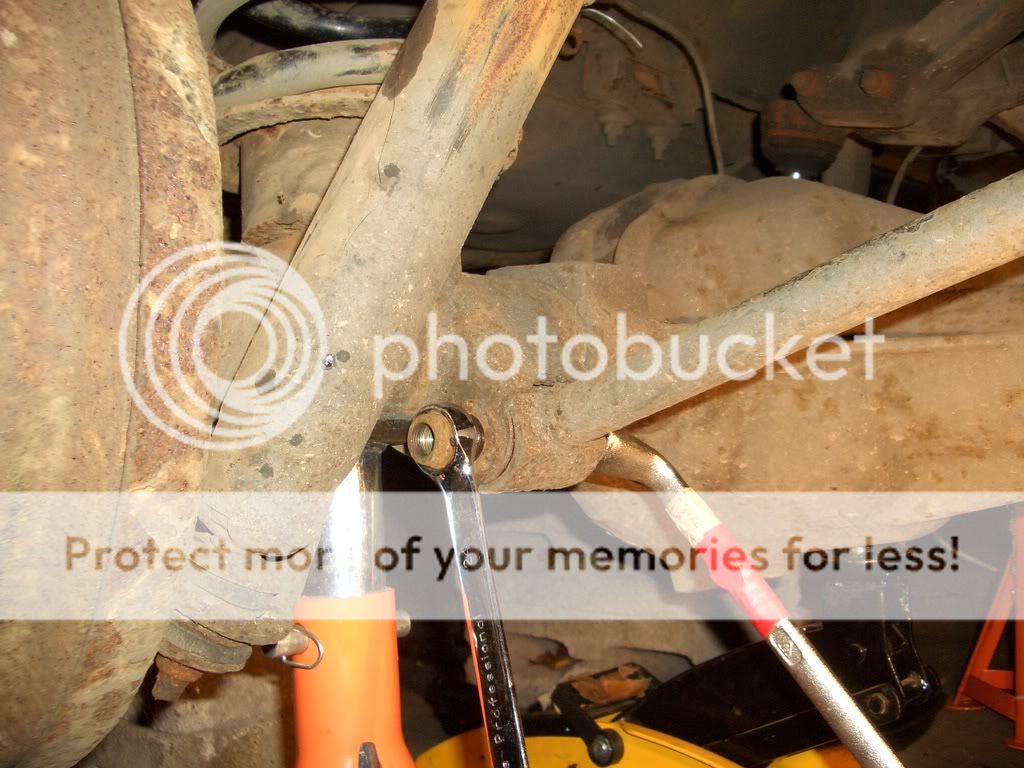
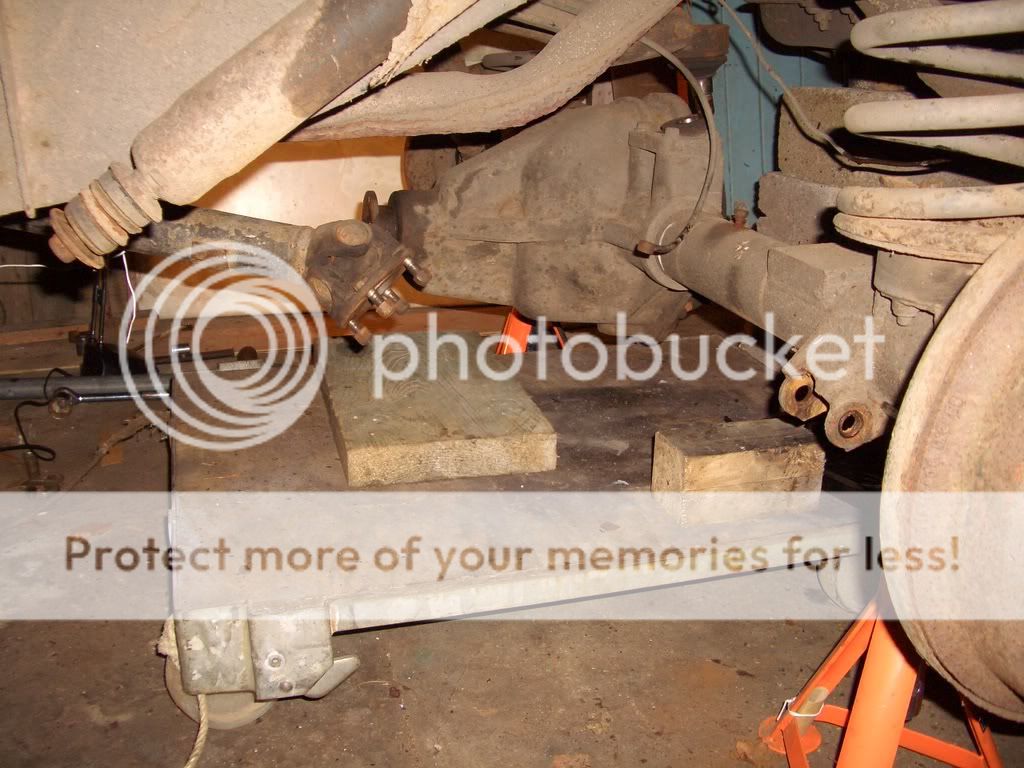
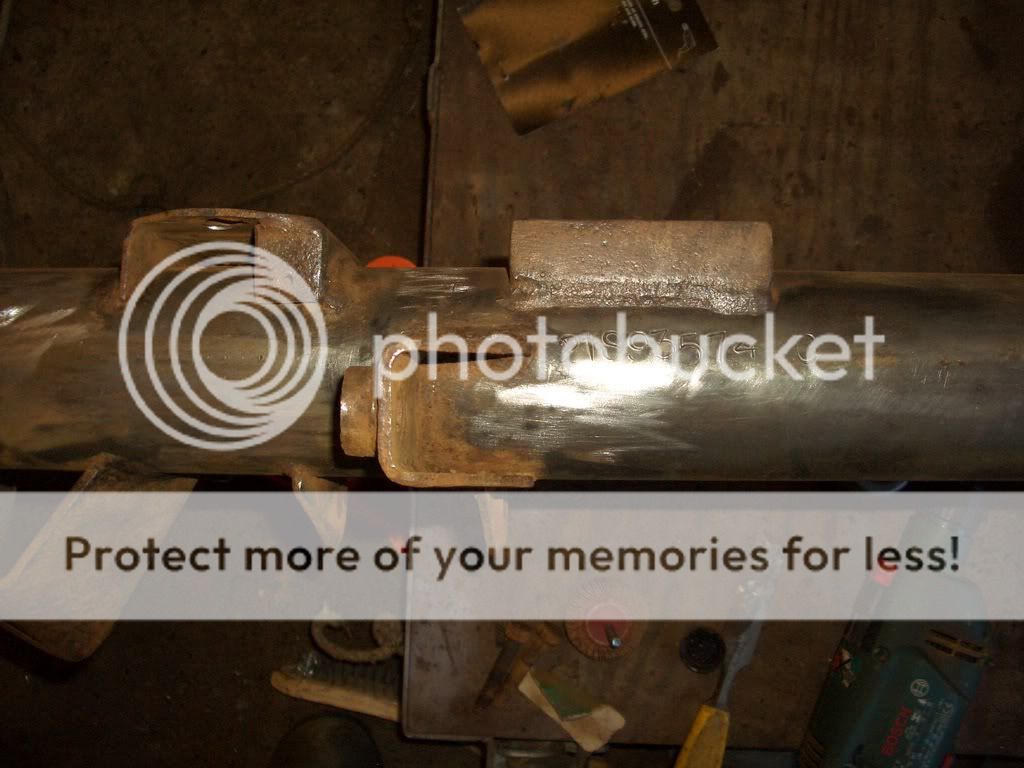
Next thing was to remove the trailin' arms.
Ah thought ah could get away with just undoing them from the axle, but in the end ah had to remove them completely.....
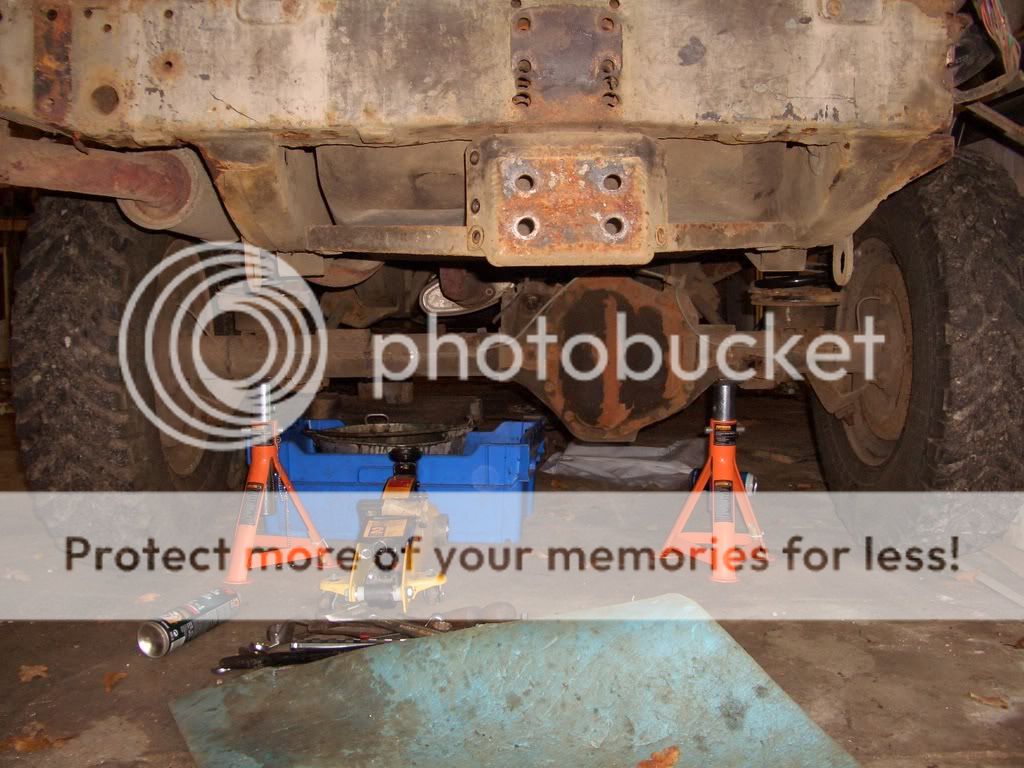
Then ah undid the bottoms of the shockers and swung them out of the way and slid my trolley in.....
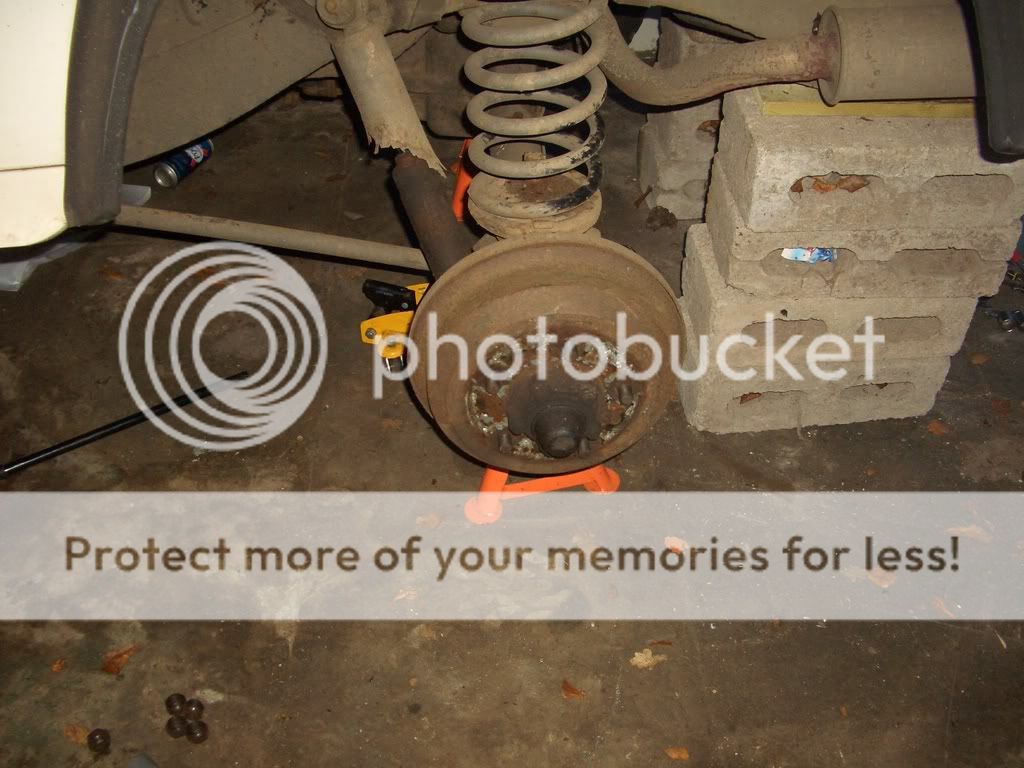
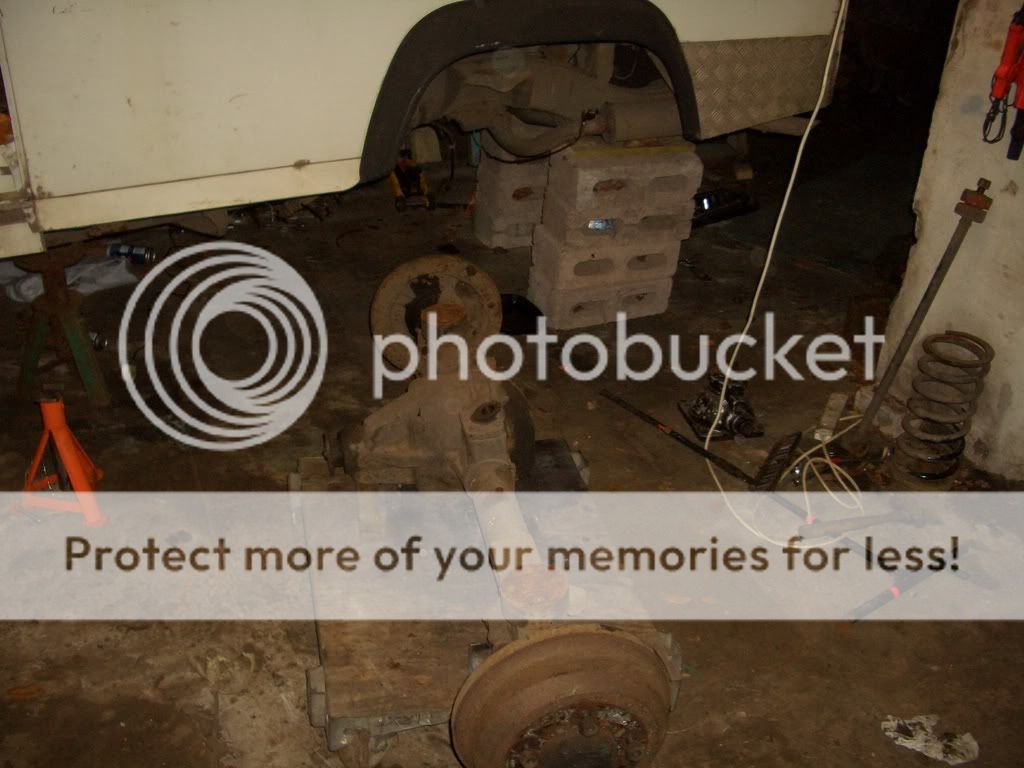
Next thing was to stick a jack under each brake drum.
If you're using a trolley jack, don't have it in line with yer motor as the axle will roll off when ye lower it, have it so it's side on.
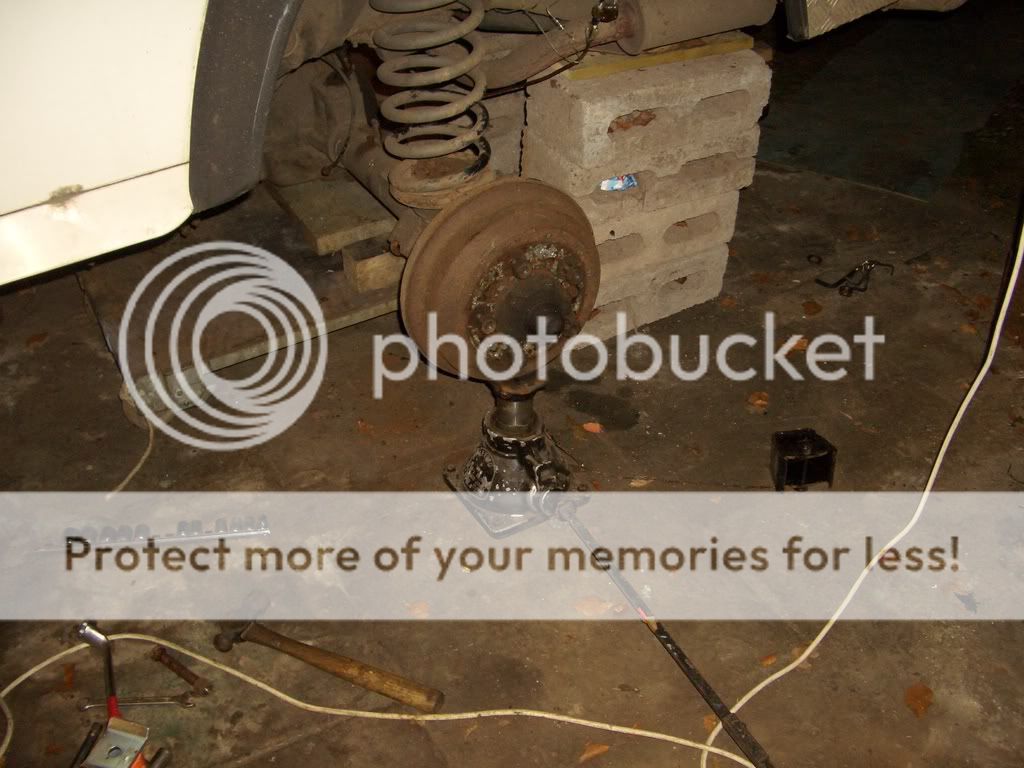
The next part would be easier with two people, but there was only me and ah managed. Raised one jack up and removed the axle stand whilst holding the drum steady, it felt pretty steady so ah went to the other side and did the same. Then it was a case of slowly lowerin' the jacks bit by bit until it was on the trolley.
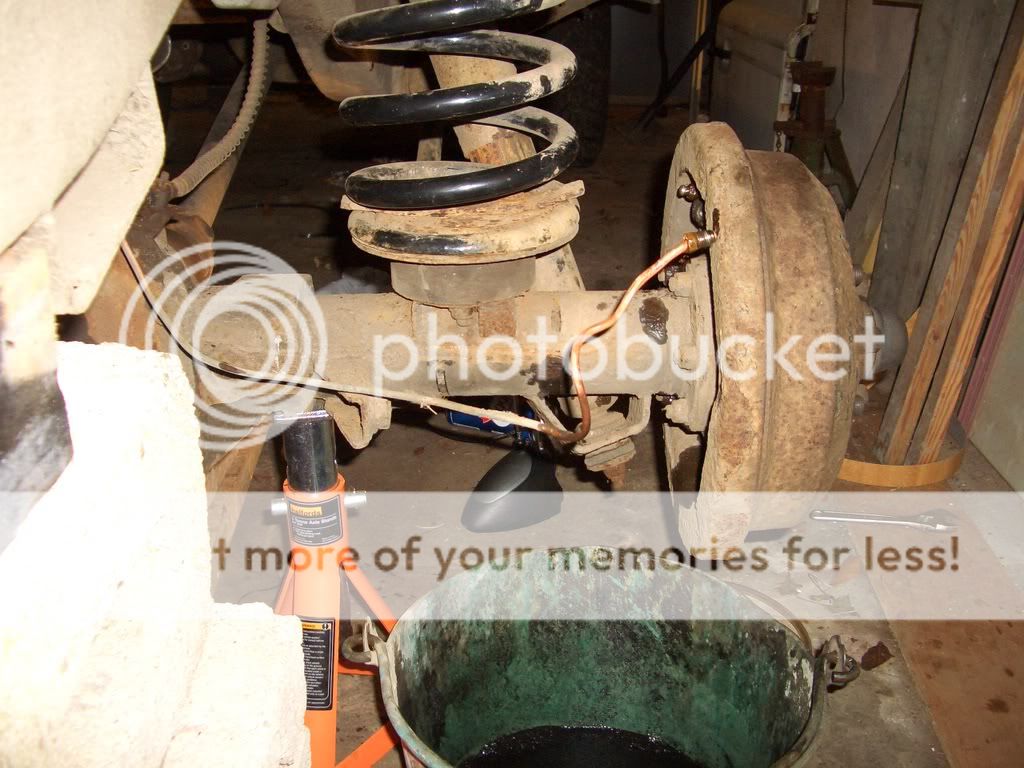
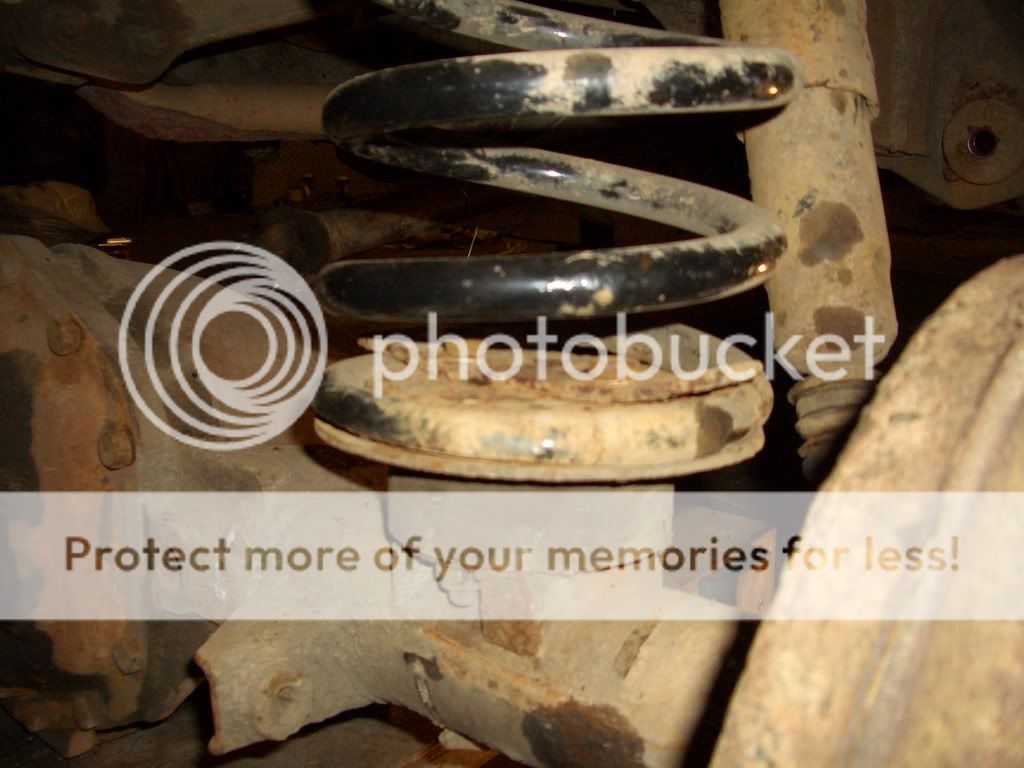
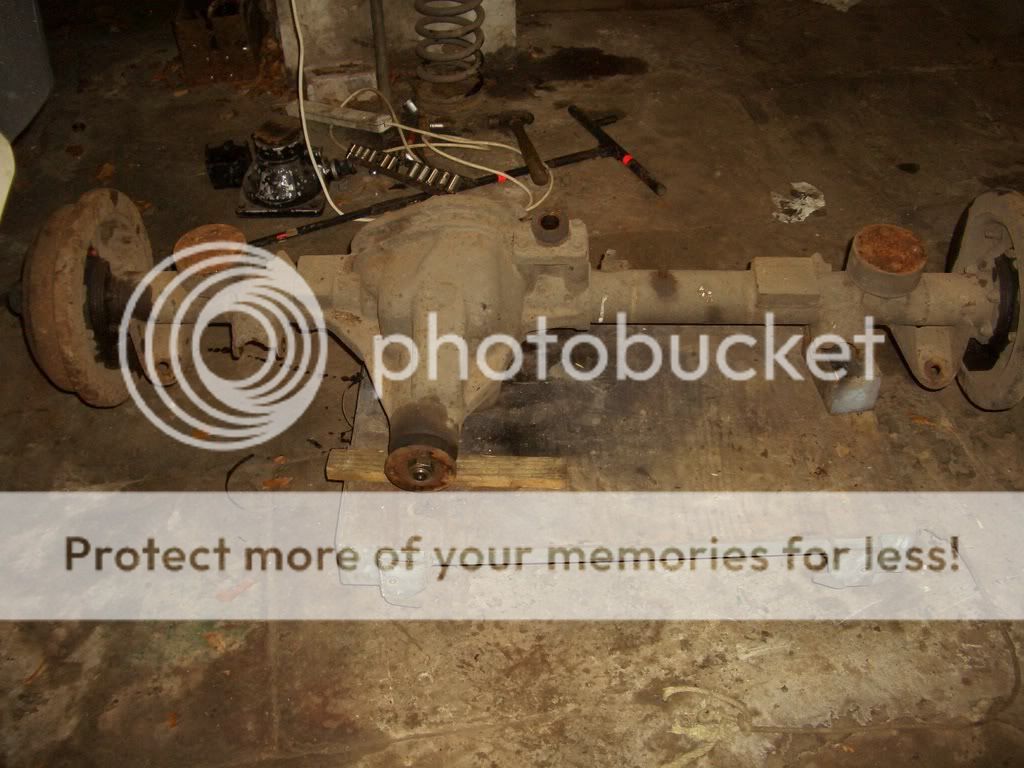
Then ah undid the clamp that held the springs on and removed them...
and pulled the axle out from underneath...
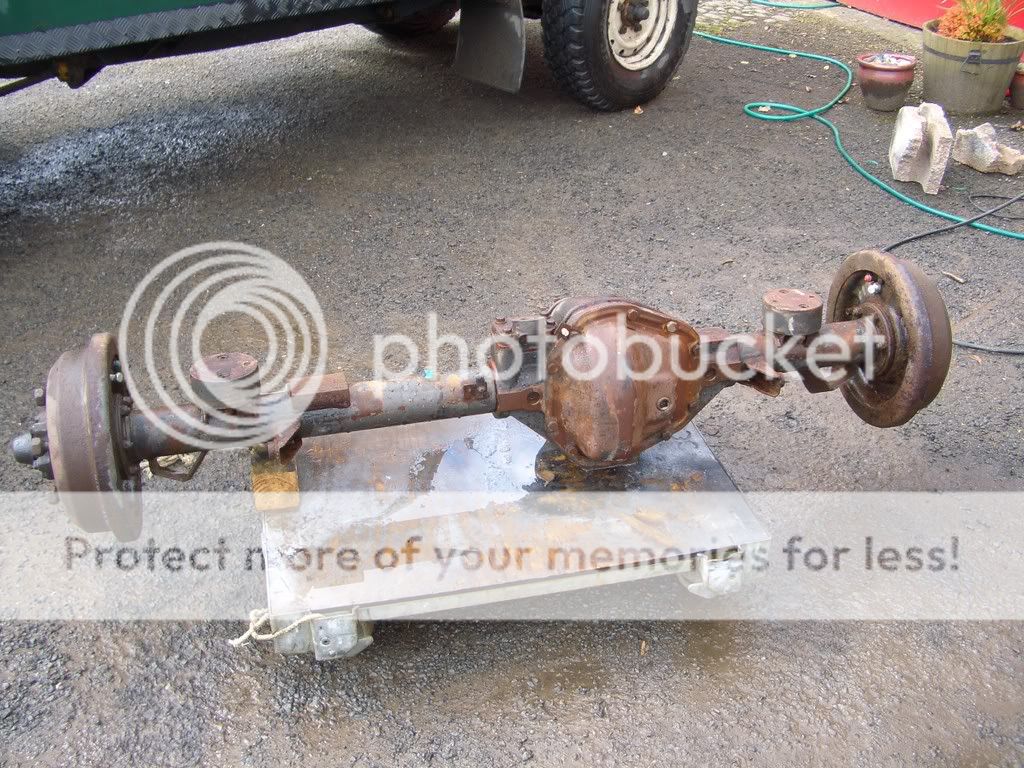
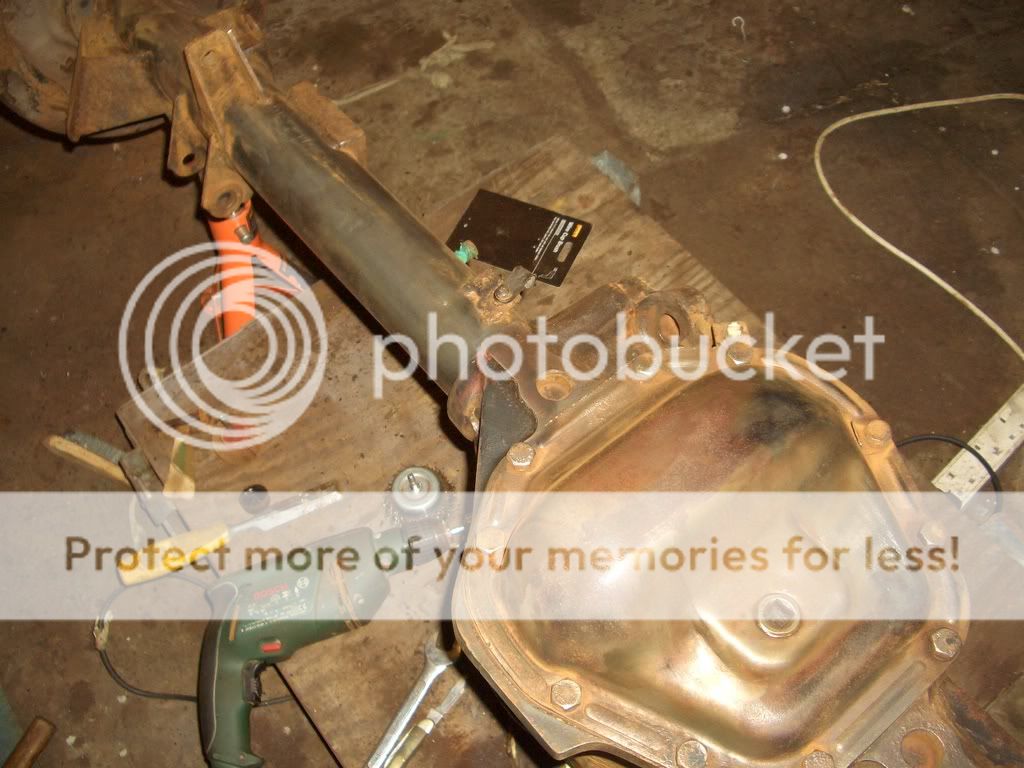
All ah've got to do now is give it a good clean and see what's needin' done to it before ah swap it over..
t was time for a clean. Got the degreaser and me pressure washer out and gave it a bit of a blast...
Once it had dried off ah got stuck into it with awire brush, angle grinder, more wire brushes on the drill and some sand paper...
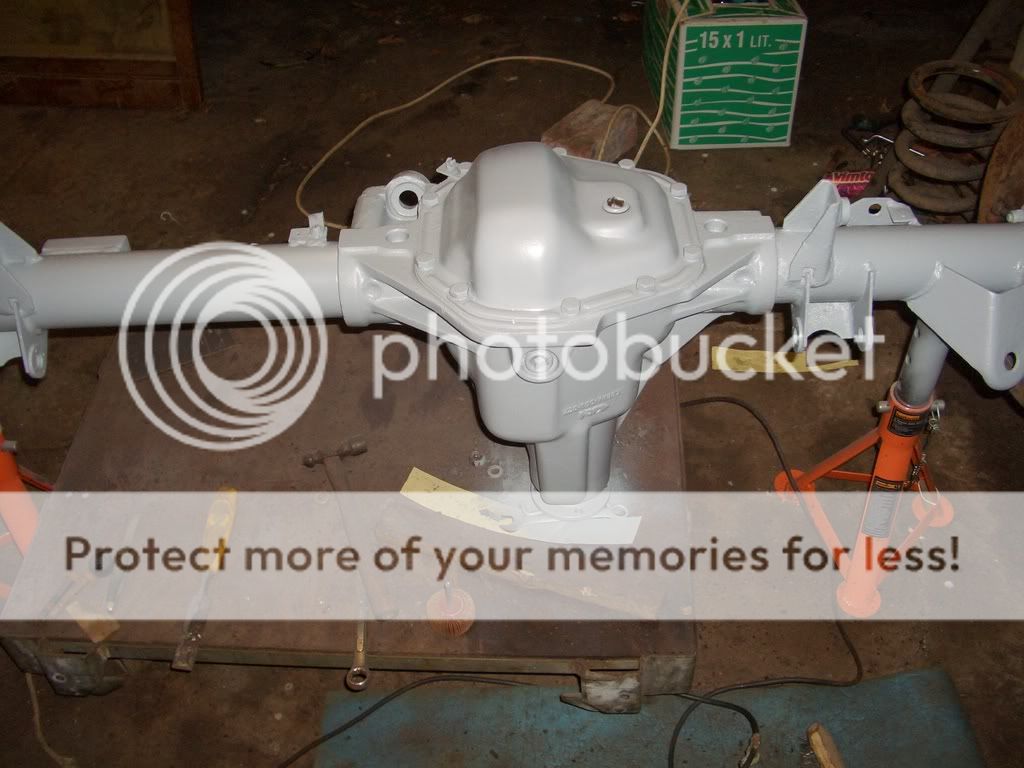
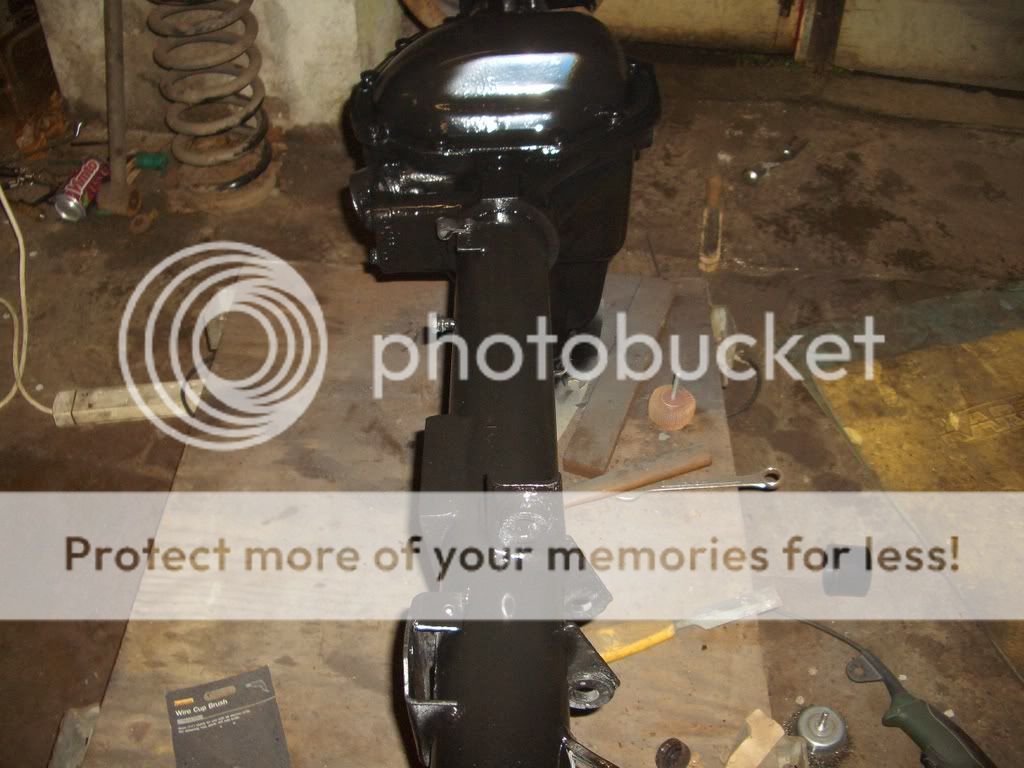
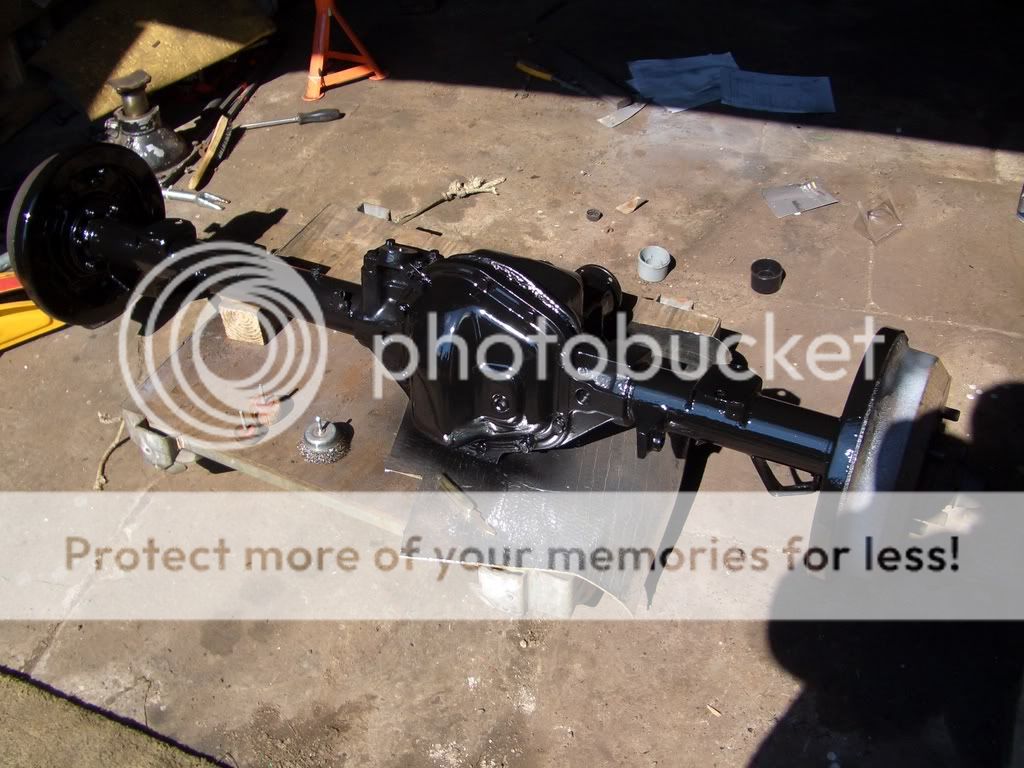
then it was time for the primer...
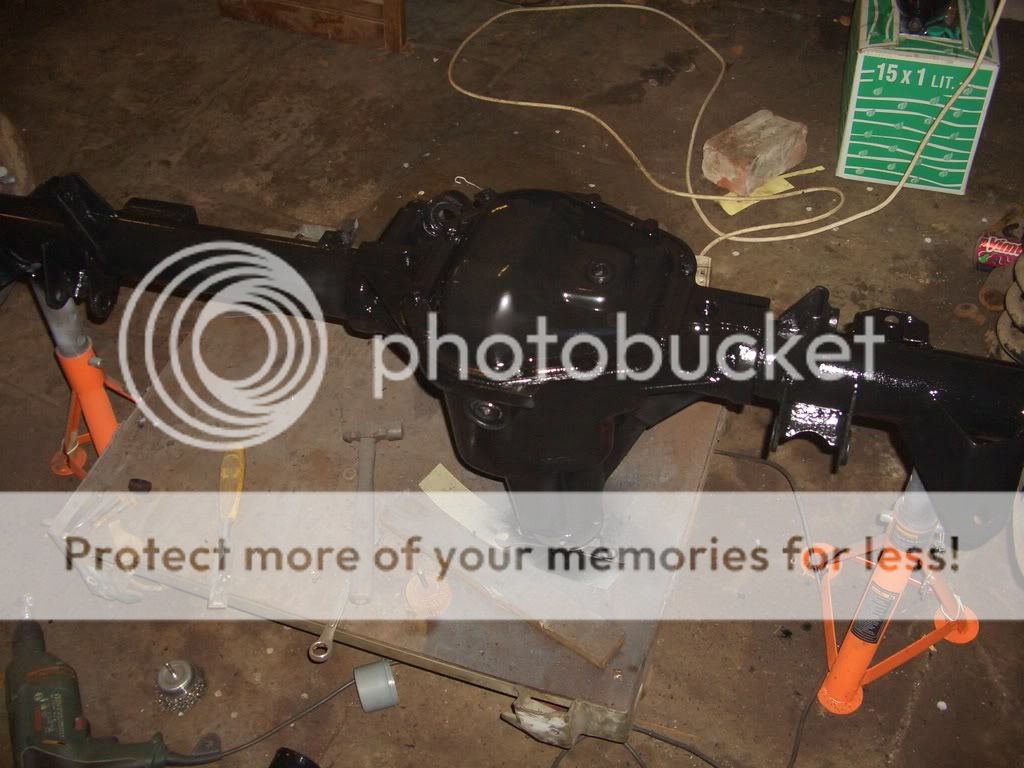
and paint....
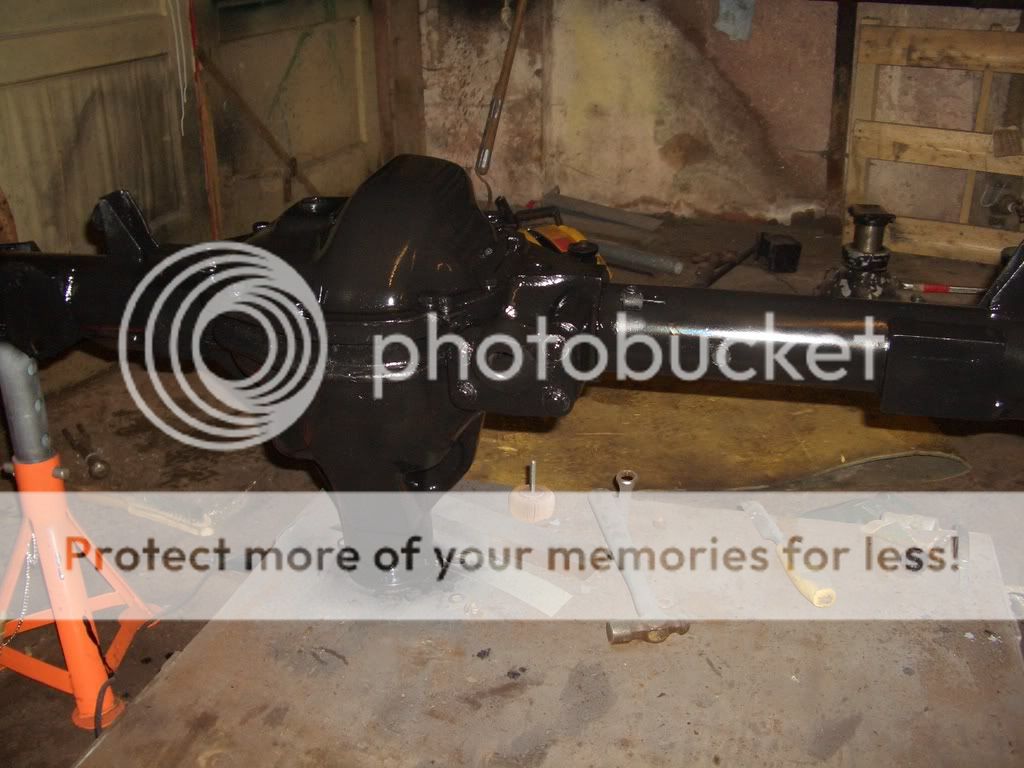
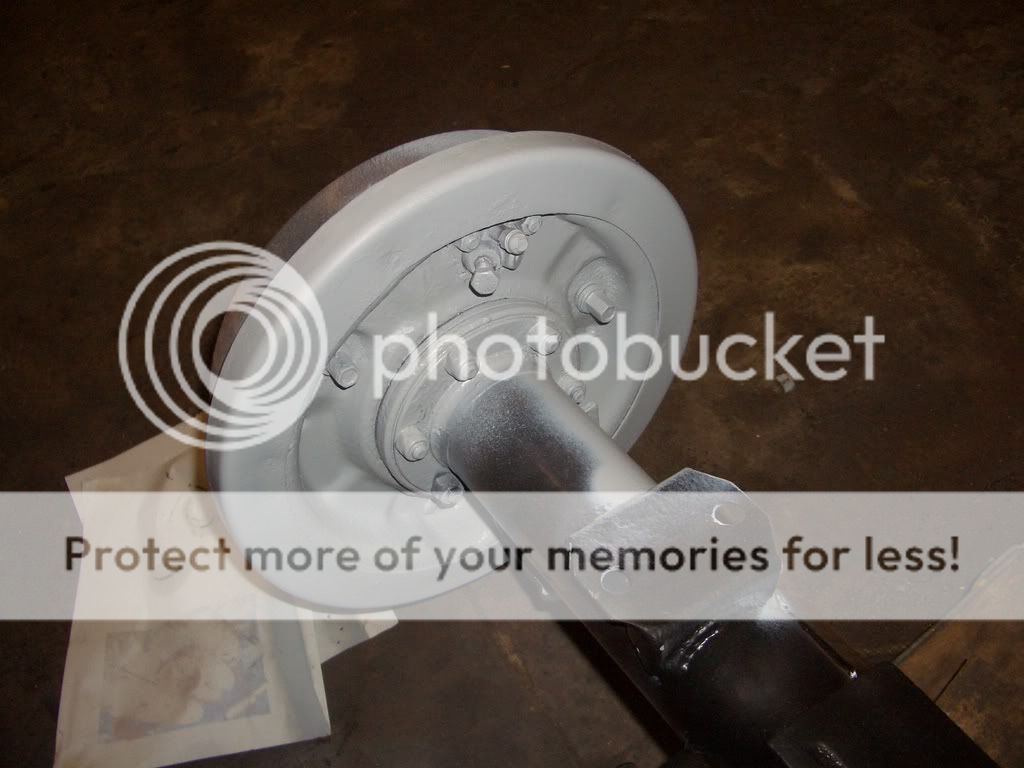
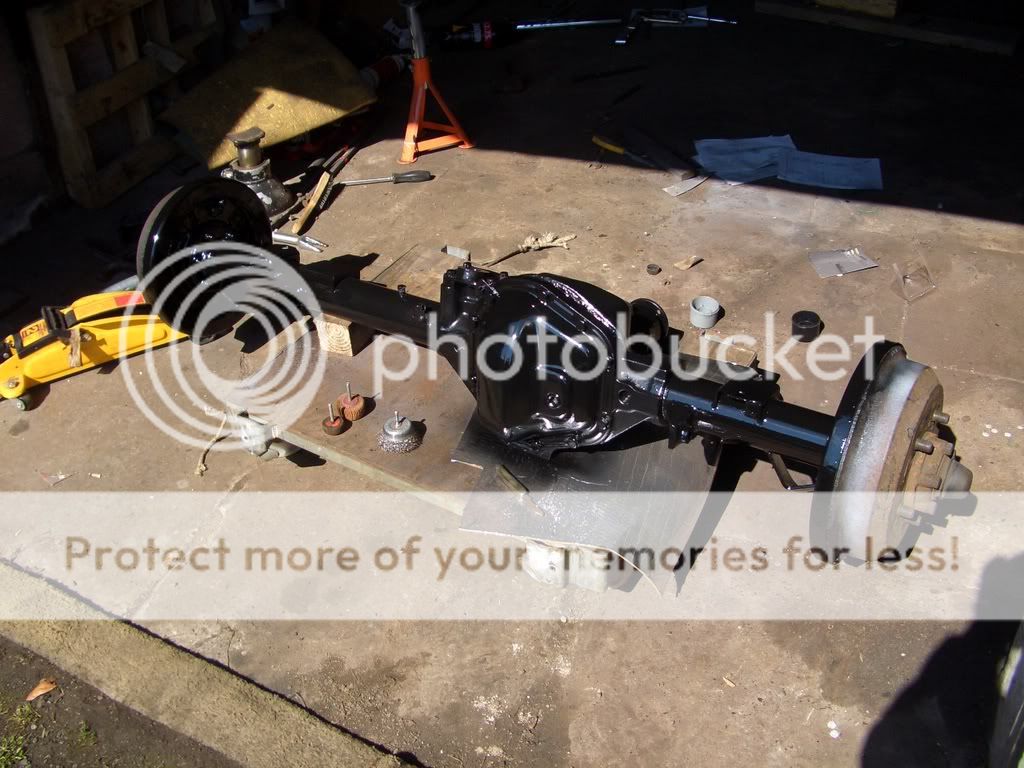
wasn't too sure what ah was goin' to do with the ends, but decided to keep them instead of replacin' them, came up ok in the end...
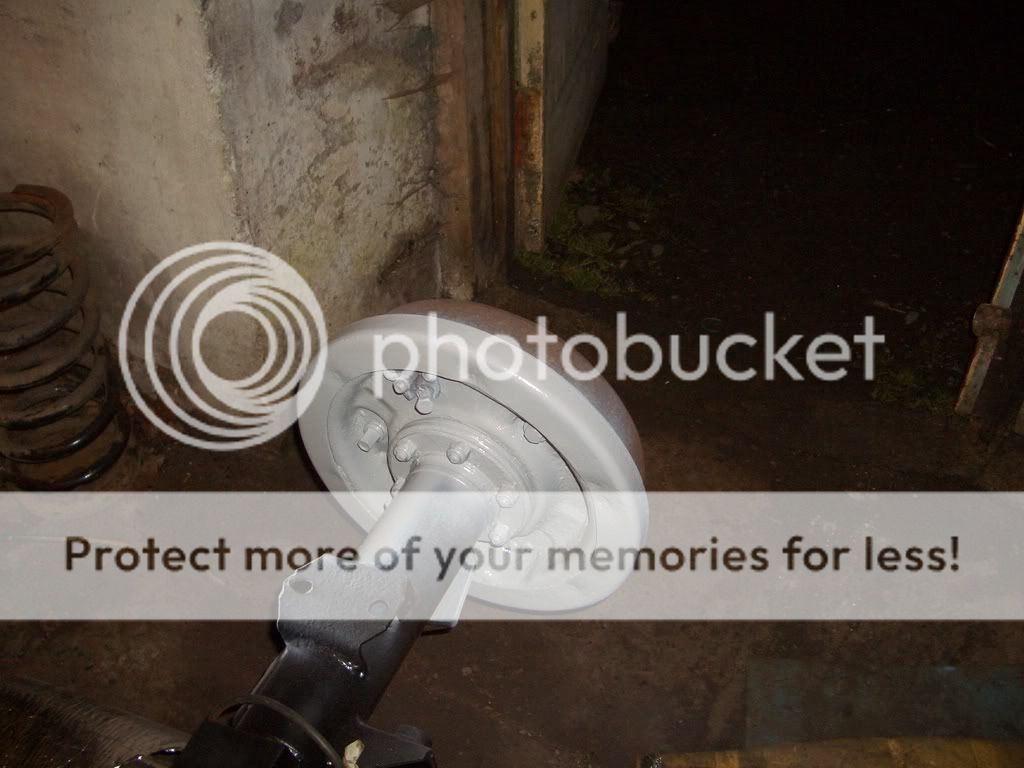
and this is the axle dryin' in the sun after paintin' the ends...
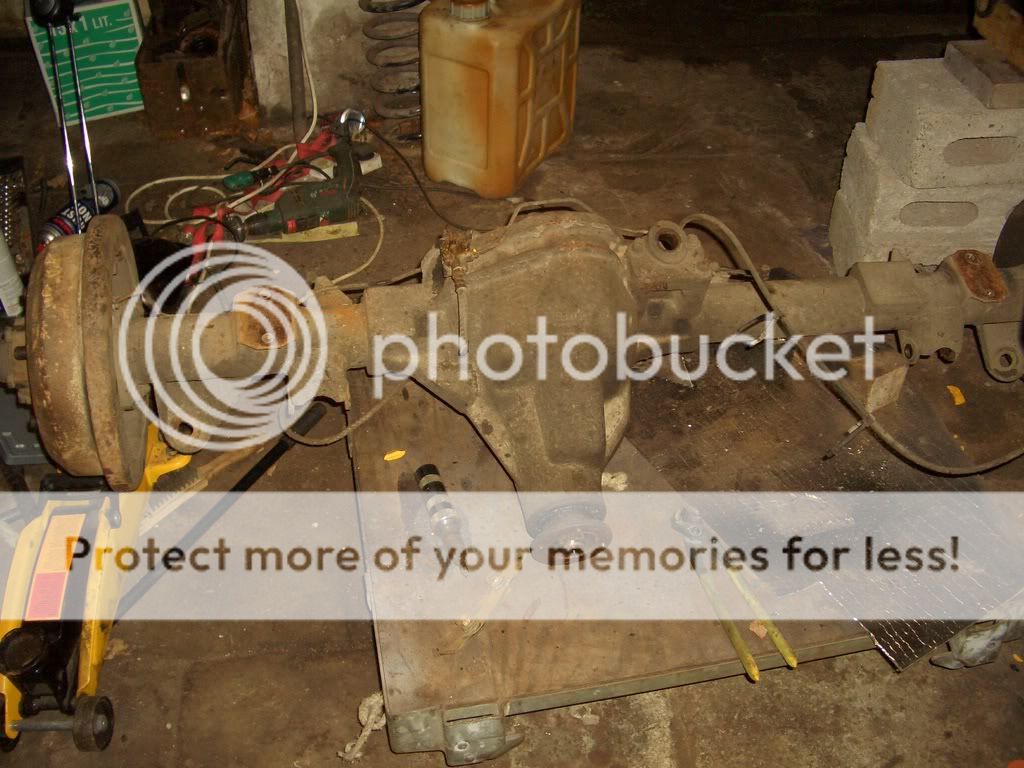
just a couple of pics of the axle that ah was swappin' it for...
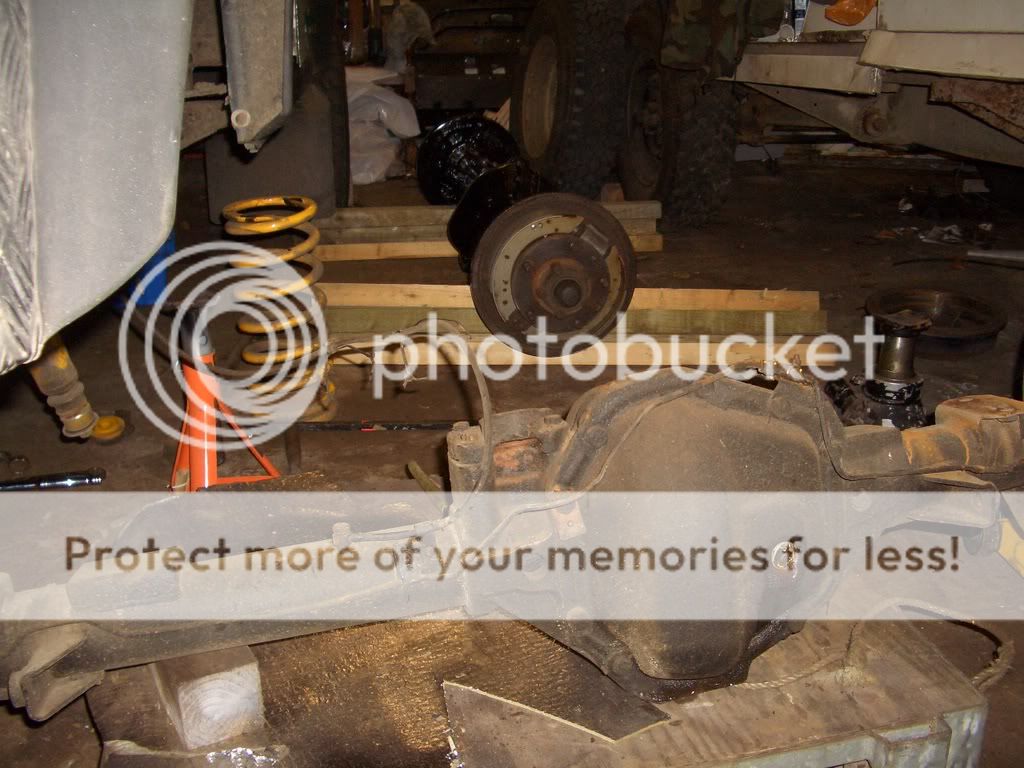
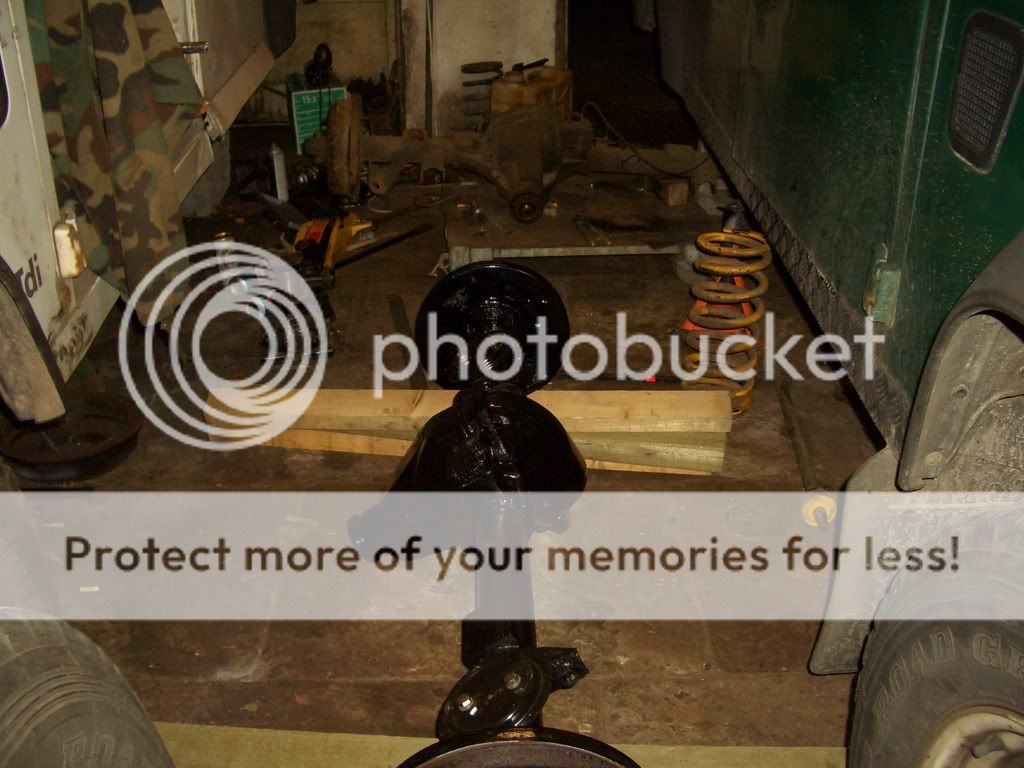
Almost ready to go in....
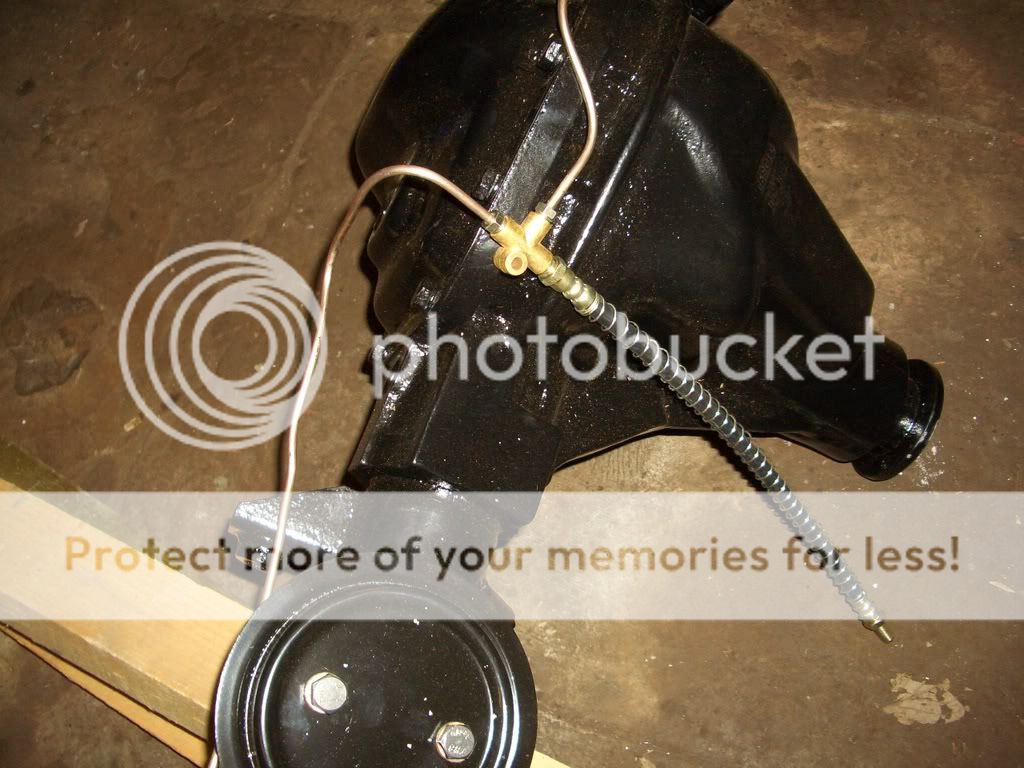
Ah decided that ah would do the brake lines while ah was at it as well.....
and this is the 'new' axle finally in...
job done
Here's how ah did it.....
the donor axle..
ah 'loosened' off the trailin' arm nuts and bottom shock nuts (only because ah wasn't sure how tight or stuck they were, and it would be a bit easier with the bus still on the ground).....
slackened the wheel nuts, jacked it up and sat the axle on stands....
Then secured the bus by stickin' blocks and a couple of pieces of wood under the chassis and took the wheels off....
next thing was the brakes...
Haynes manual says summit about removin' the cap from the reservoir, puttin' some polythene over the hole and stickin' the cap back on to minimise fluid loss, so ah cut a bit off a bin liner and used that (sorry no pic cos the edges weren't neatly trimmed
)Ah removed the pipes from the brake drums...
and taped a wee bag over the ends to stop any crap gettin' onto them....
then ah unid the bracket from the top of the axle...
and tied them up out of the way...
Next thing ah did was undo, remove from diff and tie the propshaft up out of the way....
After that, ah removed the split pin from the A frame ball joint and removed the nut...
(A slight tap with a hammer may be needed to shift it, becarefull of the threads, use a drift or summit similar)
Ah then removed the axle breather pipe...
Next thing was to remove the trailin' arms.
Ah thought ah could get away with just undoing them from the axle, but in the end ah had to remove them completely.....
Then ah undid the bottoms of the shockers and swung them out of the way and slid my trolley in.....
Next thing was to stick a jack under each brake drum.
If you're using a trolley jack, don't have it in line with yer motor as the axle will roll off when ye lower it, have it so it's side on.
The next part would be easier with two people, but there was only me and ah managed. Raised one jack up and removed the axle stand whilst holding the drum steady, it felt pretty steady so ah went to the other side and did the same. Then it was a case of slowly lowerin' the jacks bit by bit until it was on the trolley.
Then ah undid the clamp that held the springs on and removed them...
and pulled the axle out from underneath...
All ah've got to do now is give it a good clean and see what's needin' done to it before ah swap it over..
t was time for a clean. Got the degreaser and me pressure washer out and gave it a bit of a blast...
Once it had dried off ah got stuck into it with awire brush, angle grinder, more wire brushes on the drill and some sand paper...
then it was time for the primer...
and paint....
wasn't too sure what ah was goin' to do with the ends, but decided to keep them instead of replacin' them, came up ok in the end...
and this is the axle dryin' in the sun after paintin' the ends...
just a couple of pics of the axle that ah was swappin' it for...
Almost ready to go in....
Ah decided that ah would do the brake lines while ah was at it as well.....
and this is the 'new' axle finally in...
job done