- Posts
- 9,105
- Location
- Roaming the UK on assignments
Sorry to see you in't been well Paul.
So what you got planned for after dinner then, won't take you long to fix all of that lot")
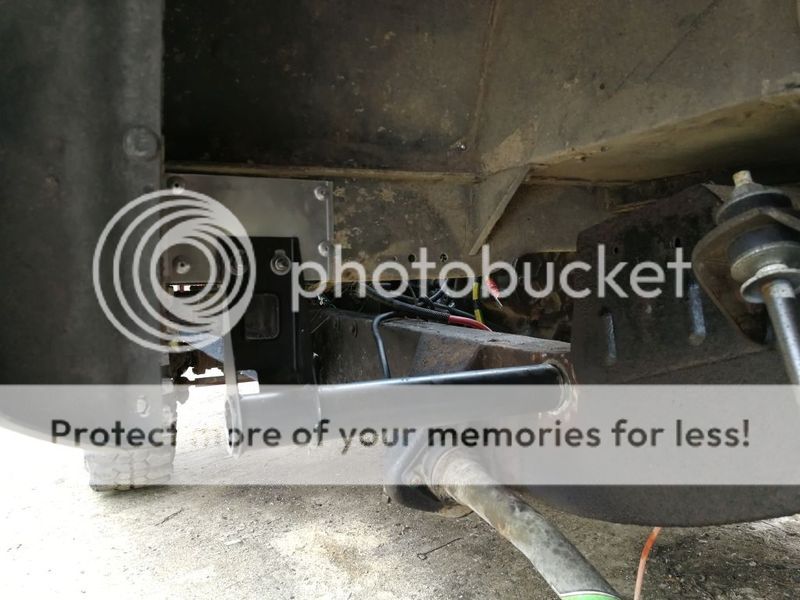
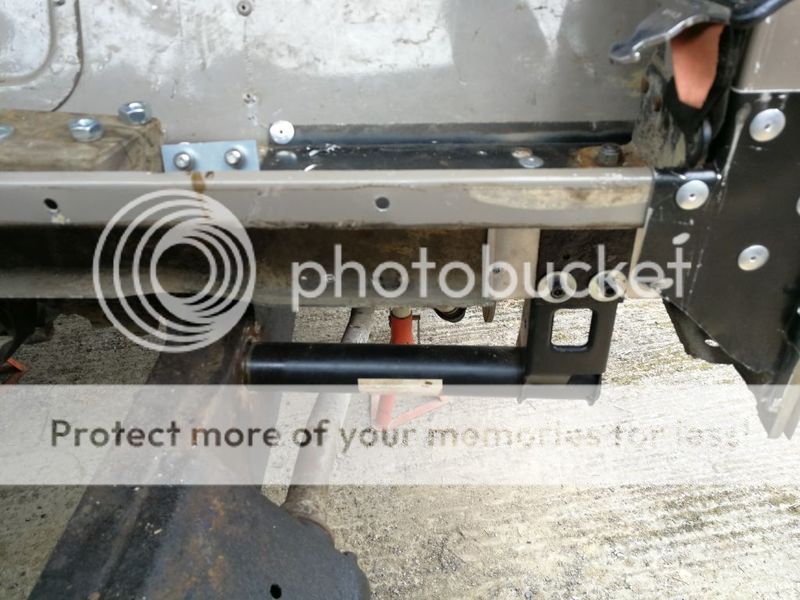
Shame you're so far away, I'd have popped over an welded you a new tube outrigger on and helped you with the body.
The weathers getting better now so you'll be back out tinkering soon enough pal.
So what you got planned for after dinner then, won't take you long to fix all of that lot
Shame you're so far away, I'd have popped over an welded you a new tube outrigger on and helped you with the body.
The weathers getting better now so you'll be back out tinkering soon enough pal.