Freelander 2 (LR2) PAS Hose Hex bolt removal

This site contains affiliate links for which LandyZone may be compensated if you make a purchase.

Oscar7

Member
Posts
16
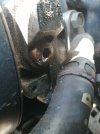
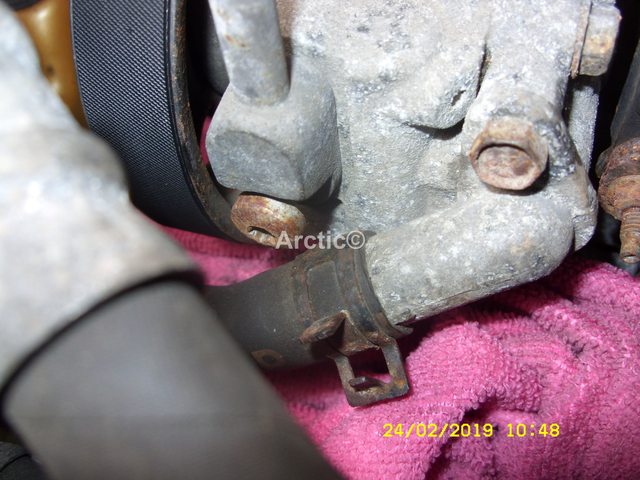
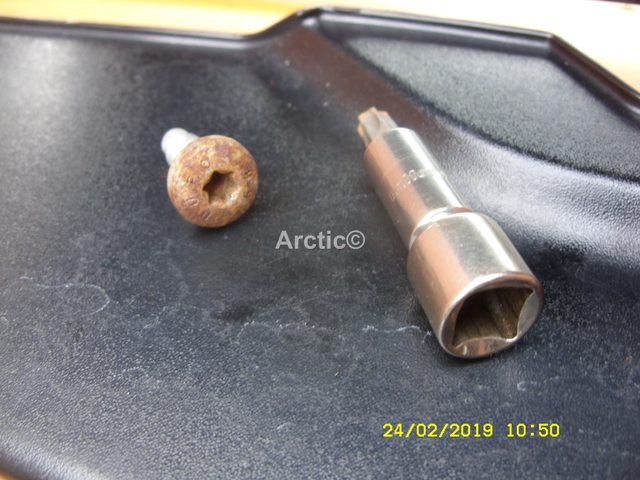
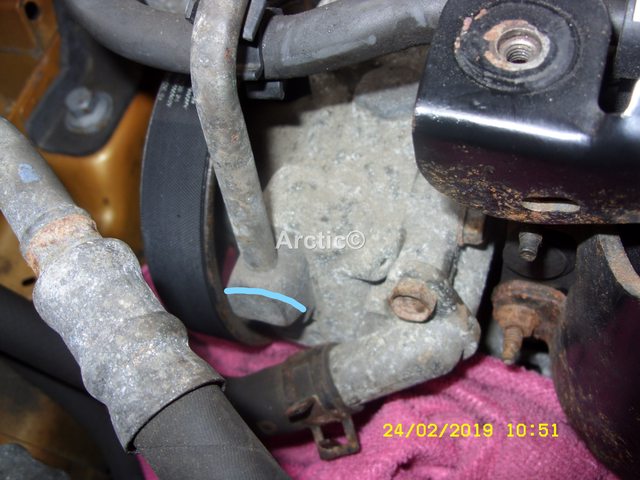
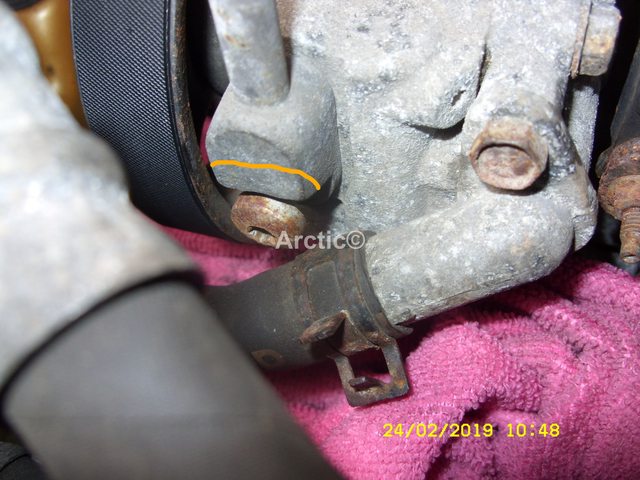
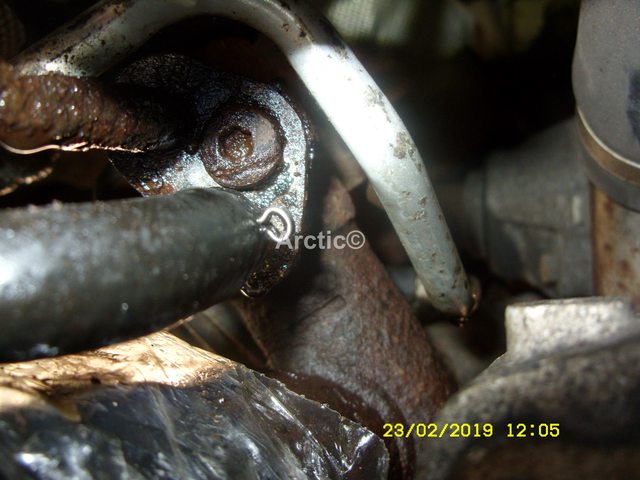
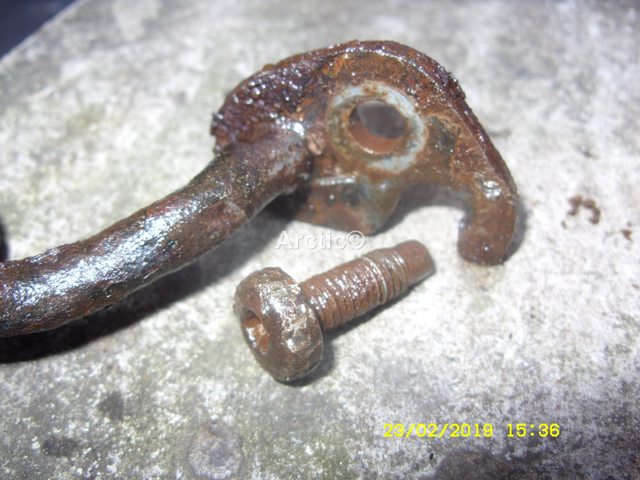
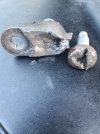
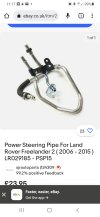
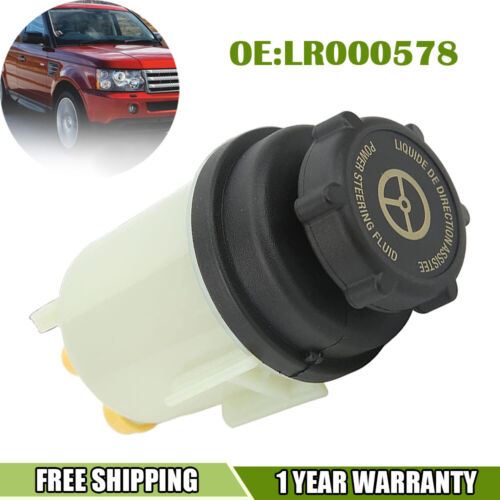
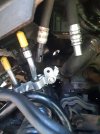
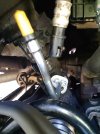
Hi, looking for some help, please. I am replacing the high pressure PAS hose and and can't remove the hex bolt from PAS pump due to it being rounded (photo attached). Have tried to get a chisel into it, but no luck.
The space is very tight, so options seem limited on what you can do and I don't want to experiment and make things worse.
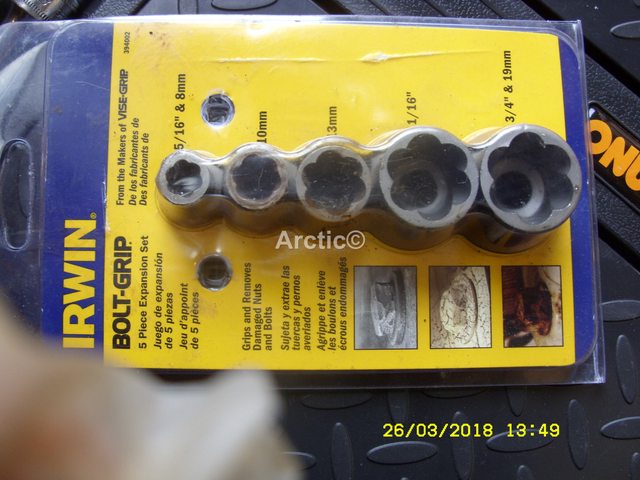
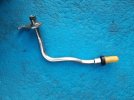
Anyone els solved this problem, can you weld or glue a nut or a hex key to it, could I cut the pipe need the bold to get better access?
Any advise is welcome, cheers.
 

Attachments

  • IMG_20230610_130708.jpg
    IMG_20230610_130708.jpg
    189.5 KB · Views: 73
Generally they undo easily. I normally use my air chisel on the side of offending fixings when they won't budge. Try giving the bolt a clout with a hammer, although space in that area is really restricted by the AC pipes. A clout on the bold head, will normally displace a tiny amount of material from under the bolt head, reducing the clamping bond, allowing it to turn more easily. You don't have to worry about damage to the hose, if you're replacing it anyway.
 
Generally they undo easily. I normally use my air chisel on the side of offending fixings when they won't budge. Try giving the bolt a clout with a hammer, although space in that area is really restricted by the AC pipes. A clout on the bold head, will normally displace a tiny amount of material from under the bolt head, reducing the clamping bond, allowing it to turn more easily. You don't have to worry about damage to the hose, if you're replacing it anyway.
Thanks Nodge68, I'll persevere and if still no luck will try gluing a hex bit onto it. Will update on how I'm getting on. cheers.
 
Hi Oscar.
You could try tapping in an Allen key bit if the torx bit has rounded off.
pJx1wr3l.jpg
1

BU9jqIyl.jpg
2

7ri7uUsl.jpg
3

personally i would grind the edge off the pipe hose, an hacksaw may do it, or little Dremel tool.
w2mQziKl.jpg
4

Once it exposes the bolt, you could then use what i think no home mechanic should be without is a set of Irwins removal tools.
uzuZ0Gyl.jpg
5

8N2HrmUl.jpg
6
good luck.

my trouble was the opposite of of the job.
WPShh66l.jpg
7

U6bghESl.jpg
8
 
Thanks Arctic2, couldn't get an allen key to stay in and glue didn't bond, so will try grinding it down tomorrow. Had problem with the other bolt also, but managed to cut and chisel that off.
 
Thanks Arctic2, couldn't get an allen key to stay in and glue didn't bond, so will try grinding it down tomorrow. Had problem with the other bolt also, but managed to cut and chisel that off.
Are you using the correct bit to fit the bolt? It's a Torx not a Hex. A Hex will fit, but won't hold as it's not the same profile.
 
Now finished, bolt was tight, but eventually managed it by grinding, using a cutter to make a groove in bolt, then long screw drover and heavy hammer to get off. Hope putting the new bits on is not half as challenging; any tips of things to look out for?
 

Attachments

  • 20230622_192205.jpg
    20230622_192205.jpg
    324.1 KB · Views: 62
Now finished, bolt was tight, but eventually managed it by grinding, using a cutter to make a groove in bolt, then long screw drover and heavy hammer to get off. Hope putting the new bits on is not half as challenging; any tips of things to look out for?
Getting the connection to the sold pipe at the rack apart is a challenge. If you don't want a fight, replace the metal pipes too.
 
Hi Nodge68, are these the pipes you are talking about?
 

Attachments

  • Screenshot_20230522-111720_Chrome.jpg
    Screenshot_20230522-111720_Chrome.jpg
    372.5 KB · Views: 57
Hi Nodge68, thanks for the advise, I have these parts so will replace also. Anything to consider when I do put it all back together?
 
Hi Nodge68, thanks for the advise, I have these parts so will replace also. Anything to consider when I do put it all back together?
Make sure you paint the metal pipes after installation, cleaning them with brake cleaner first.
Also only use the correct green PS fluid, not red or clear, as these incorrect fluids aren't compatible with the hydraulic seals in the system. I use Mannol CHF, which is the correct colour.


It's also sensible to replace the reservoir, as the fine filter in there clogs, causing the pump to fail.

Also don't start the engine until you've filled the reservoir, then turned the steering from lock to lock 4 times, then check the level again, topping up if needed.

If the engine is started before purging the air in the system, it takes hours of running for it to flush out.
Thanks for the tips, I will order the reservoir and hopefully up and running in the next few days.
 
Thanks for the tips, I will order the reservoir and hopefully up and running in the next few days.
Nearly there with connecting all the new pipes, but the pipe into the steering rack doesn't line up with the pipes from top of car even though the fitting to the steering rack seems to be OK. Have I missed something, am I just being stupid?
 

Attachments

  • 20230624_164547.jpg
    20230624_164547.jpg
    236.9 KB · Views: 53
Hi, this doesn't look right (took other pipe off to show a clearer picture), but is positioned in steering rack correctly. I would expect pipe to be straight up or leaning towards front, but is lining up with steering column. Any help appreciated as beginning to question my sanity.
 

Attachments

  • 20230626_185505.jpg
    20230626_185505.jpg
    244.5 KB · Views: 47
  • 20230626_185943.jpg
    20230626_185943.jpg
    445.5 KB · Views: 51
Hi, this doesn't look right (took other pipe off to show a clearer picture), but is positioned in steering rack correctly. I would expect pipe to be straight up or leaning towards front, but is lining up with steering column. Any help appreciated as beginning to question my sanity.
It looks bent wrong.
The pipes do stick straight up if not bent incorrectly. Are the pipes OE or aftermarket?
Screenshot_20230627-061356_Gallery.jpg
 
Thanks Nodge68, look like I haven't lost my sanity. They are aftermarket. Do you have a recommended site and I will order a new set.
 
Thanks Nodge68, look like I haven't lost my sanity. They are aftermarket. Do you have a recommended site and I will order a new set.
I got mine from Ebay, but from an LR supplier, who sells genuine parts.
I initially bought a cheap kit, but the hose never sealed properly, so I ripped it all out and bought an OE kit instead. The genuine kit fitted perfectly, and didn't leak. Unfortunately it's now out of stock.

https://www.ebay.co.uk/itm/27534150...bwIbE9OSGK&var=&widget_ver=artemis&media=COPY
 
Back
Top