-Defender110-
Well-Known Member
- Posts
- 1,054
- Location
- limerick, Ireland
Hey lads, this is a thread i have running on another (irish) forum, but thought i would share it here too as i still check in here a good bit for advice, and i know how ye like pictures  op2:
op2:
Some of this might be familiar as i have posted some specific photos in other threads, but said id throw it all up here! Some of it may also read a bit oddly as ill be copying and pasting from the other forum...
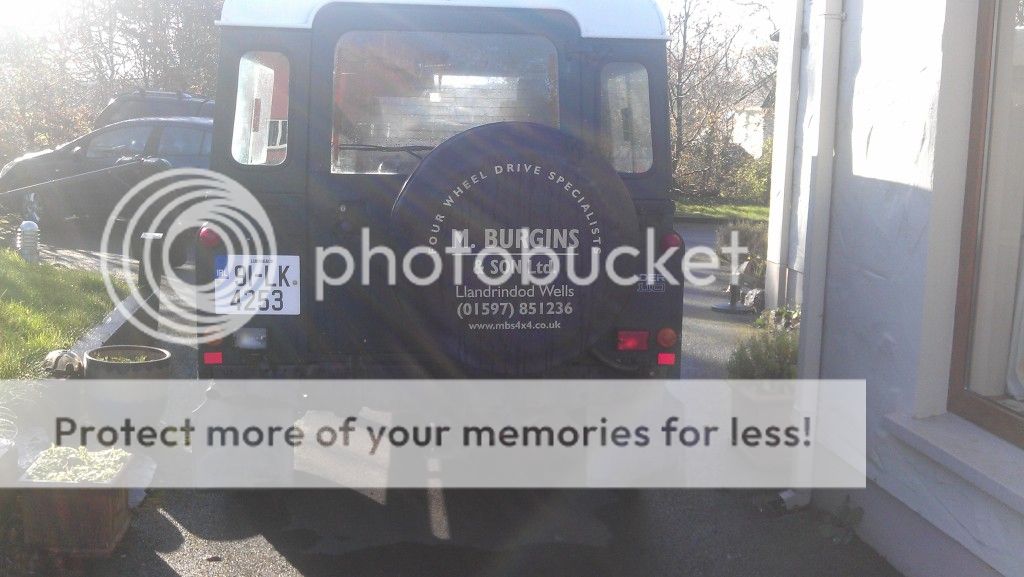
Finally, just wanted to say, Pressbrake, Fair play to you , your rear HD bumper has seen a LOT of abuse and still looks like new a year on
Enjoy!!
Post 1:
Vehicle History:
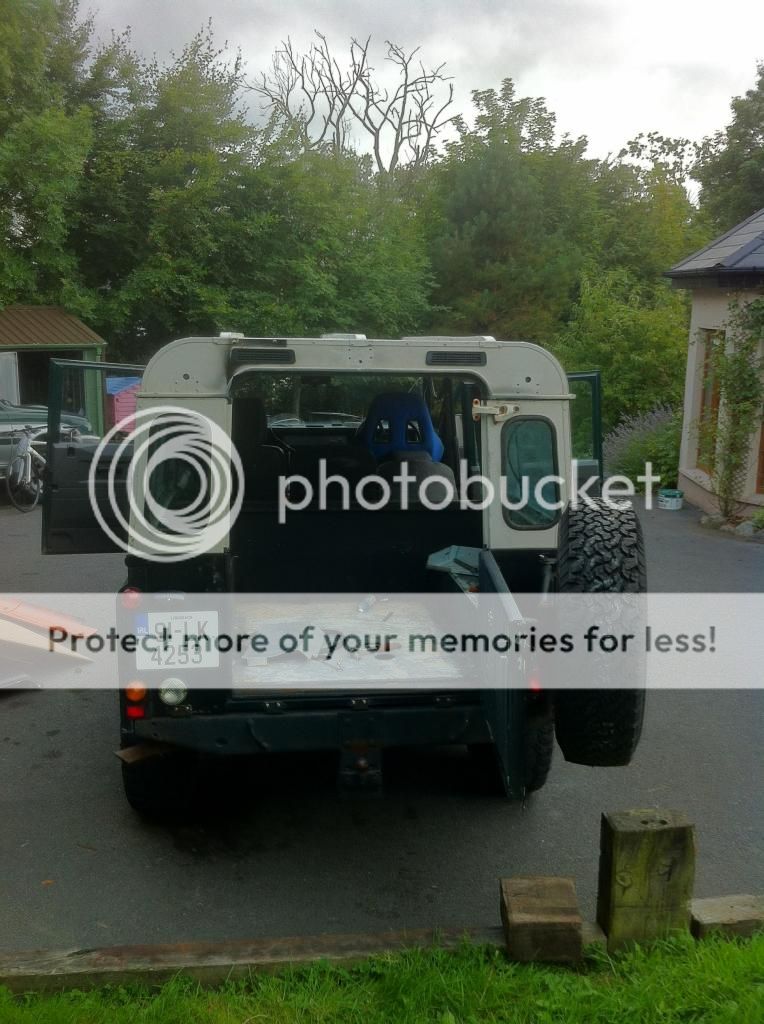
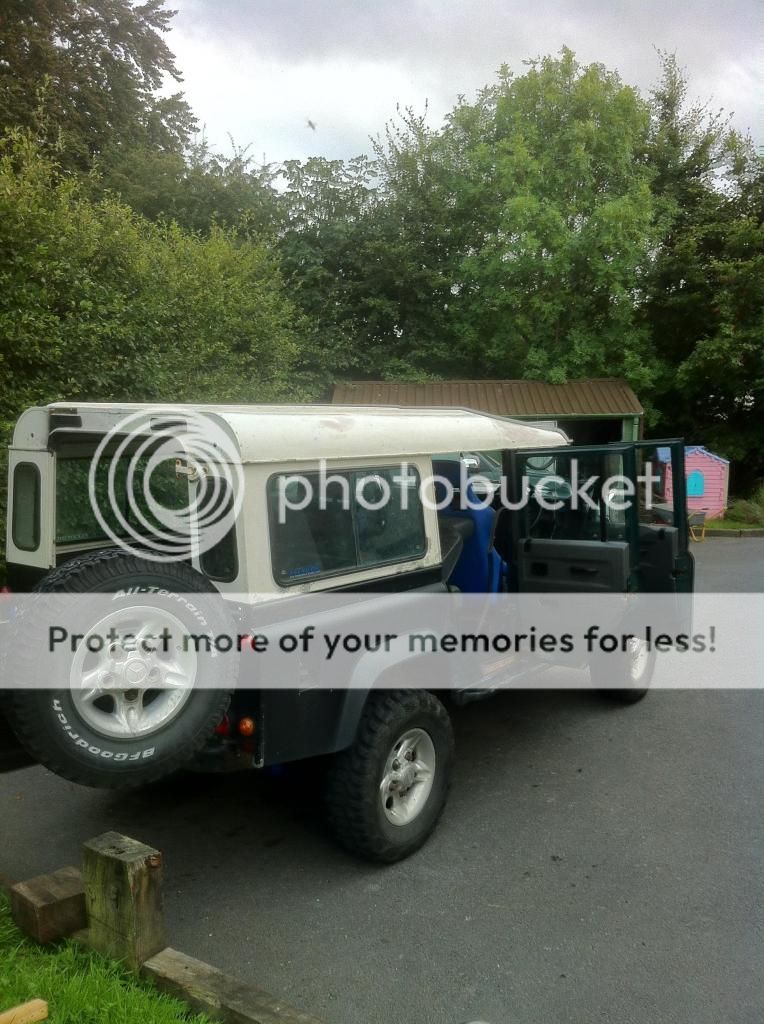
Bought it about 2 Months ago from a neighbor, he owned it for a good 9 years before me, but it spent the last three years neglected and unused so is a bit on the smelly side and has a fair amount of rot.

What i have done:
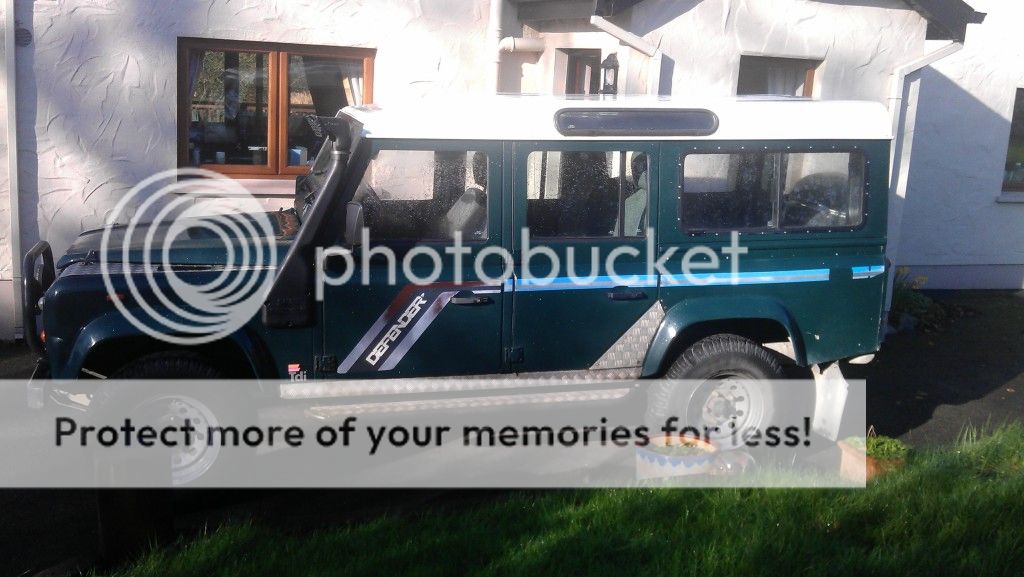
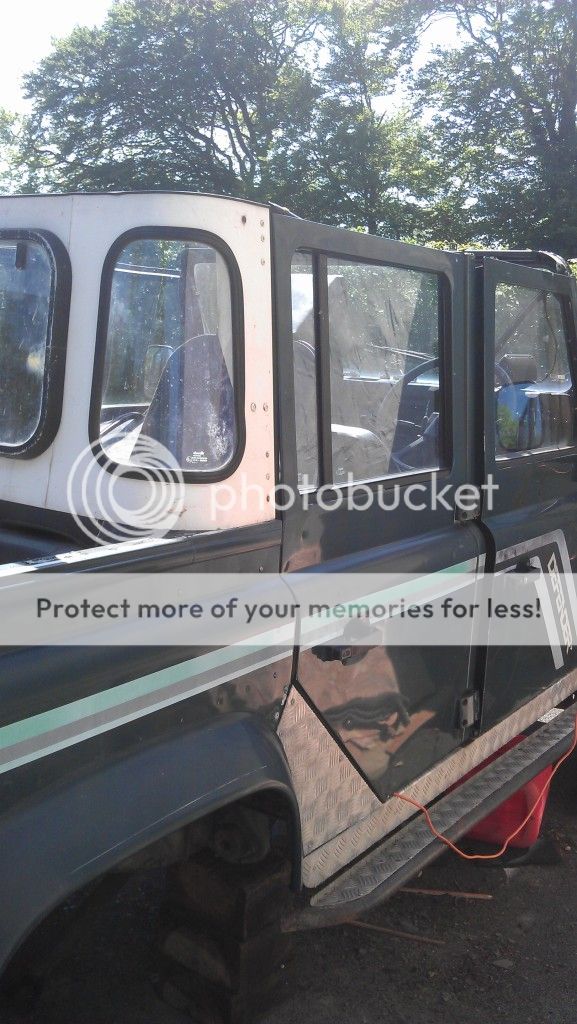
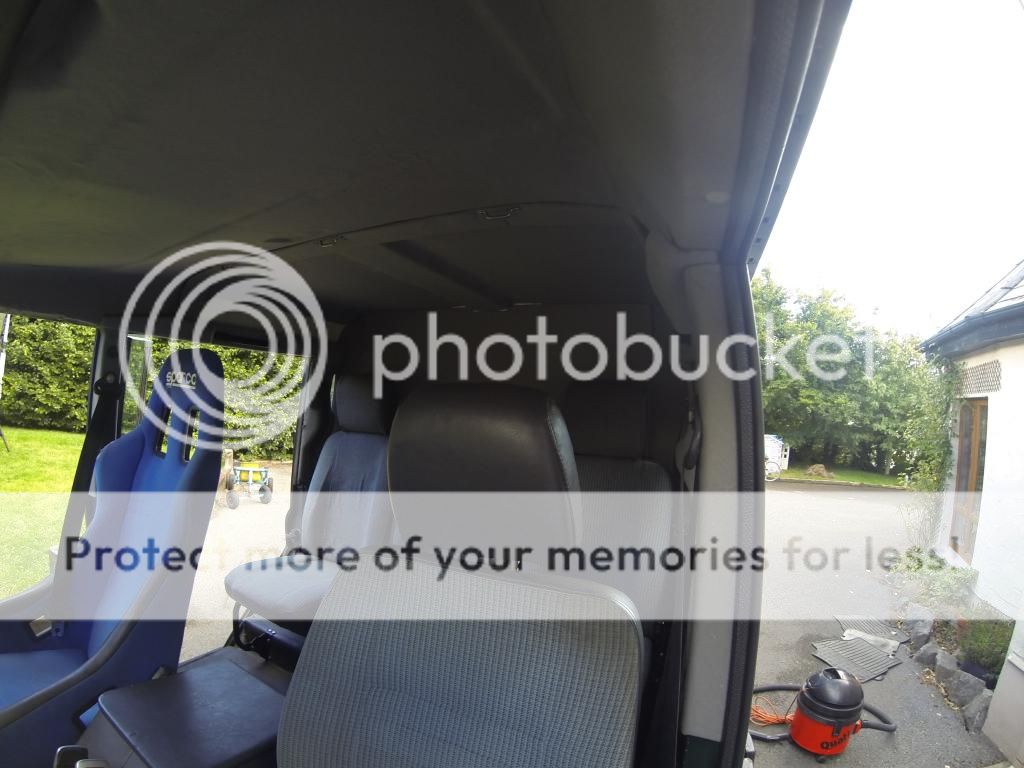
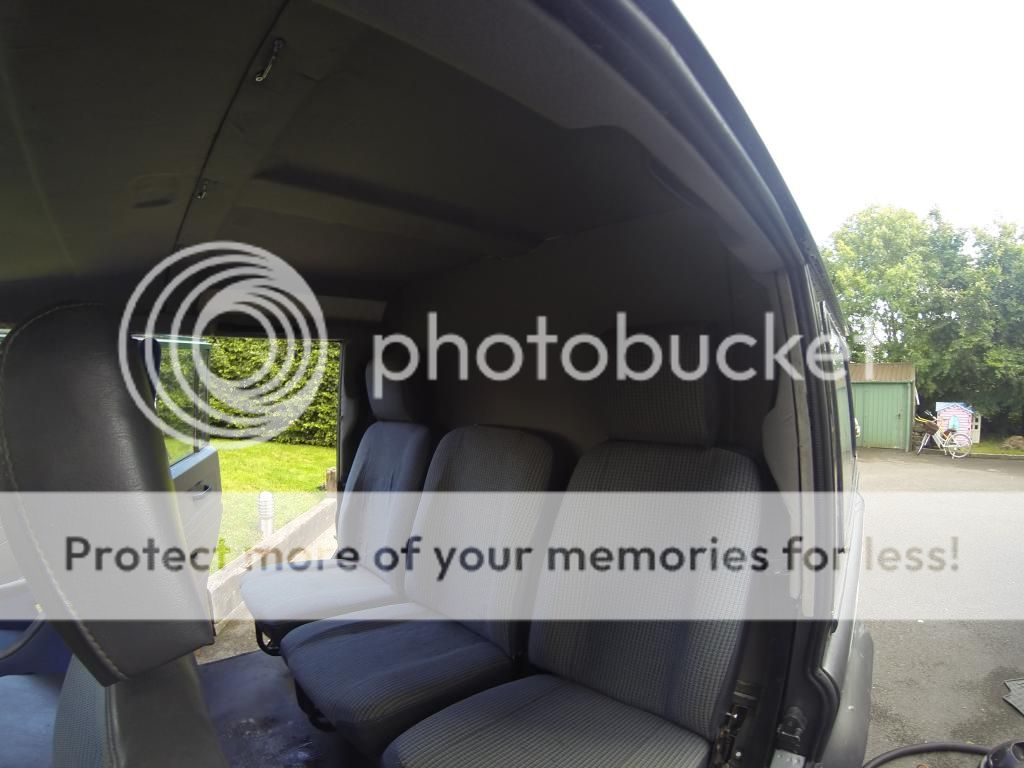
The plan is to do a full re-spray in matte black, bring the chassis back to a proper/usable condition : re upholster the interior and convert it from CSW to Crew Cab, and then add all the toys to justify getting it properly stuck in a bog in the middle of nowhere
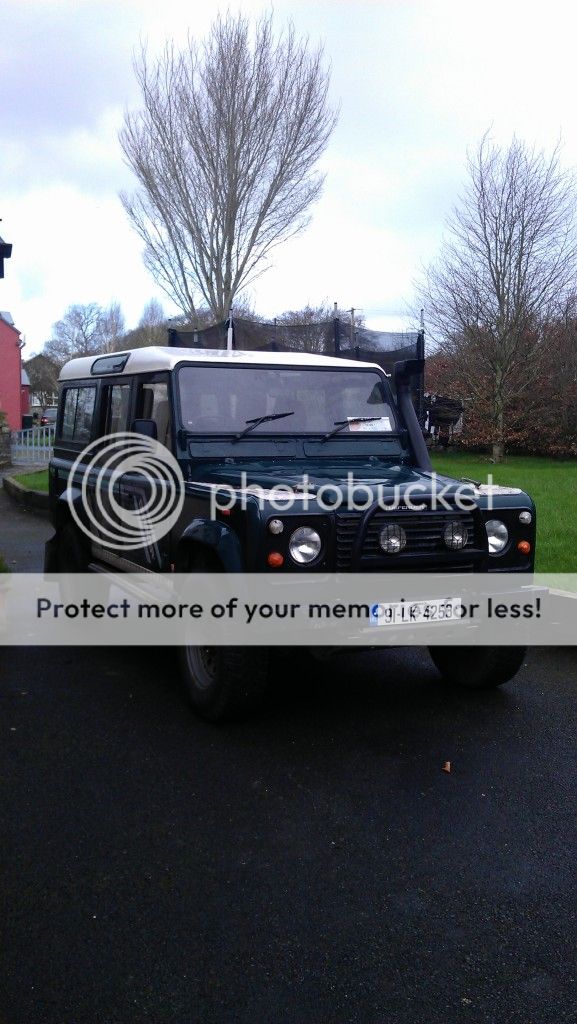
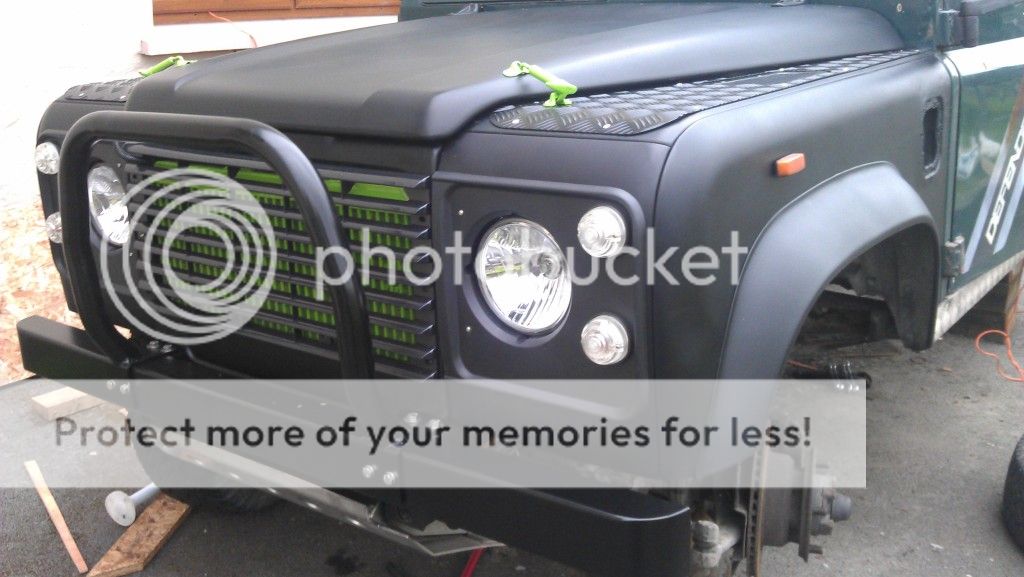
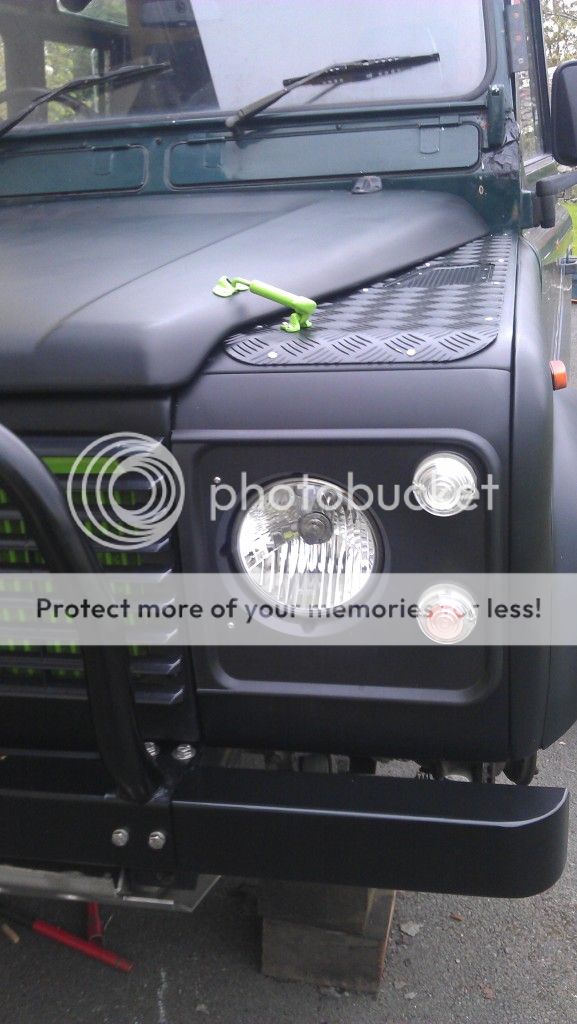
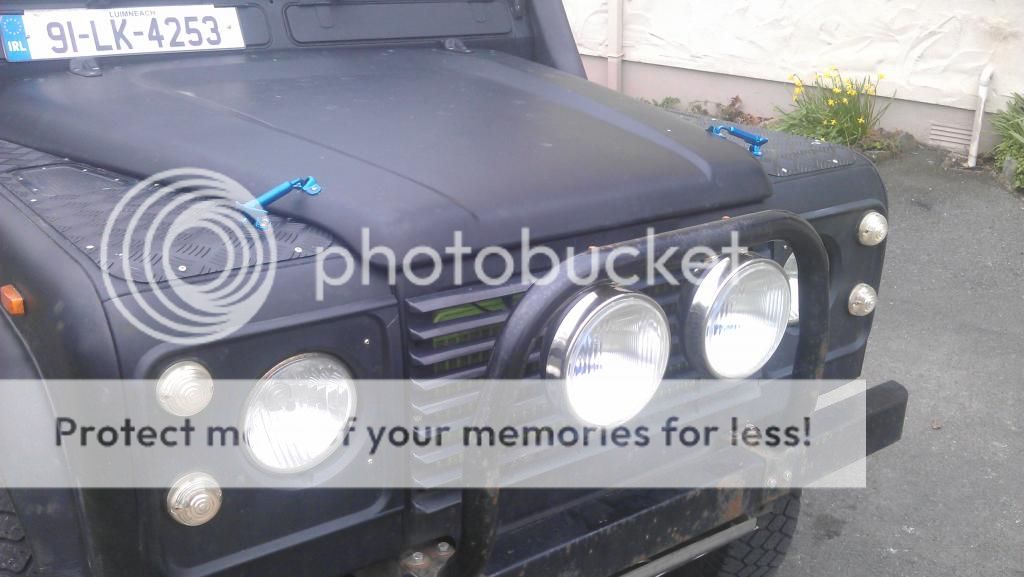
So far i have managed to re-spray the front end:
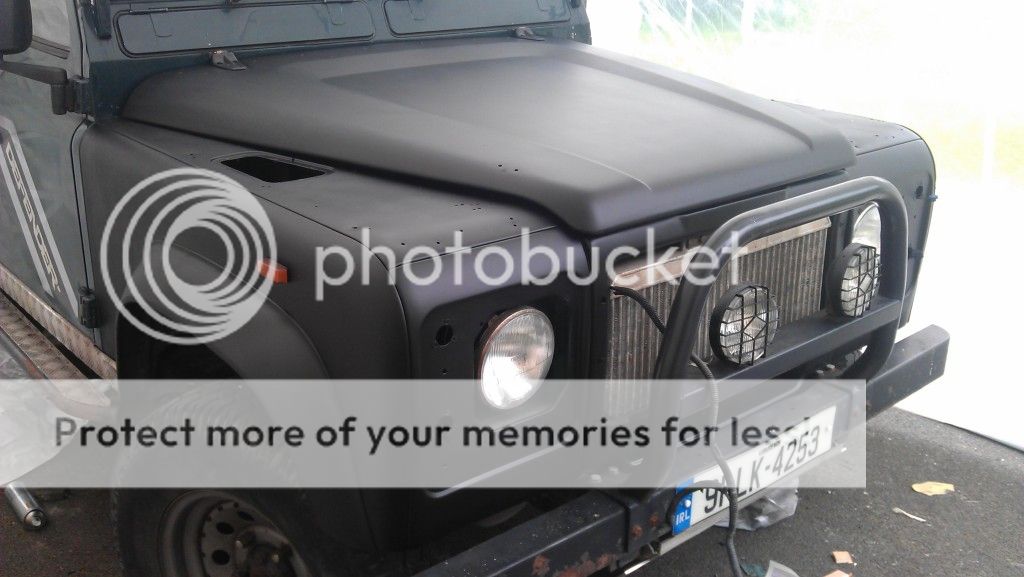
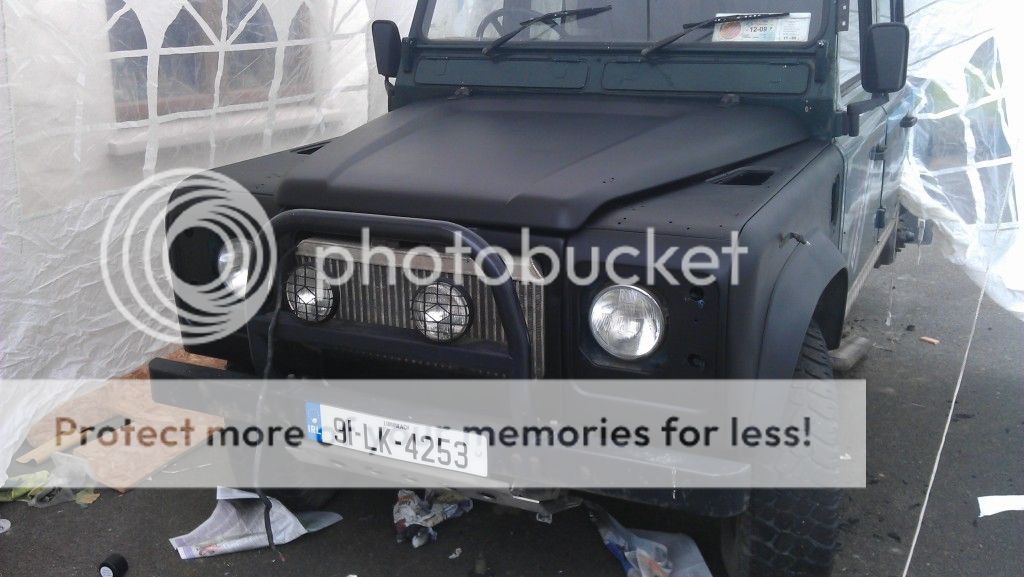
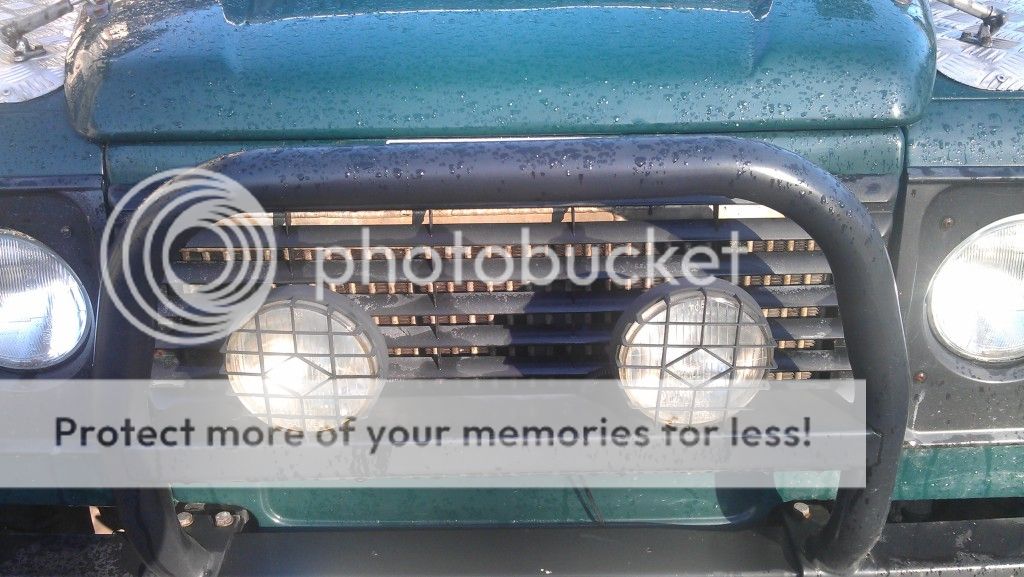
And threw in a new set of wipac crystal headlights, new side lights, grille and headlight surrounds:
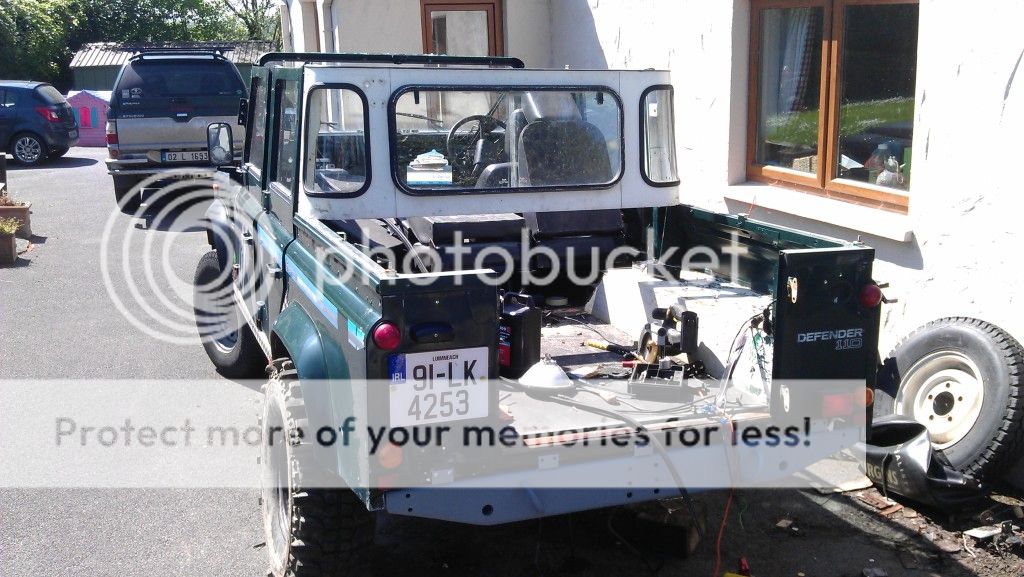
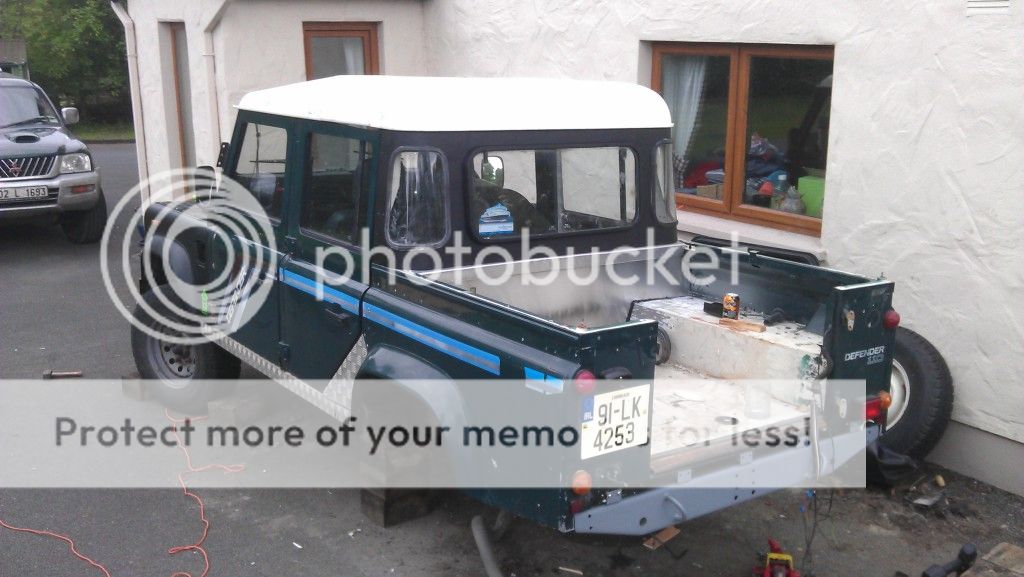
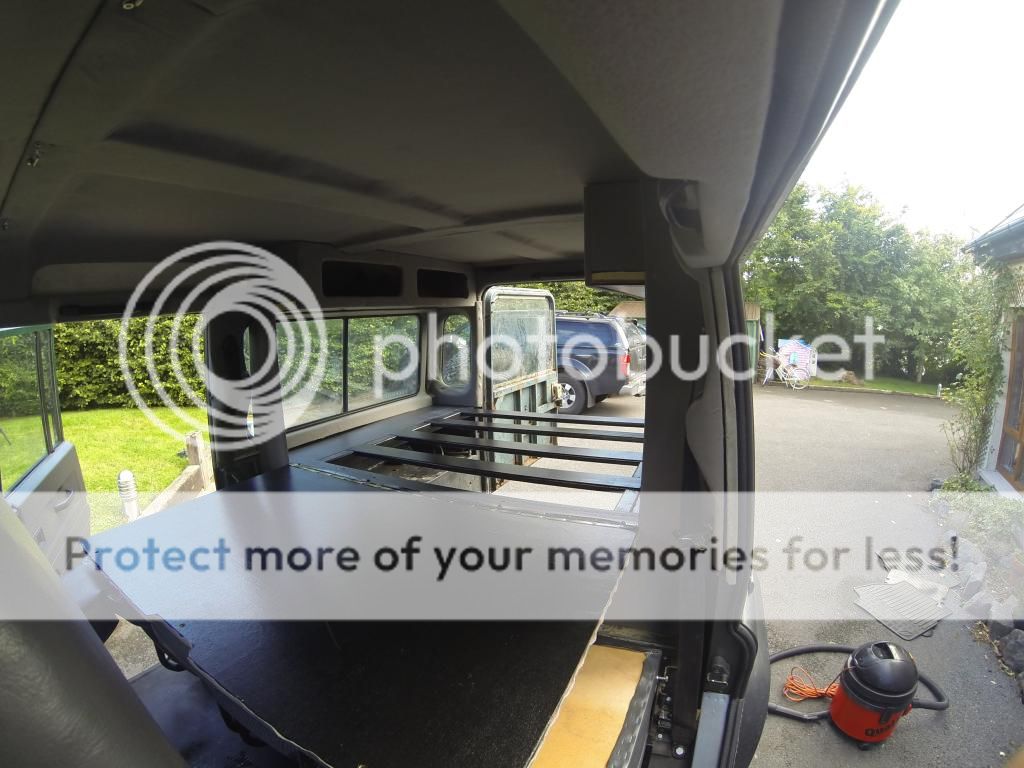
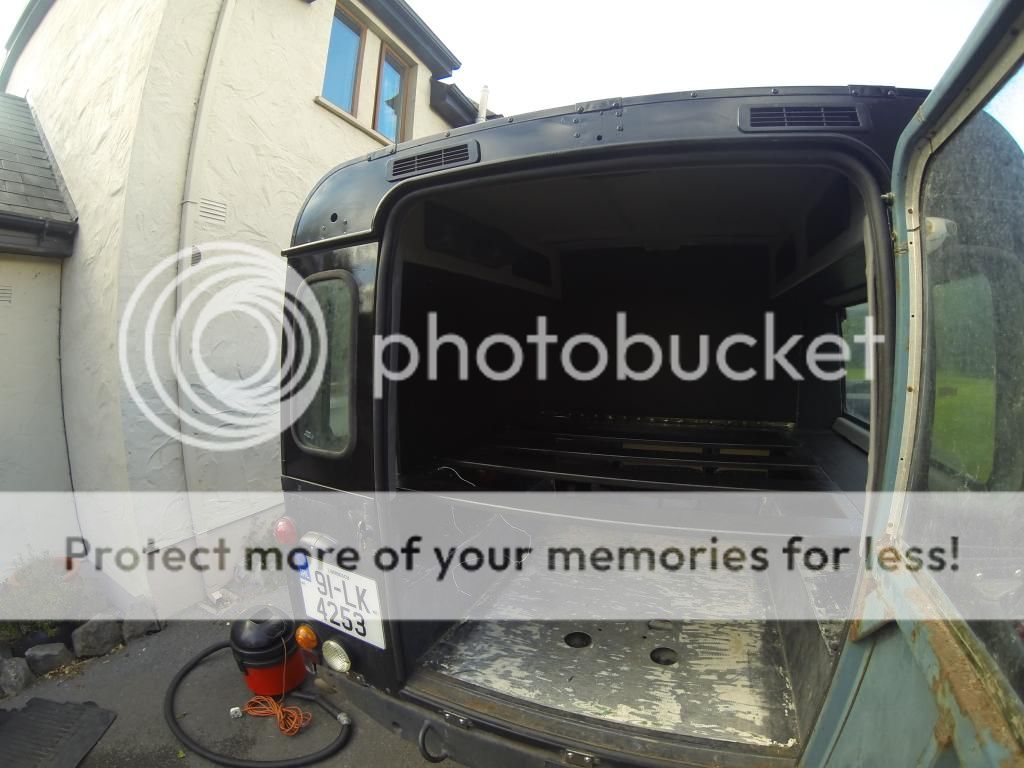
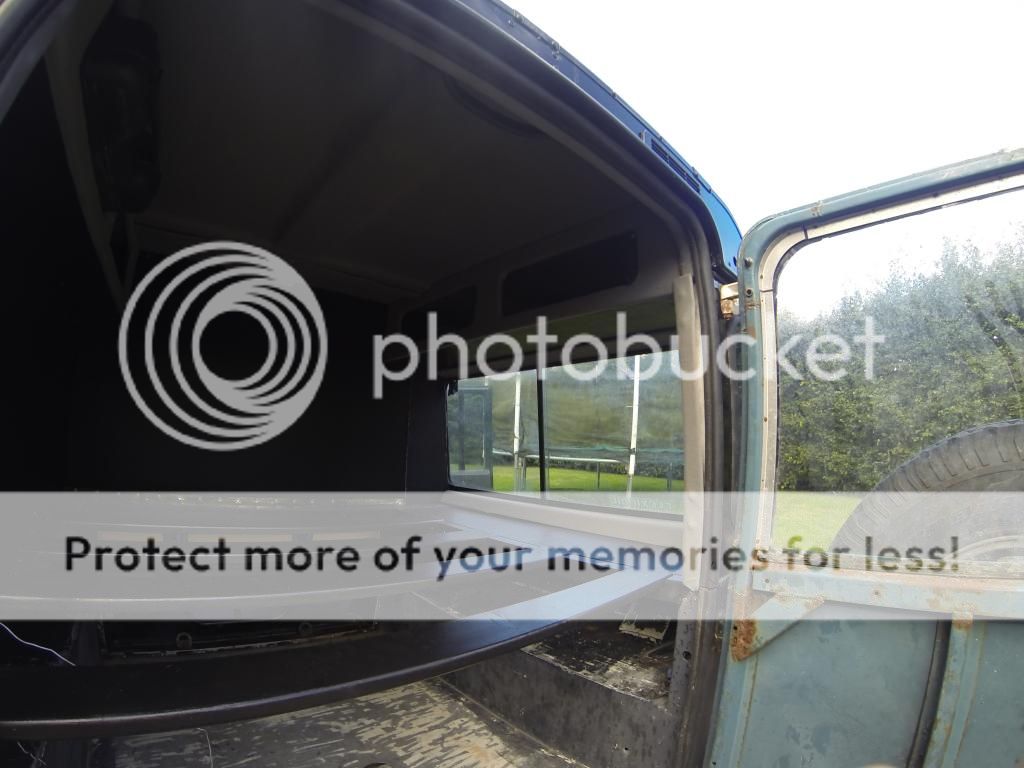
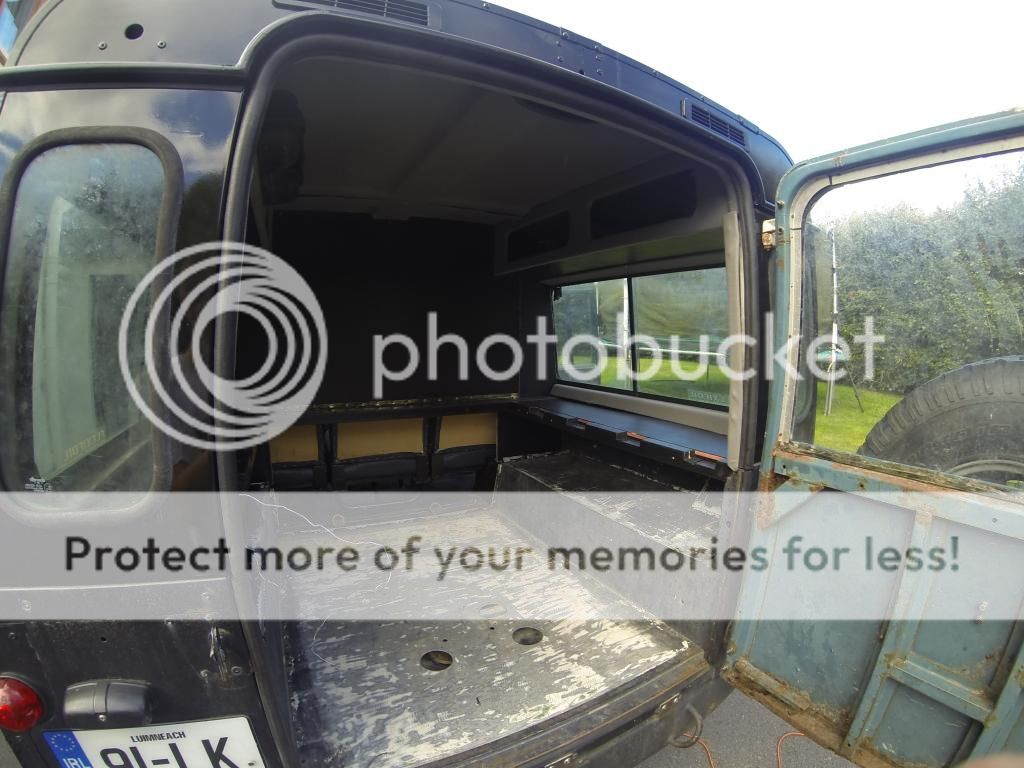
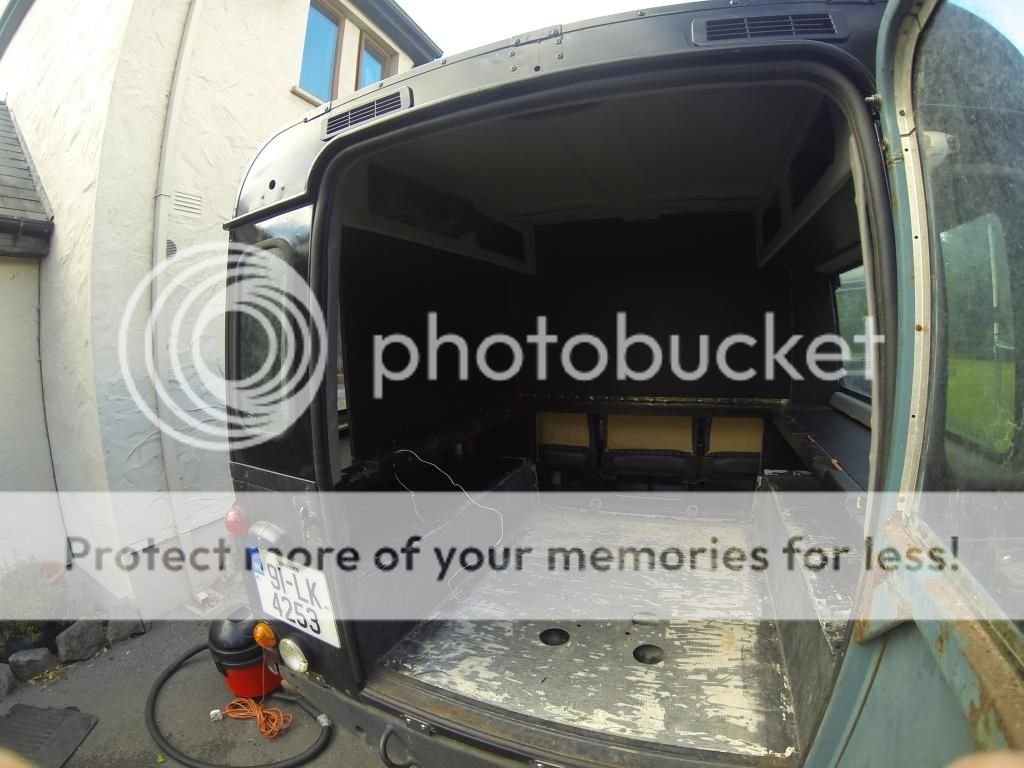
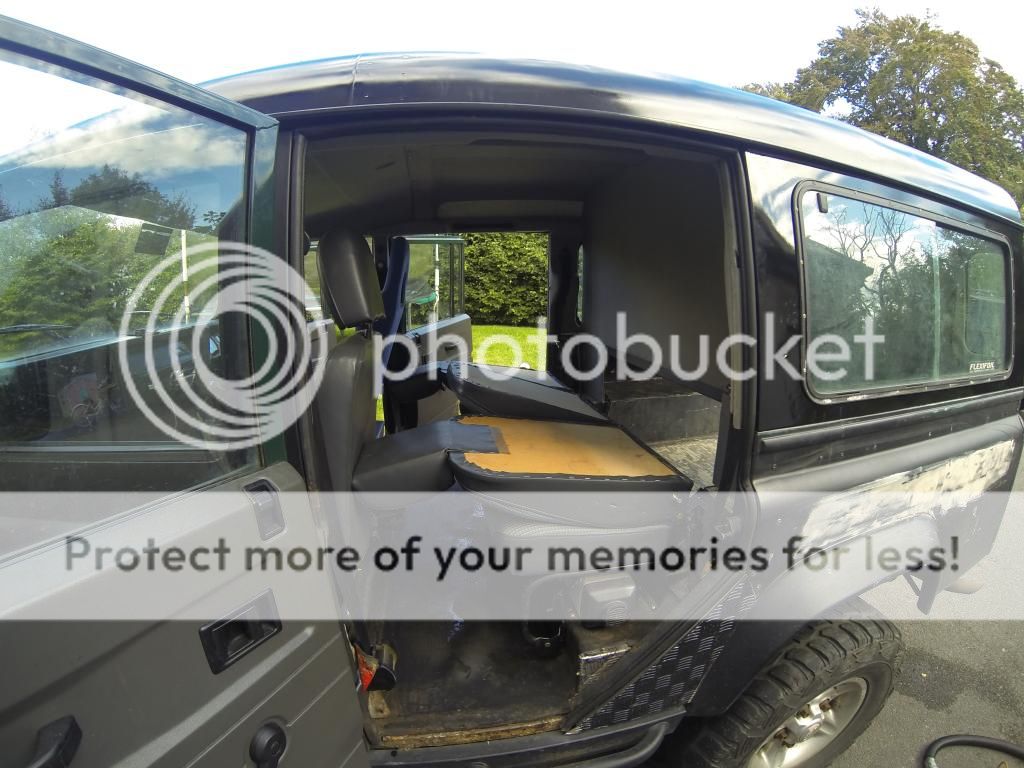
Ply-Lined the rear and partitioned it ( but i'll be moving this again as the 45% of wheelbase law has changed to 30%
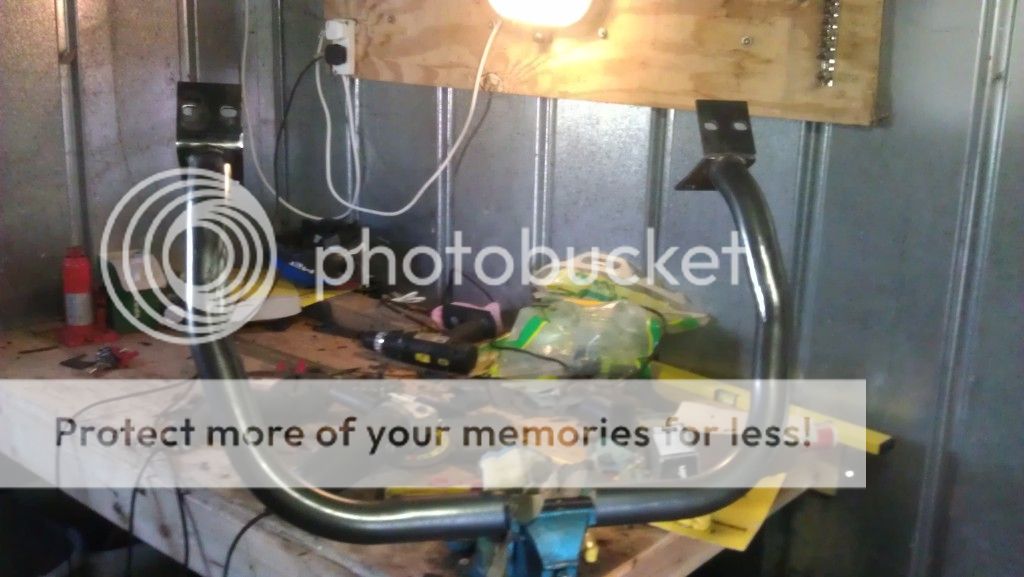
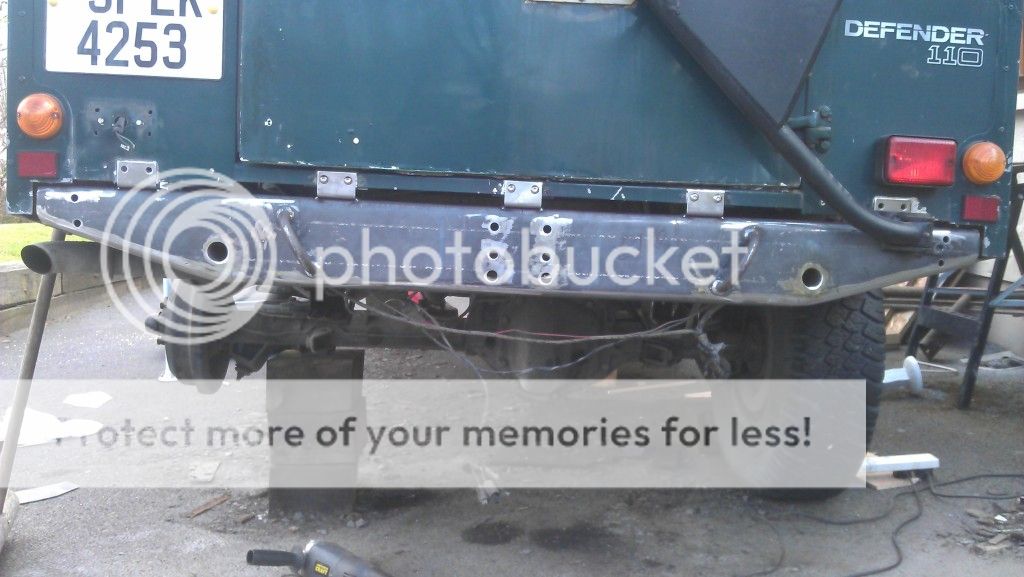
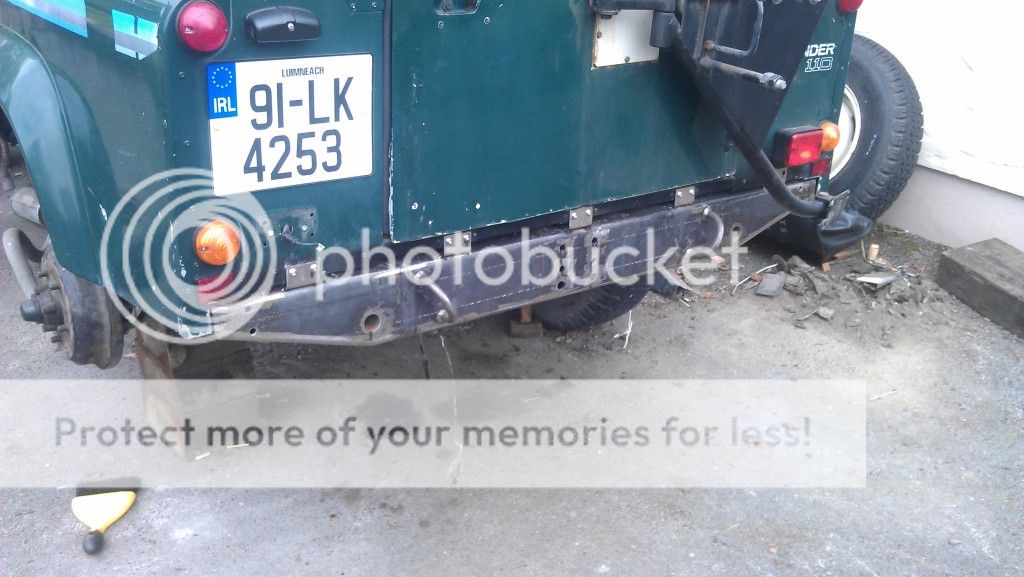
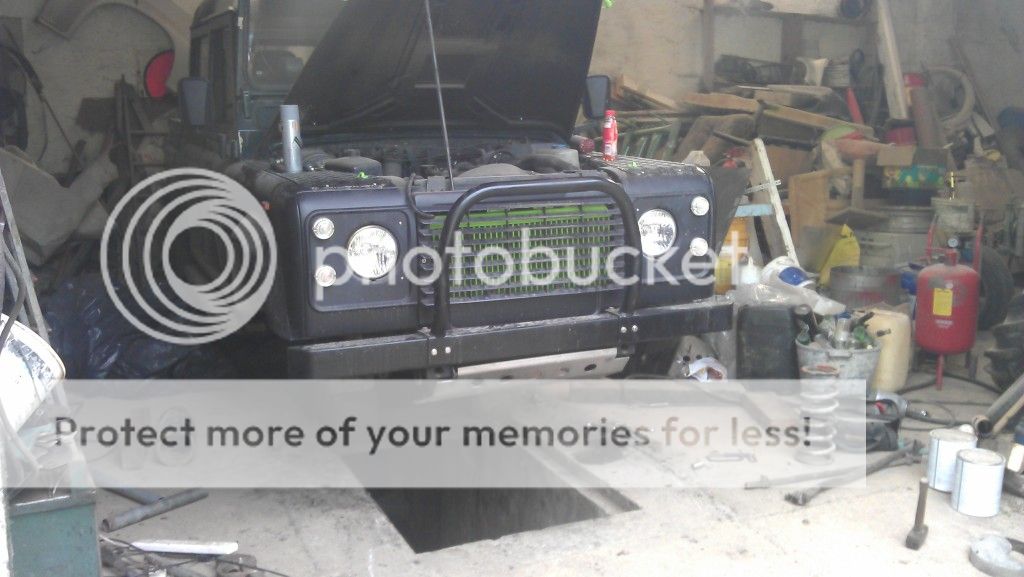
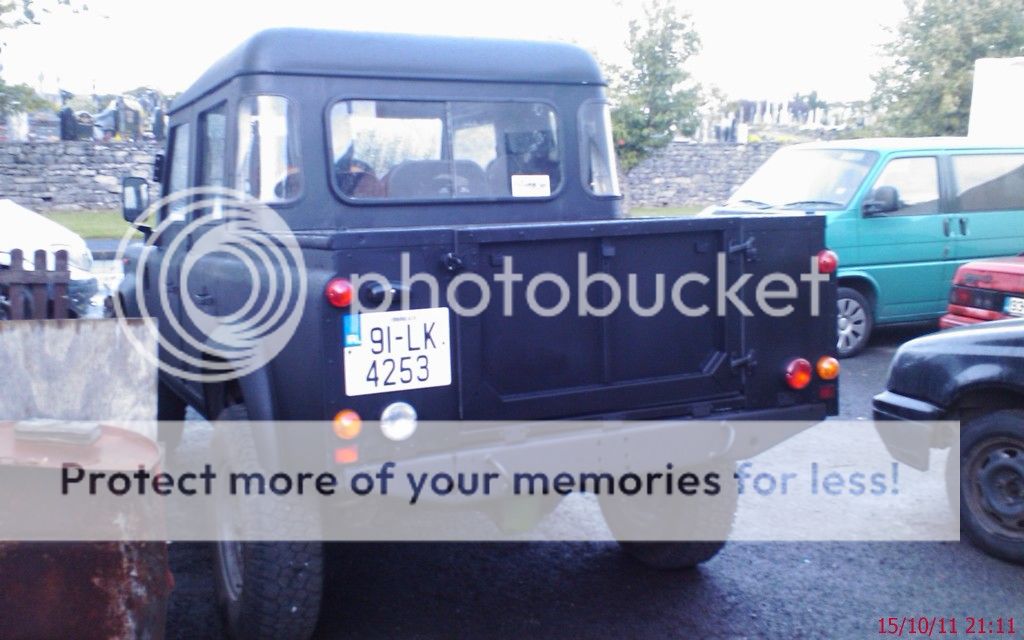
A-Bar and bumper cleaned up/modified and re sprayed:

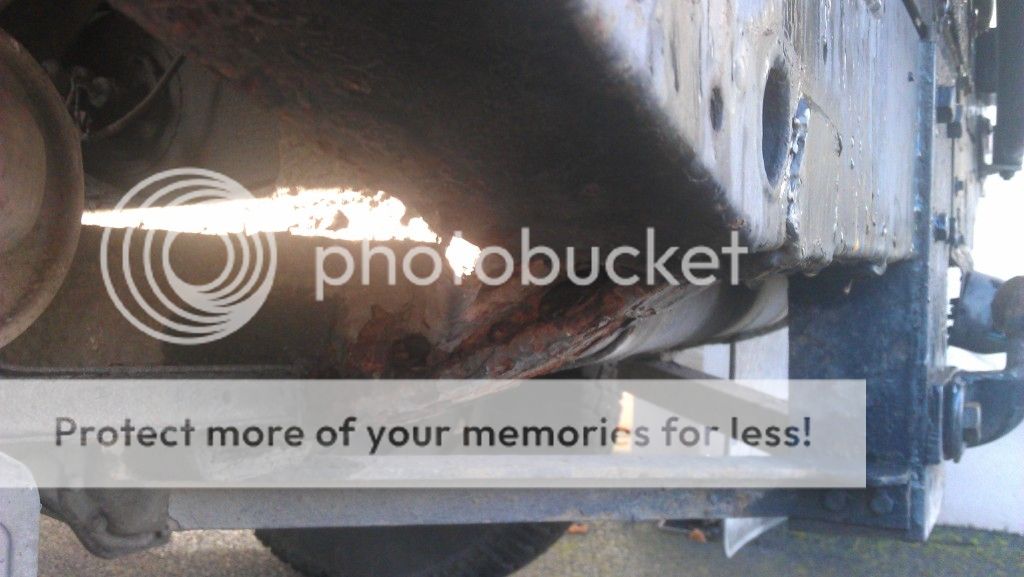
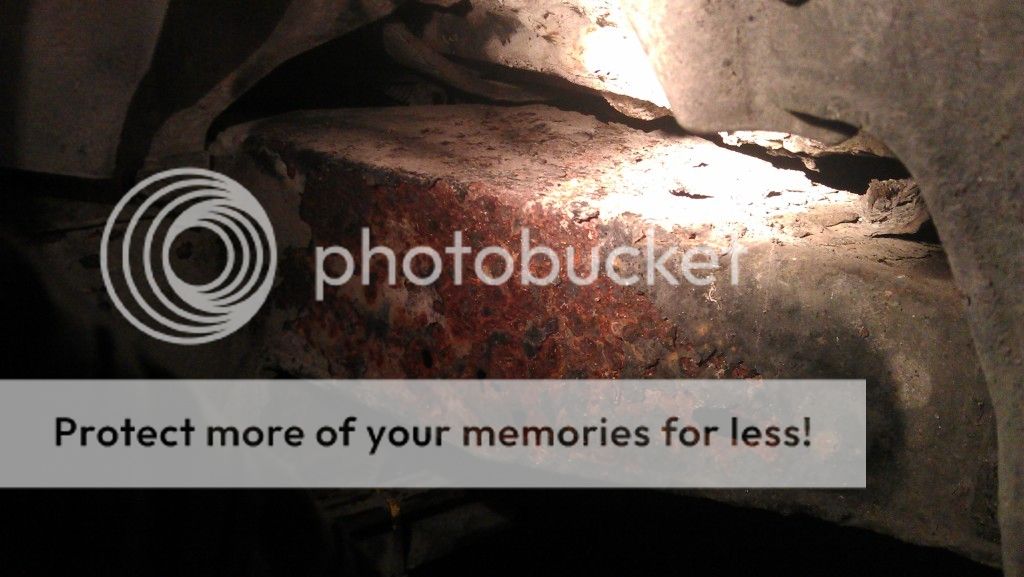
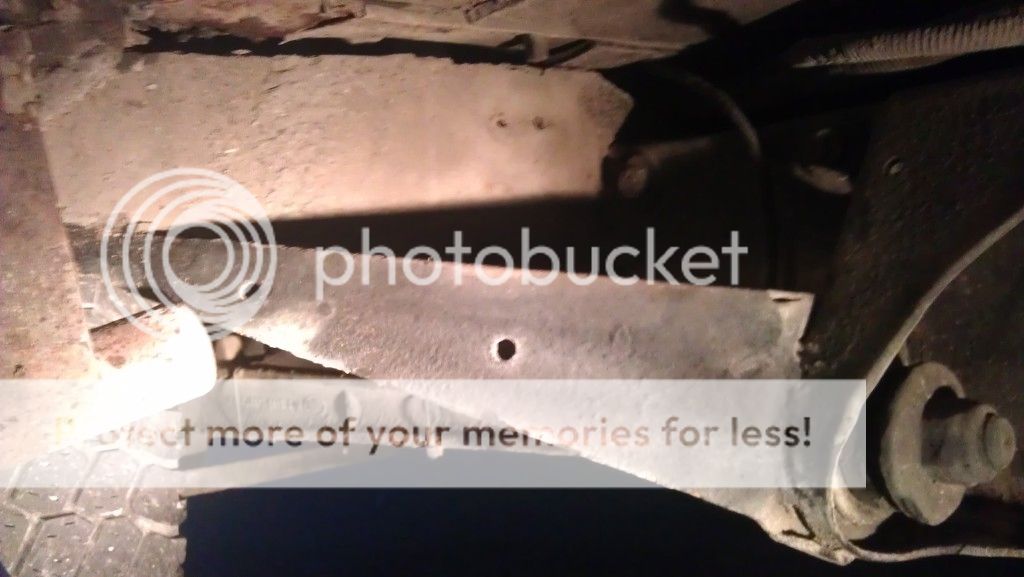
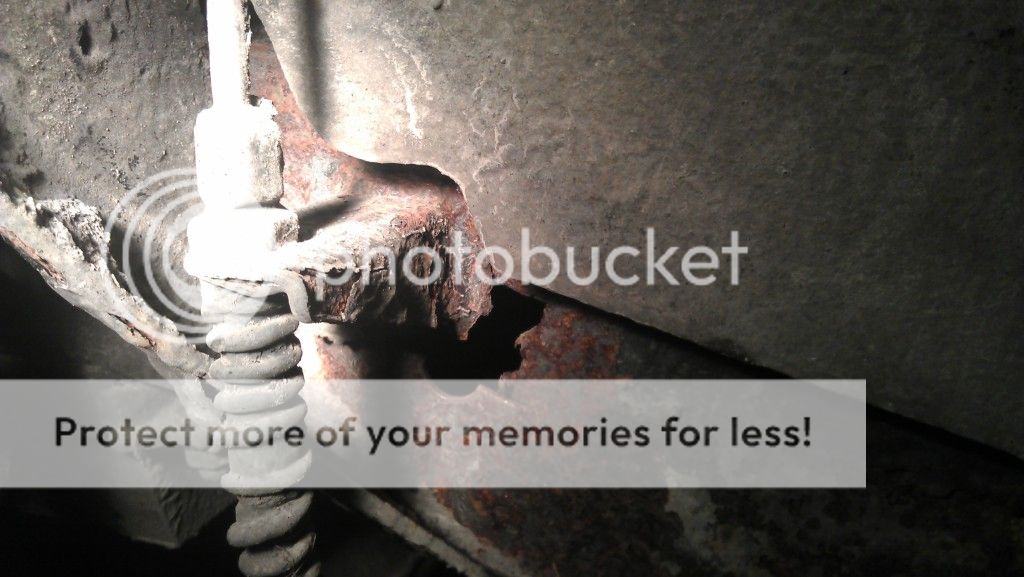
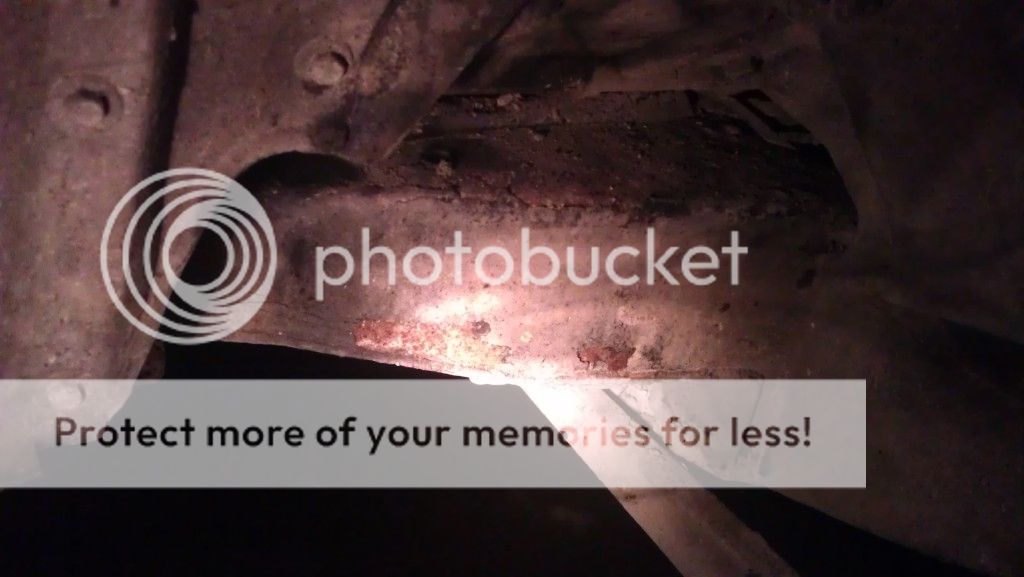
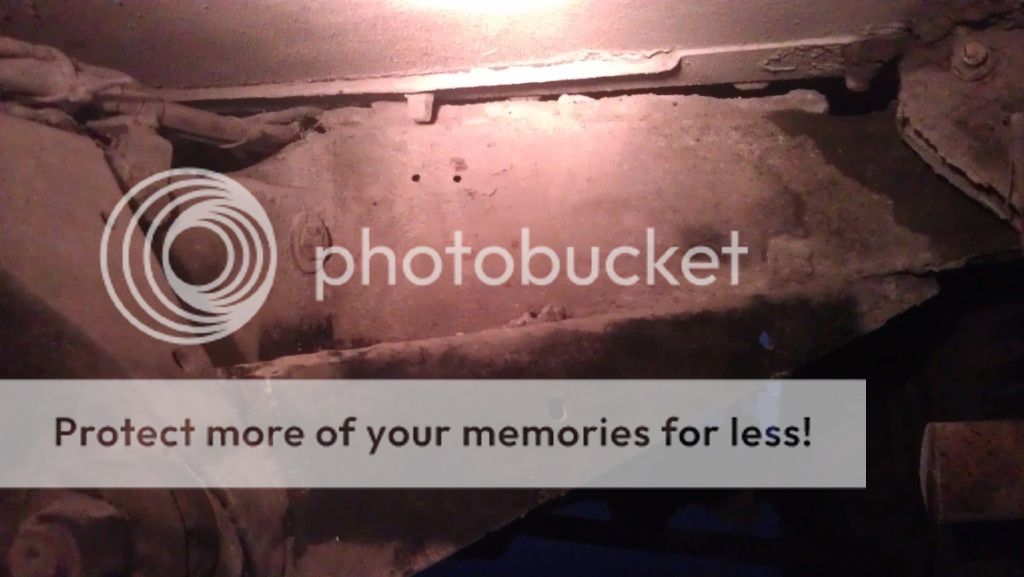
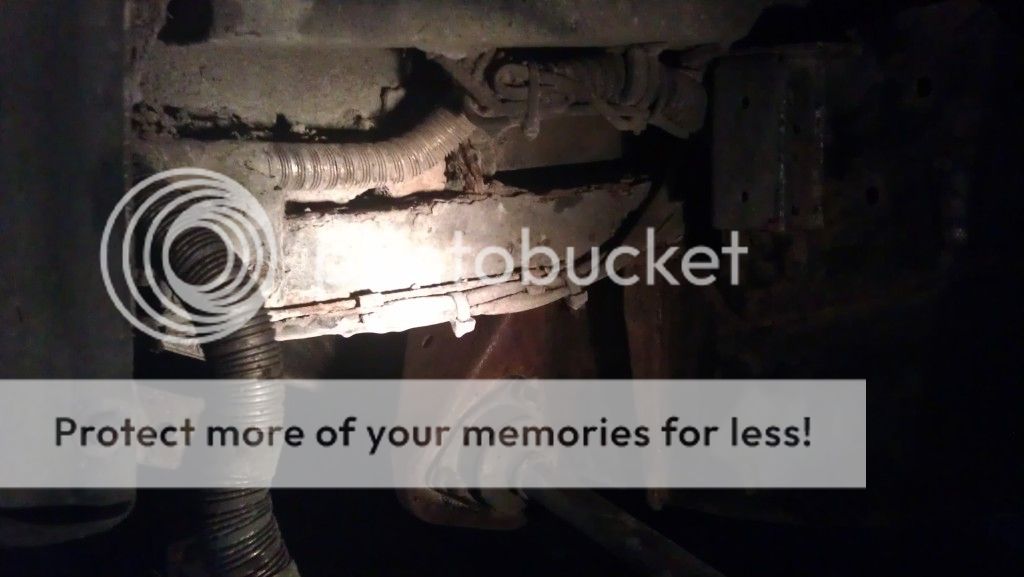
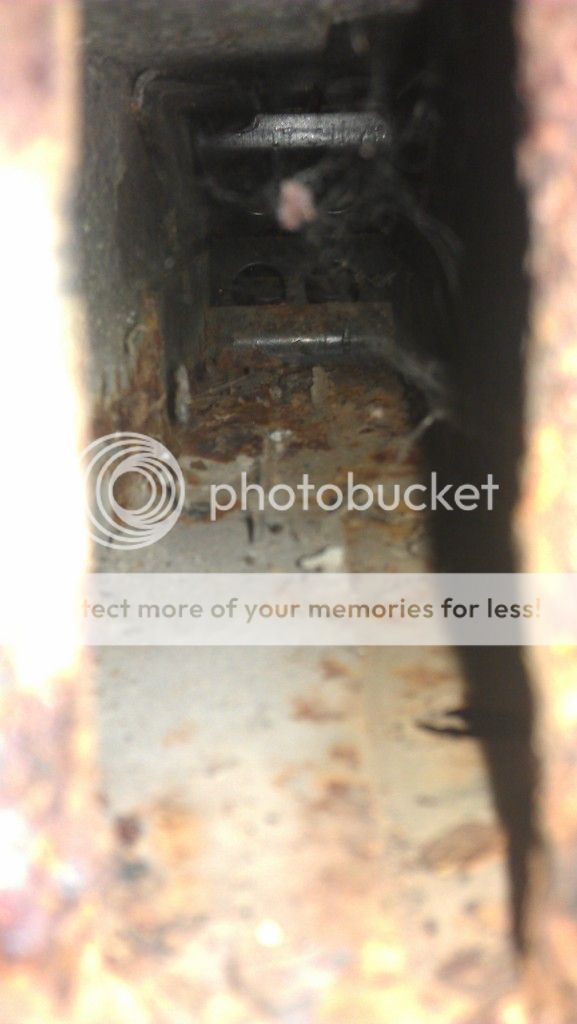
And some images of the chassis rust (cleaned it up a good bit and have discovered some nasty areas) parts needing replacing:
F/O/S Bulkhead Outrigger, patch on the F/O/S Spring seat area, Center Crossmember, Rear Crossmember, patch on the O/S Rear chassis leg, possibly A/frame crossmember, F/O/S shock turret:
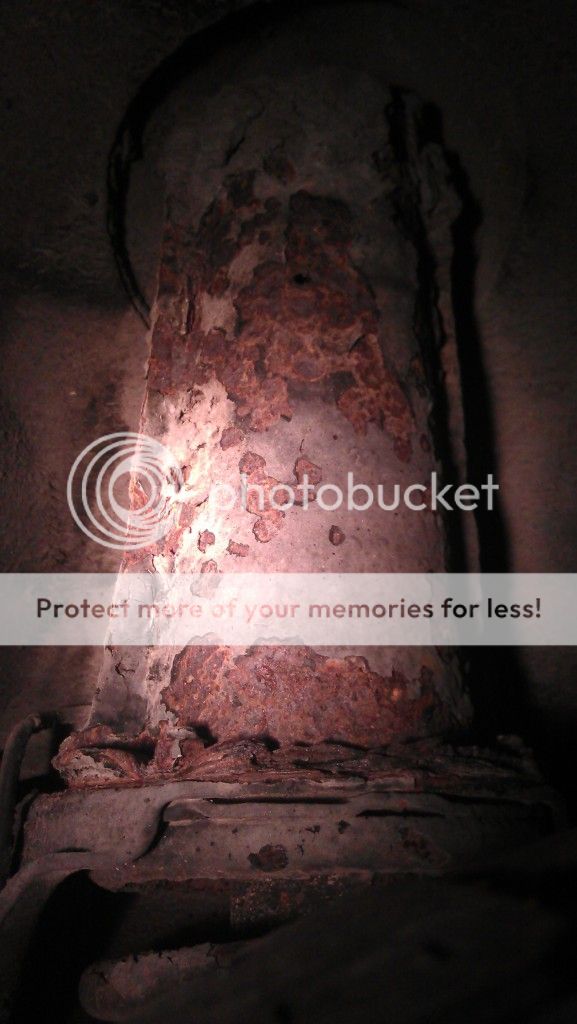

Getting there with the chassis clean up, need to learn how to weld though
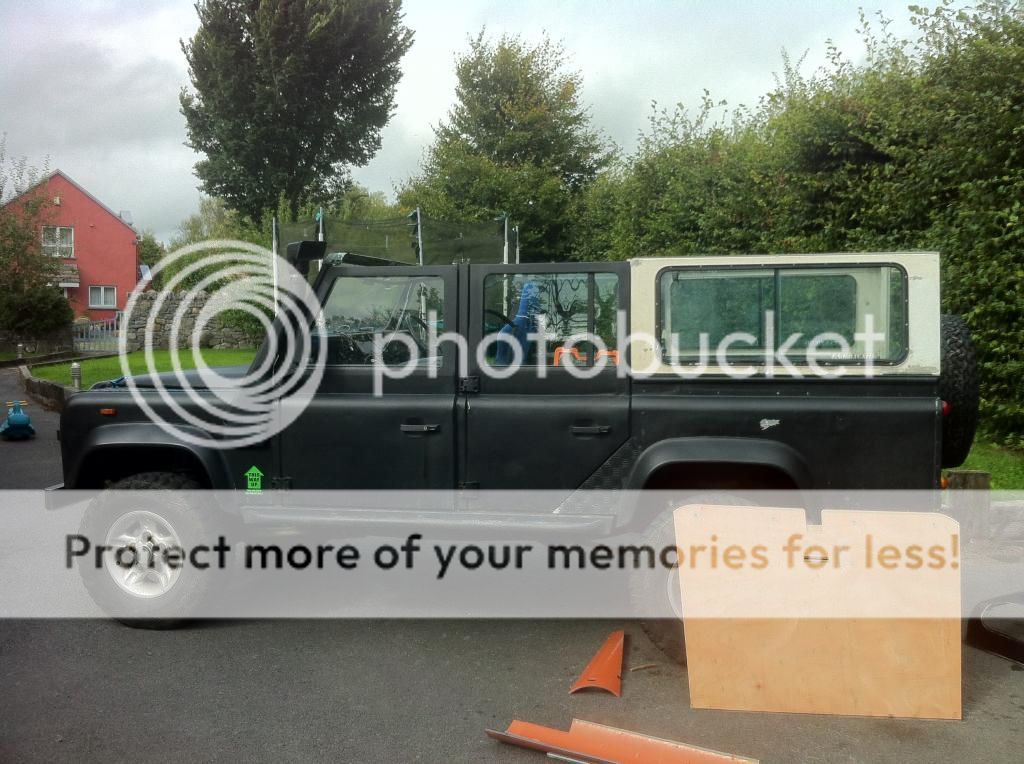
Post 2:
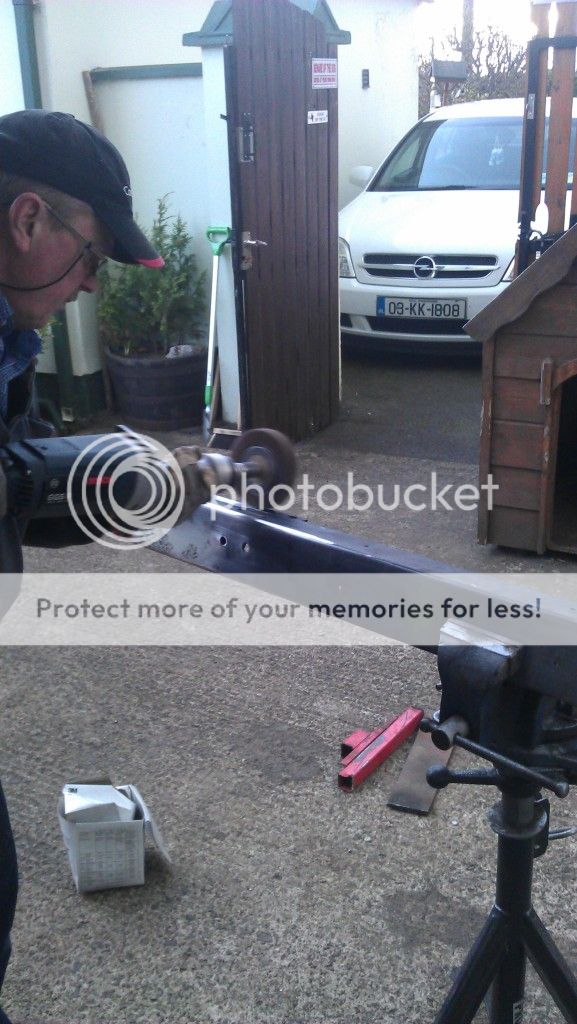
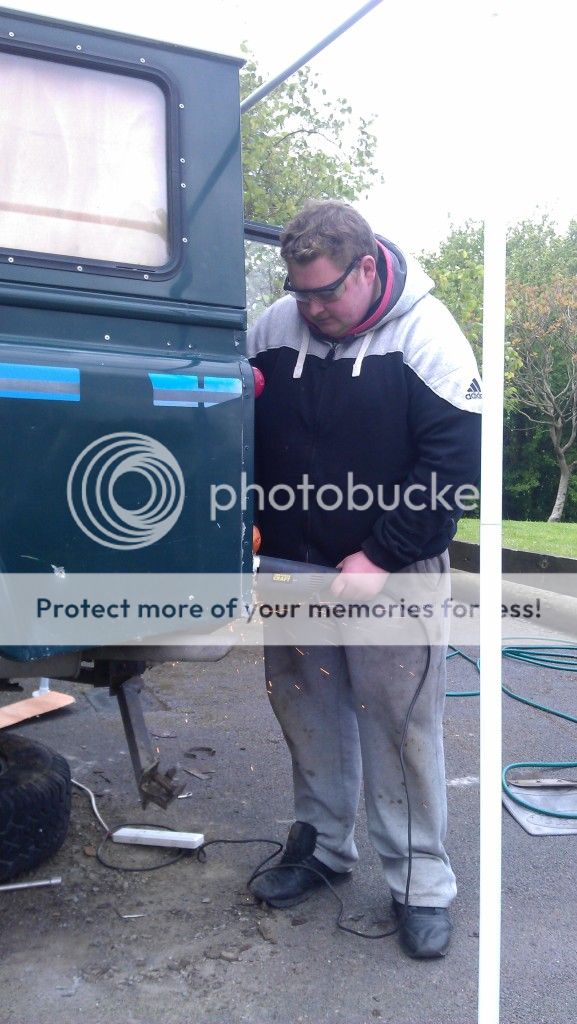
Myself and hogan, were up at the crack of dawn yesterday to get the new crosmember onto the 110, seriously dirty job heres a look at the progress
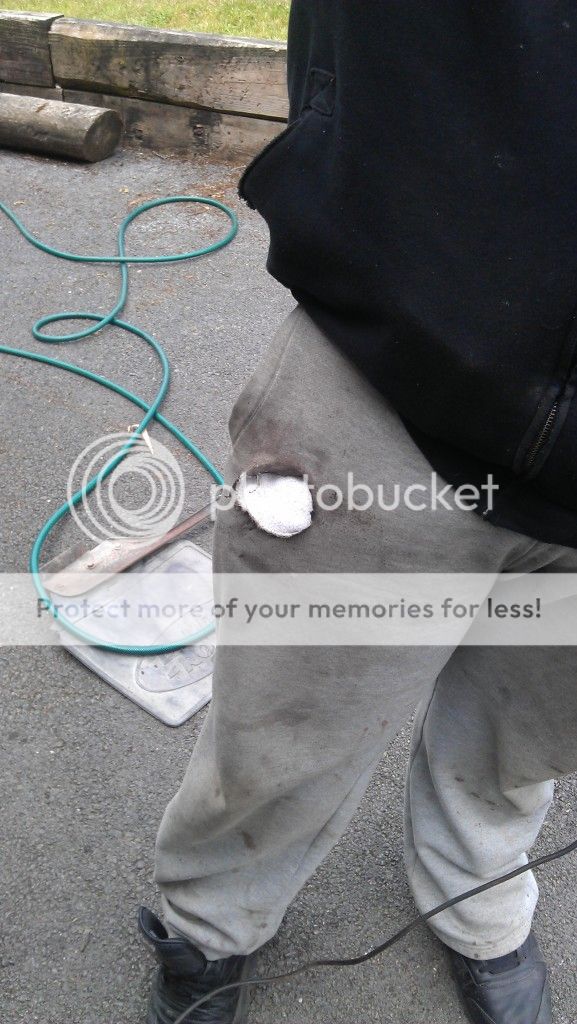
Richard setting himself on fire :
Richard after the fire was out :
The crossmember in place while we lined up the new extensions:
And a look at the x-member before putting it in :
Post 3:
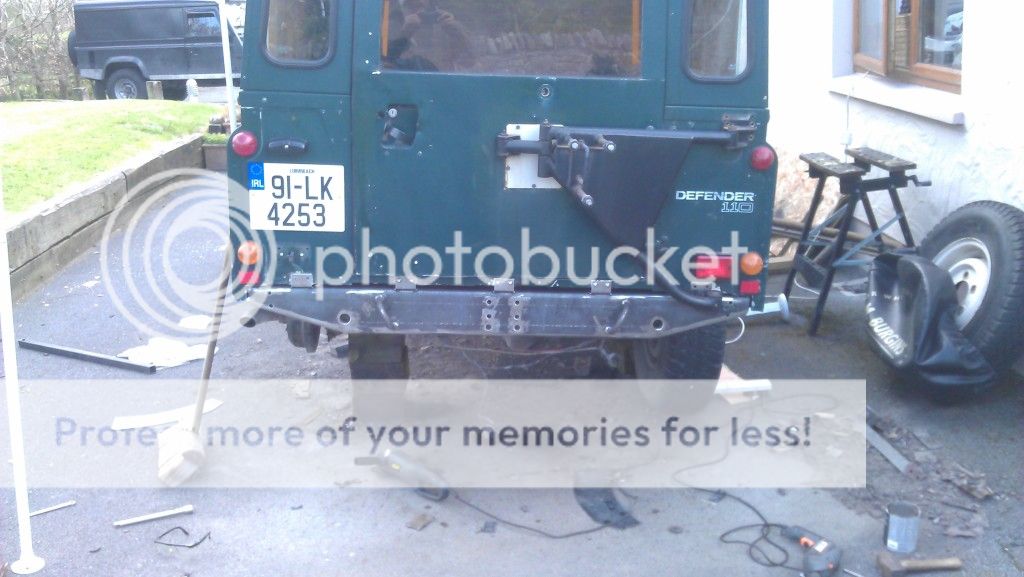
The crossmember is in!! Fair play to Richard Hogan, top job on the welding! Just need to gring the welds down and paint it all now. Heres a look anyway:
The crossmember in place...wouldnt like to be the poor fella who bounces off of it in traffic!:
The welding to the chassis:
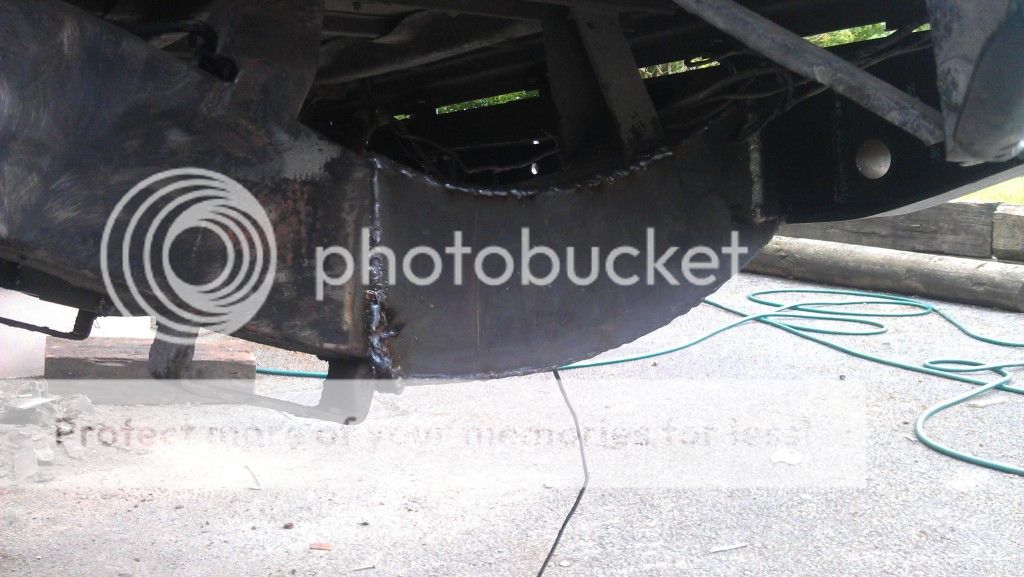
the finishing touches to the front end, just need to get some spot lamps for the A bar and that ends pretty much done!:
As for the issues with making it commercial its looking likely ill be converting it to a DoubleCab Pickup in order to meet the needs of the tax office but we'll just have to see how that pans out..
Post 4 :
oww.... F**king wire brush grinder.....
Post 5:
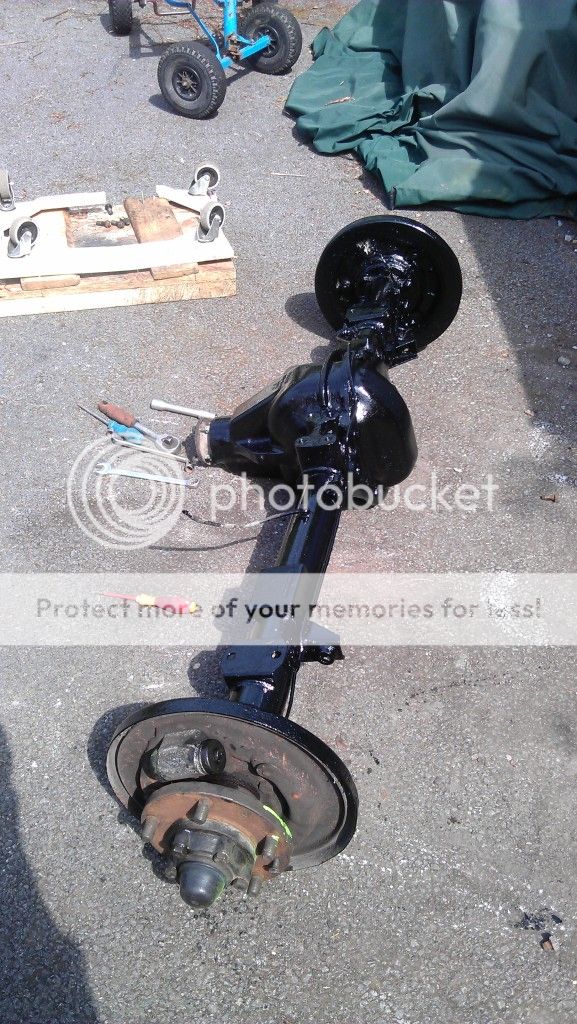
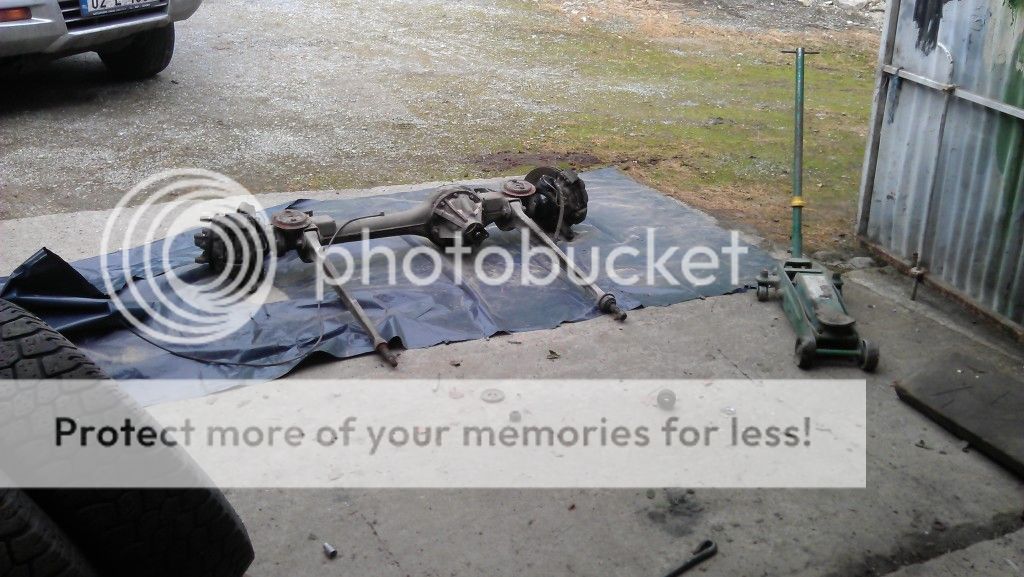
Well the axle's off:
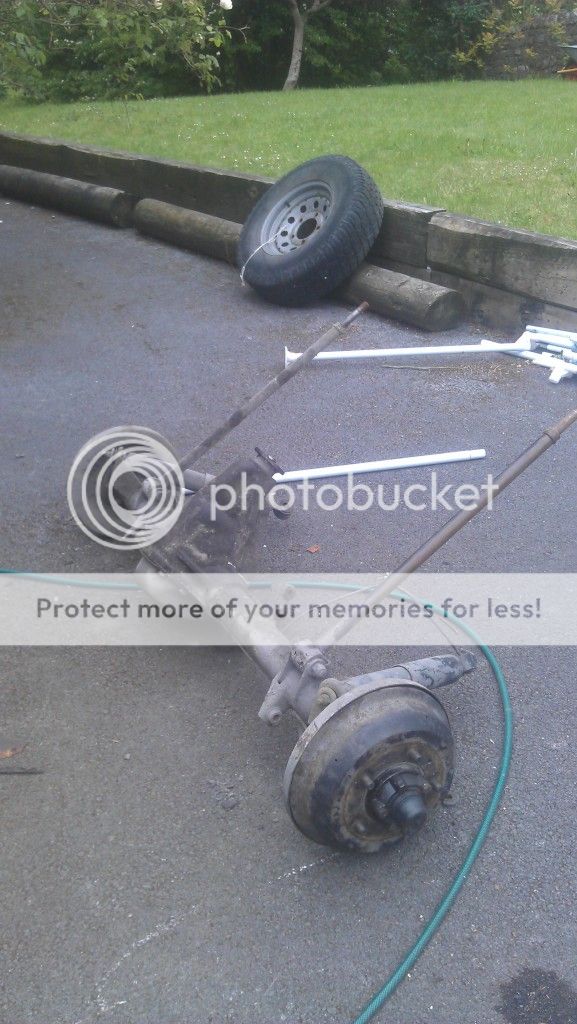
not much hassle getting it off, most of the hard work has been cleaning the fooker
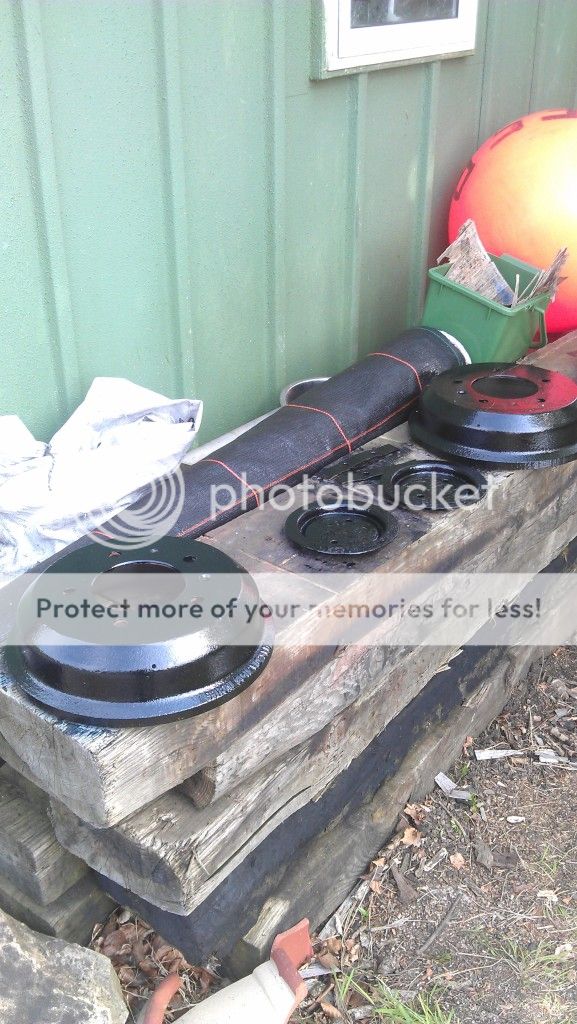
So far the trailing arms and drums are cleaned and painted, and the axle is mostly cleaned bar the hard to reach areas, pics will follow tomorrow
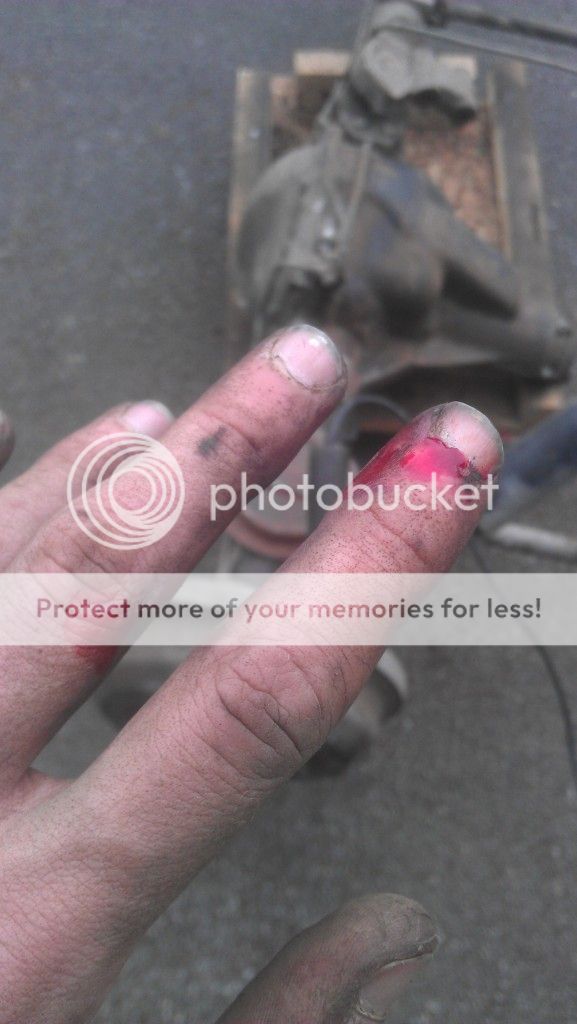
p.s, when lifting a salisbury rear axle onto a trolly, take care not to leave your fingers under it...
Post 6:
Cheers for the info lads, for now i think ill leave it on drums, and if it starts to annoy me ill change it over
heres what i got done today, horrible job cleaning all the parts
And finally, i offer a jaffa cake to the first person to point out whats missing here
Post 7:
yesterdays efforts:
sized up some 35" tyres, nout going with insa's but wanted to see how mad 35"'s would look
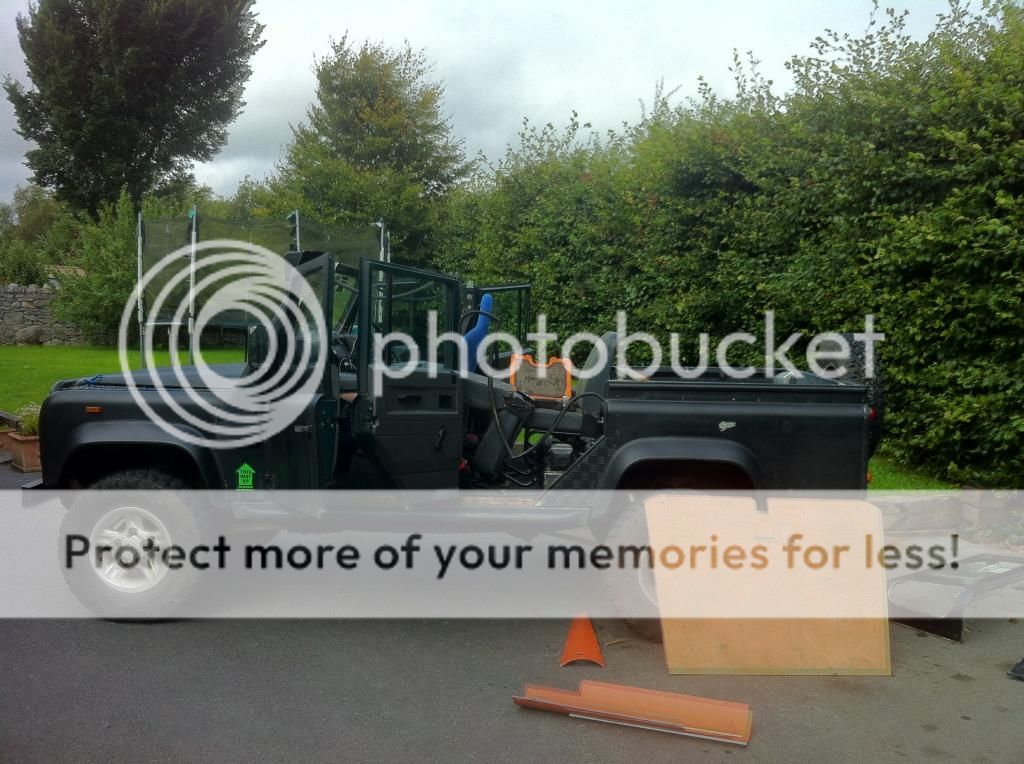
than it was off with the roof!
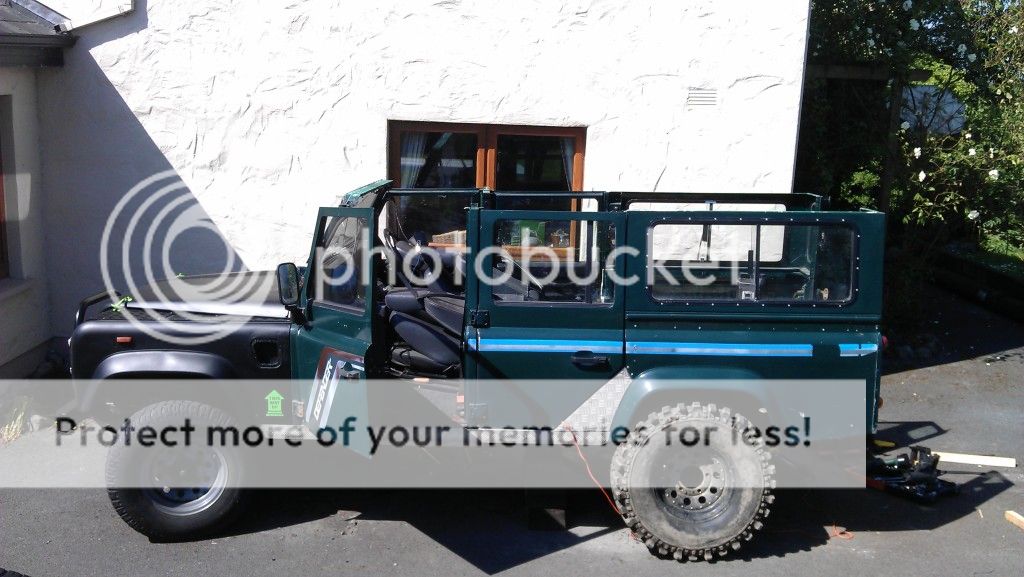
then lining up of the truck cab section (thank you Monkey)
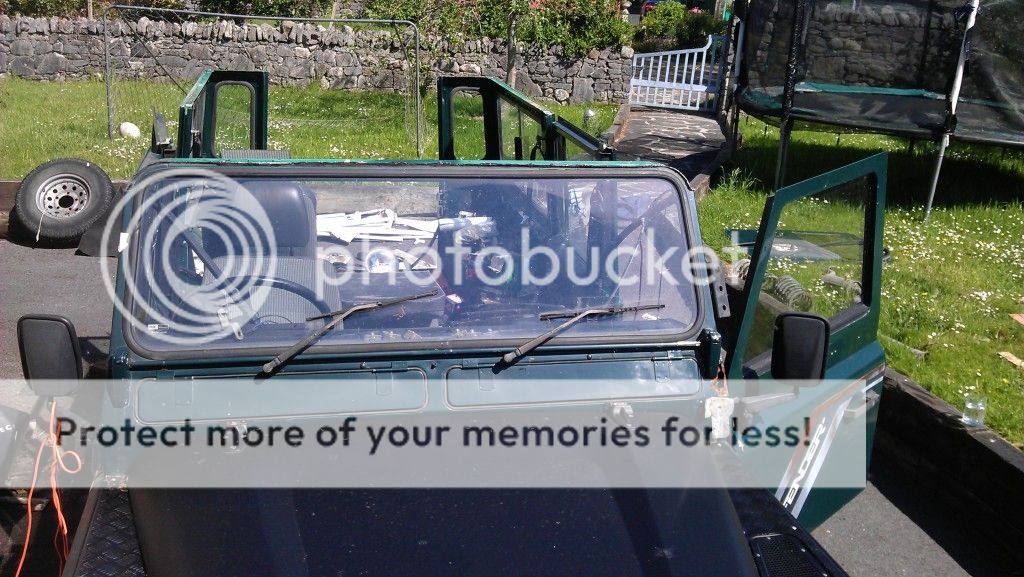
and heres how it looked last night at 23:00 when i gave up:

more photos this evening, have to go finish the roof and paint everything!
post 8:
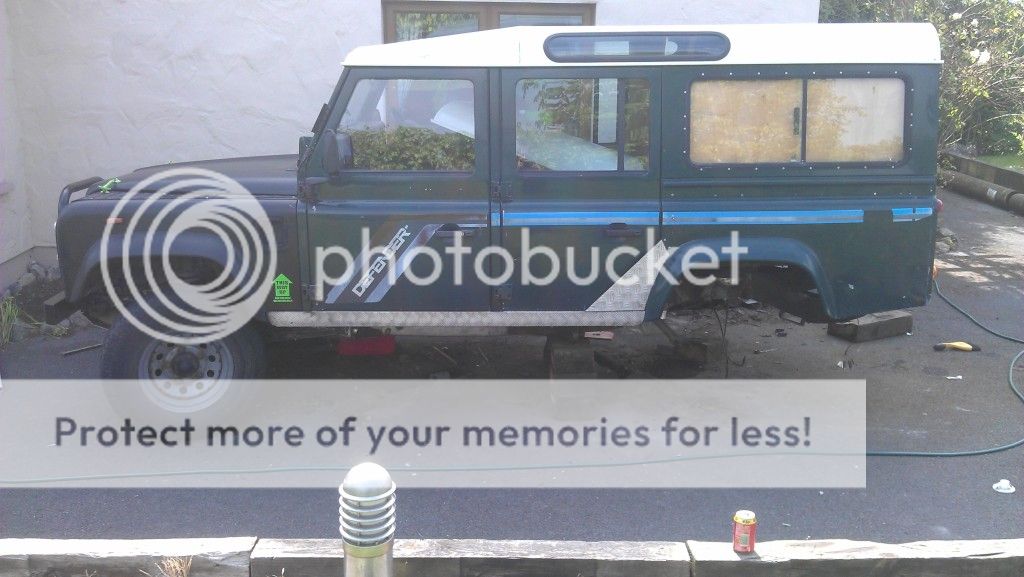
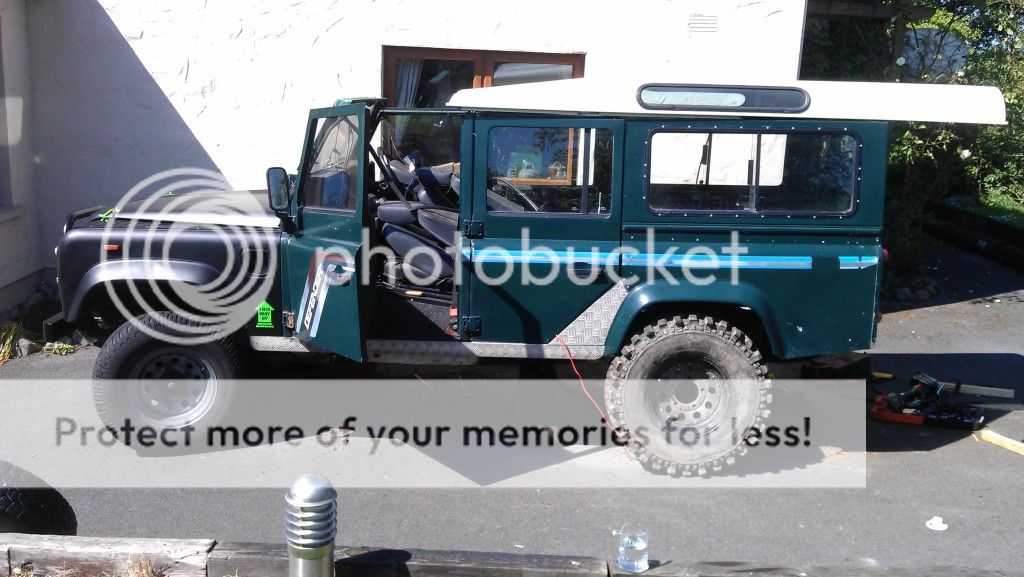
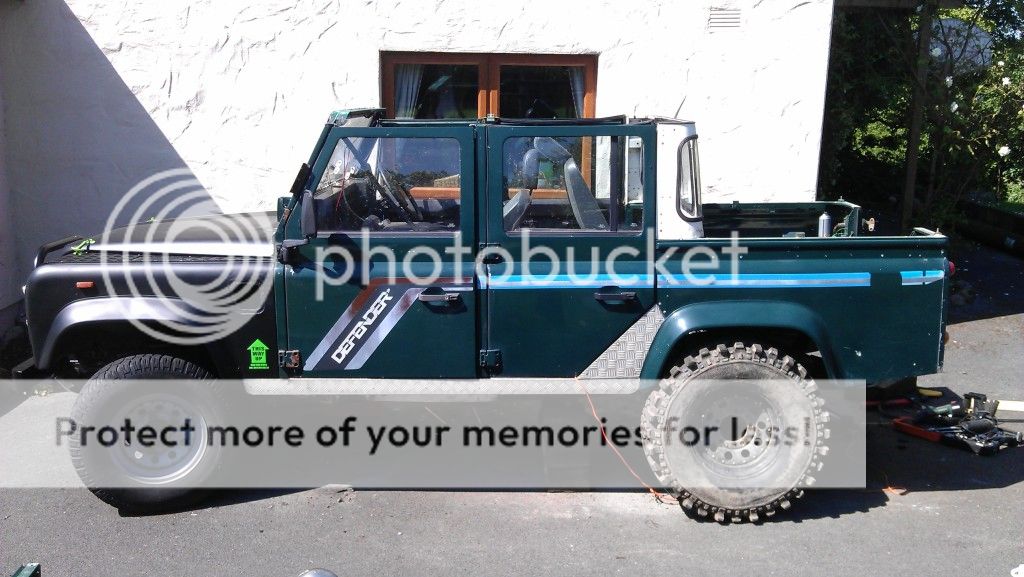
Thanks lads, really happy with how its turning out, heres a look at how shes looking after the weekend:
Post 9:
Lovely stuff
Post 10:
Been a busy week so far, sand blasting the chassis, spotting the areas needing patches, not too many thank god! have 3/4 of the chassis primed painted and waxoyled, front axle off, cleaned and painted, radius arms painted, one dropped into the pit and bent (thanks for sorting that kkk2!) and some of the poly bushes in, HD shock turrets painted and put in, all springs painted and ready to go in, S/S Brake pipes ready to go in, so hopefully front axle will do in tomorrow!
Post 11:
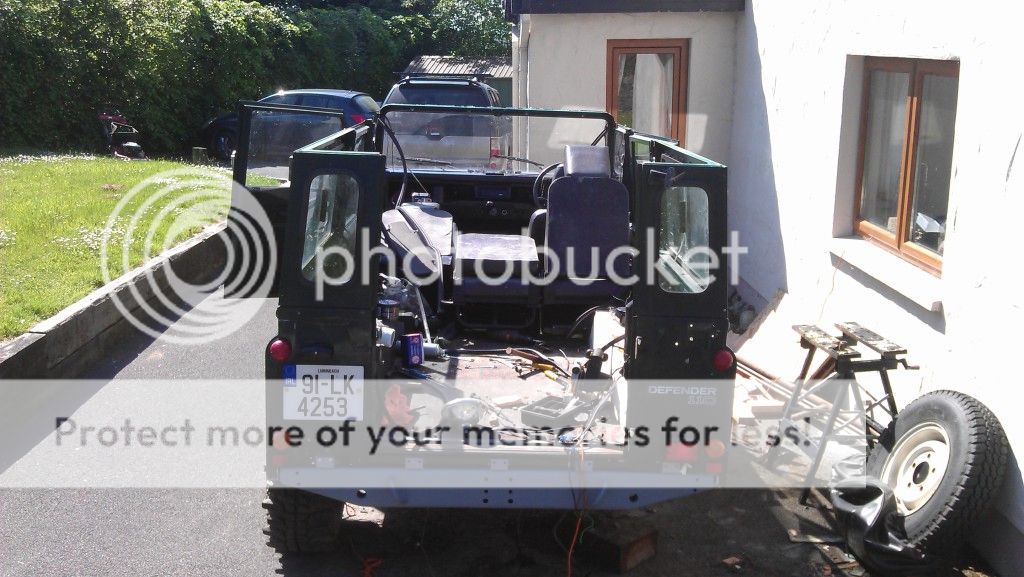
Todays work:
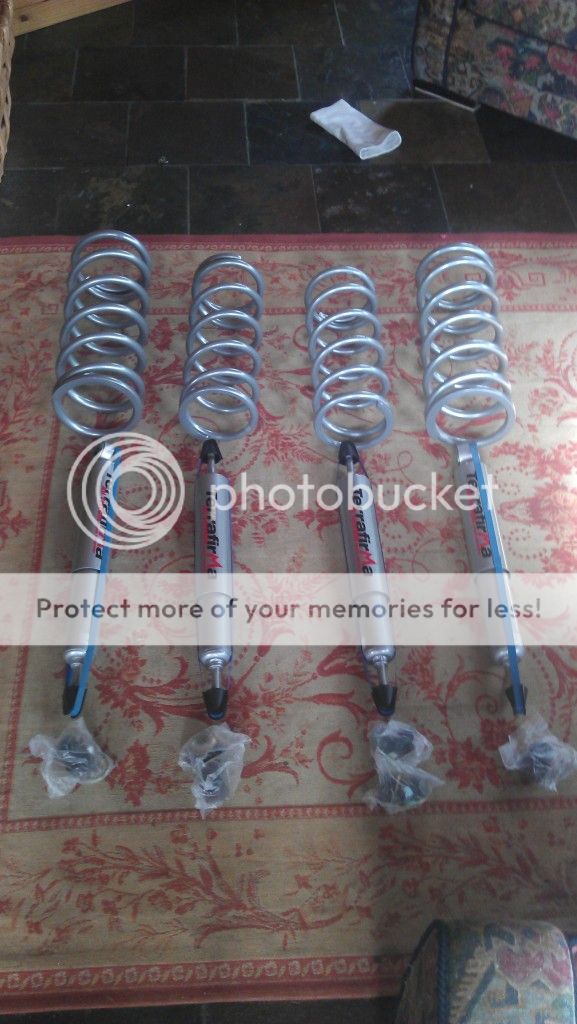
Front axle back on, HD Steering arms and balljoints on and greased, SS brake lines all done, front prop off and banjaxed UJ removed, front axle polybushes done, front Lift springs, turrets, shocks done, waxoyling finished bar areas needing welding, rear brake cylinders, shoes and springs and ss brake line done, rear shock droppers, shocks and a-frame balljoint done, fuel tank back in and plumbed!
Getting very close to done now, PP you'd want to hurry up and call out to see the progress or it could be done few small things to order this evening to get it to DOE standard, then its off up to galway with it for re registering and DOE!
Post 12:
Apologies for the lack of photo updates, the camera on my phone gave up a few weeks ago but since the last update, we've managed to do all the chassis welding, put on the spotlights, swap the suspension in and out 4 times, manage to dislocate a rear spring twice 'testing it' \ and mostly sort out the rear seats and belts. currently working on the dodgy bulkhead now, and it is coming along nicely not much left to do but spray the f**ker
Post 13:
There we go!
The 110 passed its engineers report and went in for the DOE too, passed that but was failed due to the logbook saying that it was private( this was intentional, ill send off the logbook today to be changed over to commercial, hopefully get it back in a week, and then ill be able to get the DOE cert) so all in all im a happy camper
Post 14:
Finally, the photos, as requested, please excuse the sh1te quality, still havent got my phone back from Vodafone

And one of vinny vamos finding the edge of a bog with his front axle

Post 15:
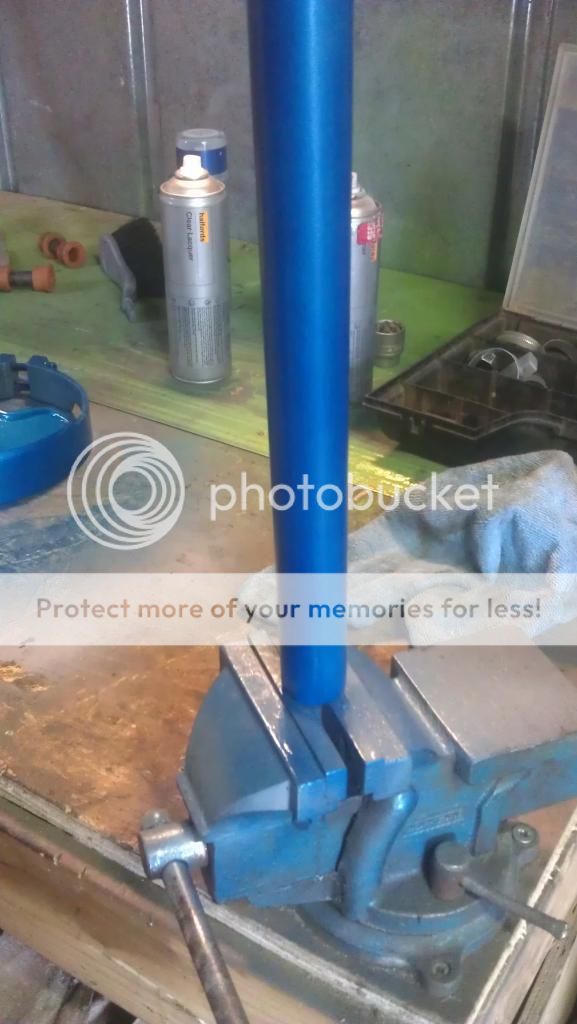
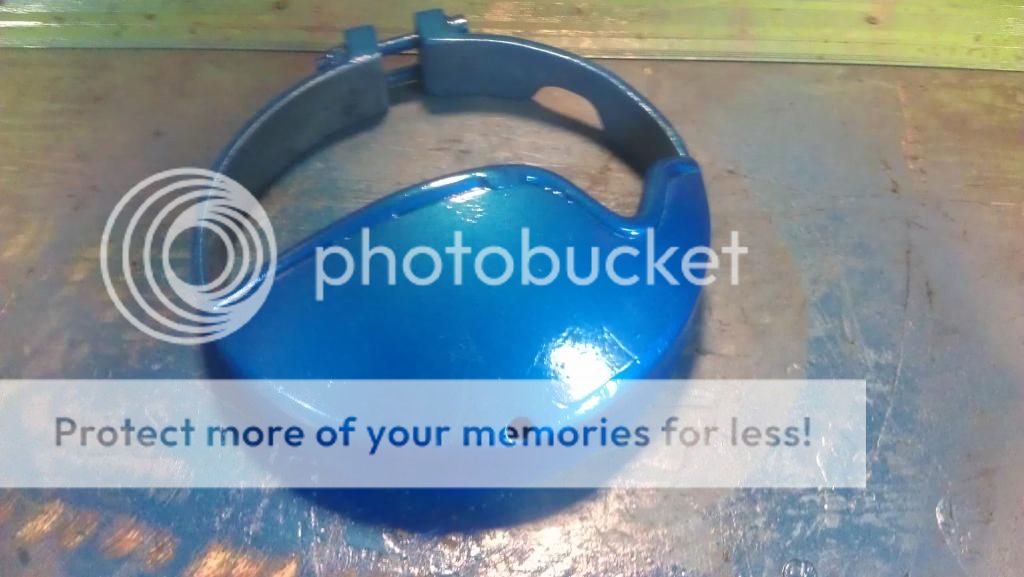
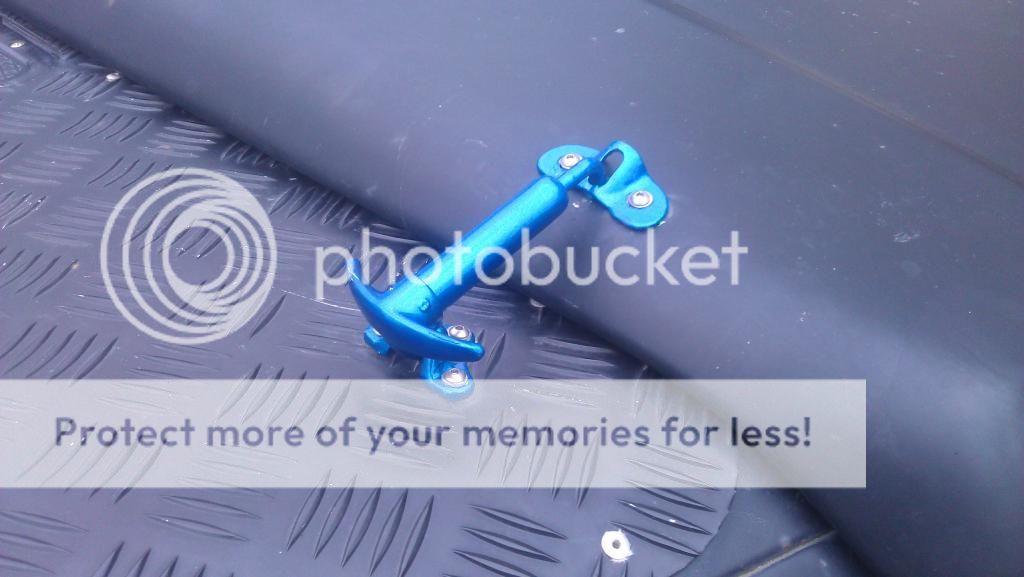
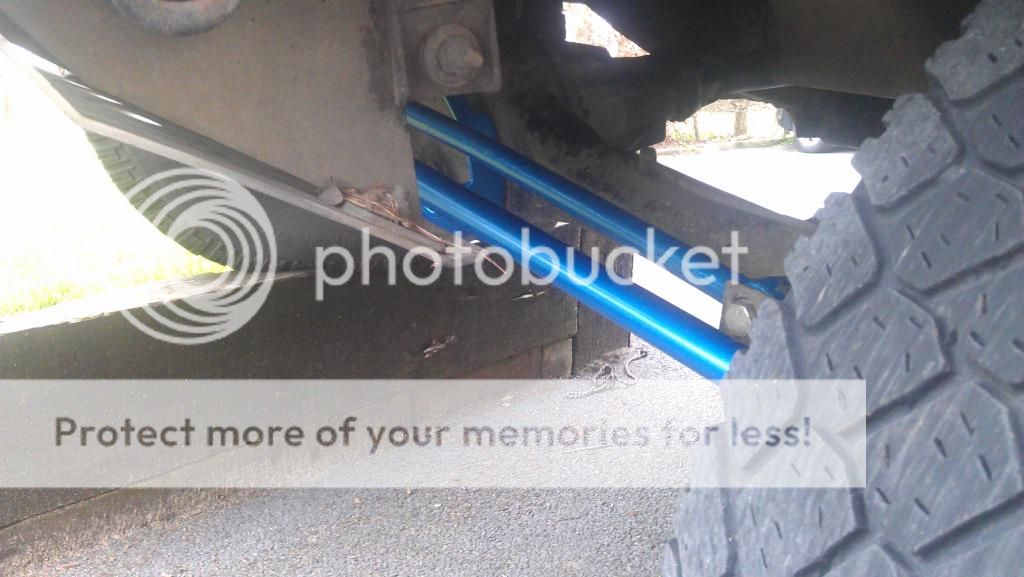
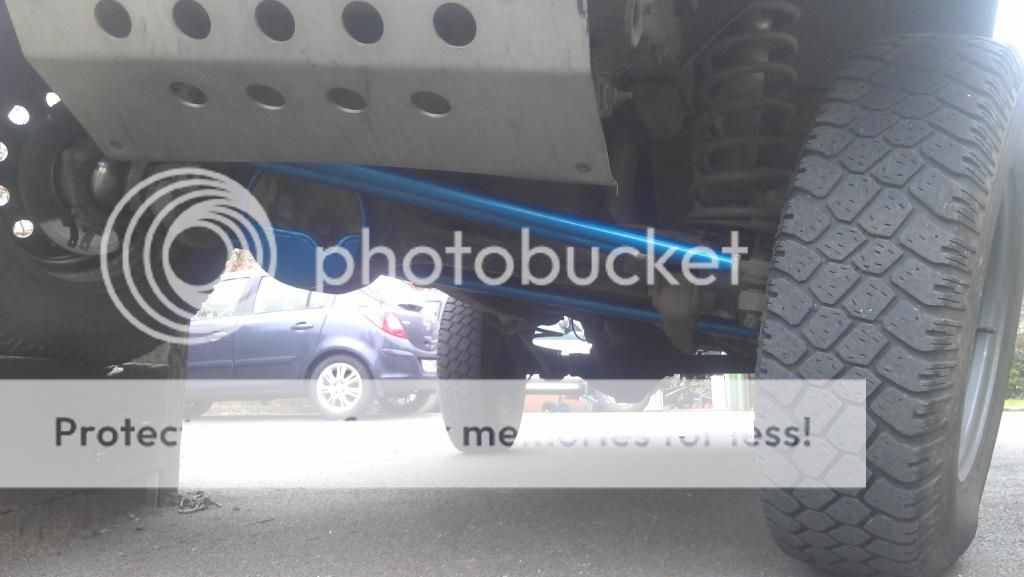
So ive had a change of heart regarding the matte black/green combo and have decided to do GunMetal Grey and blue. so today i started with the blue. did the front diff guard, HD Steering bars, Panhard Rod and bonnet catches.
Still to do are the intercooler, radius and trailing arms and read diff guard.
Post 16:
New (to me) tires!

Post 17:
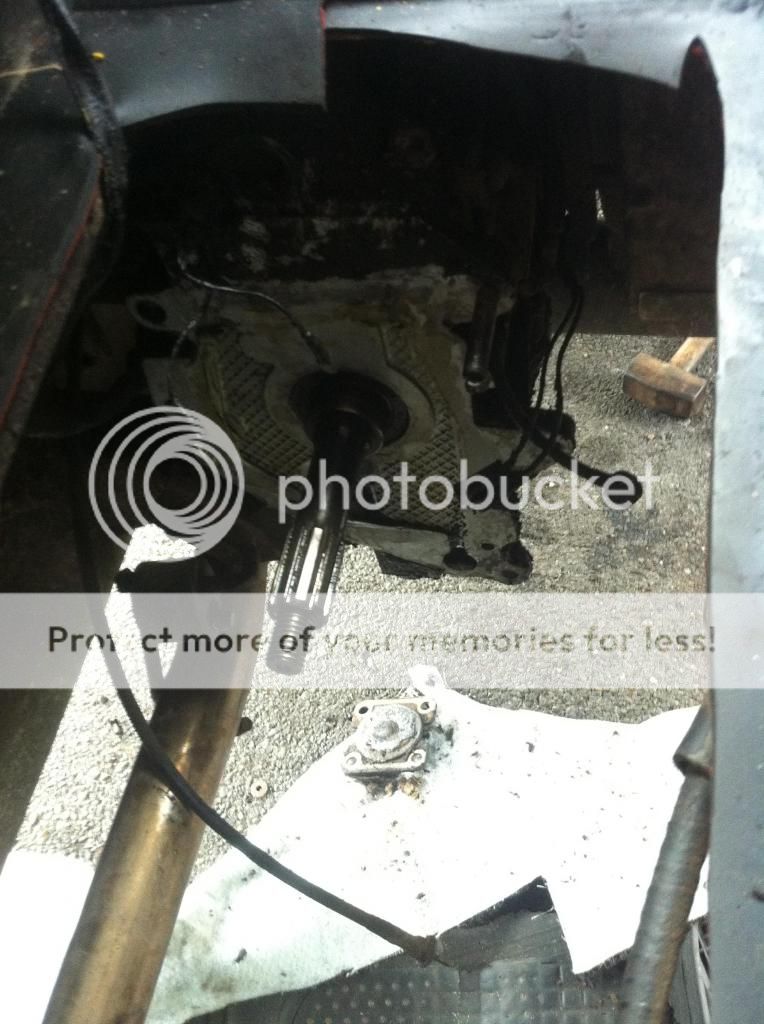
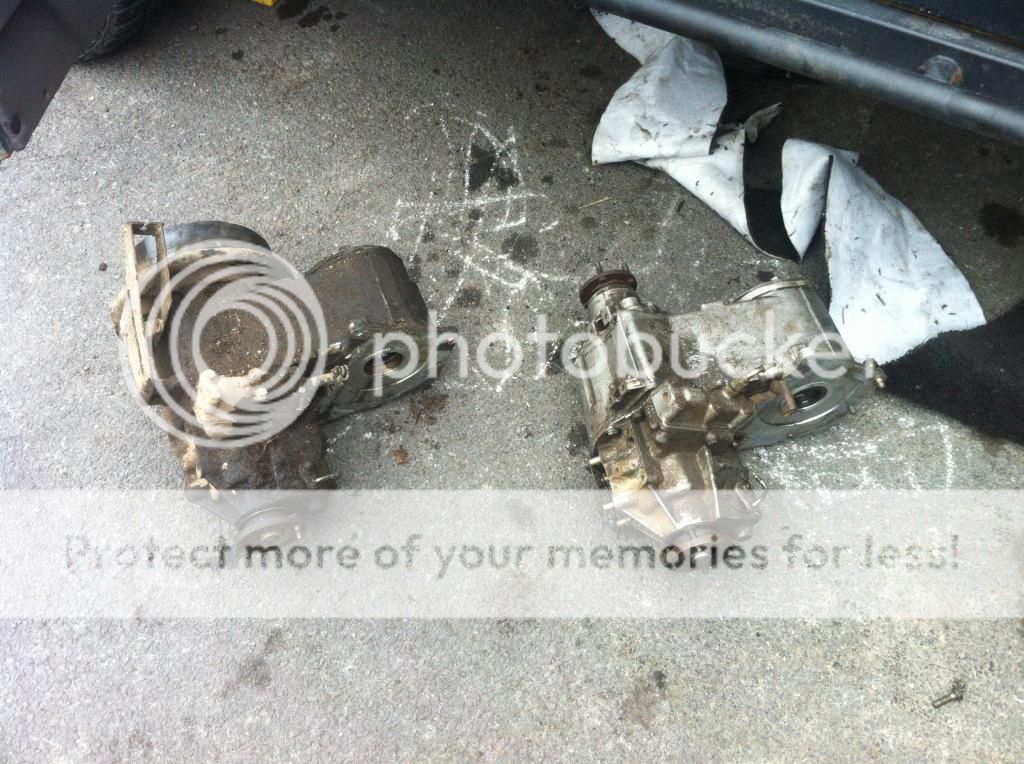
Got the T/Box done today! What a massive difference!
The big hole where there used to be a T/box
The two side by side:
Post 18:
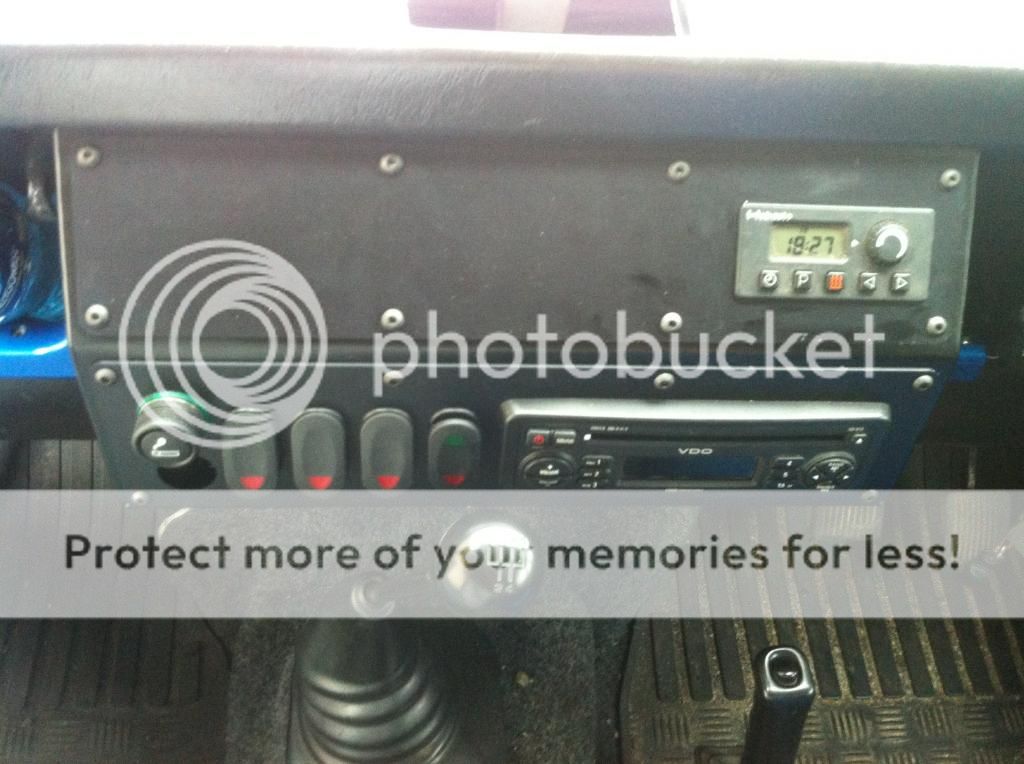
Did a small bit of work yesterday, and fitted today, Mostly cosmetic fitted a radio finally!! :yay :yay :yay and ordered a raptor dash, so a good bit to do next week too
Grilles sprayed:
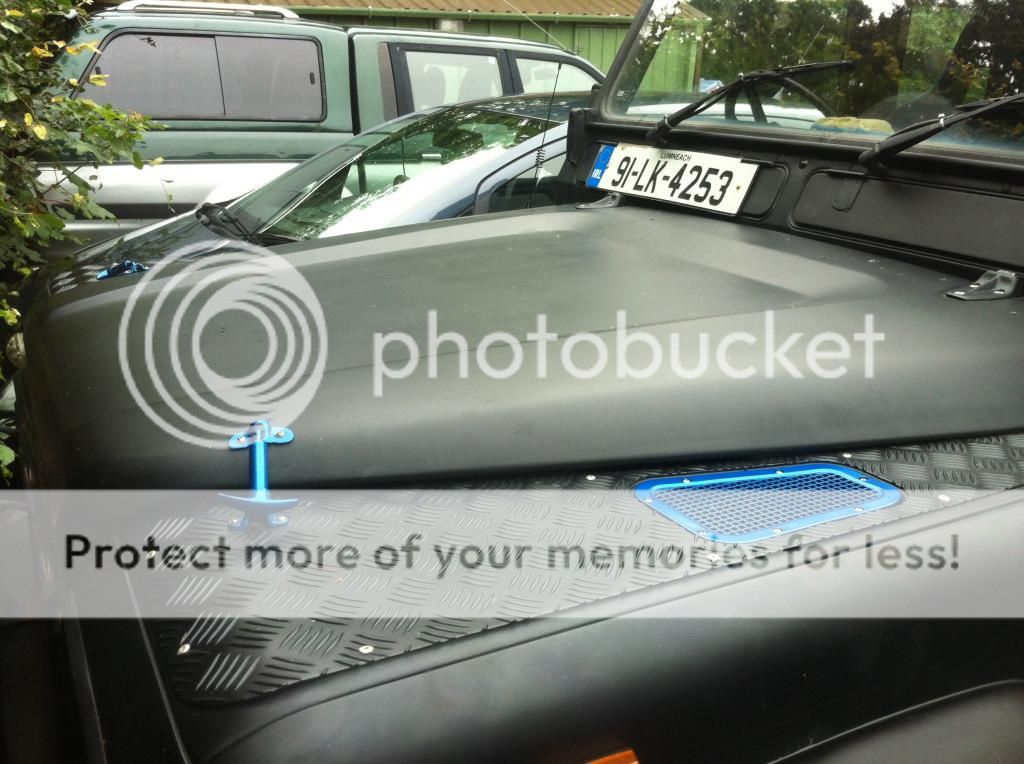
Bit of interior 'colour coding'
Rear Diff Guard (Paint will last all of about 10mins off road but had a bit of paint left over so said i might as well!!

And heres a look at the bearing that was causing all the trouble (top bearing in the image, thank god it was a small job!!)
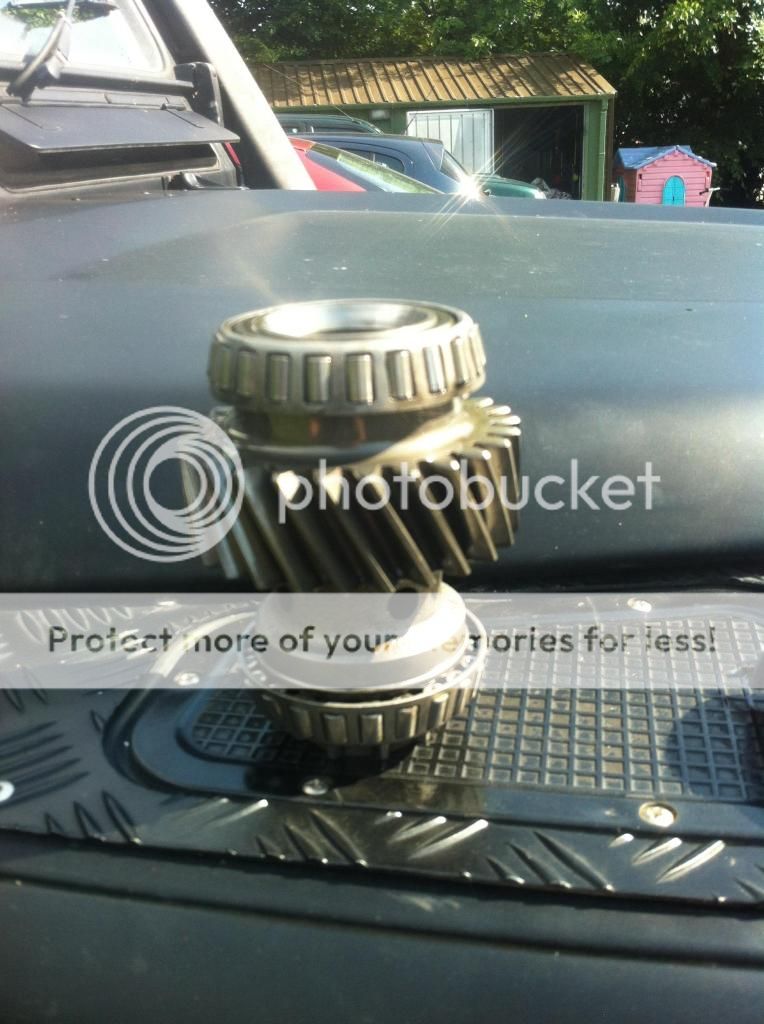
you should just be able to make out the dent in the bearing cage ( right hand side)
Post 19:
[quote author=PostmanPat link=topic=3055.msg77144#msg77144 date=1373265563]
looks a bit like a boy racer job now ... ;D
[/quote]
The Cheek of you!!!
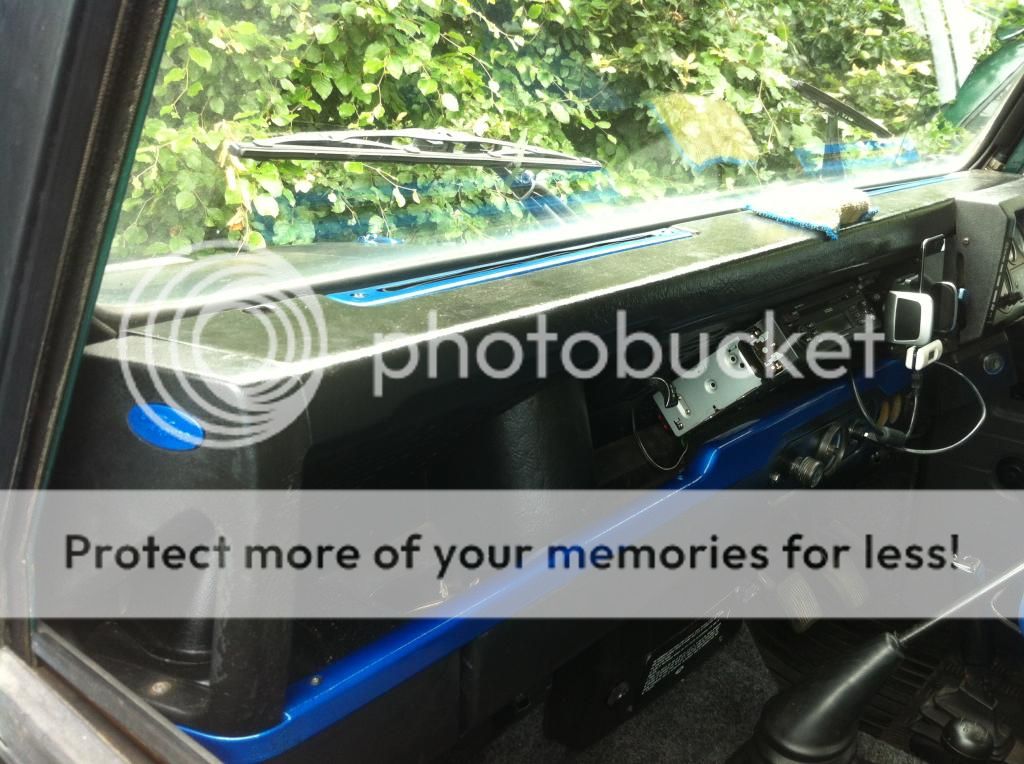
Yeah i agree the blue strip on the dash is a bit much, but a good portion of it is gone now
Bought more shiny bits

switches still need to be wired into the ejector seats but its getting there
Post 20:
In the middle of doing some work today on the 110, i did this, partially out of boredom, and partially as i was curious how far it'd flex\
It managed that fairly easily but doubt it'd manage a whole lot more


Dont worry, i wasnt working under it like that or anything...
Expect photos of a rust free front bumper and a-bar tomorrow too :wave
Post 21:
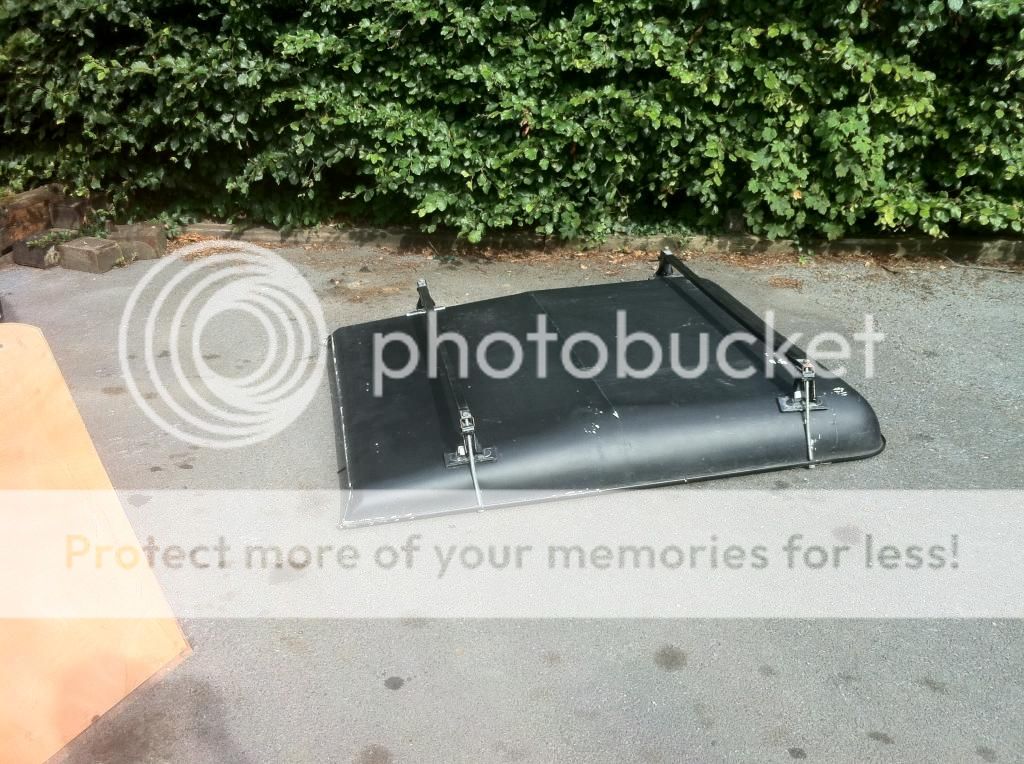
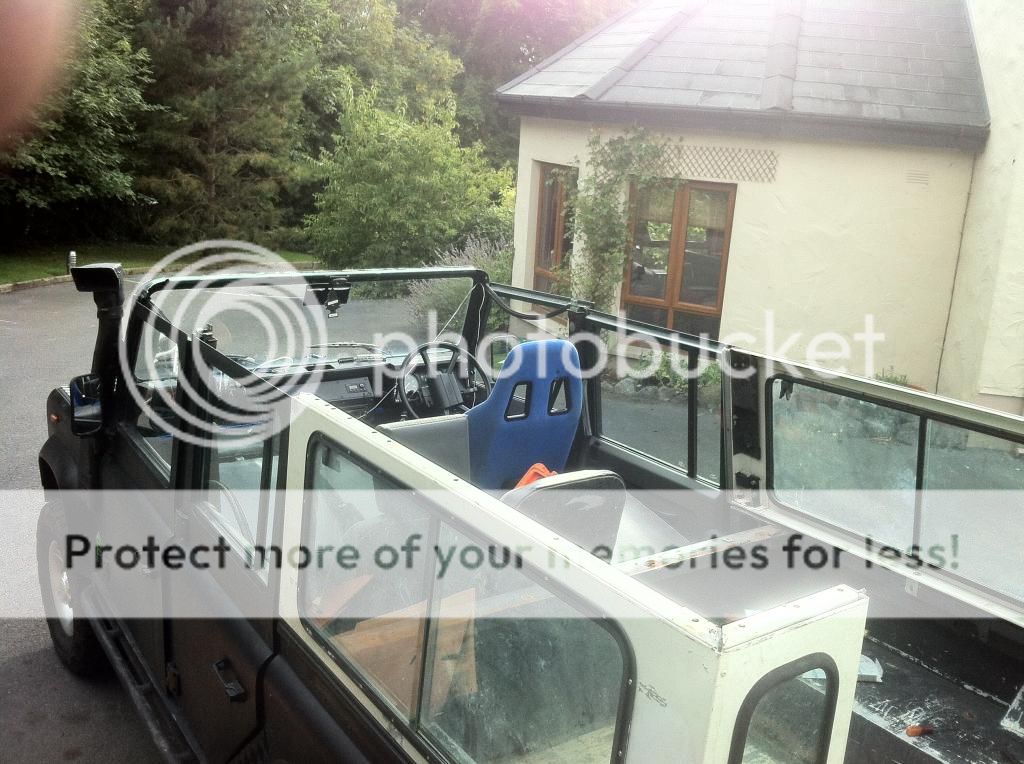
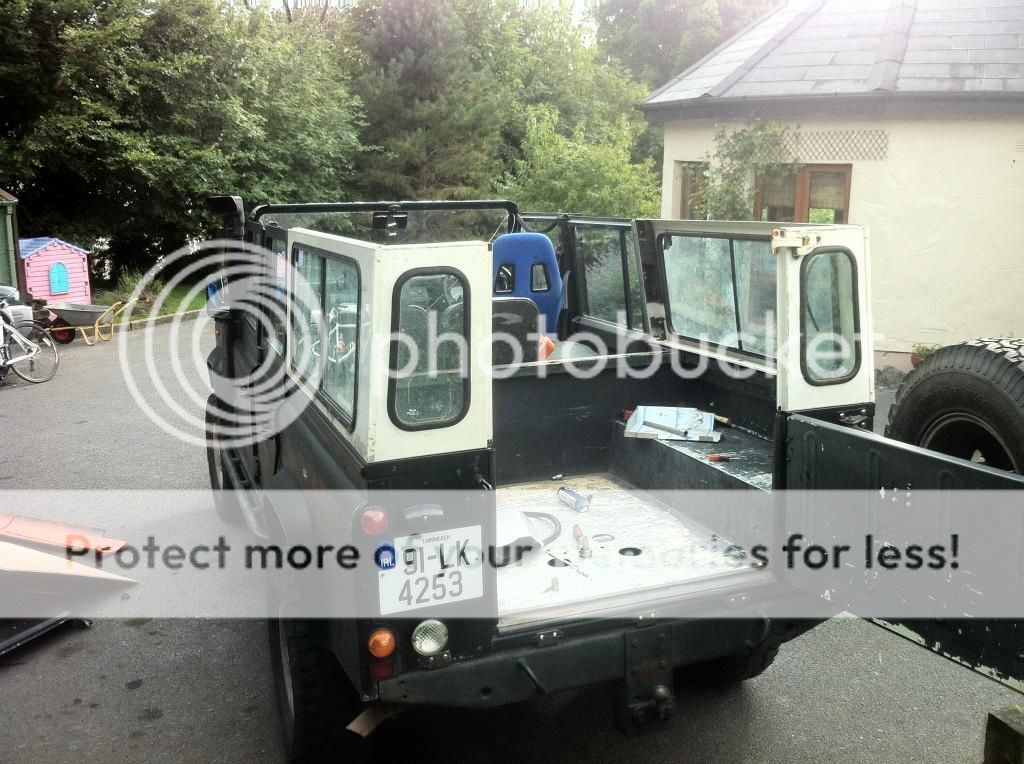
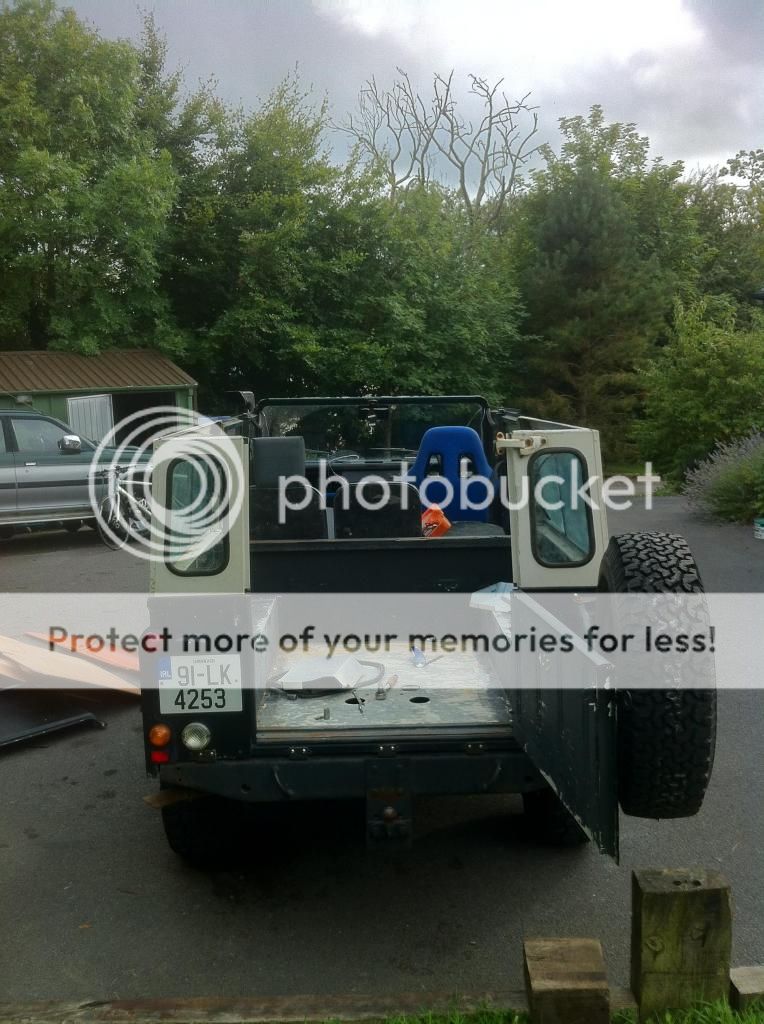
So, managed to get a roof and CSW sides which i'll take the windows out of and blank with a sheet of alu.
Roof was a bit rough around the edges so a bit of filling and sanding was the first job on the list:


Also got a full front to back roof lining which i plan to retrim ASAP as it is quite tatty and not matching:
And i have these too which i will clean up and paint to match the rest of the interior:
Oh and heres a look at the central locking key, seems to be a decent bit of kit and its handy to have the key as part of the fob


So... its safe to say im going to busy the next few days!! :yay :yay :yay
Post 22:
[quote author=DaveM-Sport link=topic=3055.msg78754#msg78754 date=1376774309]
Would you not go on limo tint on the windows instead of blocking them out altogether?
I think having windows on the side even if you can't see through them breaks up the box van look of a 110 Defender and also by having windows, it'll make it abit nicer to be in as a camper I would think.
Obviously, Masi windows would the the ideal option if I was going hardtop on a 110 but the cost of it all isn't quite so ideal
[/quote]
Ive put serious consideration into keeping them all right. but there are too many reasons to take them out
1: It's a commercial vehicle so windows have to be blanked out either way.
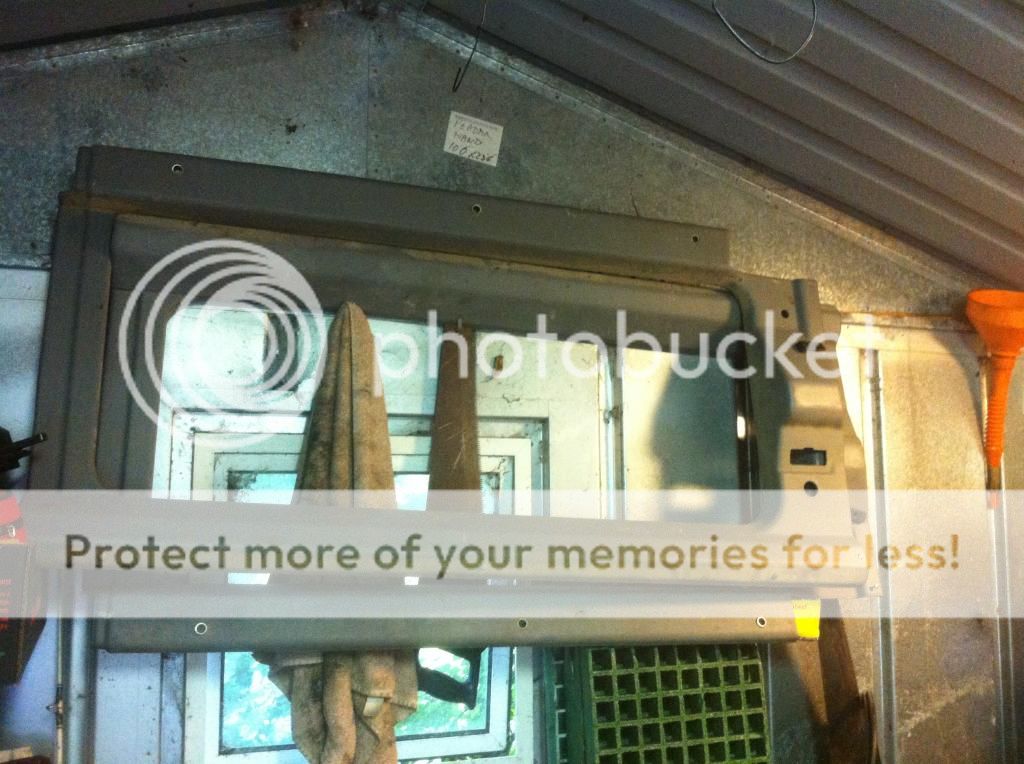
2: Im planning to make up/buy a side hatch like this:
The plan being to use it for storing tools, winch equip, recovery equip, jack etc etc.
3: Ill shelve out the other side so it is accessible from the inside, and stores camping equip, cooking equip (possibly a drop down cooker) etc.
4: I will re-use one of the windows in a bulkhead between the load space and seats to make it possible to see out the back.
5: there will still be the back door window and the two windows beside these to let in light
I still agree that from the outside it'd look nicer with the windows but theres too many reasons not to keep em
Post 23:
Finally got started with the work on the 110!!


Post 24:
All right lads, its still in a very early stage of the build but have a look at how it all works
This is how the bulkhead currently looks, im in two minds about putting a window into it, but it will most likely happen
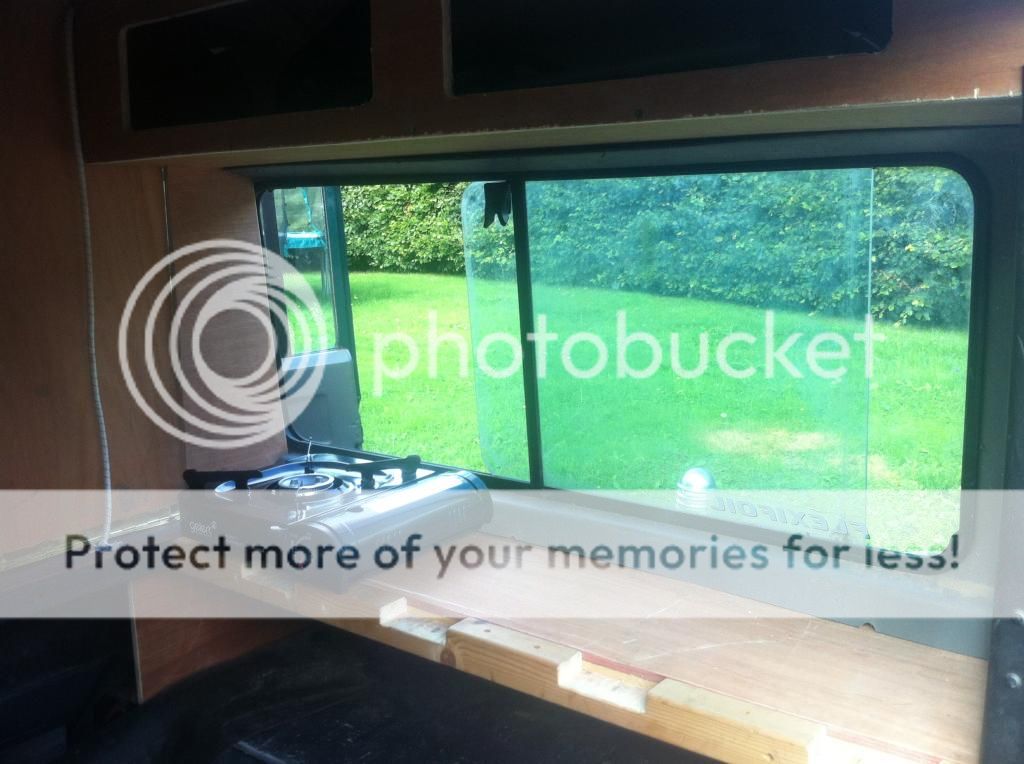
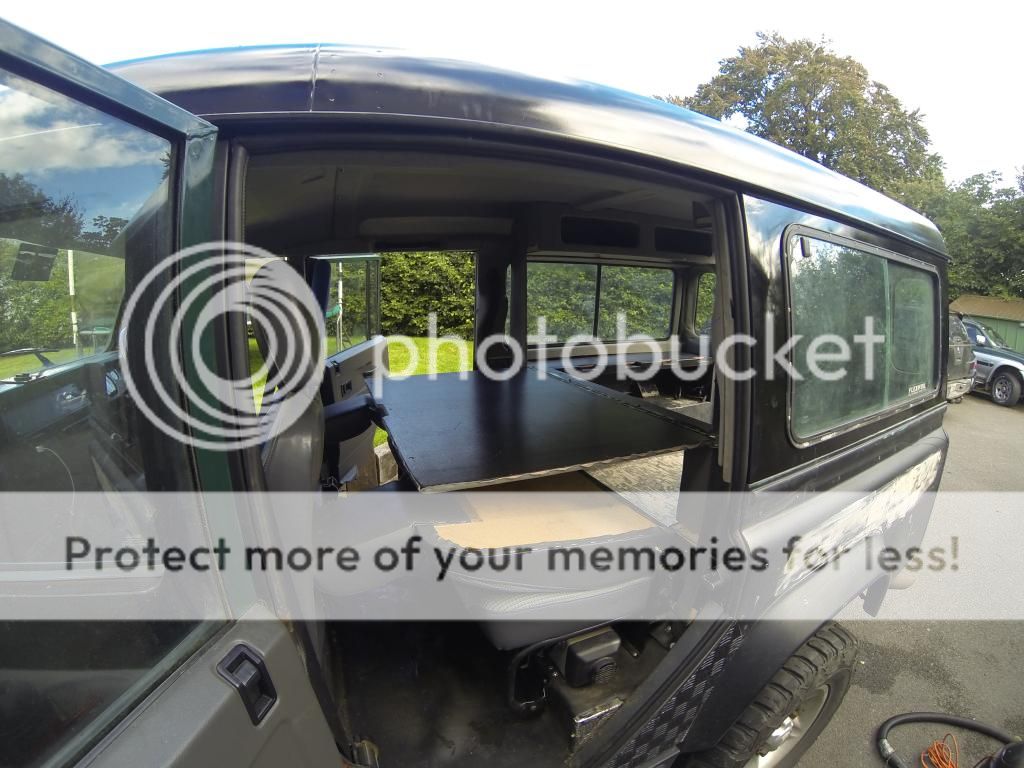
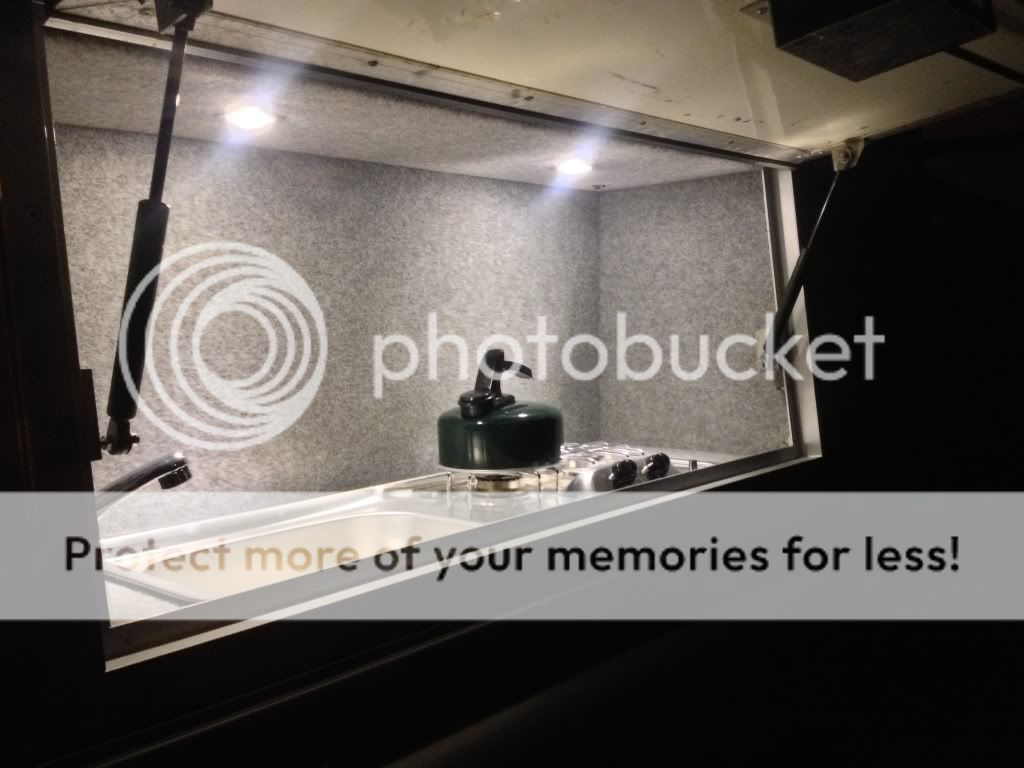
eventually there will be a drawer on top of the wheel arch, not full length, but as far as the fuel filler surround. And from there back ill probably put in a small sink.

Full length drawer at this side, will hold the back section of the bed frame, a tent, etc etc
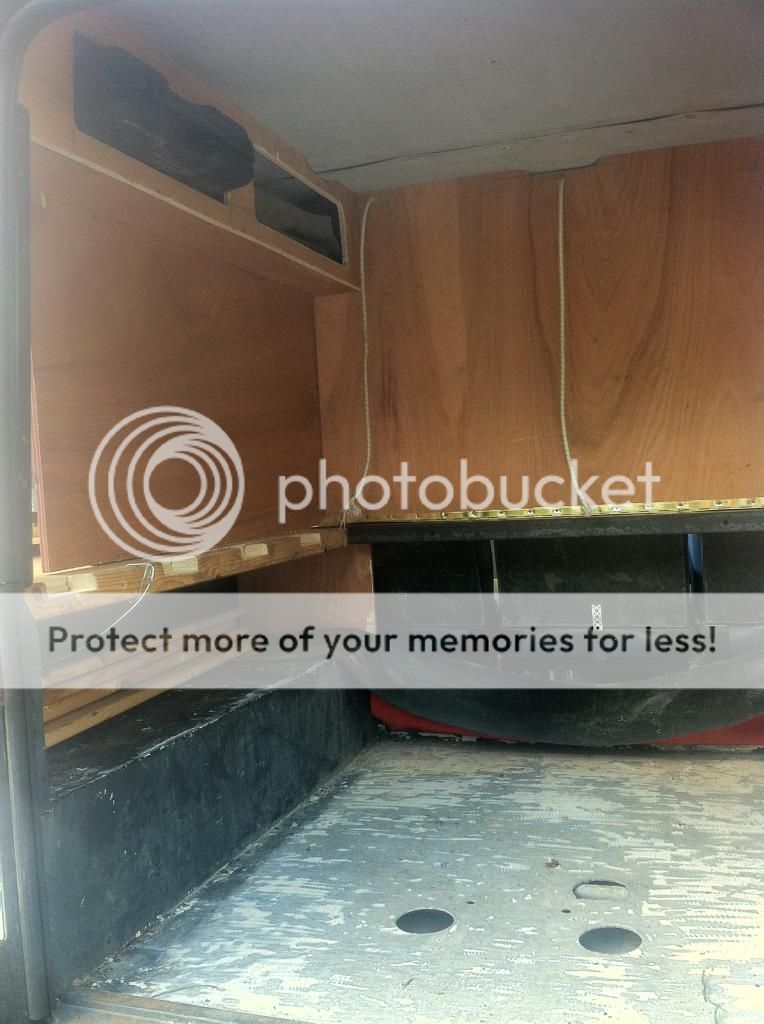
Small, but usable cooking area, will eventually get around to covering that flat surface with aluminium/stainless steel...
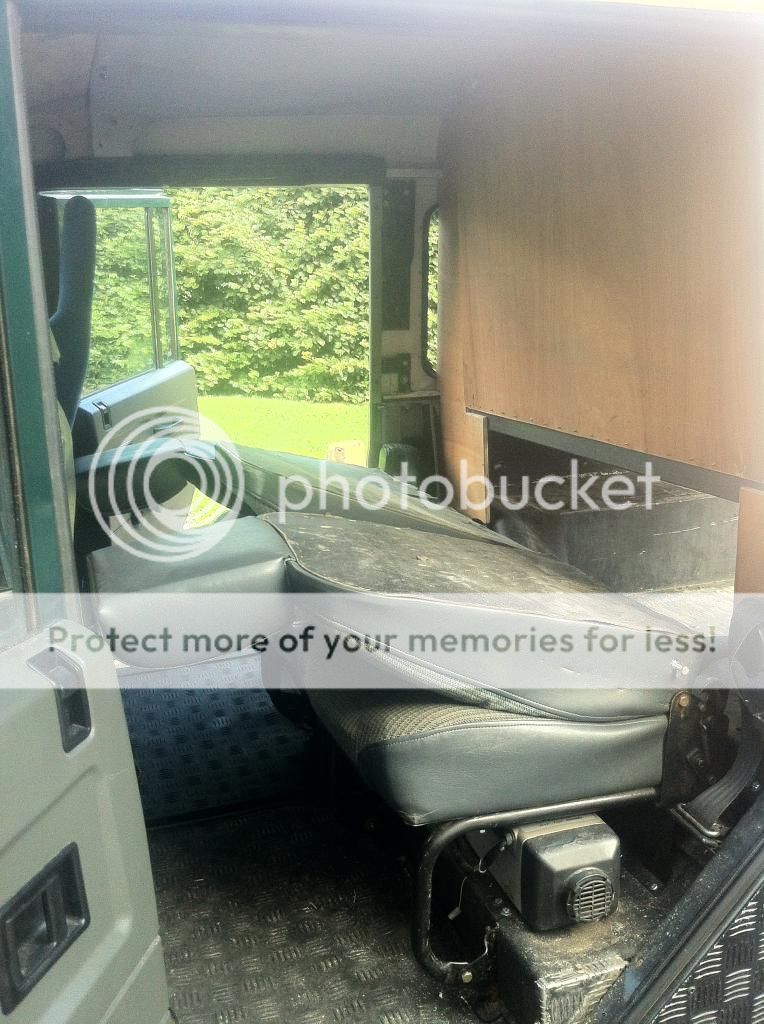
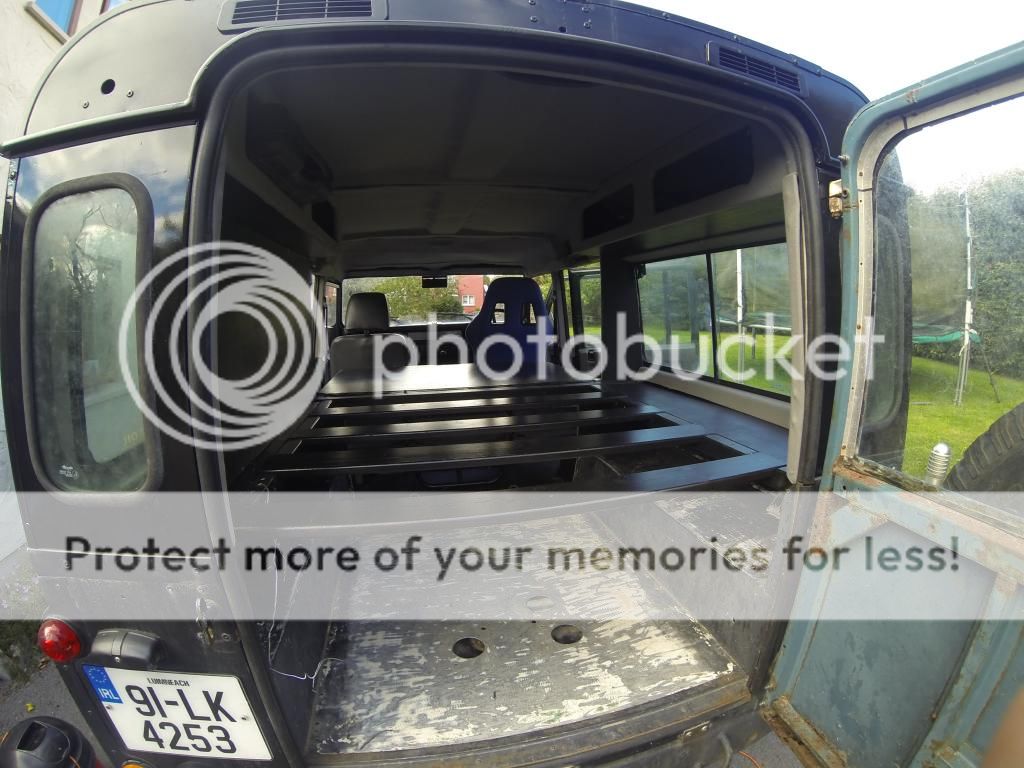
Back of the bed in place

Seats down to alllow the bulkhead to hinge down
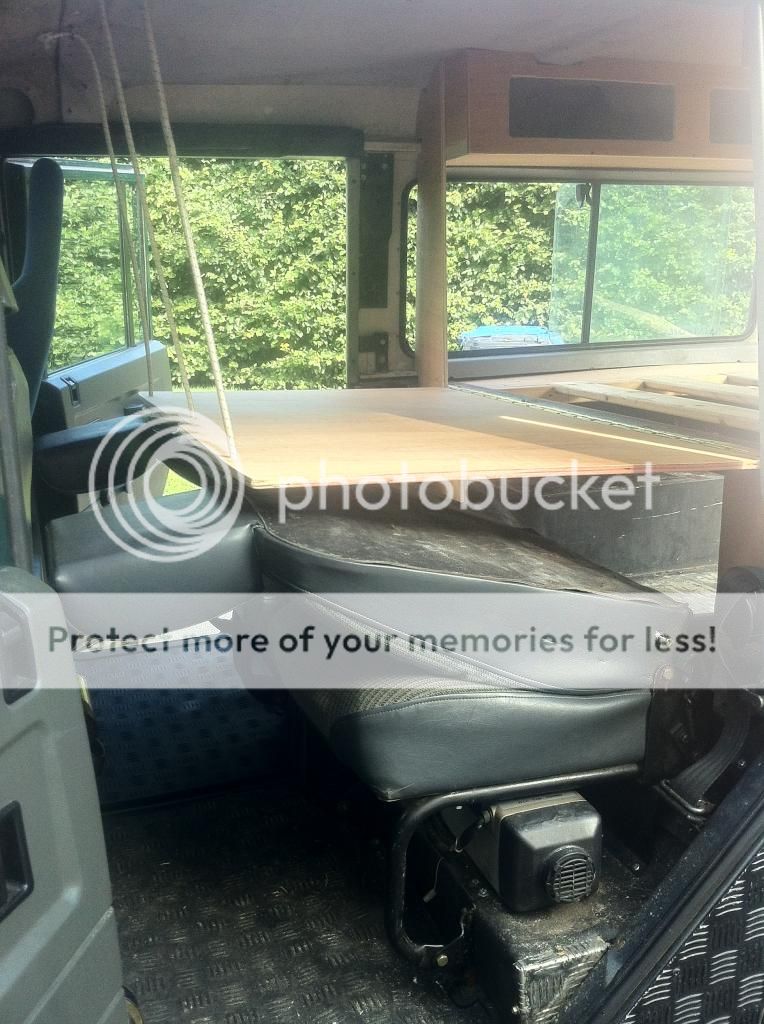
Bulkhead down, the bungee was literally all i had to hand to support the front of the bed, but i will eventually replace with something like the clip buckles you would see on a lifejacket.

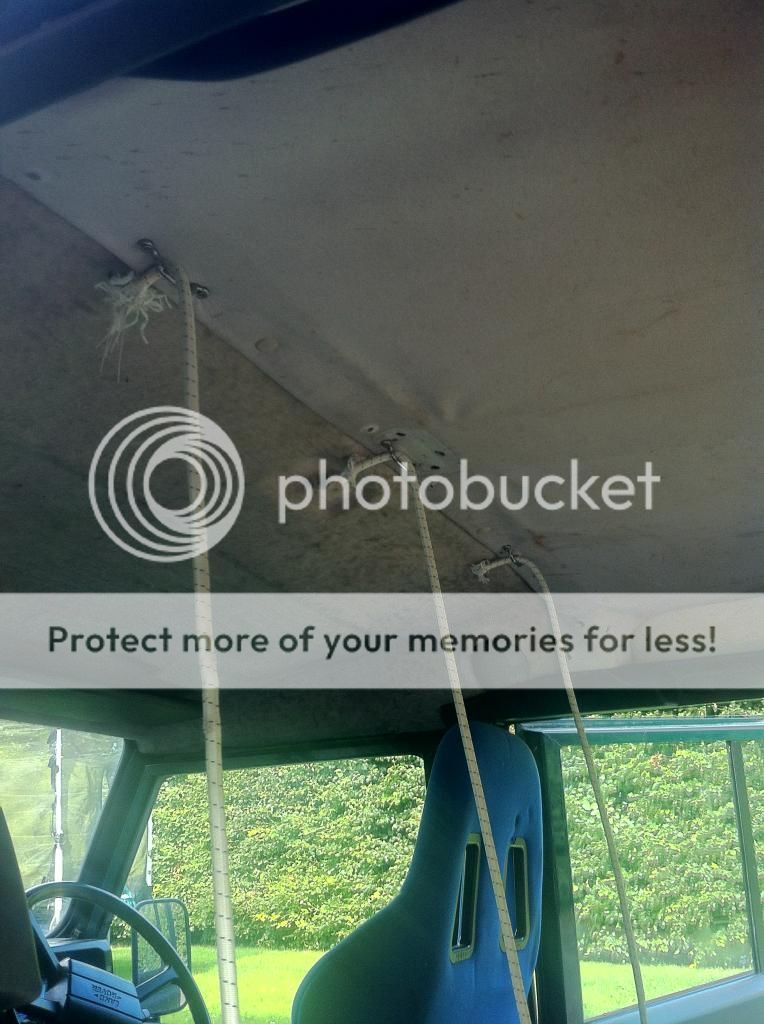
S/S tie down rings used on the roof (need to bolt these rather than screw em in, was in a rush to get them done before the wedding\ )
Would show ye what the air bed look like in place but i managed to burst it at the wedding\
I still have a lot of work to do, all the wood needs to be painted (some of it im going to cover in headlining), have to paint the interior panels so they all match and look nice, ive ordered a heap of headlining material to re-do the roof, im going to tint the back windows also, so the tint is ordered for that too, and i have a lot of sanding and filling and painting to do on the outside!! going to be a busy few weeks
post 25:
Right, so i was in a massive rush to get things done today so im afraid, no pictures
I painted the roof and the CSW sides today, but because i wanted to do a decent job of them, i took em off, which took an awful lot of time but they're done now anyway.
Hinges arrived as well, seems ive been sent td5 hinges by mistake :yay :yay :yay
so tomorrows plan is to retrim the headlinings ( already removed the old ones and if anyone wants the material, the back two bits are not in bad nick at all, just need a clean, so yere welcome to it, ill put images up tomorrow) and trim some of the camper parts, then rebuild the camper section, put the back seats back in and wire in the speakers again (im sick having no radio!) then ill start work on the doors!
Work never ends really!!
Dave, heres a look at the headlining, its advertised at discoloured, but that only on the backing foam, other than that it is perfect!


Post 25:
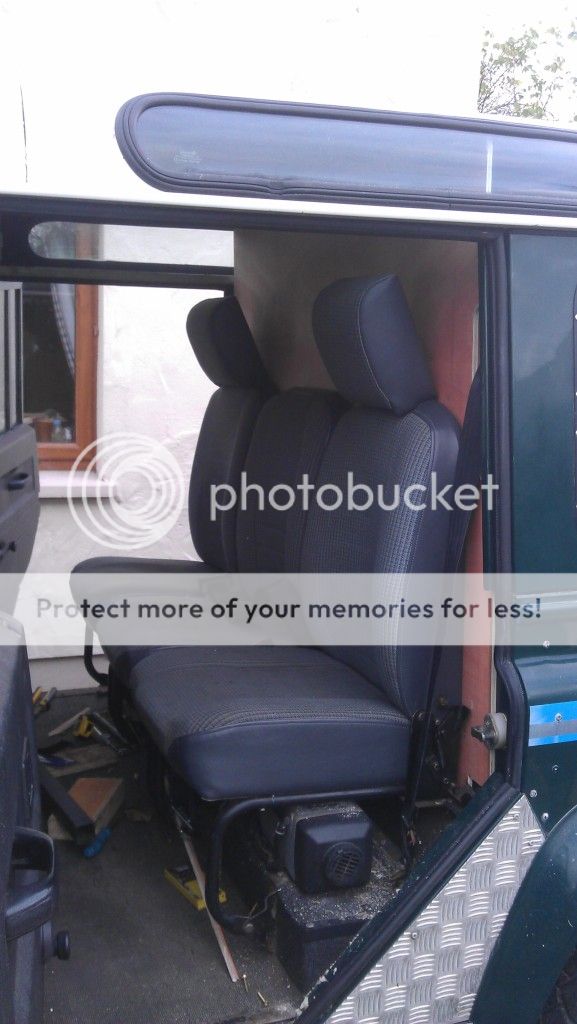
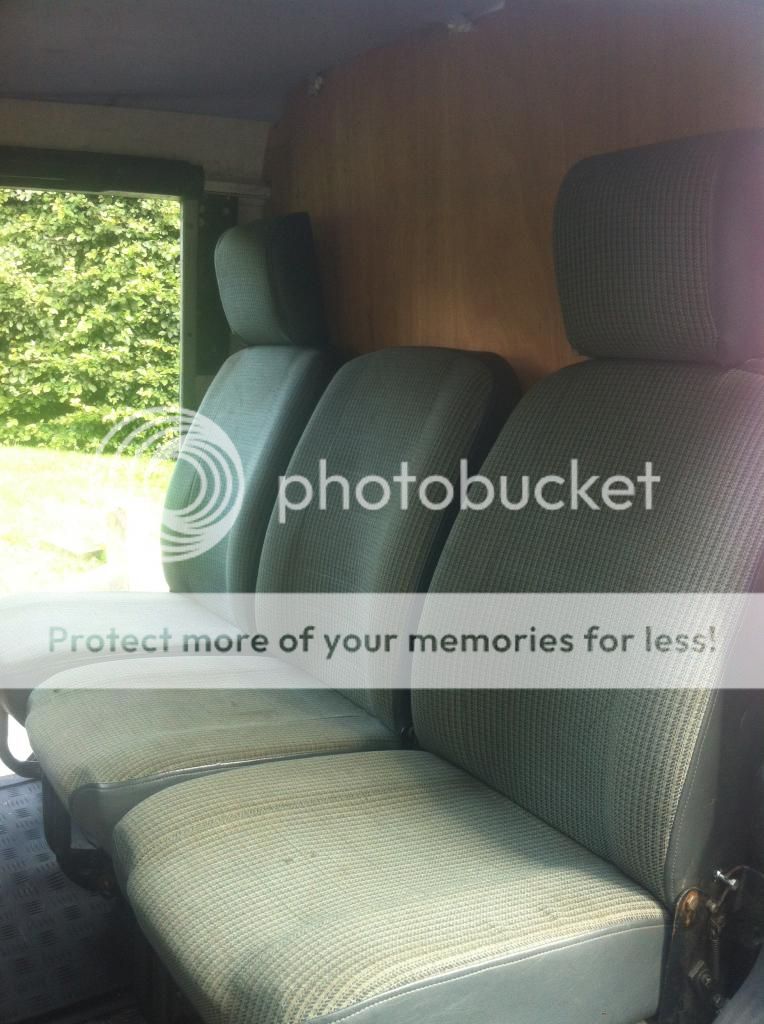
just finished upholstering all the interior parts..... NEVER AGAIN!!! a very difficult job and a very hard to get right
but all in all i think it has al turned out well.
heres a look at what ive managed, not a whole lot of photos to be honest, i promise to take more tomorrow

beefed up this section as it was a bit weak due to the holes in it


all the bits piled up ready to go in tomorrow!!

Post 26:
So heres how it looks after today!!


Still a few bits here and there to do, drawers on either side, cover the three holes in the floor that some gobsh1te thought was a great idea > > > finish the center lower section of the bulkhead, swap the bucket seat out for the standard one and retrim the two front ones, get the side hatch made up, etc etc etc
Post 27:
[quote author=DaveM-Sport link=topic=3055.msg80854#msg80854 date=1381006356]
Food for thought?
[/quote]
Thats EXACTLY what i want, but for tools, not the teapot any info on where the door came from??
Post 28:
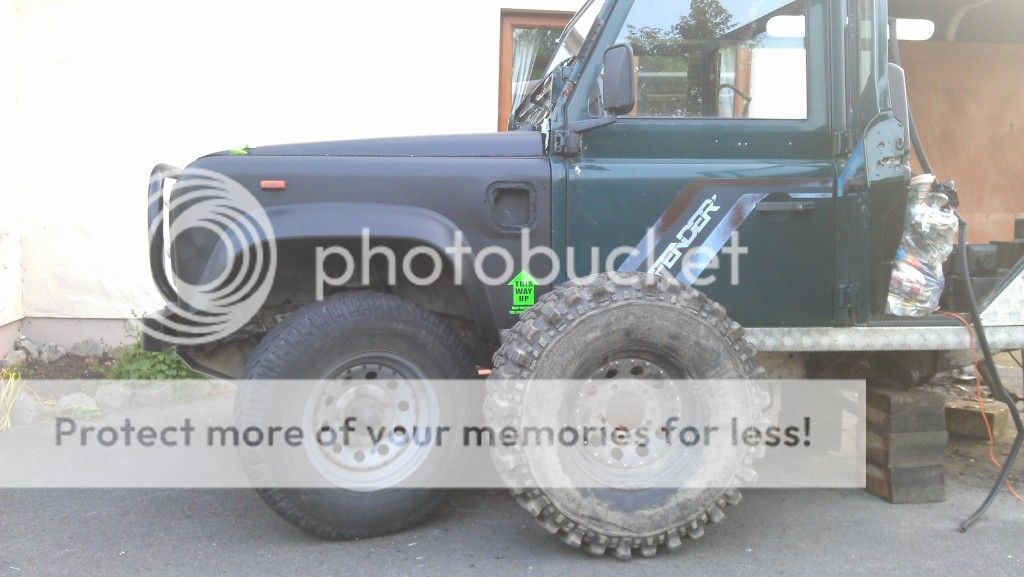
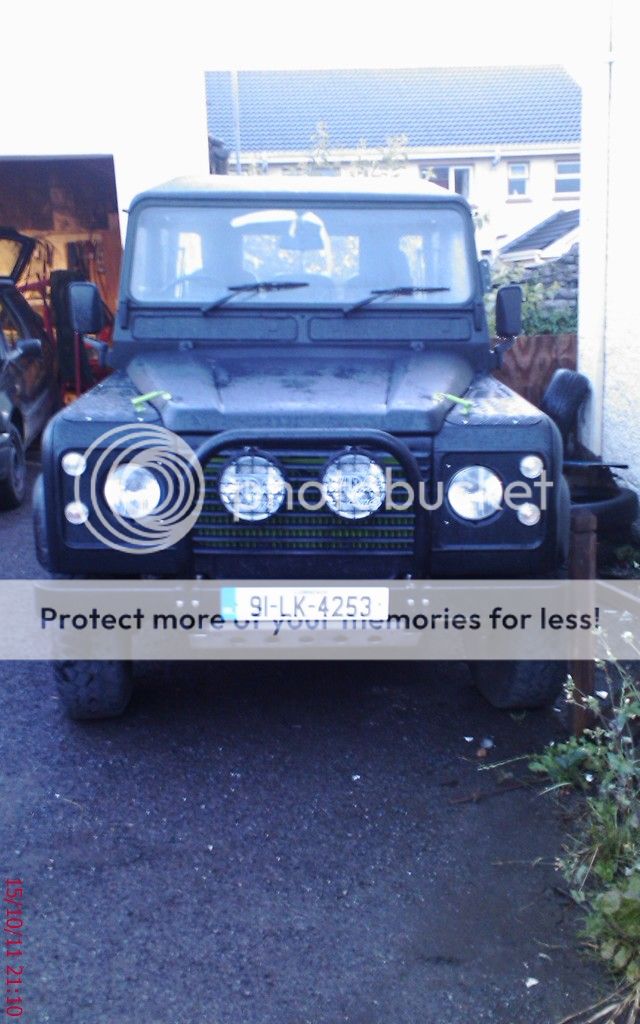
New Tires again :
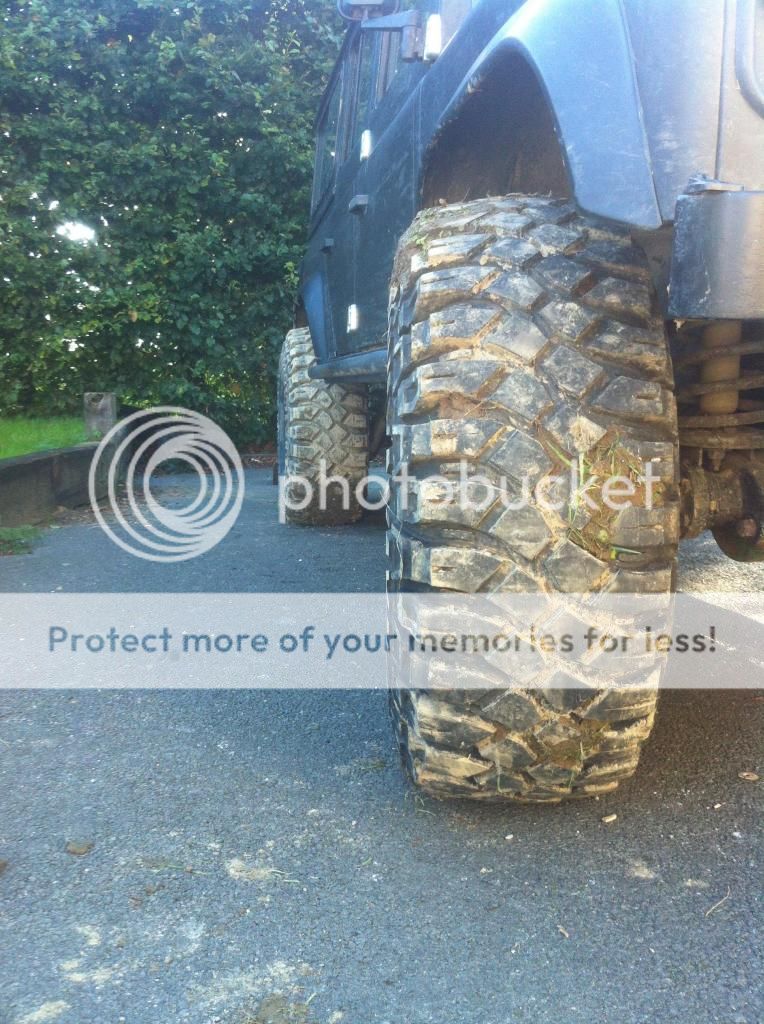

Spec: 35''x12.50'' r15 Maxxis Creepy Crawlers, not sure about the wheels, look like 10'' to me?
Verdict: Very happy!!!! seriously improve the look of the machine, and the (cars getting out of your way) factor has definitely improved. i think ill end up going back to the defender t/box as the gearing is a bit high for my liking, but thats yet to be confirmed, other than that id say i need a new steering damper and need to tighten the wheel bearings, nothing major!!
Need to take it out in the forrest now and see how it does!
:yay :yay :yay :yay :yay
Post 29:
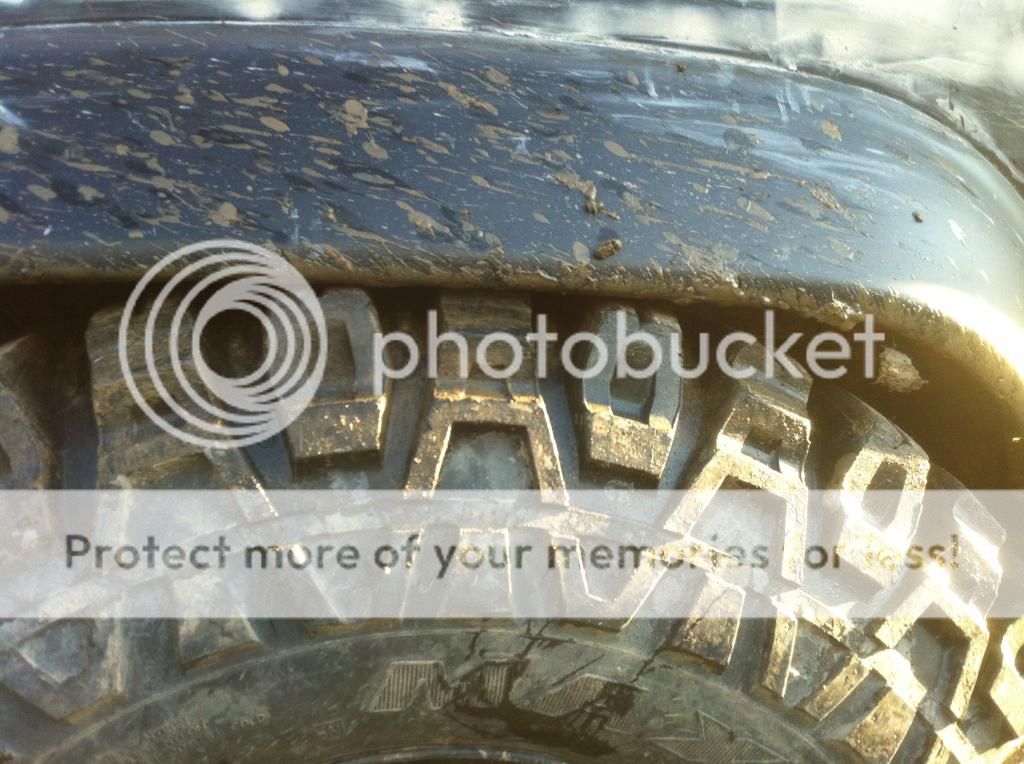
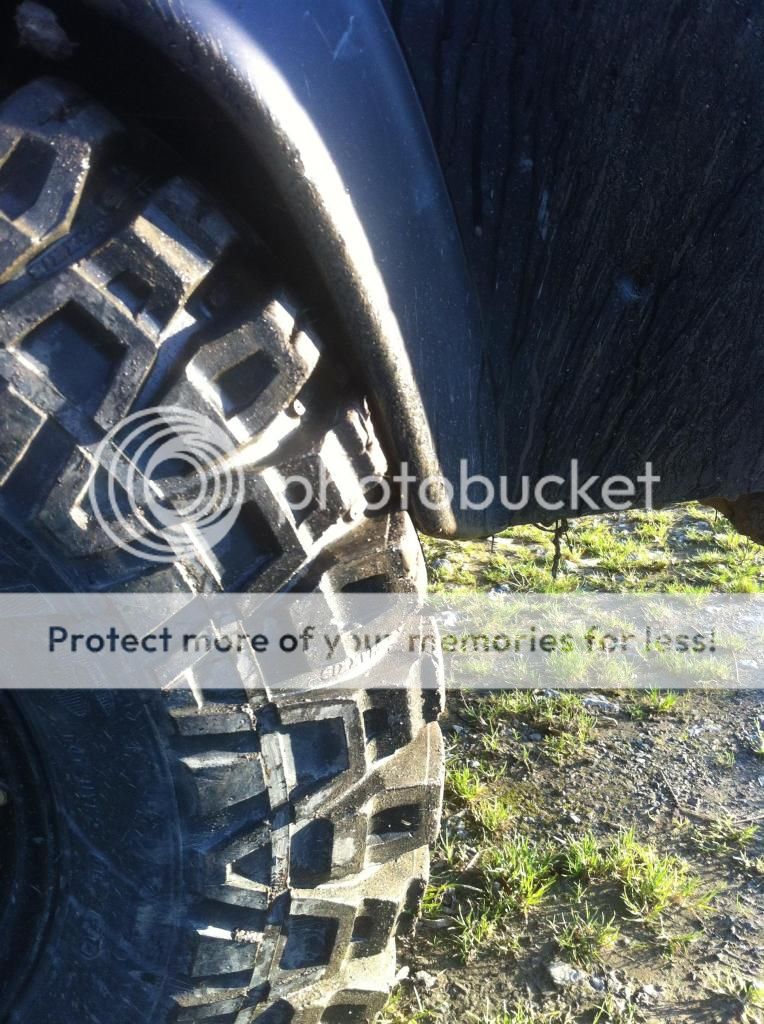
So did a bit of testing today as i wanted to see how much they rub under the arches when off road, before actually going off road and finding out the hard way :
The back end being flexed:
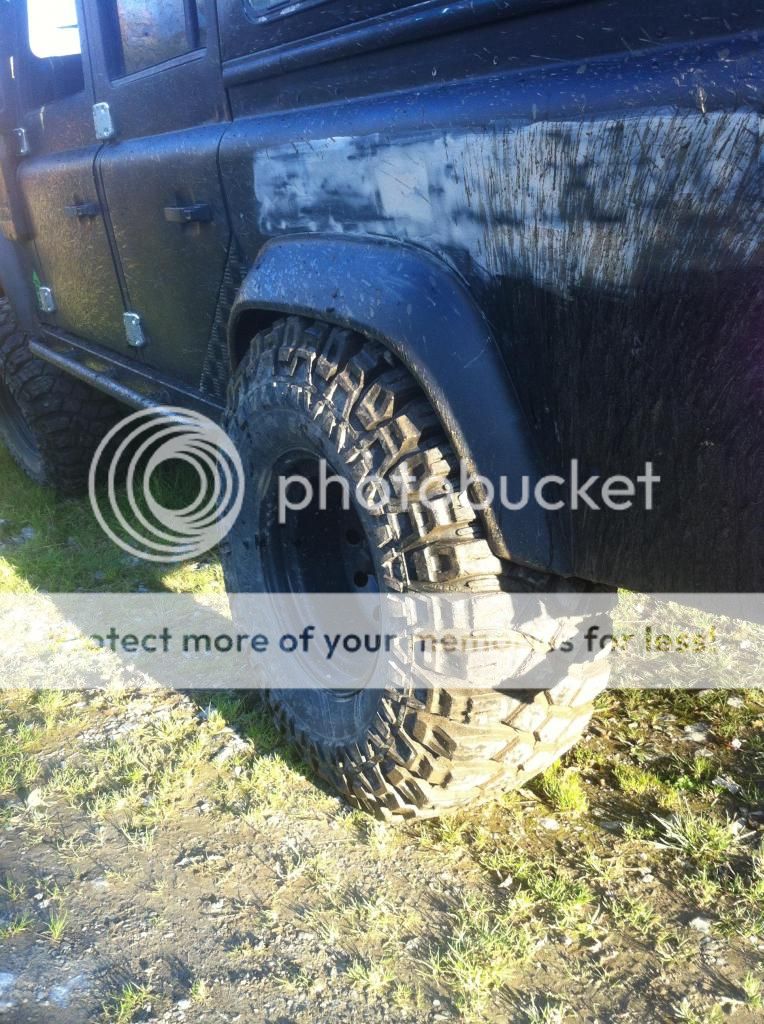


About an 1-1.5 inches between tyre and spring mount
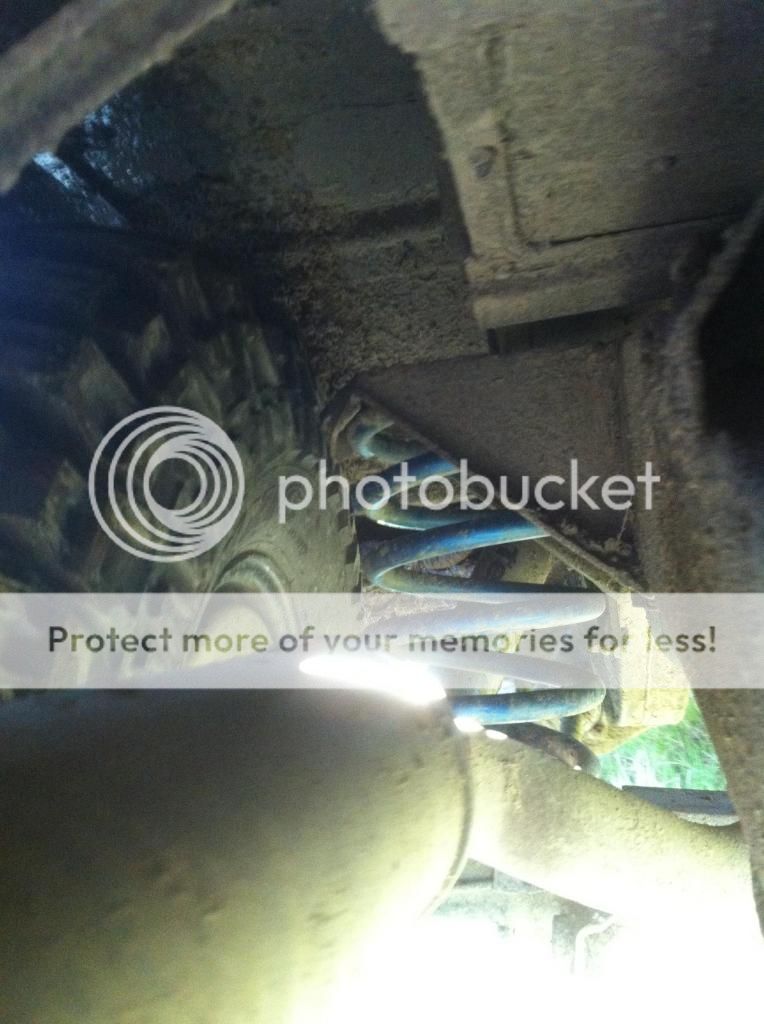

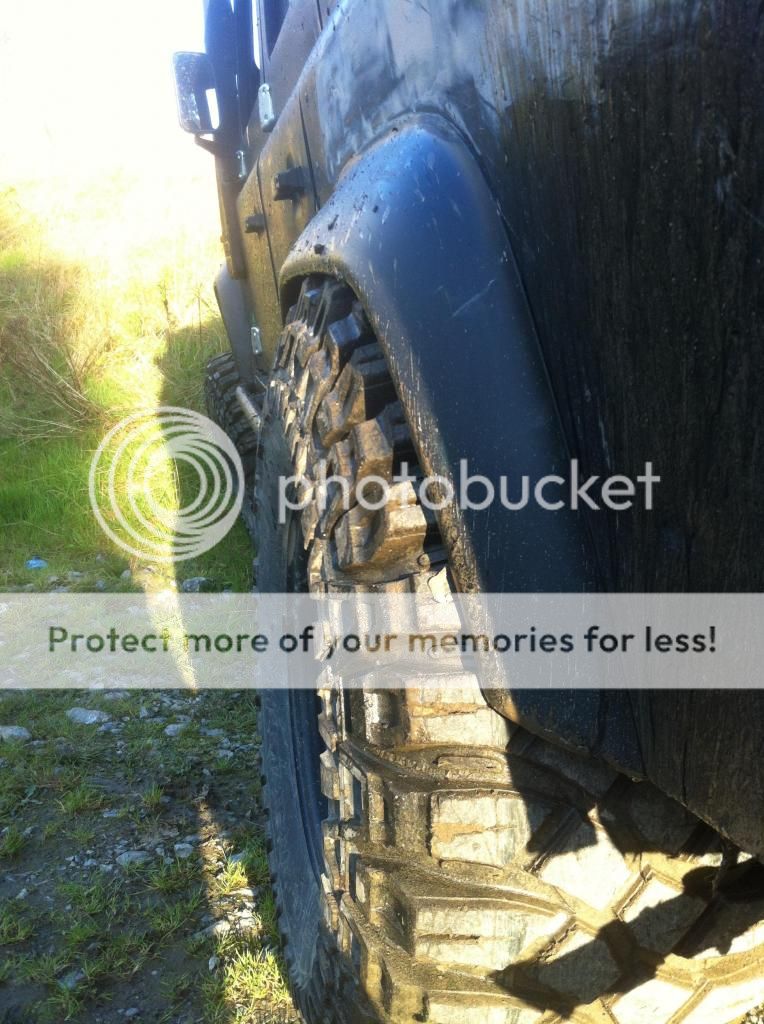
Hellaflush
Front end being flexed:


Overall, i might need to cut the arches a tiny ammount, nothing major very impressed with the grip all ready, know its not a proper test but they didnt slip even the slightest bit while climbing this bank :yay :yay :yay
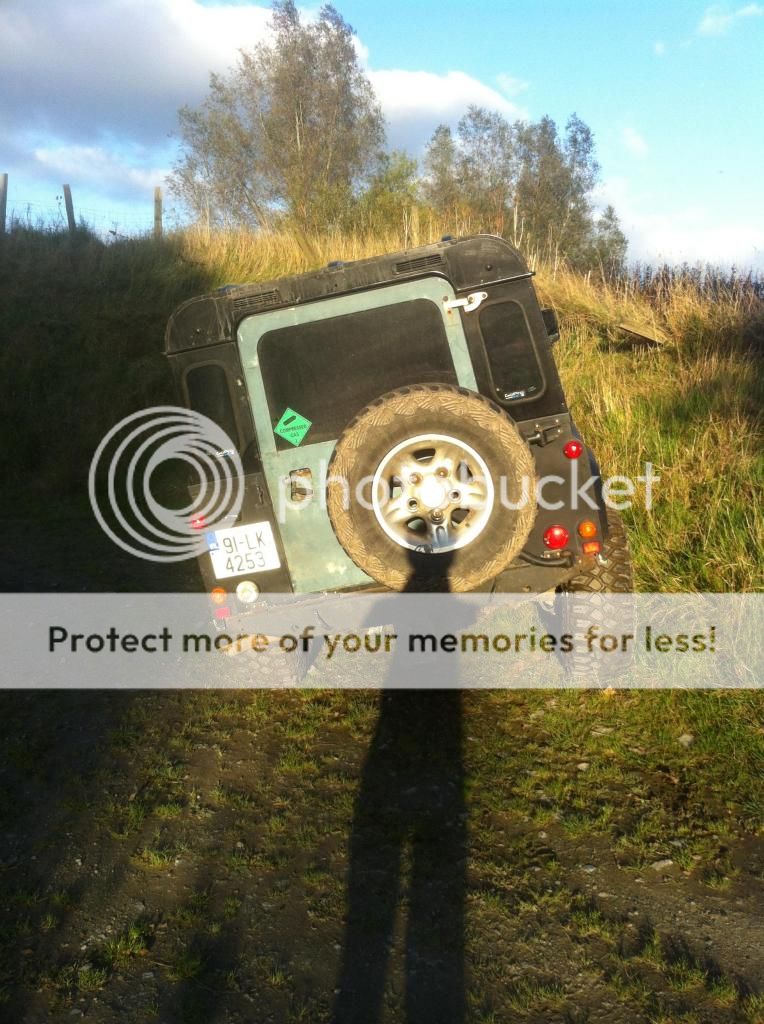
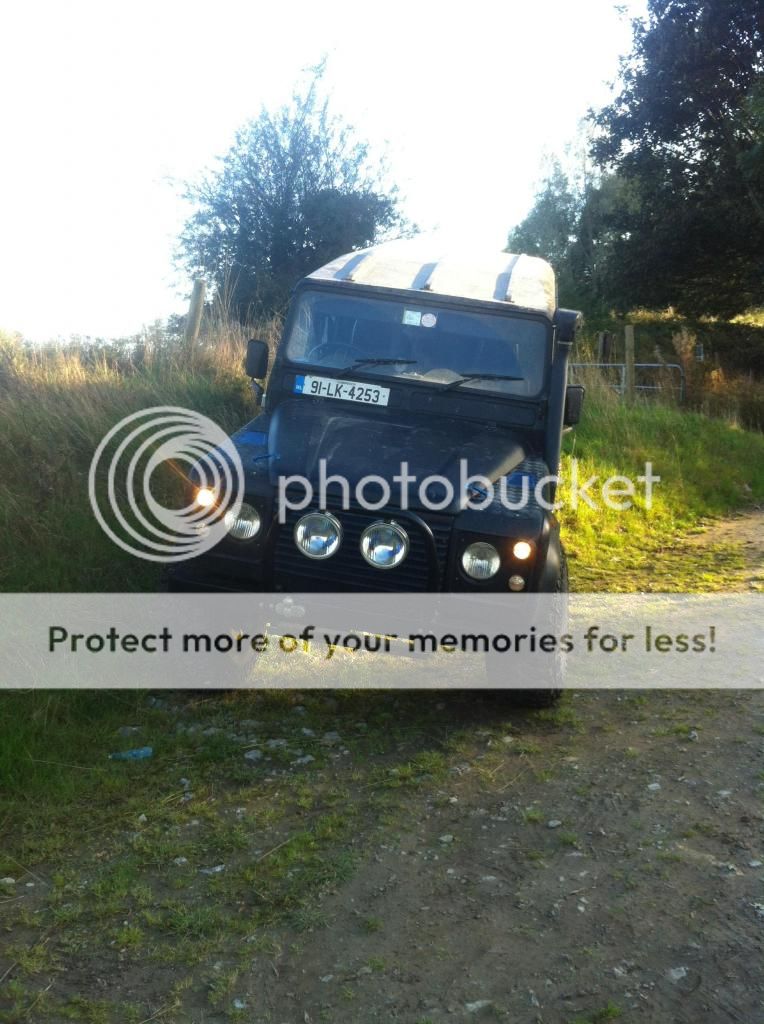
then posed for a few photos on the way back!
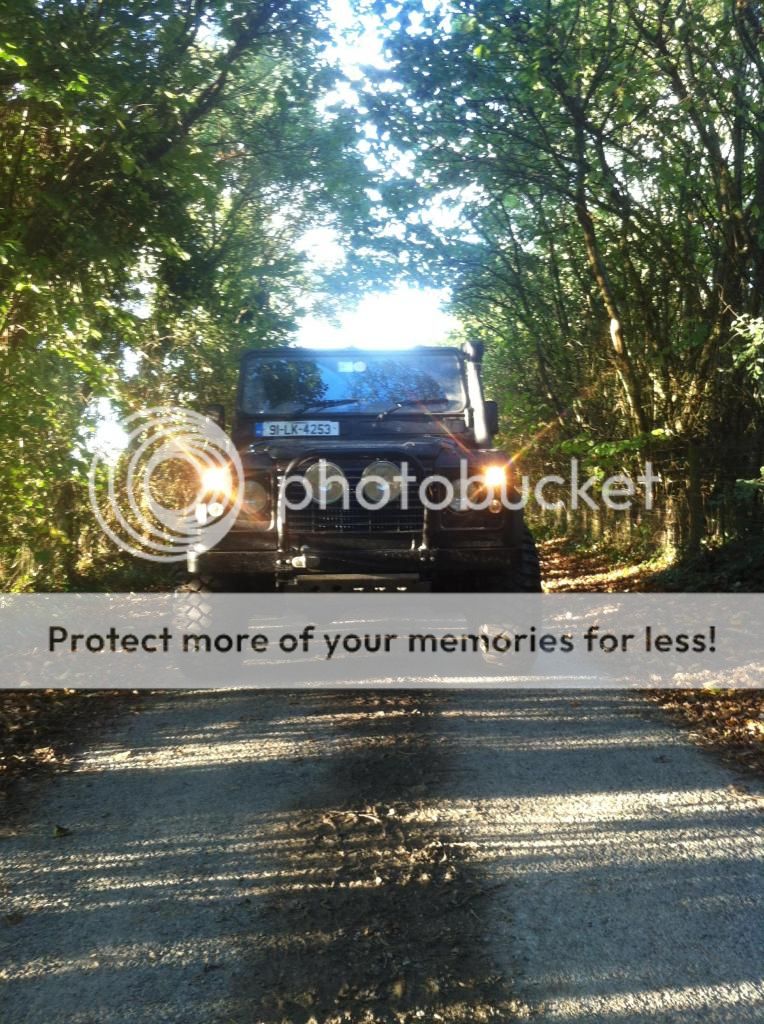

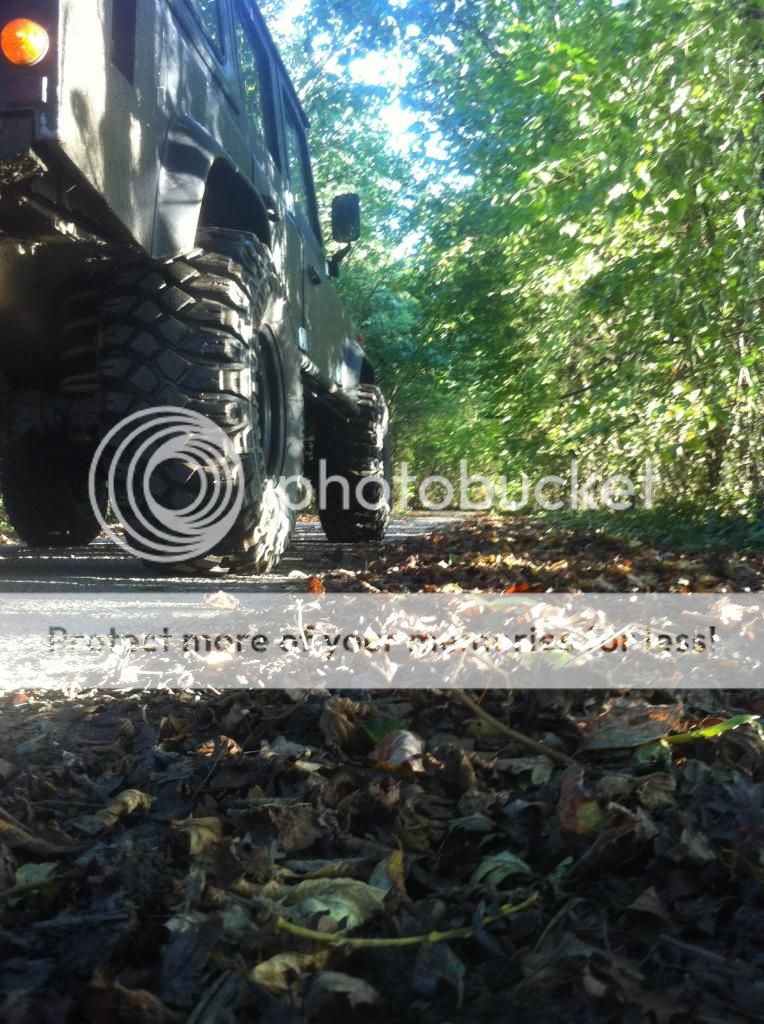
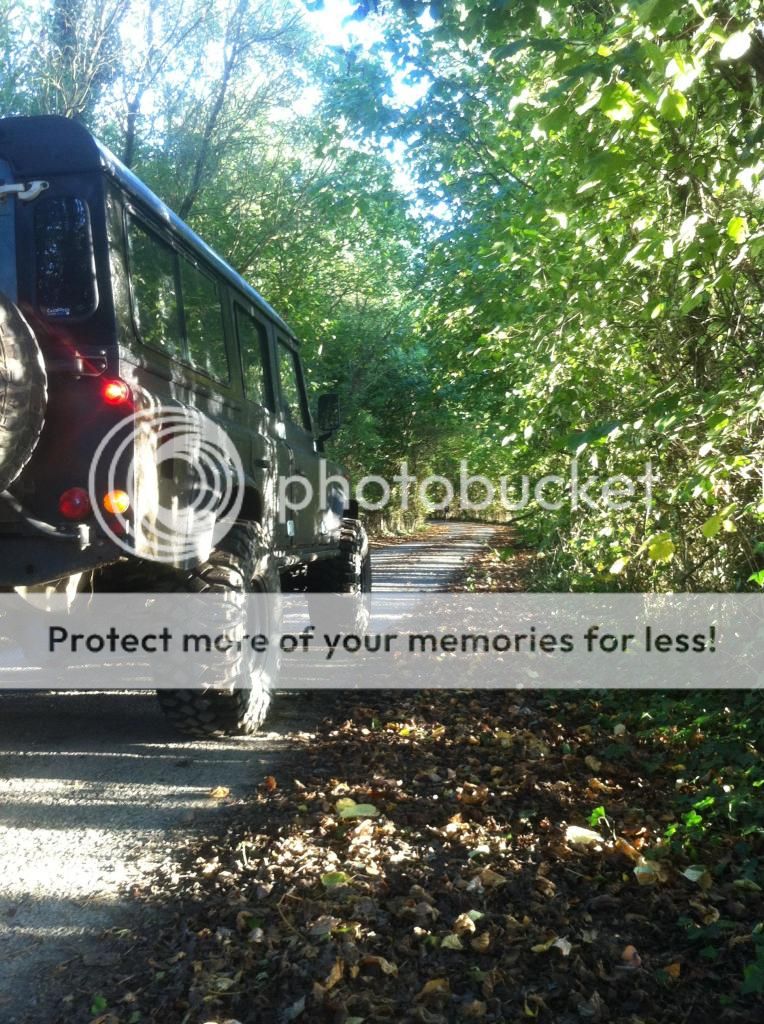
:yay :yay :yay
Post 30:
So to keep this thread up to date, having suspected a dodgy radiator was the root cause of my temperature needle rising too far on long journeys, it turns out it was in fact the viscous fan that was to blame. in the process of finding this out i found a Kenloe electric fan tucked in behind the rad, all wired in and ready to go, just missing a switch\


Wired in the fan and worked perfectly! :yay :yay :yay my feeling on it is that seeing as it was not doing its job until now it was actually blocking air from passing through it and being a hindrance that coupled with a dodgy viscous unit resulted in the engine getting a bid warm\
Had to drive to galway yesterday for an interview, fan did its job perfectly, so im happy out!
finally, im now waiting on delivery of HD drive flanges, front seat retrim kits, new cubby box to match the new seats, bushings to hold my t/box to the chassis, a seal kit for said t/box, service kit, a step for getting into the boot etc etc etc. hopefully it'll arrive today! :yay :yay :yay :yay
Thats all for now lads!! ive since fitted the flanges and seats and cubby etc, but still have to take photos.... Hope ye enjoyed it so far!!
op2:Some of this might be familiar as i have posted some specific photos in other threads, but said id throw it all up here! Some of it may also read a bit oddly as ill be copying and pasting from the other forum...
Finally, just wanted to say, Pressbrake, Fair play to you , your rear HD bumper has seen a LOT of abuse and still looks like new a year on
Enjoy!!
Post 1:
Vehicle History:
Bought it about 2 Months ago from a neighbor, he owned it for a good 9 years before me, but it spent the last three years neglected and unused so is a bit on the smelly side and has a fair amount of rot.
What i have done:
The plan is to do a full re-spray in matte black, bring the chassis back to a proper/usable condition :
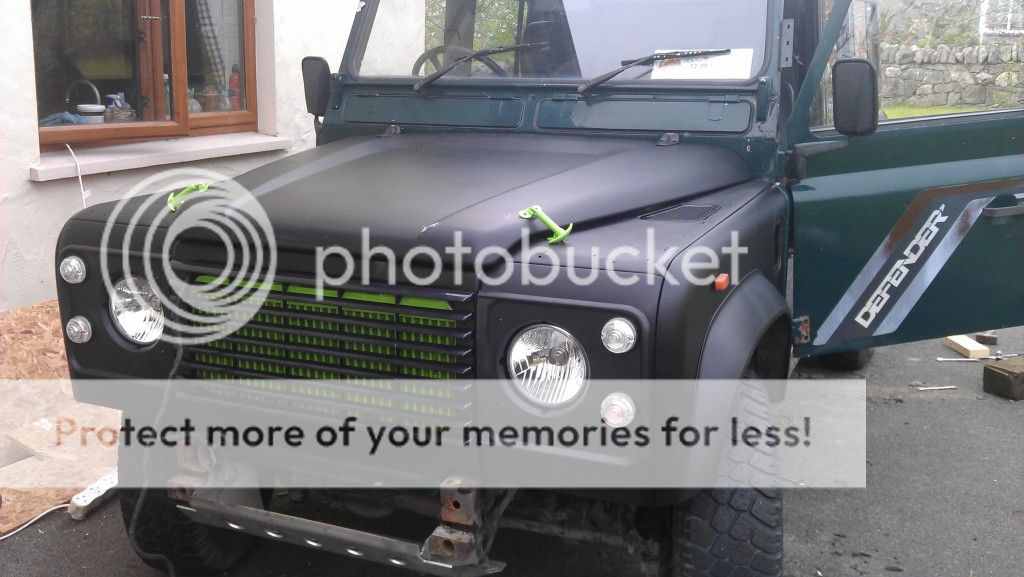
re upholster the interior and convert it from CSW to Crew Cab, and then add all the toys to justify getting it properly stuck in a bog in the middle of nowhere So far i have managed to re-spray the front end:
And threw in a new set of wipac crystal headlights, new side lights, grille and headlight surrounds:
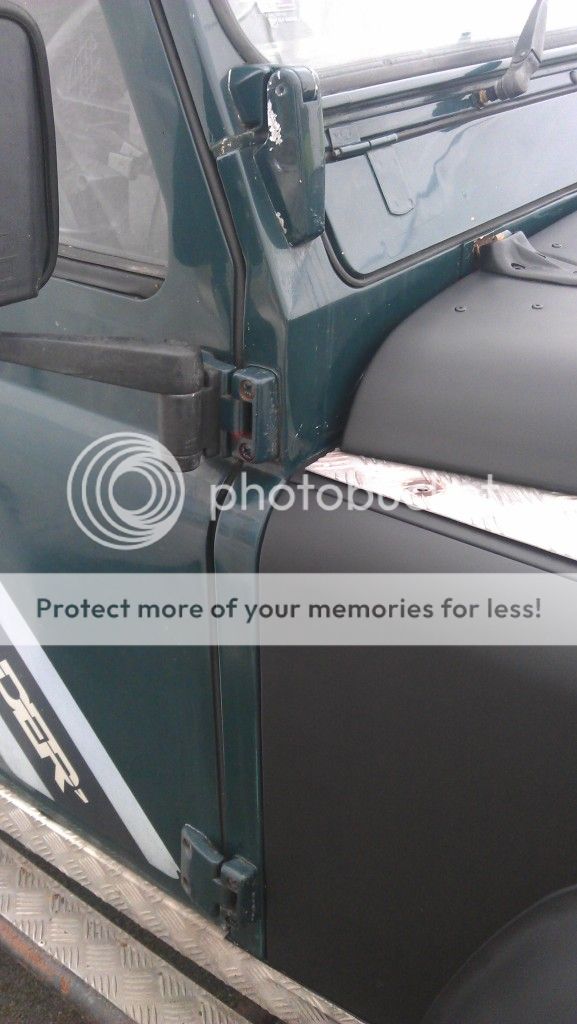
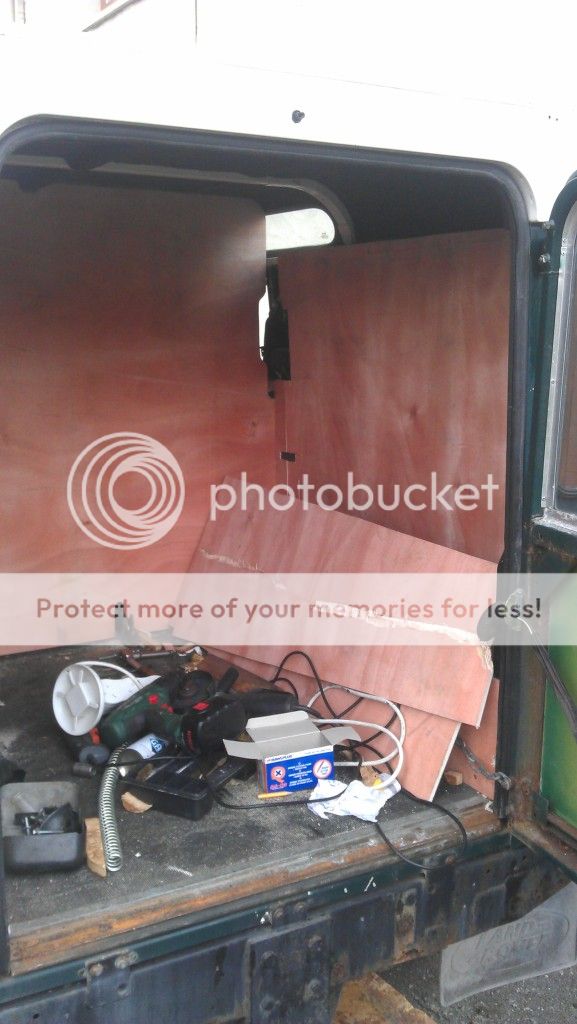
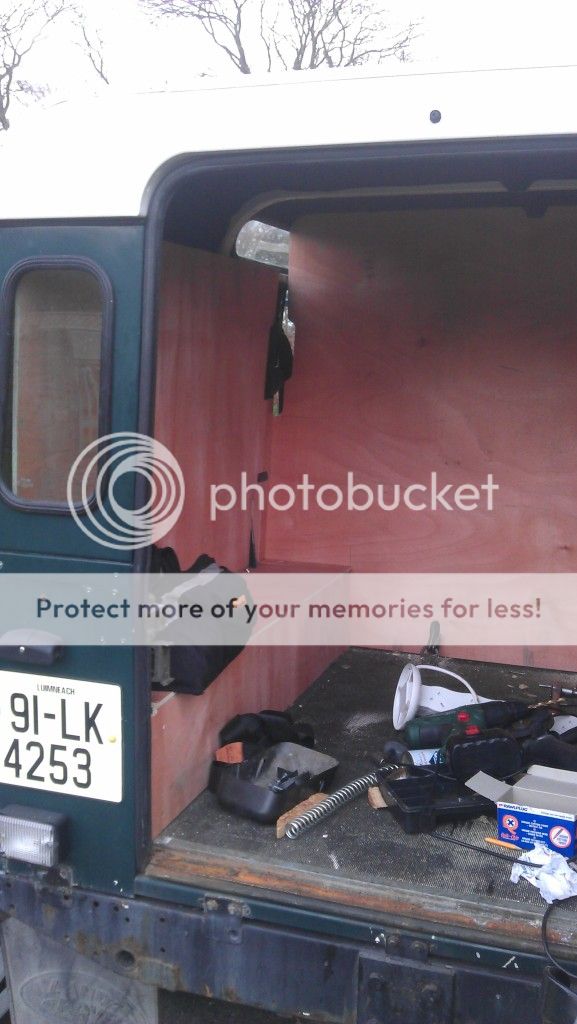
Ply-Lined the rear and partitioned it ( but i'll be moving this again as the 45% of wheelbase law has changed to 30%
A-Bar and bumper cleaned up/modified and re sprayed:
And some images of the chassis rust (cleaned it up a good bit and have discovered some nasty areas) parts needing replacing:
F/O/S Bulkhead Outrigger, patch on the F/O/S Spring seat area, Center Crossmember, Rear Crossmember, patch on the O/S Rear chassis leg, possibly A/frame crossmember, F/O/S shock turret:
Getting there with the chassis clean up, need to learn how to weld though
Post 2:
Myself and hogan, were up at the crack of dawn yesterday to get the new crosmember onto the 110, seriously dirty job
heres a look at the progress Richard setting himself on fire
:
Richard after the fire was out
:
The crossmember in place while we lined up the new extensions:
And a look at the x-member before putting it in
:
Post 3:
The crossmember is in!! Fair play to Richard Hogan, top job on the welding! Just need to gring the welds down and paint it all now. Heres a look anyway:
The crossmember in place...wouldnt like to be the poor fella who bounces off of it in traffic!:
The welding to the chassis:
the finishing touches to the front end, just need to get some spot lamps for the A bar and that ends pretty much done!:
As for the issues with making it commercial its looking likely ill be converting it to a DoubleCab Pickup in order to meet the needs of the tax office
but we'll just have to see how that pans out..Post 4
:oww.... F**king wire brush grinder.....
Post 5:
Well the axle's off:
not much hassle getting it off, most of the hard work has been cleaning the fooker
So far the trailing arms and drums are cleaned and painted, and the axle is mostly cleaned bar the hard to reach areas, pics will follow tomorrow
p.s, when lifting a salisbury rear axle onto a trolly, take care not to leave your fingers under it...
Post 6:
Cheers for the info lads, for now i think ill leave it on drums, and if it starts to annoy me ill change it over
heres what i got done today, horrible job cleaning all the parts
And finally, i offer a jaffa cake to the first person to point out whats missing here
Post 7:
yesterdays efforts:
sized up some 35" tyres, nout going with insa's but wanted to see how mad 35"'s would look
than it was off with the roof!
then lining up of the truck cab section (thank you Monkey)
and heres how it looked last night at 23:00 when i gave up:
more photos this evening, have to go finish the roof and paint everything!
post 8:
Thanks lads, really happy with how its turning out, heres a look at how shes looking after the weekend:
Post 9:
Lovely stuff
Post 10:
Been a busy week so far, sand blasting the chassis, spotting the areas needing patches, not too many thank god! have 3/4 of the chassis primed painted and waxoyled, front axle off, cleaned and painted, radius arms painted, one dropped into the pit and bent (thanks for sorting that kkk2!) and some of the poly bushes in, HD shock turrets painted and put in, all springs painted and ready to go in, S/S Brake pipes ready to go in, so hopefully front axle will do in tomorrow!
Post 11:
Todays work:
Front axle back on, HD Steering arms and balljoints on and greased, SS brake lines all done, front prop off and banjaxed UJ removed, front axle polybushes done, front Lift springs, turrets, shocks done, waxoyling finished bar areas needing welding, rear brake cylinders, shoes and springs and ss brake line done, rear shock droppers, shocks and a-frame balljoint done, fuel tank back in and plumbed!
Getting very close to done now, PP you'd want to hurry up and call out to see the progress or it could be done
few small things to order this evening to get it to DOE standard, then its off up to galway with it for re registering and DOE!Post 12:
Apologies for the lack of photo updates, the camera on my phone gave up a few weeks ago
but since the last update, we've managed to do all the chassis welding, put on the spotlights, swap the suspension in and out 4 times, manage to dislocate a rear spring twice 'testing it' \ and mostly sort out the rear seats and belts. currently working on the dodgy bulkhead now, and it is coming along nicely not much left to do but spray the f**ker Post 13:
There we go!
The 110 passed its engineers report and went in for the DOE too, passed that but was failed due to the logbook saying that it was private( this was intentional, ill send off the logbook today to be changed over to commercial, hopefully get it back in a week, and then ill be able to get the DOE cert) so all in all im a happy camper
Post 14:
Finally, the photos, as requested, please excuse the sh1te quality, still havent got my phone back from Vodafone
And one of vinny vamos finding the edge of a bog with his front axle
Post 15:
So ive had a change of heart regarding the matte black/green combo and have decided to do GunMetal Grey and blue. so today i started with the blue. did the front diff guard, HD Steering bars, Panhard Rod and bonnet catches.
Still to do are the intercooler, radius and trailing arms and read diff guard.
Post 16:
New (to me) tires!

Post 17:
Got the T/Box done today! What a massive difference!
The big hole where there used to be a T/box

The two side by side:

Post 18:
Did a small bit of work yesterday, and fitted today, Mostly cosmetic
fitted a radio finally!! :yay :yay :yay and ordered a raptor dash, so a good bit to do next week too Grilles sprayed:

Bit of interior 'colour coding'

Rear Diff Guard (Paint will last all of about 10mins off road but had a bit of paint left over so said i might as well!!

And heres a look at the bearing that was causing all the trouble (top bearing in the image, thank god it was a small job!!)

you should just be able to make out the dent in the bearing cage ( right hand side)
Post 19:
[quote author=PostmanPat link=topic=3055.msg77144#msg77144 date=1373265563]
looks a bit like a boy racer job now ... ;D
[/quote]
The Cheek of you!!!
Yeah i agree the blue strip on the dash is a bit much, but a good portion of it is gone now
Bought more shiny bits


switches still need to be wired into the ejector seats but its getting there
Post 20:
In the middle of doing some work today on the 110, i did this, partially out of boredom, and partially as i was curious how far it'd flex
\ It managed that fairly easily but doubt it'd manage a whole lot more


Dont worry, i wasnt working under it like that or anything...
Expect photos of a rust free front bumper and a-bar tomorrow too :wave
Post 21:
So, managed to get a roof and CSW sides which i'll take the windows out of and blank with a sheet of alu.
Roof was a bit rough around the edges so a bit of filling and sanding was the first job on the list:


Also got a full front to back roof lining which i plan to retrim ASAP as it is quite tatty and not matching:

And i have these too which i will clean up and paint to match the rest of the interior:

Oh and heres a look at the central locking key, seems to be a decent bit of kit and its handy to have the key as part of the fob


So... its safe to say im going to busy the next few days!! :yay :yay :yay
Post 22:
[quote author=DaveM-Sport link=topic=3055.msg78754#msg78754 date=1376774309]
Would you not go on limo tint on the windows instead of blocking them out altogether?
I think having windows on the side even if you can't see through them breaks up the box van look of a 110 Defender and also by having windows, it'll make it abit nicer to be in as a camper I would think.
Obviously, Masi windows would the the ideal option if I was going hardtop on a 110 but the cost of it all isn't quite so ideal
[/quote]
Ive put serious consideration into keeping them all right. but there are too many reasons to take them out
1: It's a commercial vehicle so windows have to be blanked out either way.
2: Im planning to make up/buy a side hatch like this:

The plan being to use it for storing tools, winch equip, recovery equip, jack etc etc.
3: Ill shelve out the other side so it is accessible from the inside, and stores camping equip, cooking equip (possibly a drop down cooker) etc.
4: I will re-use one of the windows in a bulkhead between the load space and seats to make it possible to see out the back.
5: there will still be the back door window and the two windows beside these to let in light
I still agree that from the outside it'd look nicer with the windows but theres too many reasons not to keep em
Post 23:
Finally got started with the work on the 110!!


Post 24:
All right lads, its still in a very early stage of the build but have a look at how it all works
This is how the bulkhead currently looks, im in two minds about putting a window into it, but it will most likely happen

eventually there will be a drawer on top of the wheel arch, not full length, but as far as the fuel filler surround. And from there back ill probably put in a small sink.

Full length drawer at this side, will hold the back section of the bed frame, a tent, etc etc

Small, but usable cooking area, will eventually get around to covering that flat surface with aluminium/stainless steel...

Back of the bed in place

Seats down to alllow the bulkhead to hinge down

Bulkhead down, the bungee was literally all i had to hand to support the front of the bed, but i will eventually replace with something like the clip buckles you would see on a lifejacket.


S/S tie down rings used on the roof (need to bolt these rather than screw em in, was in a rush to get them done before the wedding
\ )
Would show ye what the air bed look like in place but i managed to burst it at the wedding
\ I still have a lot of work to do, all the wood needs to be painted (some of it im going to cover in headlining), have to paint the interior panels so they all match and look nice, ive ordered a heap of headlining material to re-do the roof, im going to tint the back windows also, so the tint is ordered for that too, and i have a lot of sanding and filling and painting to do on the outside!! going to be a busy few weeks
post 25:
Right, so i was in a massive rush to get things done today so im afraid, no pictures
I painted the roof and the CSW sides today, but because i wanted to do a decent job of them, i took em off, which took an awful lot of time
but they're done now anyway.Hinges arrived as well, seems ive been sent td5 hinges by mistake :yay :yay :yay
so tomorrows plan is to retrim the headlinings ( already removed the old ones and if anyone wants the material, the back two bits are not in bad nick at all, just need a clean, so yere welcome to it, ill put images up tomorrow) and trim some of the camper parts, then rebuild the camper section, put the back seats back in and wire in the speakers again (im sick having no radio!) then ill start work on the doors!
Work never ends really!!
Dave, heres a look at the headlining, its advertised at discoloured, but that only on the backing foam, other than that it is perfect!


Post 25:
just finished upholstering all the interior parts..... NEVER AGAIN!!! a very difficult job and a very hard to get right
but all in all i think it has al turned out well.
heres a look at what ive managed, not a whole lot of photos to be honest, i promise to take more tomorrow

beefed up this section as it was a bit weak due to the holes in it


all the bits piled up ready to go in tomorrow!!

Post 26:
So heres how it looks after today!!


Still a few bits here and there to do, drawers on either side, cover the three holes in the floor that some gobsh1te thought was a great idea >
> > finish the center lower section of the bulkhead, swap the bucket seat out for the standard one and retrim the two front ones, get the side hatch made up, etc etc etc Post 27:
[quote author=DaveM-Sport link=topic=3055.msg80854#msg80854 date=1381006356]
Food for thought?
[/quote]
Thats EXACTLY what i want, but for tools, not the teapot
any info on where the door came from?? Post 28:
New Tires again
:

Spec: 35''x12.50'' r15 Maxxis Creepy Crawlers, not sure about the wheels, look like 10'' to me?
Verdict: Very happy!!!! seriously improve the look of the machine, and the (cars getting out of your way) factor has definitely improved. i think ill end up going back to the defender t/box as the gearing is a bit high for my liking, but thats yet to be confirmed, other than that id say i need a new steering damper and need to tighten the wheel bearings, nothing major!!
Need to take it out in the forrest now and see how it does!
:yay :yay :yay :yay :yay
Post 29:
So did a bit of testing today as i wanted to see how much they rub under the arches when off road, before actually going off road and finding out the hard way
:The back end being flexed:


About an 1-1.5 inches between tyre and spring mount


Hellaflush
Front end being flexed:


Overall, i might need to cut the arches a tiny ammount, nothing major
very impressed with the grip all ready, know its not a proper test but they didnt slip even the slightest bit while climbing this bank :yay :yay :yaythen posed for a few photos on the way back!


:yay :yay :yay
Post 30:
So to keep this thread up to date, having suspected a dodgy radiator was the root cause of my temperature needle rising too far on long journeys, it turns out it was in fact the viscous fan that was to blame. in the process of finding this out i found a Kenloe electric fan tucked in behind the rad, all wired in and ready to go, just missing a switch
\

Wired in the fan and worked perfectly! :yay :yay :yay my feeling on it is that seeing as it was not doing its job until now it was actually blocking air from passing through it and being a hindrance that coupled with a dodgy viscous unit resulted in the engine getting a bid warm
\ Had to drive to galway yesterday for an interview, fan did its job perfectly, so im happy out!
finally, im now waiting on delivery of HD drive flanges, front seat retrim kits, new cubby box to match the new seats, bushings to hold my t/box to the chassis, a seal kit for said t/box, service kit, a step for getting into the boot etc etc etc. hopefully it'll arrive today! :yay :yay :yay :yay
Thats all for now lads!! ive since fitted the flanges and seats and cubby etc, but still have to take photos.... Hope ye enjoyed it so far!!
Last edited:

