- Posts
- 11,040
- Location
- North of the Wall
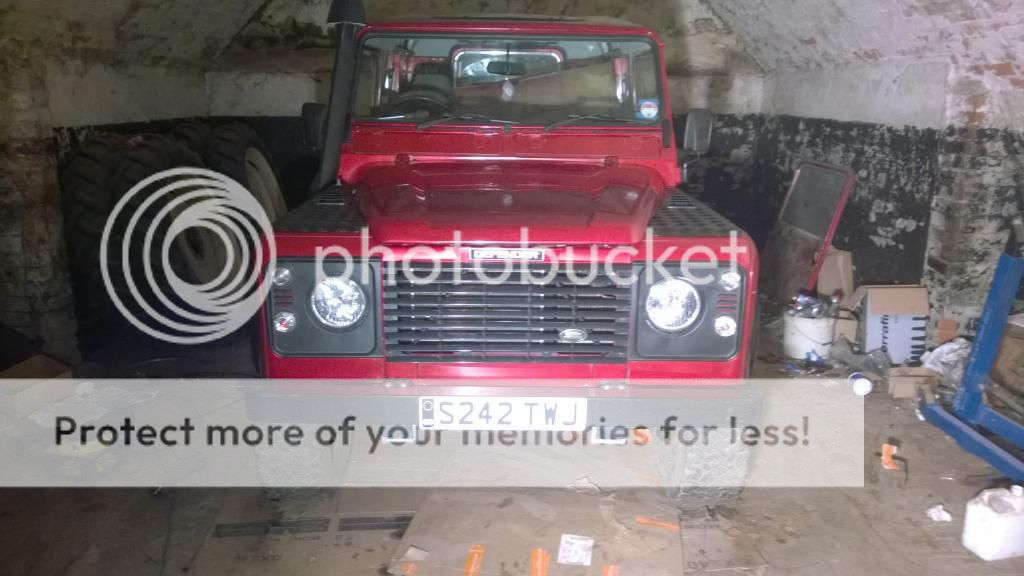
James, can you do me a favour mate and have a look at these pictures. I still can't work out where Iam going wrong with my door thresh. I hope I have the wrong one and haven't build the rear end incorrectly! 
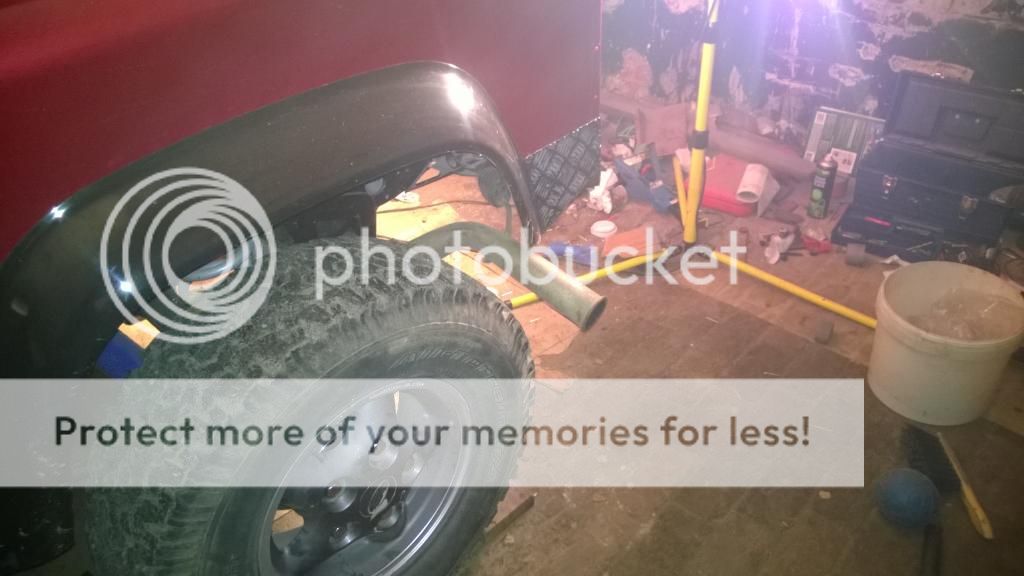
I've put e red line on this pic to show where I get an overhang when I put the thresh on.

This pic shows the over hang, though it's tricky to appreciate it on a picture. I put a red line on to try and show it, but it's about 1cm long.

cheers.
I've put e red line on this pic to show where I get an overhang when I put the thresh on.
This pic shows the over hang, though it's tricky to appreciate it on a picture. I put a red line on to try and show it, but it's about 1cm long.
cheers.