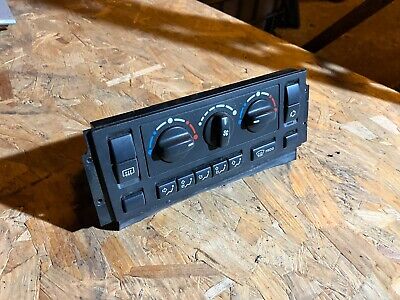
My HVAC has been down for a while. Both blender motors (right and left) not happy.
Last weekend, finally got round to removing the easier to get to, but still quite hard left blender motor.
One of the solder points on the potentiometer had failed, so sorted that, and that side seems to be working now.
Going to tackle the right one this weekend, and hope it's something similar.
The problem is, this is just a temporary fix.
Looking through my history they've been changed twice before, so even when new only last about 7 years.
Is there a compatible blender motor off another car that just works?
Or maybe some override which stops the HVAC from caring so much about the potentiometer feedback.
I'd like to fix them properly once and that's it.
Is this possible?