defenderdavie
New Member
- Posts
- 1,981
- Location
- south east scotland
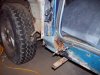
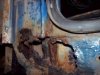
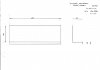
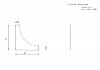
right i took me door off mi disco ter get at the door post
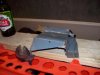
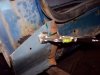
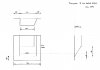
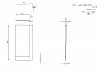
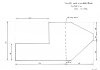
its rotted to bits so i had a go at making a replacement bit
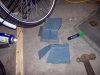
its my 1st attempt and it aint finished but im quite proud of it so heres some pics
its rotted to bits so i had a go at making a replacement bit
its my 1st attempt and it aint finished but im quite proud of it so heres some pics