Freelander Project IV (Bertie)

This site contains affiliate links for which LandyZone may be compensated if you make a purchase.
Fact.
The problem with most brake / size issues are usually either brake fade due to overheating and glazing which can be extremely rapid and dangerous if brakes are really not adequate - or the worst one, lack of progression. What this means is that you CAN lock the brakes given enough pressure, but you cannot really control the actual braking progression, it is a sort of all or nothing - well, quite a bit of all, quite a bit of lock, and nothing in the middle really. These are the usual signs that brakes are undersized.
Again, on the L series, I do not believe these is either of the above - purely a lack of power assist. - Answer is to fit the larger and more efficient servo - not larger brakes as the larger brakes are not needed and will not improve the braking performance..
I fully agree that when using an auto box the brake usage is higher due to less engine braking. I also agree that anything that one can do to improve brakes is good. What I do not subscribe to is that the L series - or indeed any Mk 1 NEEDS larger brakes - again it simply needs more power assist. When working correctly (which many times they are not :( the L series brakes are quite good and more than adequate - simply heavy.

I agree that there is a lack of servo assistance, even on the later servo. However on the testing I did on my V6 brakes. I found them under sized for the job in hand. After just 2 hard stops from 70 Mph, the front discs showed a temperature of over 250°C!! While this isn't in the danger area for the pads. It is hotter than I'd like to see, and definitely has a smaller safety margin. My MG ZS180 with its slightly larger brakes showed just 160° C after two identical stops.
The thing with auto transmission gearboxes isn't just reduced engine braking. There's a lot of transmission "push" under braking. If I'm slowing down gently on the brakes of my auto, I can feel the engine pushing the vehicle against the brakes. If I put the transmission in N and repeat the test. It'll stop in half the distance with the same pedal pressure. Or it'll stop in the same distance at half the pedal effort. So the auto definitely needs the extra brakes fitted from the 2000 update.
I had the brakes overheat on my Disco once, they simply stopped working. Coming down a big hill on a unsealed road ('track') with the weight of the Disco and 7 on board and a lazy auto driver - luckily it was right at the bottom, but still scared the s**t out of me. So yeh - auto's do need much bigger brakes.
 
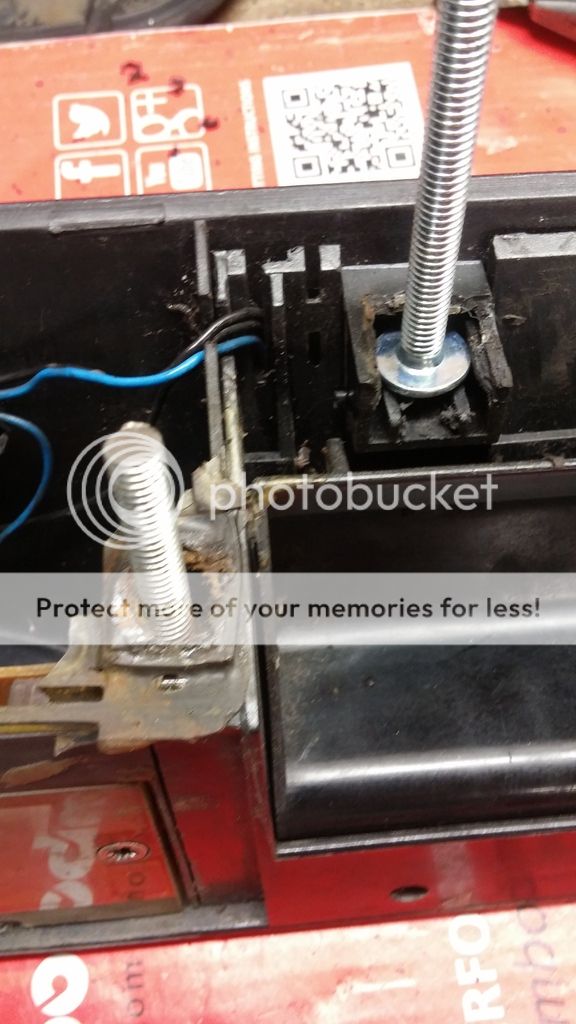
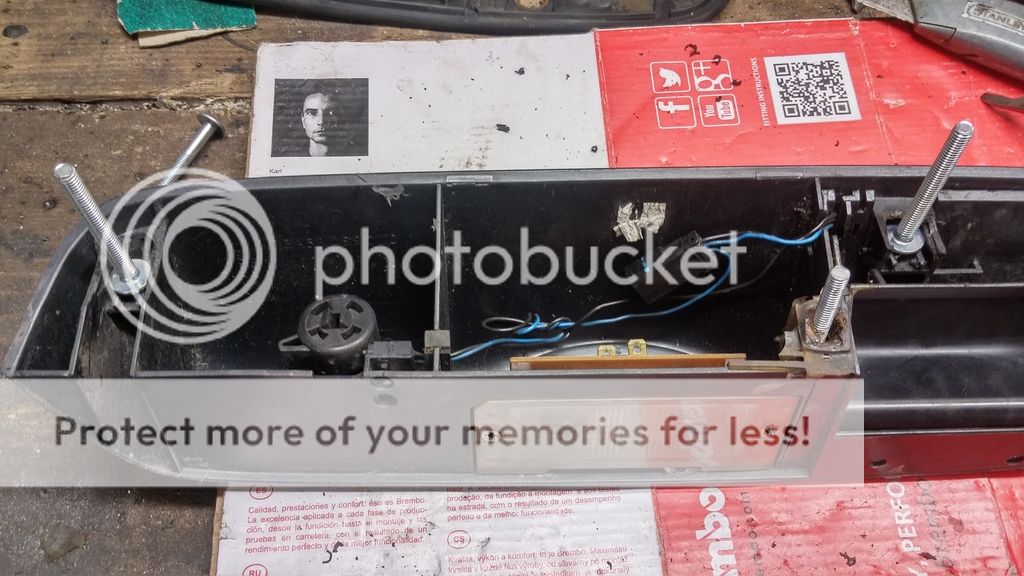
Decided to sort out the boot door handle so cleaned out the crap, trimmed the original bolt holders a little so the roof bolts would fit nice and tight.
20160812_205718_HDR_zpszen0qk3g.jpg


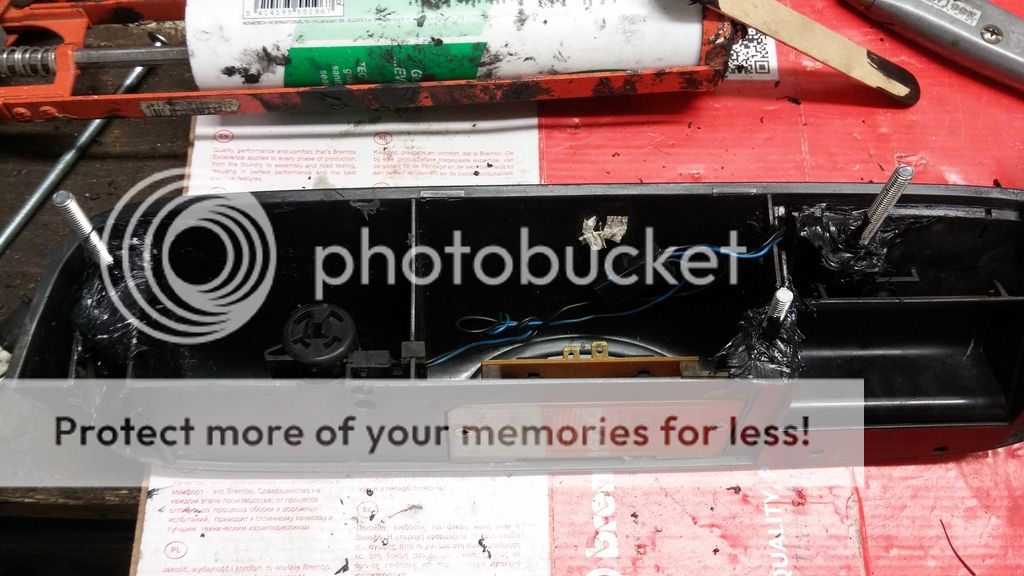
Then drilled the middle hole out, screwed in a bolt and cut the head off
20160812_205724_zpstfwiivws.jpg


Before smothering in silicone
20160812_210701_zpspdy1ttfd.jpg


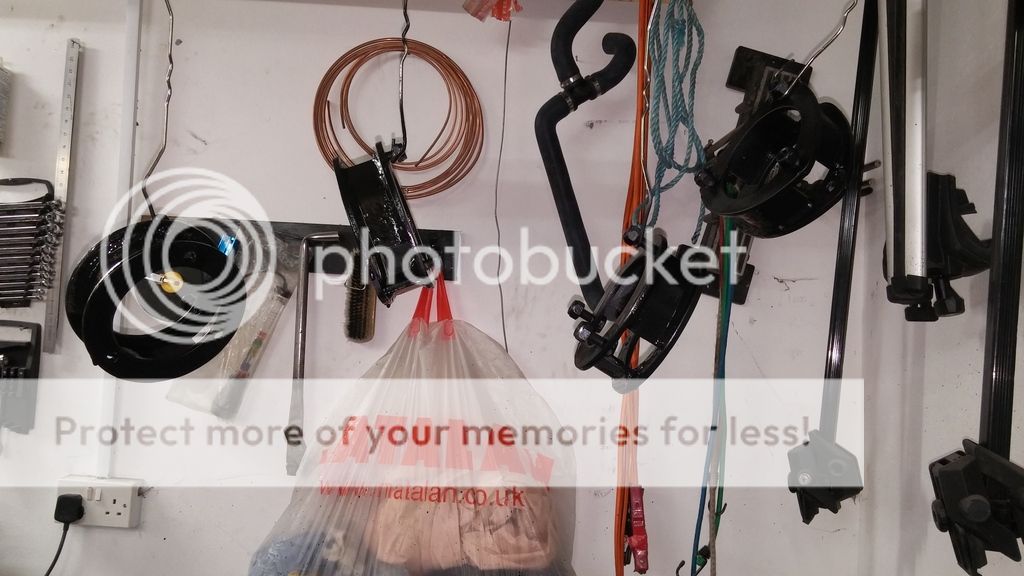
Then took the lift kit and sprayed it with stone chip.
20160812_214806_zpssvriarjk.jpg


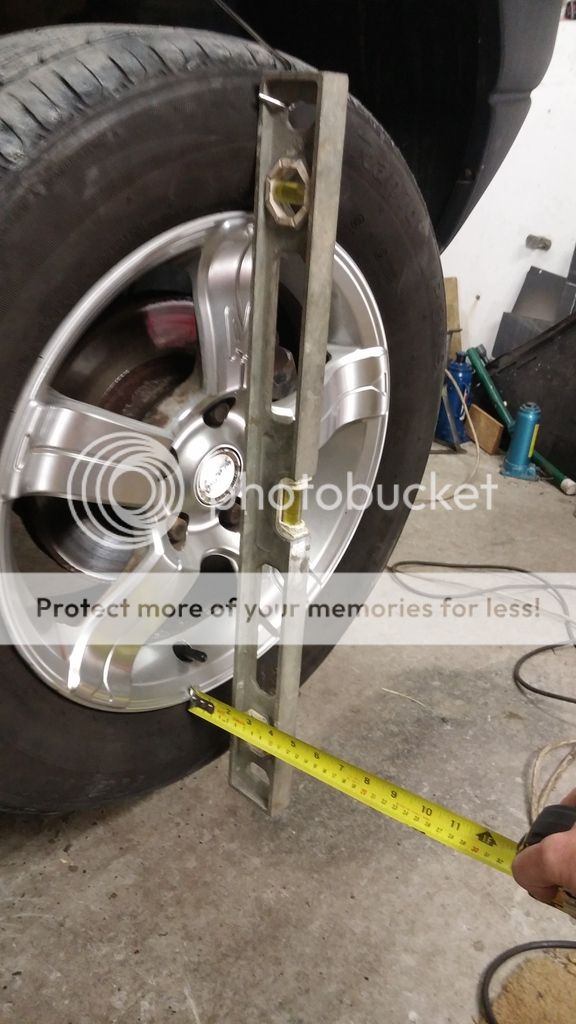
Last thing was to check the current camber of the front wheels so that when the lift kit is installed I can get it back as close as possible to standard.
20160812_220438_zpspdop1siu.jpg


Not sure if this is the most accurate way to do it but hopefully will be fine.
 
Last edited:
Not much done the last few nights due to loads of OT but last night I managed to replace the boot door regulator only to find the window needs a wee push at the top while closing it The previous owner was too lazy or stupid to fix the window and just slammed the door with the window stuck up, because of this all of the seals are a bit out of shape. :mad:
Ah well, at least I can tick off the first job on the 'To do' list in page one of this thread, even if it created another one.
Tonight I cleaned out my spare inlet manifold and left it soaking in paraffin so tomorrow night I'll give it a blast with the power hose then fit with my home brew EGR bypass.
 
Last edited:
It's, 7am and I'm happily reading the latest update. But, out of the corner of my eye, I keep seeing those s*dding alloys. Talk about a crime against humanity. Think I'm going to barf:(

Oh, BTW, you've gained another train spotter point for having a spare manifold:)

Mike
 
It's, 7am and I'm happily reading the latest update. But, out of the corner of my eye, I keep seeing those s*dding alloys. Talk about a crime against humanity. Think I'm going to barf:(

Oh, BTW, you've gained another train spotter point for having a spare manifold:)

Mike

I think those wheels will look better in satin black Mike;)
 
Last thing was to check the current camber of the front wheels so that when the lift kit is installed I can get it back as close as possible to standard.
20160812_220438_zpspdop1siu.jpg


Not sure if this is the most accurate way to do it but hopefully will be fine.

HI Alibro,
If you can, a better way is to attach some pins ( a couple of nails will do ;) ) to the spirit level that just touch the actual rim at top and bottom. You could use a couple of small g cramps or similar to attach them to the level.(or any other method) Definitely take the readings off the rim ! - you will never get a good measure from the tyre.
Also if you get a couple of tea tray type things and lower the front wheel into those, it makes it easy to do a lock to lock steer and return to centre prior to the check.
(they act as a skid plate). You can even put a bit of fairy liquid under the tyre where it touches the tray.
We used to do that years ago when making changes (new suspension arms and 'tweaking' with a block of wood and a lump hammer - or a bottle jack and pole - ho hum - after small brushes with solid thing that knocked the top of the McPherson strut a mm or two :) :) - at least if you used a strut brace it shifted both sides lol.:rolleyes:), simple use the pins / nails to get the spirit level bubble centred, no measurements needed.
When replacing the unit with the lifts on put the pins against the rim again and simply re-adjust for a centre bubble. Also worth taking the car around the block prior and after to settle the suspension. Flatten one edge of the tea tray skid plate so you can drive onto it and not jack onto it.
:D
Enjoy
Joe
 
Last edited:
I love the colour of this car! I'll reserve comment on the wheels ;)

What is the objective with this Freelander? Standard with a bit more pep, or are you going for something a bit more radical? :)
 
Also: roof bars. I really like the look of them, but you need to remove them to get the hard top off? It's putting me off the idea of fitting them to Kilo-Hippo-Delta...
 
Also: roof bars. I really like the look of them, but you need to remove them to get the hard top off? It's putting me off the idea of fitting them to Kilo-Hippo-Delta...
It is possible to get the hardback off with the bars in place, but it's awkward as you have to slide it in from the side.
I removed my hardback that way once. Then I bought a waggon instead, as I prefer the look.
 
No, your both wrong.
They'd look better on the back of my tipper going to the local landfill :D
Mike
I wish you Bu@@ers would leave my wheels alone. It's bad enough that I have to look at them without you lot rubbing it in. :mad:

HI Alibro,
If you can, a better way is to attach some pins ( a couple of nails will do ;) ) to the spirit level that just touch the actual rim at top and bottom. You could use a couple of small g cramps or similar to attach them to the level.(or any other method) Definitely take the readings off the rim ! - you will never get a good measure from the tyre.
Also if you get a couple of tea tray type things and lower the front wheel into those, it makes it easy to do a lock to lock steer and return to centre prior to the check.
(they act as a skid plate). You can even put a bit of fairy liquid under the tyre where it touches the tray.
We used to do that years ago when making changes (new suspension arms and 'tweaking' with a block of wood and a lump hammer - or a bottle jack and pole - ho hum - after small brushes with solid thing that knocked the top of the McPherson strut a mm or two :) :) - at least if you used a strut brace it shifted both sides lol.:rolleyes:), simple use the pins / nails to get the spirit level bubble centred, no measurements needed.
When replacing the unit with the lifts on put the pins against the rim again and simply re-adjust for a centre bubble. Also worth taking the car around the block prior and after to settle the suspension. Flatten one edge of the tea tray skid plate so you can drive onto it and not jack onto it.
:D
Enjoy
Joe
Thanks mate will give that a try but was also a bit concerned that the measuring really needs done with the wheels on the ground so will do it both ways. To be honest I'm not going to stress too much about it because others have fitted lift kits without bothering about camber pins so it probably isn't that critical.

I love the colour of this car! I'll reserve comment on the wheels ;)

What is the objective with this Freelander? Standard with a bit more pep, or are you going for something a bit more radical? :)
Initially standard with a lift and bigger wheels, then with advice supplied by Joe (so it will be all his fault if it goes tits up) fit a MAF Amp and after that will start some off road upgrades.
I already have a stronger sump guard but will strengthen it some more, then try and do something with the exhaust back box, I have an old one kicking about which isn't as bad as I thought before changing it so I'm considering cutting the bottom half off and welding back together. Probably a silly idea but worth a thought, then some sill protection and maybe try to protect the underside with sheet aluminium.
All a bit fluid at the minute but the first priority is to get it back on the road, MOT'd and have some fun.
 
I'm considering cutting the bottom half off and welding back together. Probably a silly idea but worth a thought.

That's been done in the Discovery 3 main box to improve ground clearance, while retaining some silencing ability.
I bought a smaller silencer for my TD4. I can't wait to fit it!!
 
Back
Top