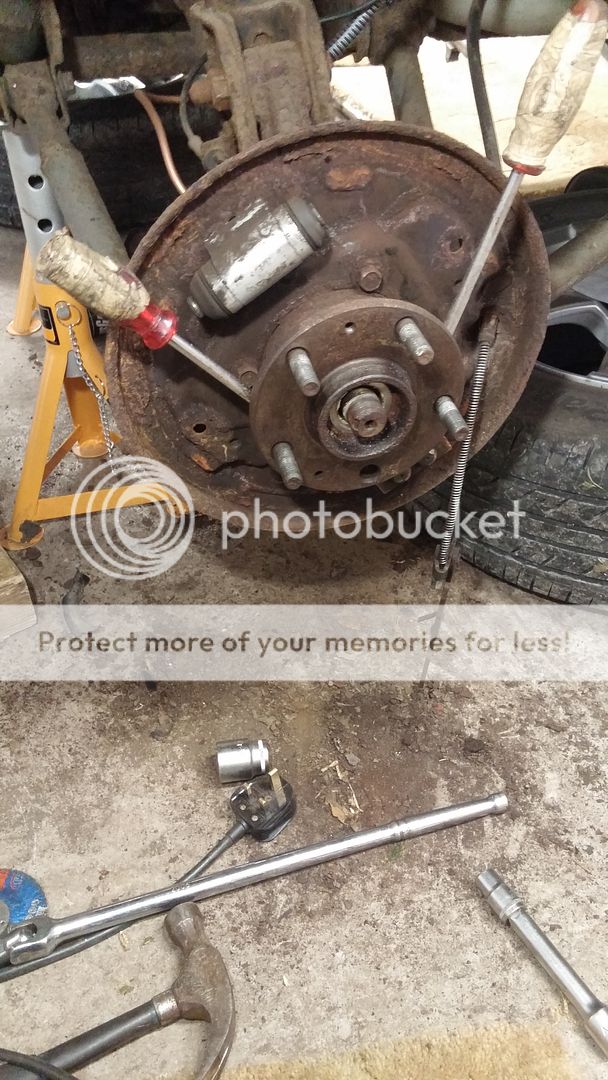
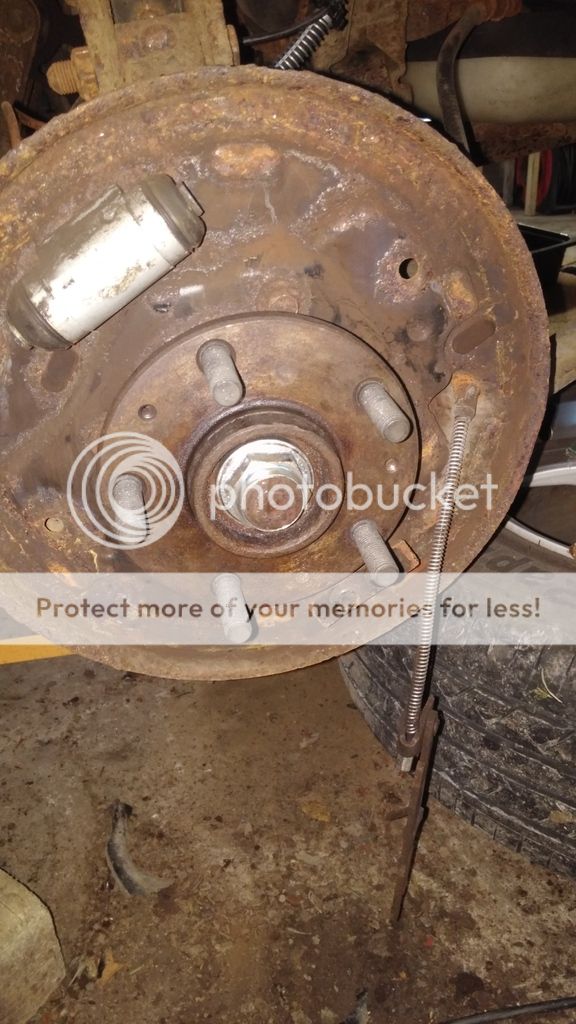
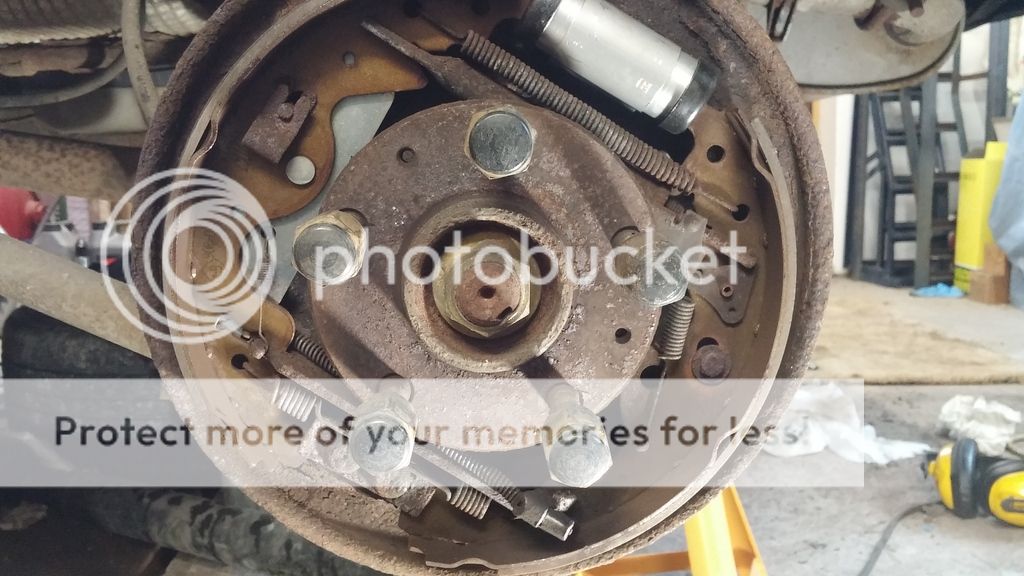
I took a photo of the wheel studs all back in.
Then a photo of the reminder to make sure I torque the hub nut after putting it back on the wheels.
")
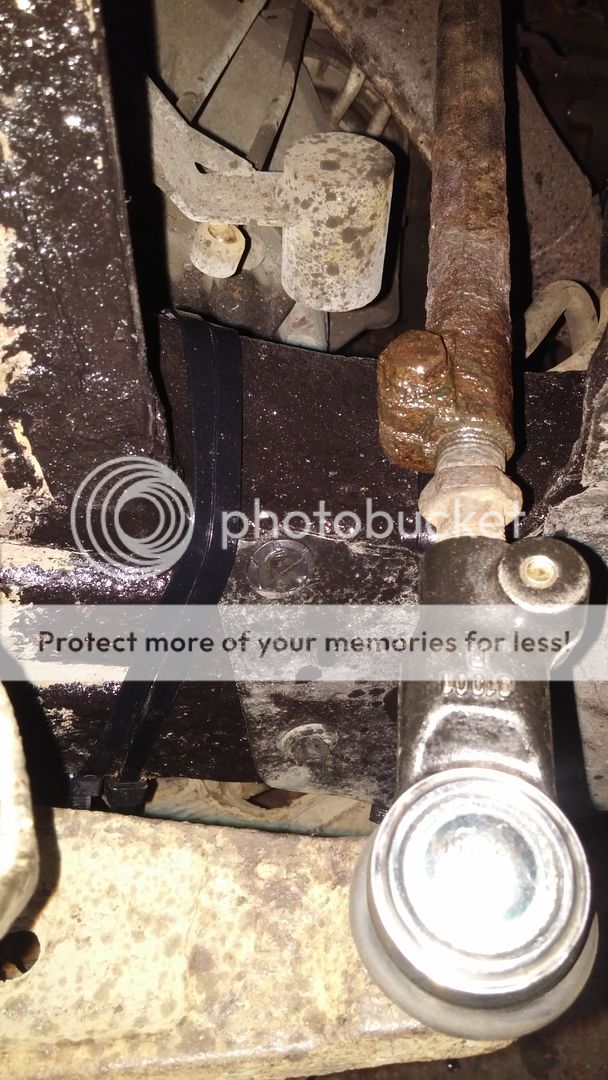
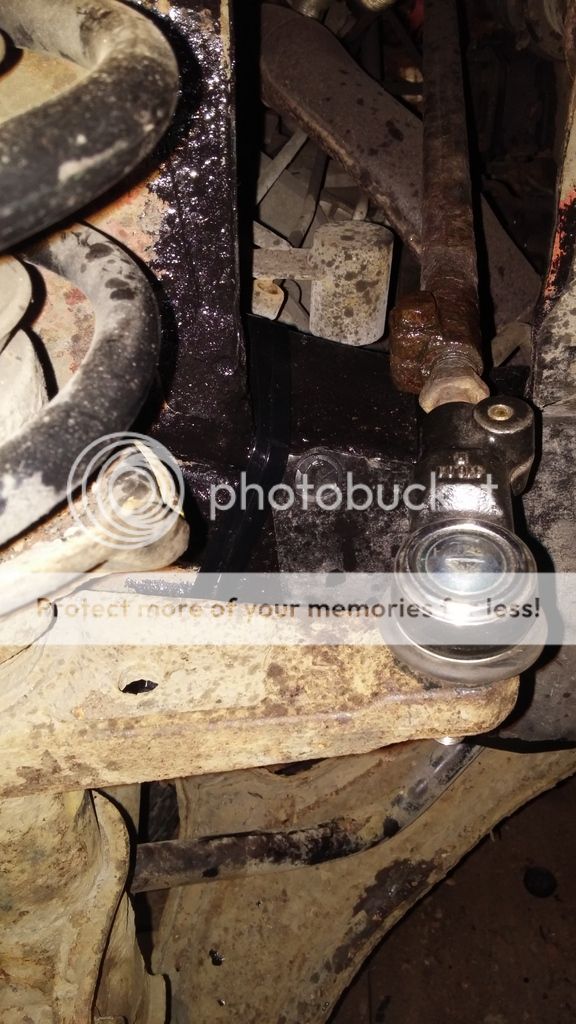
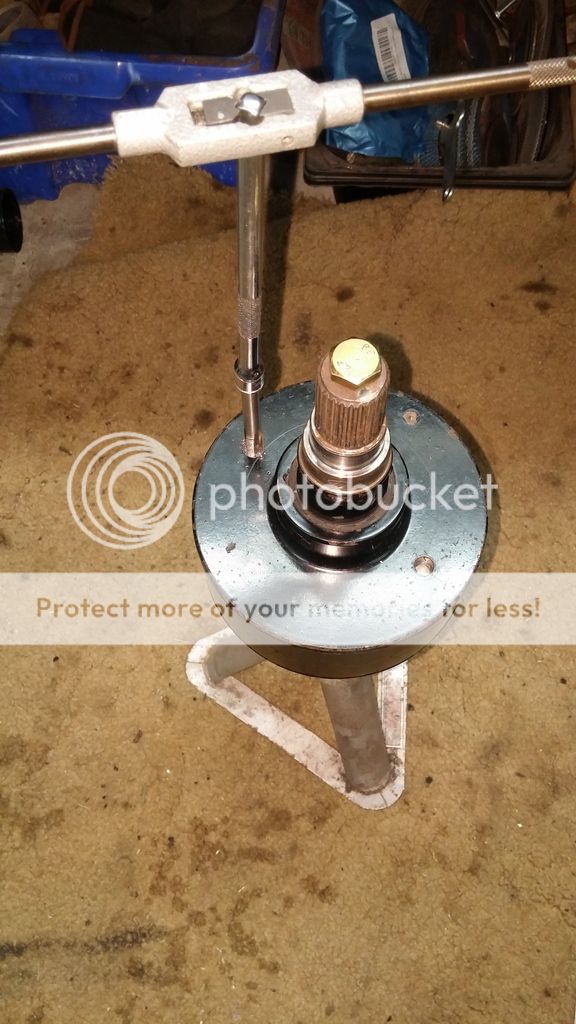
Then spent a while this evening tapping the holes in the VCU and started filling again with 150g of 100k fluid.
As the shaft is in the way I needed an extension for the tap and a 1/4" extension bar did the trick nicely.
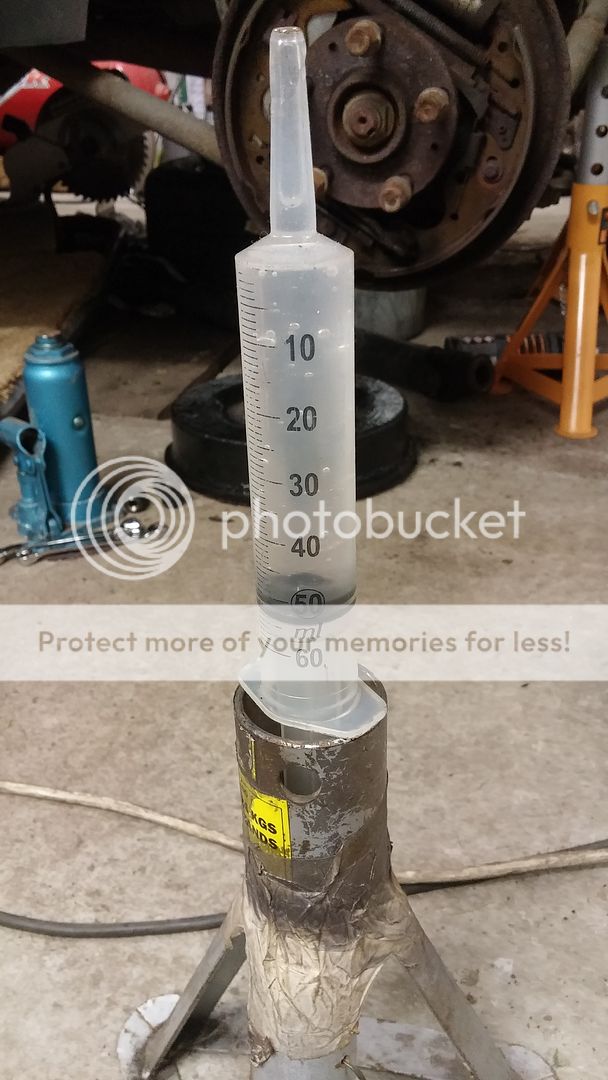
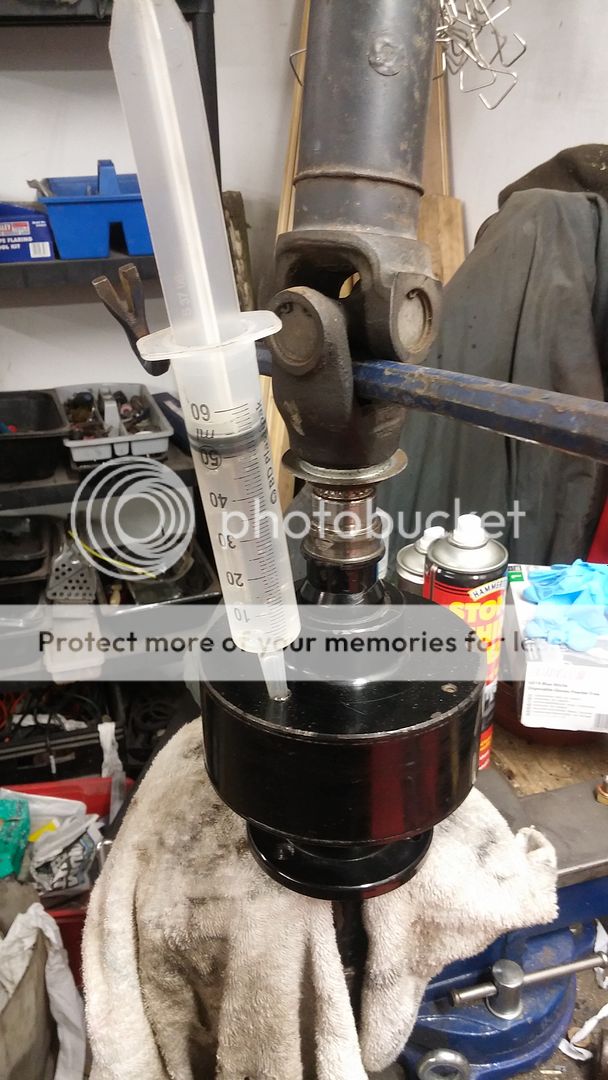
Then measured out 50mls of fluid and started injecting it in.
It's a slow process as the fluid needs to get down to the bottom of the VCU and inbetween al the disks. For some reason this one is particularly slow but I'll just keep at it injecting a little at a time and rotating the VCU to get it all the way down.