Arctic2
Well-Known Member
- Posts
- 2,752
- Location
- Westmidlands
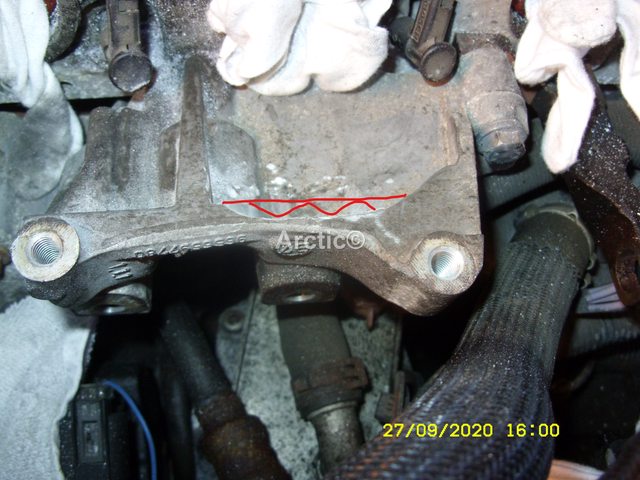
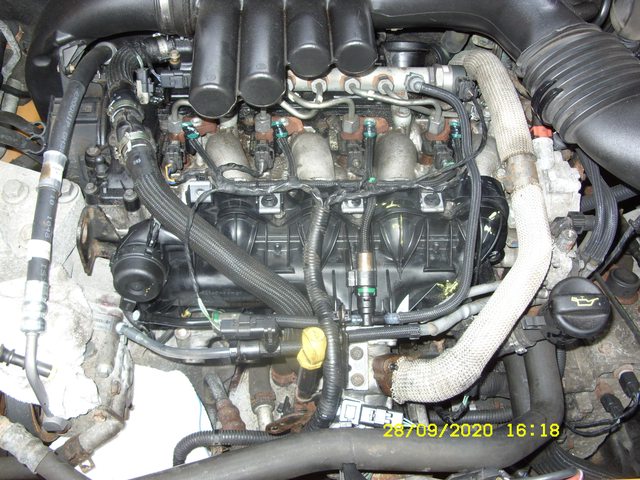
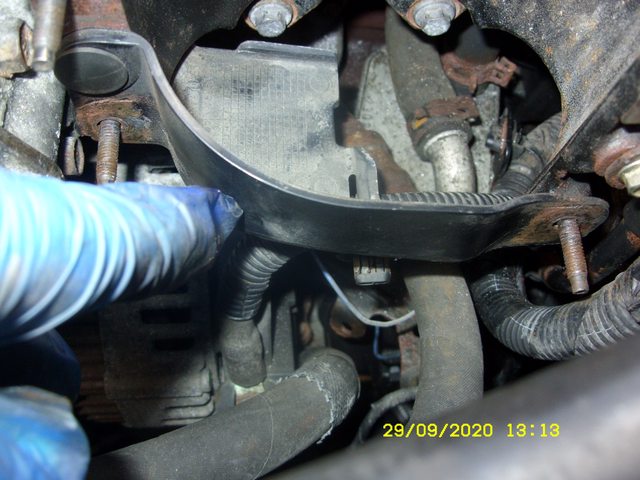
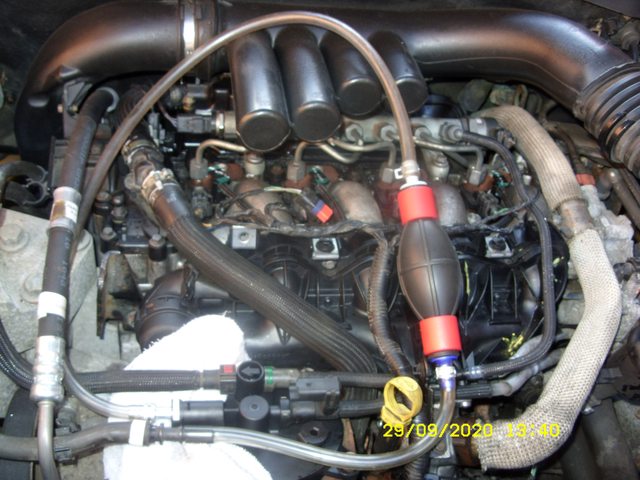
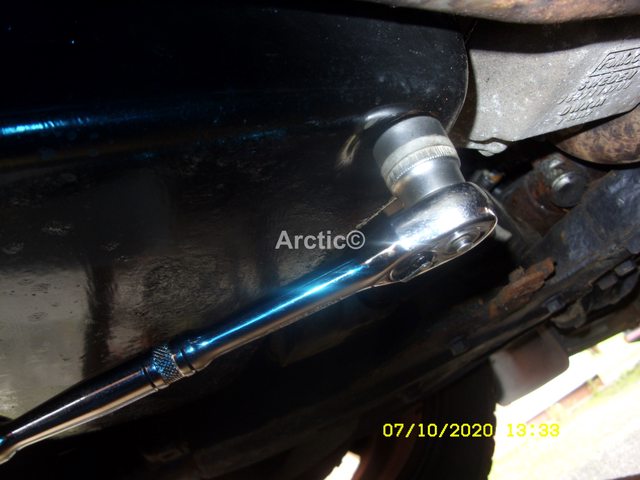
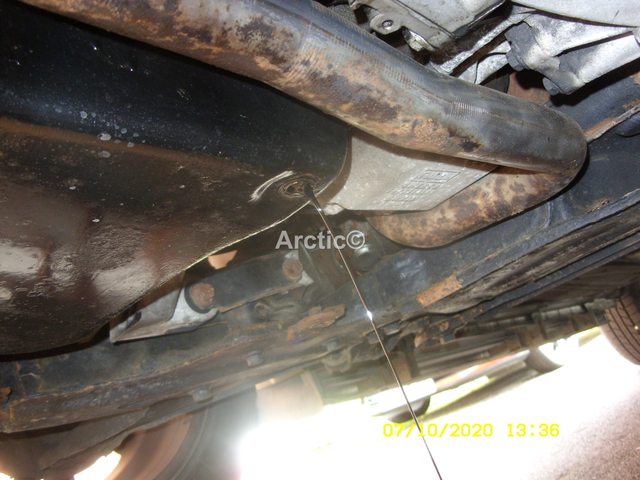
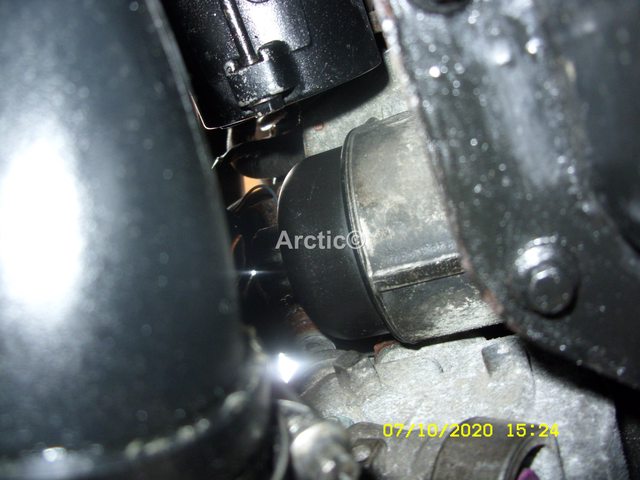
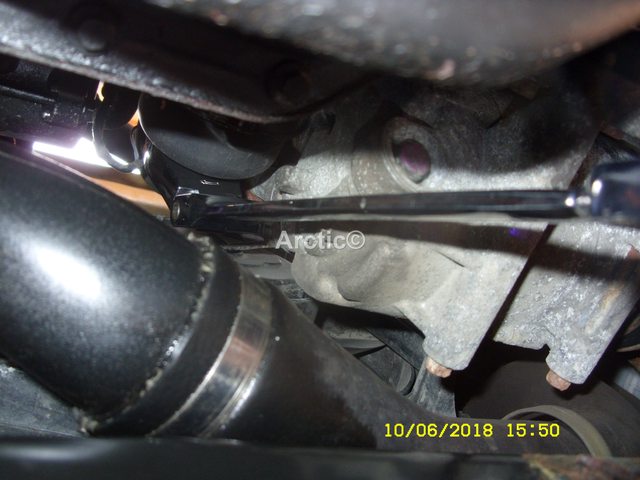
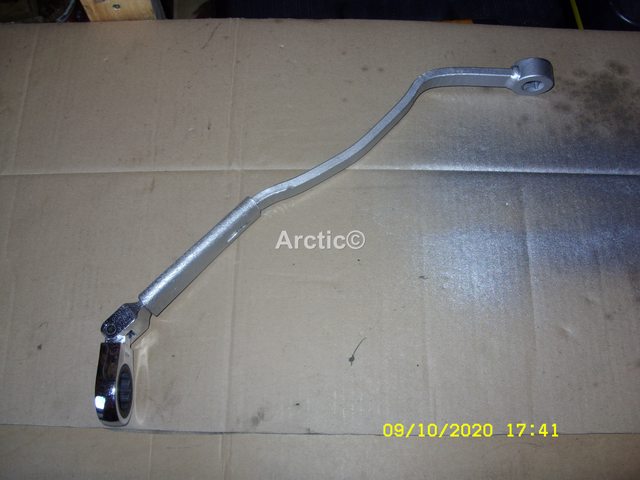
This week end of 26th -27th sept i decided to remove my diesel manifold so a manifold without swirl flaps could be fitted, this is a preventive measure only, the car was running great.
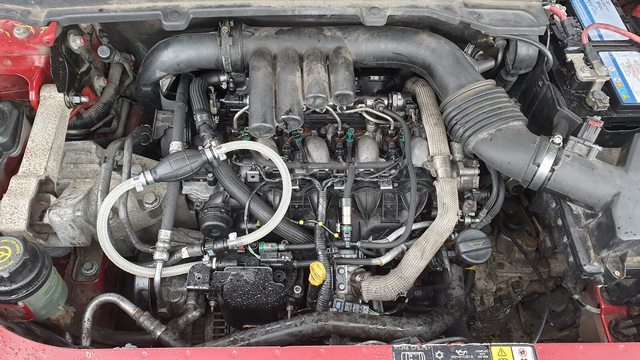
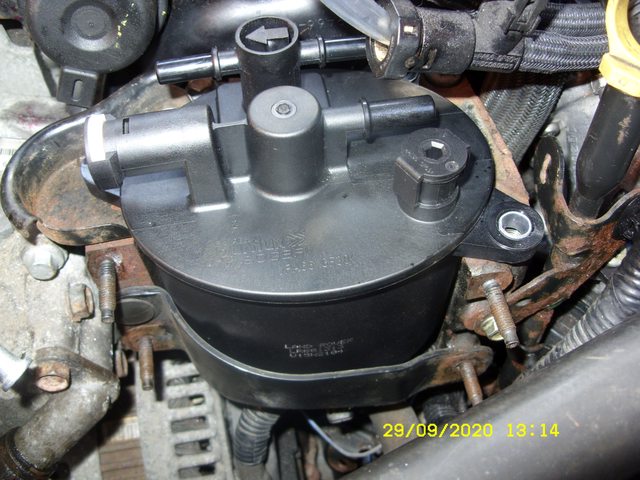
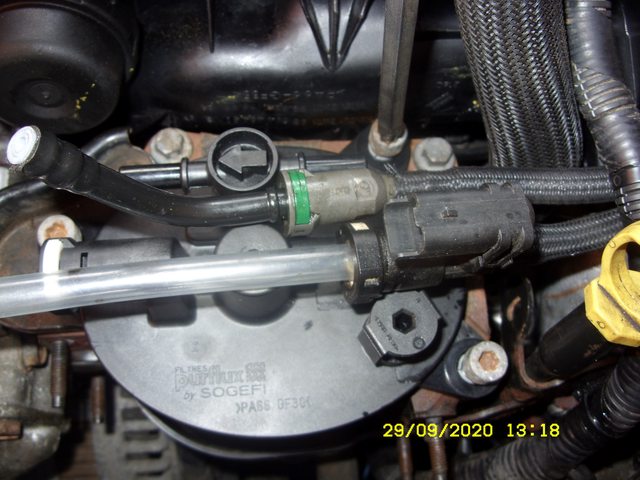
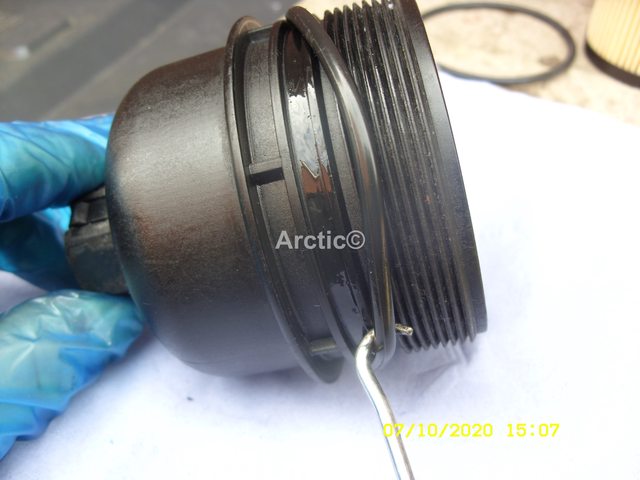
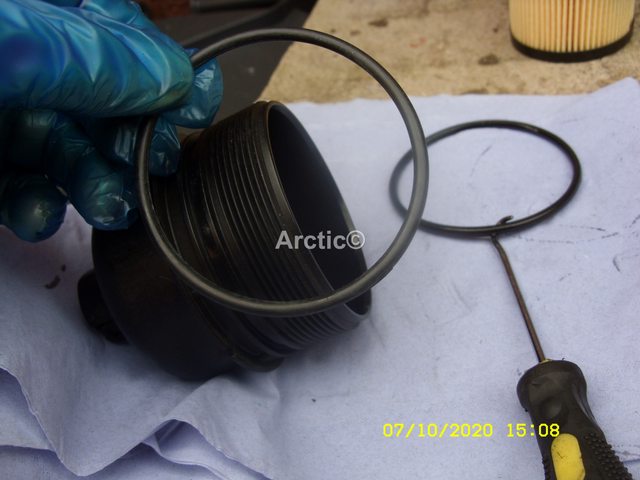
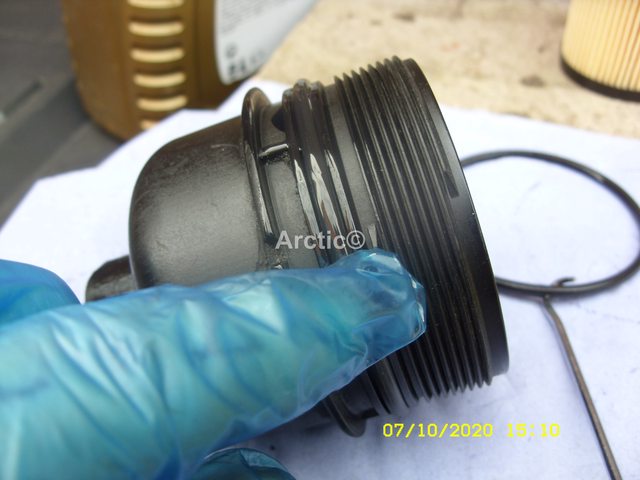
At the same time i intended to fit a new fuel filter, and also change the gearbox oil, Haldex oil & filter, due to the fact removing the manifold was/is a nightmare i have only sorted out the manifold, even then its still not fully sorted, photos to follow once i have up loaded them.
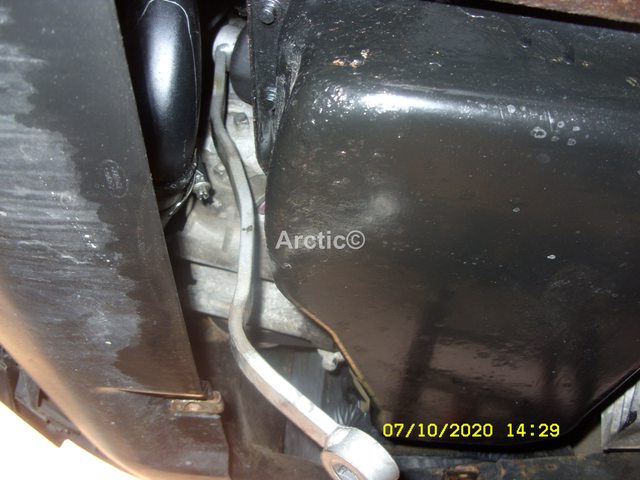
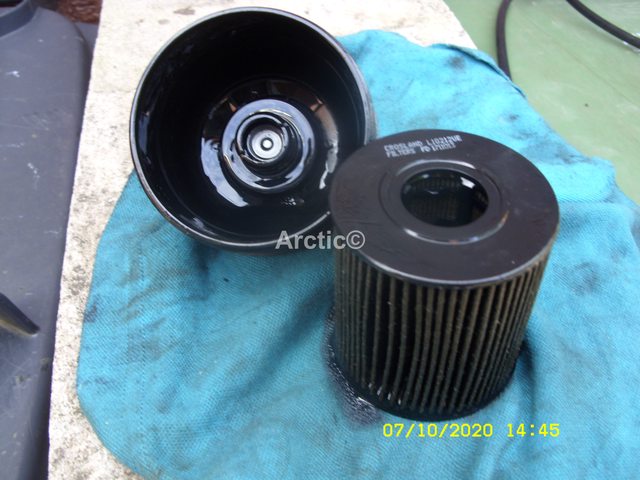
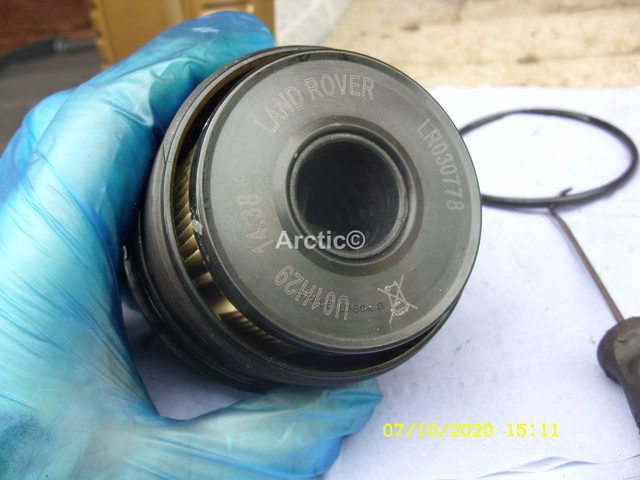
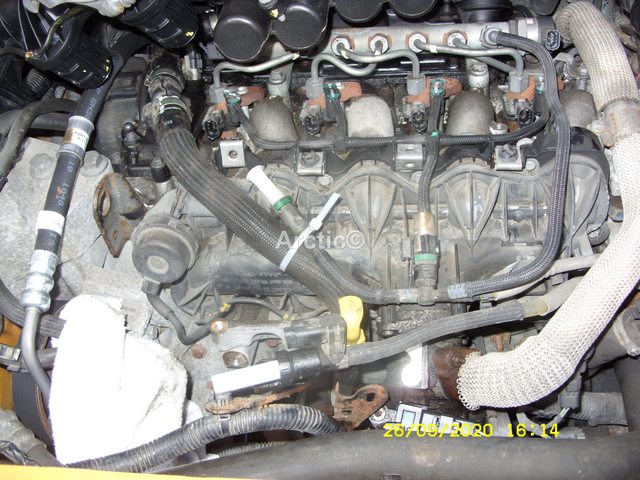
Fuel filter and it's housing removed manifold ready to be removed.
 1
1
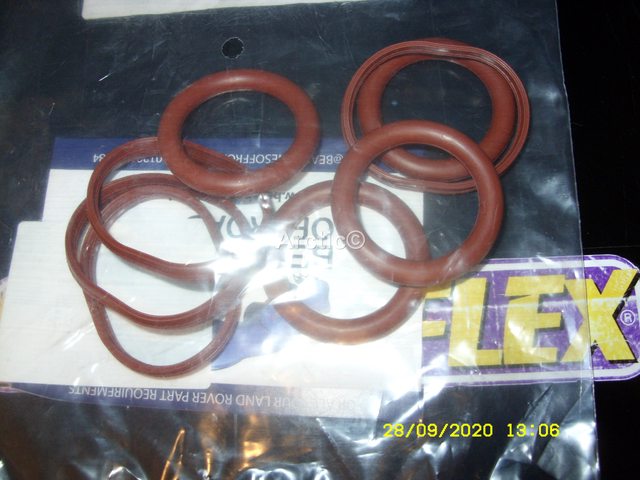
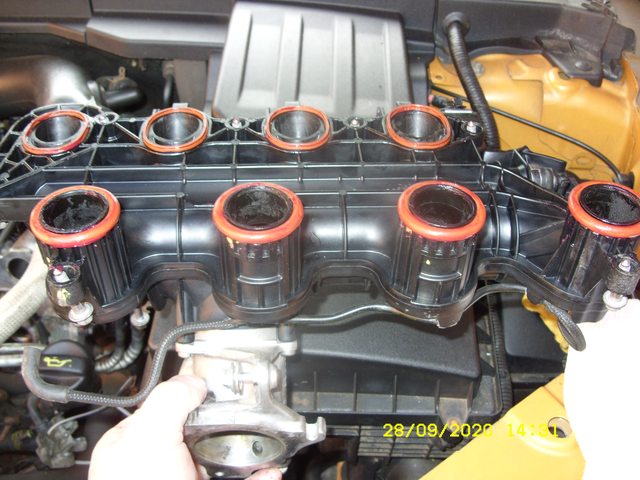
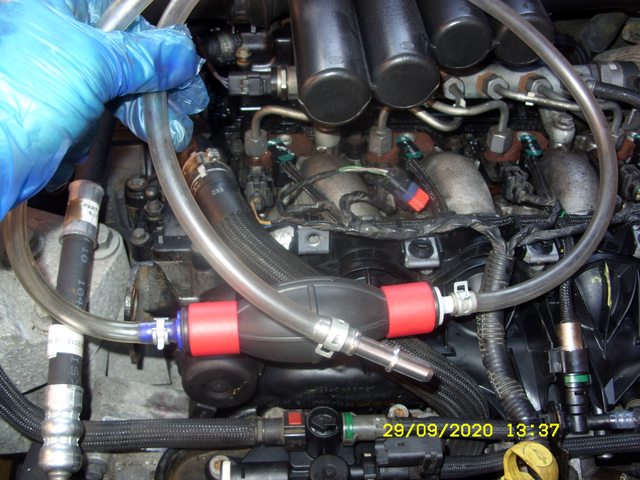
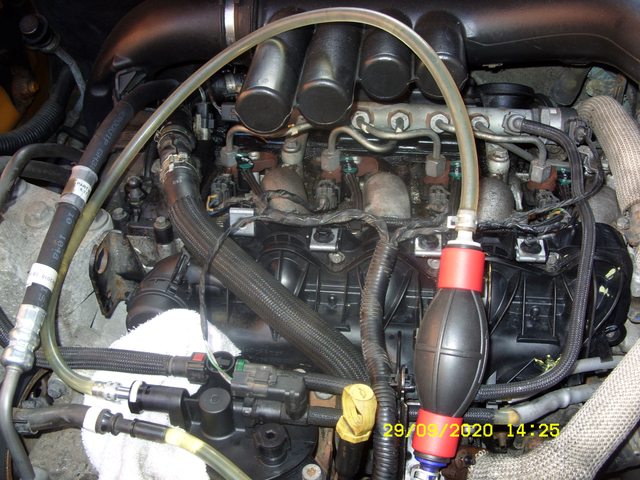
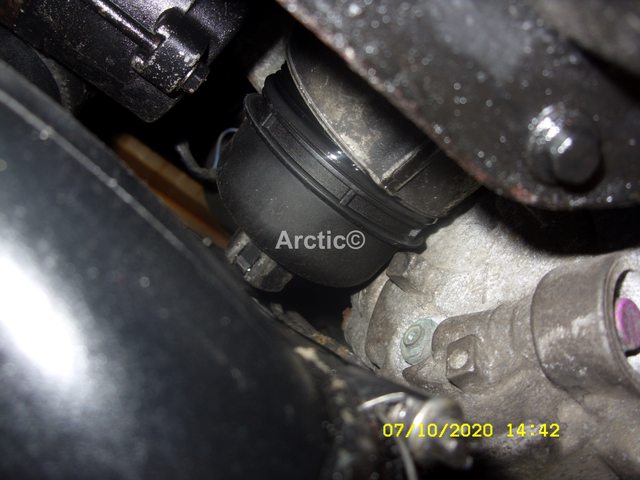
Replacement manifold swirl flaps removed.
 2
2
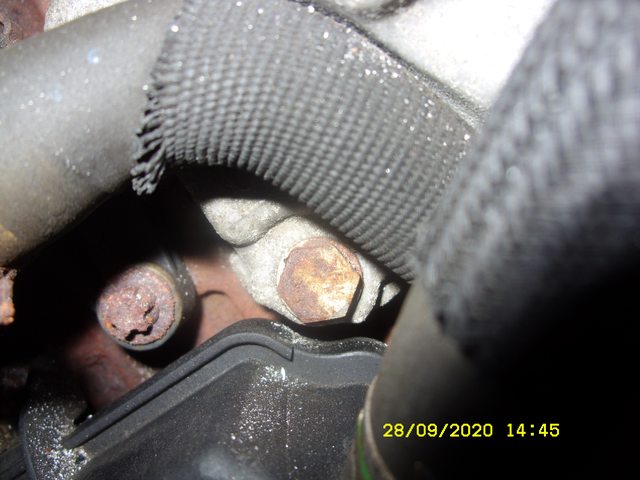
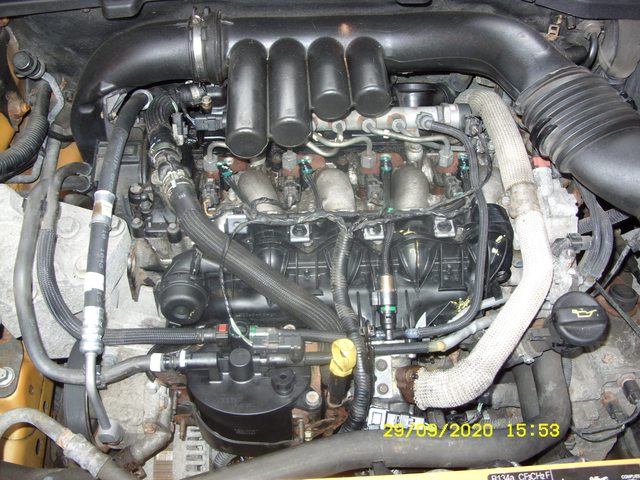
I thought great this will be a steady little job, little did i know
At the same time i intended to fit a new fuel filter, and also change the gearbox oil, Haldex oil & filter, due to the fact removing the manifold was/is a nightmare i have only sorted out the manifold, even then its still not fully sorted, photos to follow once i have up loaded them.
Fuel filter and it's housing removed manifold ready to be removed.
Replacement manifold swirl flaps removed.
I thought great this will be a steady little job, little did i know
Last edited: