Defender td5 with possible headgasket failure

This site contains affiliate links for which LandyZone may be compensated if you make a purchase.
You can find quite a bit of information which may be useful here:
http://www.lrrforums.com/showthread...at-the-inside-of-a-TD5-engine-I-am-rebuilding

Found this if it may help you,
IMG_5805.jpg
 
thanks will do. Whilst stripping the head to have it send of for testing i had to remove many things, among them something called lash adjusters. these lash adjusters have a hole were the oil passes thru; i forgot to check that, but is there a specific way that they should be oriented with the holes showing ...that way or this way?
 
I don't think that there is a problem as the adjusters are machined so that they have a gallery around the middle which will allow the oil to enter the hole in the adjuster, in the second picture you can see the holes in the head where they sit in the head.

I would recommend you have a look at Mark's thread where he re built his TD5 its very helpful, I think Mark is a good guy and I am sure he would happily help you and share his experience.
https://www.landyzone.co.uk/land-rover/td5-stripdown-and-rebuild.284052/page-3


s-l300.jpg


IMG_3618_zpserqfvxpp.jpg
 
That was a bit strange, one was plastic and other metal see pic. The plastic one is slightly deformedView attachment 114172
You can buy the steel dowels but if you have a lathe you can simply turn some. The harder the material the better. If you know what you are doing make some out of grade 8 bolts. You need to make sure they are a good fit otherwise you are wasting your time. For what they cost I'd order some from LR and be done with it. The plastic ones were mainly used on early 10p engines. Believe it or not they were only used to assist aligning the head during manufacture but it quickly became apparent that the head could move with use and relying on the head bolts alone was not enough. The later steel dowels obviously dont deform allowing no movement of the head on the block. I believe that you can also get the dowels from the likes of Paddocks.
 
yeah, i have already ordered the metal dowels. Excuse my many questions, i am not very technically educated so most of the things I do is per manual. I have seen the thread, very informative. I just got the head back, it needed to be skimmed lightly, the guy advised me to use an asbest gasket; i told him that as far as i know land rover does not have asbest gaskets. I currently have a one hole gasket, so he told me to use a somewhat thicker gasket
 
Hi Just browsing your thread.
Couple of recommendations.
Have you downloaded the manual for the Disco 2 with full TD5 info?
If not let us know and I can post up a link.
Before you order a replacement head gasket, you MUST check how far the pistons stick out of the block, thats the less technical way of saying, you need to use a dial indicator (DTI) to check the piston protrusion.
Only after you have done this can you order the correct thickness gasket, there are 3 thicknesses to choose from.
If you dont have a DTI it should be possible to use a straight edge and feeler gauges but Ive not seen it done this way.
If you use a gasket thats too thin, you could risk the pistons hitting the head.
You really should use new head bolts as well, there is some discussion about reusing old ones but I wouldn't!
Where do you get your parts from?
Turner Engineering are pretty good, but obviously shipping will not be cheap!
http://www.turnerengineering.co.uk/ldf500170-td5-cylinder-head-late-c2x20634343

Heres a link to my thread about fitting a new head
https://www.landyzone.co.uk/land-rover/fitting-a-td5-amc-head.301080/
Mark
 
Last edited:
Hi Mark, thanks for the post, very good example of the engine. I am choosing the thick gasket, with 3 holes. Yes I will definitely be getting new head bolts. For the moment I buy stuff from the Netherlands but would like to try to get things from England and see what the shipping is like. Stuff really cheaper than here
 
Worth dropping Turners an email to get some comparative pricing.
When you come to reassemble your head heres few notes:
Fit new valve stem oil seals
Ensure the pocket where the injector sits is totally spotless, I used very fine emery paper on a wooden dowel (stick) to clean the mating face where the copper fire washer sits.
Clean the mesh fuel filter that sits in the head just behind the fuel pressure regulator (FPR)
Fit a new FPR gasket
Regrind your valve seats, use only very fine grinding paste.
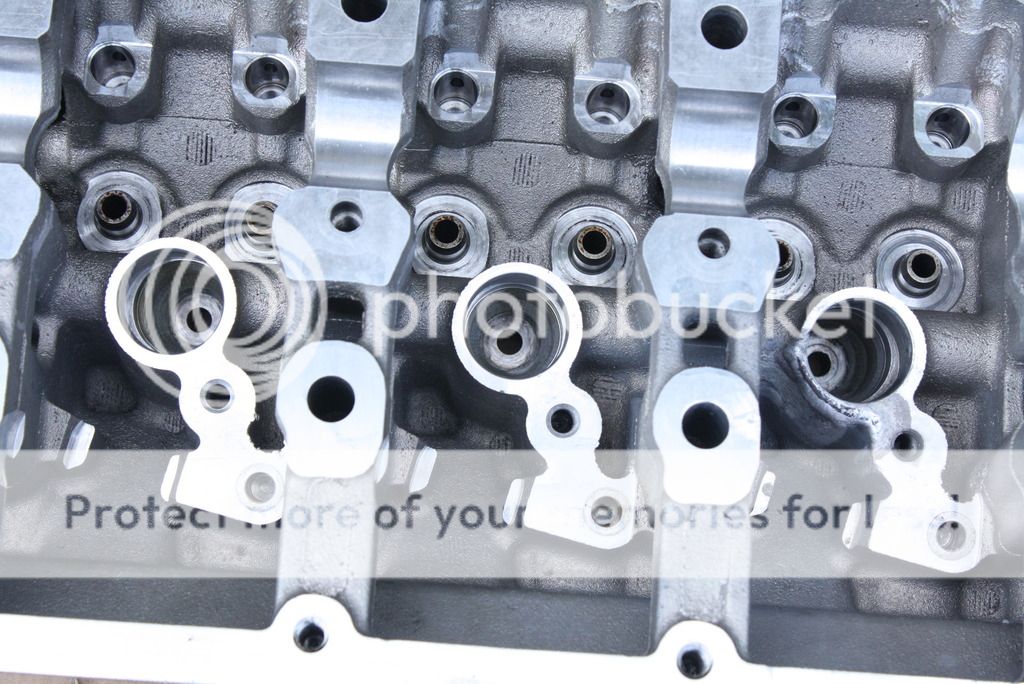
Before you re-assemble your head, wash it, very carefully, use a hose and flush through the fuel galley etc take your time, use LOTS of water, this is because as your head had been skimmed it could be full of metal bits (swarf)
Do the above even if your machine shop said they cleaned it! This step is important, a single piece of stray metal can ruin an injector.
After washing, dry, ideally blow through with clean compressed air, then bag it/wrap it while your waiting for parts to arrive.
If you have split your cam carrier, use the correct (but expensive!) Hylomar sealant, NOT blue Hylomar!
When you reassemble the head use assembly fluid or clean oil.
The book says use new bolts for the rocker shaft, injector adjustment screws and injector clamps, I never have, just tighten progressively and do NOT over tighten!
When the head is on, and before you fit the injectors, turn the engine over by hand a coupe of turns, just a double check to make sure the timing is ok!
Mark
 
Thanks Mark for the useful hints, will take those definitely into consideration. yes the machine shop had the engine already coated with oil; i assume i can still just flush it.
 
Hi all,
parts have arrived; everything is put back on; just struggling with the last thing. I am not able to adjust the injectors as per the manual. the manual says that you have to turn the adjuster screw until you feel it bottoming out and then go back one complete turn. When i turn the adjuster screw i see the spring on the injector slowly starting to depress; it also becomes progressively more difficult to turn the screw until i come to a point were it's quite difficult to turn the screw. Is this the point were I have to stop tightening the screw?
Thanks in advance :)
 
I did already check that website, i am just unsure as to how much I have to screw the adjuster screw down. They use the same words ;tighten until you feel the plunger bottom out "
 
I always position the cam shaft on tdc for one of the ininjector's.
Then slacken off the adjuster locking nut
Then slowly tighten the adusting screw with the screwdriver until you feel it get tight
Then I wind it back and forward about quater to half a turn three or four times feeling for the injector bottoming , you can feel the point where it hits the bottom and stops turning .
By winding it slightly in and out a few times you can establish the true bottom point.
Then wind the screw back one full turn and then lock the nut while keeping the screw from turning with the screwdriver.
Move to the next injector turn the engine to get the cam on tdc for that injector and repeat the process.
When you have done all 5 injectors turn the engine over at least two full turns using the nut on the end of the crank shaft just to be sure all is OK
 
Back
Top