Defender 90 FFR winterised Rebuild

This site contains affiliate links for which LandyZone may be compensated if you make a purchase.
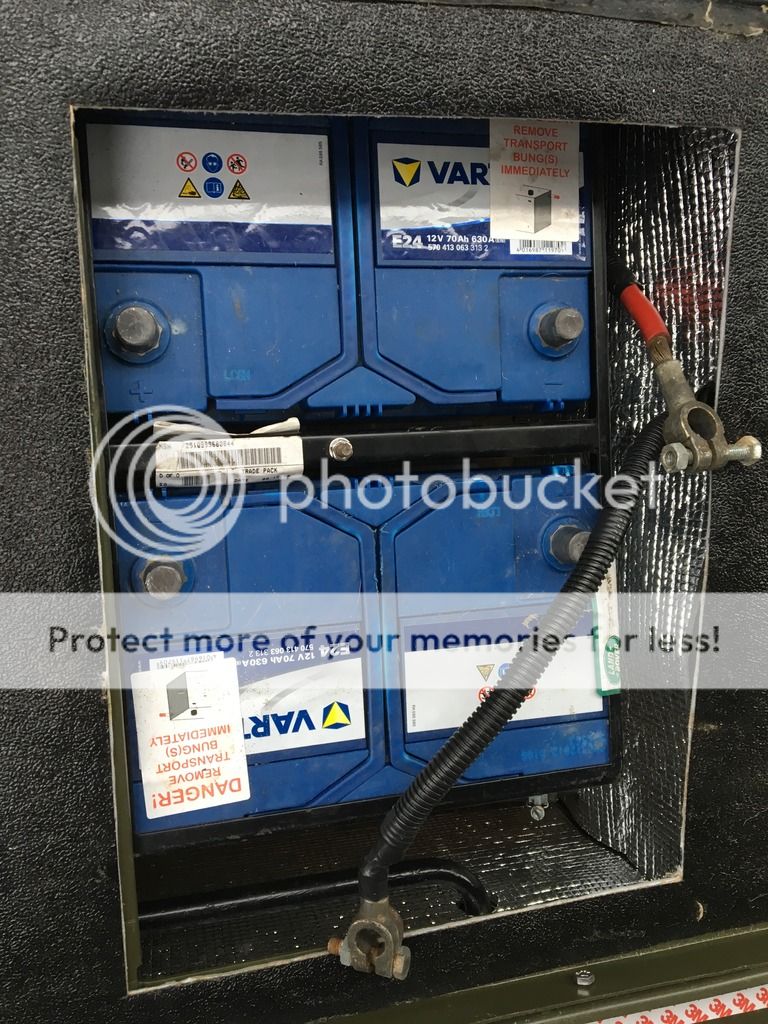
Thank You for that Huddy you are right, after a bit more digging it confirmed what you said

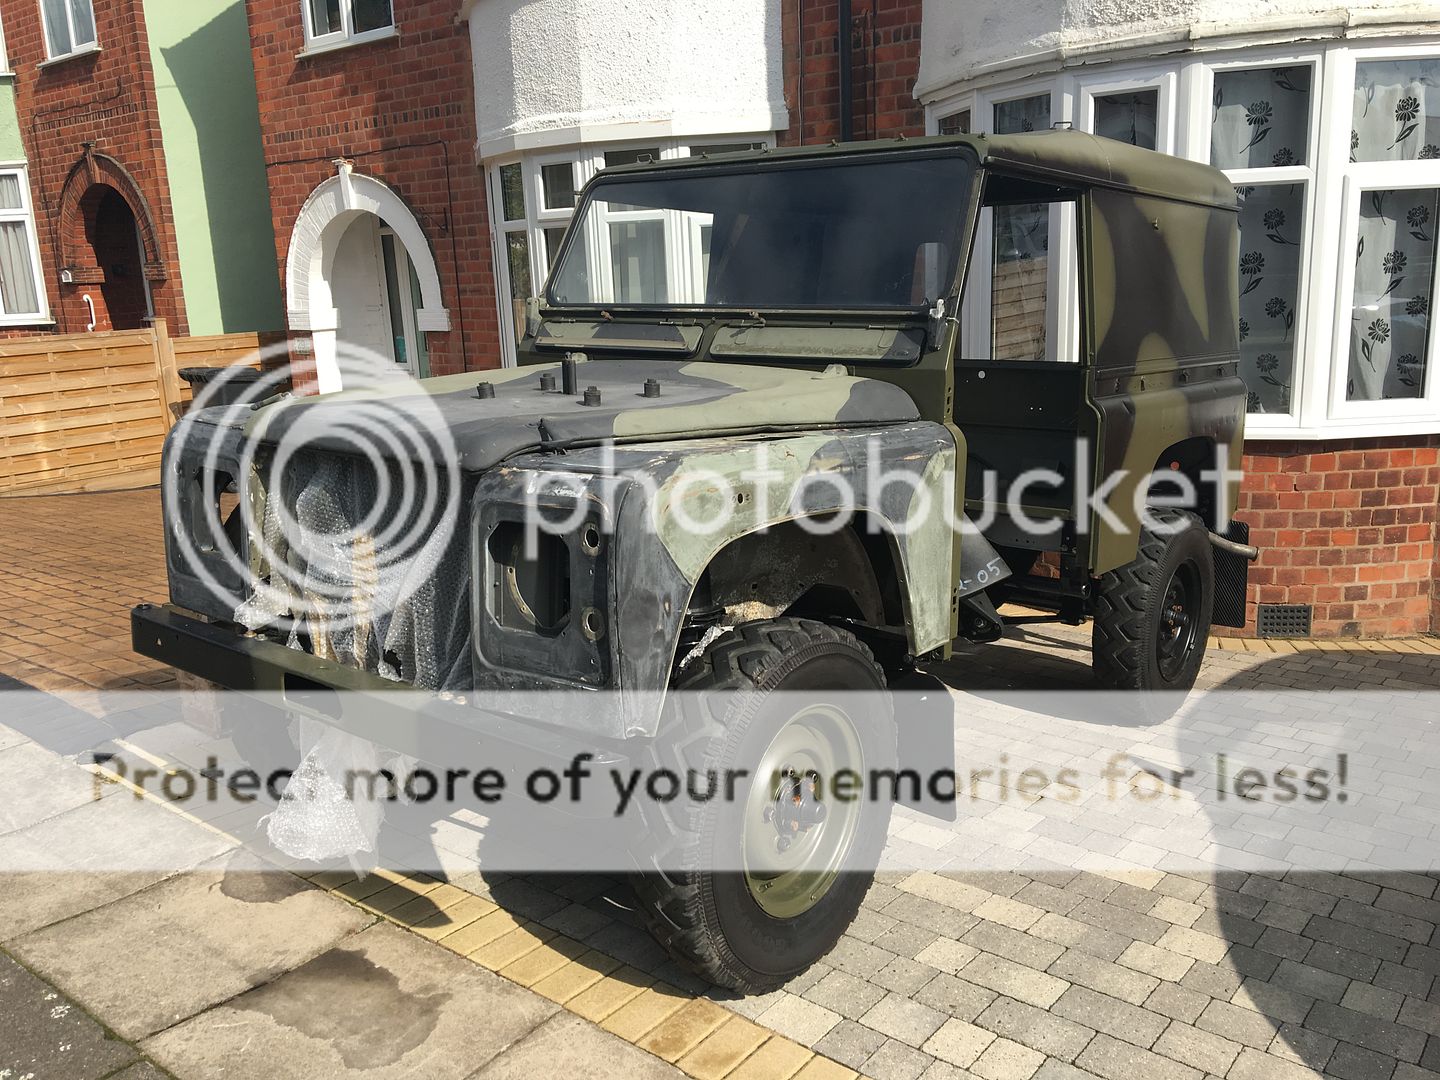
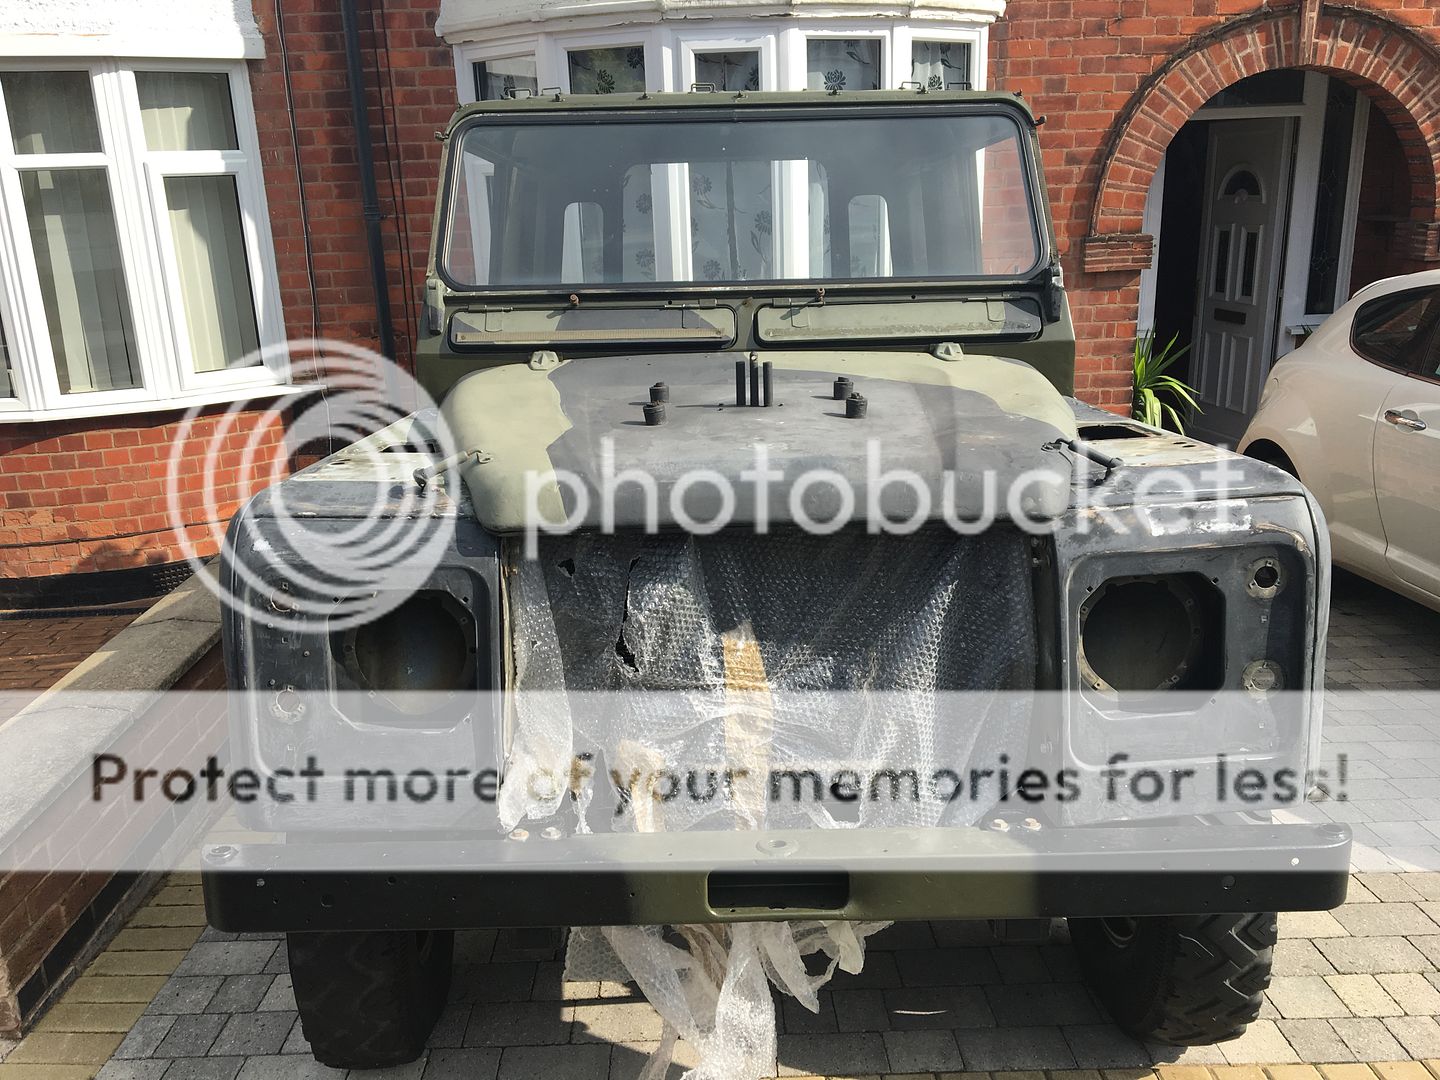
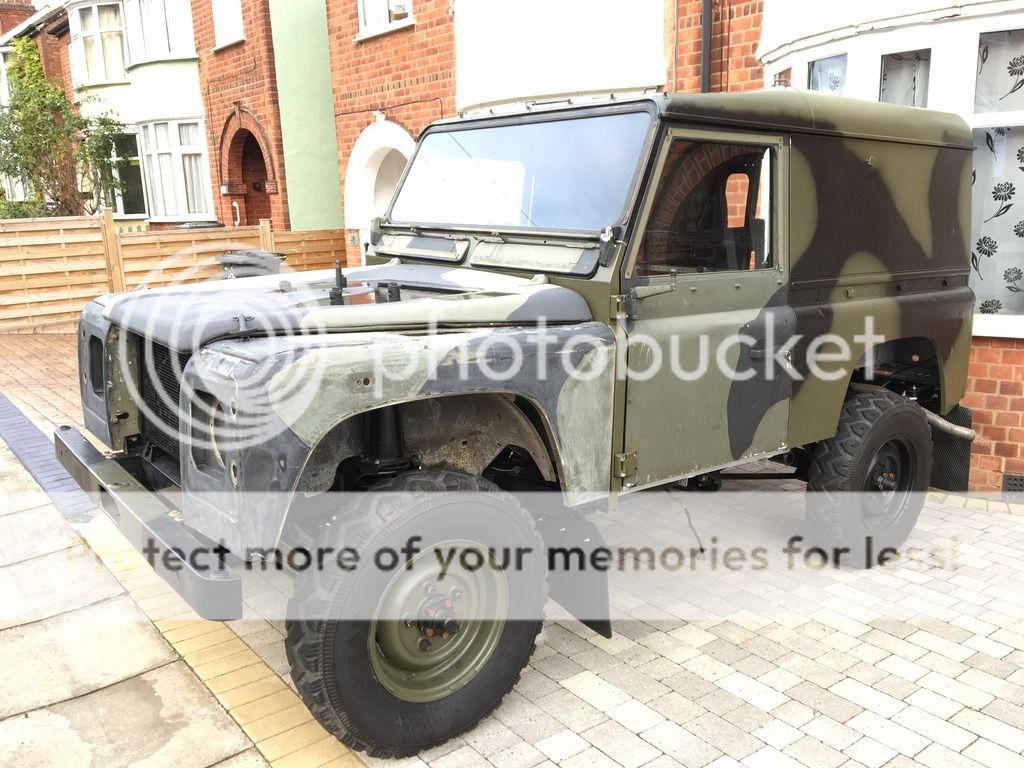
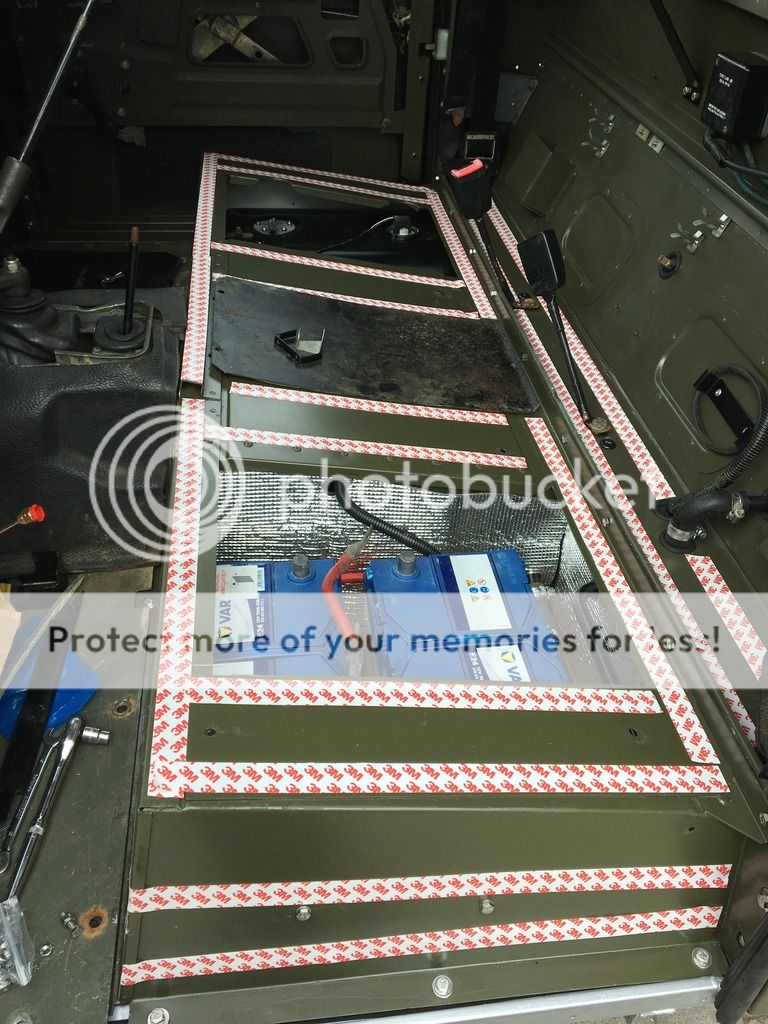
Had a busy couple of weeks. I got the sides and roof sanded and a quick coat of paint Then bolted them all up.
16AC1134-6524-4190-9A10-280BFD633B40_zpsjnb42hnw.jpg

A029DC72-E2BE-411B-A431-A42E1BACB28D_zpsb4amdij2.jpg

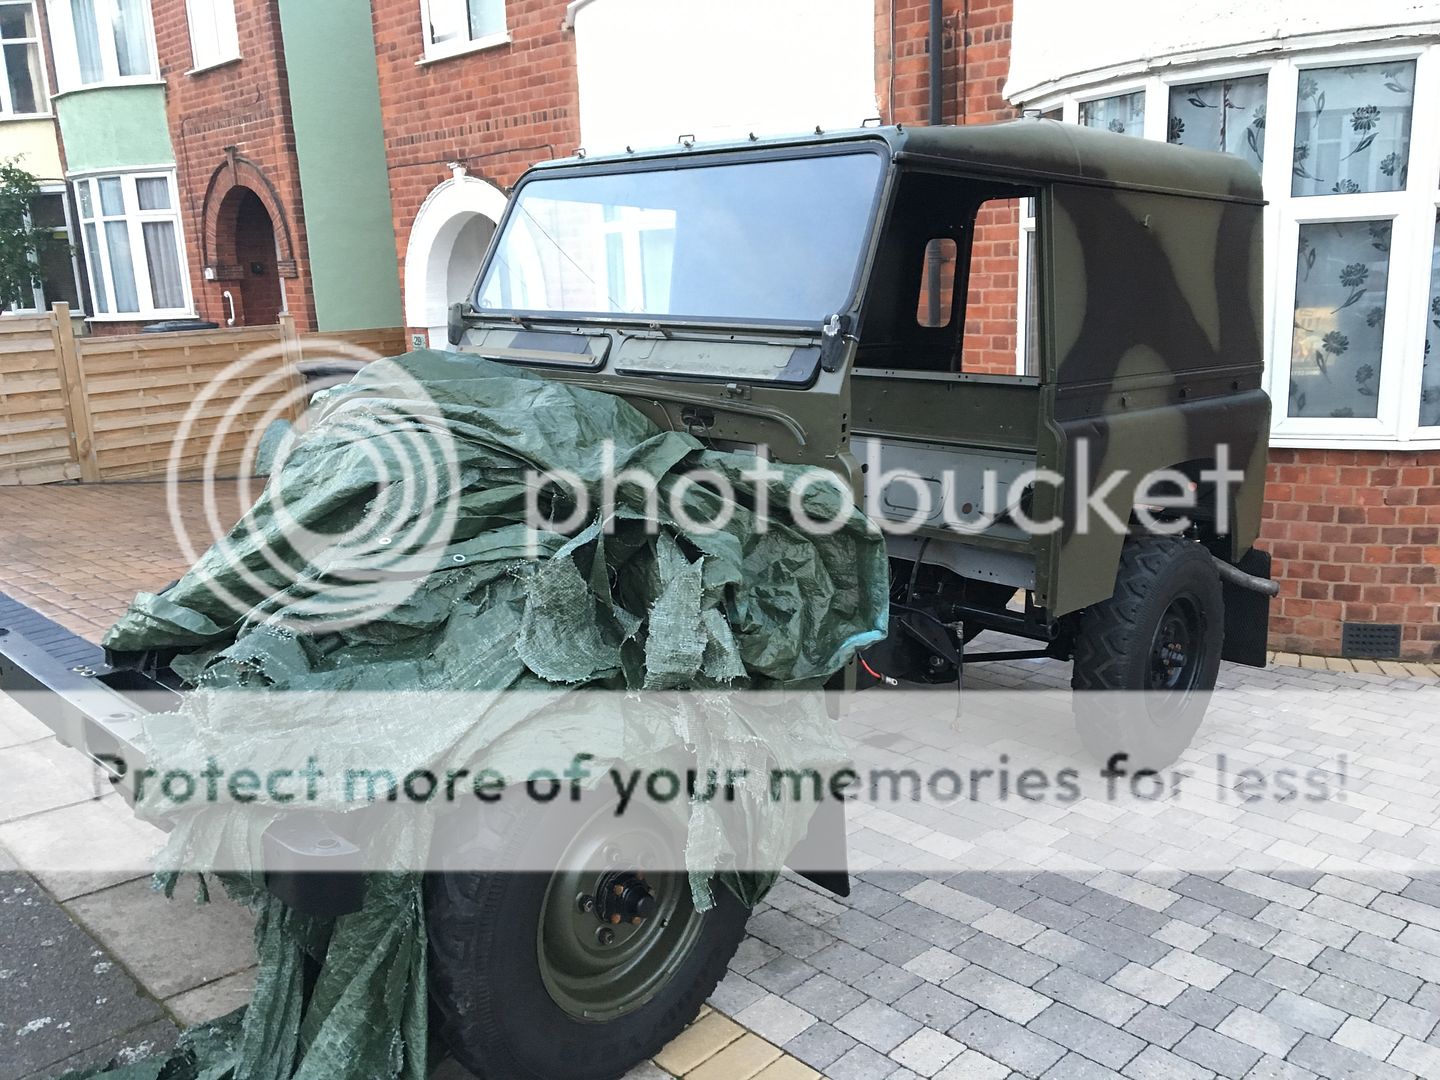
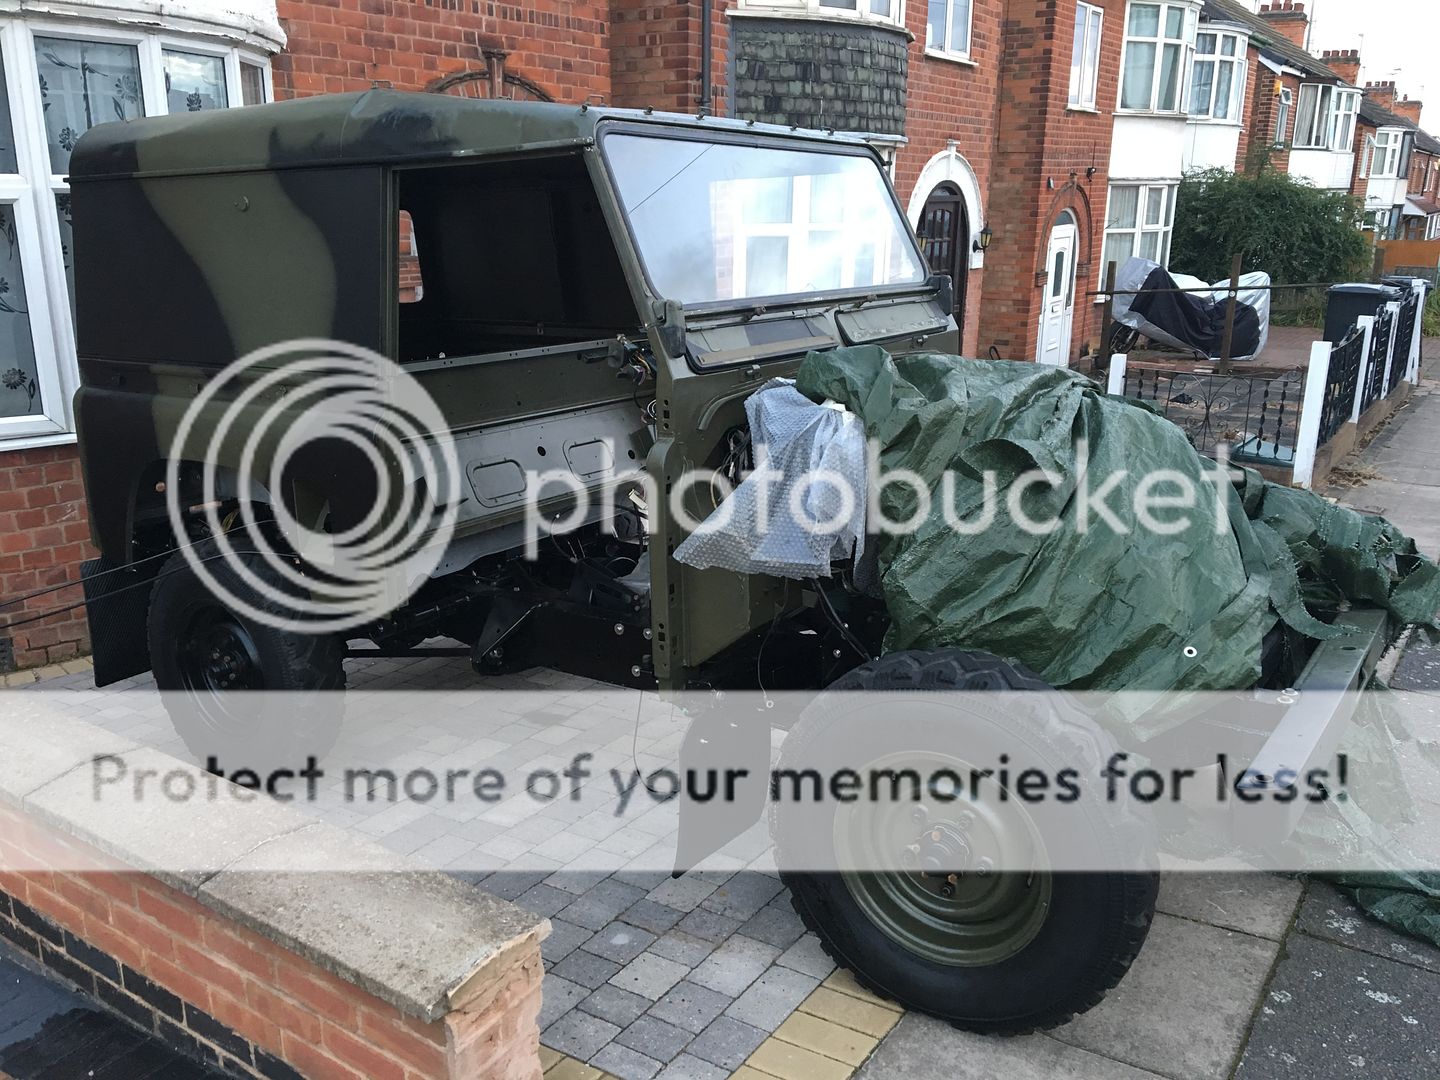
I'm not happy with the sprayed camo so once the it's all together in hand painting it all with bush painted camo
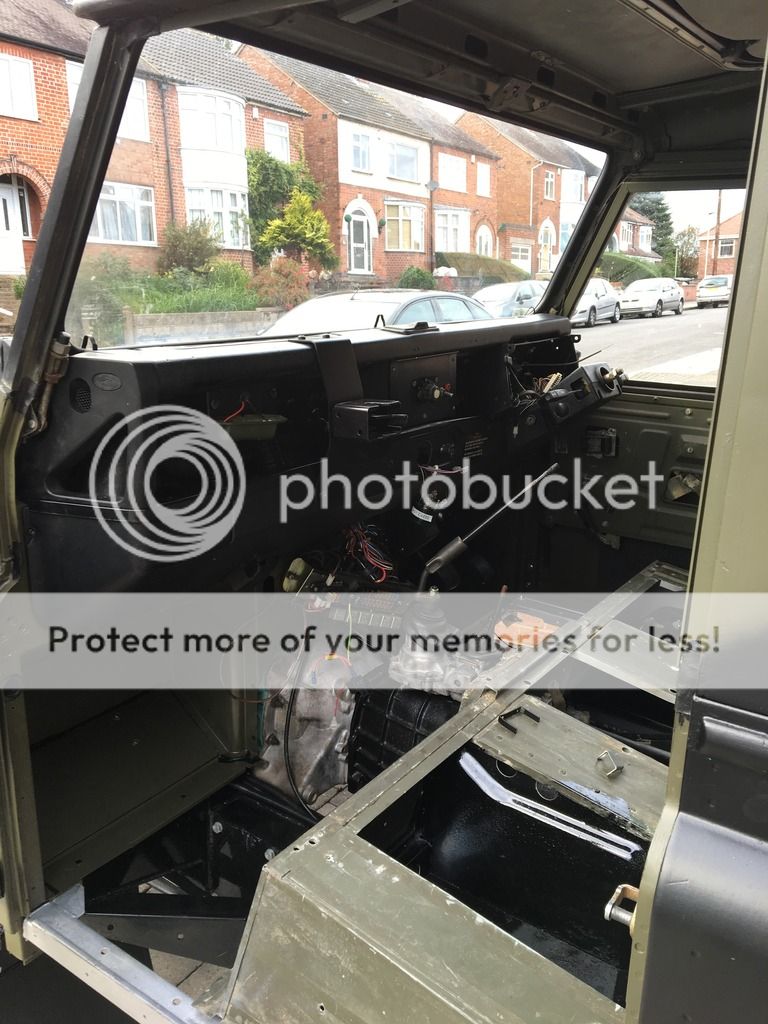
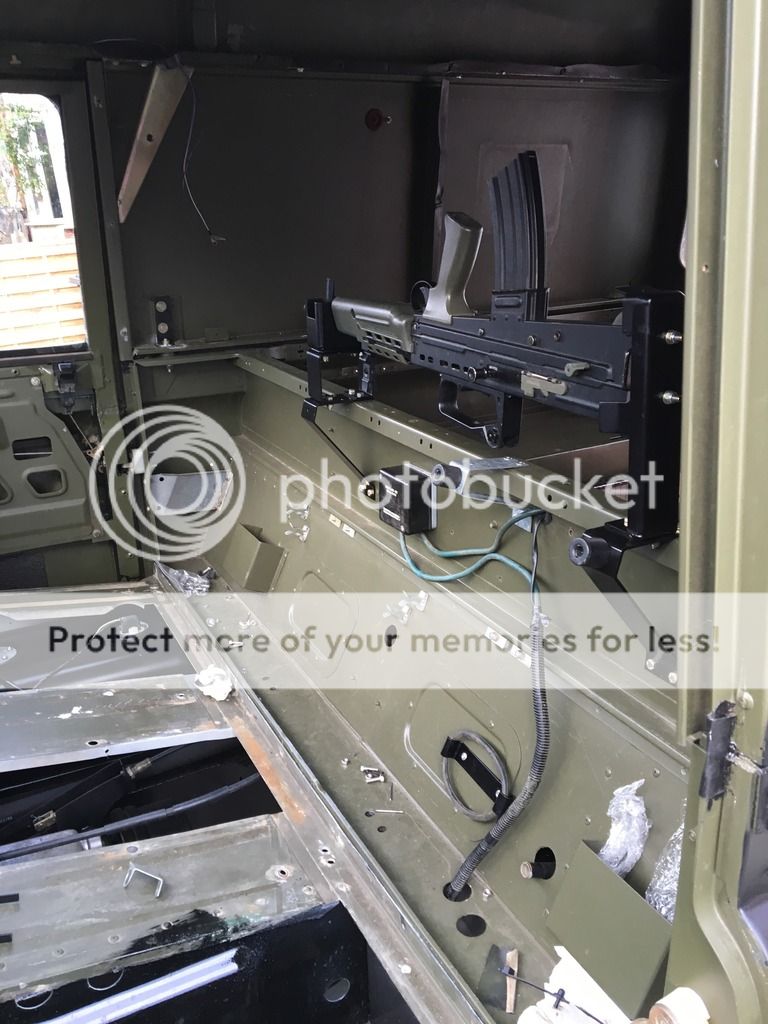
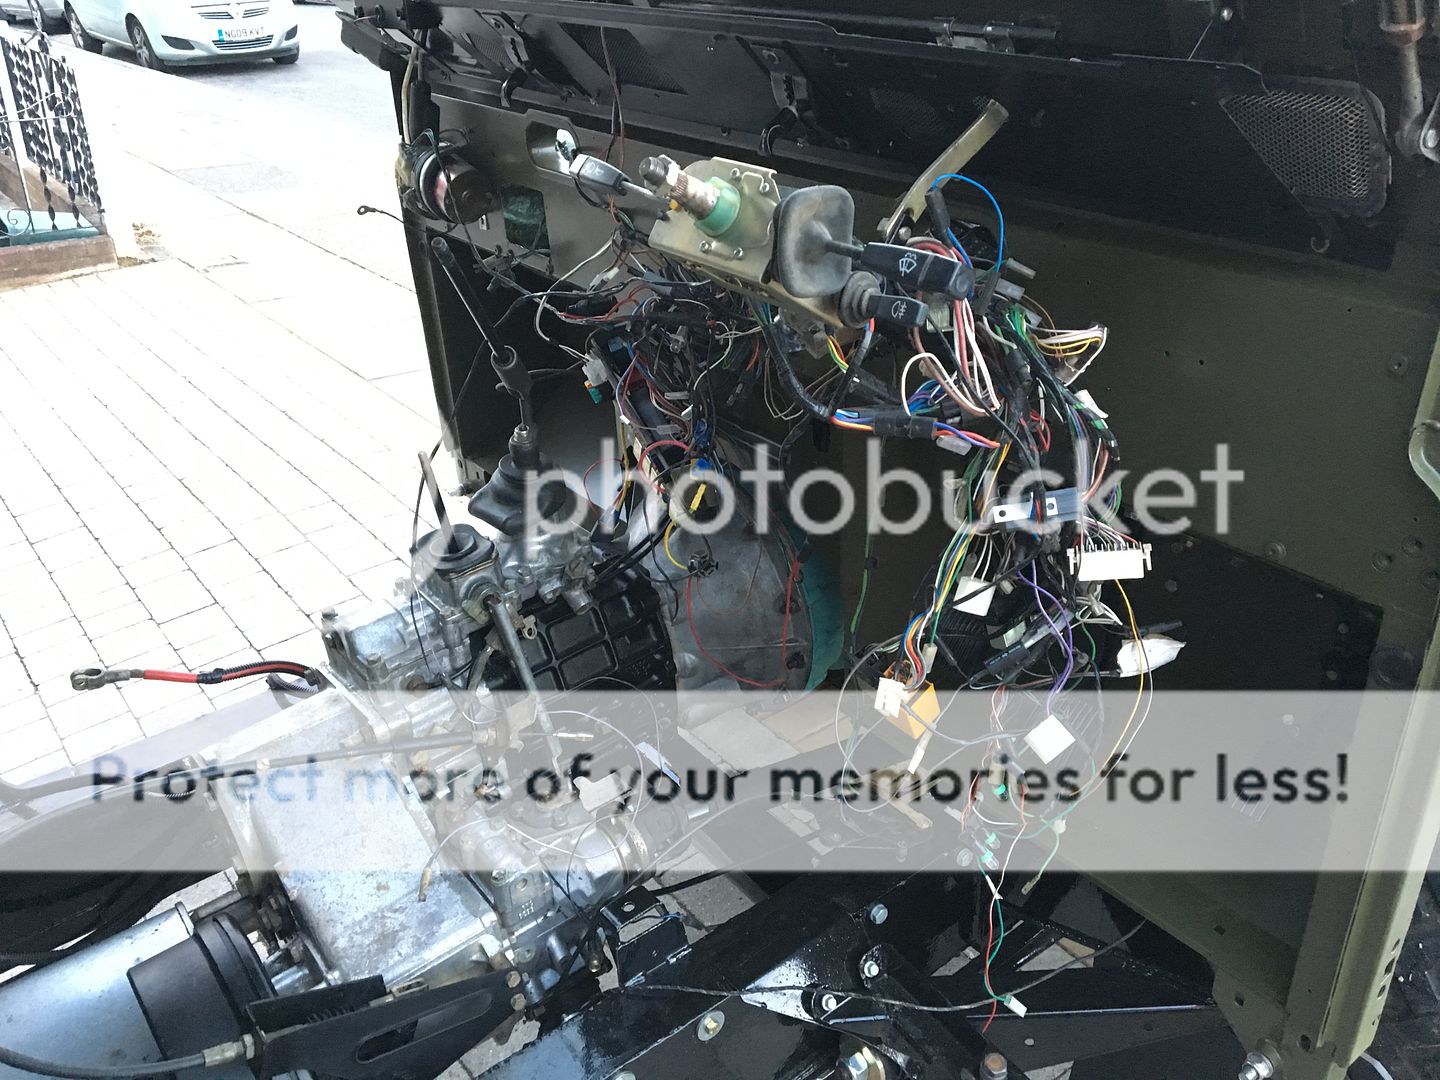
I also put the bulkhead loom back in...... God I forgot how many wires there were! I took God knows how many photos but there's still not enough
ADE884FC-4CA3-4C06-A394-4AA297B58D80_zpsghlbat6x.jpg

C1E3AC63-A044-4EA4-86BA-C25E912EE48A_zpsikfuhhhz.jpg

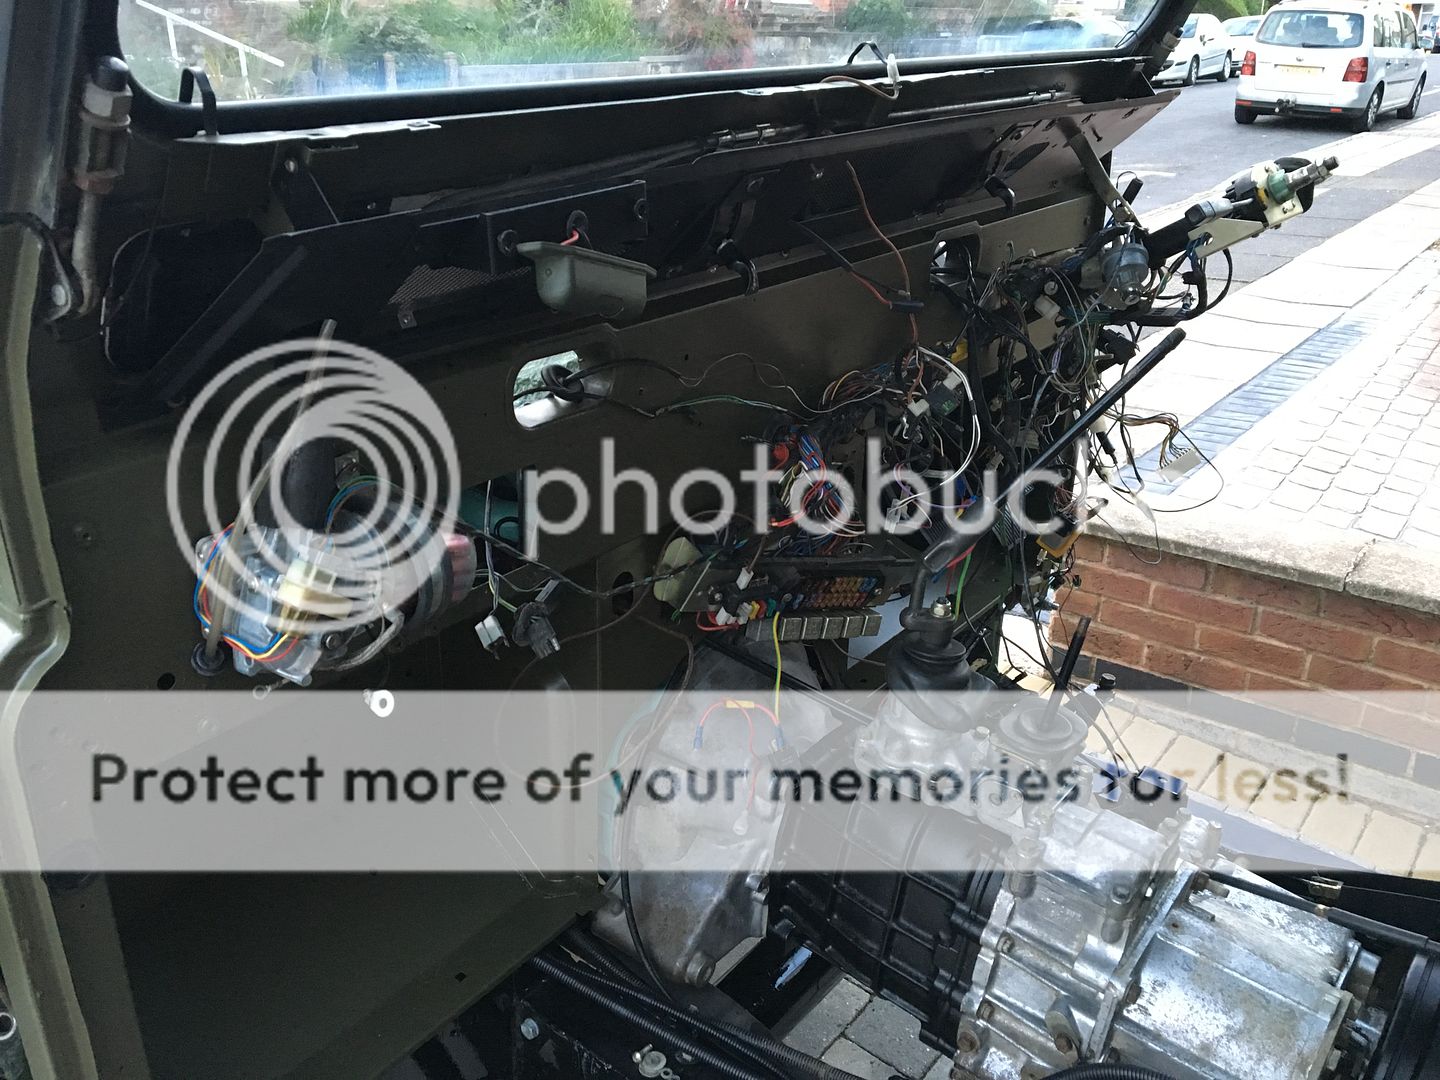
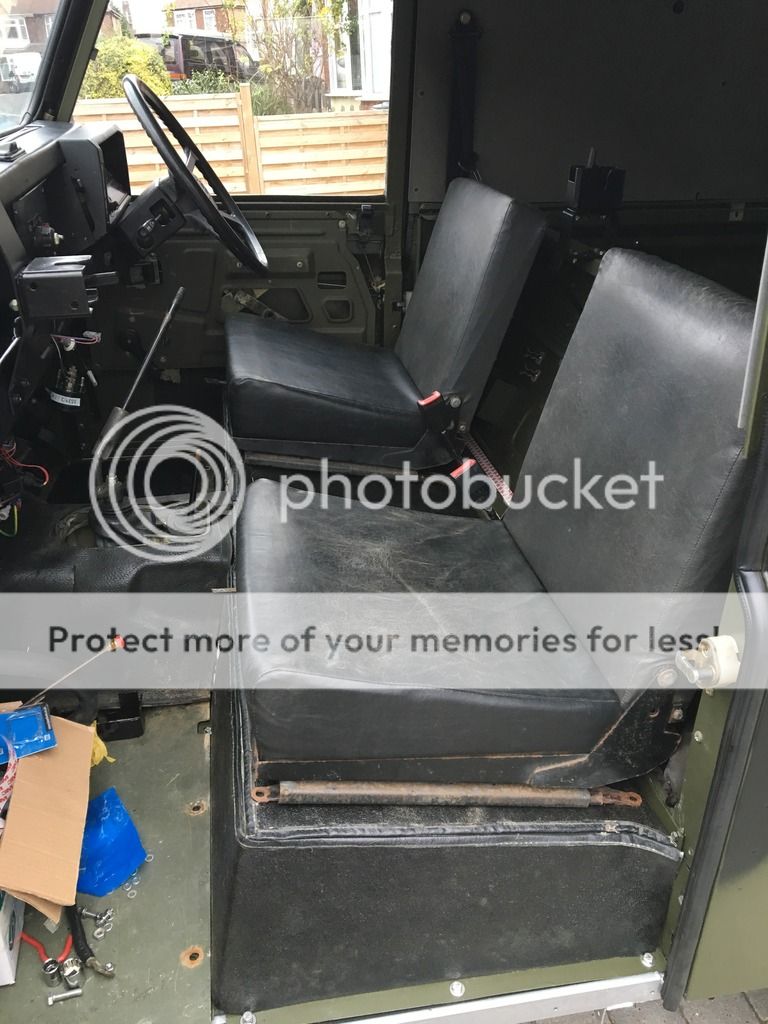
Almost there now I think my next job is the doors to secure the the cab and allow me to put all the dash back in
 
Thanks Disco1BFG
While waiting for more parts I've been painting the coolant pipes that feed the rear radiators and air filter housing and seat box.
I could not source the little valve for the bottom so I altered a different type to suit and it's perfect can't even tell
CDB1A177-EA0B-49D2-ADAF-48F4699B0F23_zpsm6ojr0ot.jpg

I've been searching for a new escape hatch latch they are a standard sun roof with a metal panel insert but for the life of me can't find one anyone have any clues?
B331C7FF-3362-4A39-A9EE-39314A0ECC80_zpsyjpny3ux.jpg

BE2428A4-8153-43AB-8664-EF61B38886F6_zpsgy3tlvig.jpg

Thanks all
 
Your correct all current British military vehicles are sprayed. But this comes from the era of bucket and brush so to keep it authentic I shall brush paint it

I didn't get much time at all this weekend but I did manage to get some of the engine ancillaries in and connected slowly getting towards a running engine but I must move onto the doors soon

0B7DC39B-D7E2-4351-9F36-4EC1118357D7_zpsles1ejqv.jpg

C6D9EF0D-467F-4881-A034-236943E0760B_zpsbbzqfo9b.jpg

26B9BD54-F4A3-4028-876A-479949BF1A62_zpsw6bkxsgm.jpg
 
Thank you Flat and greyhair
A parcel arrived today looks like my webasto will be working this winter
451E6EFA-4018-42D9-9FFA-9363DE369869_zpsoyhvl8qv.jpg

Just got a bit of translation to do, then figure out how it works
 
Thanks Disco
I've been trying to get large bulky items out of the summerhouse as space in there is premium and I've not been very popular with it being packed with Land Rover parts for the past 8 months. So this weekend I was sanding and preping the front wings and bonnet and stripping the doors ready for welding
30387B41-D317-42B0-AC6B-6D36E9F00521_zpsrdxejzrq.jpg

51529839-11F6-4E5B-A282-D9CAC38A0C42_zps86zlye8p.jpg


51529839-11F6-4E5B-A282-D9CAC38A0C42_zps86zlye8p.jpg

There only loosely fitted at the moment I still have some engine bits to do
 
So long time no updates, but I haven't been sitting idle I've just been lazy and not updated the thread
With the doors all welded up I got them mounted. A bit of fun and games and 4 arms needed but I got them aligned
E5338974-CBF6-4088-80B4-9FAB5A51A63B_zpskyf80oh0.jpg

48F43720-30DF-4B7E-9DF1-CB4444C63E04_zpsm79dvu11.jpg

I then started on the interior. Got the dash in
8608C529-F85B-47D8-B37C-EA72D44D308A_zpshwpsixuj.jpg

And some of the electrics behind the seat
57EFD163-41B1-4A81-A1A1-E1DE1009C378_zpsmtozkesn.jpg

Then moved onto the seat box
11C229AA-01D1-4C8F-90B7-0C678182D61B_zpscfaitlwz.jpg

And then the hardura interior this was a job in its self. The old interior had severe dry rot and all had to be binned so I purchased some new hardura but was unable to get it foam backed, so I had to purchase felt backed and with a sharp scrapper remove the felt and glue on the foam. To make the interior look original I cut of the original beading and fixed it on and I have to say works great.
B3655A1E-8A6B-43F2-9D80-680D025B1105_zpsfcvuccnm.jpg

With it all stuck down I couldn't resist getting the seats out for a mock up
54803DEE-9C6C-45C2-BC8E-96AADD488437_zps6af4lanw.jpg

I also finished off the battery box with new insulation, sanded the original wood floor and bought a new battery clamp so the batteries won't bounce up and down like before
2276EDA7-B1B4-4632-879B-C64D35C6A596_zpsptgmi4vc.jpg

Now all my oils have arrived hopefully have it running very soon!
 
Wow!
Just read this thread and I am in awe at the speed and quality of your work!
Your truck is going to look fantastic when it's finished and I can't wait to see it when it's done.
Keep up the good work.....can't wait for more updates and pictures!
Btw, with ya on the brush painting.
Personally not a massive fan of sprayed on cammo.
Cheers,
Rich
 
Did the previous owner get ride of the 2 piece doors for extra security? I know sliding glass isn't super secure but no Landy is anyway, plus reverting to original doors would look better imho.

Looks great, before you hand paint it though all military vehicles are now sprayed, though I would have left it plain green it looks good as it is.
They might be sprayed from factory and you even get tins of NATO Green paint ready thinned for spraying, but I have watched MT many a time, applying said paint with a brush. Spray booths are hard to come by and the MoD won't spend money sending vehicles for respray. Brush painted and full of runs is the most authentic way of painting any ex-MoD vehicle.
 
thanks for the kind comments guys its nice to have some encouragement to keep me going. Bix, winterised and winterised wader variants didn't have 2 piece doors and were factory fitted with 1 piece. in the photo below you can still make out the UN markings under the layers of paint
E97AB85C-0AC7-4CEC-9F09-C46521874915_zpstwejulgd.png

Well a busy weekend for me, well a busy Saturday perks of working outside I suppose. But its running!. a couple of hours fiddling around getting the exhaust bolted tight, double checking everything. Then a further hour scratching my head trying to work out why it wouldn't turn over, to find a retro fitted relay between the ignition solenoid feed. Which I have not idea what it does, ripped that out and away it went.... well after 6 or so 5 second bursts to say i'm chuffed is an understatement.
C1B39DAD-8628-4A2F-906E-2C609996C9E7_zpsemcaabe9.jpg


all work now is towards to MOT
 
ideally I want to find somewhere dry and warm so I can park it up and brush paint but im struggling to find anywhere local so I might have to wait until march April when it warms up and paint it then unfortunately. im keeping it nato green and black basically what it looked like before I rebuilt it. it was tempting to paint it white in the UN markings though
 
Back
Top