Defender 90 FFR winterised Rebuild

This site contains affiliate links for which LandyZone may be compensated if you make a purchase.

apeers

Member
Posts
62
Location
Leicester
Hi guys
I decided to copy my build thread over from EMLRA for you all to see

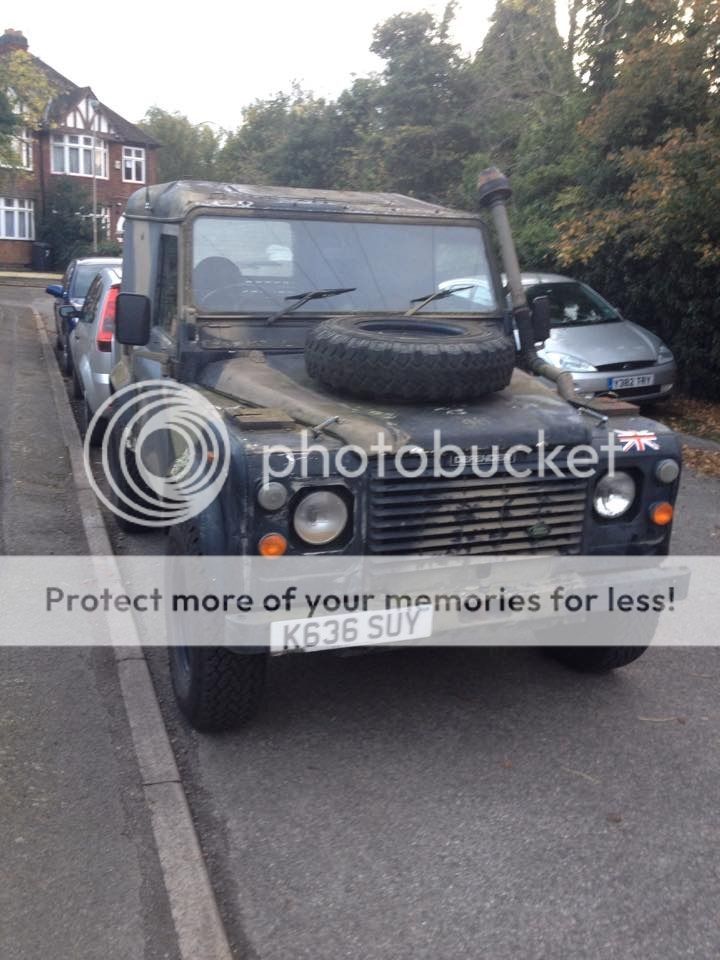
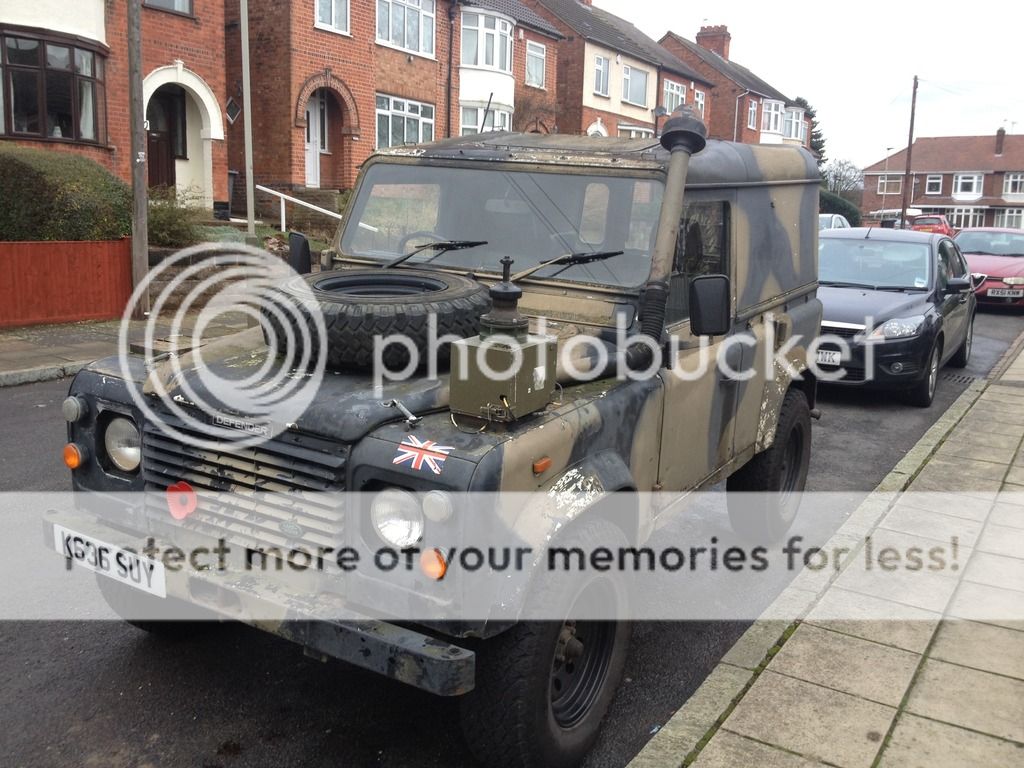
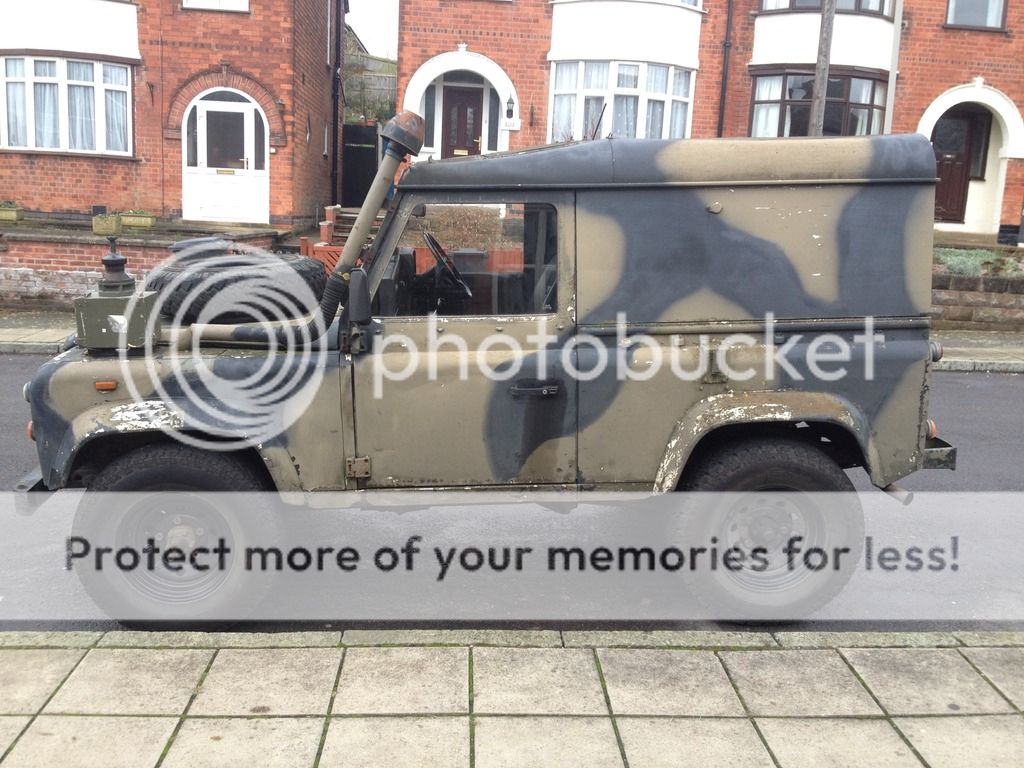
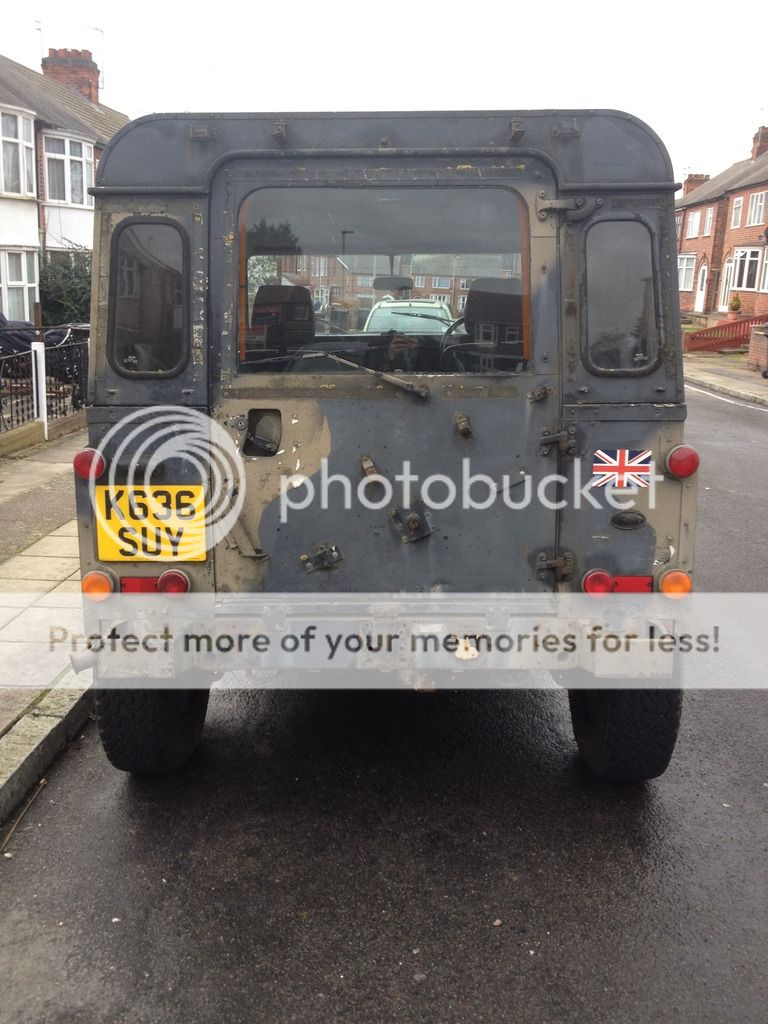
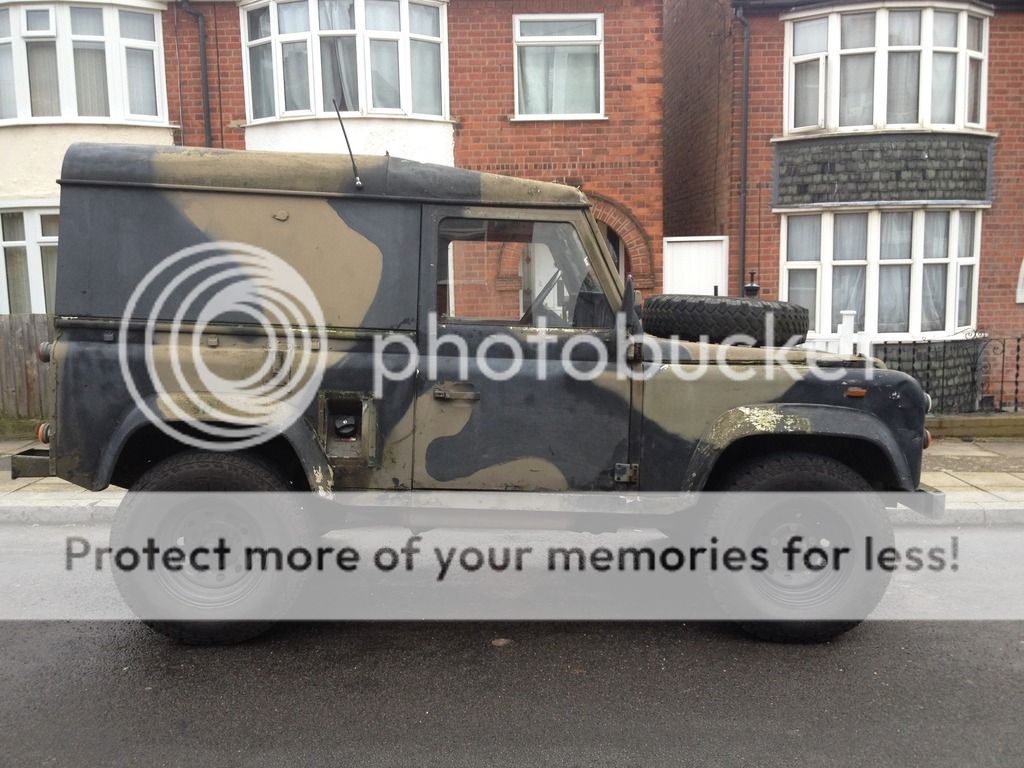
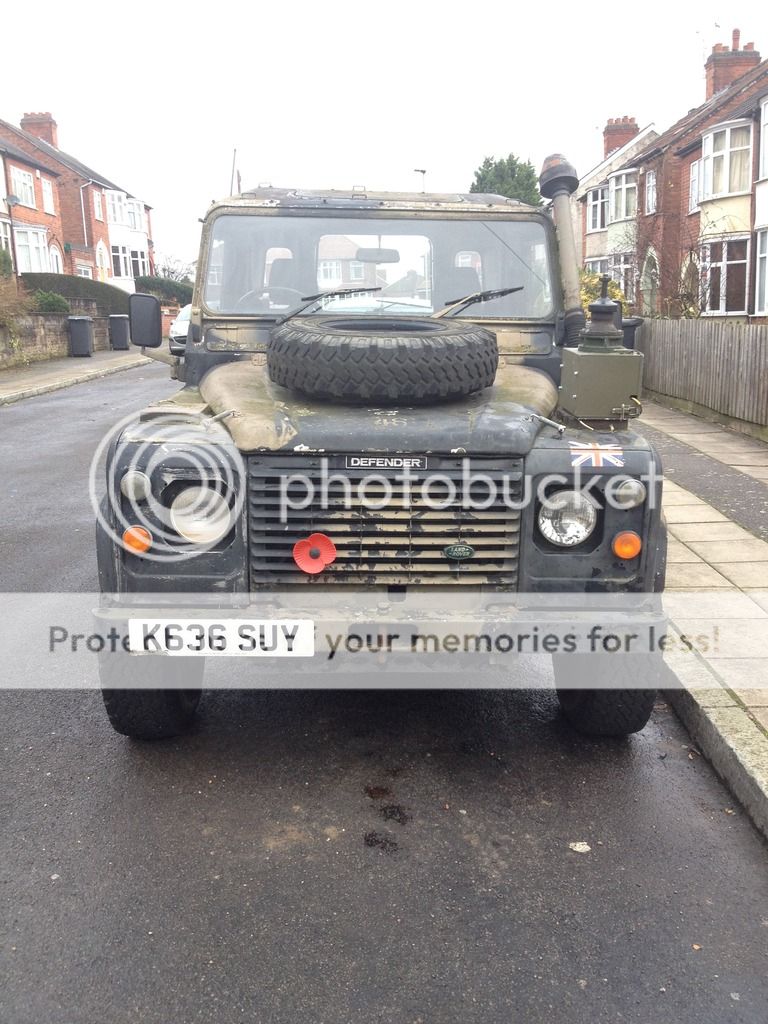
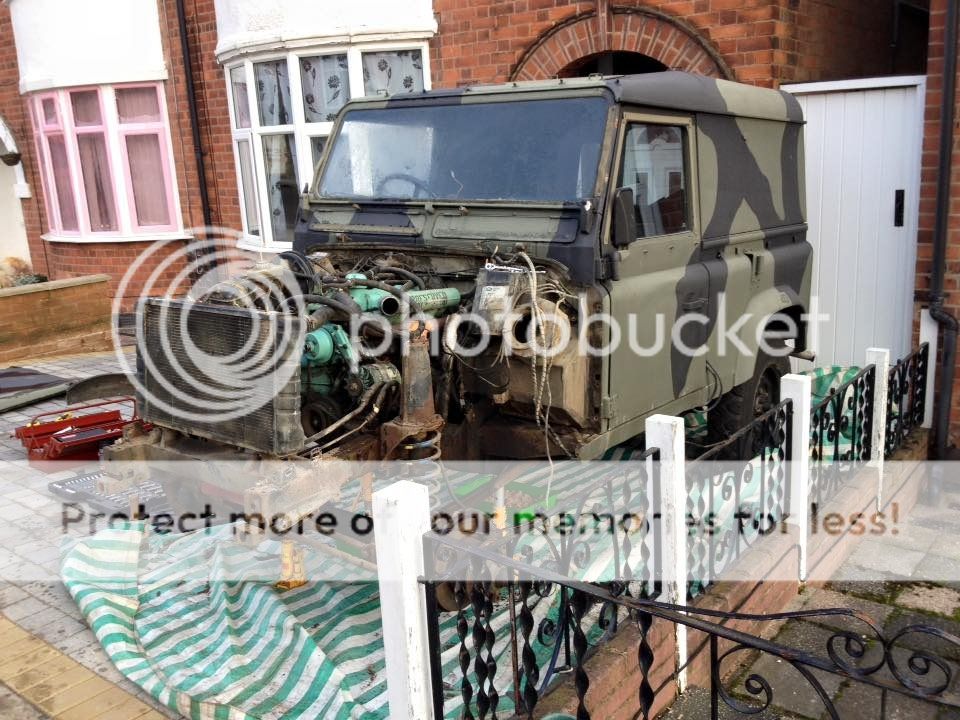
October 2014 I bought a winterised 90 in a very worse for wear condition. here it is on the day I collected it from south London
1907899_10204634141840738_2197568495734750841_n_zpsrkdvvzbc.jpg


A quick walk around
IMG_2088_zpsnmdc2dbu.jpg

IMG_2089_zpsc31aoolx.jpg

IMG_2090_zpsnmtummpk.jpg

IMG_2091_zpshdjyxtpk.jpg

IMG_2092_zpsdakxsnci.jpg


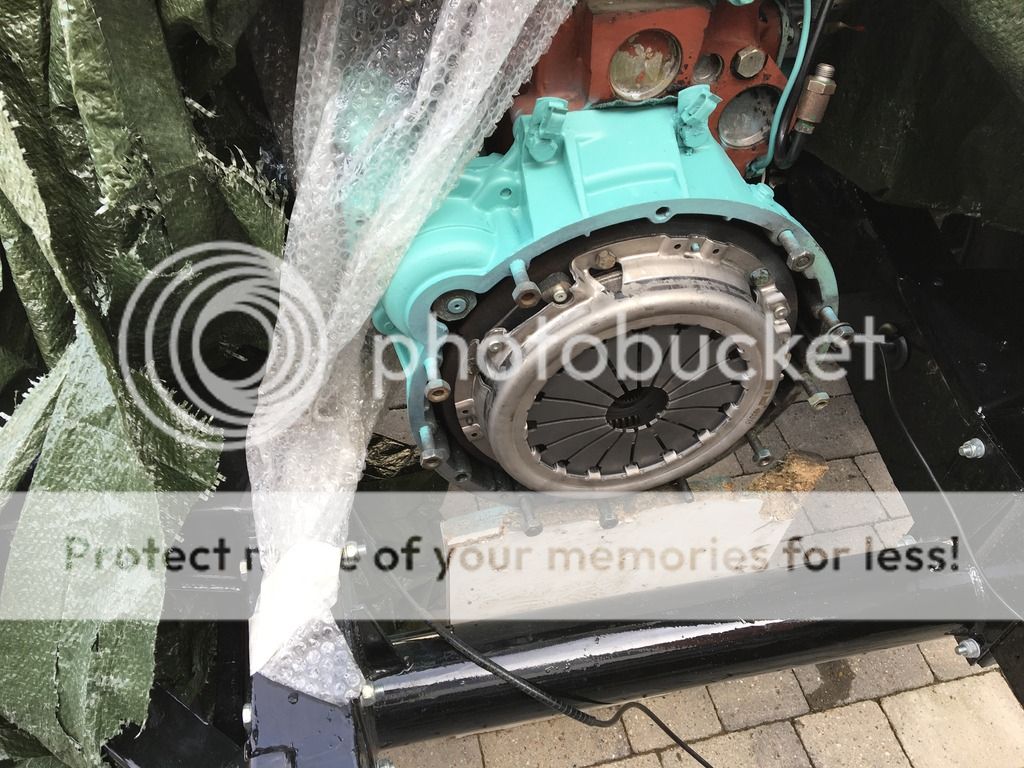
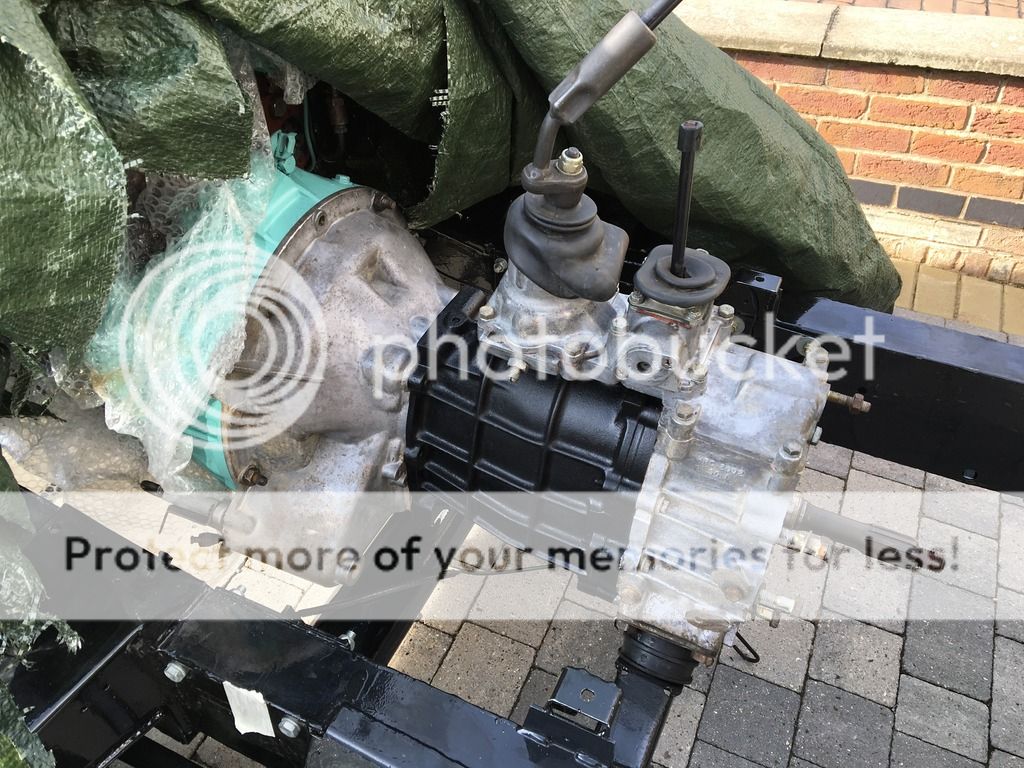
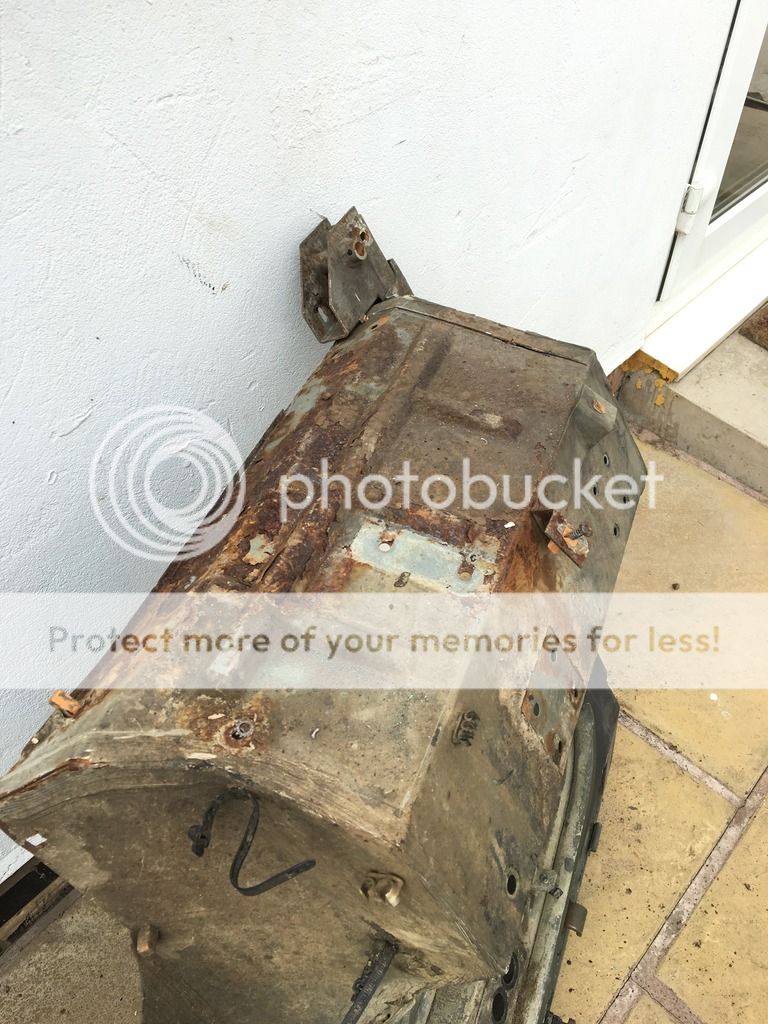
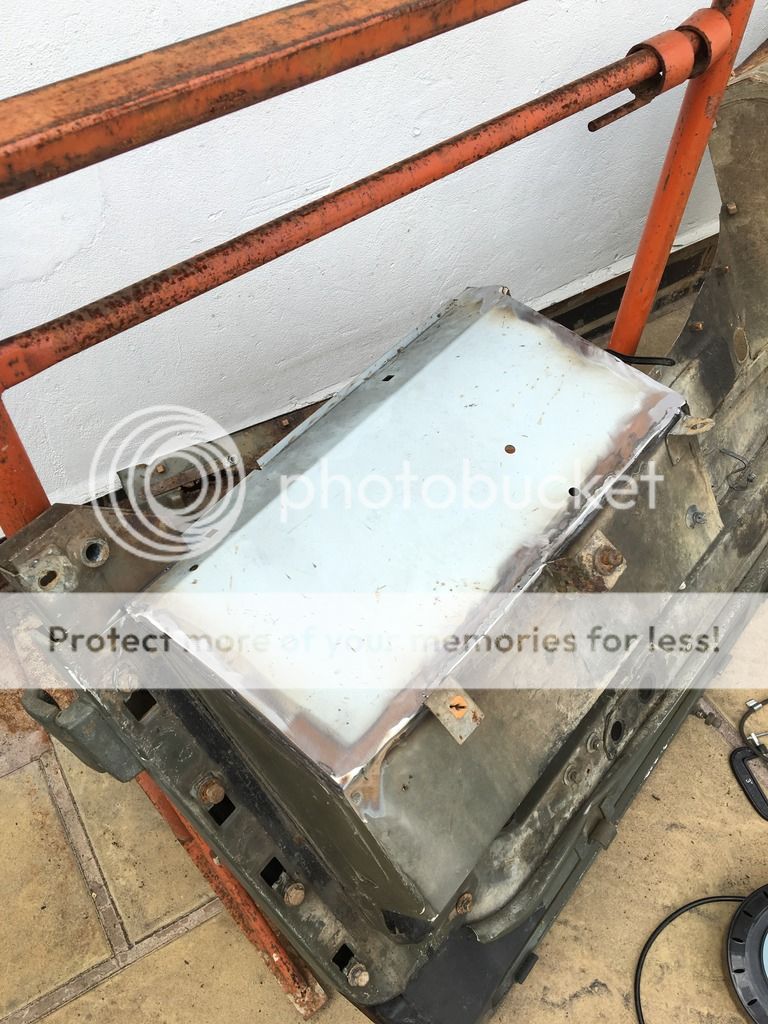
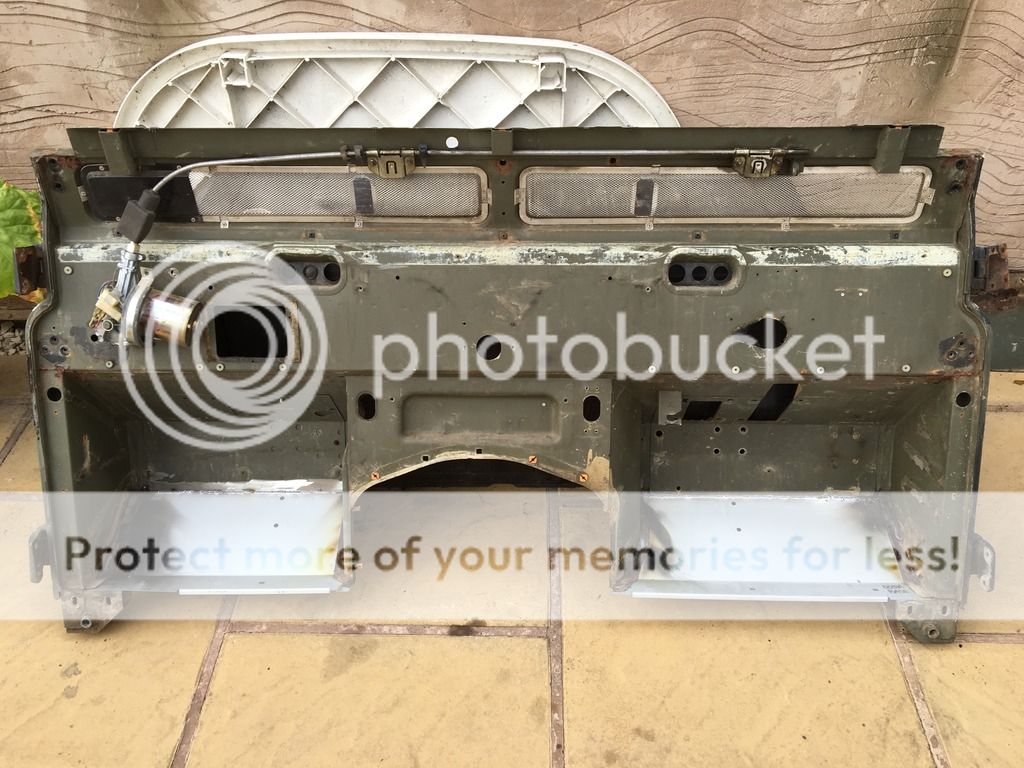
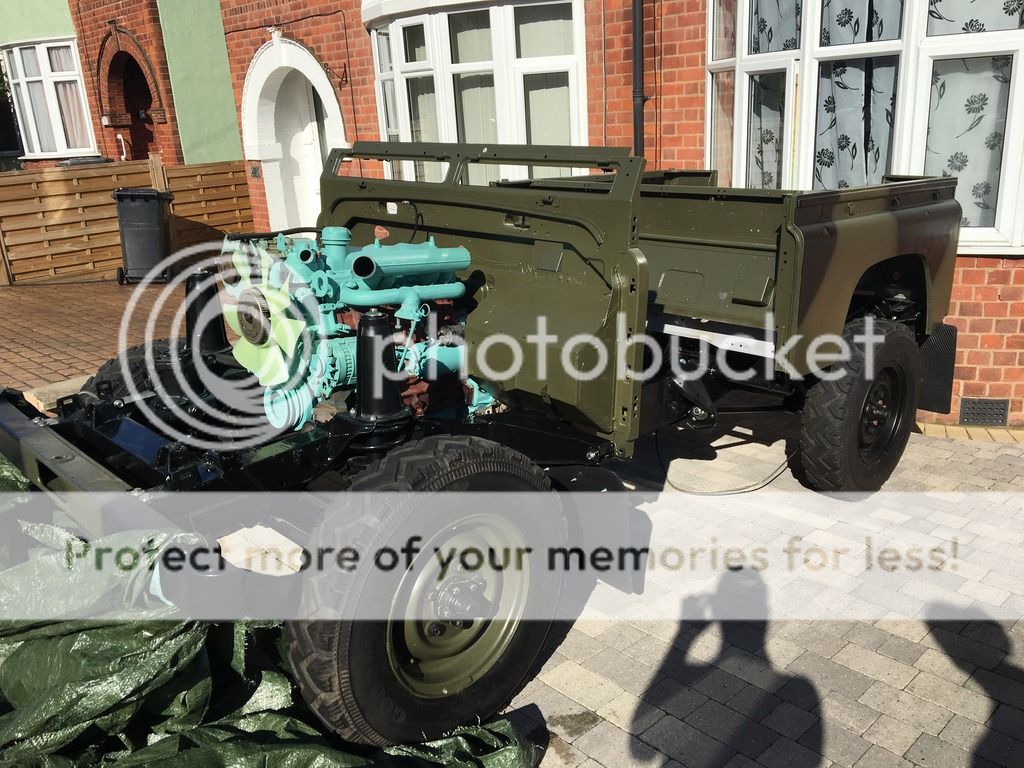
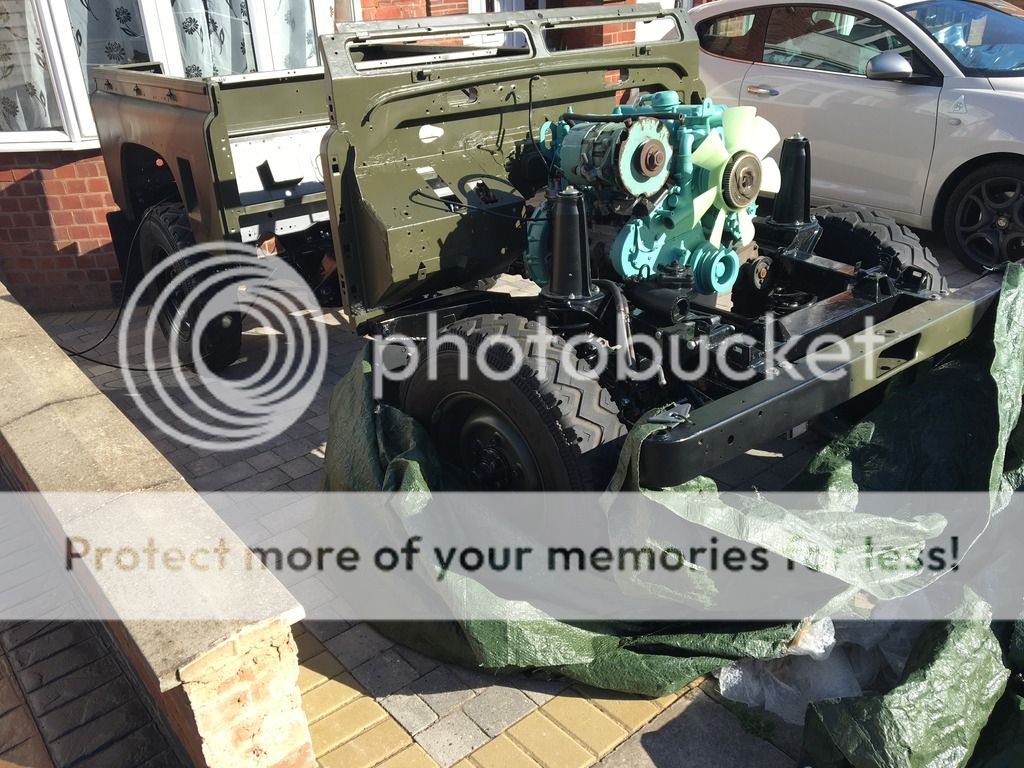
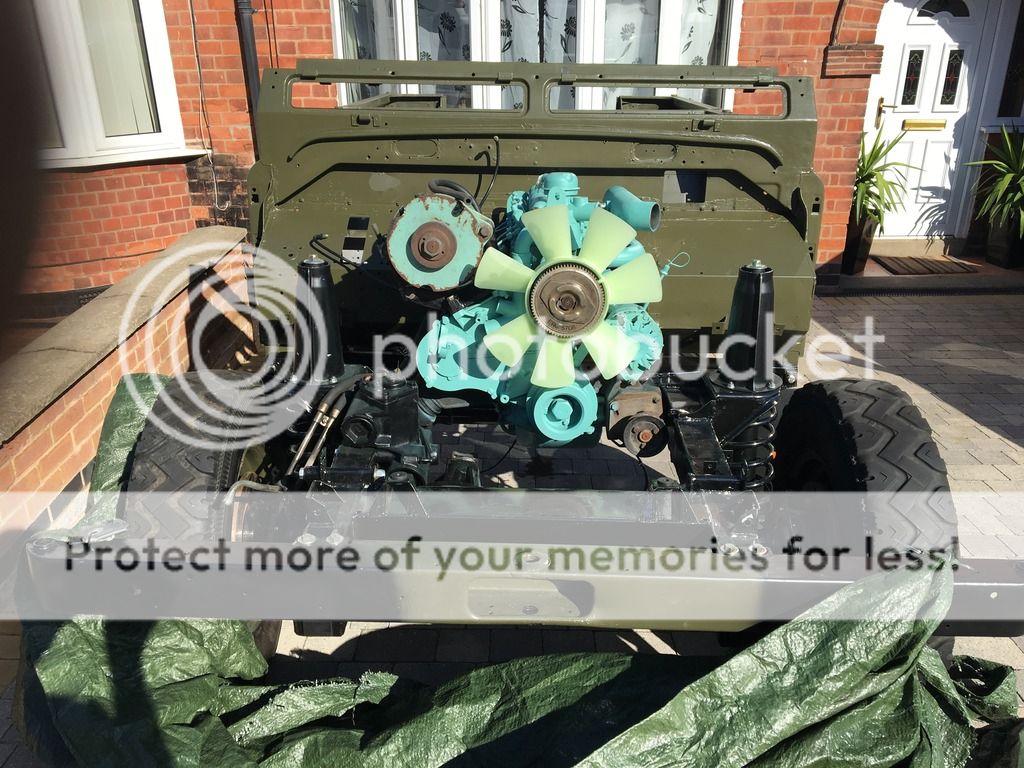
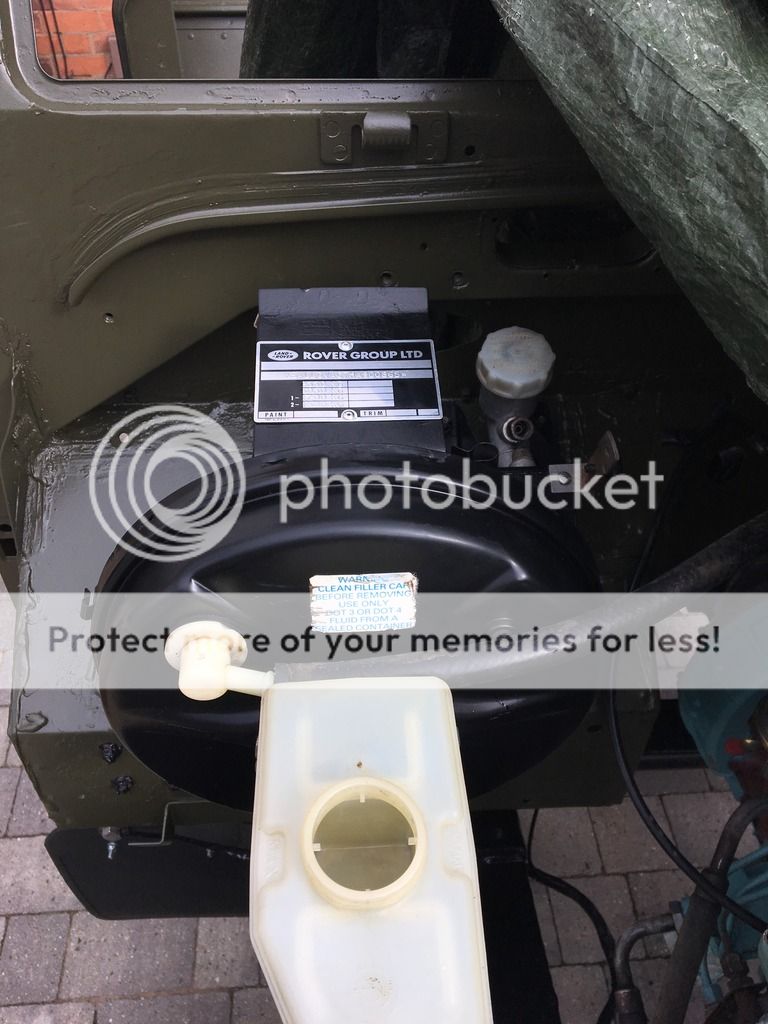
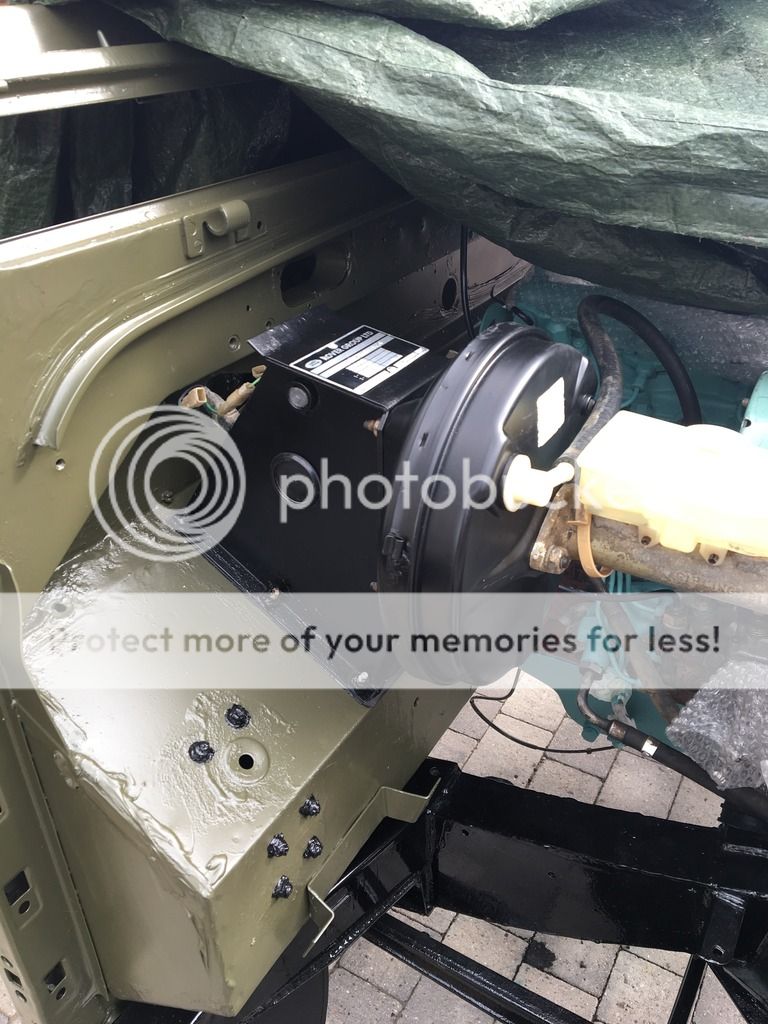
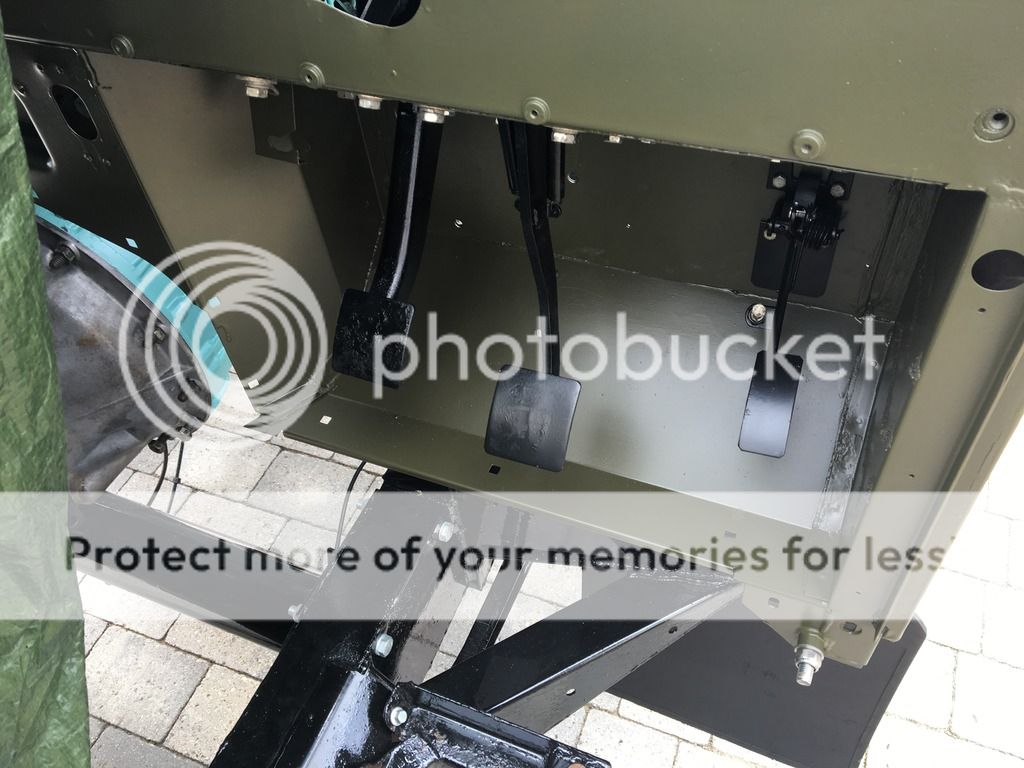
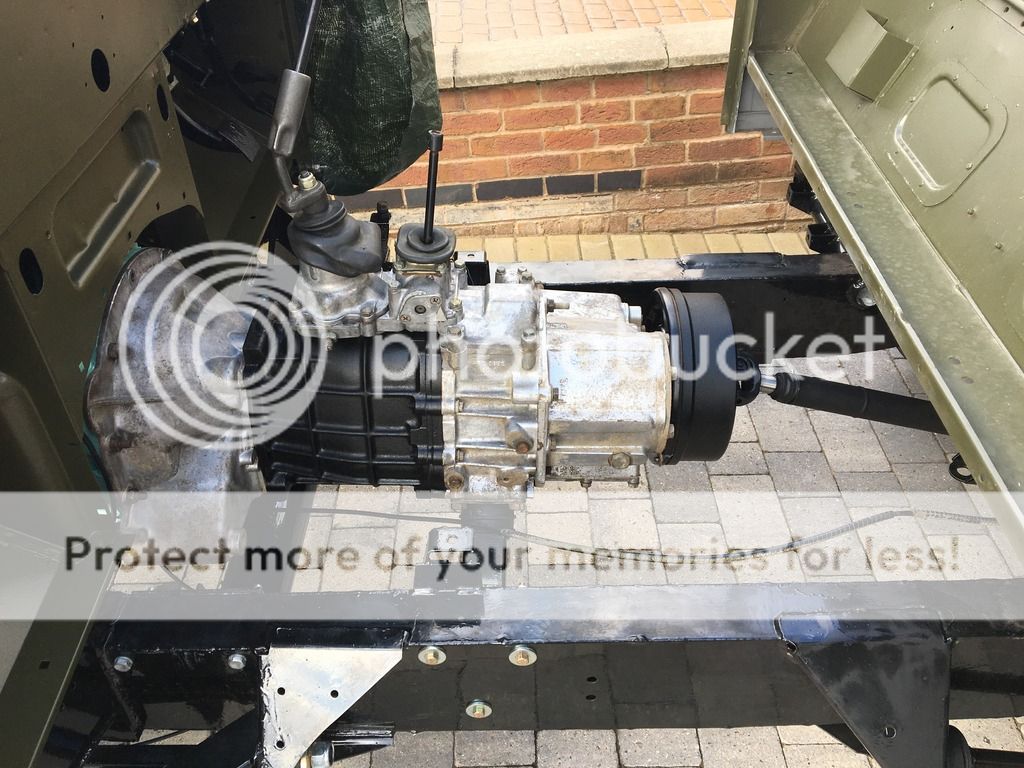
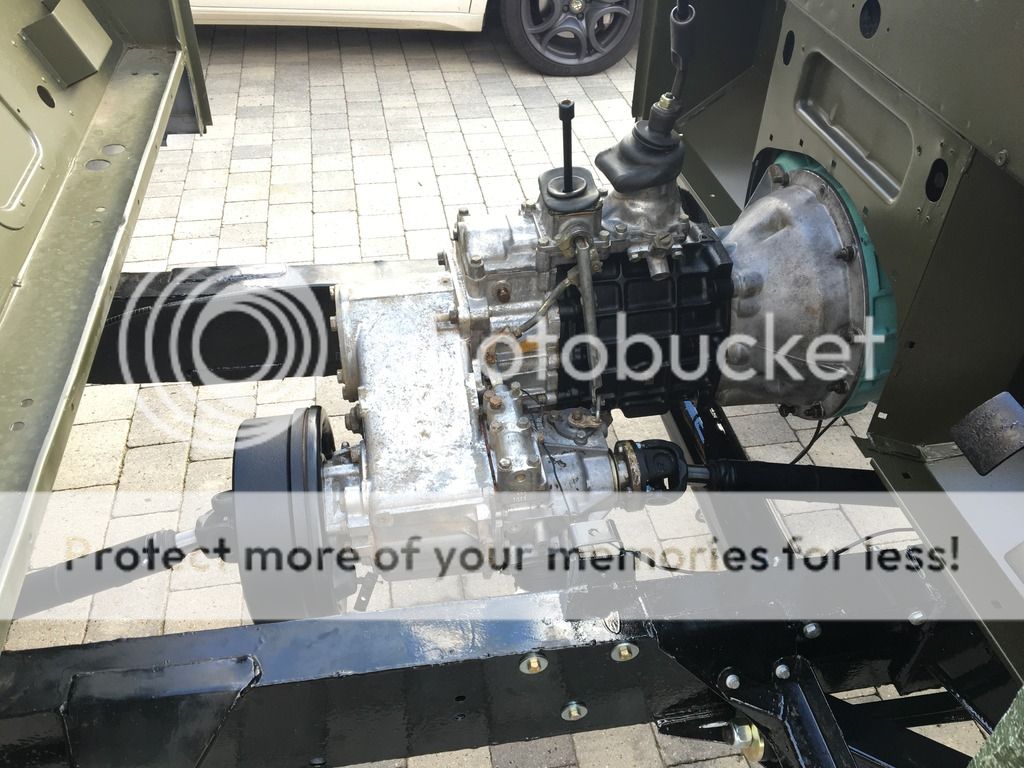
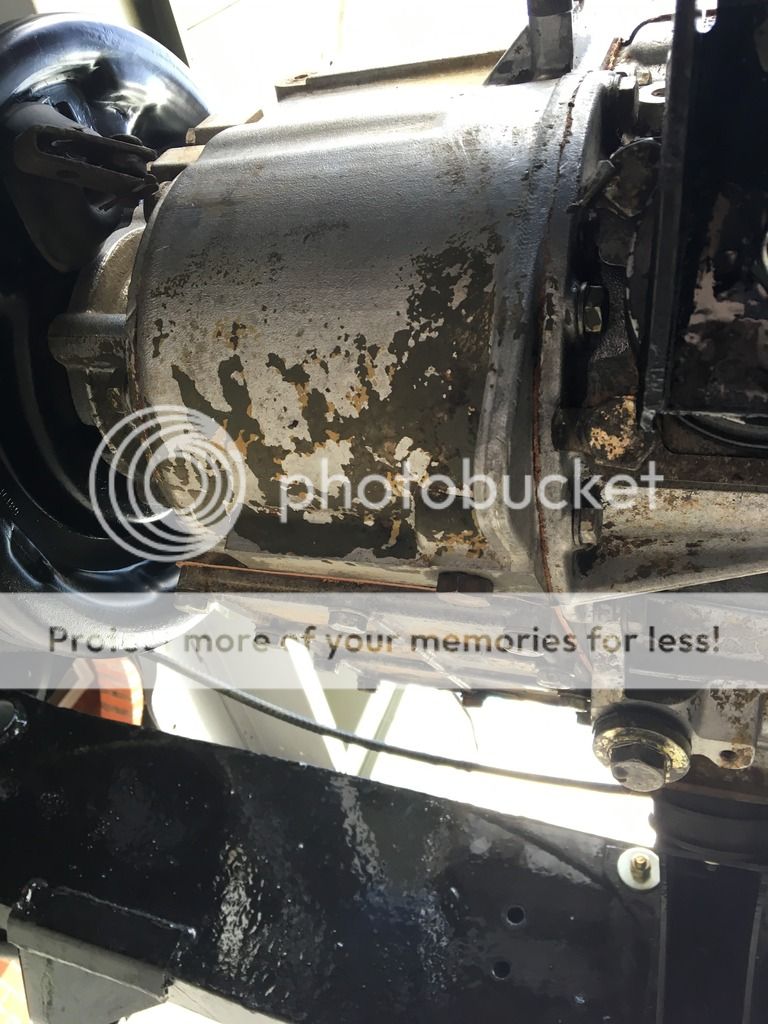
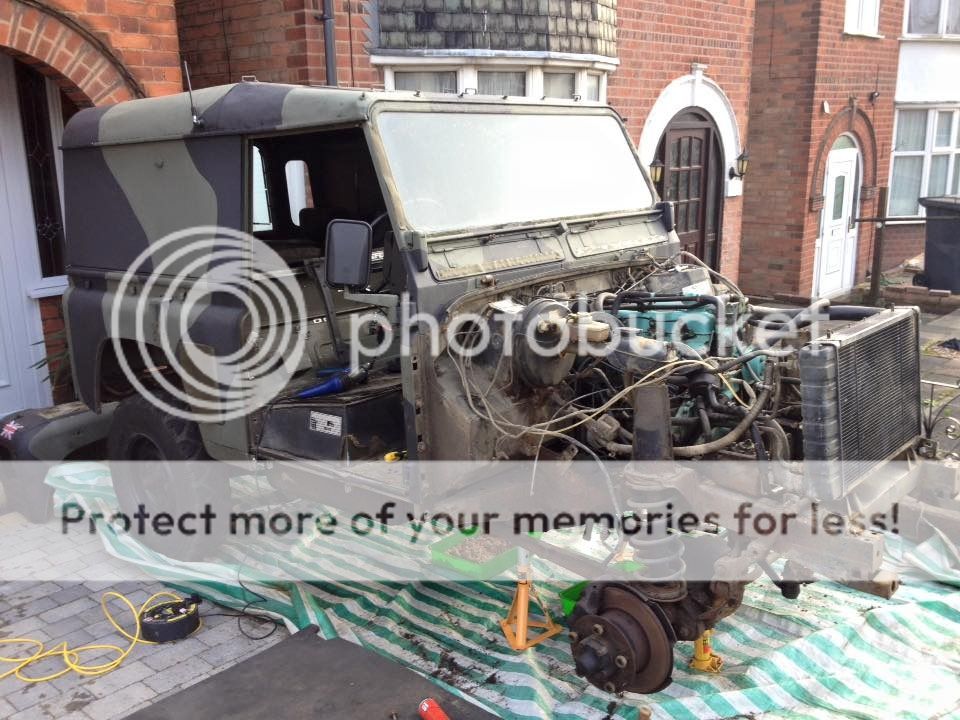
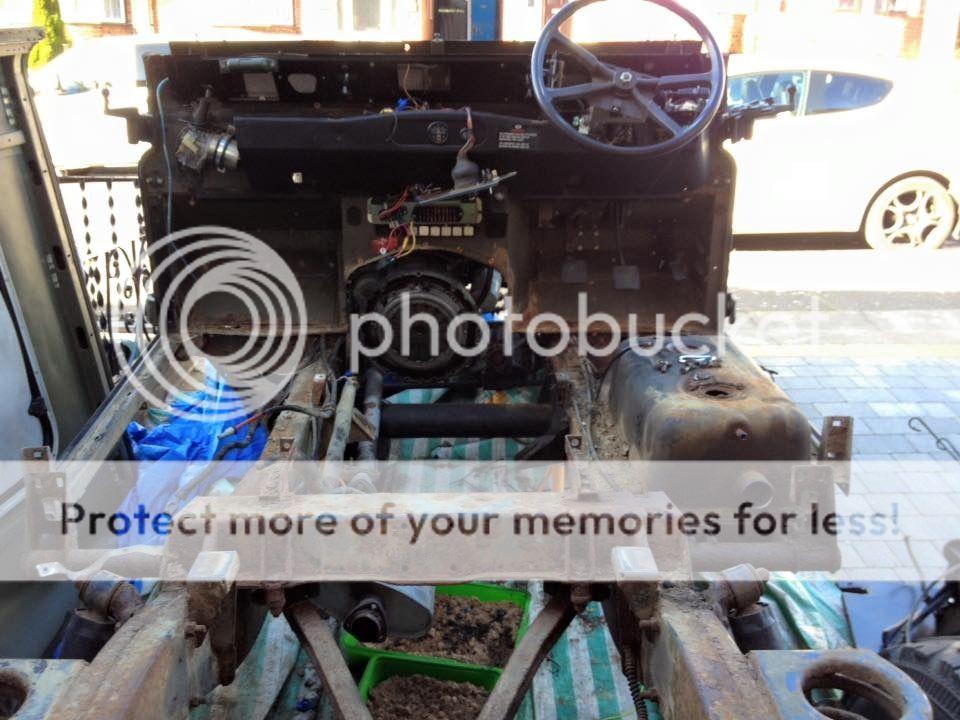
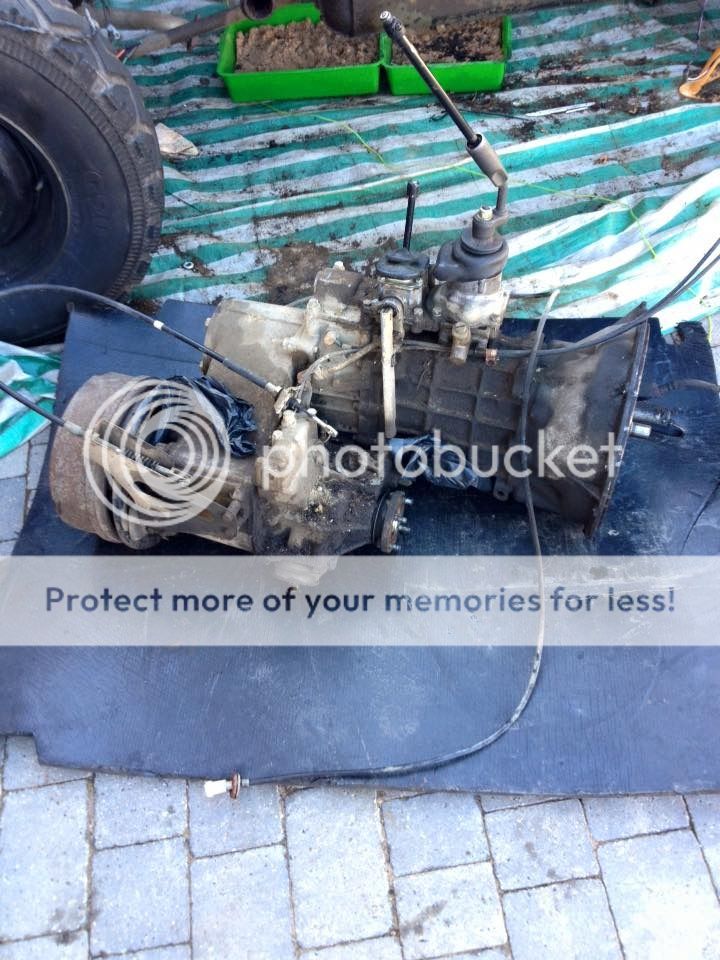
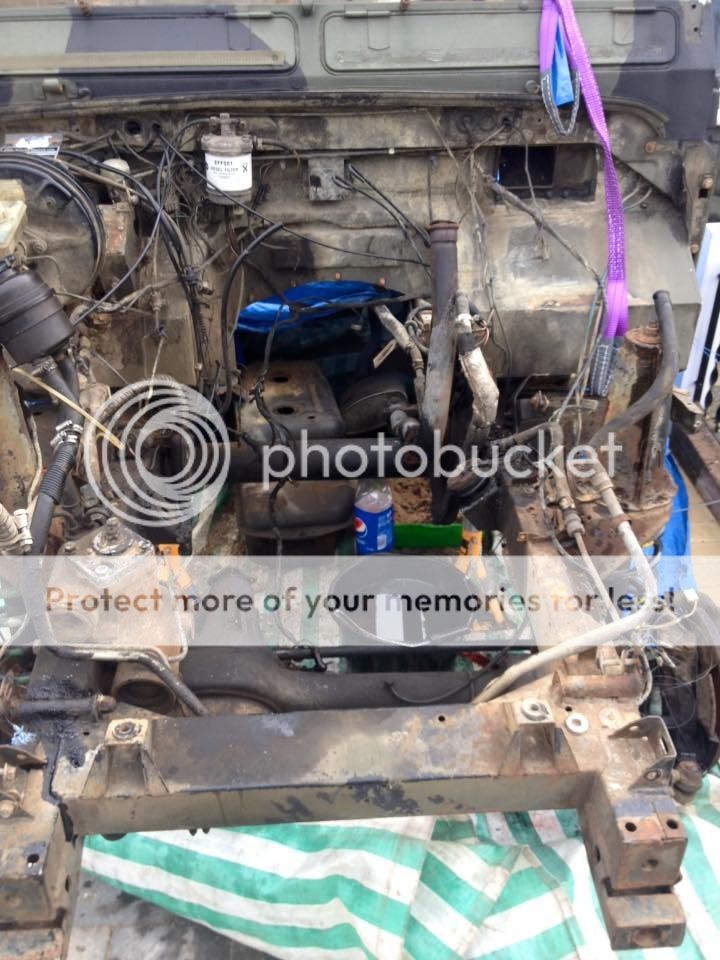
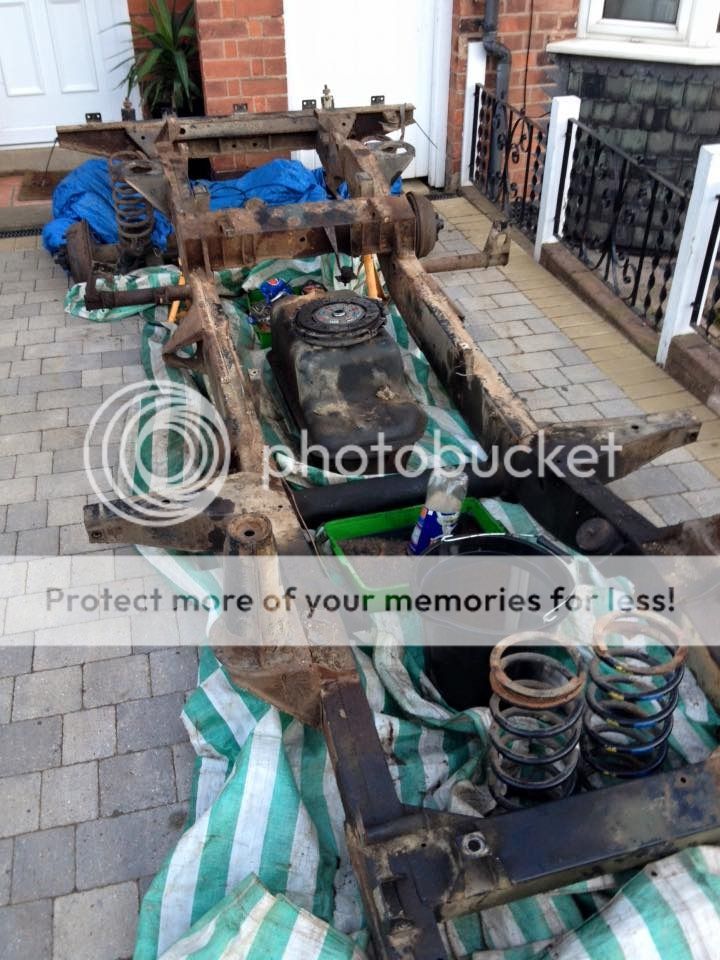
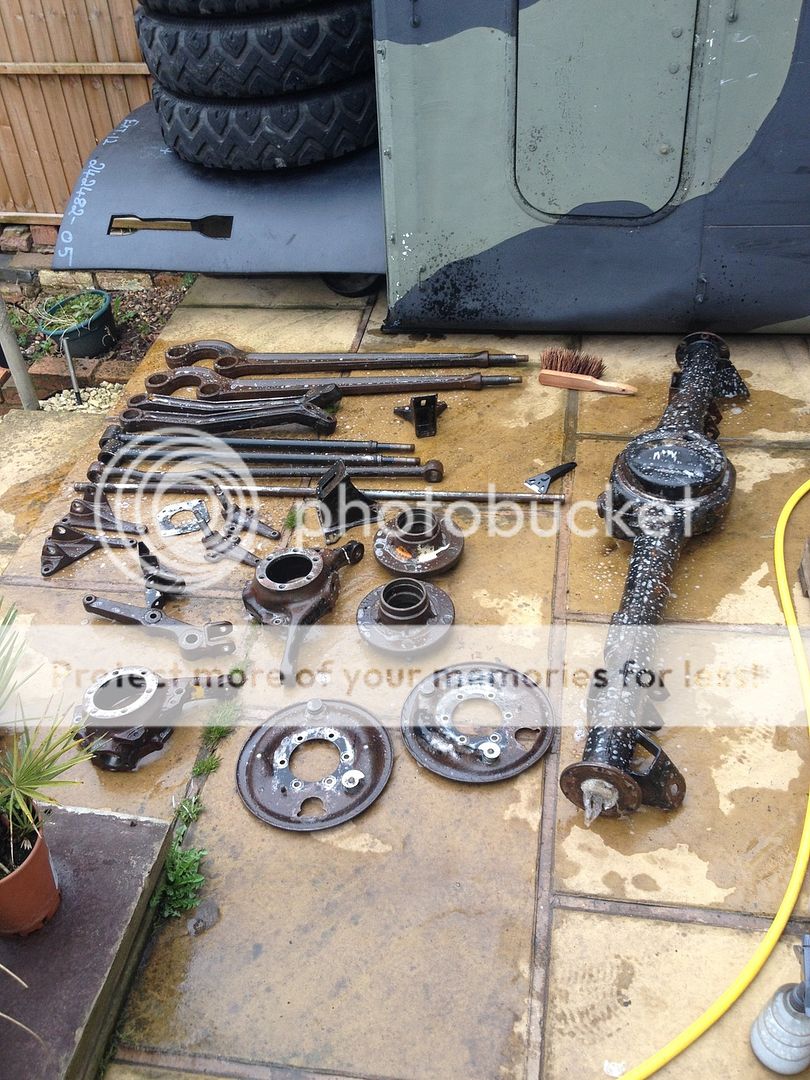
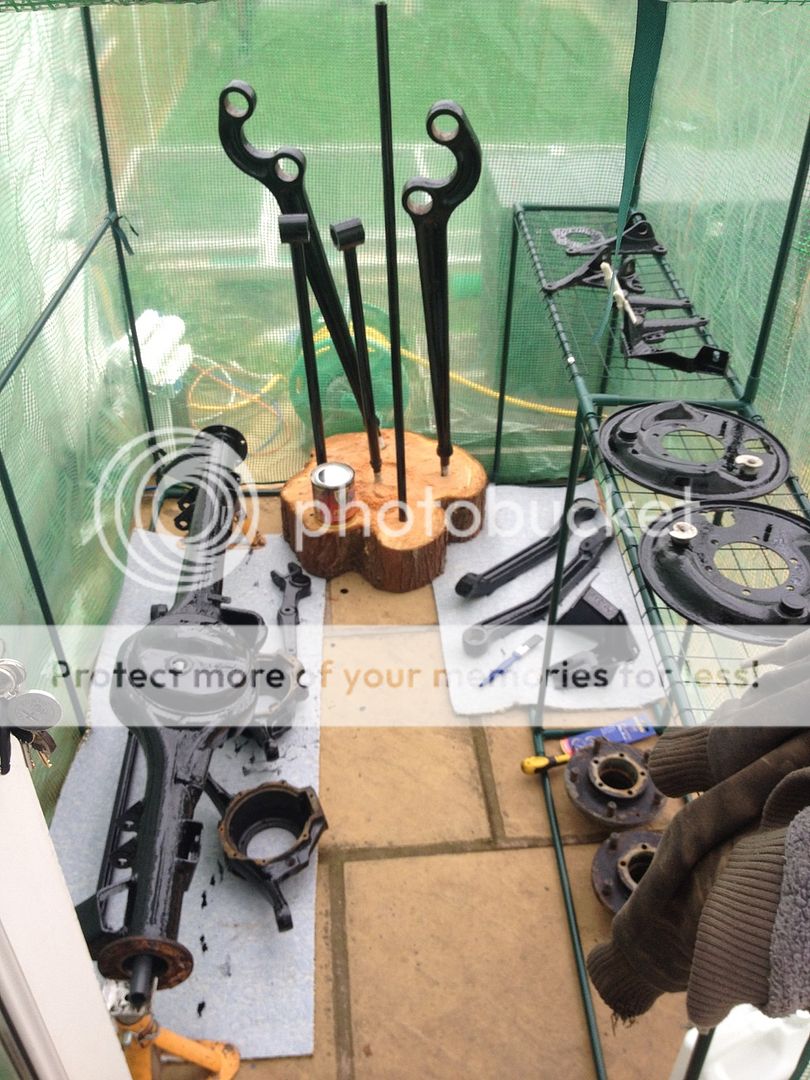
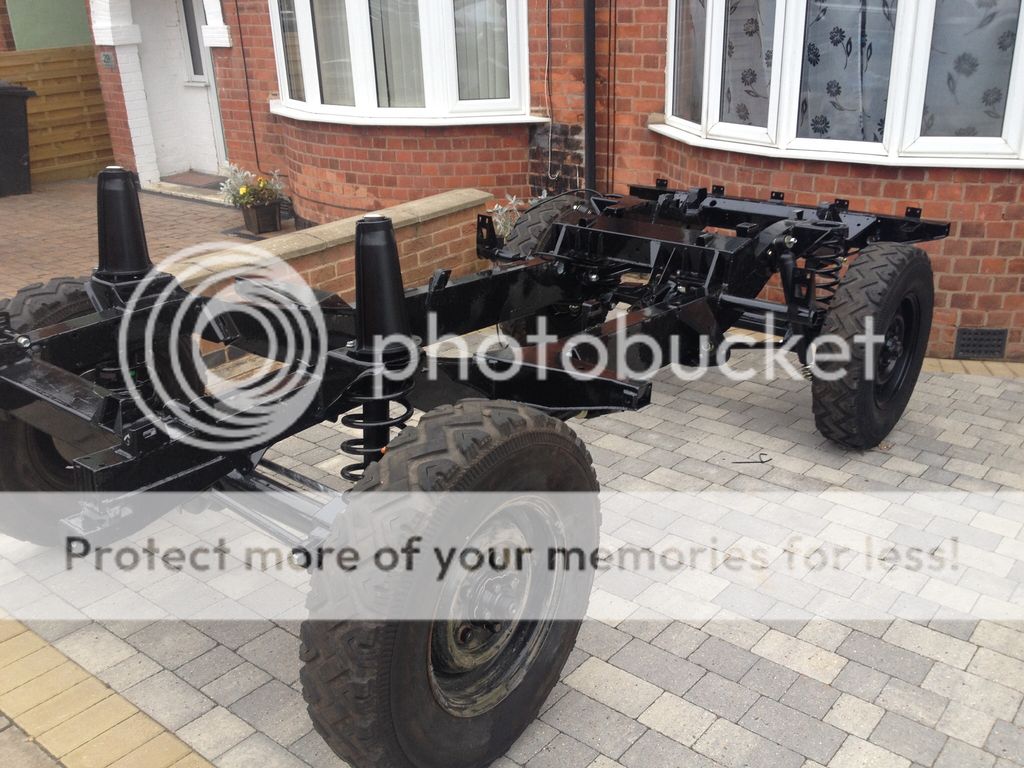
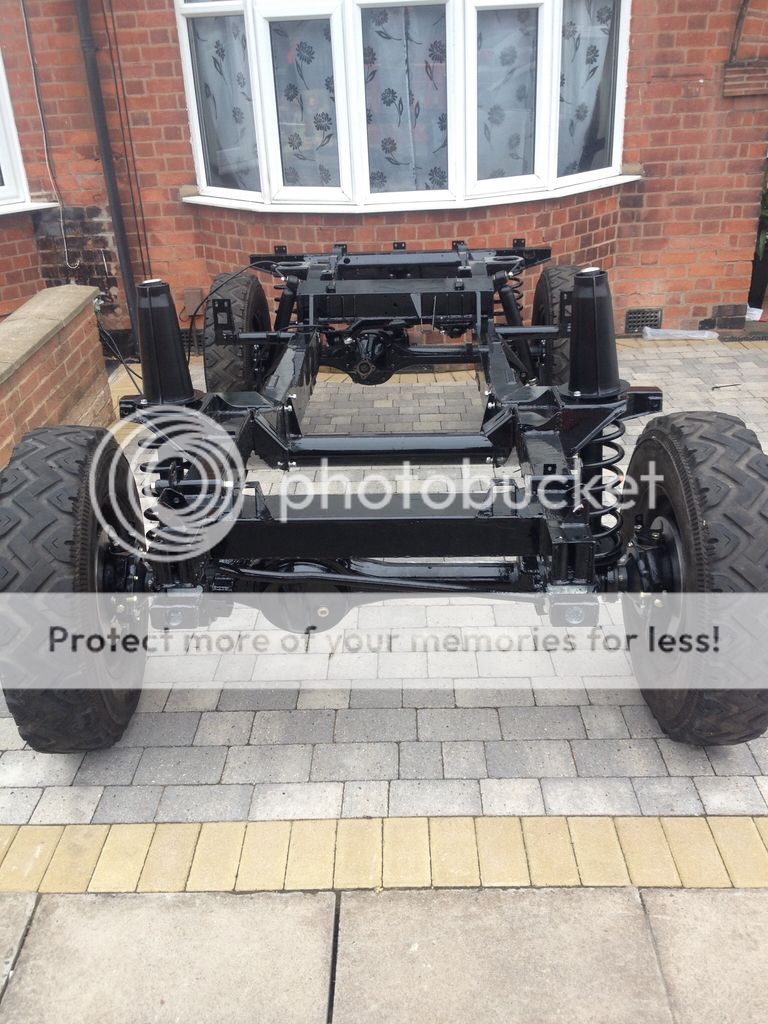
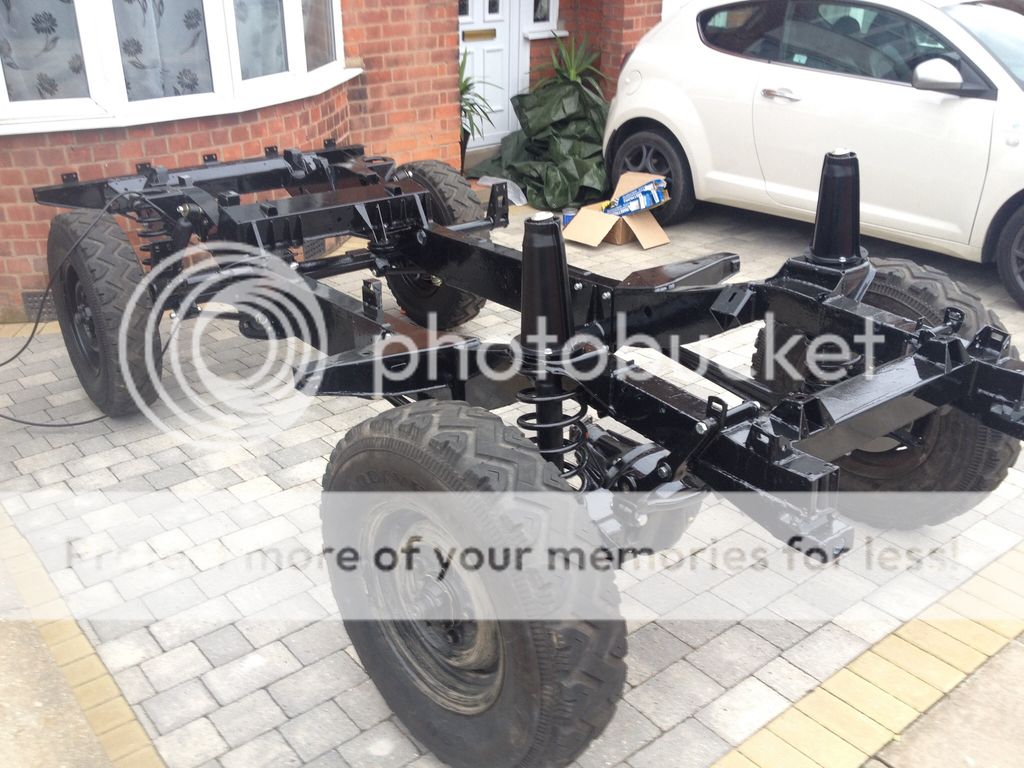
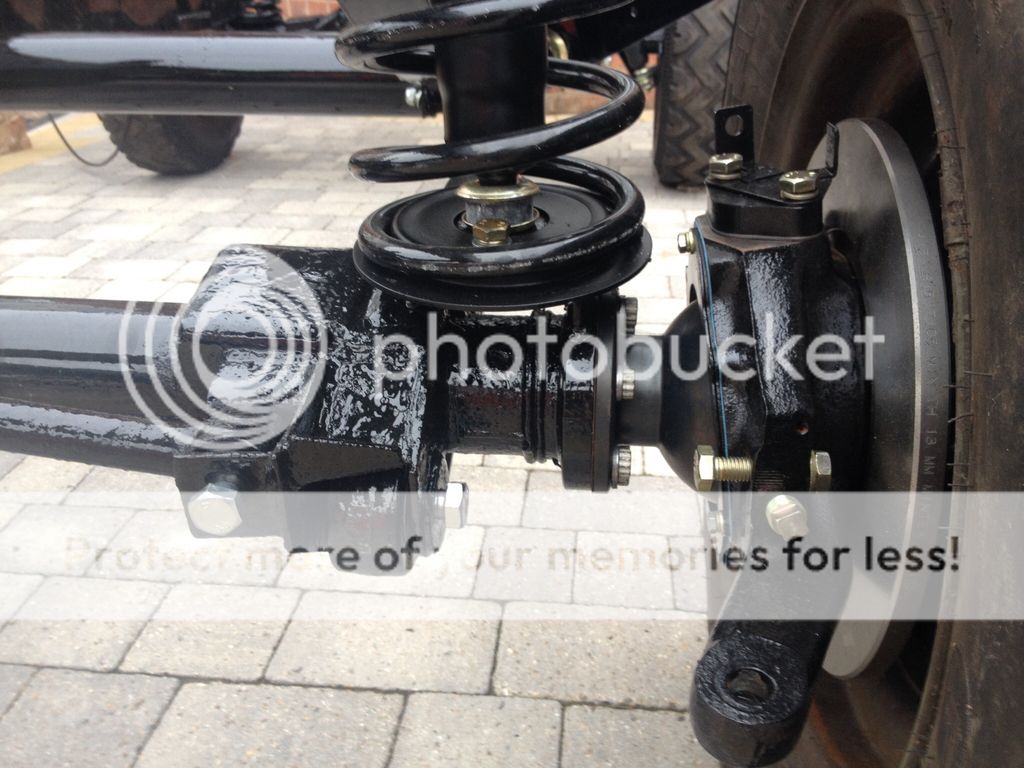
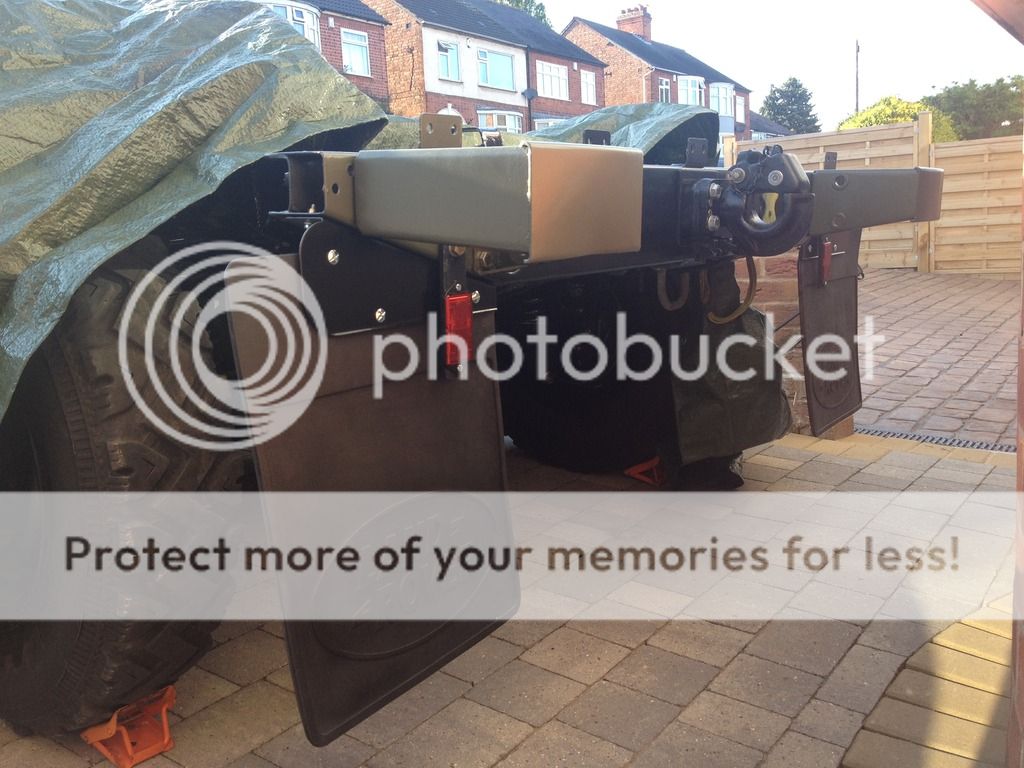
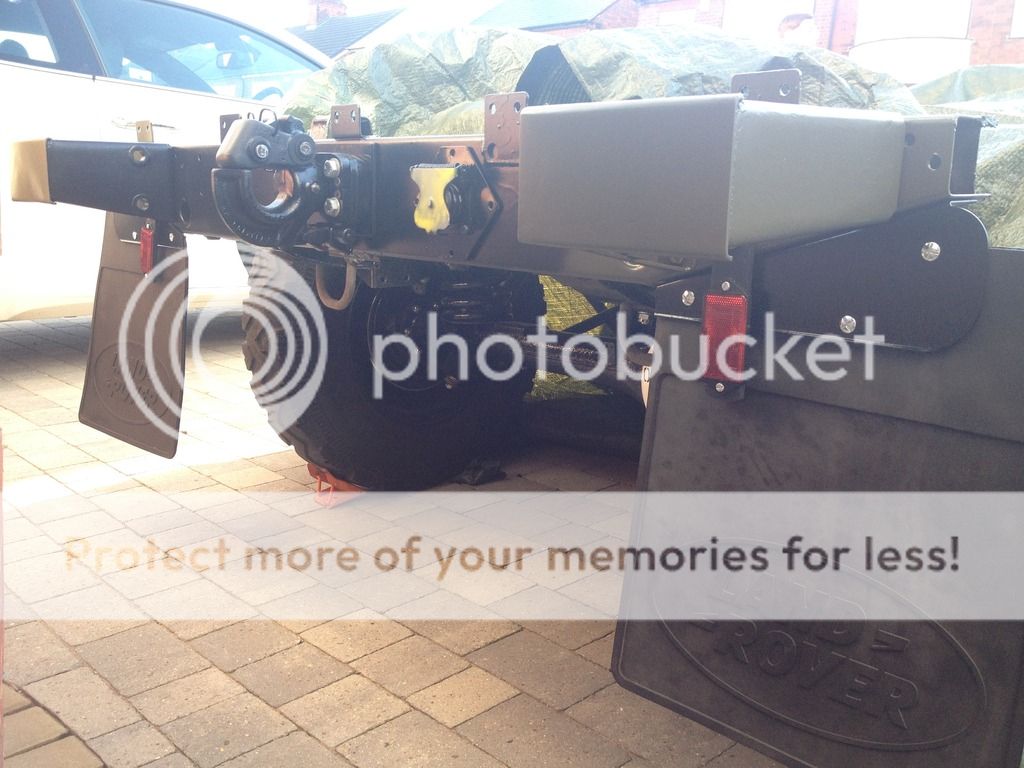
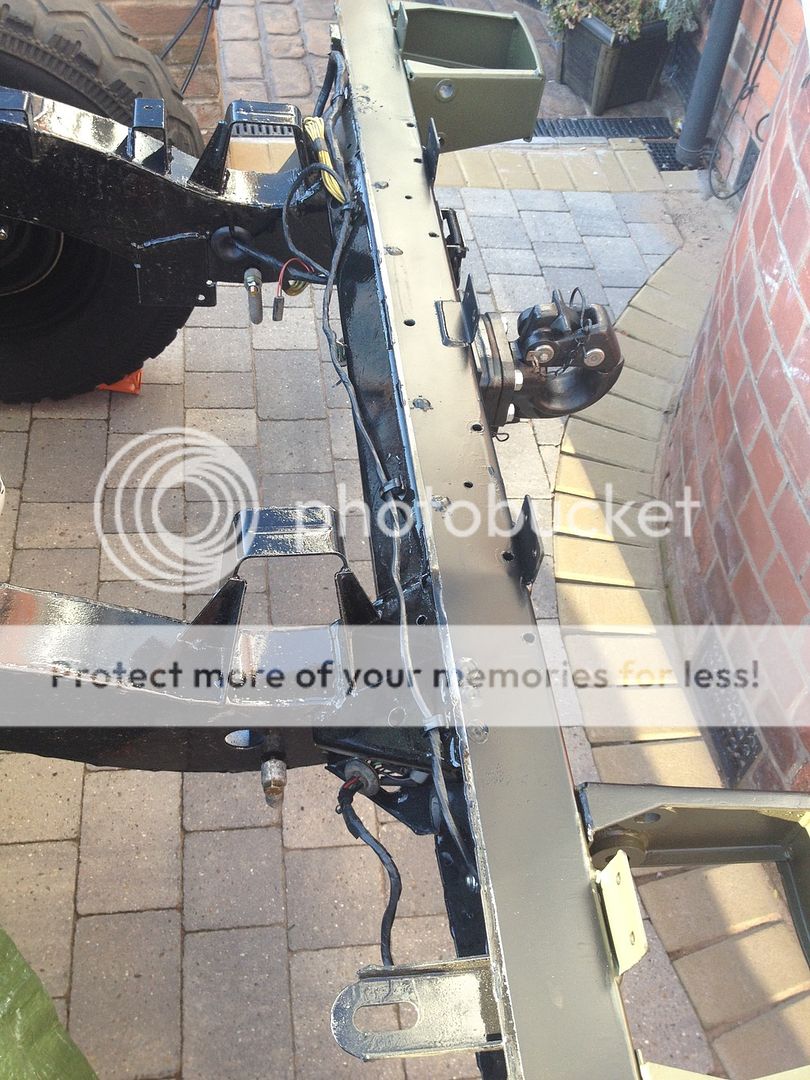
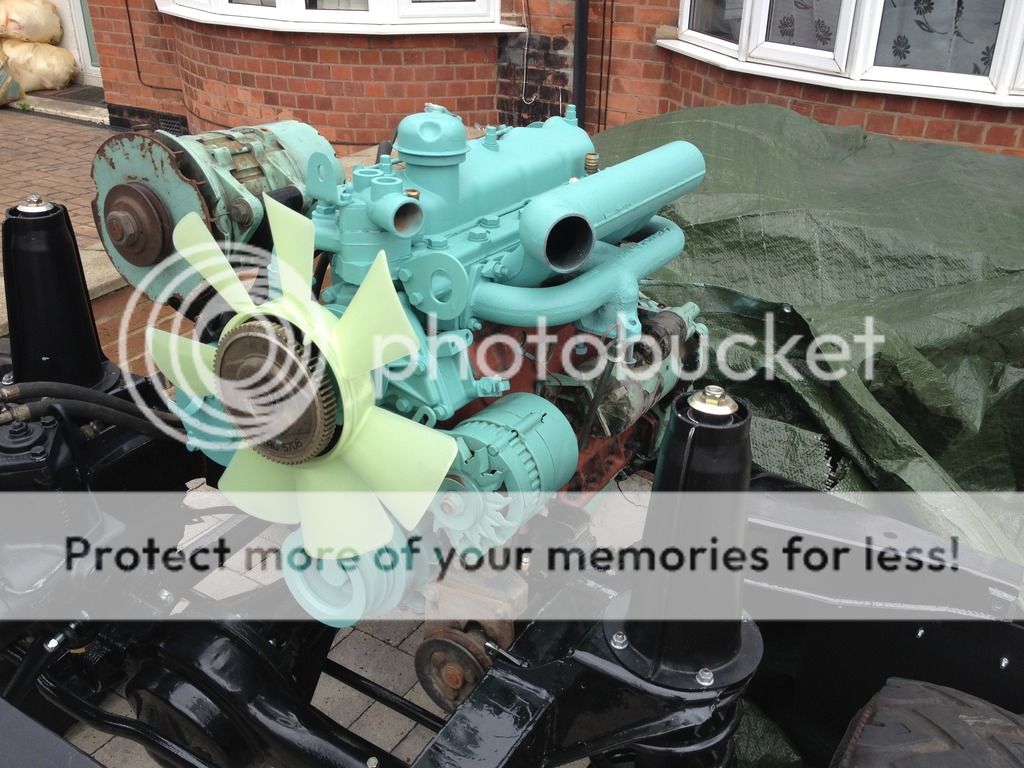
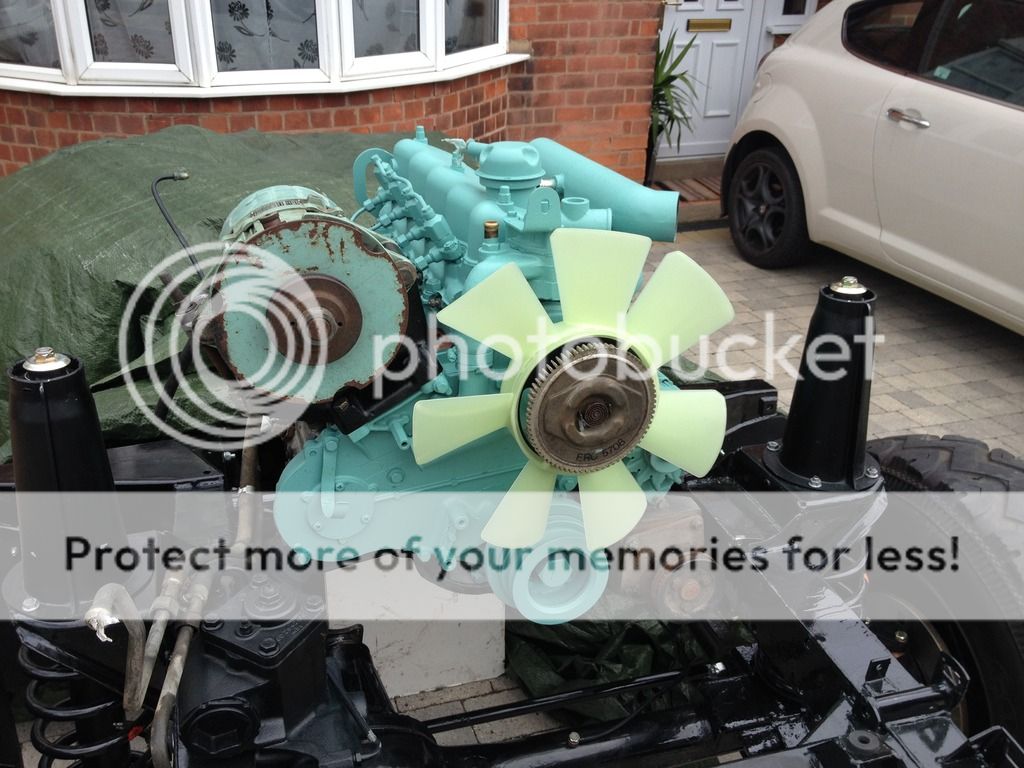
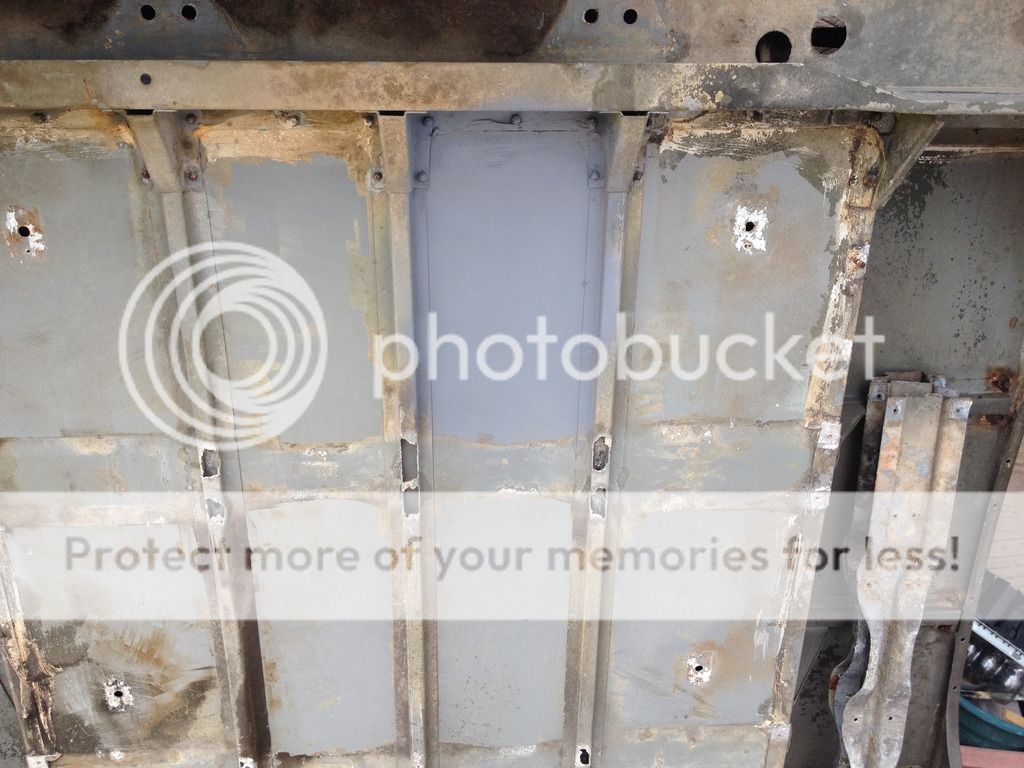
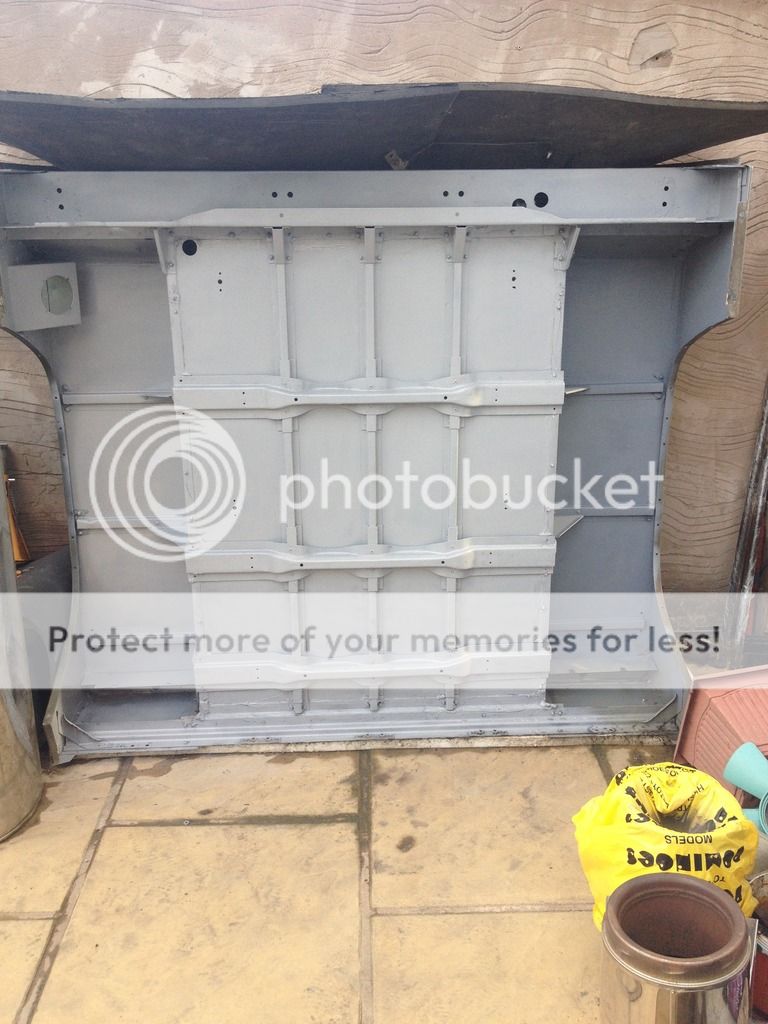
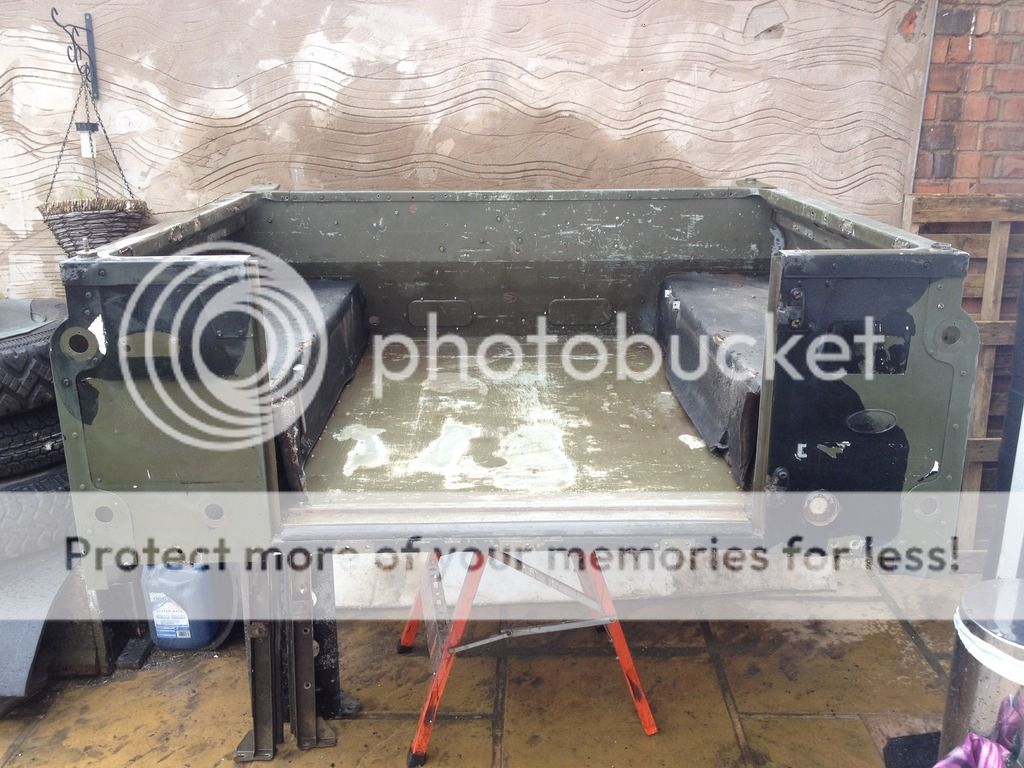
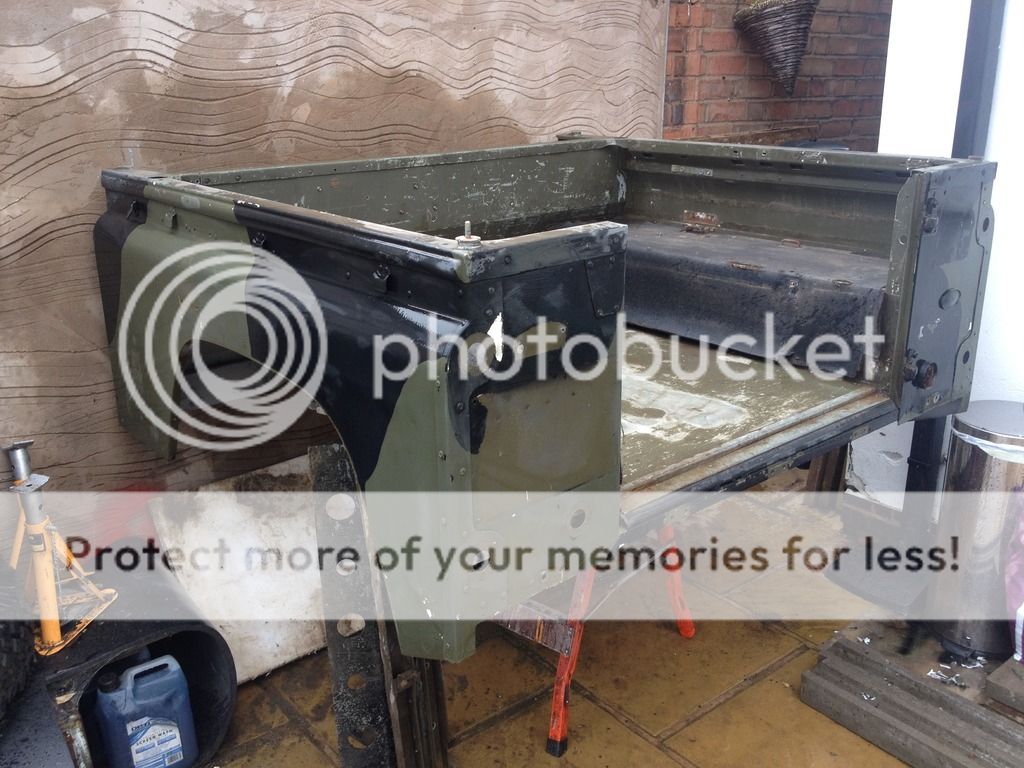
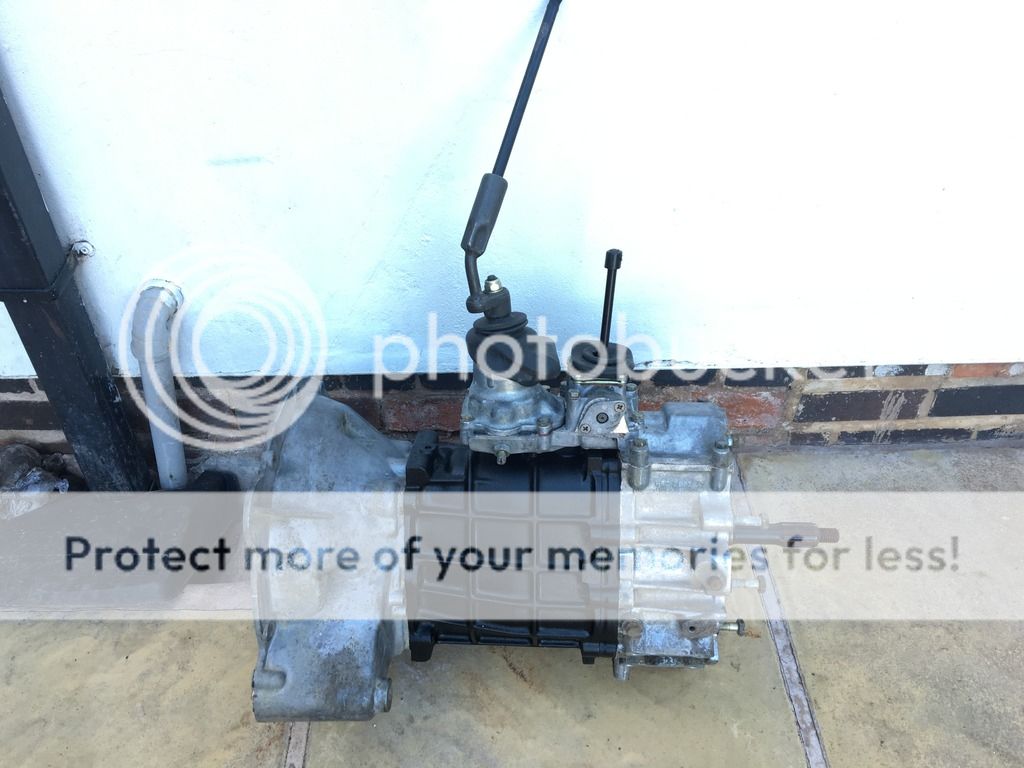
After a year, MOT looming and noticing some spots that need welding. A rather leaky fuel tank, rear axle casing, gearbox transfer box, engine, roof bulkhead seal....everything really. I made the decision to take it off the road and rebuild it on a galvanised chassis, renew everything I can possible. reinstate all the interior, radios and weapon mounts and all the appropriate winterised extras.

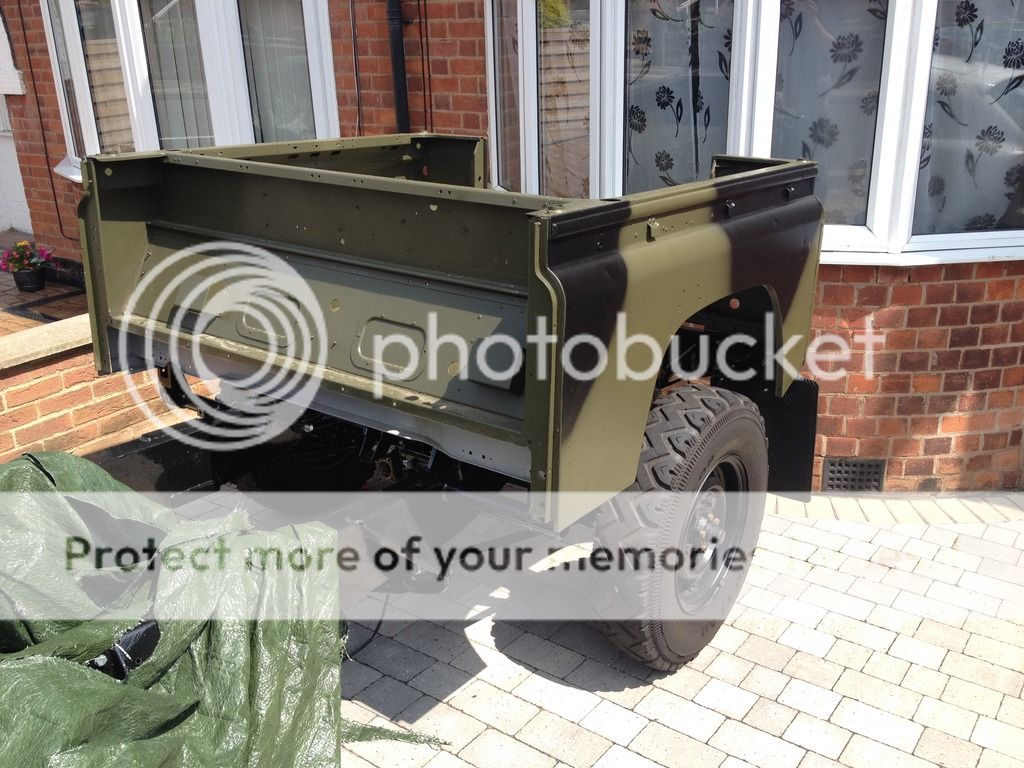
my aim is to return it to its in service state before it was cast in late 90s. it was never updated with the newer seats, wolf wheels or safe weapon mounting.
 
the great strip down begins!
taking off the bonnet and wings
12814803_10208121299937511_6311622391647685447_n_zpsgompa1fq.jpg

then the doors
12798853_10208121298137466_6348766466175241525_n_zpstowg3ccc.jpg

then the roof and the rear tub
12799384_10208121303057589_5850102154962457220_n_zpsdavxcfyi.jpg

the the gearbox fell out
12805916_10208121309937761_995401038160915174_n_zps4zb1rp27.jpg

12809556_10208121307937711_6909947583762429260_n_zpspziaawh0.jpg

followed by the engine
12795272_10208121295577402_1163305209693507732_n_zpsq5got5qy.jpg

I then took the bulkhead off then axles, and the last few brackets etc.
12832449_10208121297337446_7573029406150989619_n_zpsvbwn5jns.jpg


im now left with a rather large pile or 'scrap' and a lot of land rover parts spread across the home, garden, and shed. On the plus side my new galvanised chassis has arrived courtesy of Richards chassis and its now weathering so it will take paint in the mean time I have the axles to rebuild, radius arms, and various brackets while I wait. pics to follow
 
cleaning parts ready for paint. There's still a quite a few bits I need to wire brush but I thought I'd get these painted and out the way
7A5DF288-D186-40E9-80CD-6A0724605645_zpspk4tillt.jpg

With the weather being the way it is at the moment decided to get myself a cheap 6x4 greenhouse to put on the patio and it works great here's a pic of my work shop
662533A8-FB9F-49F7-AF3F-19FD30359DBC_zpsy0te2p9s.jpg
 
Ok so massive update
In the great weather last weekend I managed to finish off the axles and managed to get them unit the chassis with a little bit of help. I think the photos speak for themselves

d9f08887b1936d0cd3bada79133765d6_zpsxgnhonik.jpg


dbbb5bf6e1d42b67de09932f0bfc1da3_zpsrotb8sbr.jpg


15bf0117b50e93254cadcf4c28e228a2_zps8ppuzyb4.jpg


a94e616f6d927834d217c4d8c0bb44a7_zpsvgm53wlc.jpg


687134c85a18b7951715d0525c218582_zpsapncgvt8.jpg


Please forgive the state of the front wheels my paint delivery was late and missed the good weather

More coming soon!
 
Made some progress in between the god awful weather, I've been renewing engine parts degreasing and renewing the paint
9A35D168-AB97-4859-A7B2-1692806D4DFC_zpsmtdpicp9.jpg


D50FF1C8-665E-4103-B7A9-E568EB648062_zps8enm4k41.jpg
 
The rear tubs been getting in the way lately so I thought I'd progress with it enough to rest it on the chassis and get it out the way
BF587E27-4831-459A-B559-76BD5EFDF718_zpsmb75oi3v.jpg

The tub stiffners had quite a bit of bimetallic corrosion. I purchased some repair sections from YRM and I fixed these in place over the rot, put the members back across and primered it all. I couldn't find a match on original under colour so I've base coated it all and il have to find the original colour later
DAEDD634-4154-47A9-B26A-61CCD6F2CA0A_zpsk6l7irej.jpg
 
I finally got round to sanding the rear tub getting a quick coat of paint of the top and got the tub temporarily rested on the chassis, i've not gone over the top with the sanding still some brush/chipping marks though subtle still show its history
433AB332-E839-4E7E-BC06-ADA451448264_zpshincmdbn.jpg

4134203F-DCE8-4121-A176-A49E146C9D2F_zpsaciolsbr.jpg

FC260E84-69E1-422F-BF6D-9F5A3AF840B6_zpsbytexnvh.jpg

Gearbox, transfer box, prop shafts and then bulkhead all coming up very shortly
 
Spent the day cleaning painting and servicing the gearbox. Quite annoyingly the mail man tried to deliver my clutch kit but I was out so il have to wait until Monday now before I can get it mounted
E29ED9CB-69BD-4277-BA6E-DCF2FC74FD2B_zps8rpcyh7o.jpg
 
I had the day off today and decided today would be a good day to make some progress.
I cleaned the last parts of the gearbox and fitting the clutch
2EB2CA36-17CC-4180-8AAC-EFF4476B5249_zpsodyew9co.jpg

Next I got the engine crane out and mounted the gearbox and tightened it all up
1B1639DB-4399-466C-8827-0915C14C9B27_zpsgazrlxy9.jpg

Next I went onto the bulkhead, the footwells were showing signs of light corrosion I could have just patched it but I thought better and replaced the whole panels. Unfortunately I could not find any the same with stiffener ribs so I just had to get plain flat repair panels and weld these in place. I still need to get so sheet steel to ad the flat plate stiffer we that goes inside the footwell
49F3520D-E23E-40D3-B557-952BB86AED67_zpstfbzp4ju.jpg

ADDE0D56-E798-46AF-B7B1-AB4F8ED12A88_zpsajkh7nhs.jpg

18DC7BC7-F54D-40ED-A182-D48C1CF60313_zps40idfm1o.jpg
 
Now all the welding a done I cracked out the POR15 and gave it a liberal coat, once that semi dried I got the nato green out and gave it a nice thick coat. Then with the misses help I got it all bolted on I finally feel like I'm making progress!
D5CD35D5-50E7-4A39-84F1-2CF6E78596CB_zpszucaszay.jpg

8C8FD6E1-E64D-4A36-9EF9-17FA74C9A0F1_zps8p2uwamw.jpg

F03D8D1E-80E9-4BB4-B562-BE8323547D6D_zpsup6ki6aq.jpg

34EC56C7-57C1-4607-A806-E16A750CFCA5_zpsomovkbya.jpg
 
Thankyou Disco1BFG for your kind words

This weekend I've been working hard on the pedal group these has suffered quite badly from trapped mud collecting behind them so we're quite badly rusted outside, but a good wire brush and a good clean and prep by POR15 and they look good as new
322C877E-D531-4FE1-A928-9C12E201E145_zpsulgeivm7.jpg


E2749848-31D3-472F-BF7E-9879C7E2C030_zpsabovji6n.jpg


4E9AAEFD-1AD0-48AD-8A4B-0A567FEDE3AF_zpssbgd8s7s.jpg


I also cleaned the transfer box fitted it and fitted the prop shafts

BF23E422-1836-447B-A021-276E6D1A0233_zpspqnyl3xw.jpg


F0F3FE53-57F2-4612-89AD-D70588811BE9_zpsbwfqtw9i.jpg


Interestingly the transfer box was a 1.4 ratio I thought all MOD defender were 1.6 perhaps the resident experts can weigh in to my knowledge it hasn't been painted since it was released yet both the gearbox and the transfer have the same over spray and yellow type overspray primer, waxoil? So what do people think, original?, MOD retro fit? Or fitted by a previous owner

4498982E-9BBF-46AD-B201-5EFD5045CA81_zpskxpklmmx.jpg
 
I can't find where I read it but I believe alot of 90's had the 1.4 box fitted whereas 110's always had the 1.6 box.
I suspect when the tdi was introduced around 1989 they started fitting 1.4 boxes to the 90 na's for the military. I reckon it's original.
 
Back
Top