jakeslandy
Active Member
- Posts
- 237
- Location
- Bury St. Edmunds
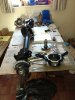
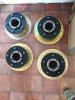
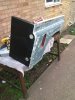
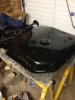
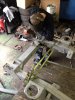
Richards chassis has finished the chassis and was delivered to my blasting company who is powdercoating it black. When it gets back home I will put a coat of POR15 on it and call it good.
Most of you might wonder why im painting it so much, PM and we can talk privately.
I just cant wait to get started on the rebuild. Hip hip horray.")
Most of you might wonder why im painting it so much, PM and we can talk privately.
I just cant wait to get started on the rebuild. Hip hip horray.