Building the gearbox of my dreams

This site contains affiliate links for which LandyZone may be compensated if you make a purchase.
It did occur to me to do the clutch at the same time, but I think I'll wait until I have an engine crane and a flat concreted area to work on. Both of which should be sorted sometime this coming year. Then I'll put a sling round the whole thing and change the clutch with ease. I'm quite high mileage but the Land Rover is relatively low for the year still. James, your encyclopaedic knowledge agrees with my parts catalogue yet again. I've ordered from LR Direct because they allow you to specify brands and I have indeed requested Timken. Plus a few more bits and pieces like the deformable nuts and o rings for the intermediate shaft. I'll follow those earth wires and check that there are no pins pulled out of multiplugs or any horrors like that at their other ends.
 
It did occur to me to do the clutch at the same time, but I think I'll wait until I have an engine crane and a flat concreted area to work on. Both of which should be sorted sometime this coming year. Then I'll put a sling round the whole thing and change the clutch with ease. I'm quite high mileage but the Land Rover is relatively low for the year still. James, your encyclopaedic knowledge agrees with my parts catalogue yet again. I've ordered from LR Direct because they allow you to specify brands and I have indeed requested Timken. Plus a few more bits and pieces like the deformable nuts and o rings for the intermediate shaft. I'll follow those earth wires and check that there are no pins pulled out of multiplugs or any horrors like that at their other ends.
i only know about the wires as i forget to refit them on occasions ,then realise when it wont start , ive built so many over the years the numbers are easily remembered, its not that there arent other good bearing brands but after using many you find originals make life easier with shimming which is quite important with taper bearings,overdrive like gkn one uses spring pressure instead of shimming for input gear
 
Yes, the input shaft on my overdrive has a dome shaped deformable washer to get the bearings tight, so a similar kind of thing. I do like pairs of tapered rollers because they're so adjustable, and you can really get them running nicely with a bit of care.
 
Not much doing on the Land Rover front today as I have to be at work and I'm waiting for my bearings to turn up. In preparation however I have taken the rear nose cone off the transfer box casing so I can knock the outer bearing shell out:

The bearing and oil seal in there seem fairly sound so I shall leave well alone.
I've pressed the gears off the old diff centre too:

Note the skeleton with fairy lights on in celebration of Christmas.
 
Just had a message that LR Direct have posted my bearings and bits and pieces and they should be with me by the end of the day tomorrow. Looks like I'll be spending the perfect Christmas day on my back under the Land Rover. It doesn't get much better than this.
 
Nice work, Brown. I'm looking forward to the new year to hear how it goes down the road. Should be great! Of course, we'll expect more road trip threads :)
Don't know if you've bought stainless bolts for the floor plates yet, but you can get stainless screw fixings. Linky to Screws and clips
 
Nice work, Brown. I'm looking forward to the new year to hear how it goes down the road. Should be great! Of course, we'll expect more road trip threads :)
Don't know if you've bought stainless bolts for the floor plates yet, but you can get stainless screw fixings. Linky to Screws and clips
Useful link, but I've already picked up a bag of 6mm stainless nuts and bolts from my local Screwfix. I'm heartily sick of those pathetic little spring clip captive nuts or those captive but self-liberating plastic blocks. Yes, more pictures to follow soon. It's raining today and the temperatures are much more like what you'd expect for December. There were even a few fragments of sleet when I was on my way into work earlier. I see you're experimenting with fingerless gloves on your thread. The best thing I had for this was a pair of gloves whose seams had split along the thumb and index finger. Quite by accident, but it was excellent. You could get your fingers out for precise work, but could tuck them away for heavy lifting and to keep them warm.
 
I know what you mean about those plastic blocks :mad:
Well, storm Eva has passed over here now I reckon. So time to don the tank suit and gloves again :D
I'm hoping to sort the binnacle debacle out before the weather turns even worse. Otherwise, I'll feel bad leaving it a while in a backward step, so to speak.
 
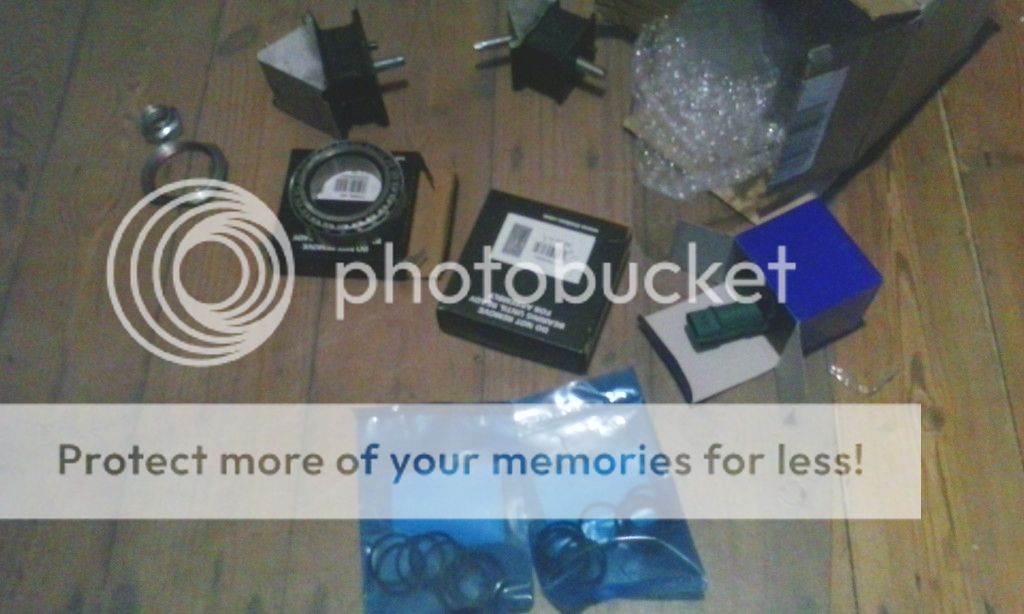
Finished work at about lunchtime and discovered that the LR Direct order had arrived:

So I got busy. Bearing tapped onto what will be the rear end of the mechanism.

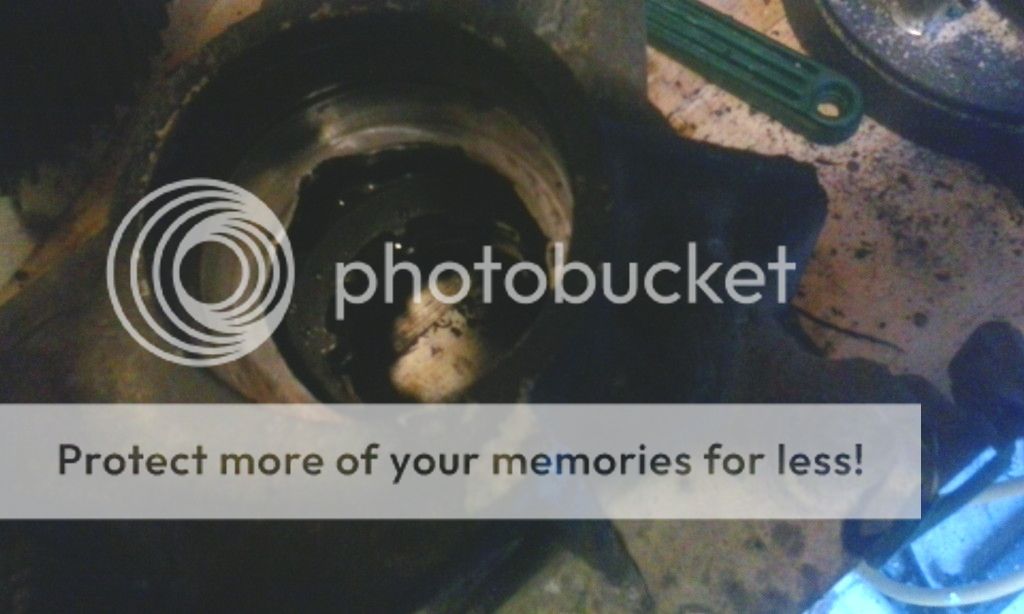
There's a nut that goes on that threaded part, but I don't think I took a picture of that. Next is the problem of getting the outer bearing shell out of the front nose cone. There isn't much room to get a drift in:

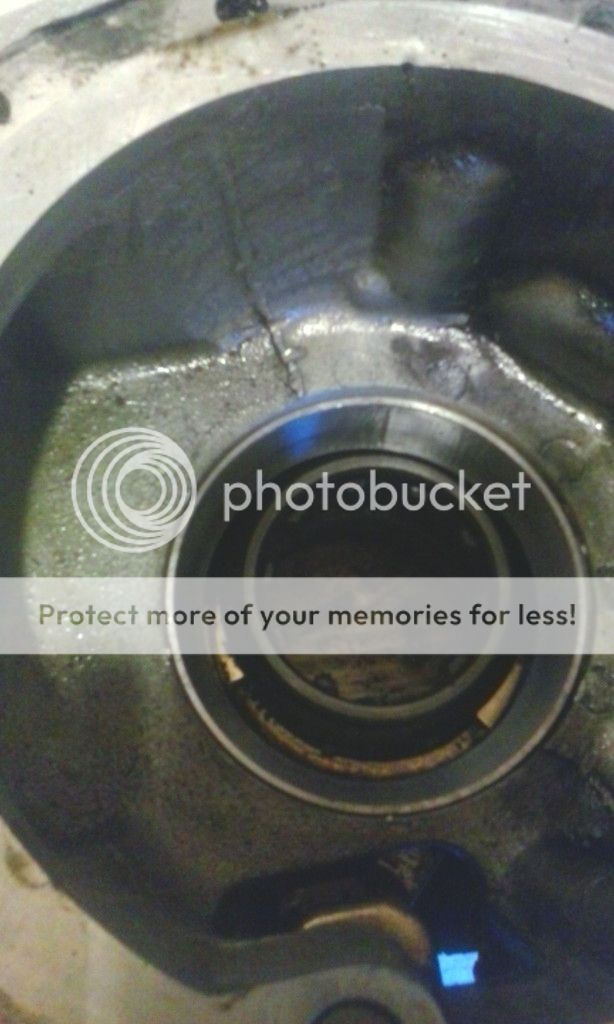
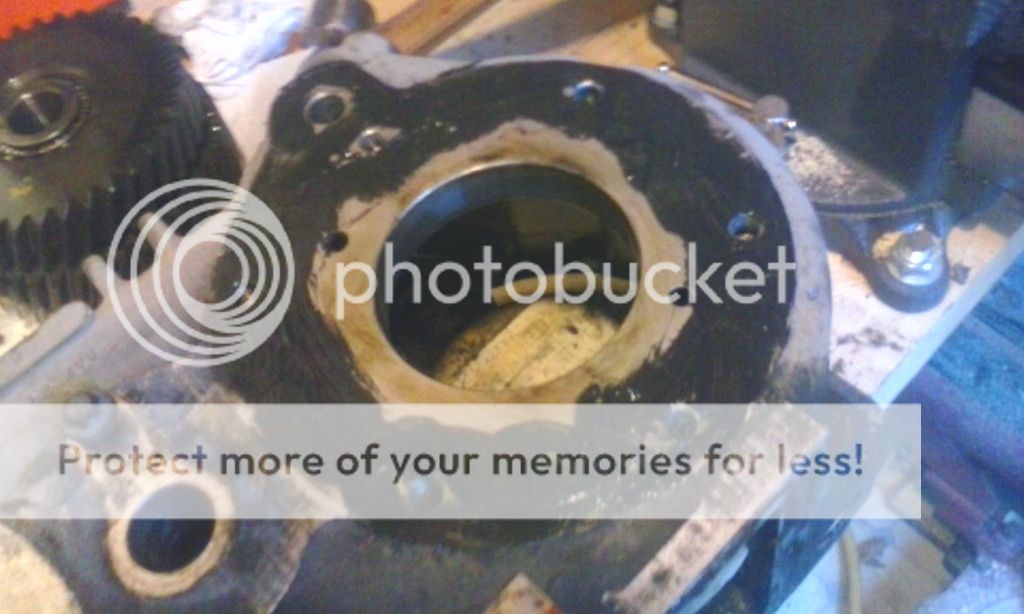
A screwdriver shank just squeezed past the difflock selector mechanism, so it came out. That hole in the middle looks a bit jagged. Not my fault, honest. It just seems to be an unfinished casting edge. Anyway, all the critical surfaces are OK, so let's tap an outer bearing shell into the recess:

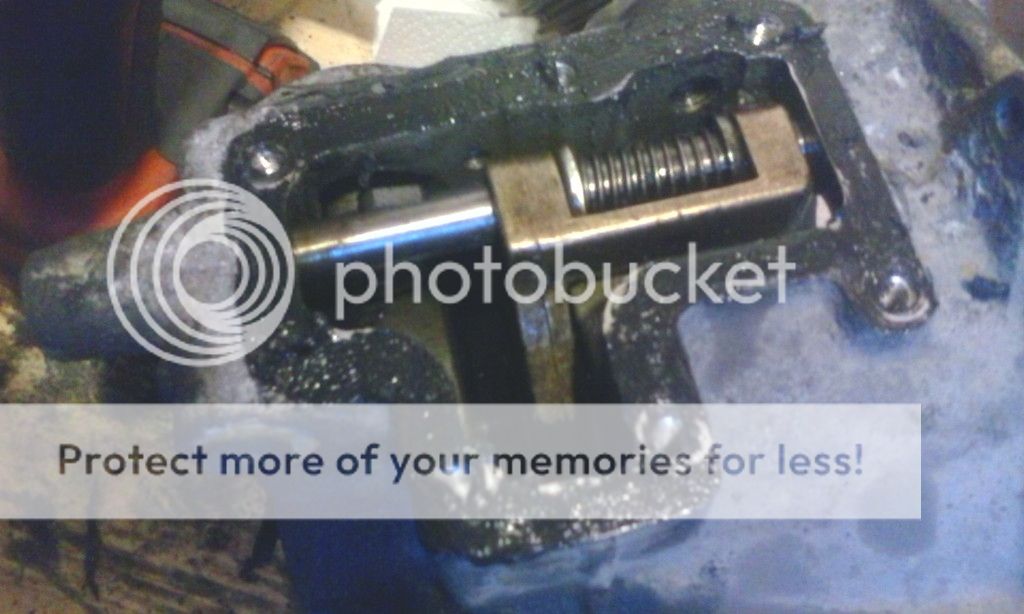
Now let's put that plate on the side that covers the difflock selector mechanism:

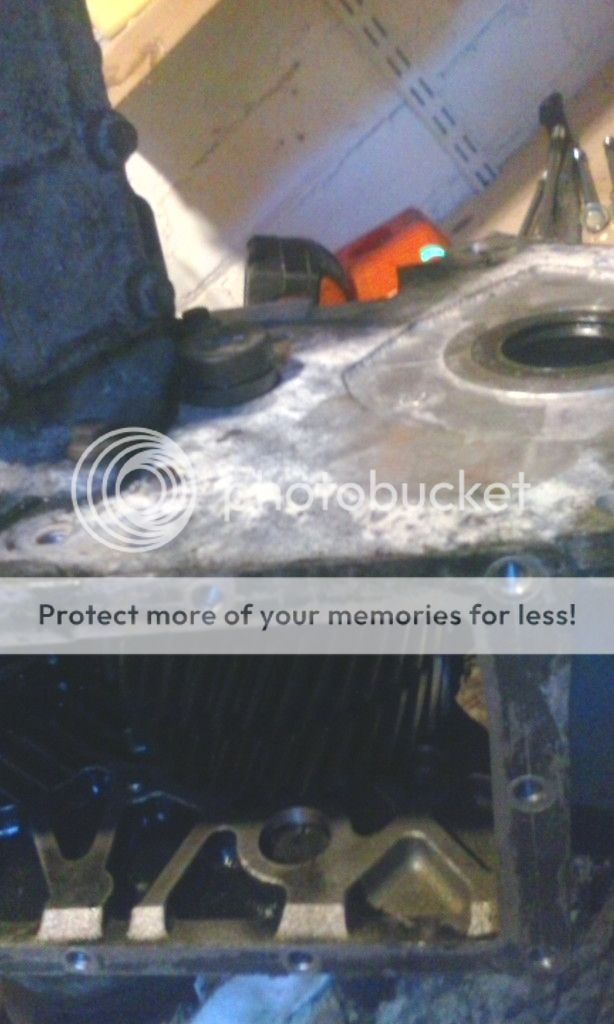
Lots of instant gasket going into this build, because there didn't seem to be any paper ones fitted and there was only sealant where components were joined together. In order to provide a seat for the rear bearing the rear nose come containing the speedo drive has to go on. A bit of sealant:

And on it goes:

Then we'll offer the mechanism up to see if it all fits:

Yup, that's gone in nicely. So I put the front nose cone on. The mechanism turned stiffly but smoothly, so I think we can count that as a success. Now let's see if it will change gear. Oh no, the fork isn't in the correct groove in the splined slider:

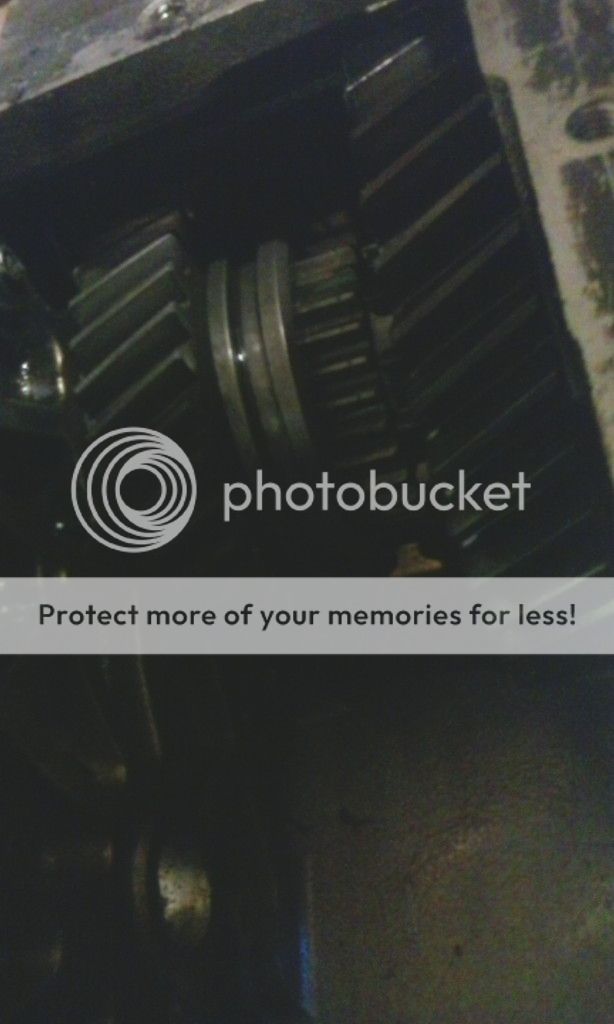
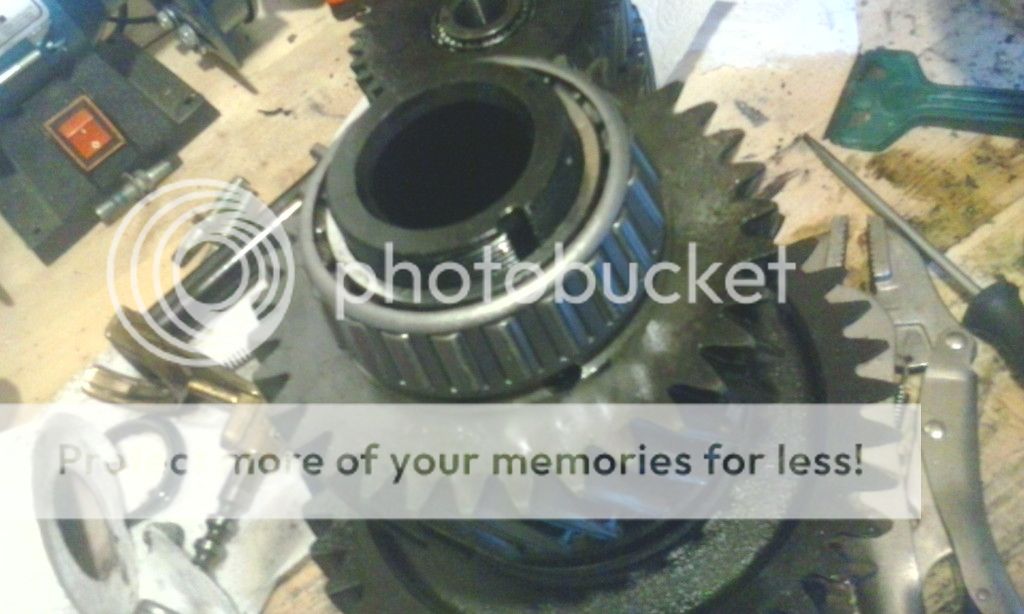
So it's got to come apart again. I could have sworn it was in the right place when I put the mechanism in the casing. Right, now that's a bit better. Next let's get the intermediate gears in. Here's the centre shaft just about to have an O ring put in its groove before being tapped home:

Now let's get a fresh bearing on the output shaft:

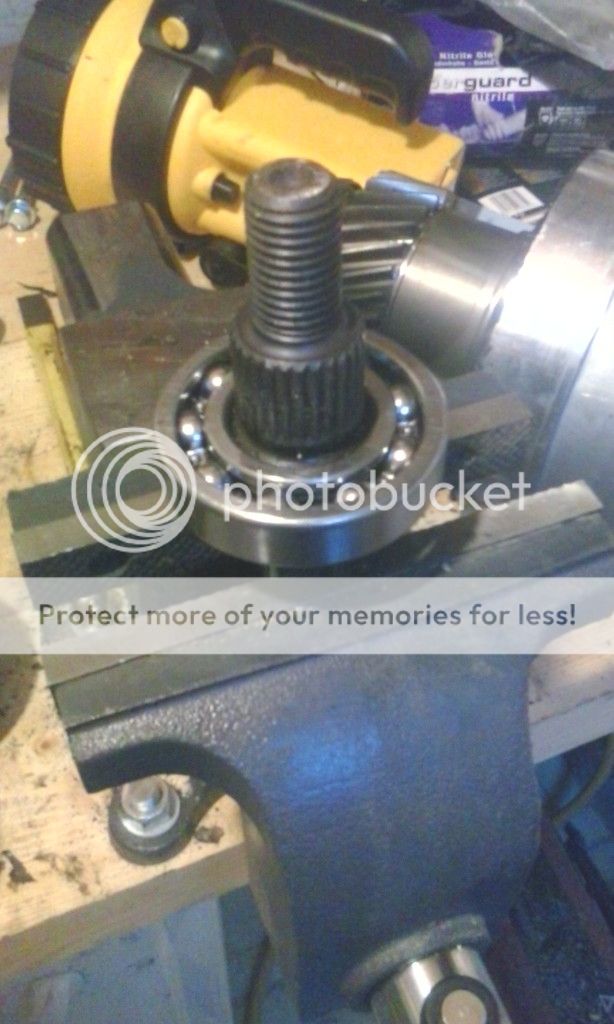
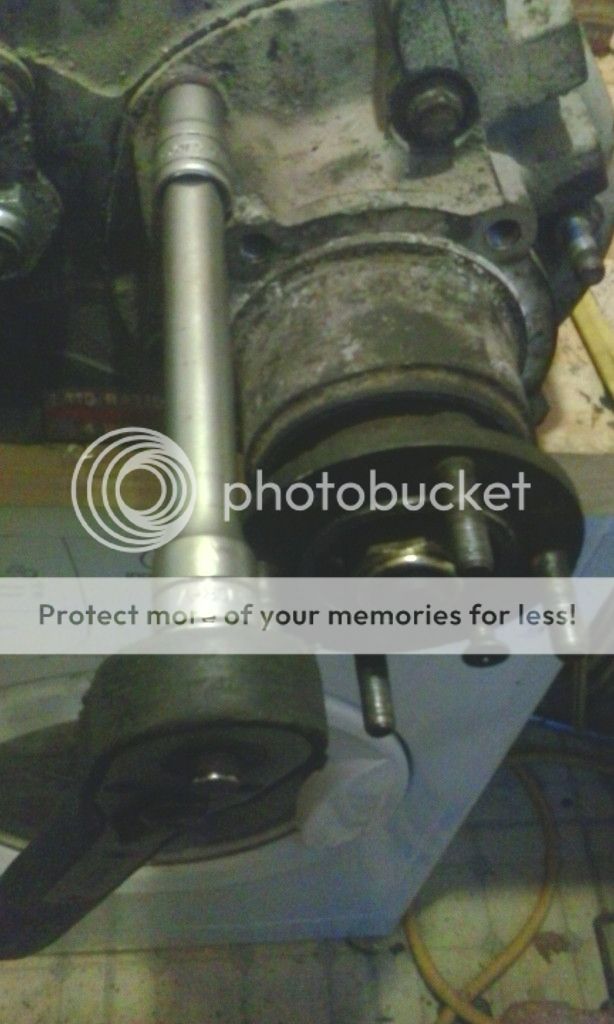
And there's the front flange and shaft back in position:

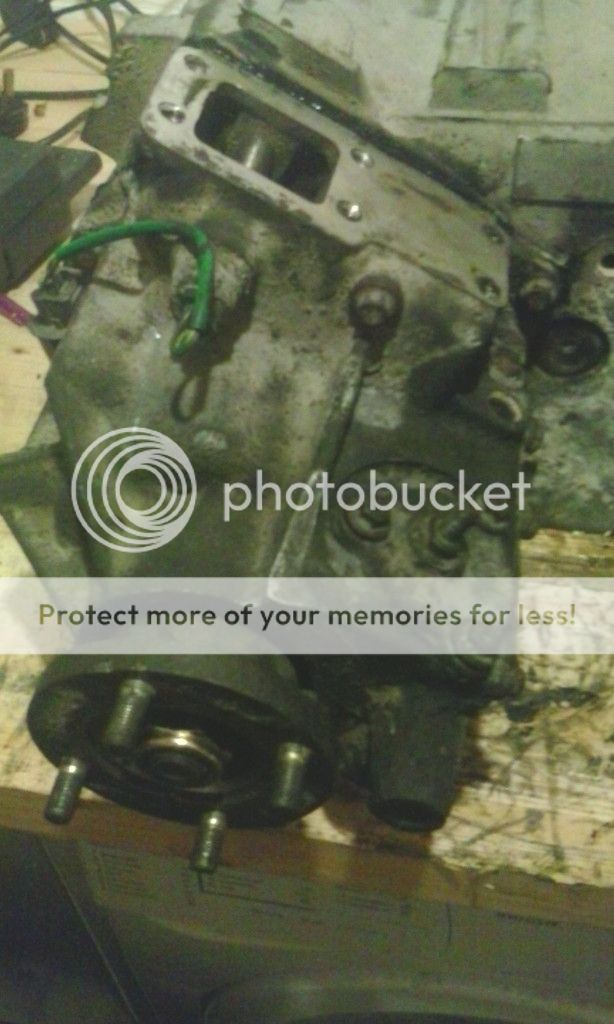
Then I remembered I'd forgotten to knock in the flange on the nut that holds the bearing to the shaft of the diff. Everything was pretty tight, so it's hard to imagine it going anywhere, but for peace of mind I spun the bolts out of the rear nose cone and staked it in, and then put the rear cone back on:

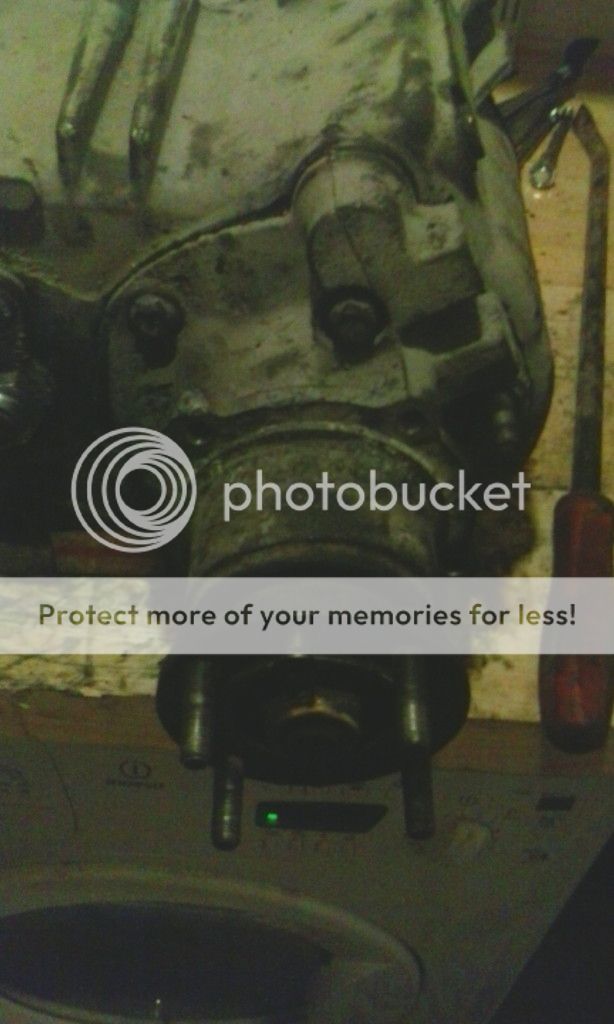
Feels like a good afternoon's work. If it wasn't for the couple of mistakes where I had to do some dismantling it would have been even quicker. It's quite a clever design. The final drive mainshaft is in fact the diff body.
It's great when you flick the lever on the ratchet from anticlockwise to clockwise. Or these days, push the switch on the impact gun. The box is a little stiffer to turn than it was before, but I'm pretty confident in the bearings. There's a tiny bit of rotational slack, but that's just the splines. I didn't take it out and offer it up to the car, because I was losing the light. But maybe I'll give it a go tomorrow.
 
James, I swear by feel. In fact I prefer feel to instructions about number of turns or micrometer-measured end float. I re-used the tapered rollers on the intermediate shaft, put the gears in with a new spacer tube, waggled the shaft through and put new O rings in place, and wound up the nut until I couldn't feel any more slack. With the slider on the final drive in the neutral position (so as not to muddy the waters with resistance from the output shaft) I eased the nut tighter and tighter until the centre gears were just on the point of going stiff. So they're a little tighter than they were, but can still be turned fairly easily with my fingers.

Whilst I'd bought a new spacer for the diff/output shaft, it seemed perfectly happy to go back together with the original one, and felt pretty much spot on. As the spacers are quite expensive I bought a thick one and was intending to grind it away with emery cloth on a flat surface until it fitted. I don't have access to a lathe where I live at the moment, but many years ago I used to make things like that. However, trying things back together with the existing spacer felt good to me, so I tightened up and left it at that.
sounds pretty thorough and sound to me :)
 
You sounded sceptical when I did my axles by 'feel' last year, but honestly, I've found that just turning things, wobbling them and adjusting 'til they're at the sweet spot has done me quite well over the years. Obviously, I don't do this for a living like you, but it's been OK for my own kit and that of a few friends and relatives.
 
There aren't many photos from today's efforts, because mostly I have been doing unglamorous things like putting bolts in holes and looking for the correct fastenings. However, I was pleased that I was able to lift the transfer case into position single handed. It wasn't plain sailing though, taking several goes and making my arms ache. But I've done it. It's not the weight as such, because I carried it clasped against my chest from the shed to the car. It's the fact that you're in an awkward position and can't get your full strength on it. However, I hooked it over the gearbox output shaft and waggled it onto the studs:

I've put the new mounting rubbers in, refitted and adjusted the handbrake again, cleaned out corrosion-congested and cross threaded holes with taps and pulled the old floor fixings out ready for the new ones. While the transmission tunnel was out of the way I had an assault on my gearbox drain plug while it was exposed. Some of you will recall my complaints that it wouldn't come out, and that I've had to change the oil by means of a suction tube. While I had the opportunity I treated the neighbours to a Christmas rendering of the Anvil Chorus and did some serious hammering with a much larger hammer than I could fit underneath. Bingo! Moved it. You can just see its butchered remains in that lobe on the bottom of the gearbox:

I drained the MTF and got my new hexagon plug out. But it was too large. I didn't realise that R380 gearboxes had two different sizes of drain hole.

However, the Torx plug from the filler hole fits, so that's gone in the drain hole, and the remains of the original drain plug can go in the filler hole and I can get a new filler plug of the correct size at my leisure. It means that both my plugs will be Torx fittings, but at least I can get them undone now. It felt really good to get the bit of grey mushy sediment out of the bottom of the gearbox and fill it up with fresh MTF. I've reassembled the gear linkage, put the earth wires back on and then ran out of light.
 
Last edited:
Done a bit more today. I put the overdrive unit back on:

As you can see, I've put its actuator rod in a bit of corrugated tube so that it'll just rub the inside of the tube and not the wiring looms.
Put sealant and a gasket on the new alloy sump:

And fitted it:

That brass bush is for the temperature gauge sensor. The idea is that the overdrive works best if you keep it cool, hence the high capacity finned sump and the temperature gauge.
I've started doing a few fiddly jobs that don't yield very good pictures. I got rid of all the old corroded fittings from the footwell panels and surrounds and put them back in with new stainless steel bolts, but ran out of washers. I could have sworn i had some more somewhere. I've also started on the instruments. The temperature gauge for the transfer box comes with a length of capillary tube that you're not allowed to disconnect from the gauge. So you've got to feed it through from the dashboard area and round to the transfer box sump. But the tube is quite short and I had to experiment with different ways of routing it before I found one that worked. I tried it in the various holes for the wiring loom that are already in the bulkhead but it wouldn't reach. So I made a new hole in the bulkhead and filed it out big enough for the sensor and its nut to fit through. I've run corrugated conduit round to give it a bit more protection. I've also run a wire from the dashboard to the driver's side seatbox, again in its own length of corrugated tube, because I want to fit a rev counter and need a feed from one of the ECU pins. At that point the light was going so rather than start clipping wires and soldering in the dark I came in. Tomorrow, I hope to finish my wiring, put some oil in the transfer box (they say GL4 is preferred because GL5 is rather aggressive with bronze components) turn the key and see if it all works.
 
Last edited:
You're very kind Aaron. You put me to shame - wire brushing and painting everything as well. I'd like to do that, but a) I don't have much time away from my day job and b) I live in a neighbourhood that's probably even more built up than yours and only have the street to work in, so I doubt if the neighbours would take kindly to the sound of power tools running all the time! One day I'll build the shed of my dreams at my friend's house in mid-Wales and I'll be able to do engine swaps and all sorts.
 
There aren't many photos from today's efforts, because mostly I have been doing unglamorous things like putting bolts in holes and looking for the correct fastenings. However, I was pleased that I was able to lift the transfer case into position single handed. It wasn't plain sailing though, taking several goes and making my arms ache. But I've done it. It's not the weight as such, because I carried it clasped against my chest from the shed to the car. It's the fact that you're in an awkward position and can't get your full strength on it. However, I hooked it over the gearbox output shaft and waggled it onto the studs:

I've put the new mounting rubbers in, refitted and adjusted the handbrake again, cleaned out corrosion-congested and cross threaded holes with taps and pulled the old floor fixings out ready for the new ones. While the transmission tunnel was out of the way I had an assault on my gearbox drain plug while it was exposed. Some of you will recall my complaints that it wouldn't come out, and that I've had to change the oil by means of a suction tube. While I had the opportunity I treated the neighbours to a Christmas rendering of the Anvil Chorus and did some serious hammering with a much larger hammer than I could fit underneath. Bingo! Moved it. You can just see its butchered remains in that lobe on the bottom of the gearbox:

I drained the MTF and got my new hexagon plug out. But it was too large. I didn't realise that R380 gearboxes had two different sizes of drain hole.

However, the Torx plug from the filler hole fits, so that's gone in the drain hole, and the remains of the original drain plug can go in the filler hole and I can get a new filler plug of the correct size at my leisure. It means that both my plugs will be Torx fittings, but at least I can get them undone now. It felt really good to get the bit of grey mushy sediment out of the bottom of the gearbox and fill it up with fresh MTF. I've reassembled the gear linkage, put the earth wires back on and then ran out of light.
lt77 level plug 3292 is a direct replacement for the r380 torx level plug
 
Back
Top