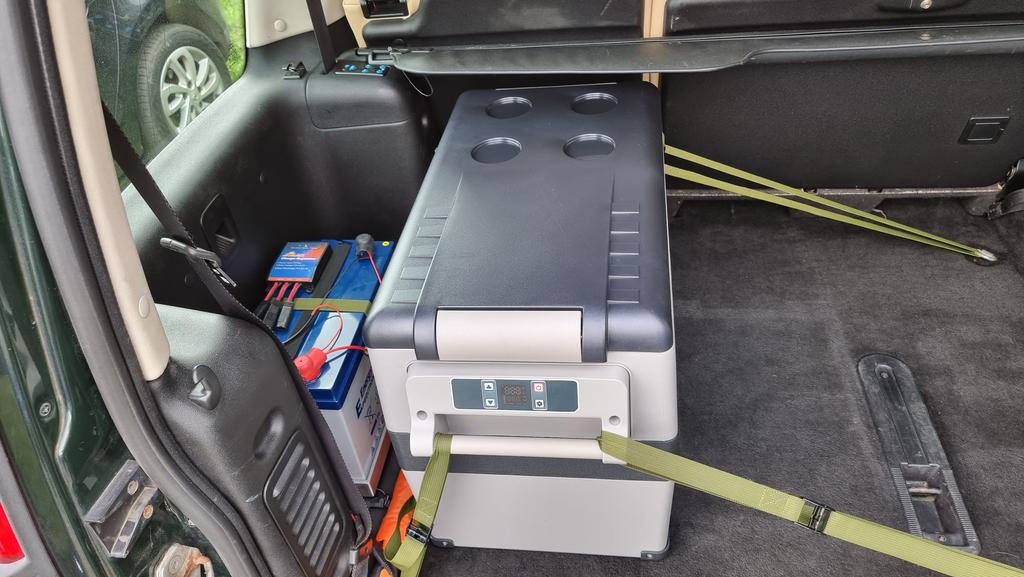
So after 2 and a half painful days I finally have the lpg system back on! Just need to connect a few wires in the engine bay to finish the job.
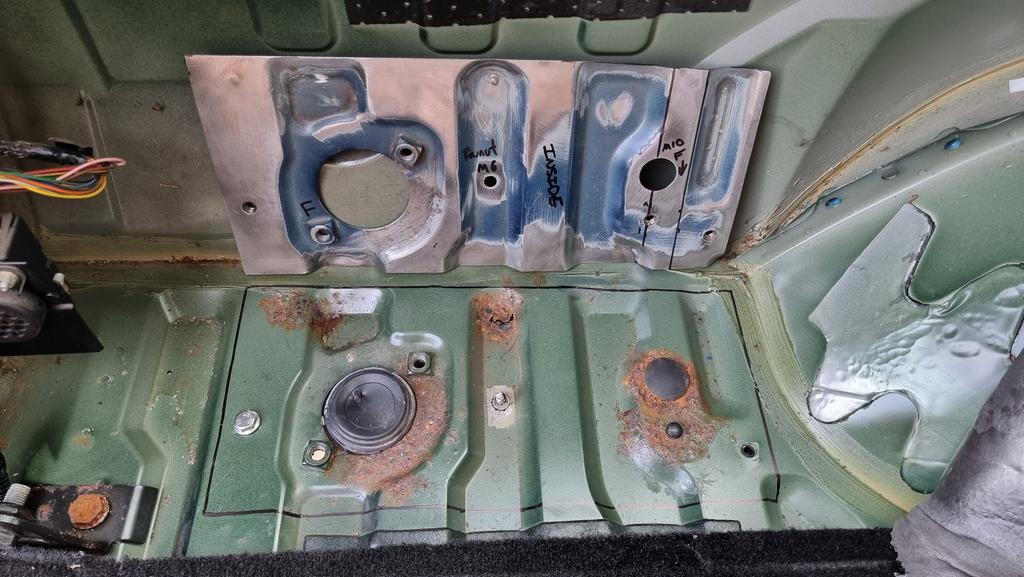
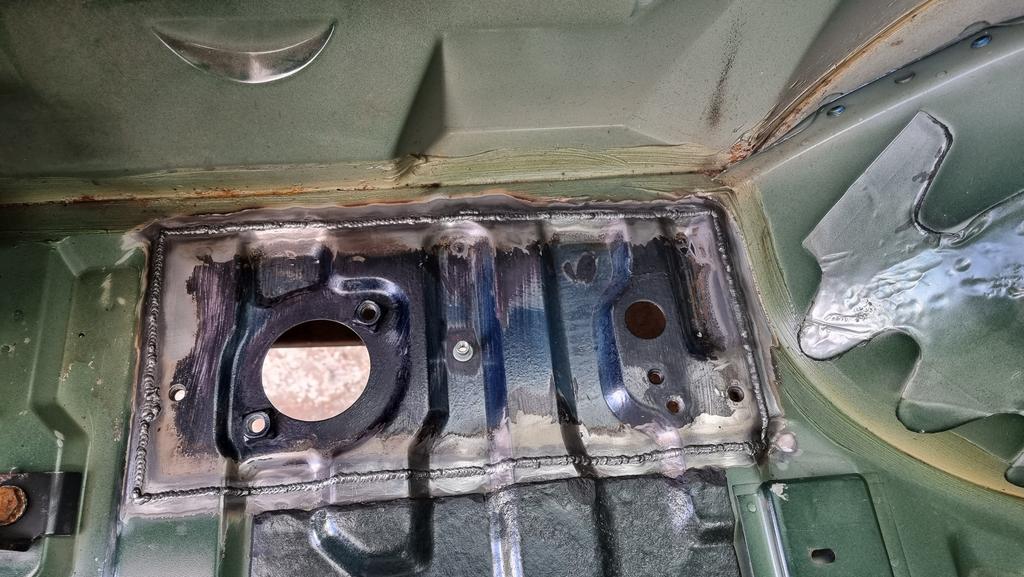
The job was a right pain in the arse! Like fitting square tanks in a round hole!! So seats, amps etc out and a good hoover then some planning on where to drill the holes through the floor. Worked out where the brackets should go then it was test fitting of the passenger tank.
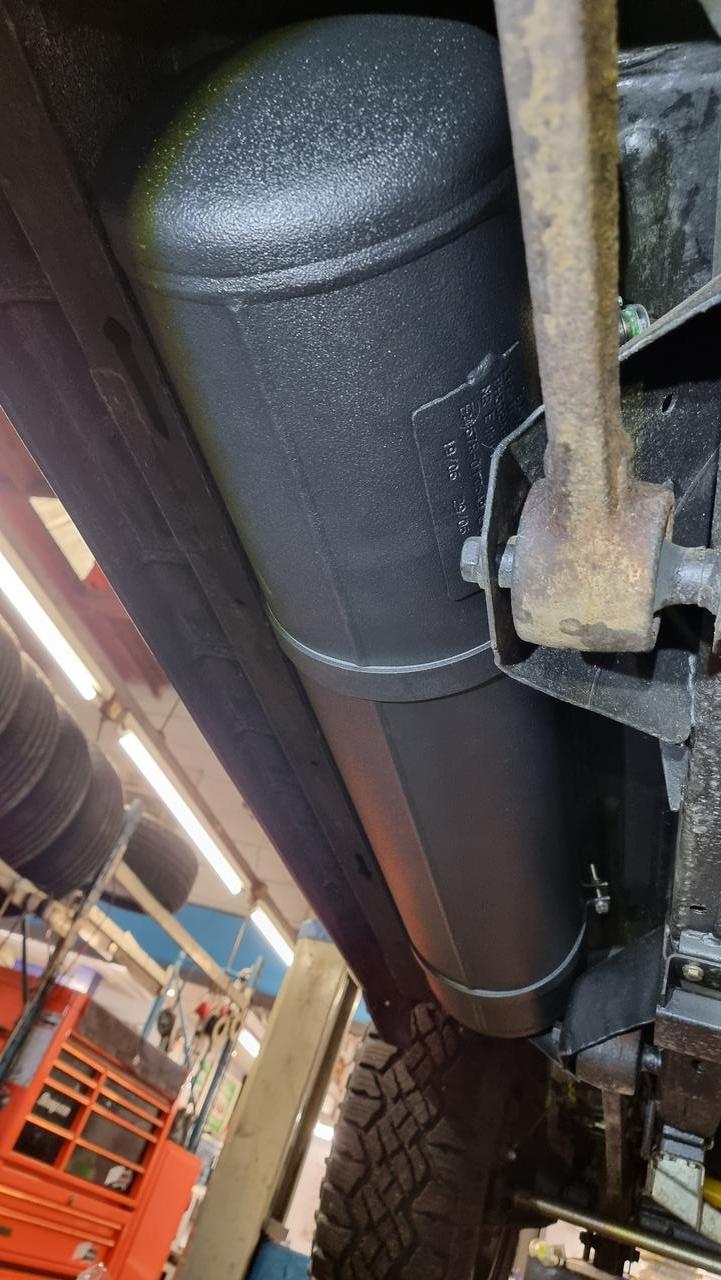
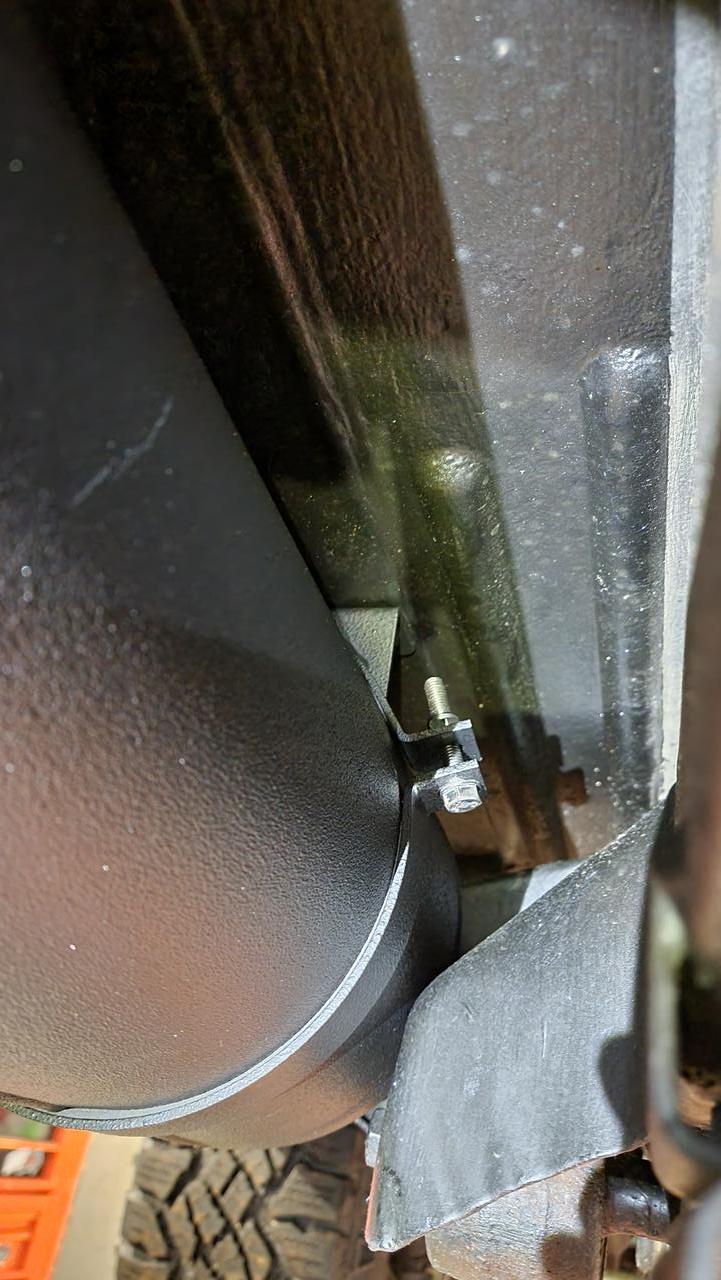
The tanks diameter is 200mm but the trailing arm bolt heads and the sill gap is less than that which make it a pain. You have to feed it in at an angle at one end and slide it fully one way then lift the other end and slide it back into position. It fits but is very tight. This was without the valve fitted into the tank! While into position I rotated the tank to the required 30 degrees for the multivalve and tightened the brackets up. I also marked the bolts (that go through the floor) so I can cut them to the correct length ready for the final fit.
Next I installed the multi valve on the tank and the new hoses and wiring for the passenger tank on the landy.
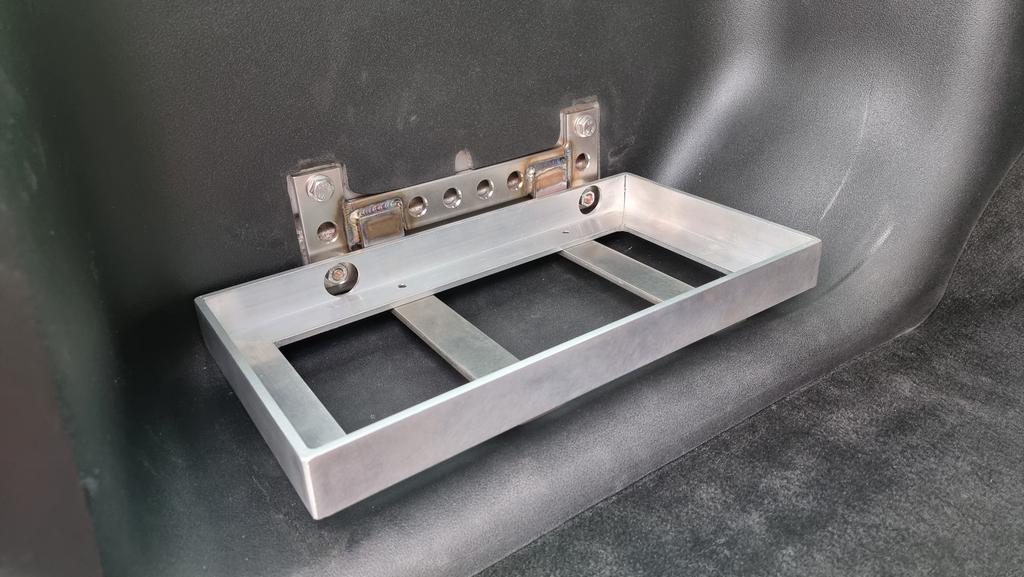
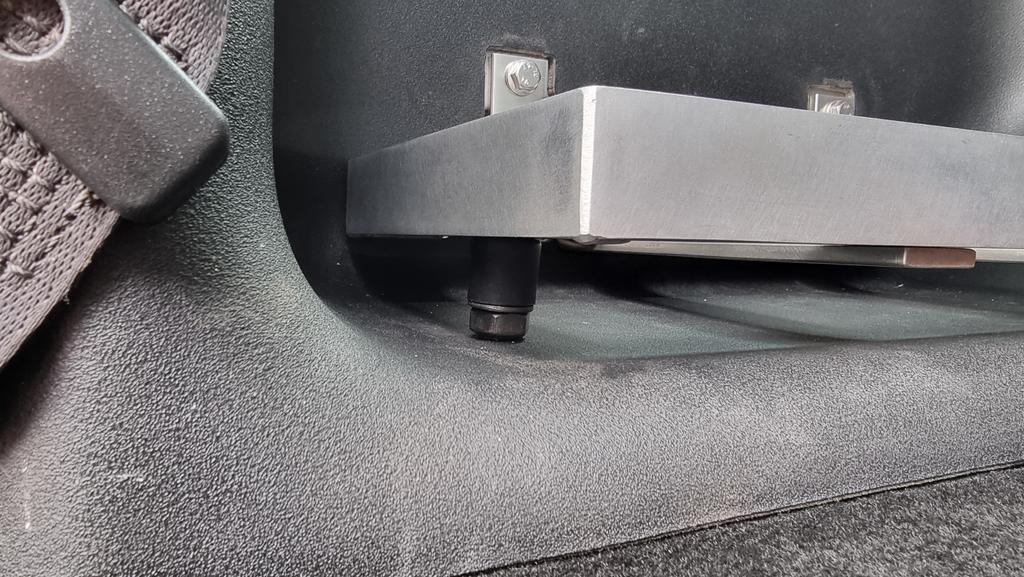
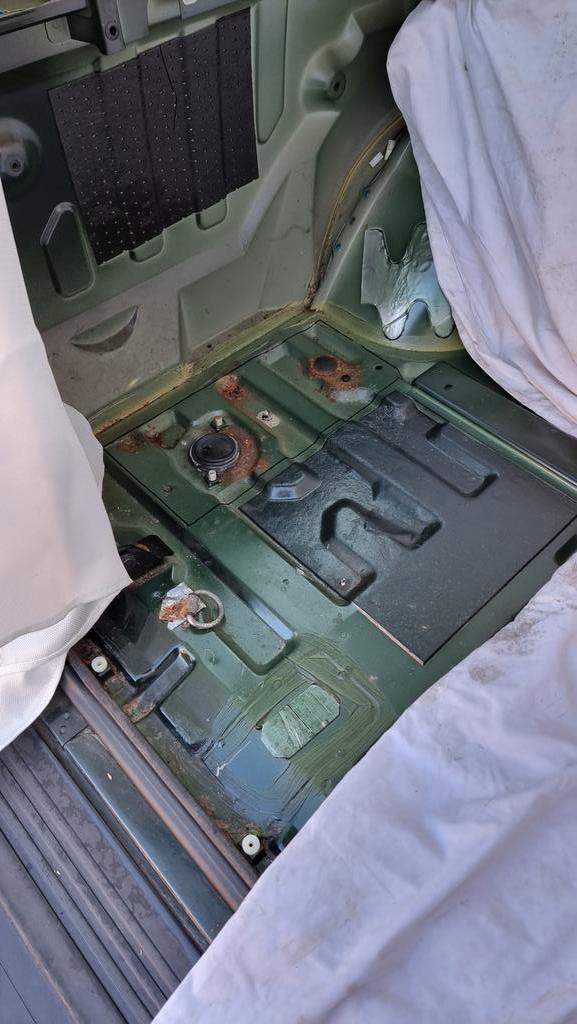
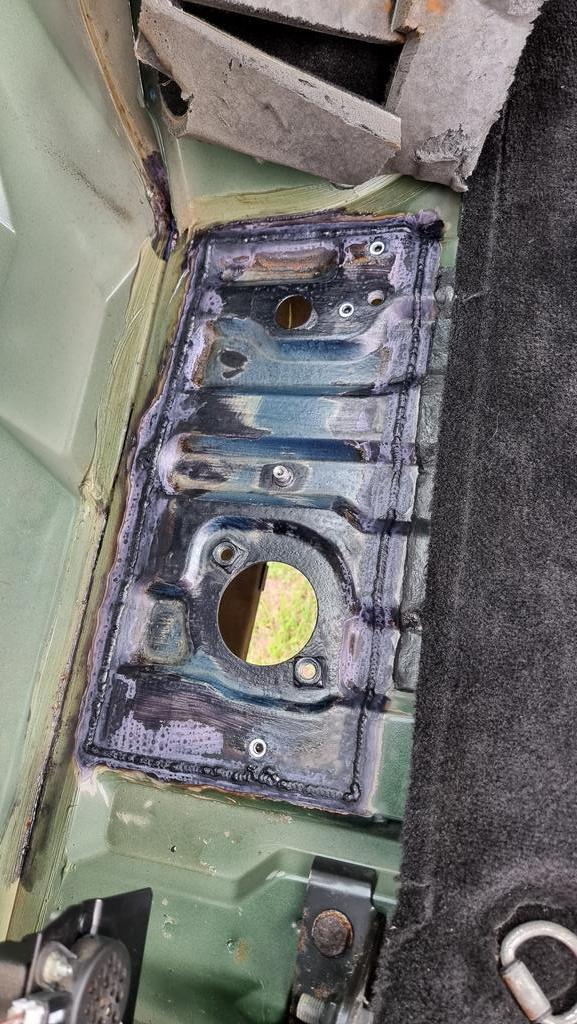
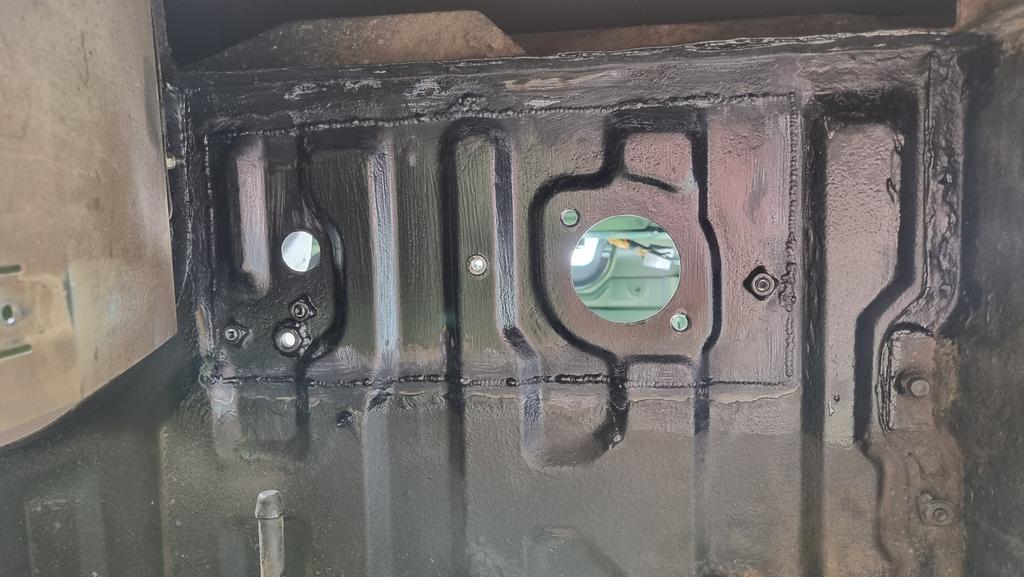
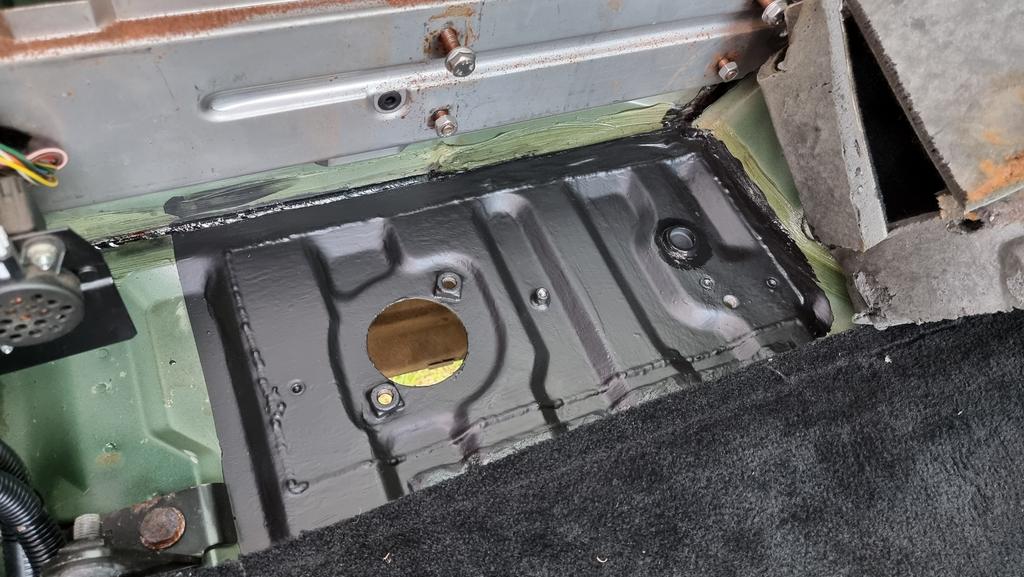
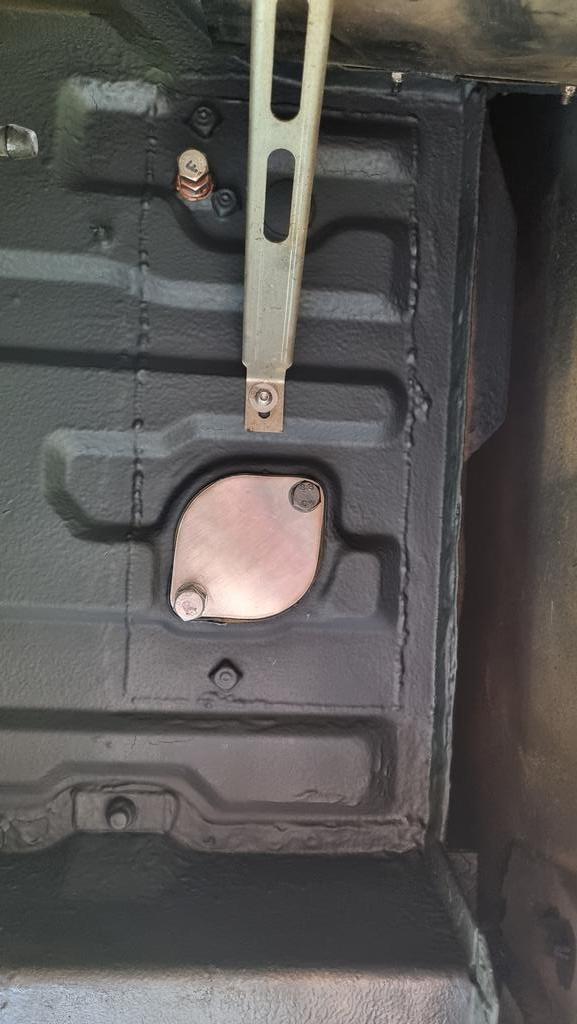
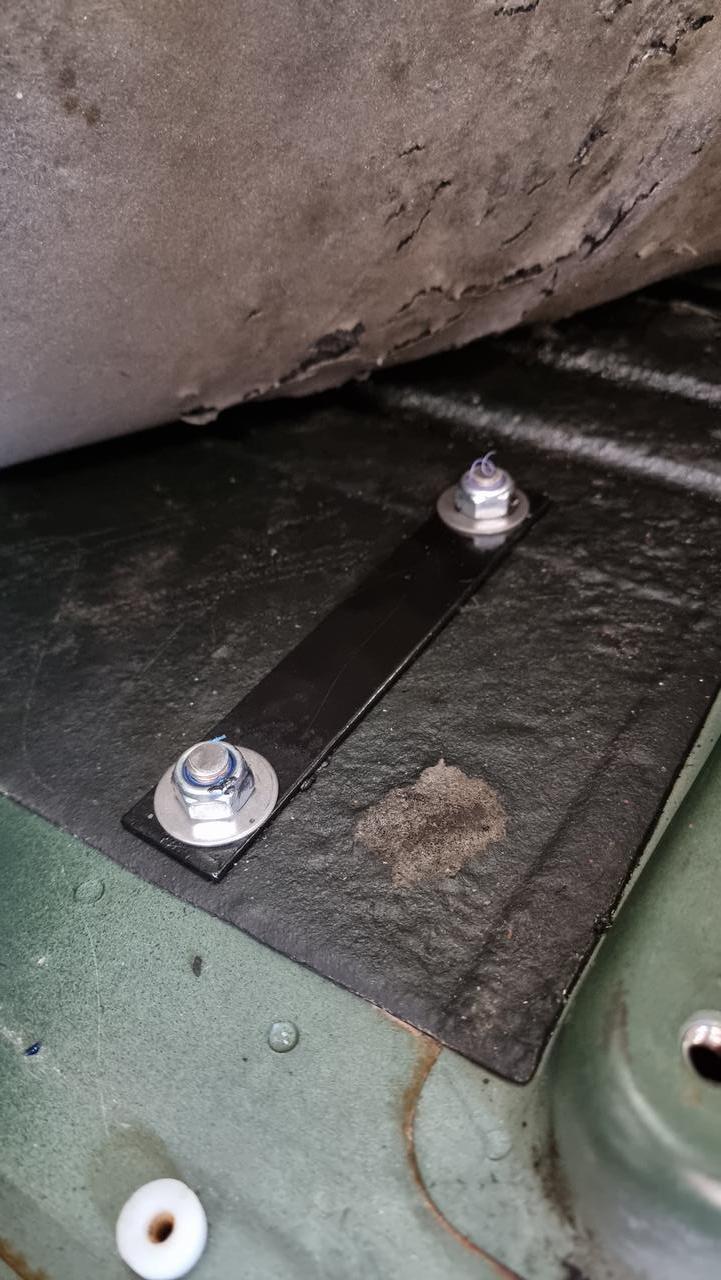
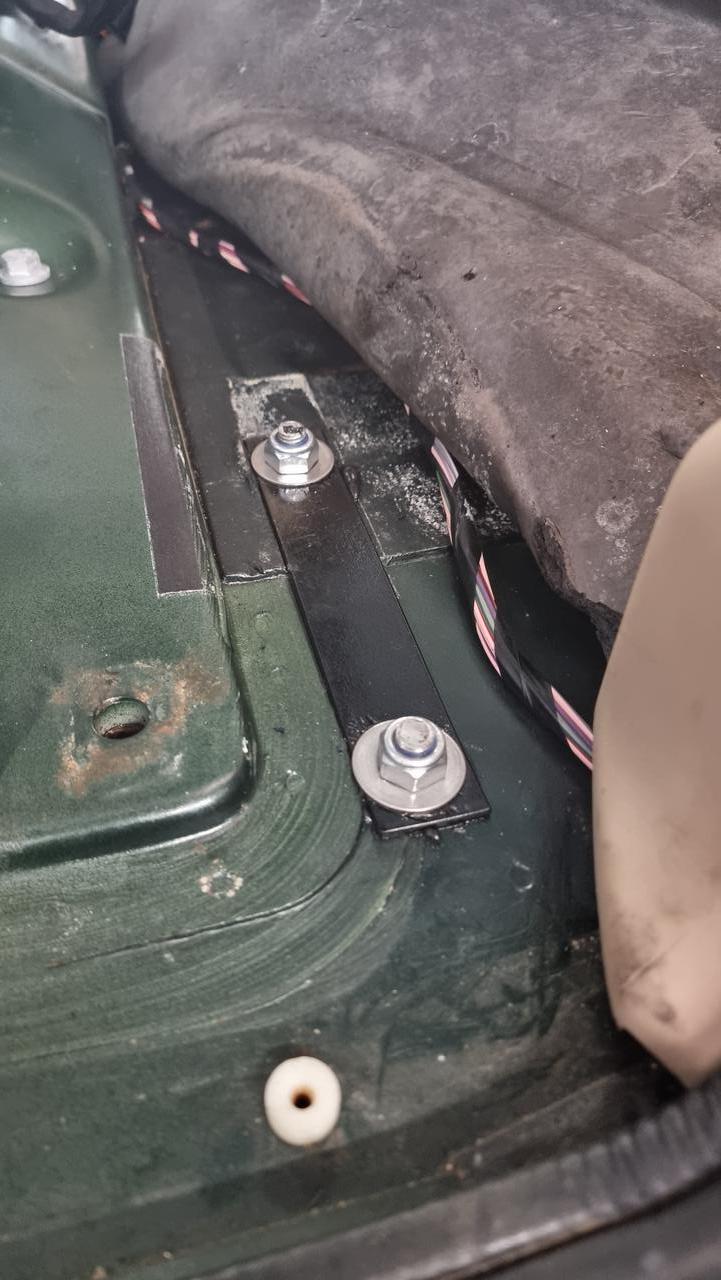
Lifted the tank into place and used some strengthening plates to sandwich the floor between the plates and brackets. The holes was painted and filled with rtv before fitting the plate and nuts. Happy days. Once in place I installed and secured the hoses to the rear. The filler and associated bits were fitted and the passenger tank plumbed in.
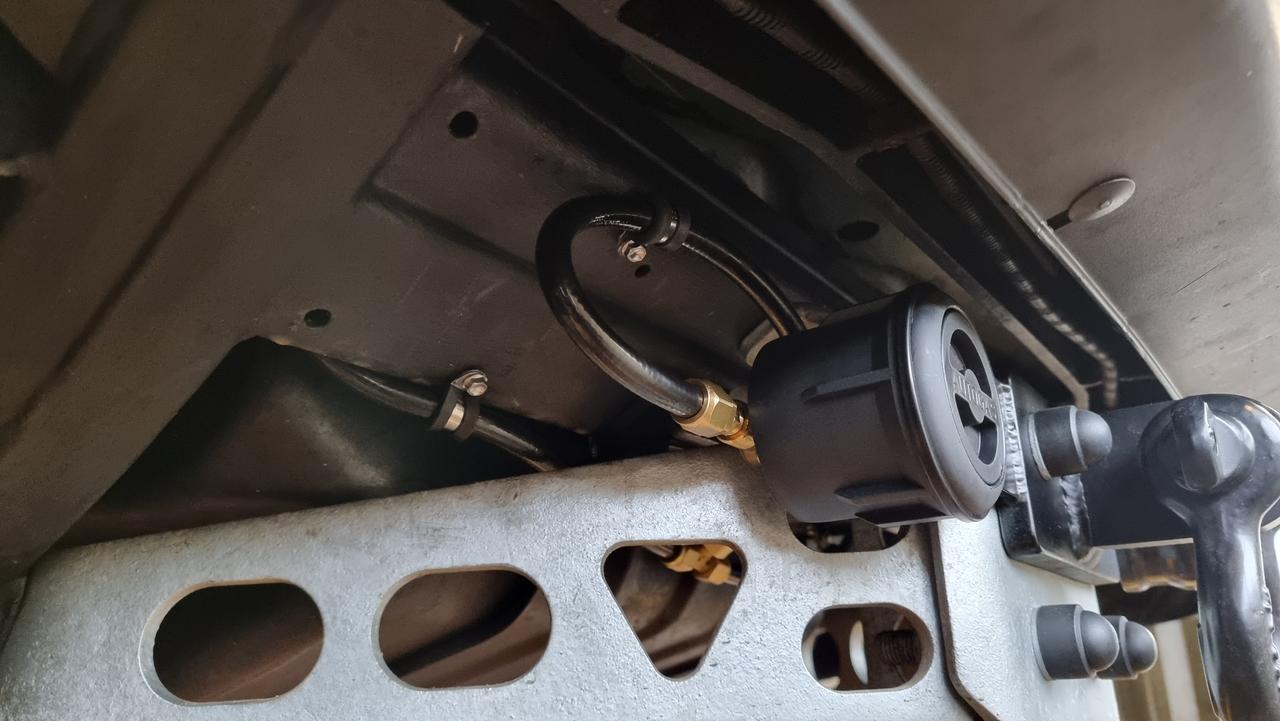
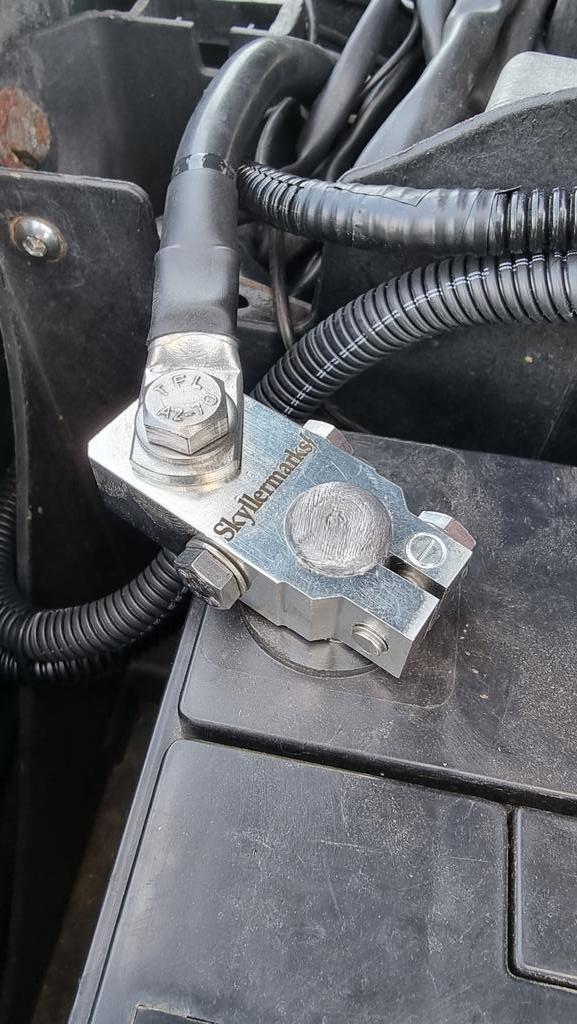
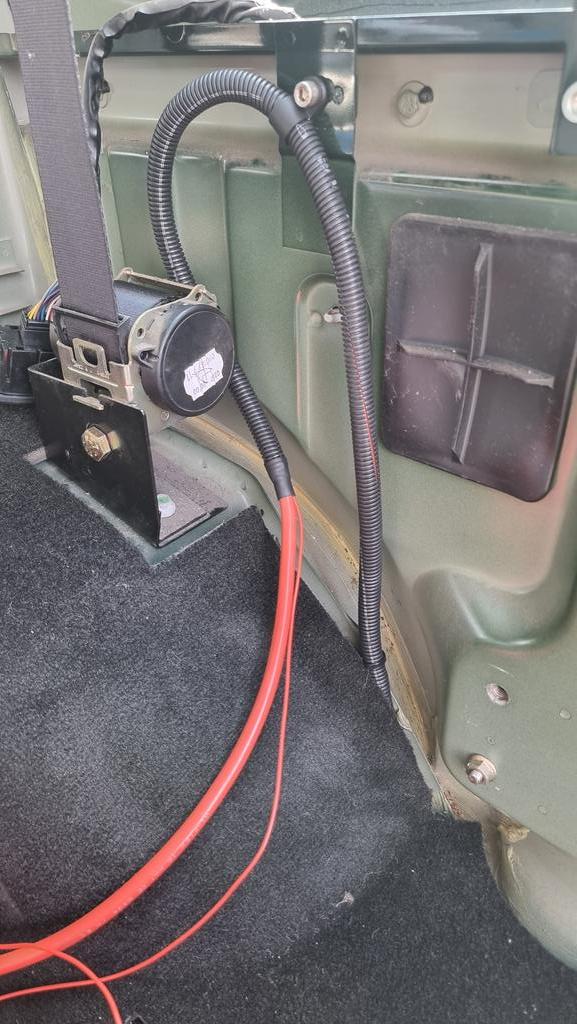
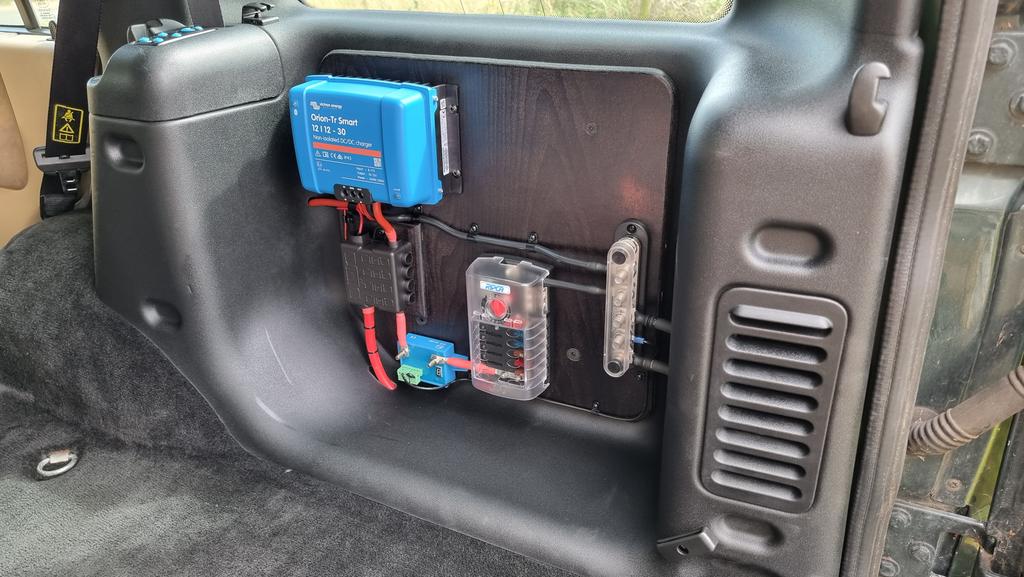
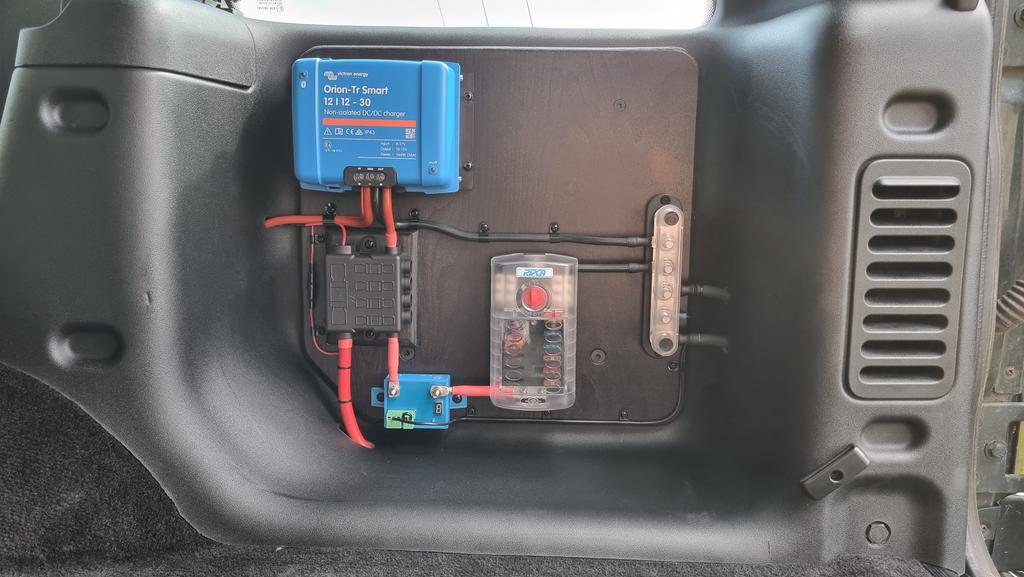
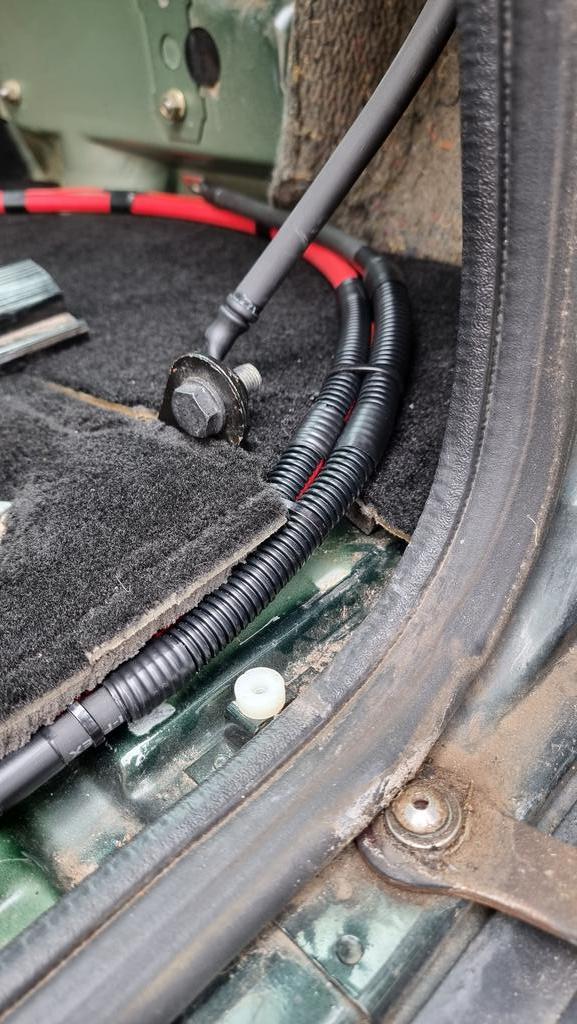
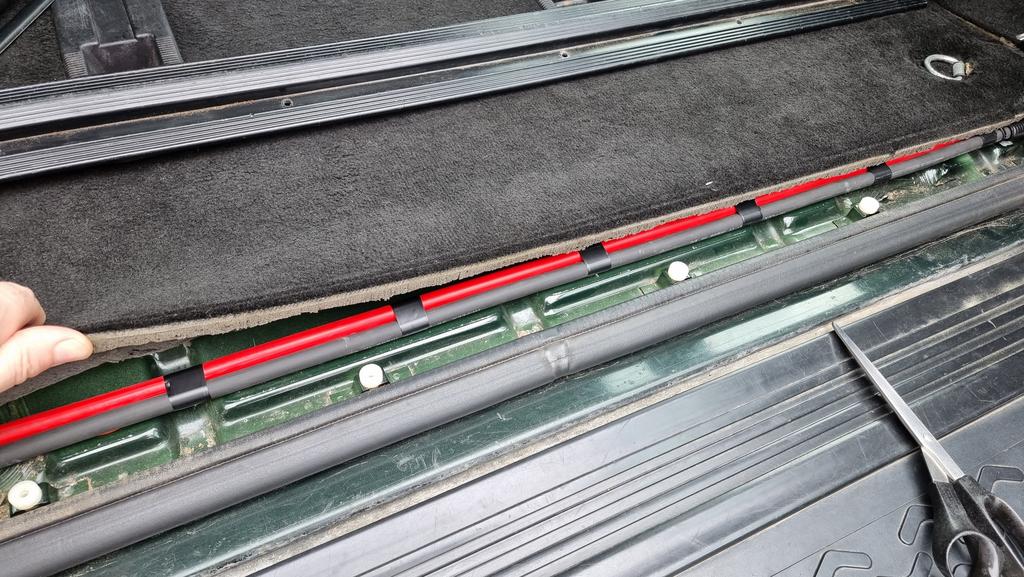
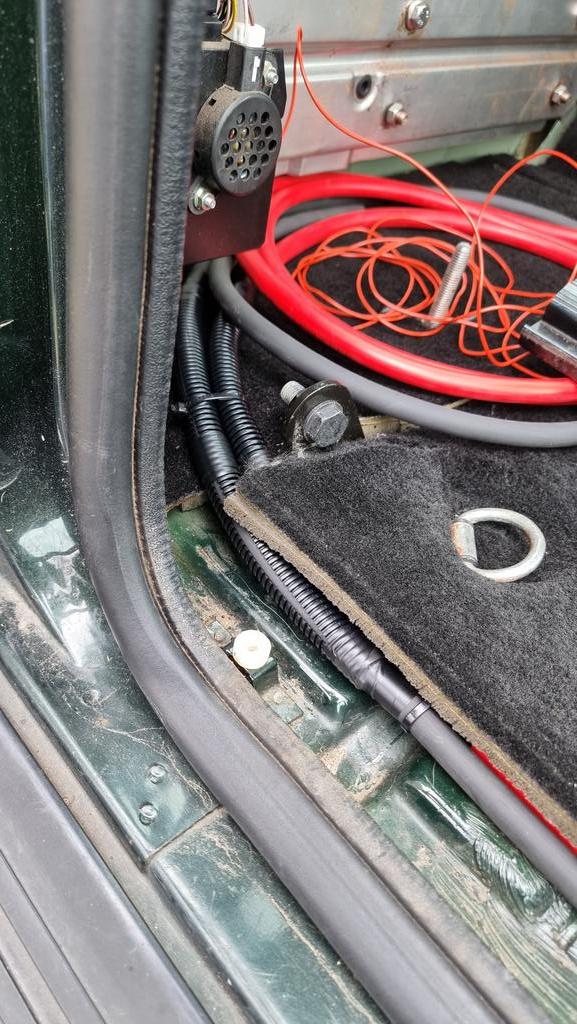
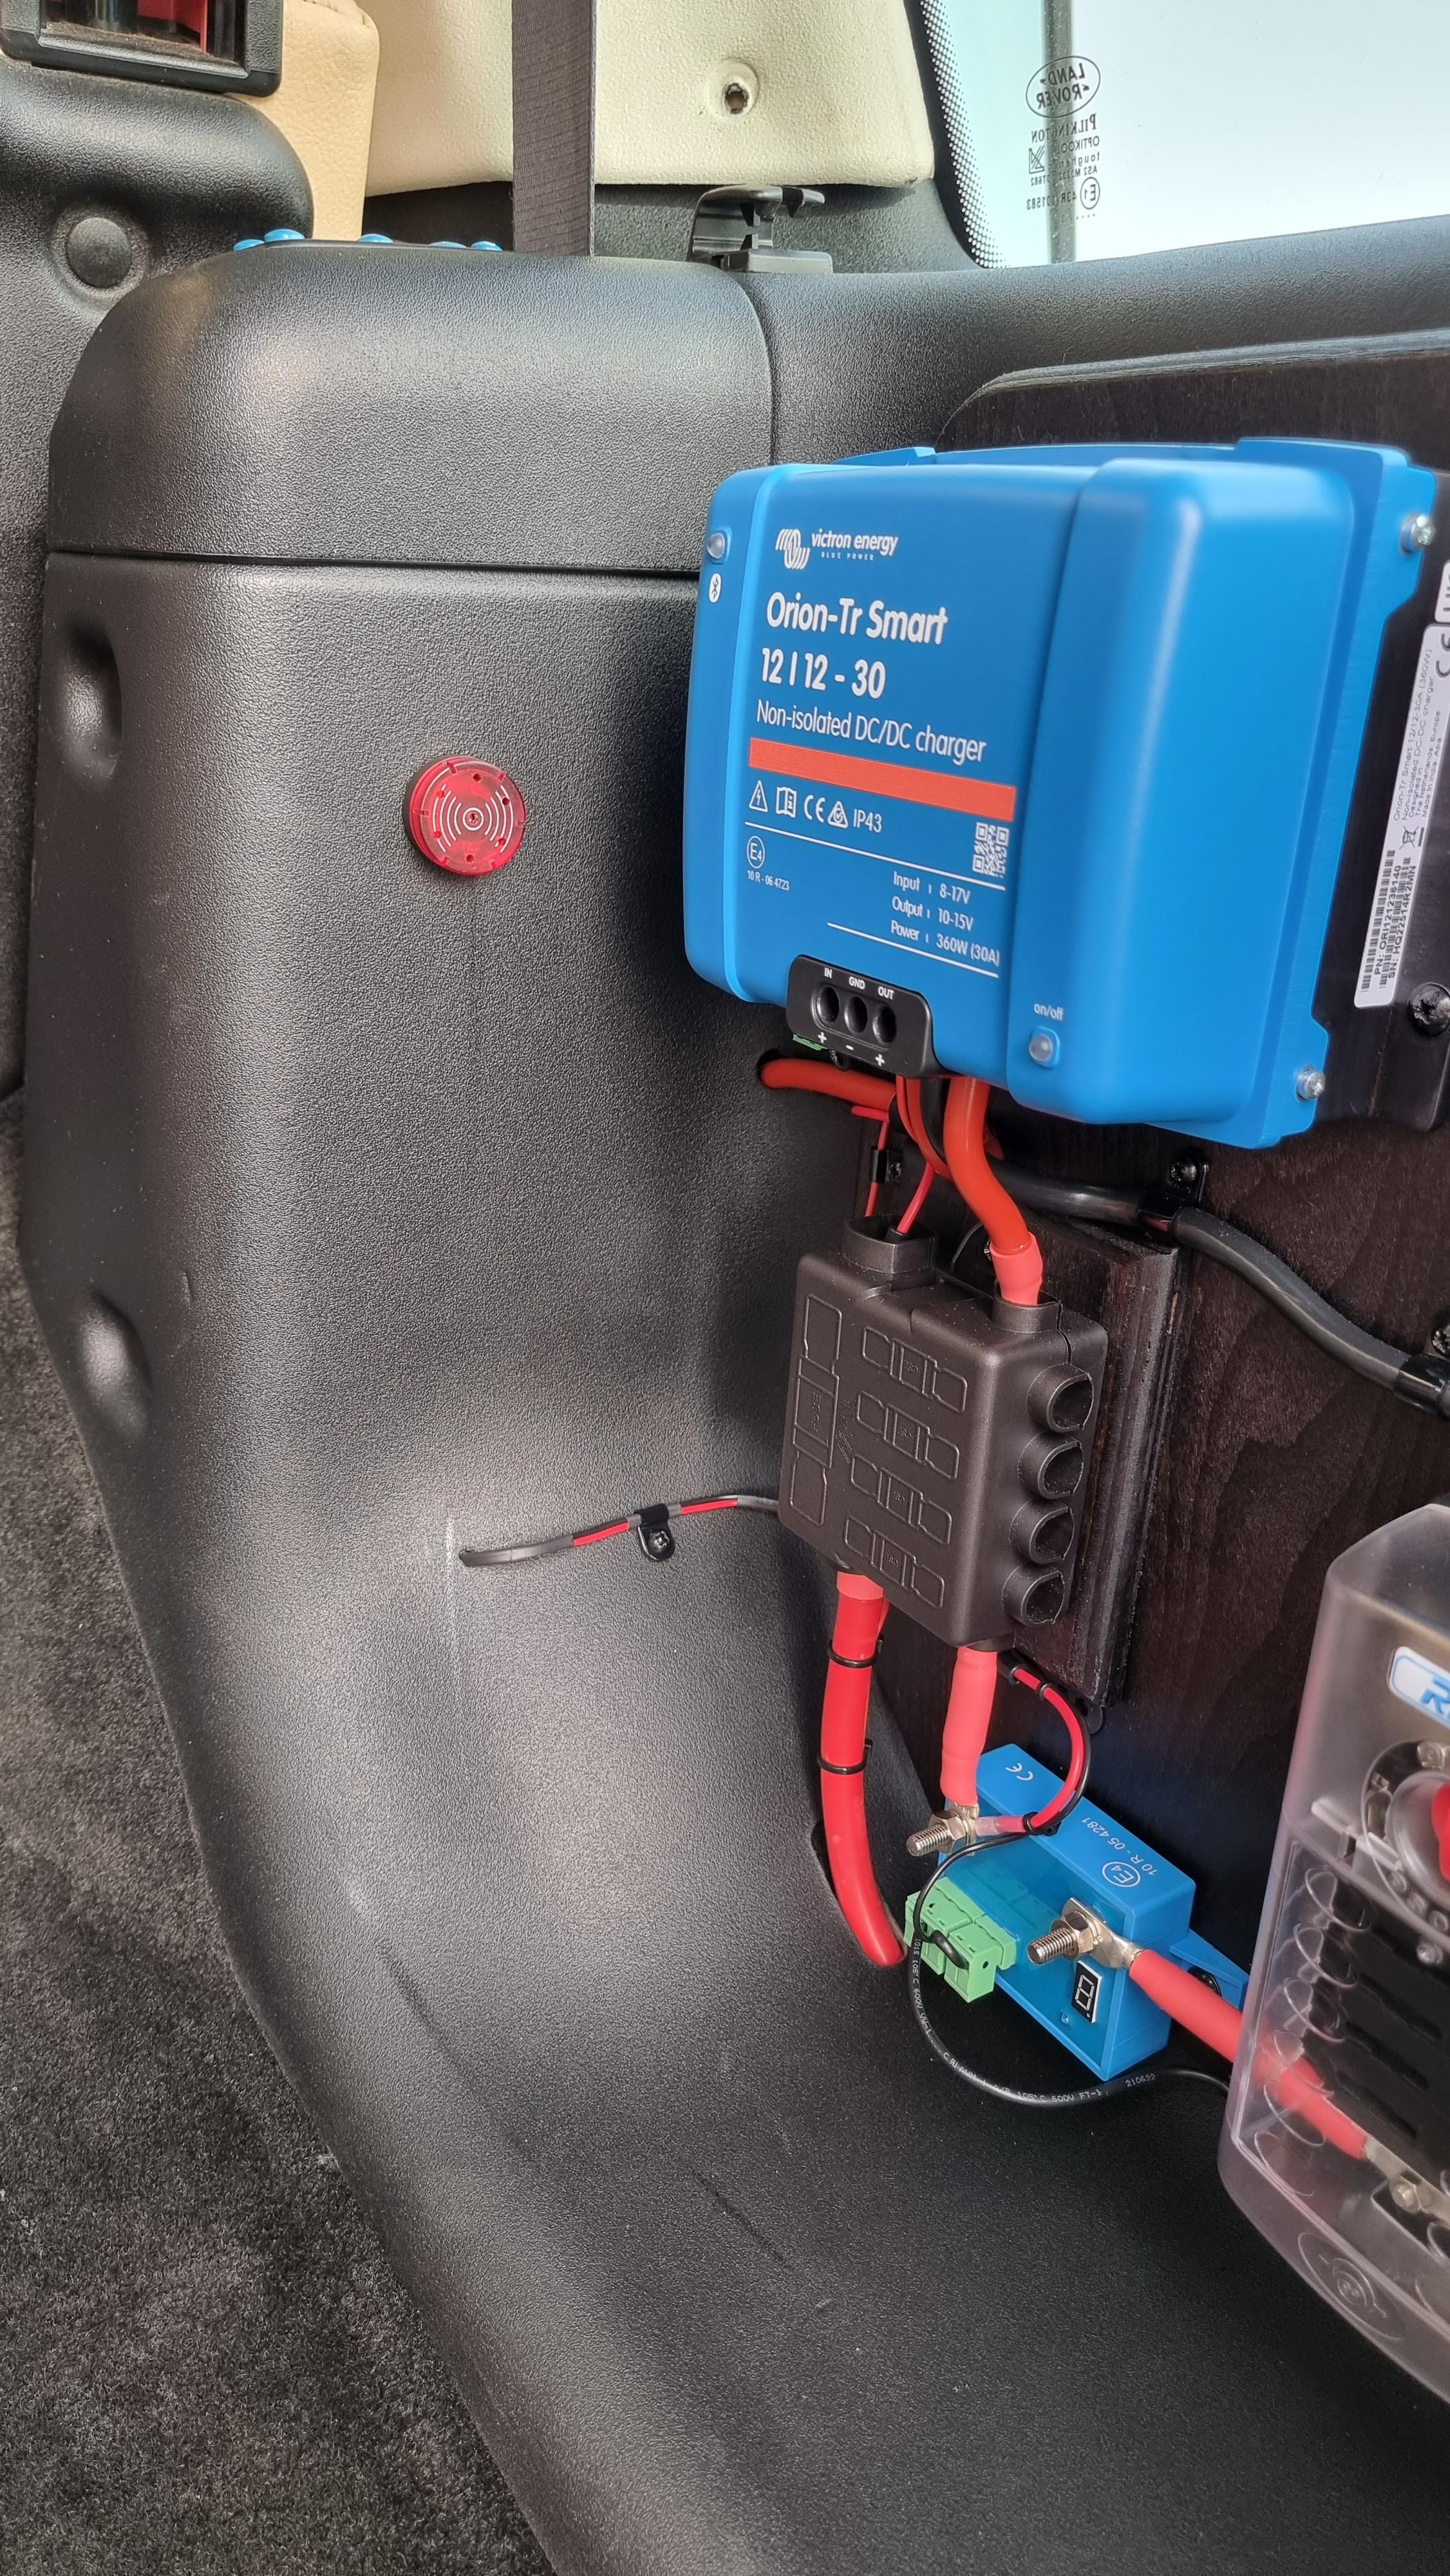
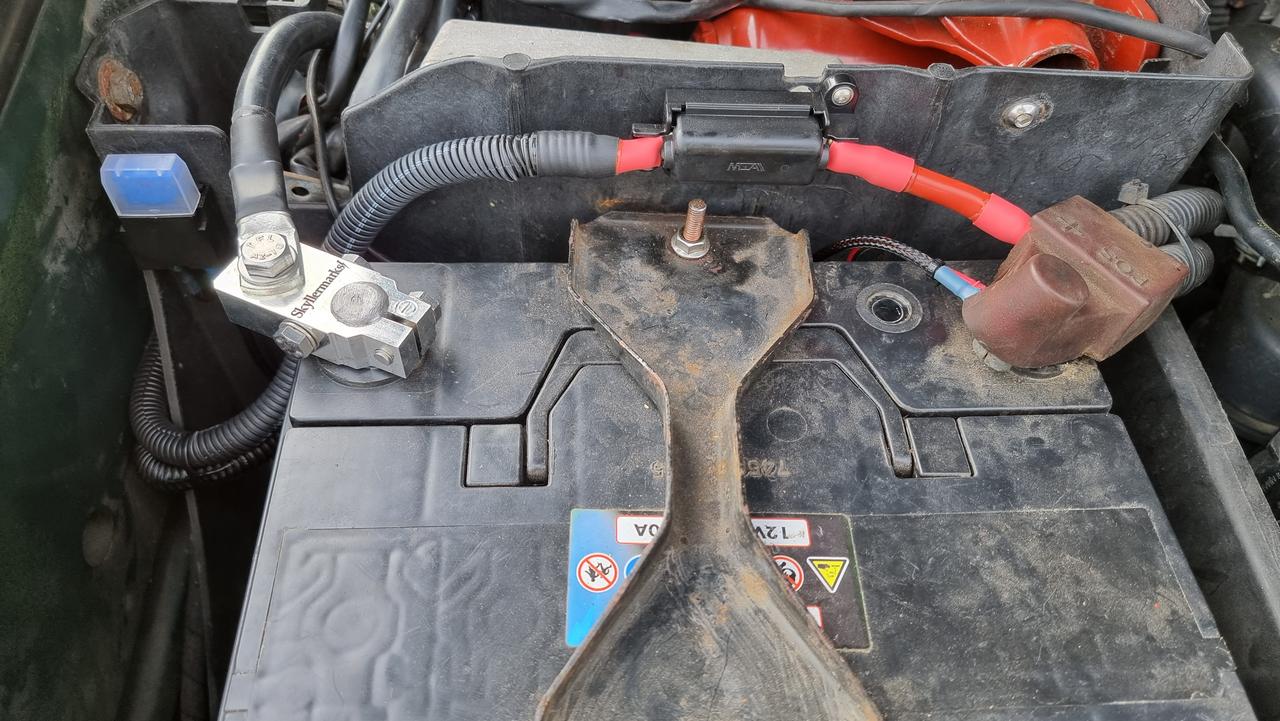
Next I installed the new hose and fittings from the LPG reducer in the engine bay back to above the rear prop (where the non return t is fitted) I the installed the wiring from both tank locations to the engine bay. This is in a protective black corrugated conduit.
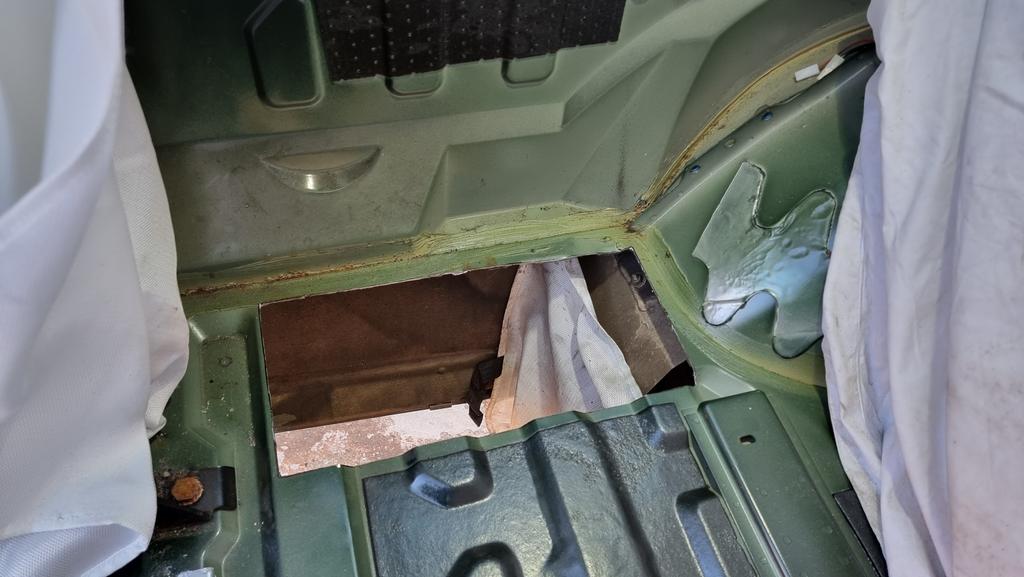
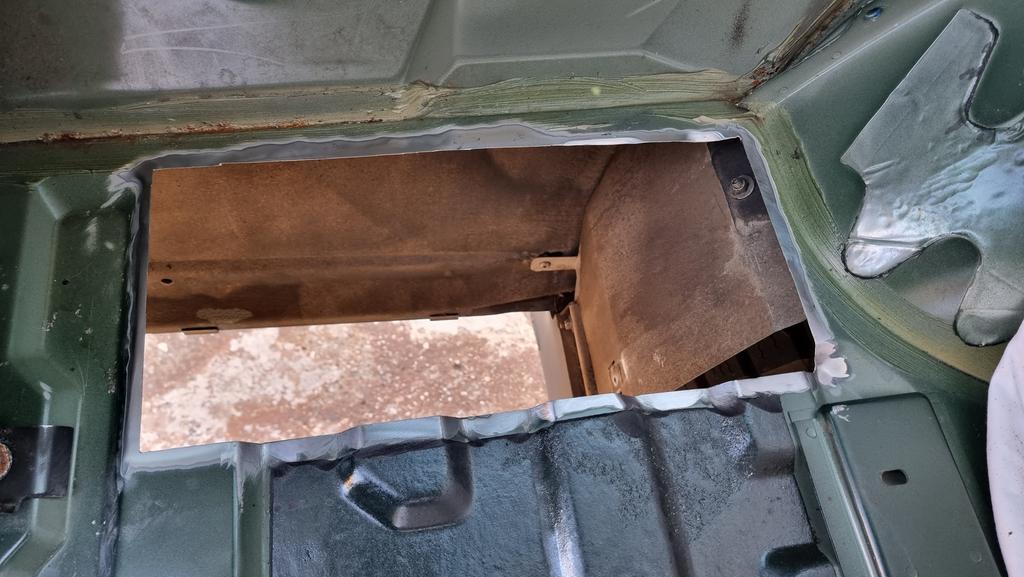
The passenger carpet and trim was the re installed.
Unfortunately after this was complete I realised the one of the seat bolts goes through the floor which I can no longer access! I will have to think of a good solution for this at a later date. For now it has 3 bolts. Before the drivers seat went in I welded the bolt in from underneath pointing up so its like a stud into the car. Perfect. Wish I had done the passenger side. I might have to weld a stud in from inside to fix the other seat.

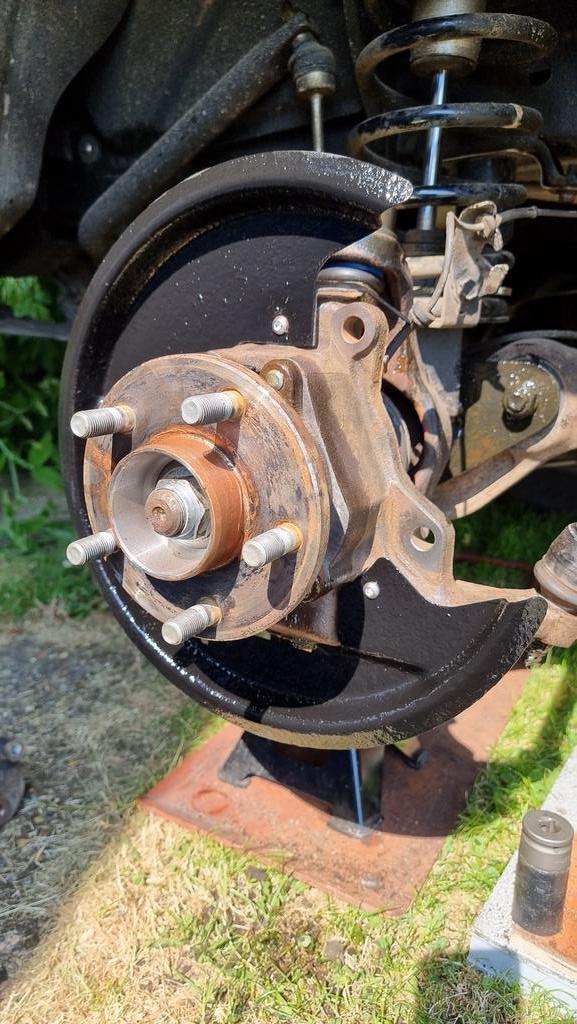
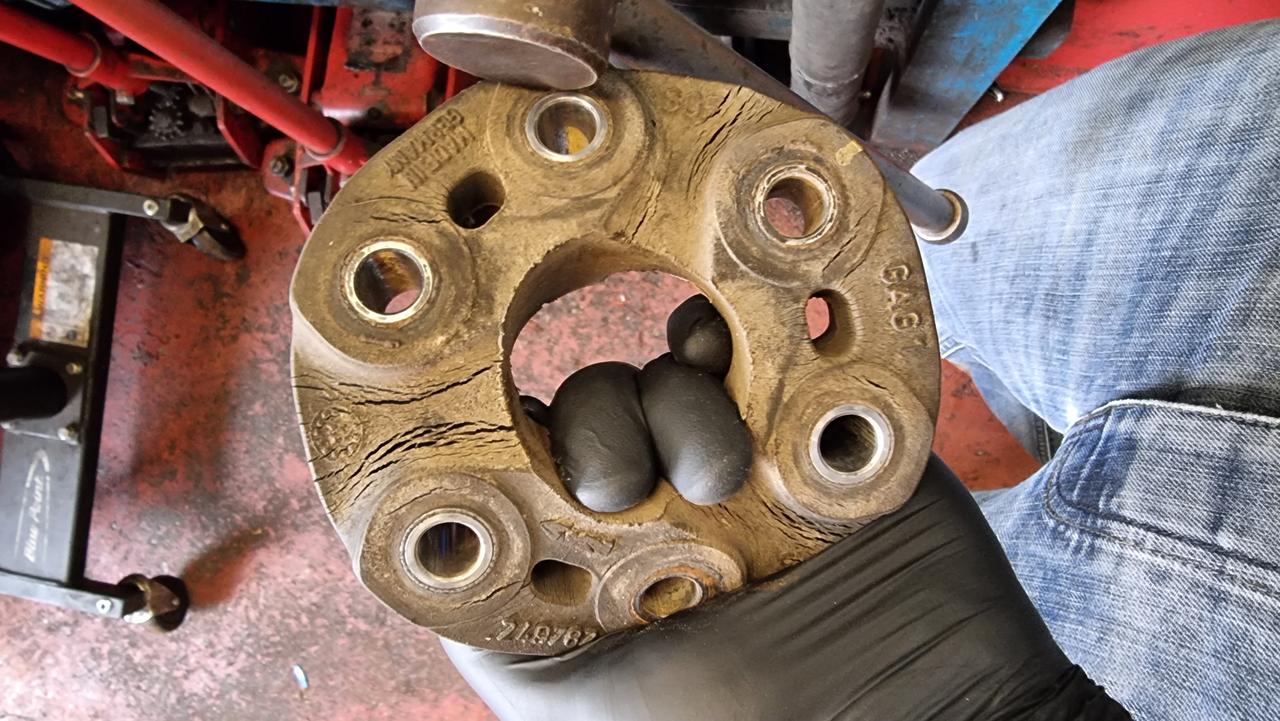
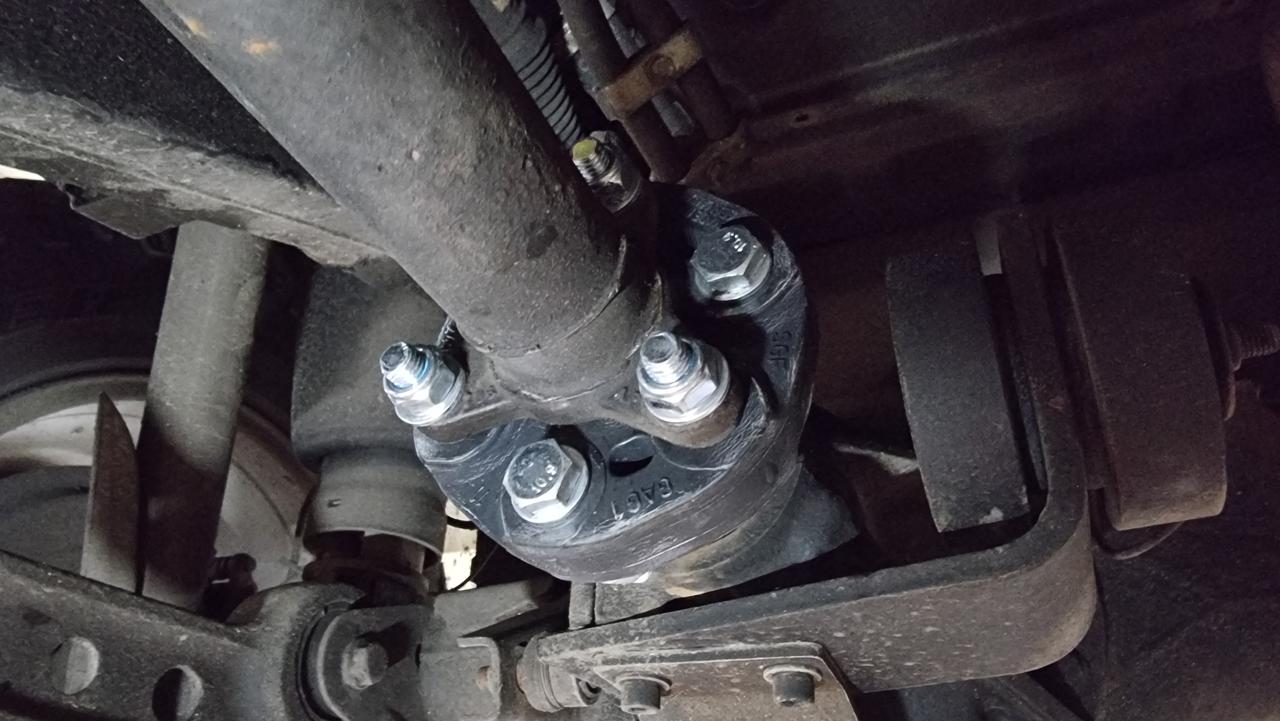
Then it was ready for a test fit of the drivers side. This was a massive pain. Much tighter because of the ace block and my conversion the hydraulic hoses etc. I also found out that the ace accelerometer was in the way and stopped the tank going up to the floor. This had to be relocated. I took a measurement of the installed angle to make sure it went back to exactly the same angle. I drilled out the 2 rivets and moved it left reusing one of the original holes. One new hole later and a couple of rivets and job done reading the same installed angle as before.
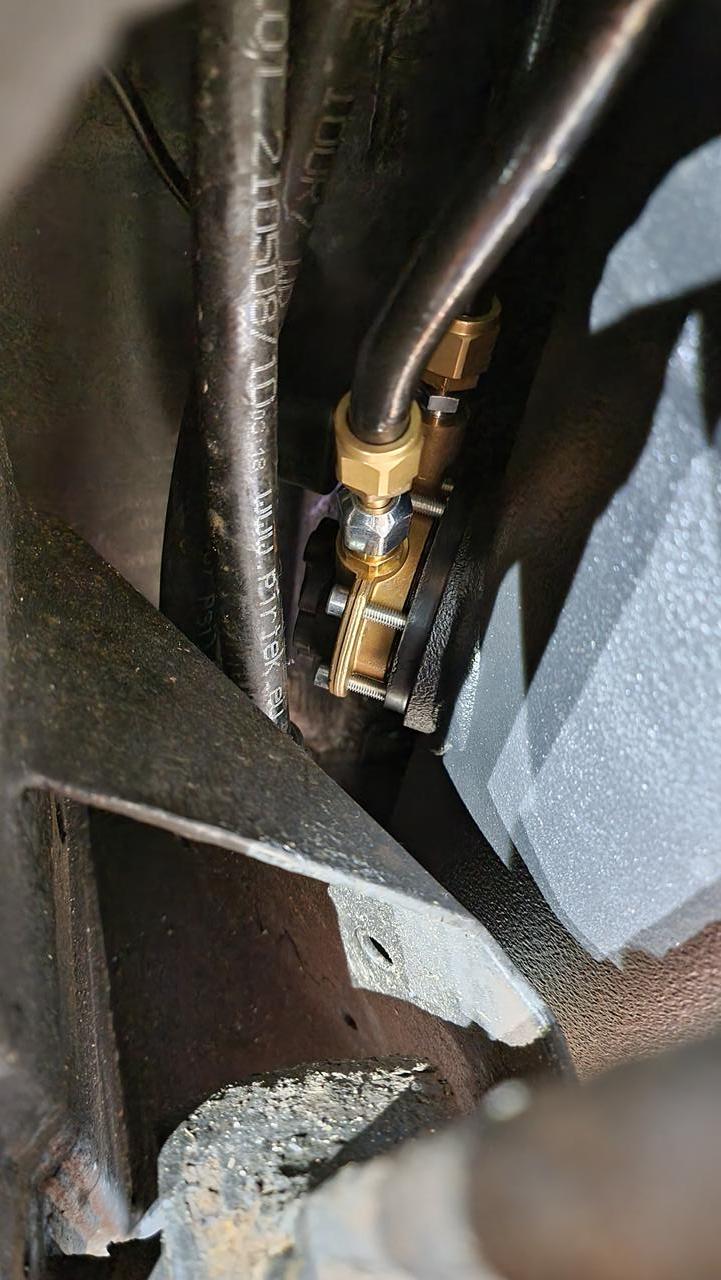
I pre run in the other hoses and wiring and then fitted the other multi valve into the tank. Its so so so tight with everything. It was much harder than the other side especially when you're trying not to scratch anything!! The multivalve installed position was right where my ace pipe run and didn't look this there was enough room for it all to fit. There was only one way to find out. This had to be done completely different to the other side. One bracket had to be left loose hanging from the floor then you had to slide the tank in and lift and rotate etc to clear everything. It went in and just misses the relocated sensor and ace pipes! Very happy as had no idea on what I could do to make room etc.

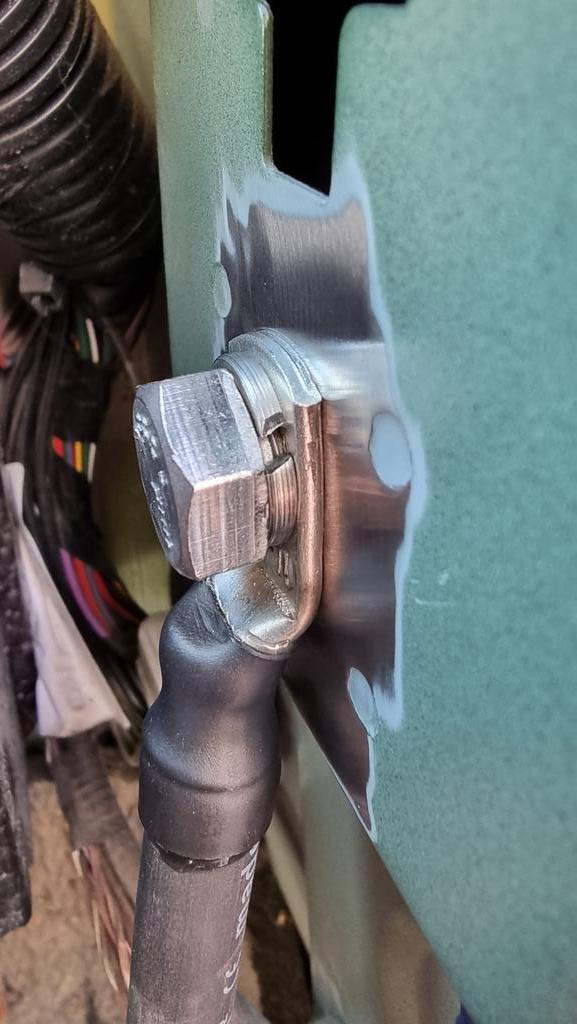
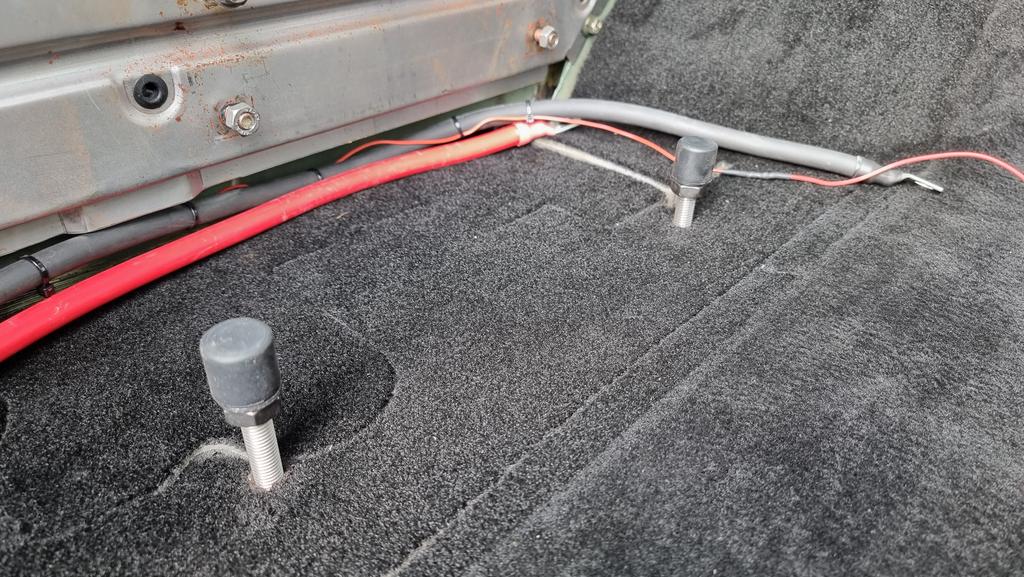
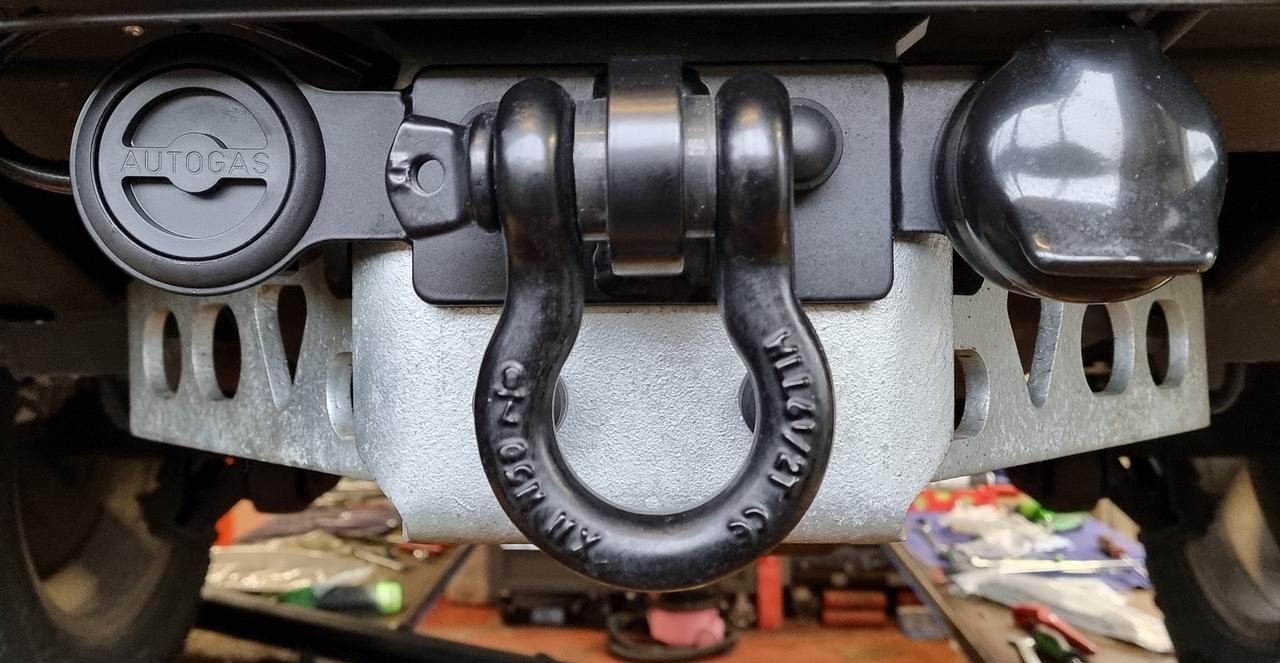
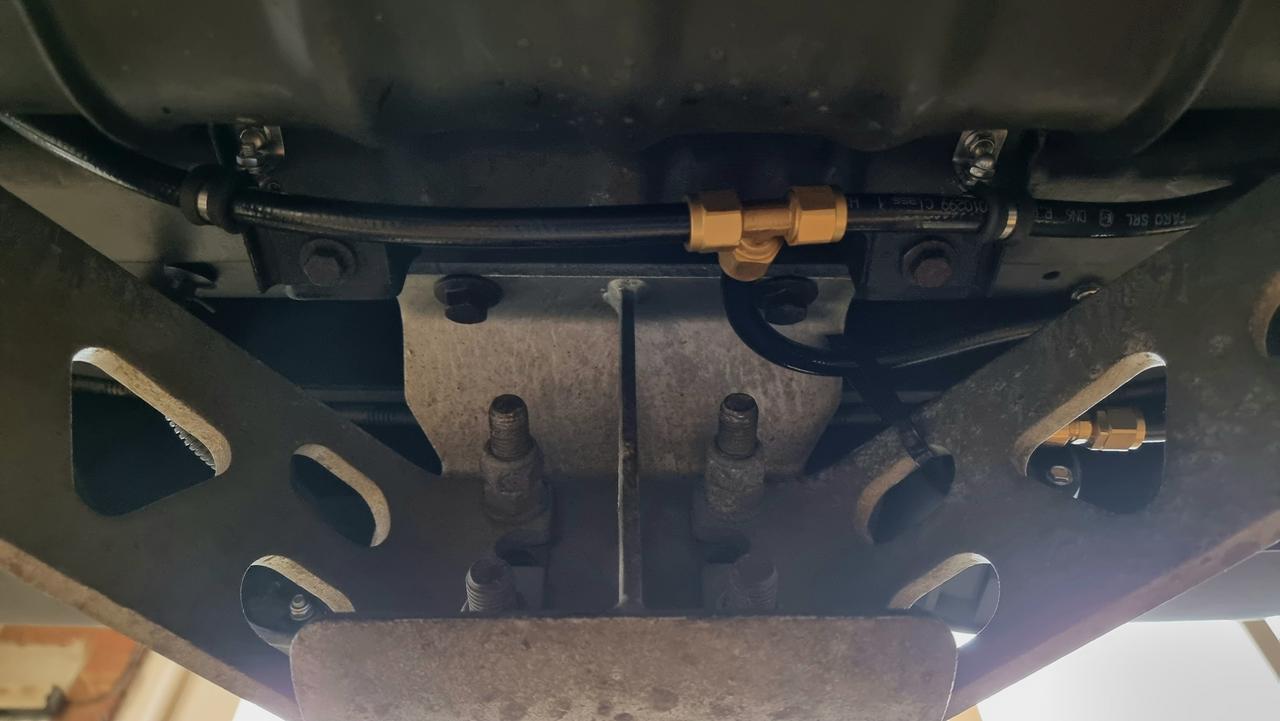
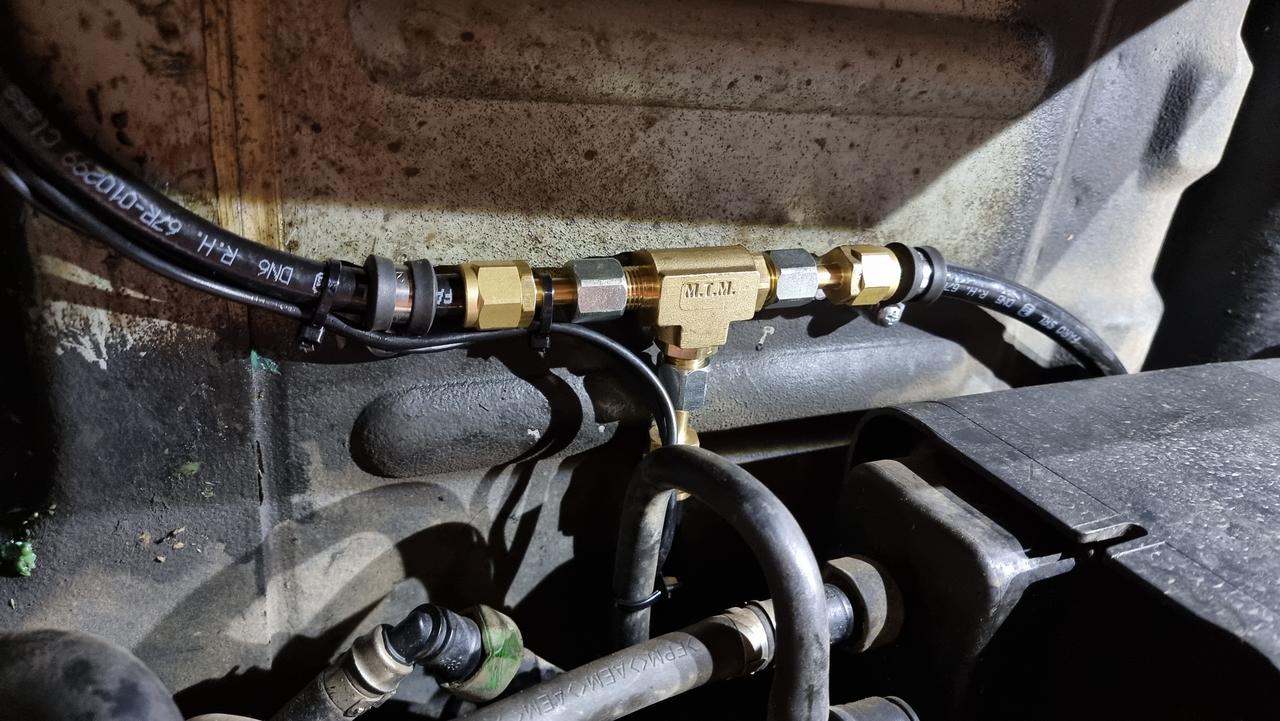
Then it was a case of mounting the non return t level and finishing off the plumbing.
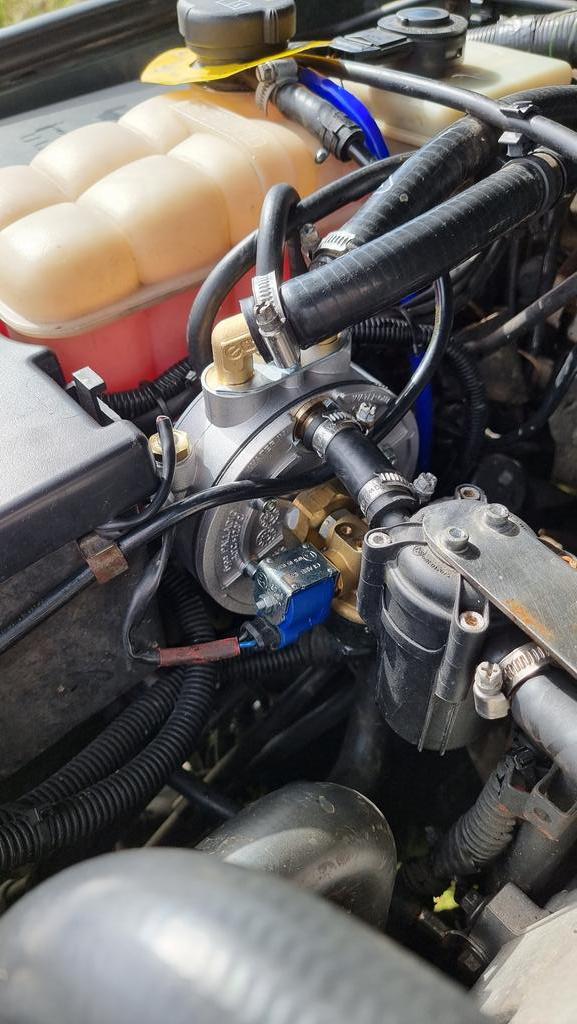
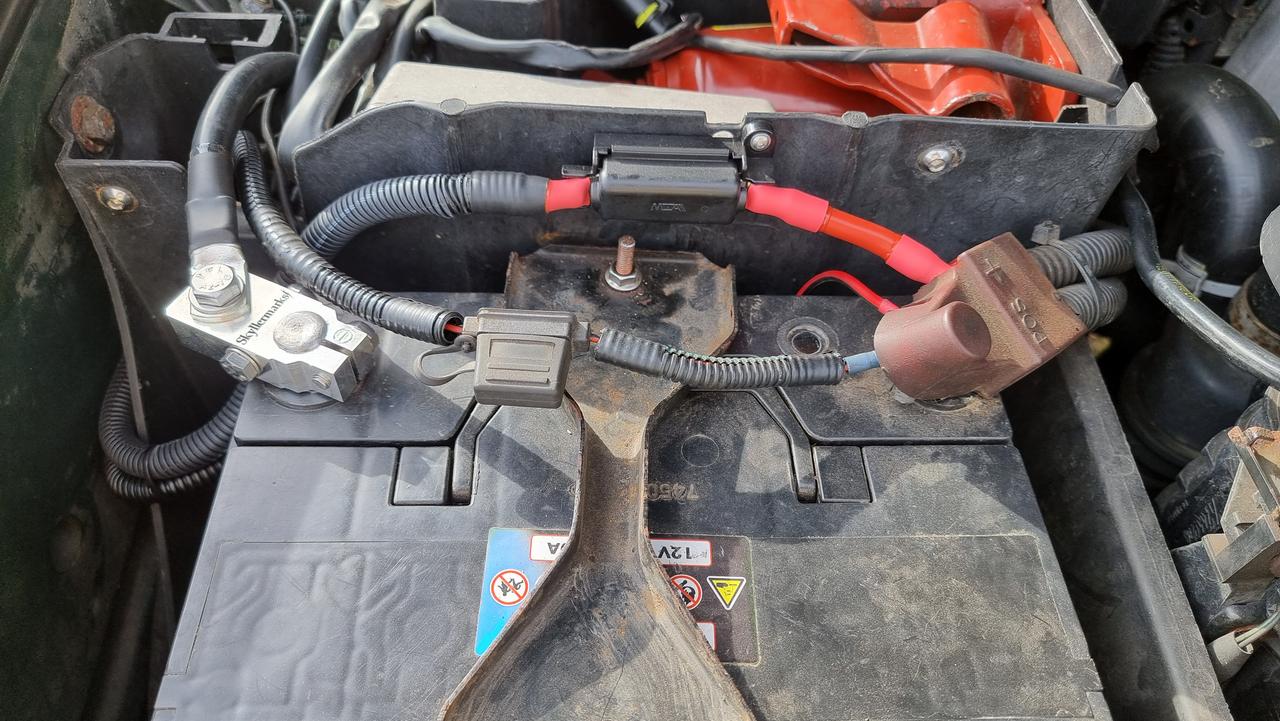
All that's left is to connect the wiring under the bonnet. When the rain finally stops I'll pop out and finish up.
The job was a right pain in the arse! Like fitting square tanks in a round hole!! So seats, amps etc out and a good hoover then some planning on where to drill the holes through the floor. Worked out where the brackets should go then it was test fitting of the passenger tank.
The tanks diameter is 200mm but the trailing arm bolt heads and the sill gap is less than that which make it a pain. You have to feed it in at an angle at one end and slide it fully one way then lift the other end and slide it back into position. It fits but is very tight. This was without the valve fitted into the tank! While into position I rotated the tank to the required 30 degrees for the multivalve and tightened the brackets up. I also marked the bolts (that go through the floor) so I can cut them to the correct length ready for the final fit.
Next I installed the multi valve on the tank and the new hoses and wiring for the passenger tank on the landy.
Lifted the tank into place and used some strengthening plates to sandwich the floor between the plates and brackets. The holes was painted and filled with rtv before fitting the plate and nuts. Happy days. Once in place I installed and secured the hoses to the rear. The filler and associated bits were fitted and the passenger tank plumbed in.
Next I installed the new hose and fittings from the LPG reducer in the engine bay back to above the rear prop (where the non return t is fitted) I the installed the wiring from both tank locations to the engine bay. This is in a protective black corrugated conduit.
The passenger carpet and trim was the re installed.
Unfortunately after this was complete I realised the one of the seat bolts goes through the floor which I can no longer access! I will have to think of a good solution for this at a later date. For now it has 3 bolts. Before the drivers seat went in I welded the bolt in from underneath pointing up so its like a stud into the car. Perfect. Wish I had done the passenger side. I might have to weld a stud in from inside to fix the other seat.
Then it was ready for a test fit of the drivers side. This was a massive pain. Much tighter because of the ace block and my conversion the hydraulic hoses etc. I also found out that the ace accelerometer was in the way and stopped the tank going up to the floor. This had to be relocated. I took a measurement of the installed angle to make sure it went back to exactly the same angle. I drilled out the 2 rivets and moved it left reusing one of the original holes. One new hole later and a couple of rivets and job done reading the same installed angle as before.
I pre run in the other hoses and wiring and then fitted the other multi valve into the tank. Its so so so tight with everything. It was much harder than the other side especially when you're trying not to scratch anything!! The multivalve installed position was right where my ace pipe run and didn't look this there was enough room for it all to fit. There was only one way to find out. This had to be done completely different to the other side. One bracket had to be left loose hanging from the floor then you had to slide the tank in and lift and rotate etc to clear everything. It went in and just misses the relocated sensor and ace pipes! Very happy as had no idea on what I could do to make room etc.
Then it was a case of mounting the non return t level and finishing off the plumbing.
All that's left is to connect the wiring under the bonnet. When the rain finally stops I'll pop out and finish up.


 The mega heat wasn't nice though!! So happy they are finally done. The old ones were buggered.