Bone's V8 Disco 2 Build Log

This site contains affiliate links for which LandyZone may be compensated if you make a purchase.

Bone9

Well-Known Member
Posts
246
Location
Suffolk
Hi guys welcome to my V8 Disco 2 build log. Here I will update with repairs, maintenance and mods :)

It's a 2003 Epsom green 4.0I V8 ES Auto 7 seater LPG converted on 133k miles with full service history.

This is my first ever Landy or any 4x4, I usually have fast cars so is all new to me! My other vehicle is a tuned focus ST.

I bought him in October this year. Here's some pics!

YHY3rzp.jpg

s7ZFzmv.jpg

LZDtw53.jpg

9YMP7hl.jpg

EKmzqh1.jpg

XB65kC0.jpg

F7pM9bz.jpg

t9L34MI.jpg

rKnEeX7.jpg
 
As I've only just started this thread there has been a fair amount of work that has taken place! I'll d a quick list of some bits I've sorted then some more detail on the big stuff!

So far I've replaced...

LPG coolant temp sensor & vapour filters,
Throttle cable,
Rear wiper motor,
Front & rear wiper arms & blades,
OSR door lock,
OSR brake caliper, pads & fluid change,
Spal AC fan as the Land Rover one was seized solid!,
Power steering pipes,
Air filter.

Currently in the middle of finding/fixing the water leak in the roof! Headlining is out and have repaired all 4 drains and waiting for some decent weather to seal both sunroof frames to the roof. Need to test for more leaks also. There is water getting in at the top of the windscreen drivers side but not investigated yet.

I have a problem with the rear door subs, they sound blown but I've replaced the speakers and there is no change. So thought OK must be the amp, installed a second hand one but no change either. Bit stuck now, all other speakers sound fine.
 
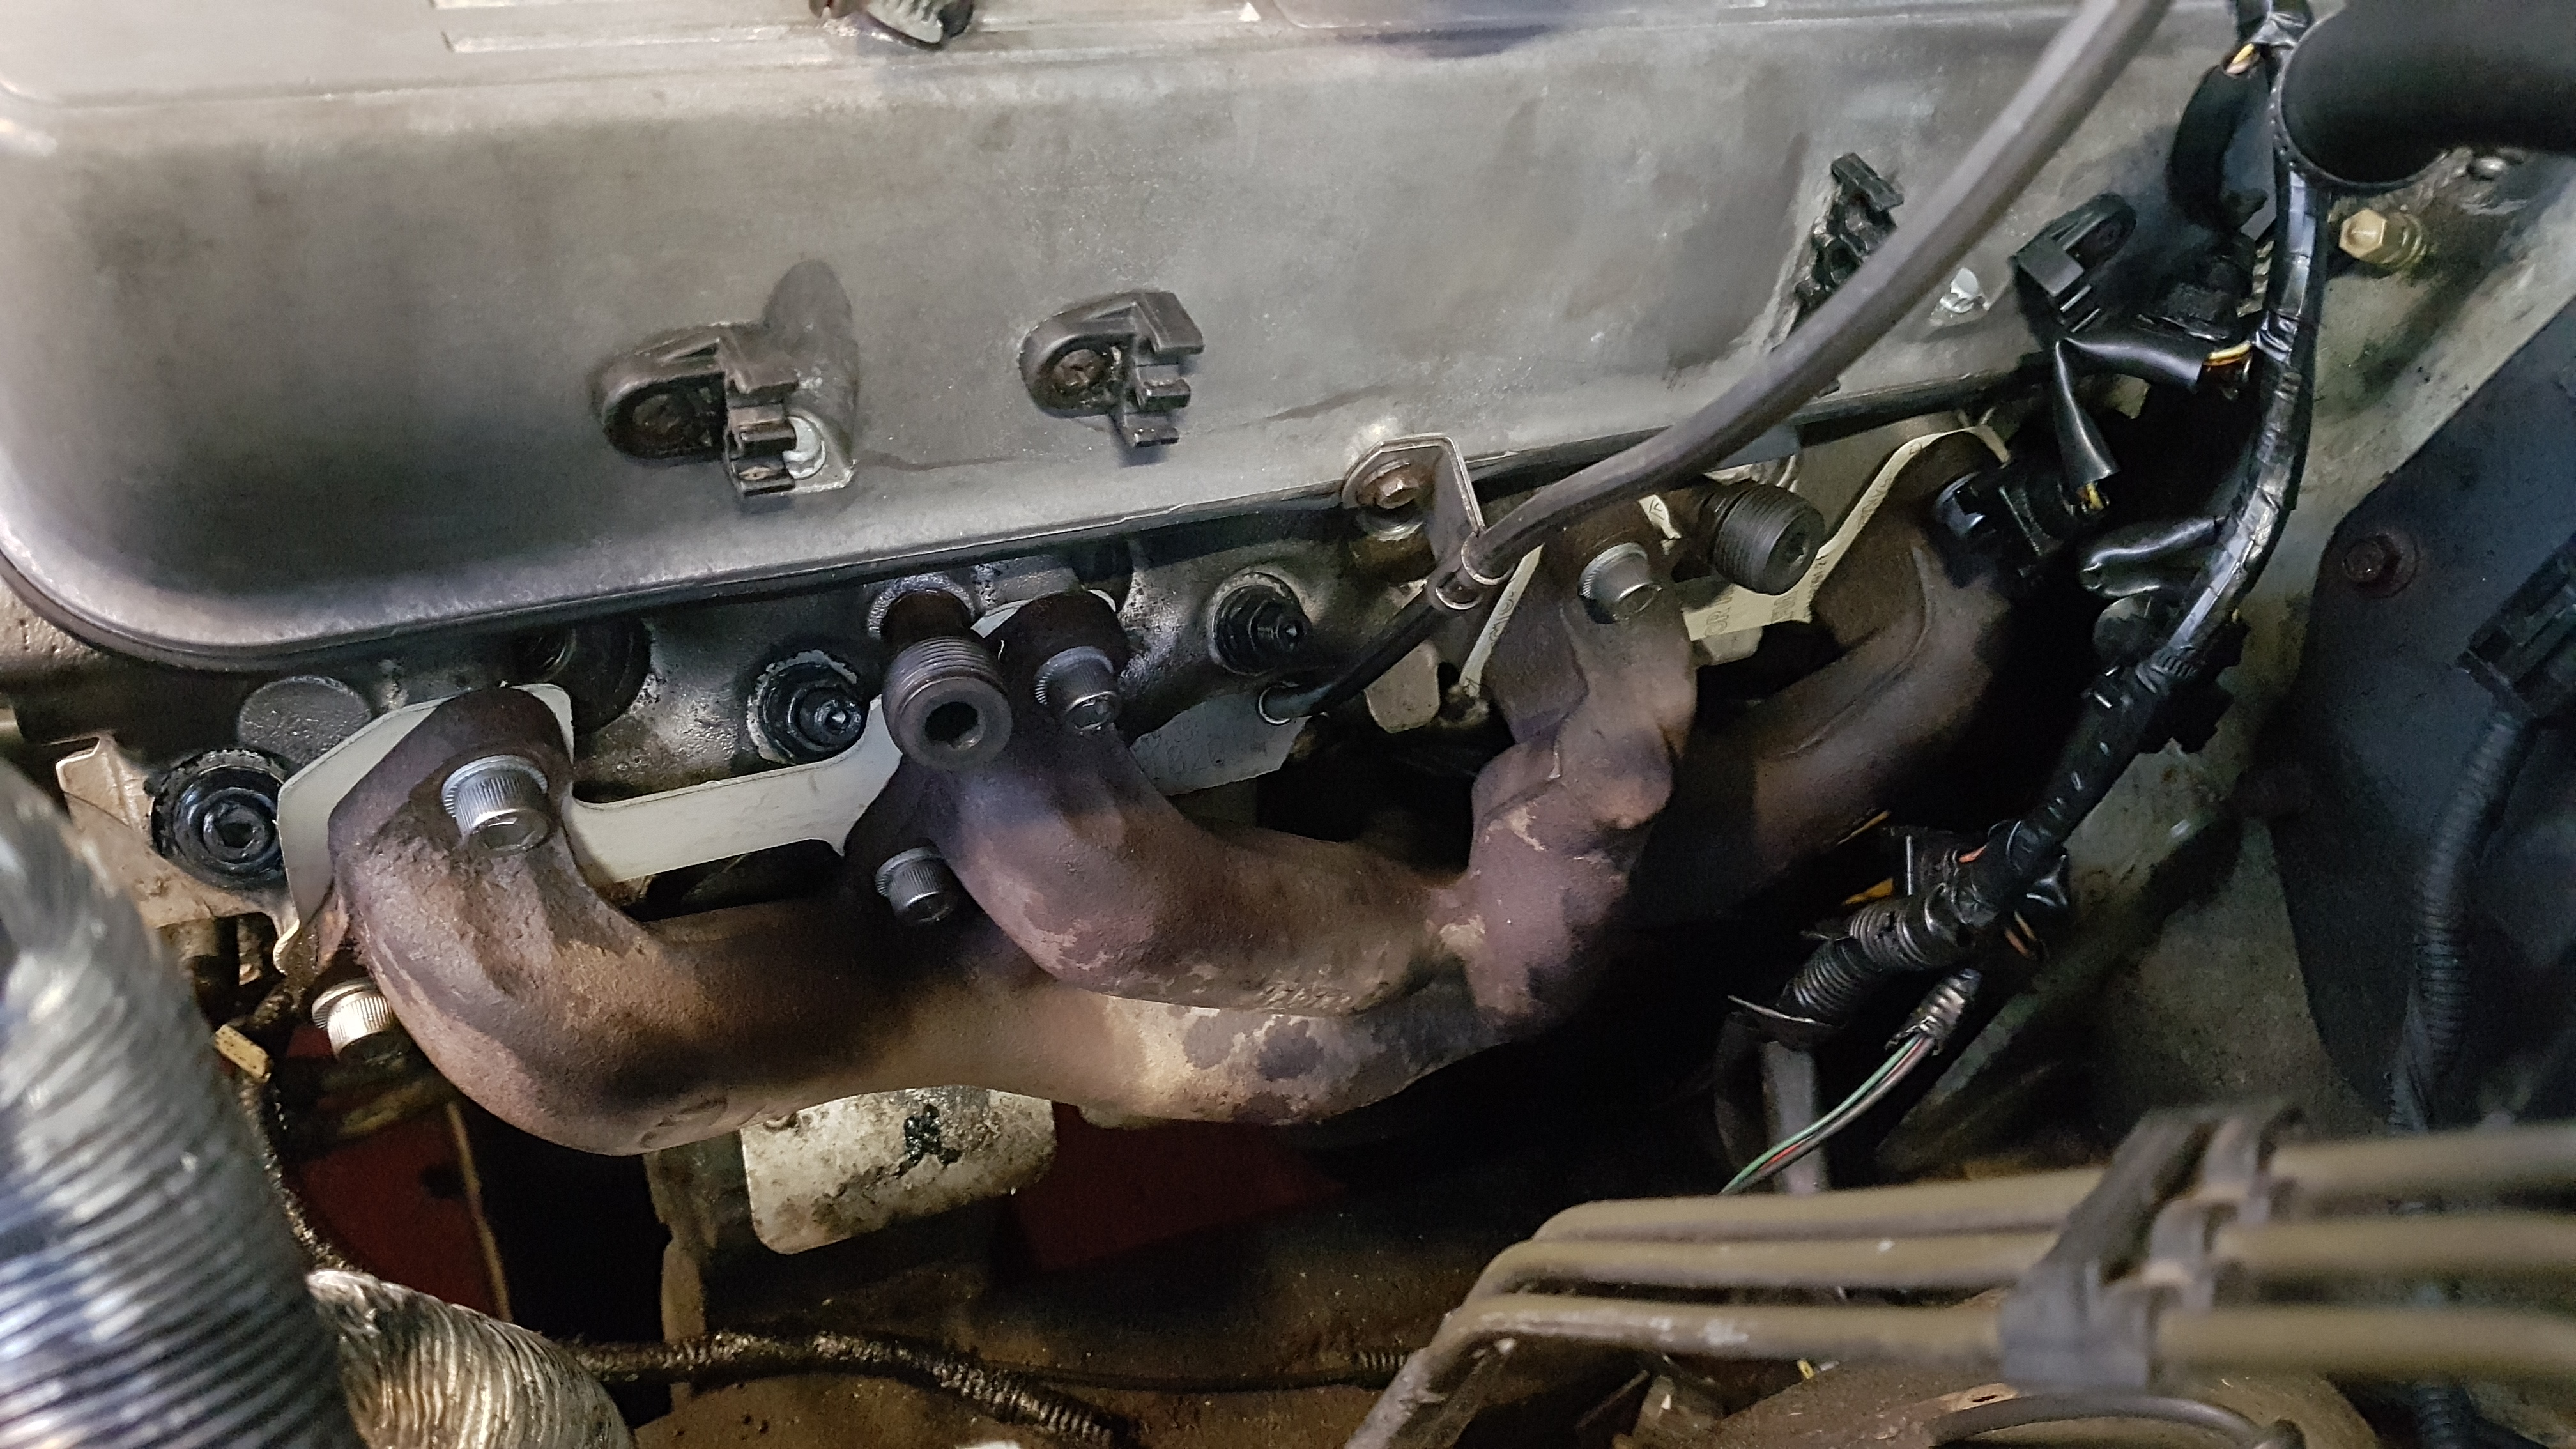
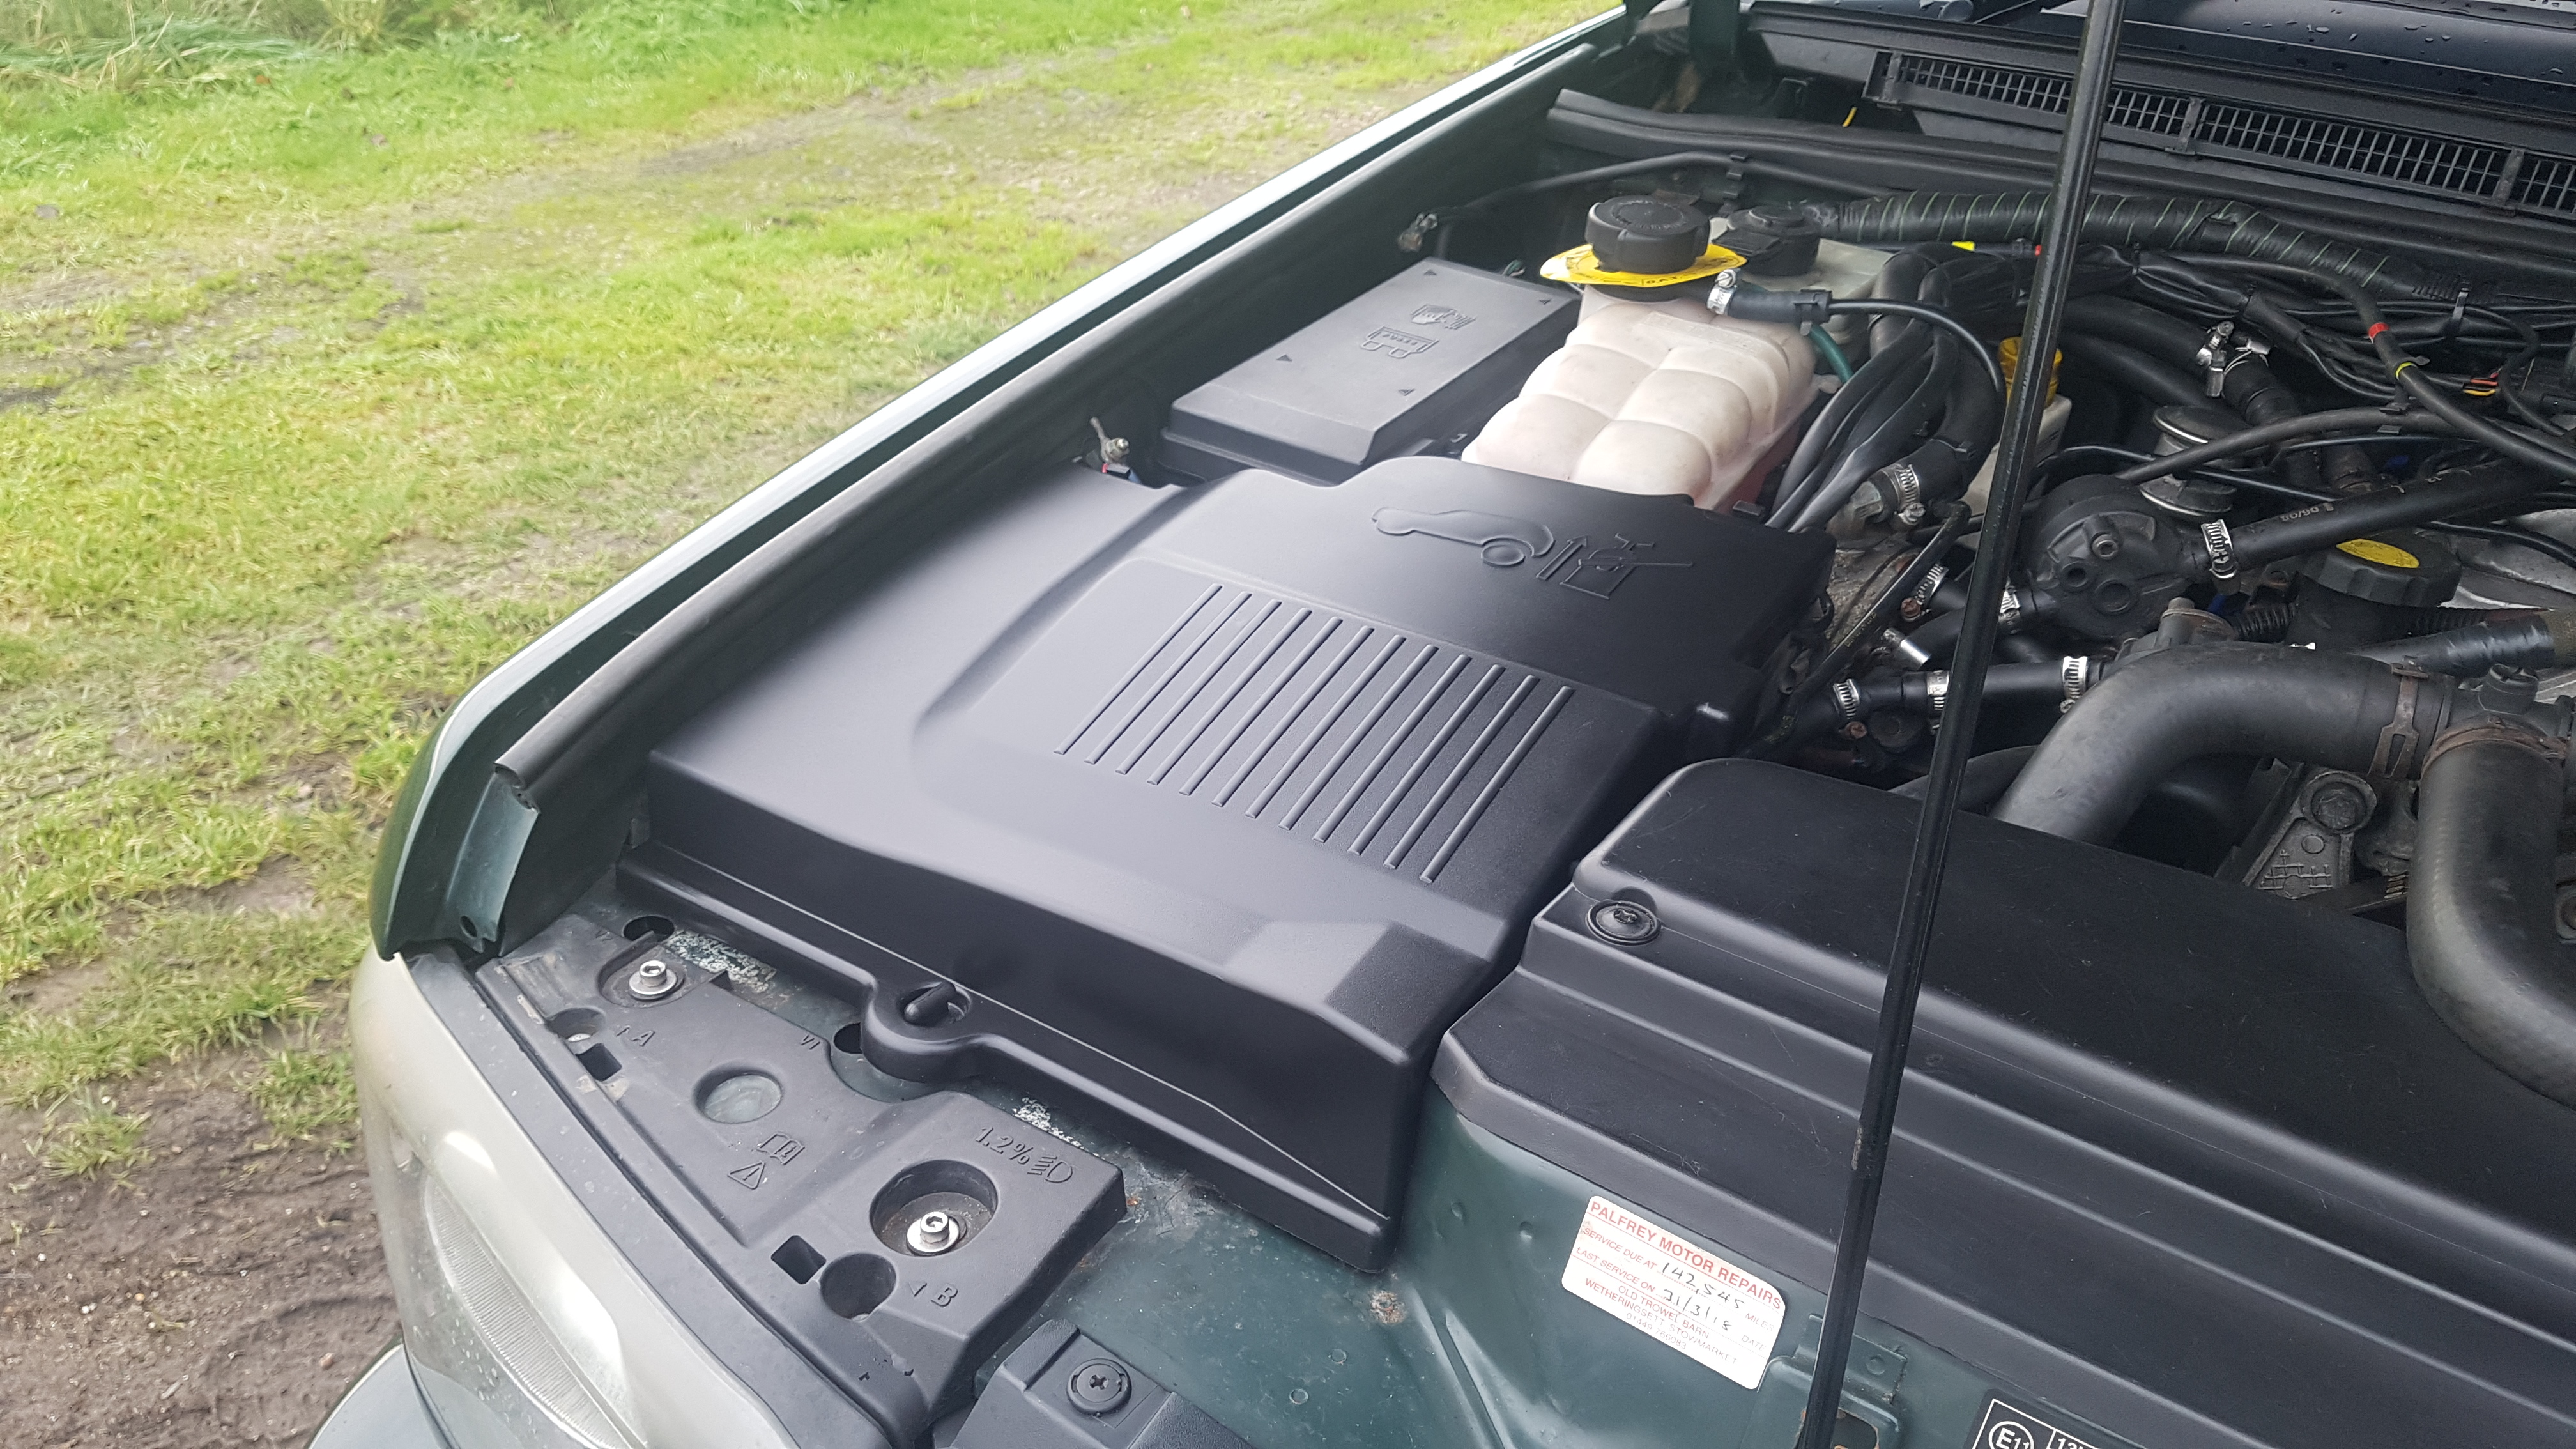
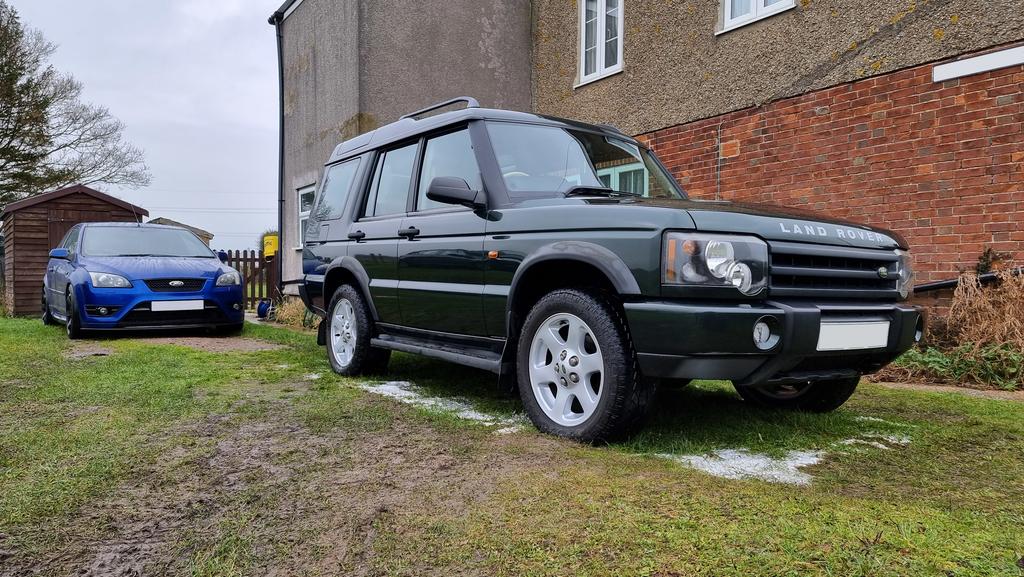
So not long after I bought the Landy he developed a funny noise underload, sounded like a belt squeaking or a bearing failing. Was a really weird one, got worse once hot. After some investigation I decided it was the OS exhaust manifold leaking. So some nice new stainless hex bolts, Nordlock washers and some gaskets from Real Steel we're ordered to complete the job. But before I could start the noise got much worse, much much worse!

The noise developed it to a constant ticking noise which was very loud under slight load. After another day of driving the very short distance to work the noise has transformed into a chuff chuff train like sound! This made me retire the Landy till I got it stripped down and checked out.
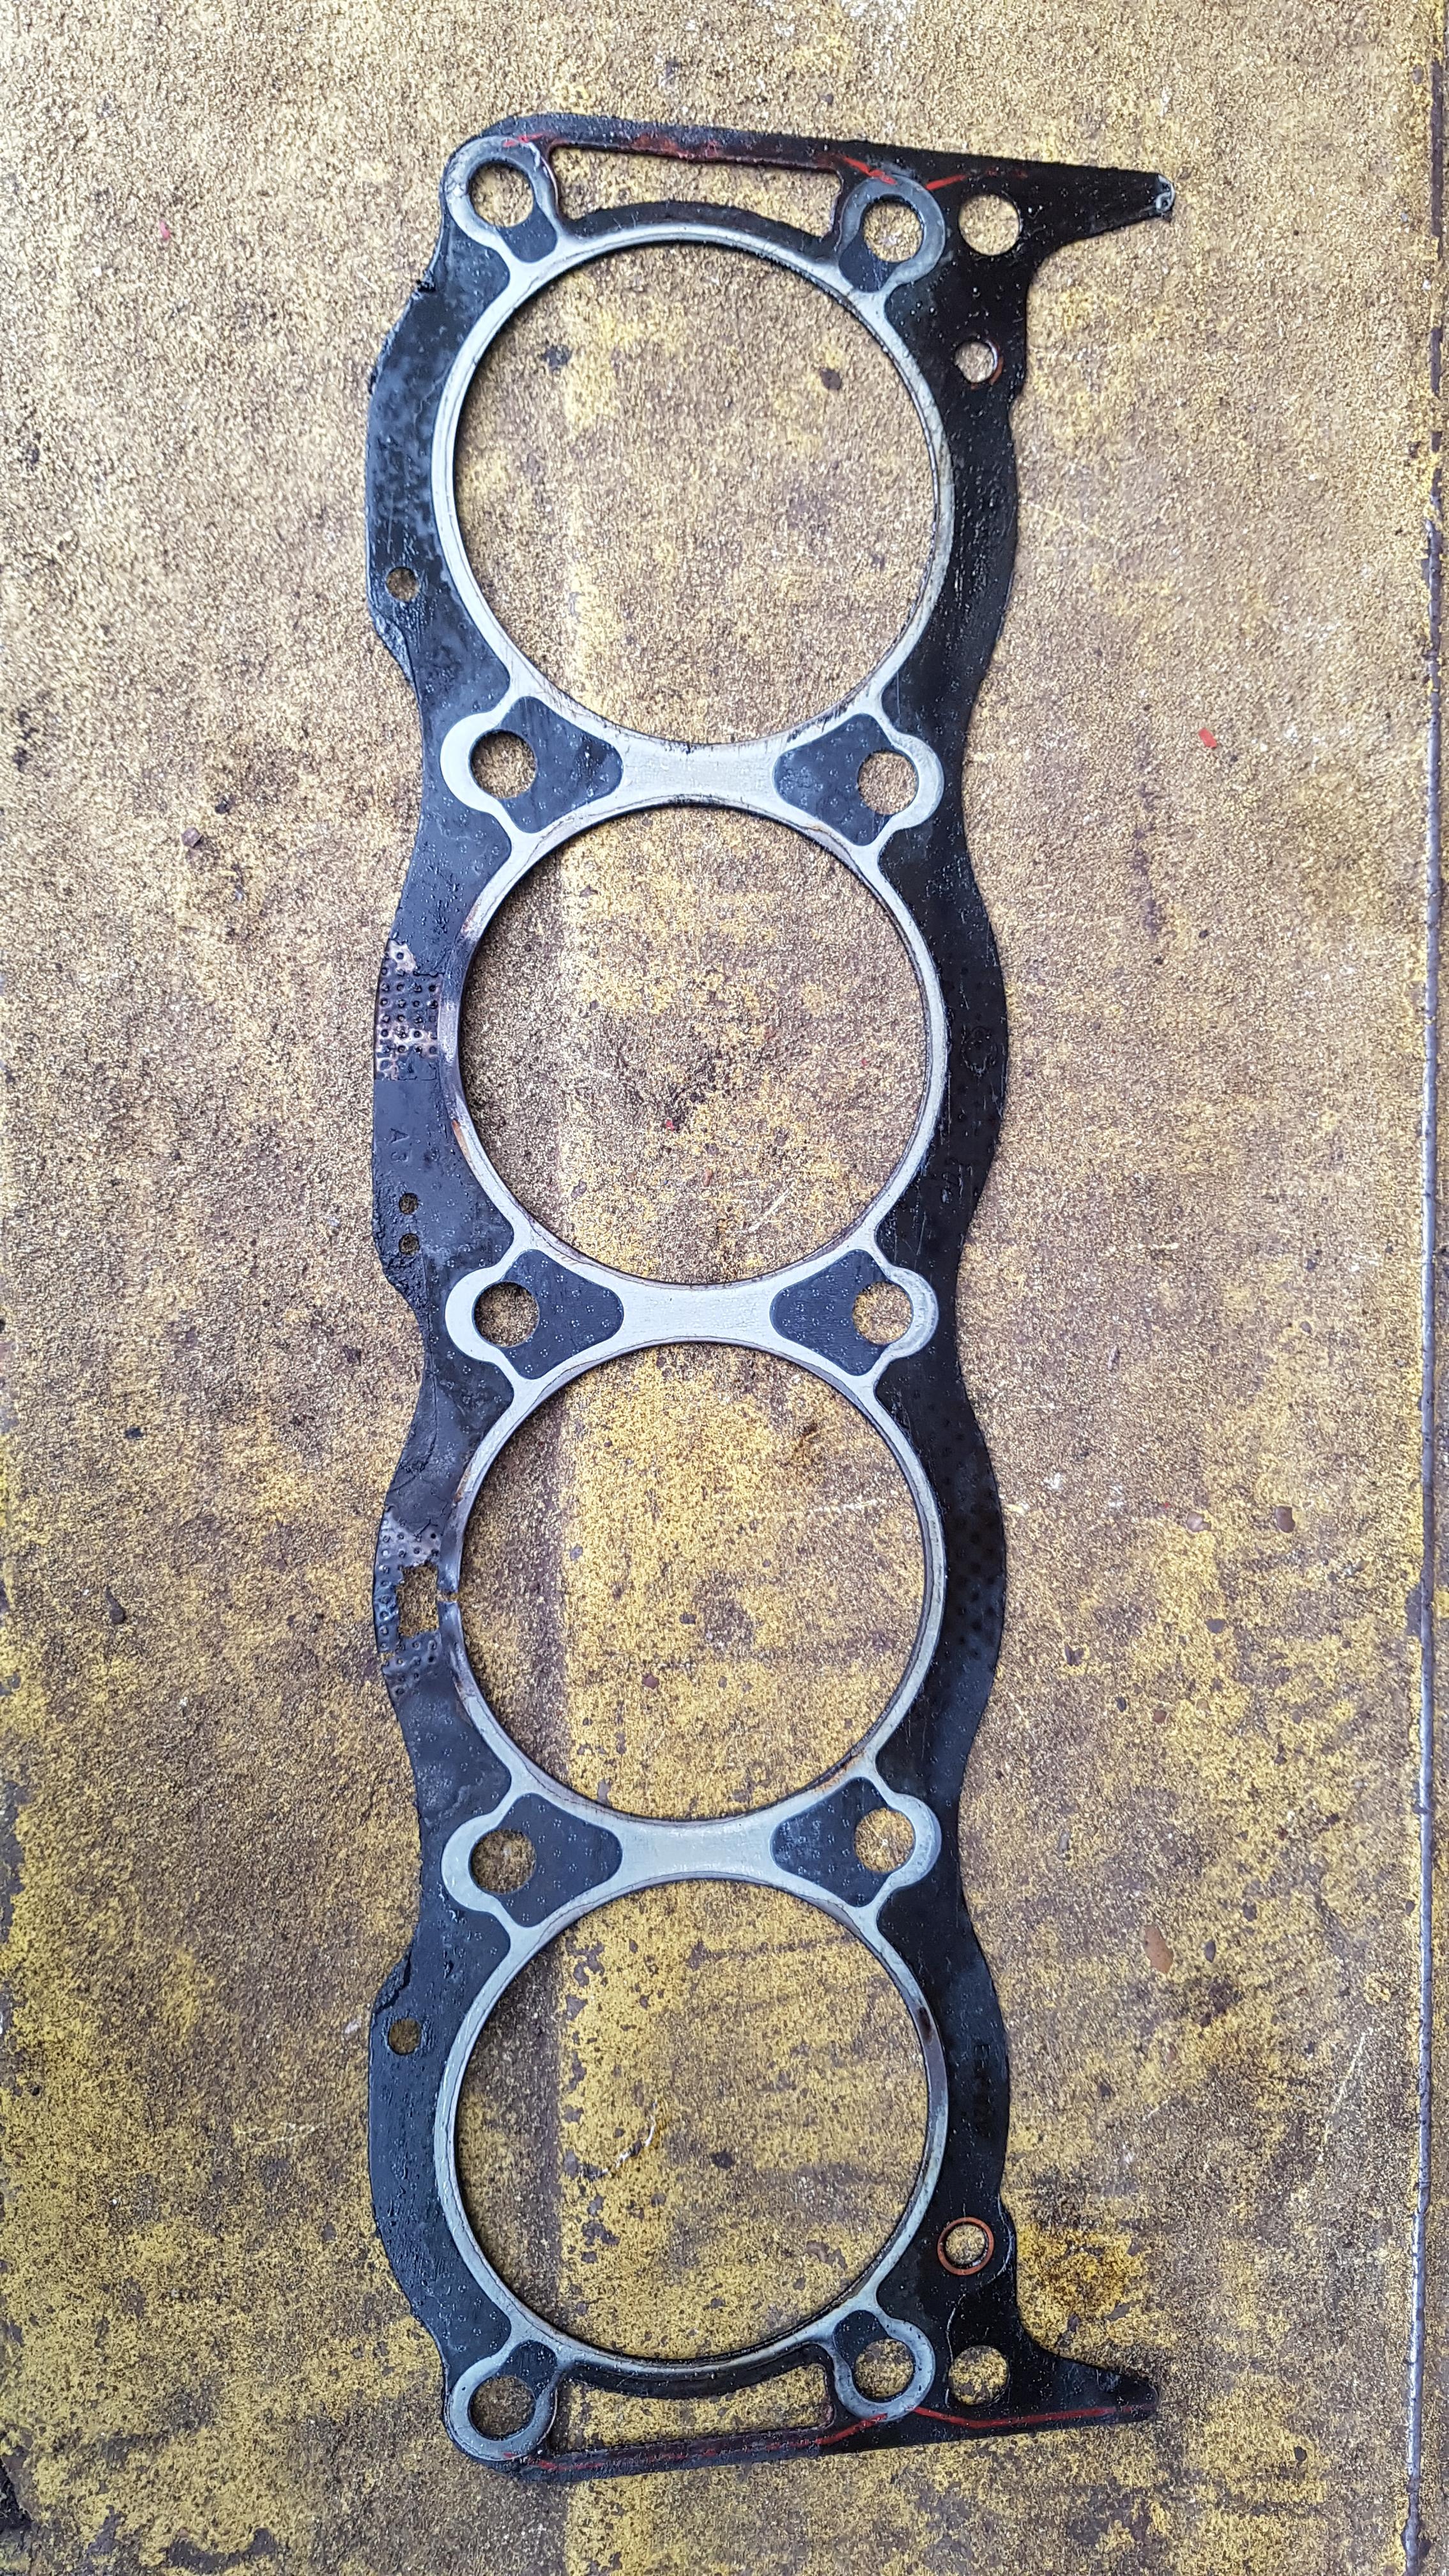
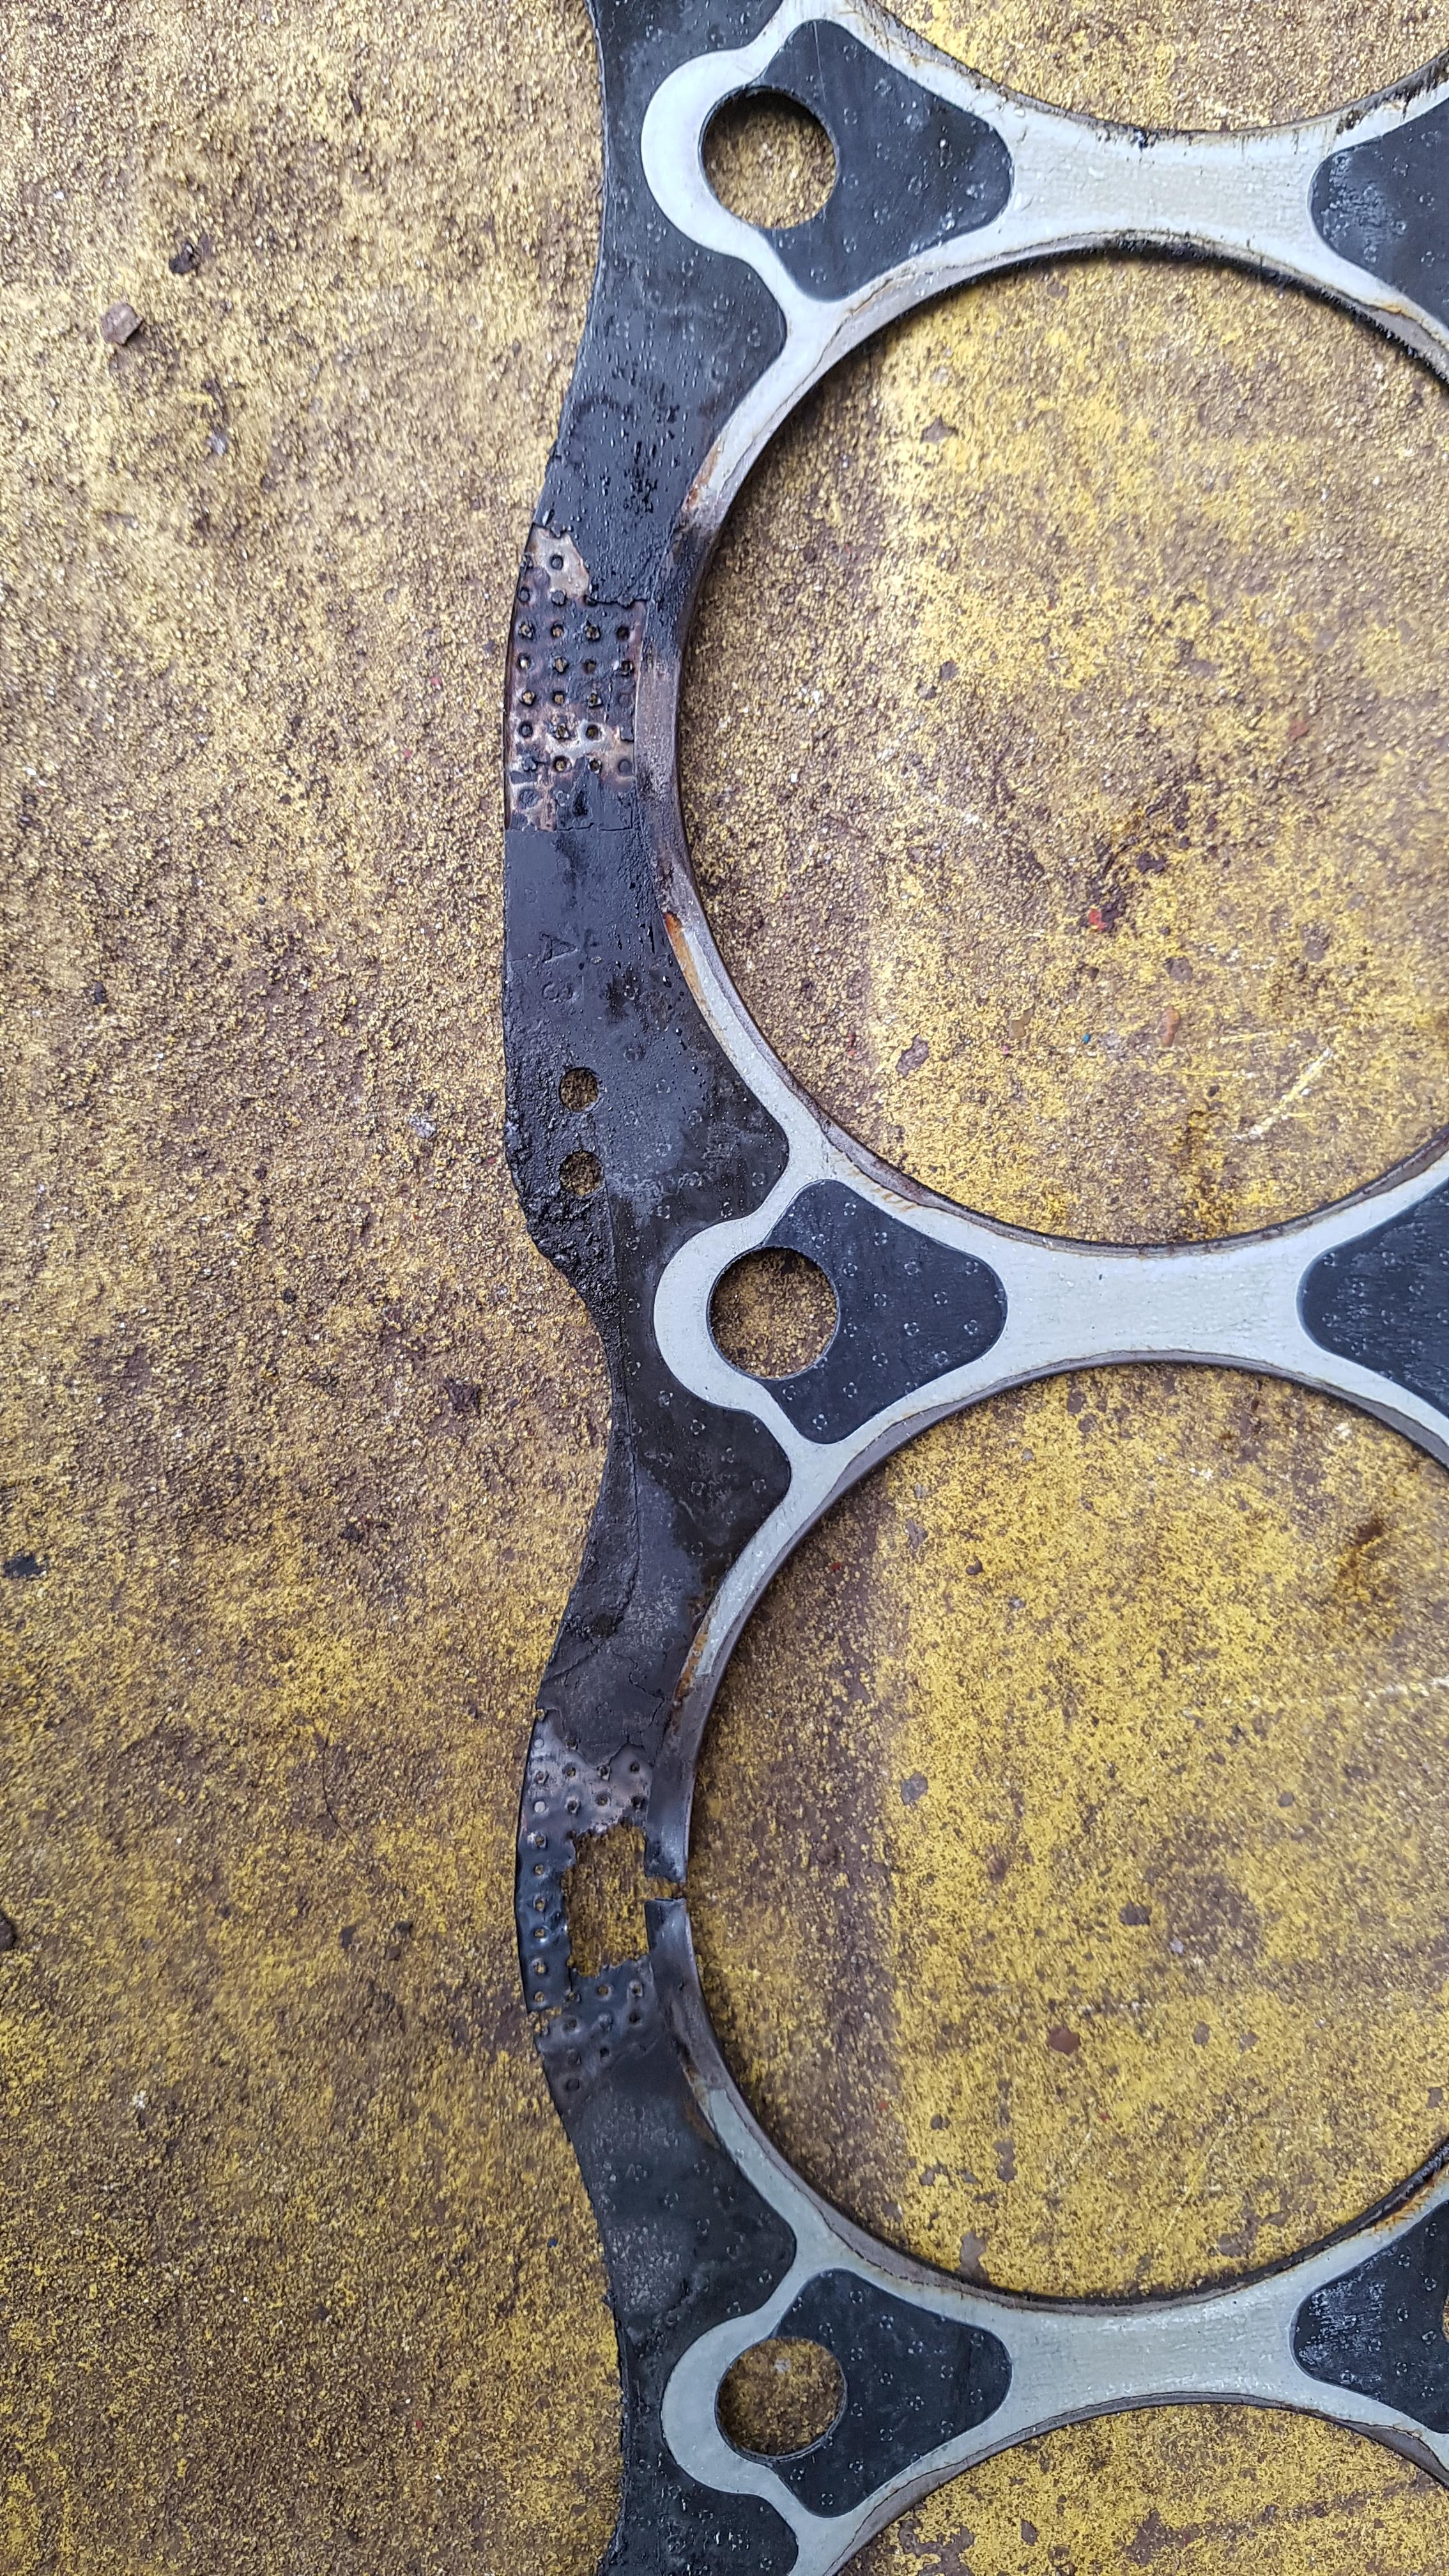
After a bit of research this has made me think it might of blown the headgasket straight out of the side!

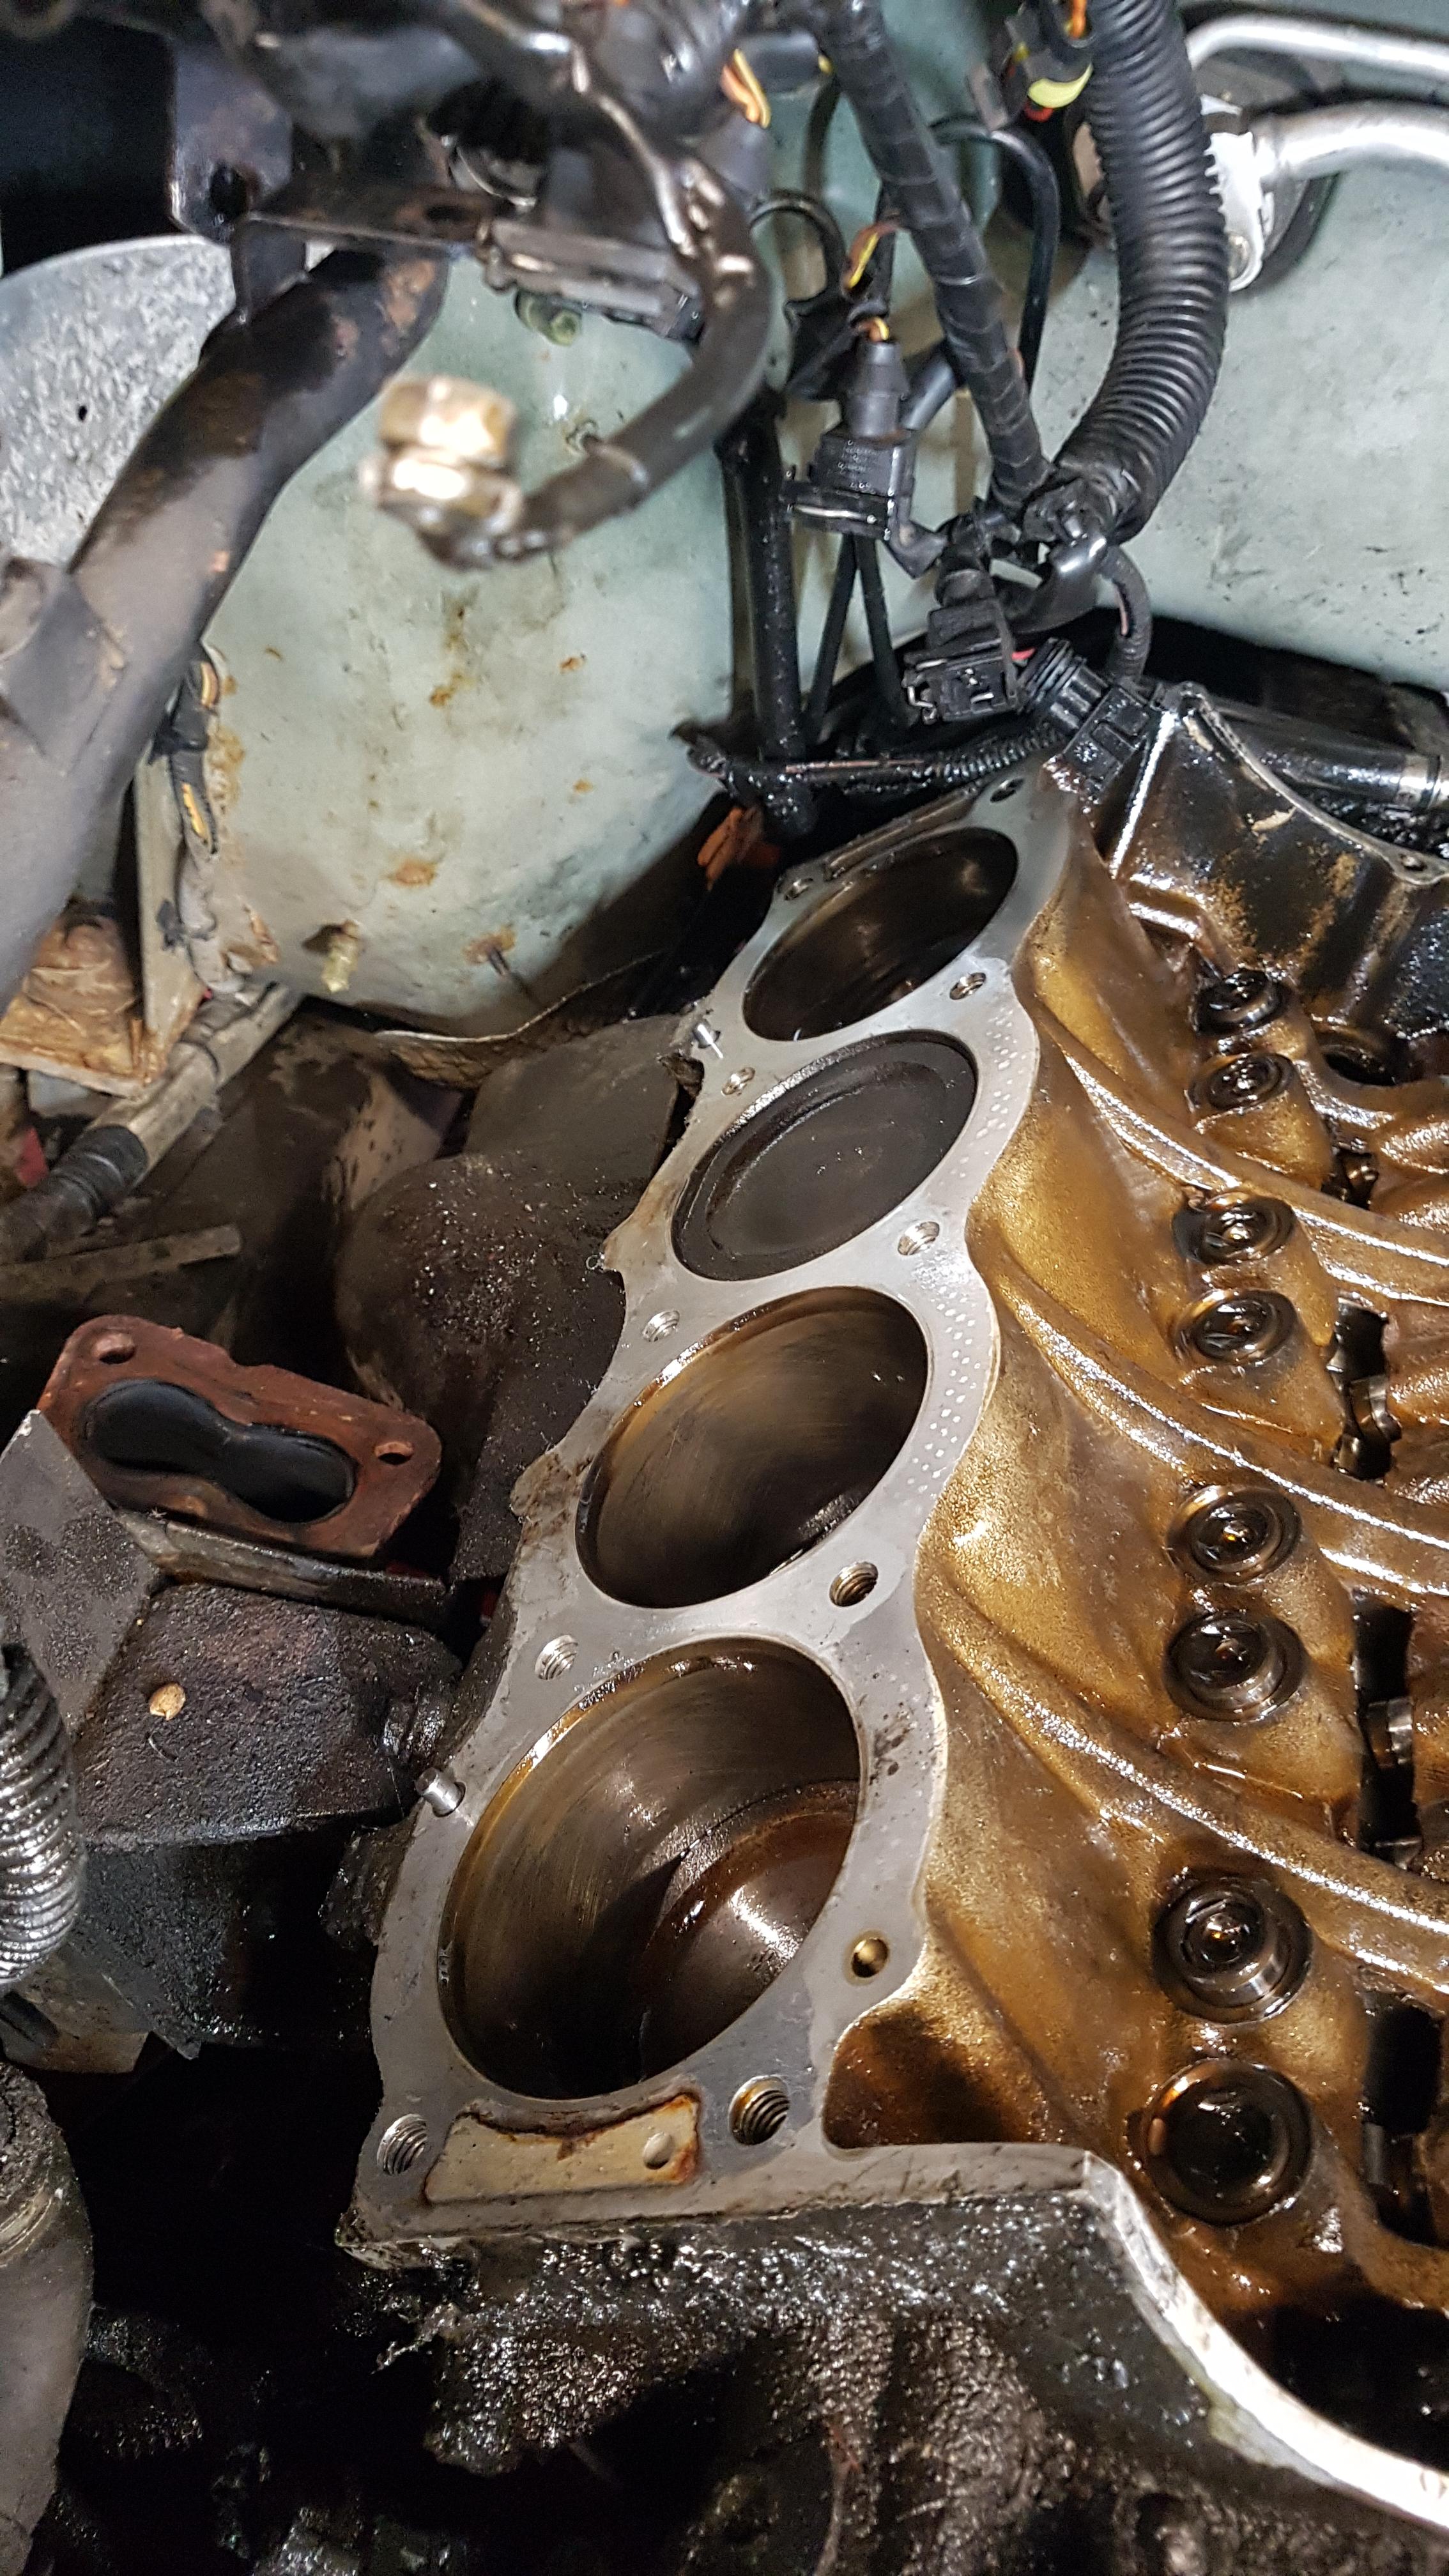
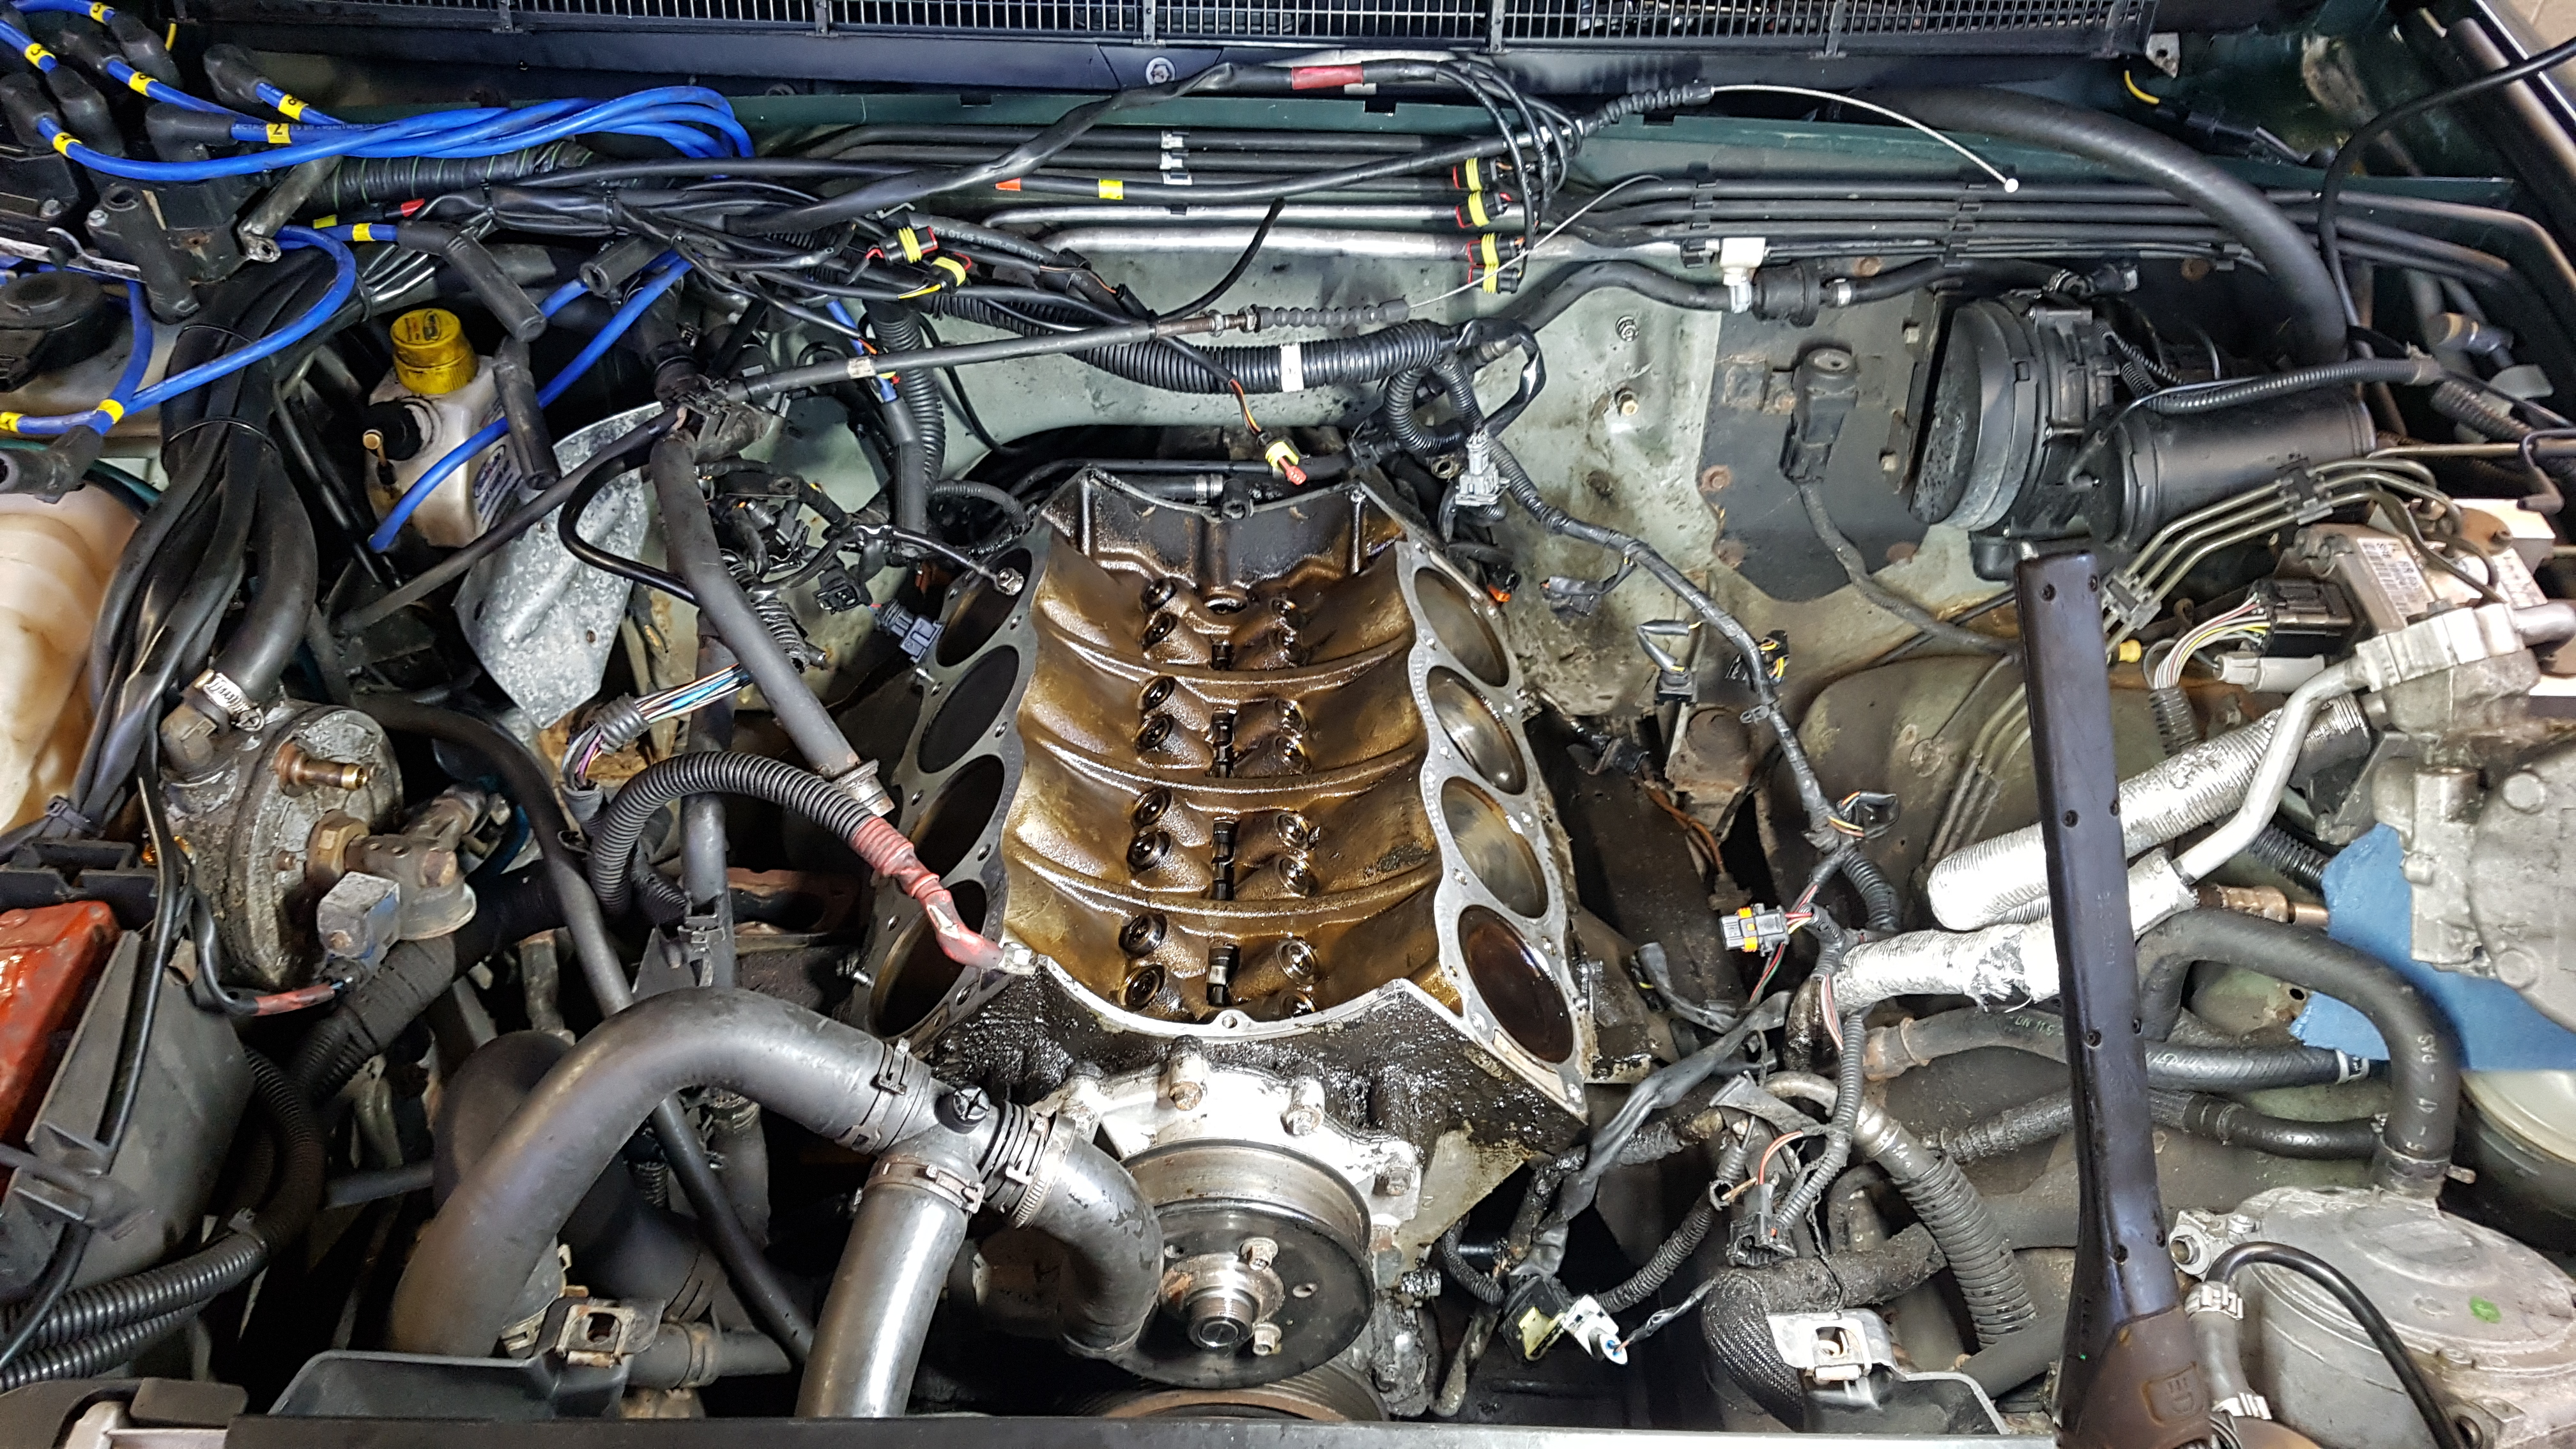
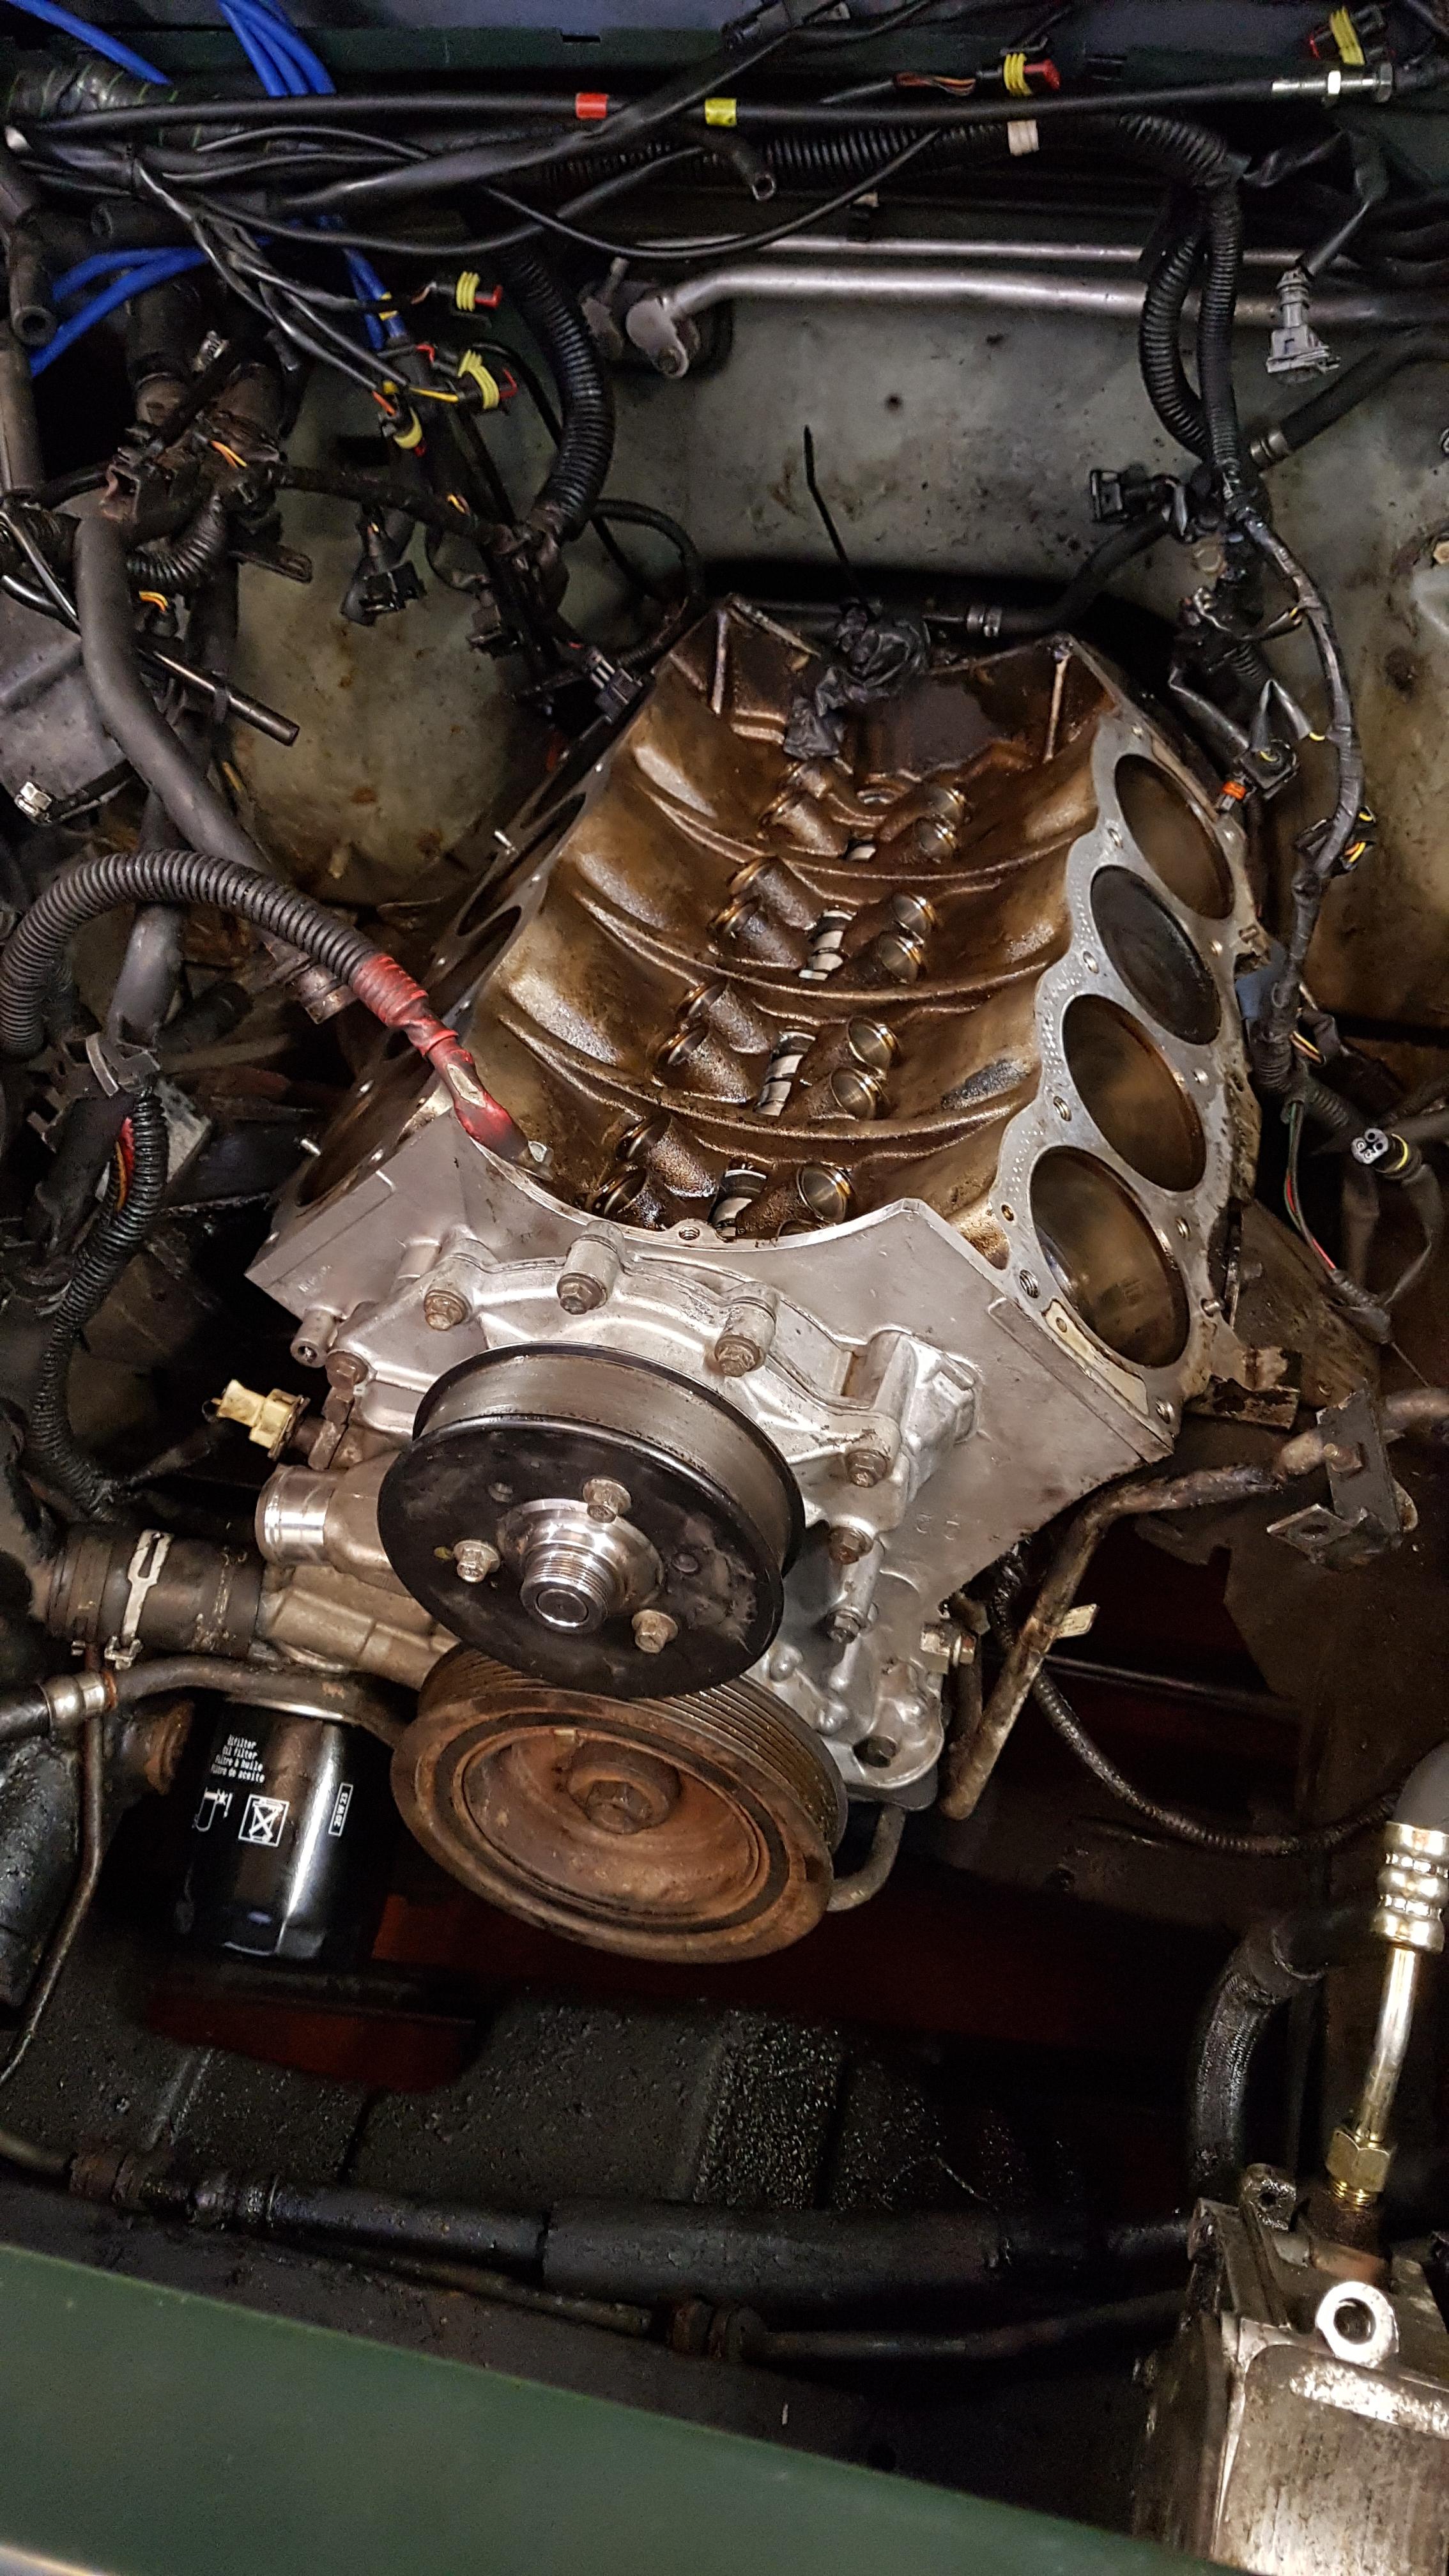
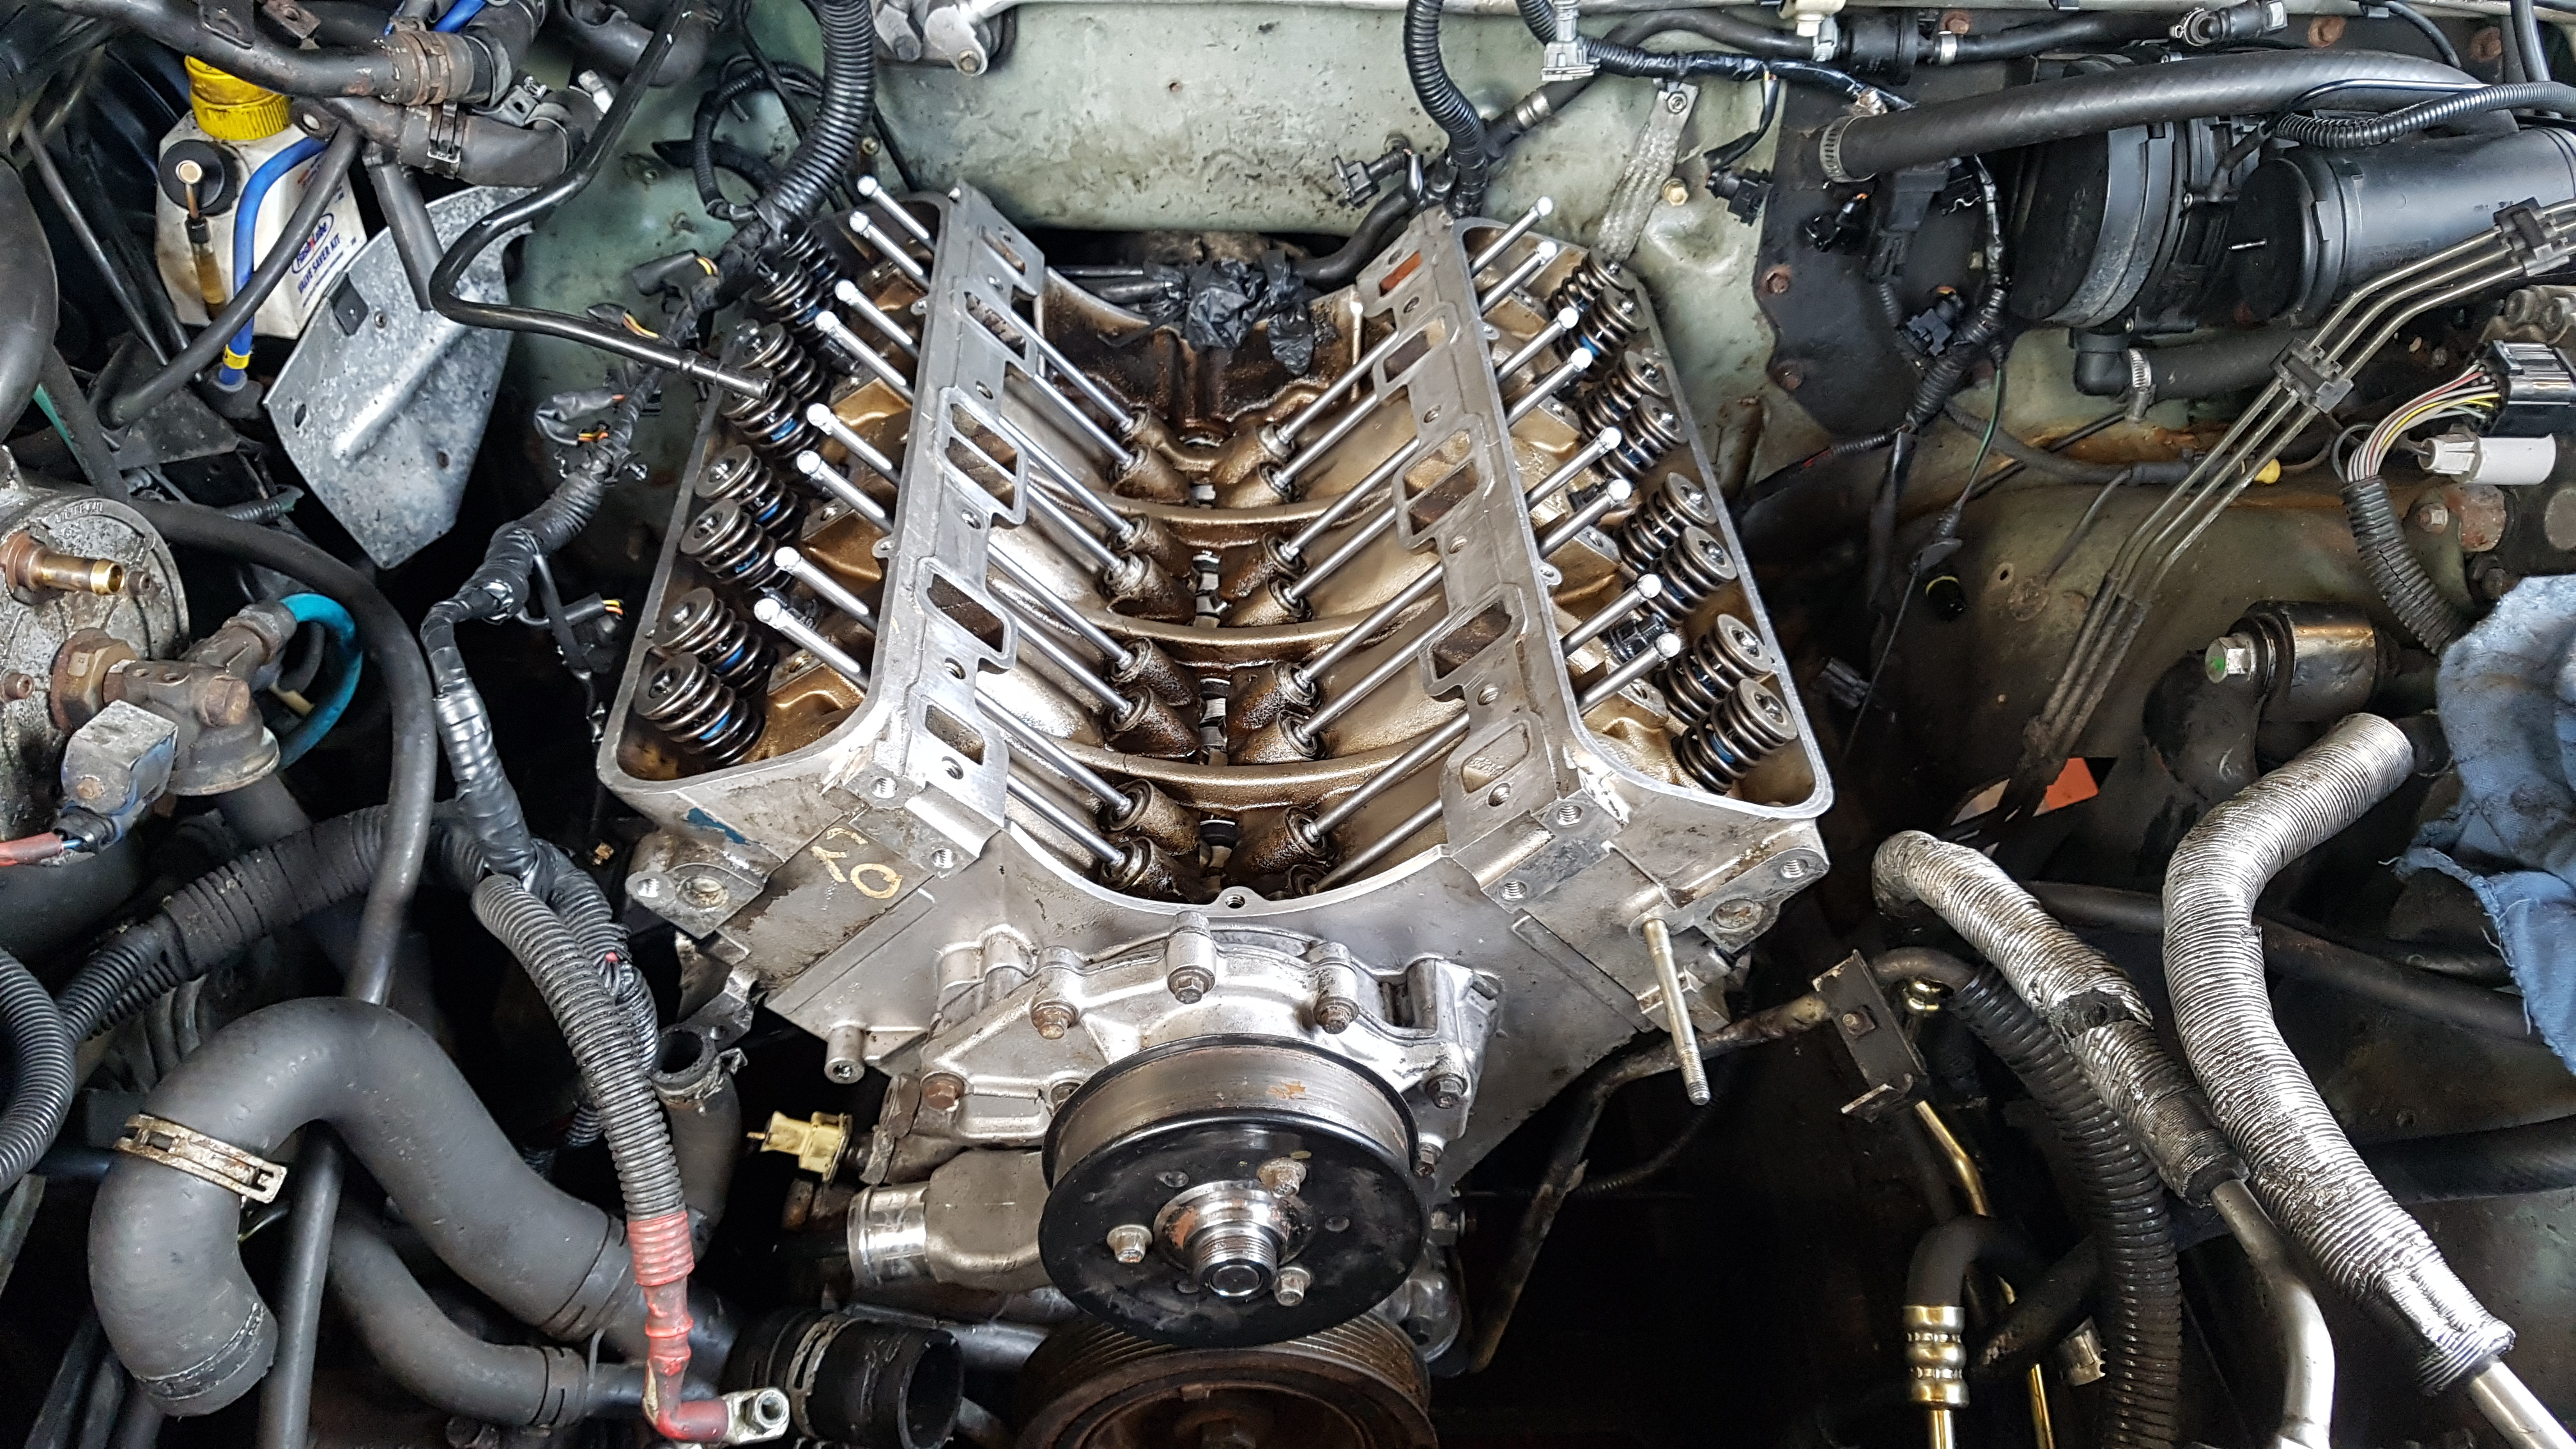
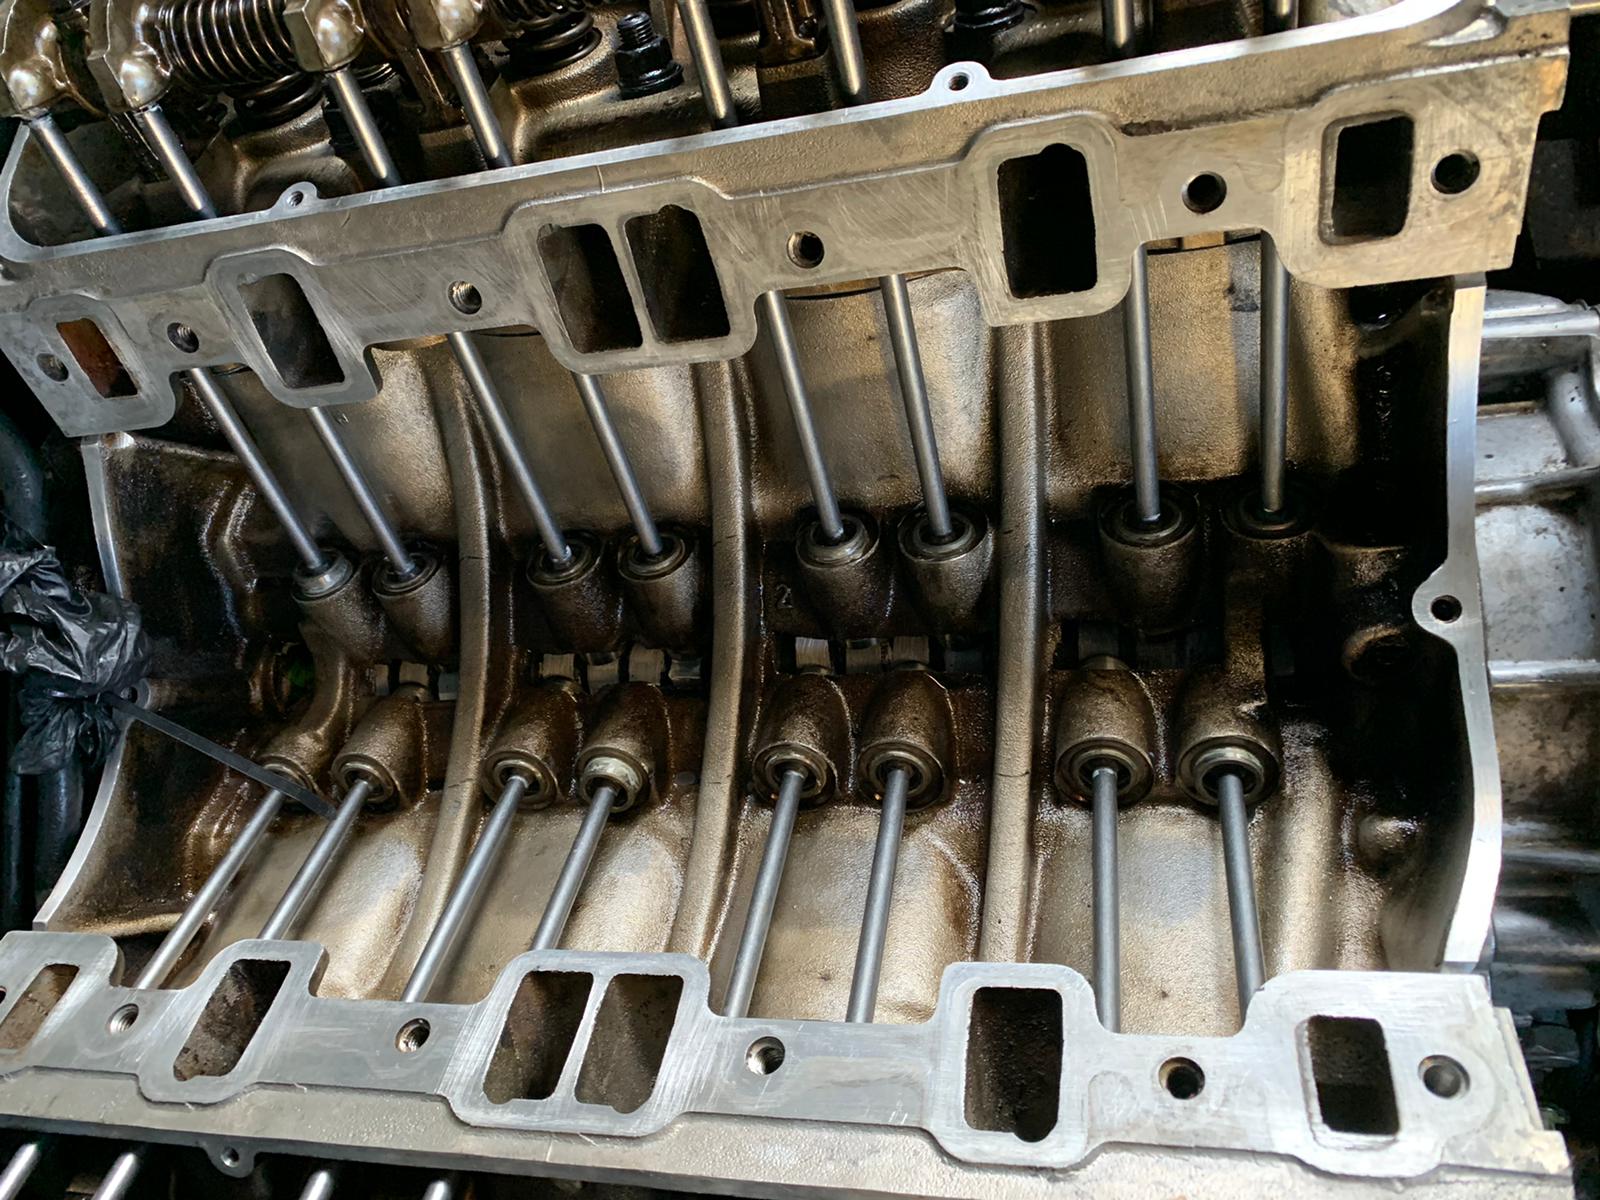
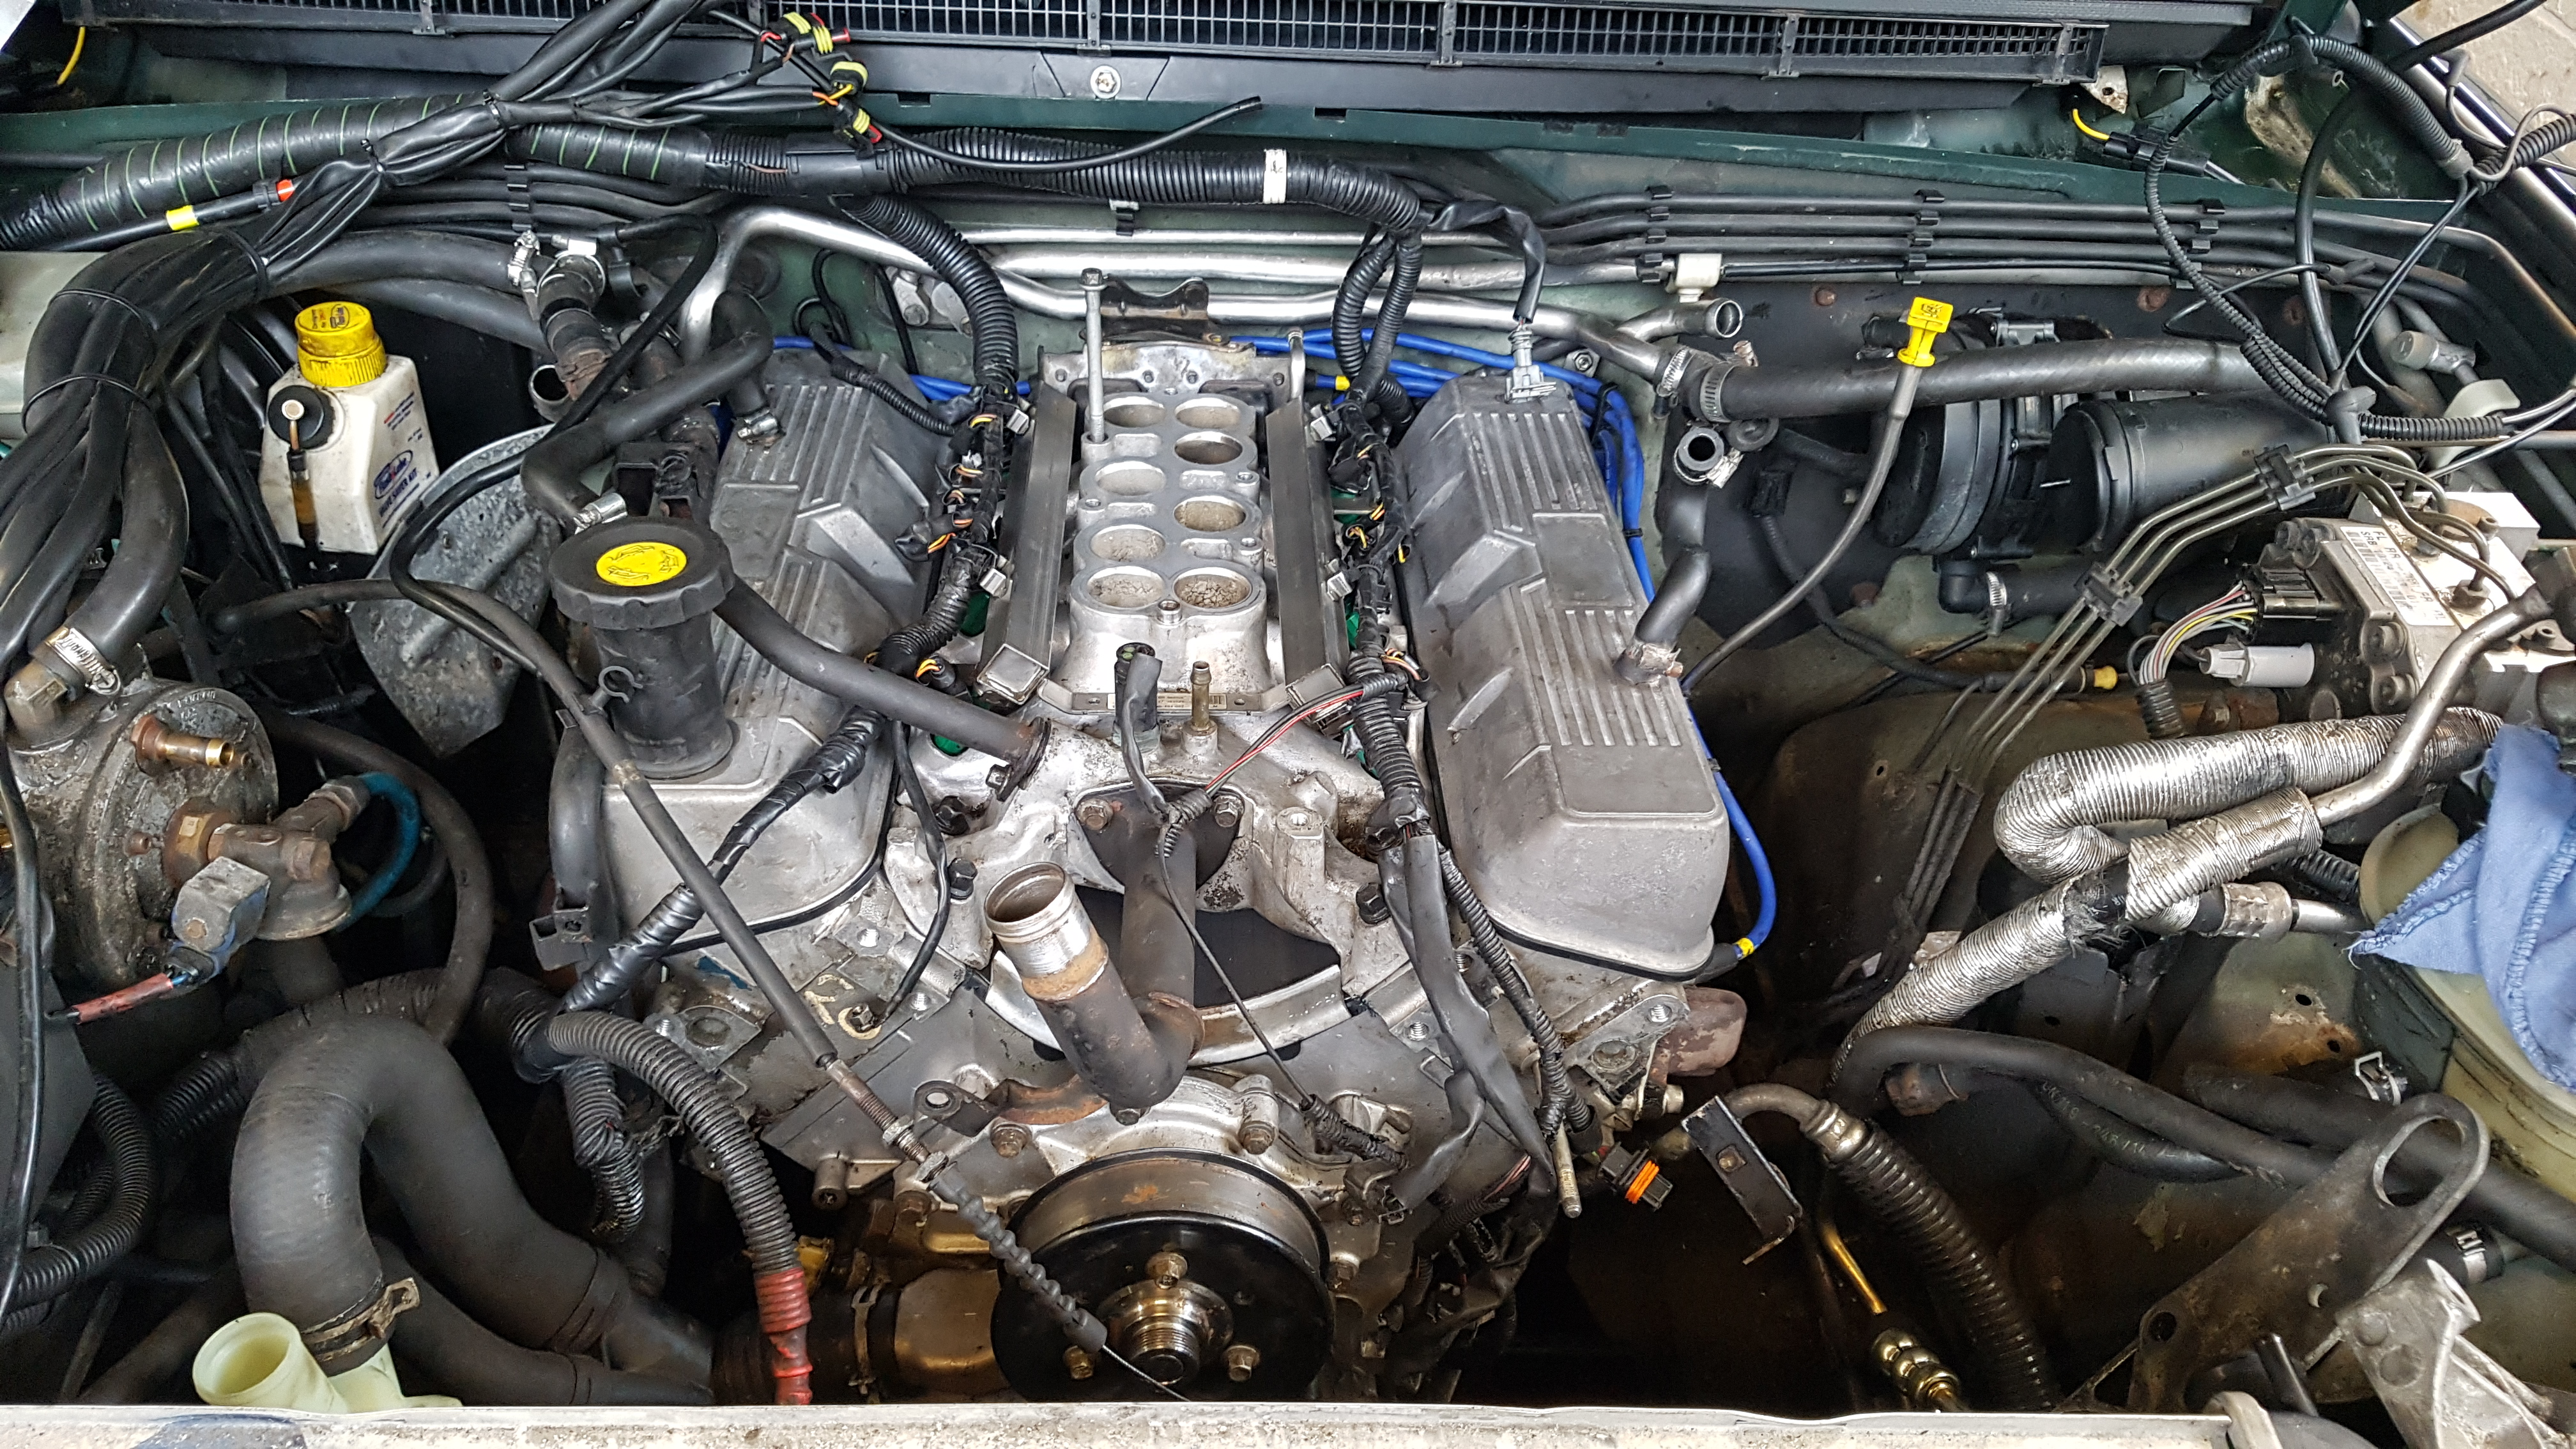
So up to my mates garage I went for the strip down to find out exactly what's what. Decided to remove the head as the noise was so bad it couldn't just be a manifold gasket.

B3Of7gl.jpg


3uCWffg.jpg


r4hXwIq.jpg


eZnNPPm.jpg


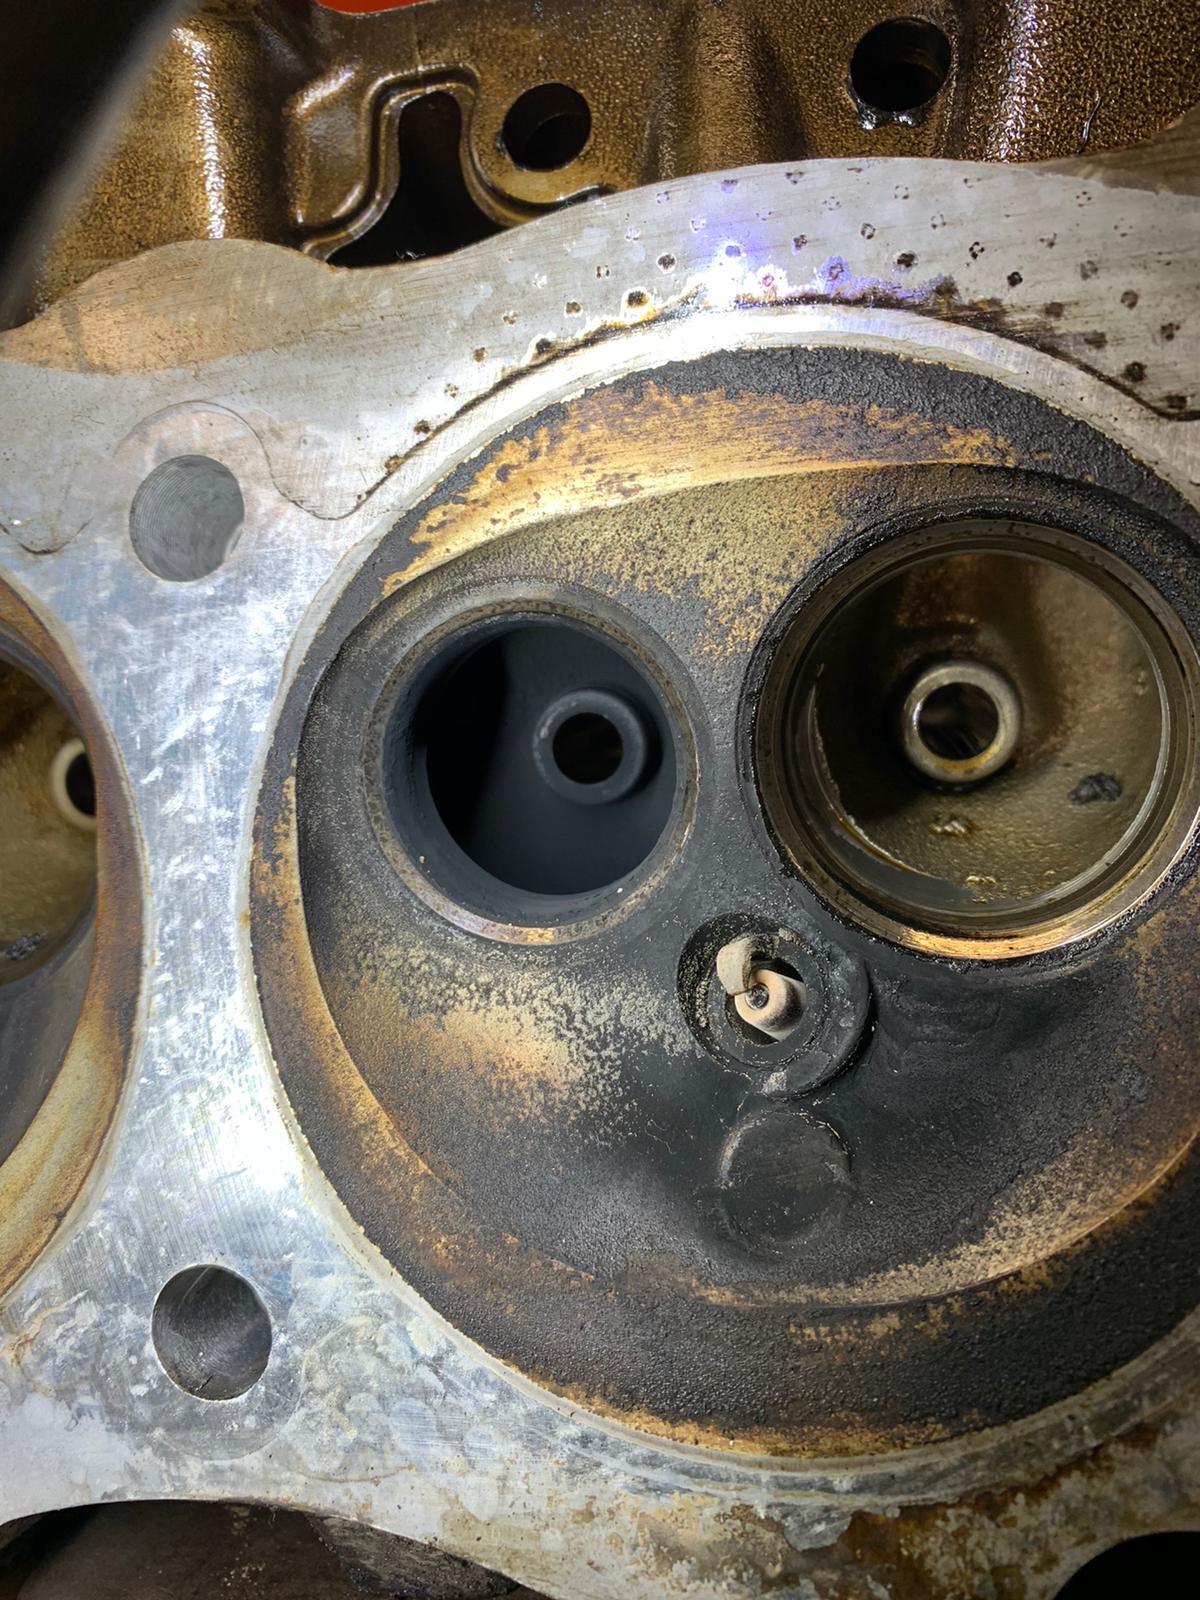
Suspicions confirmed! Blown headgasket straight out of the side! Right onto the complete strip down and rebuild.

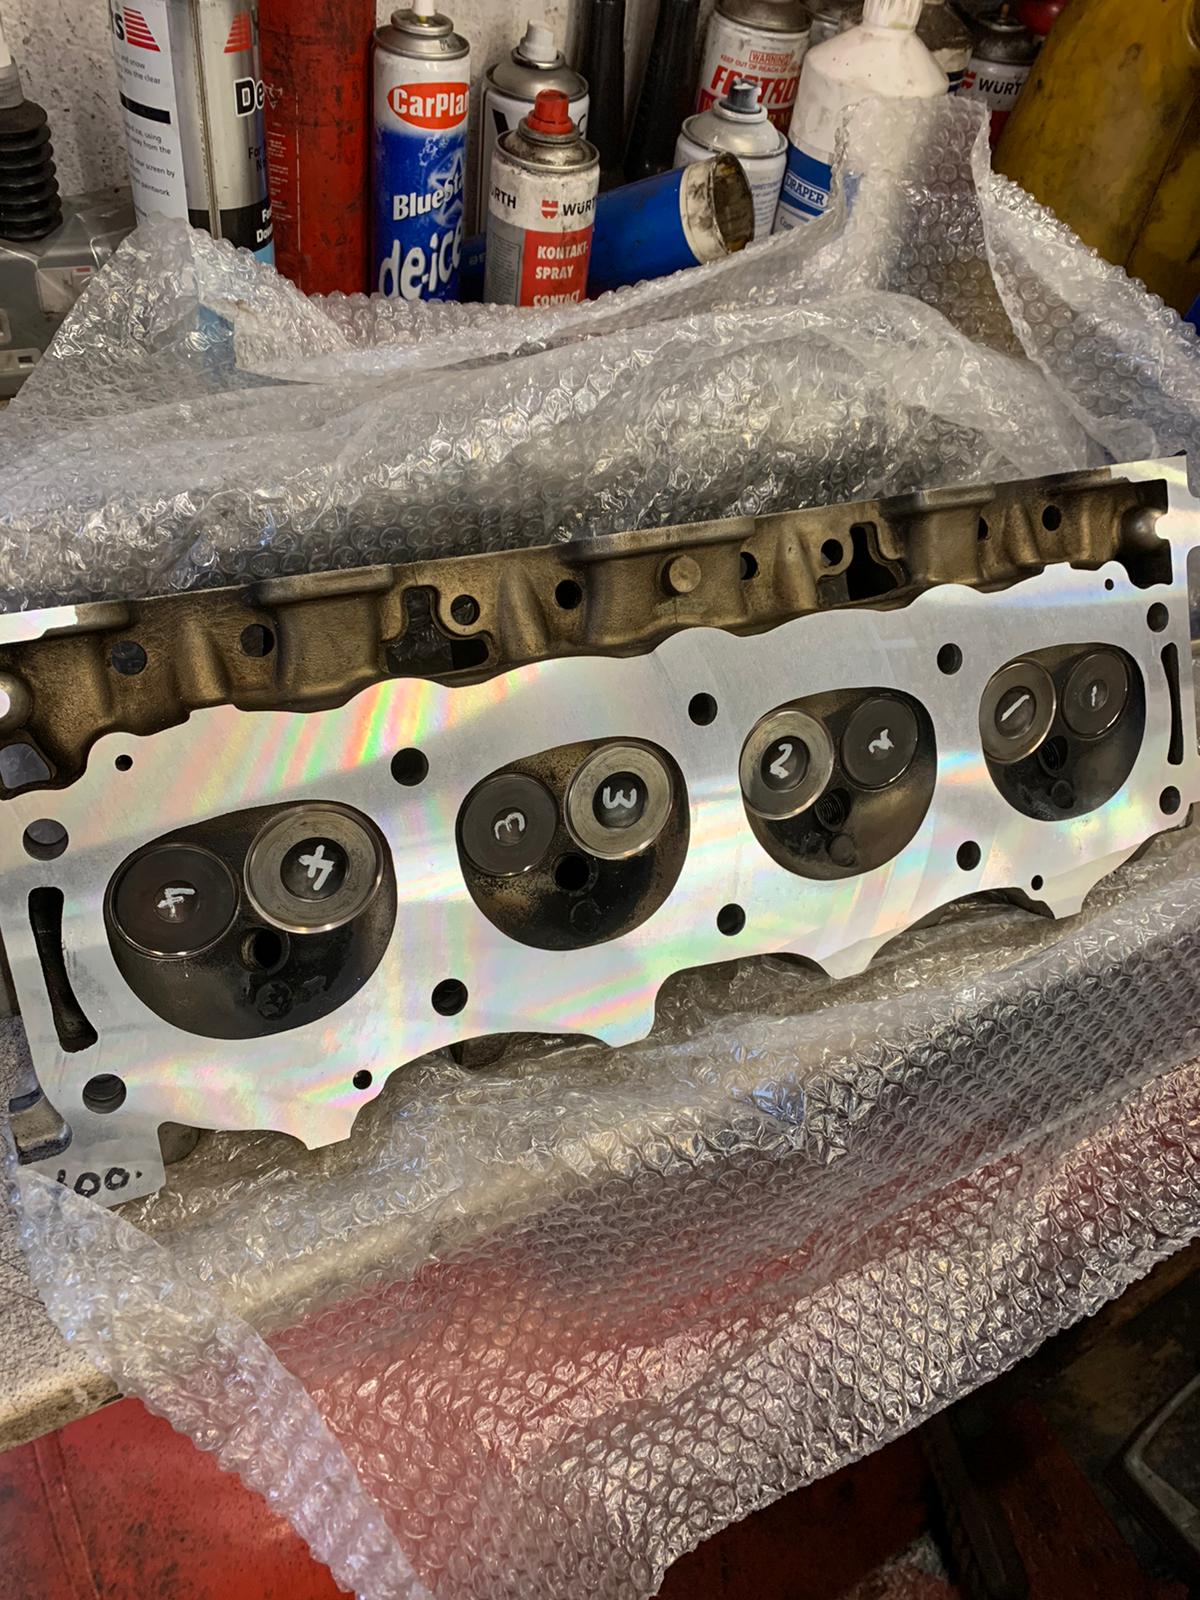
Both heads off and everything looks perfect in very good clean condition :)
YAtCamJ.jpg


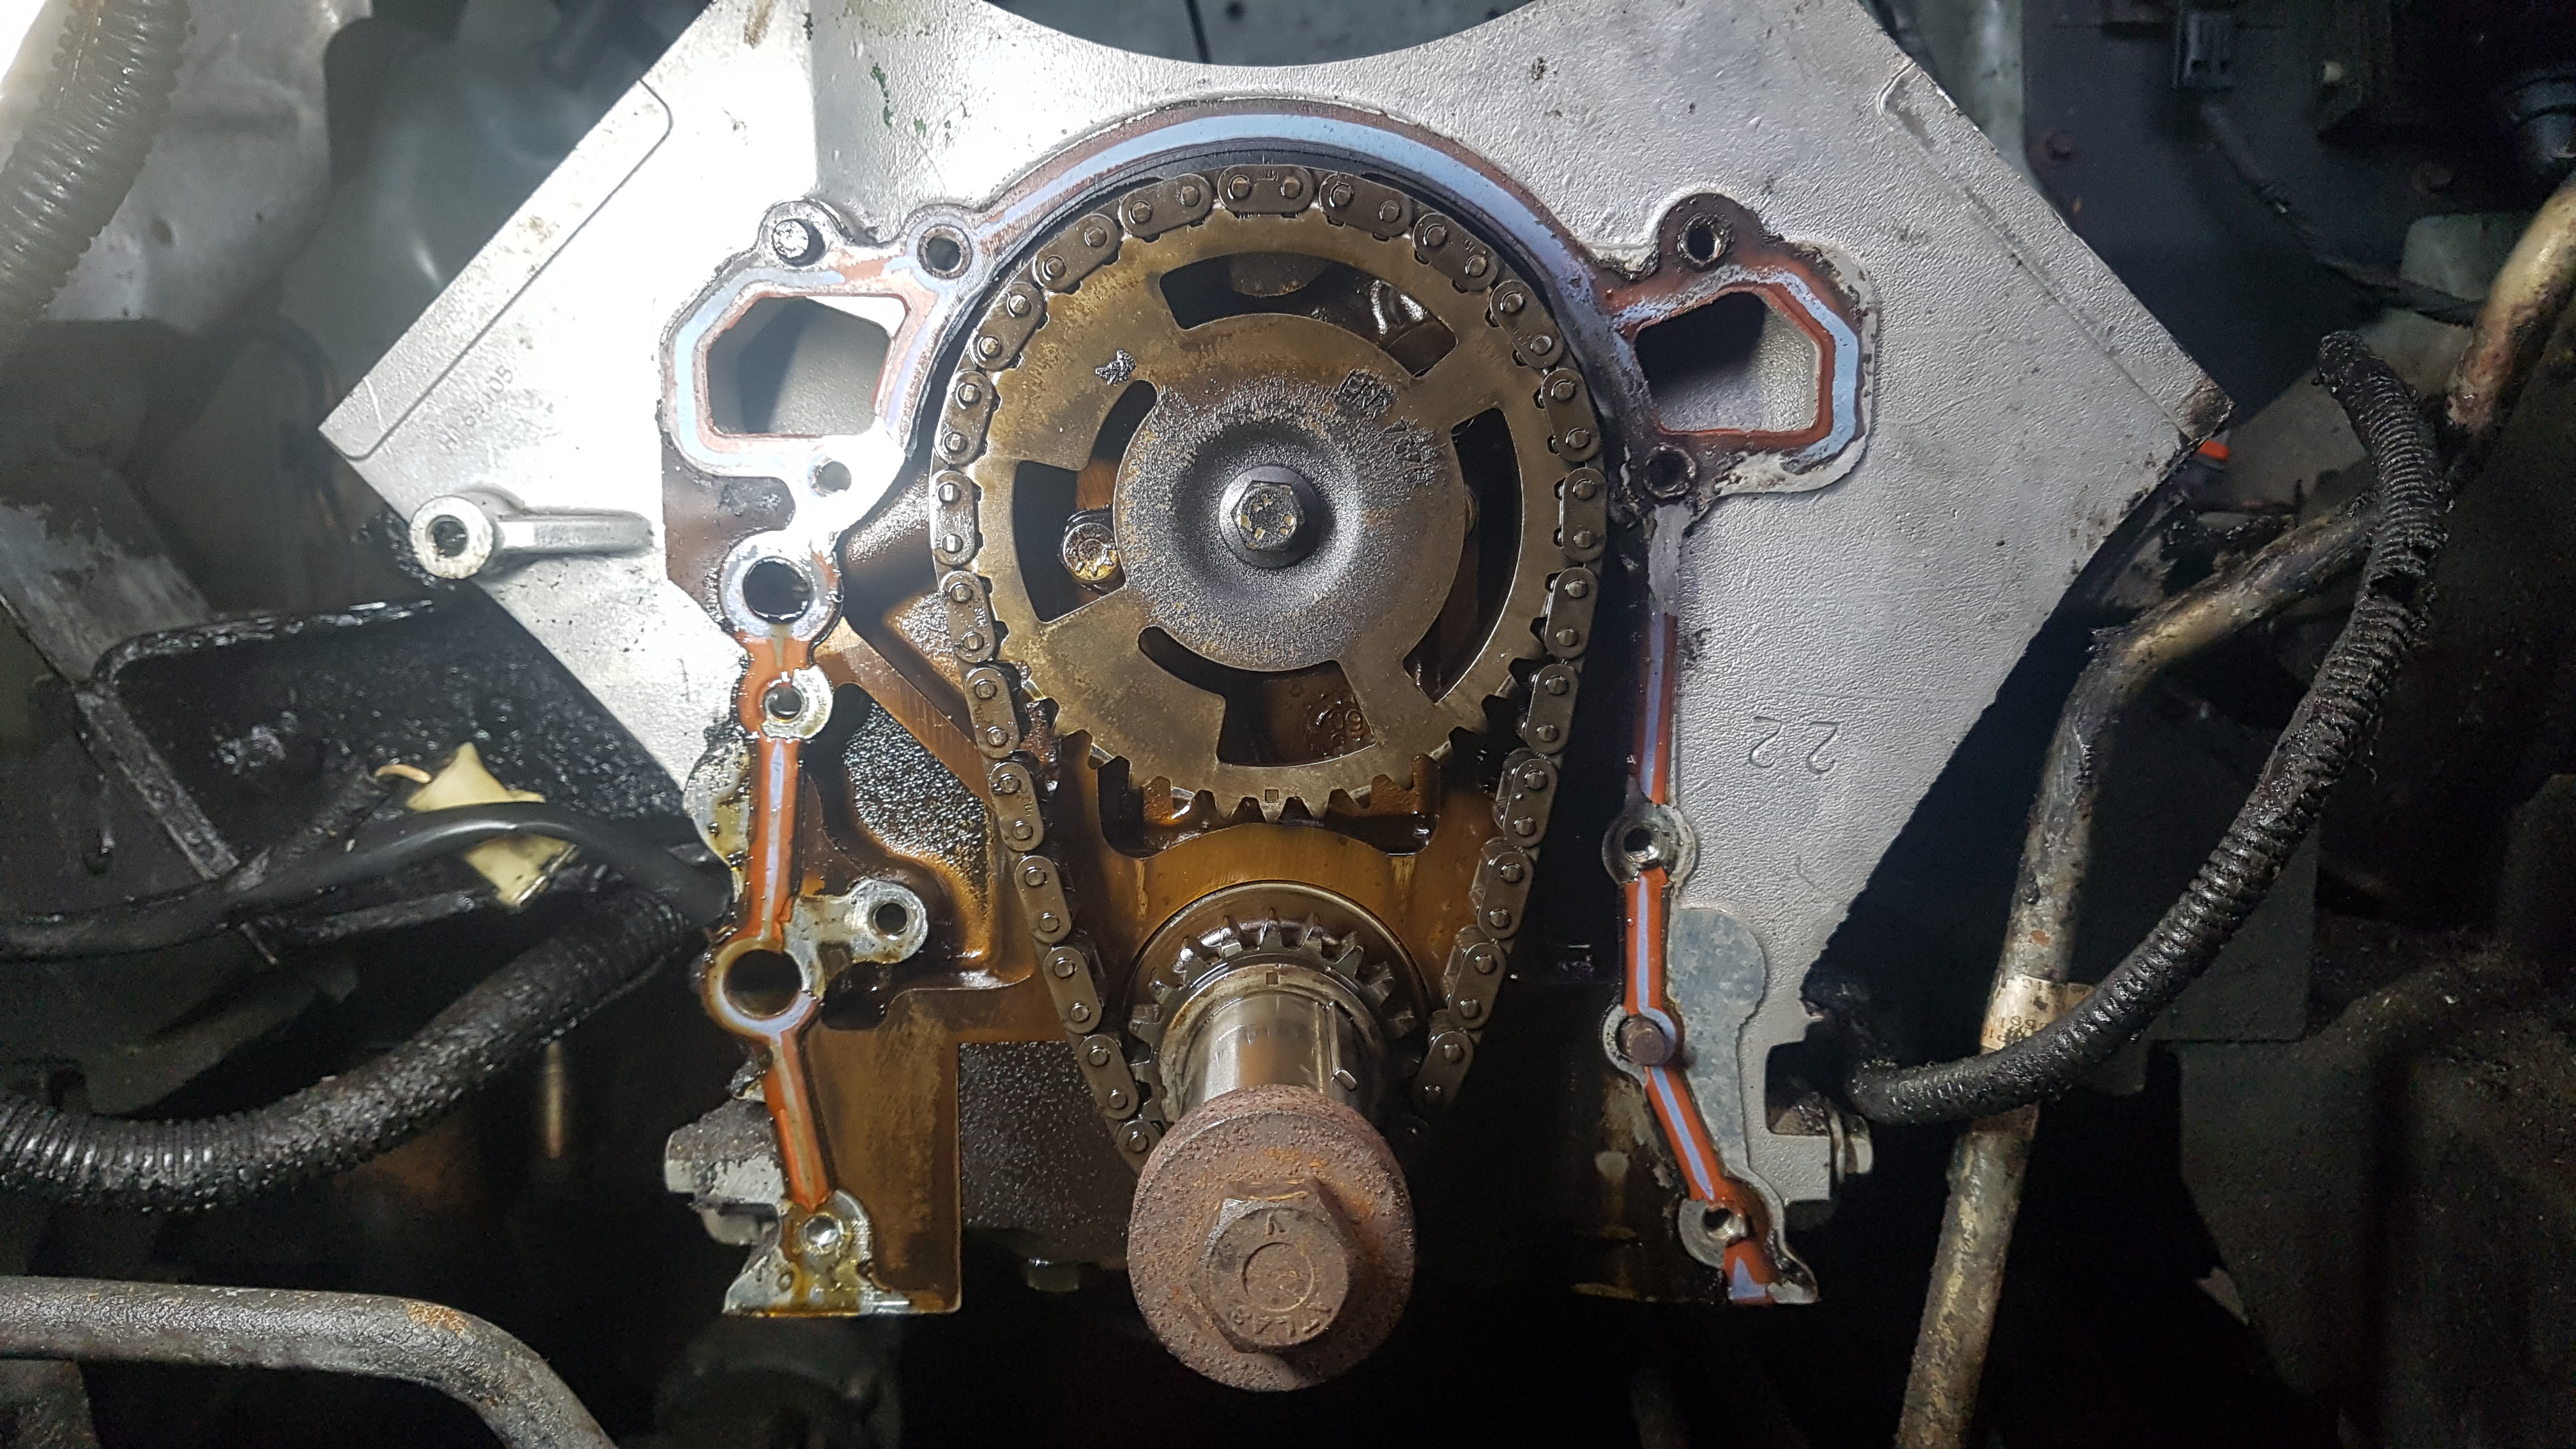
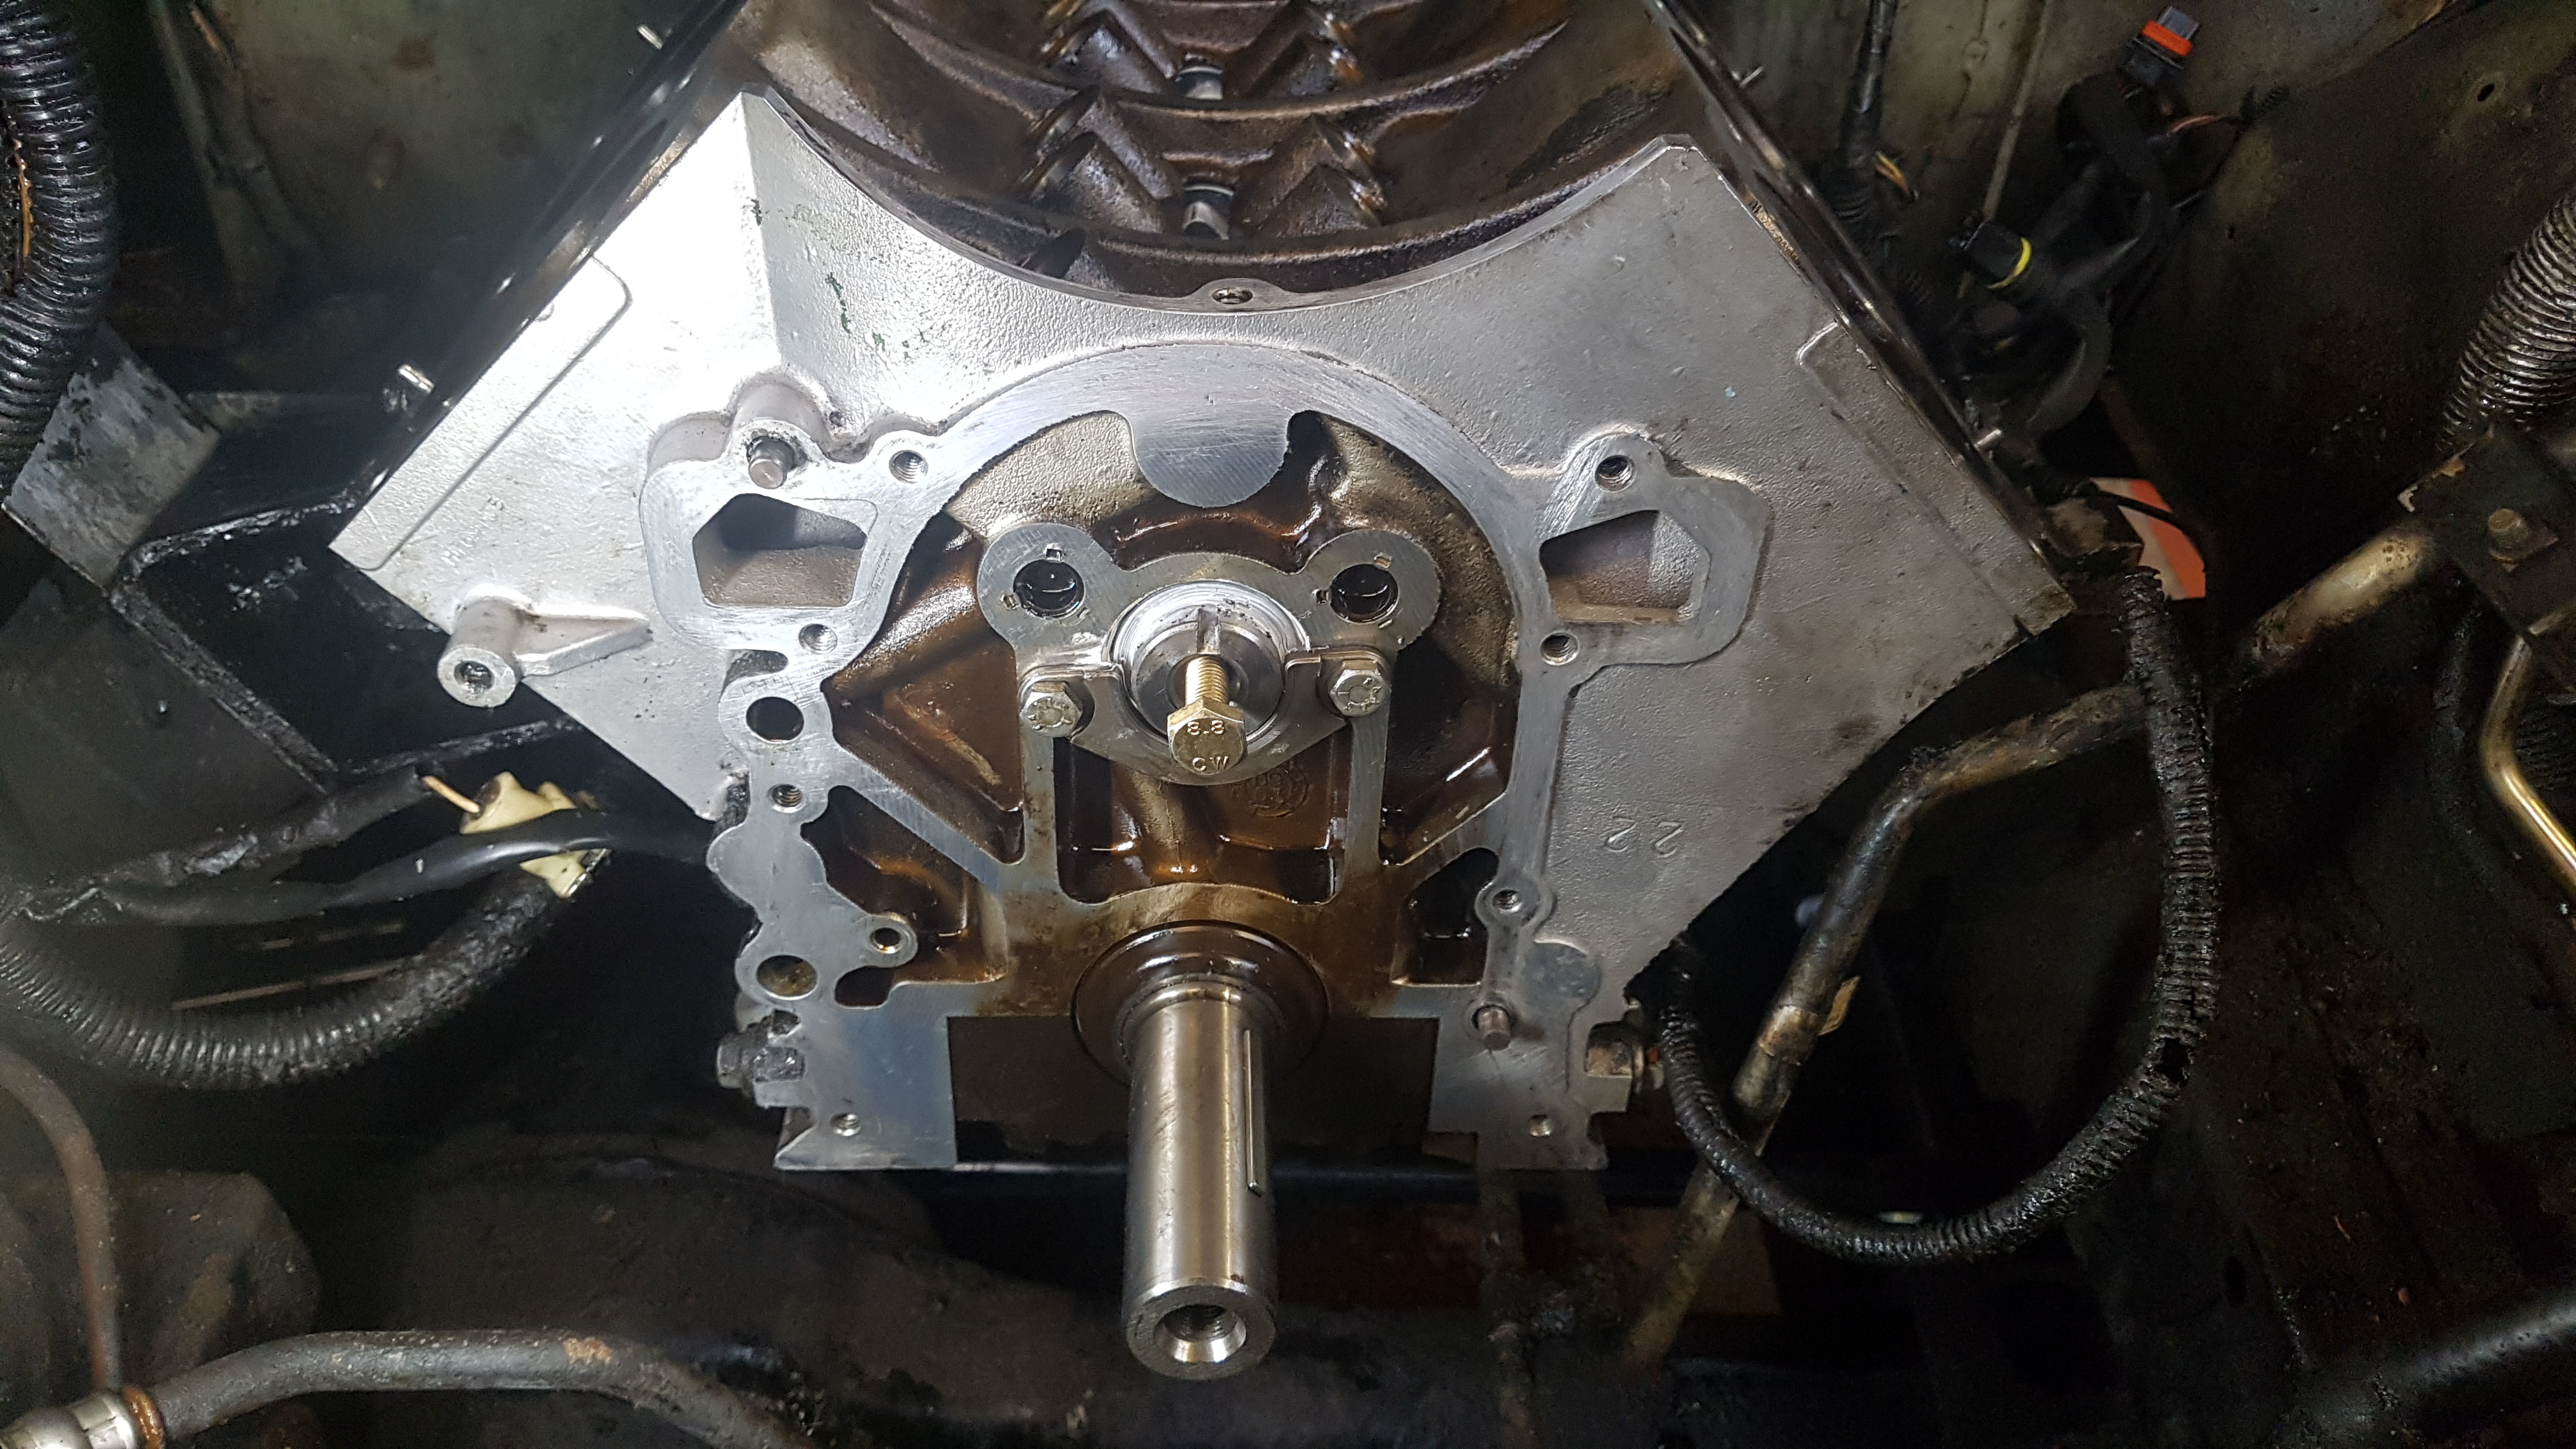
So I thought I'll do a proper job and replace the cam, tappets, pushrods, cam chain and sprockets while I'm there.

Sx6um3G.jpg


All cleaned up and new genuine cam fitted.

K2ETWdz.jpg


nlMPRtm.jpg


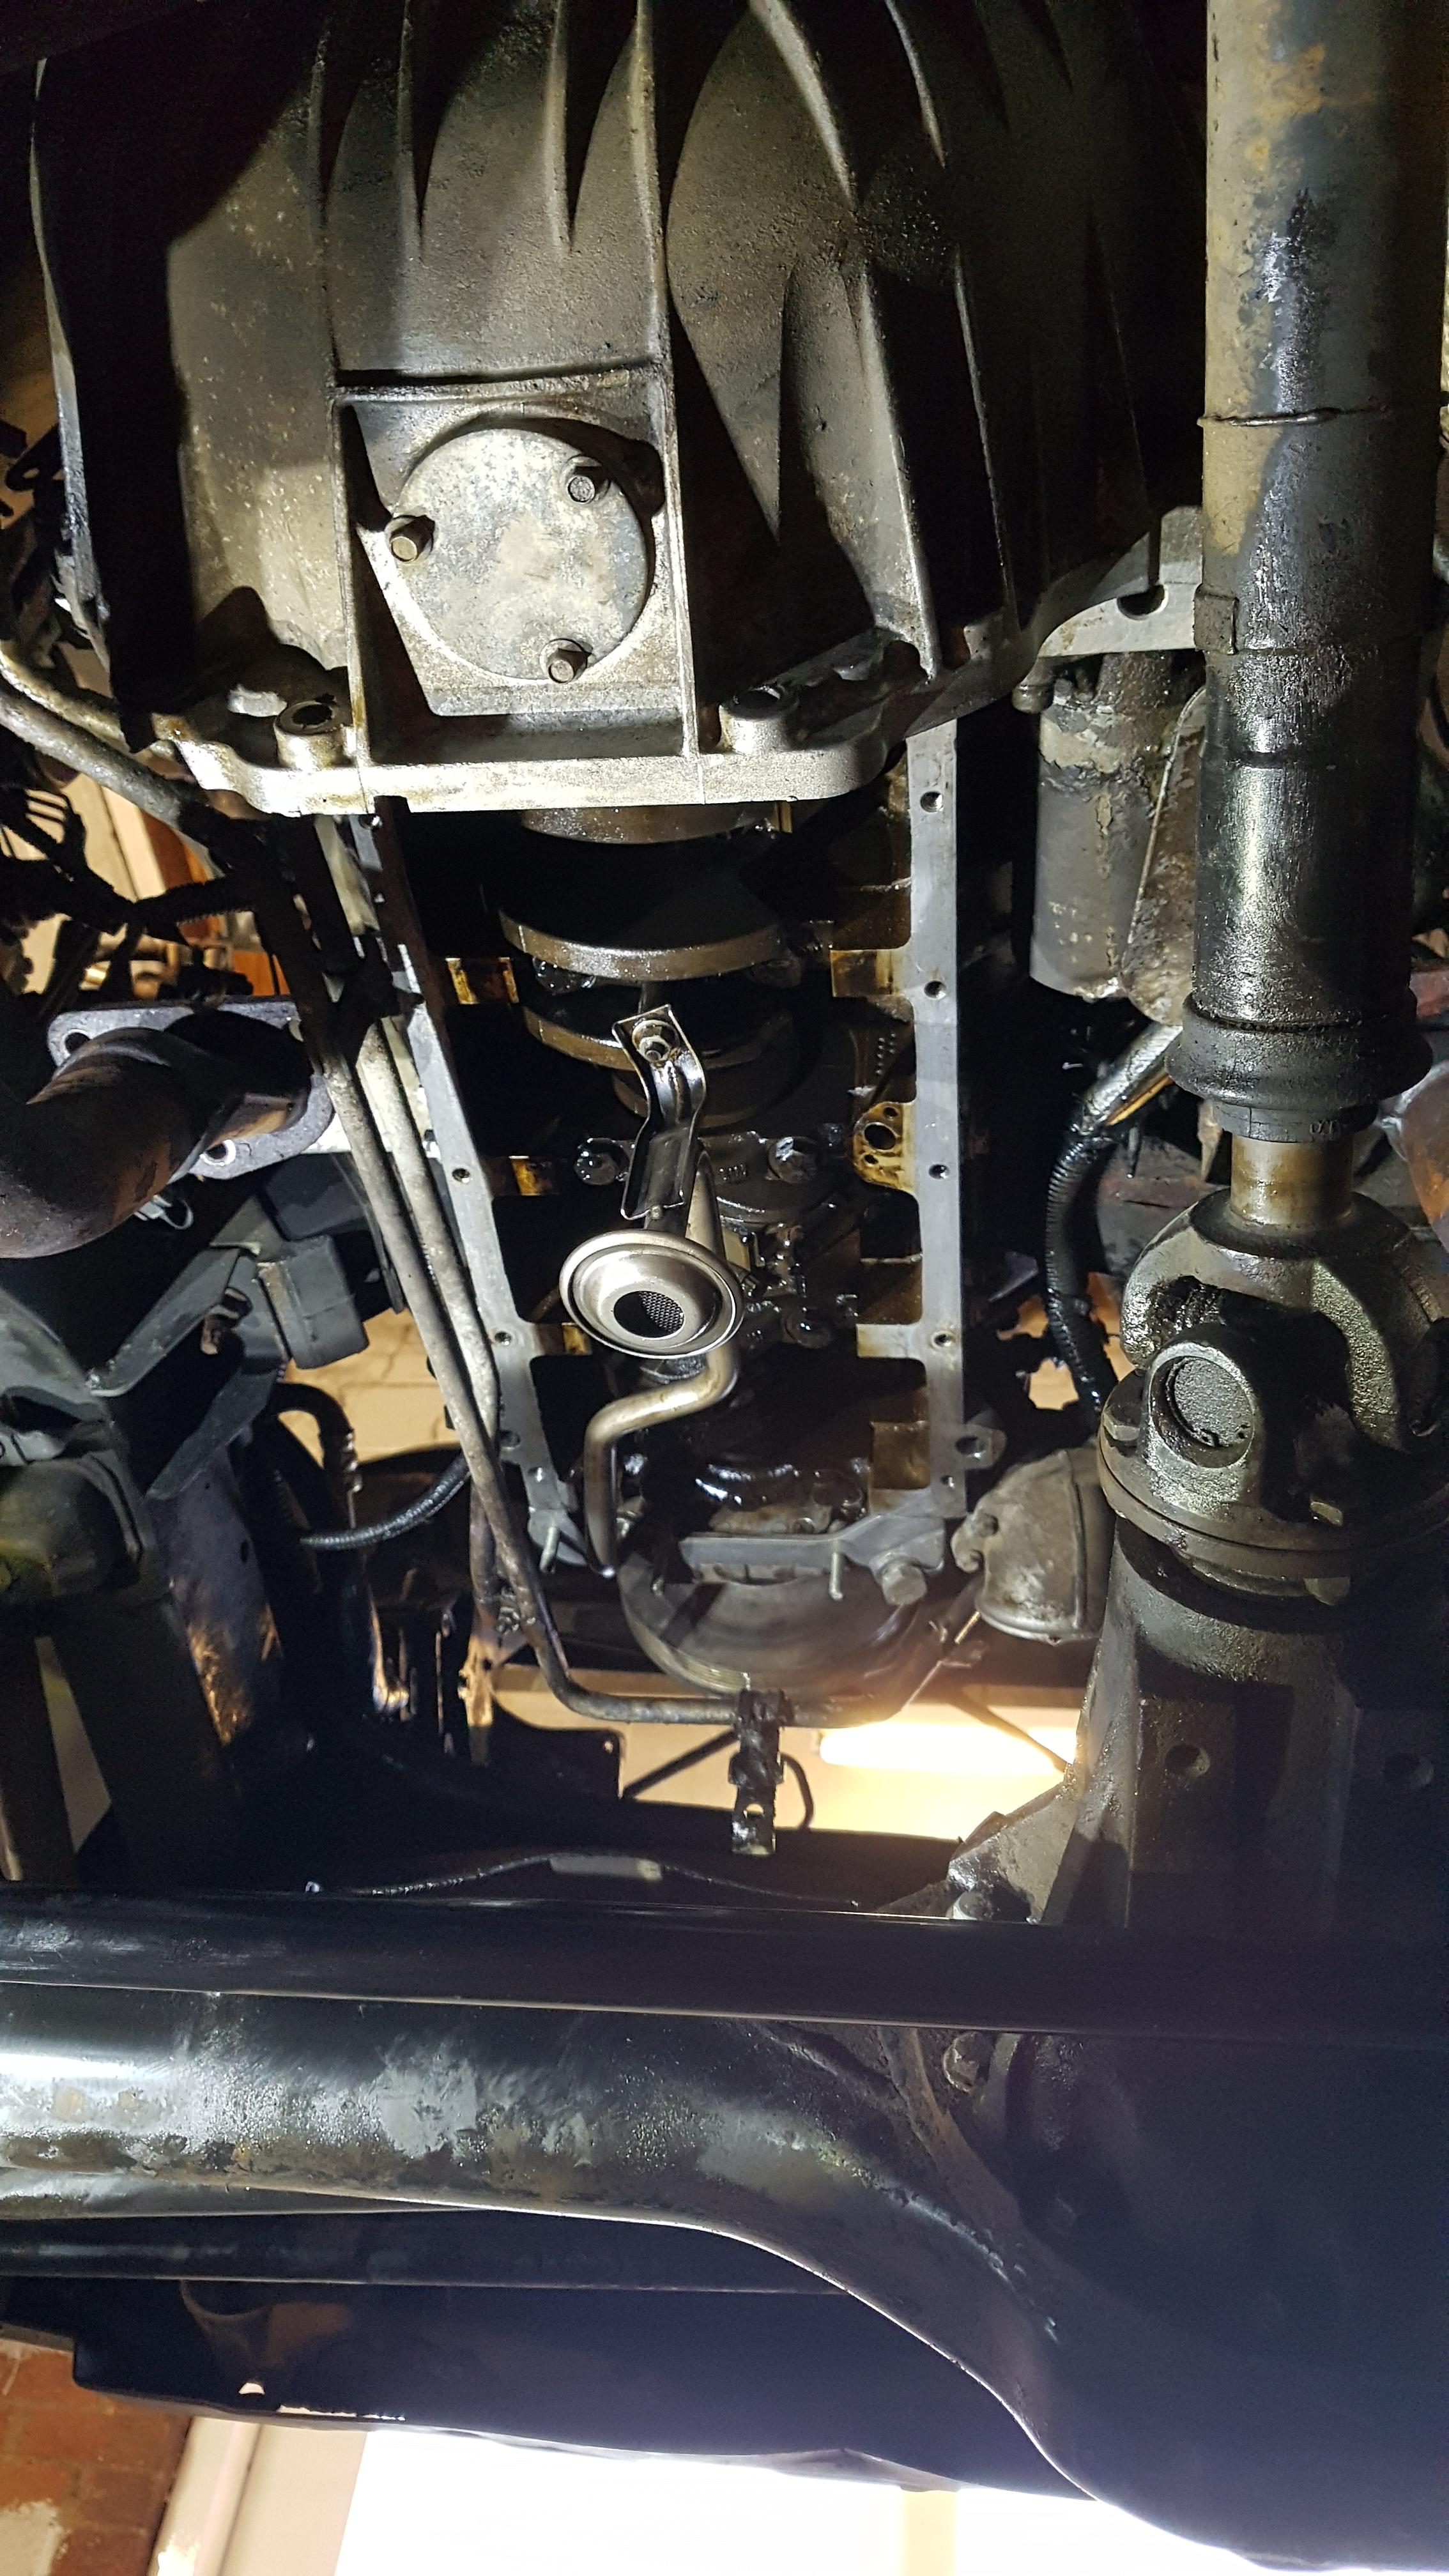
Sump and strained removed and cleaned.
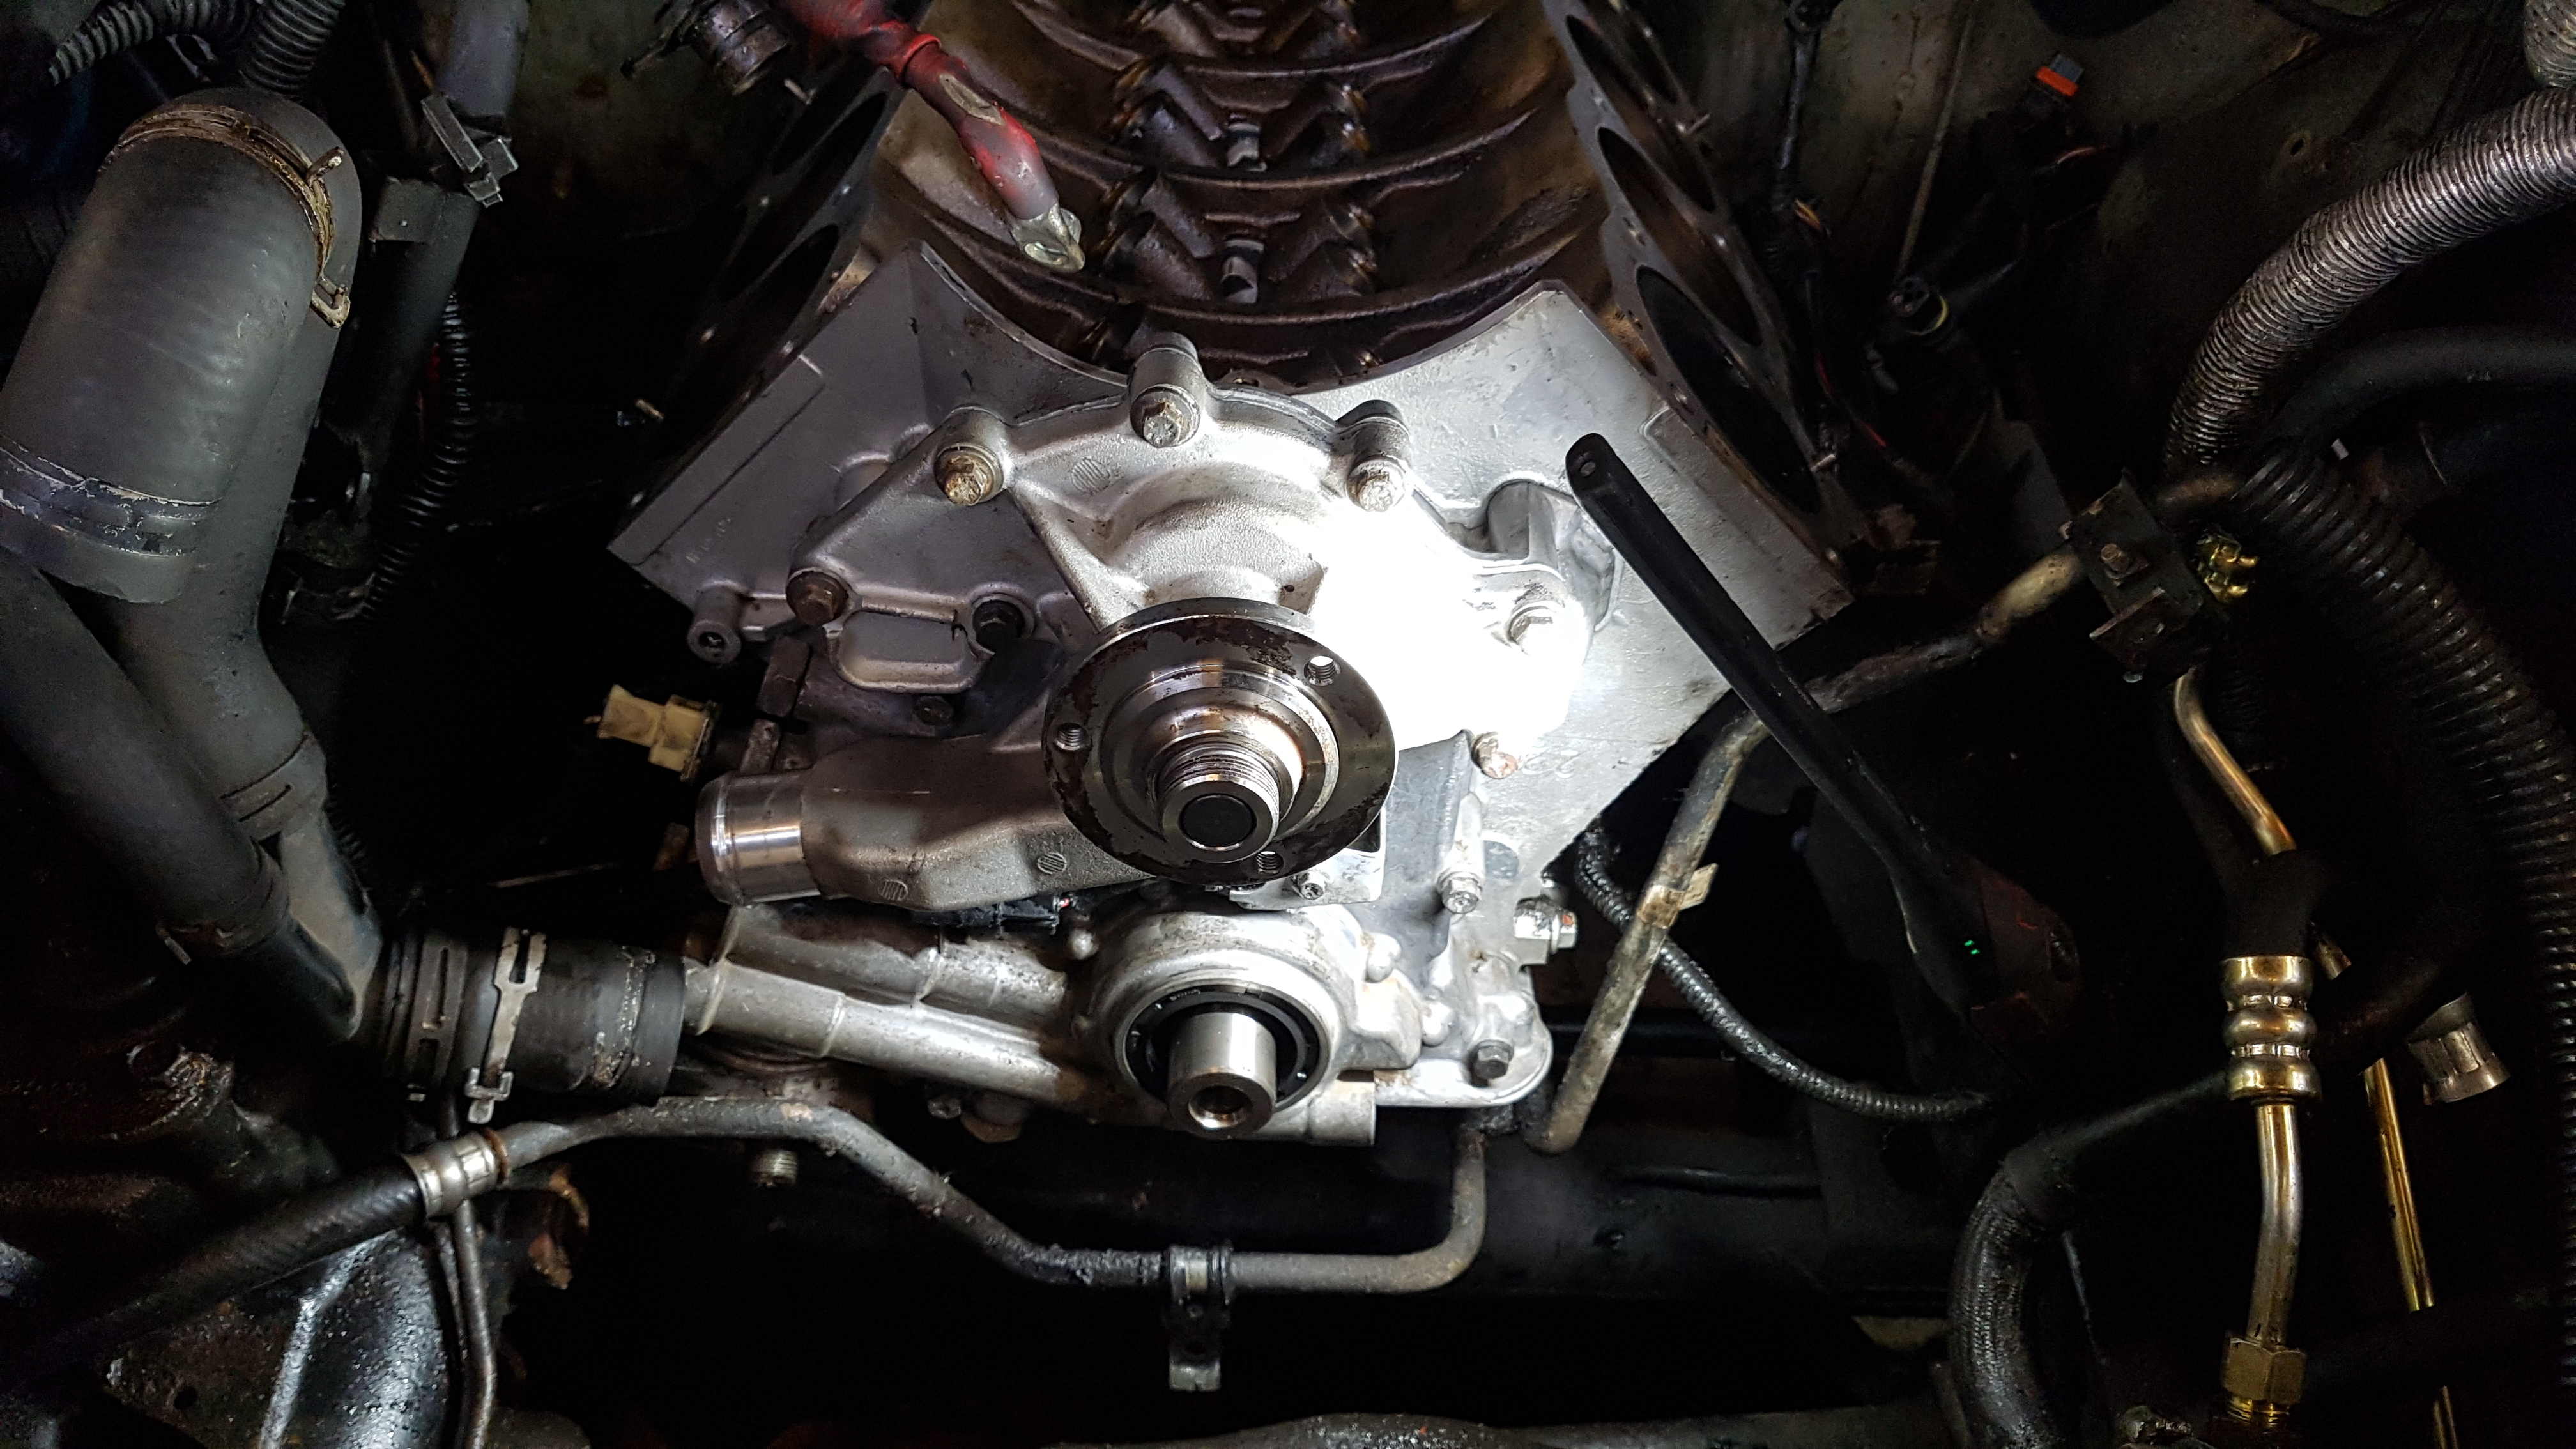
H4gMUFk.jpg


Waterpump fitted.

ogQquKR.jpg


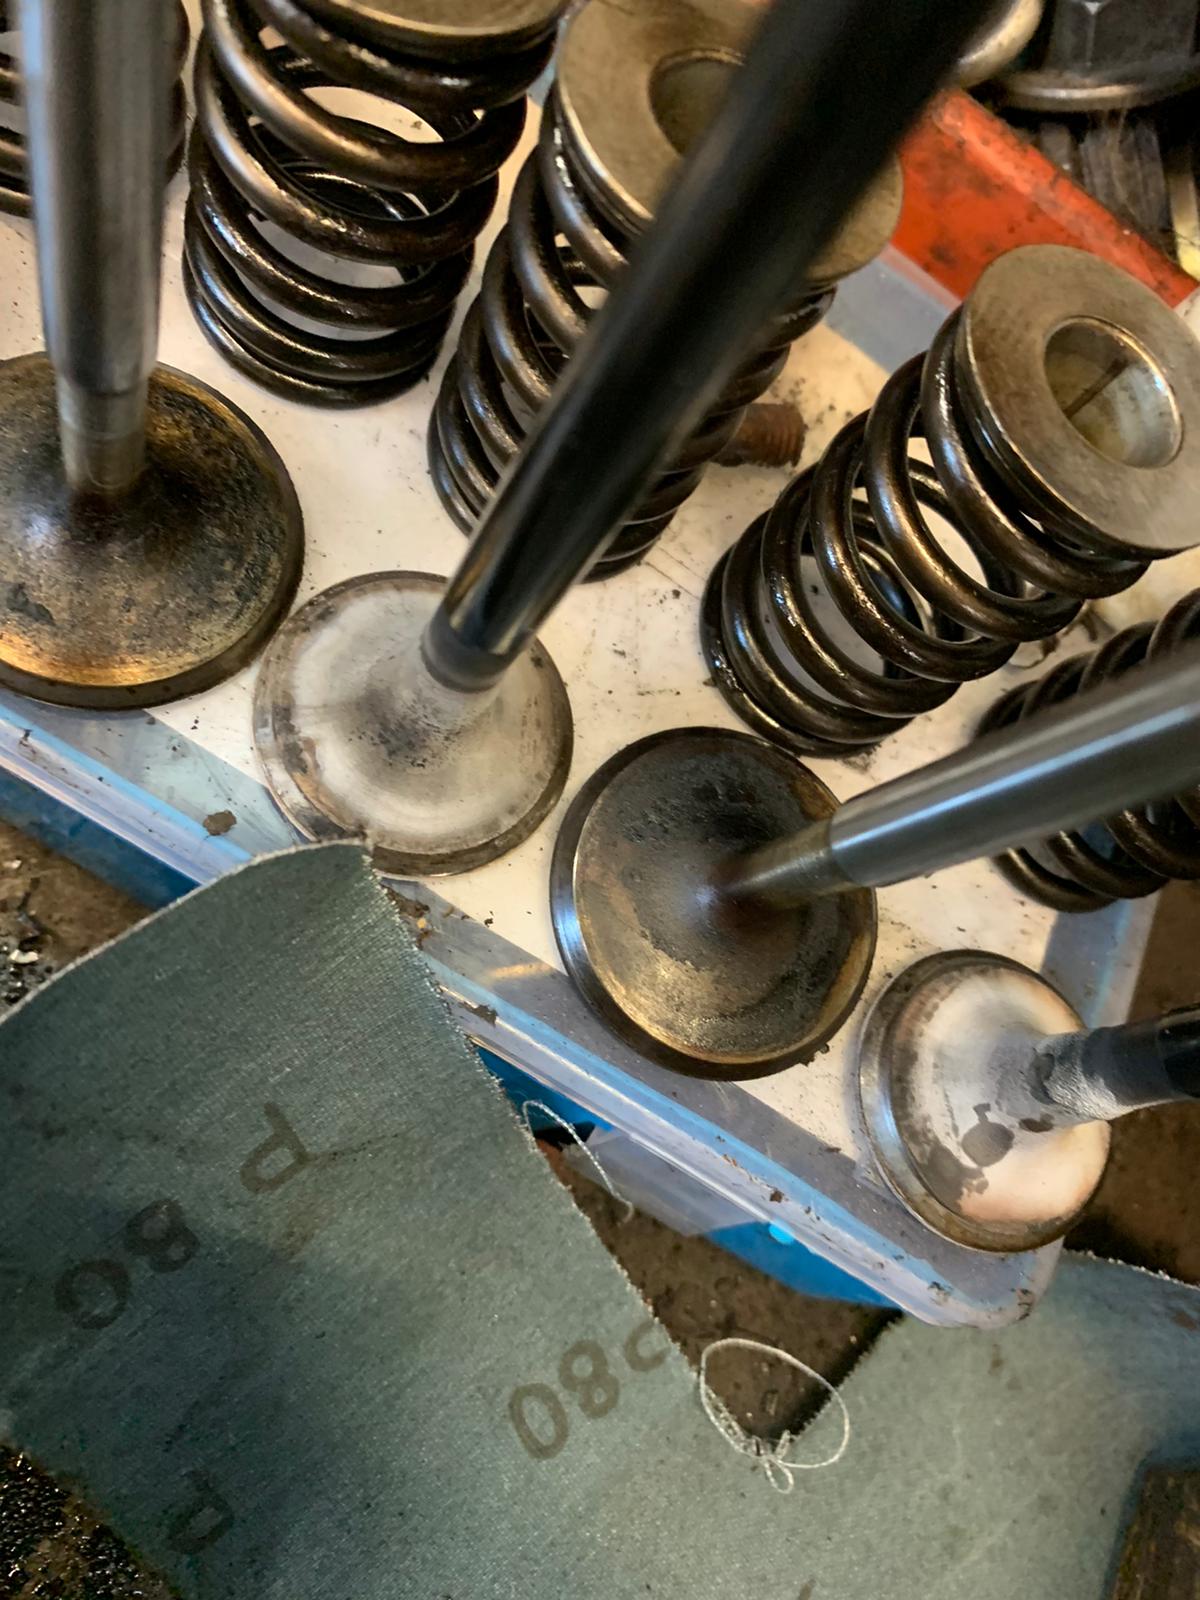
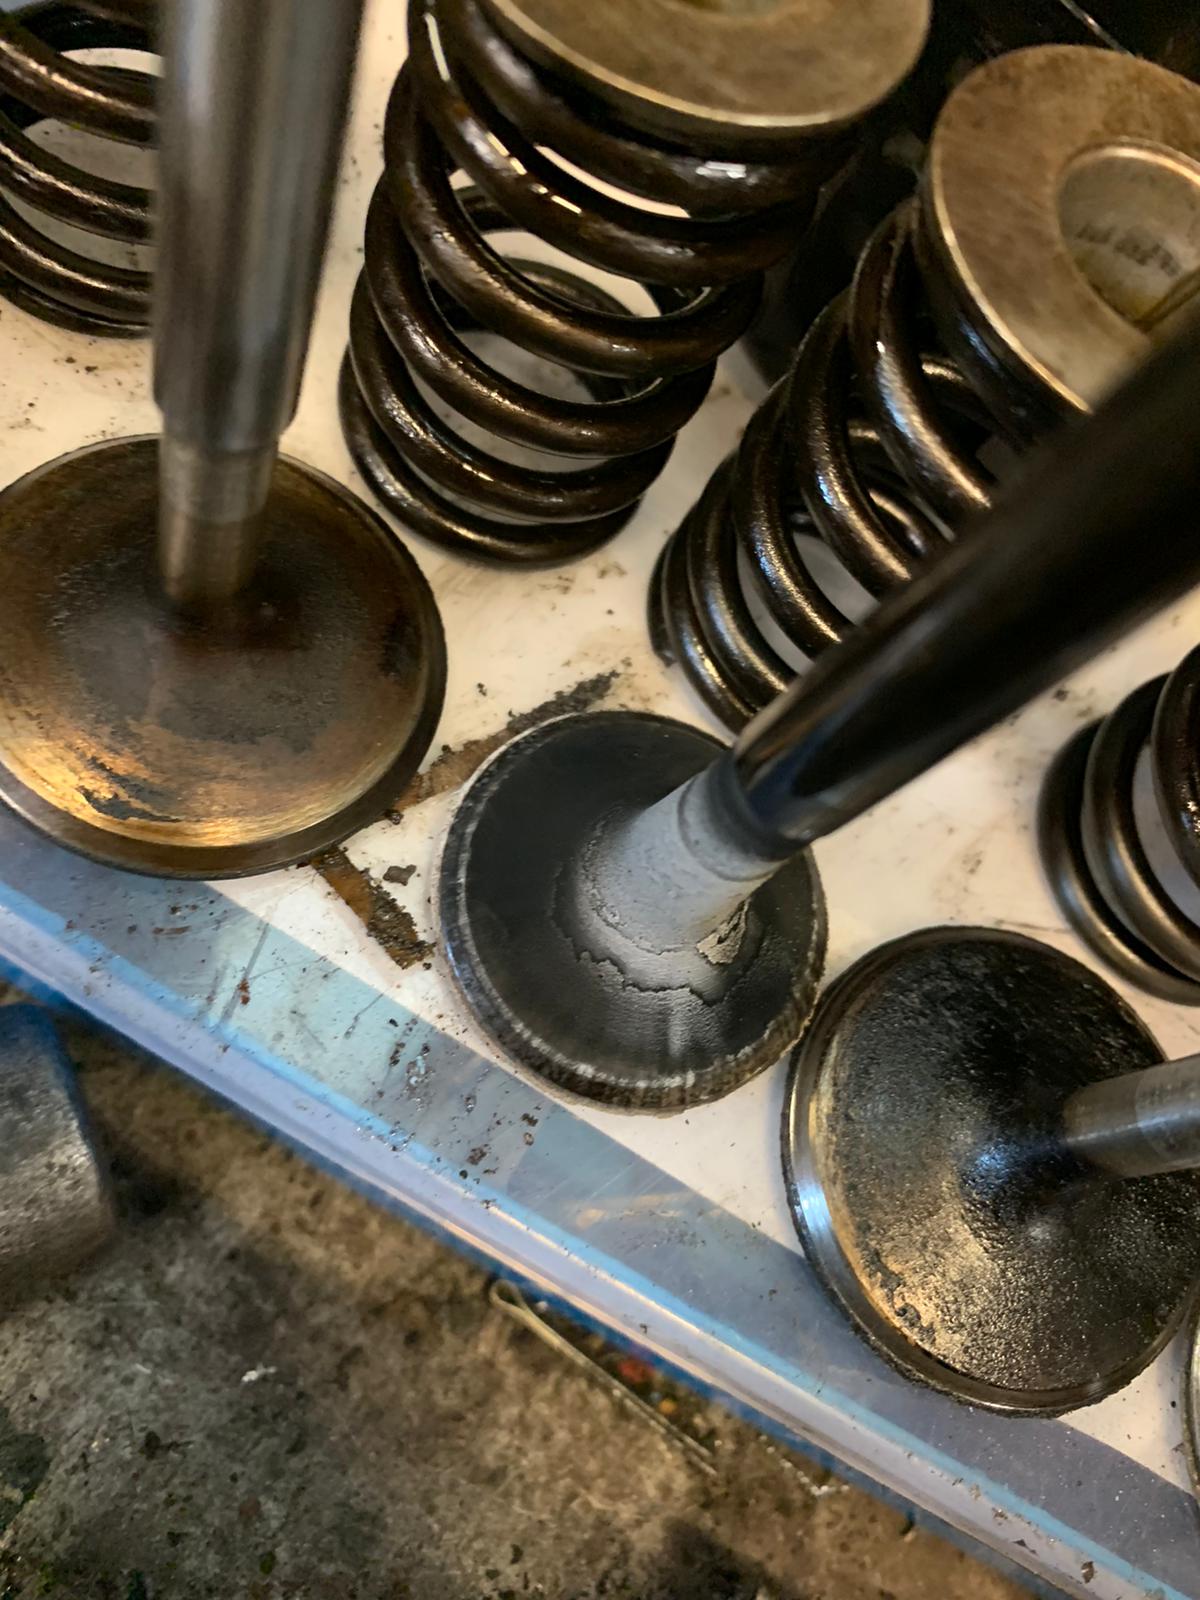
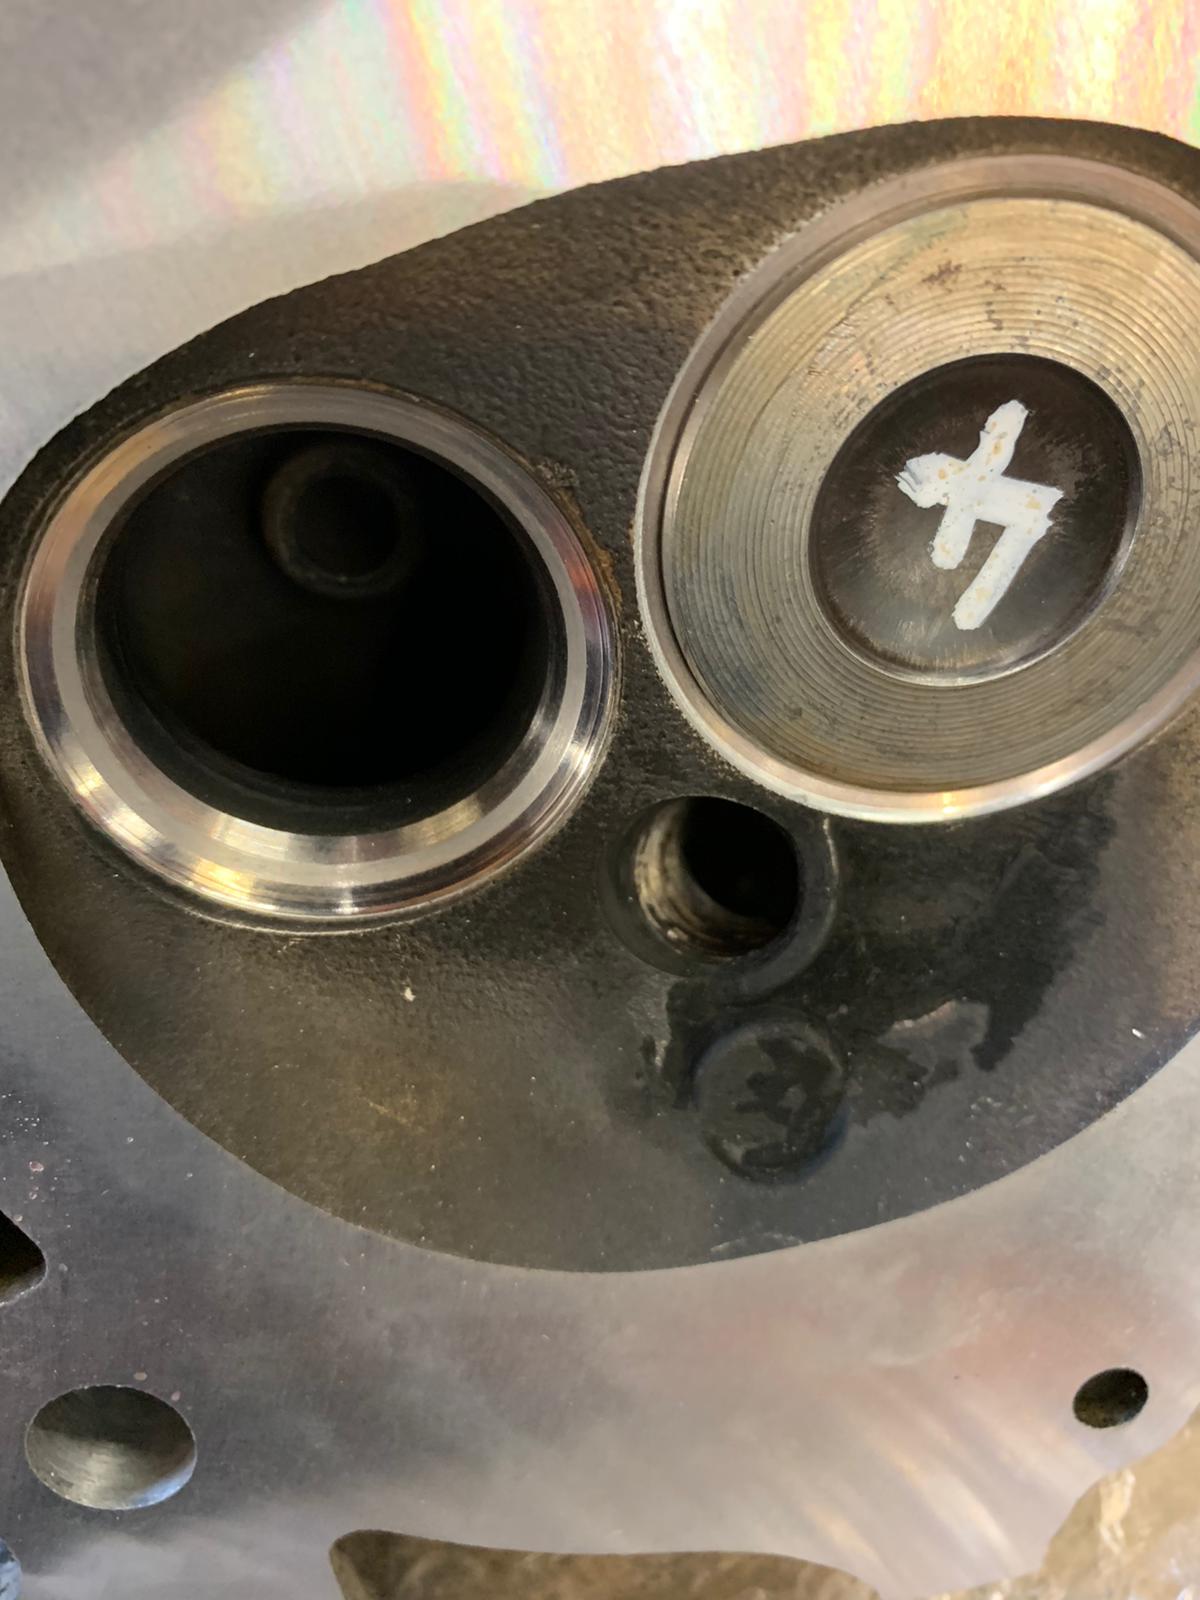
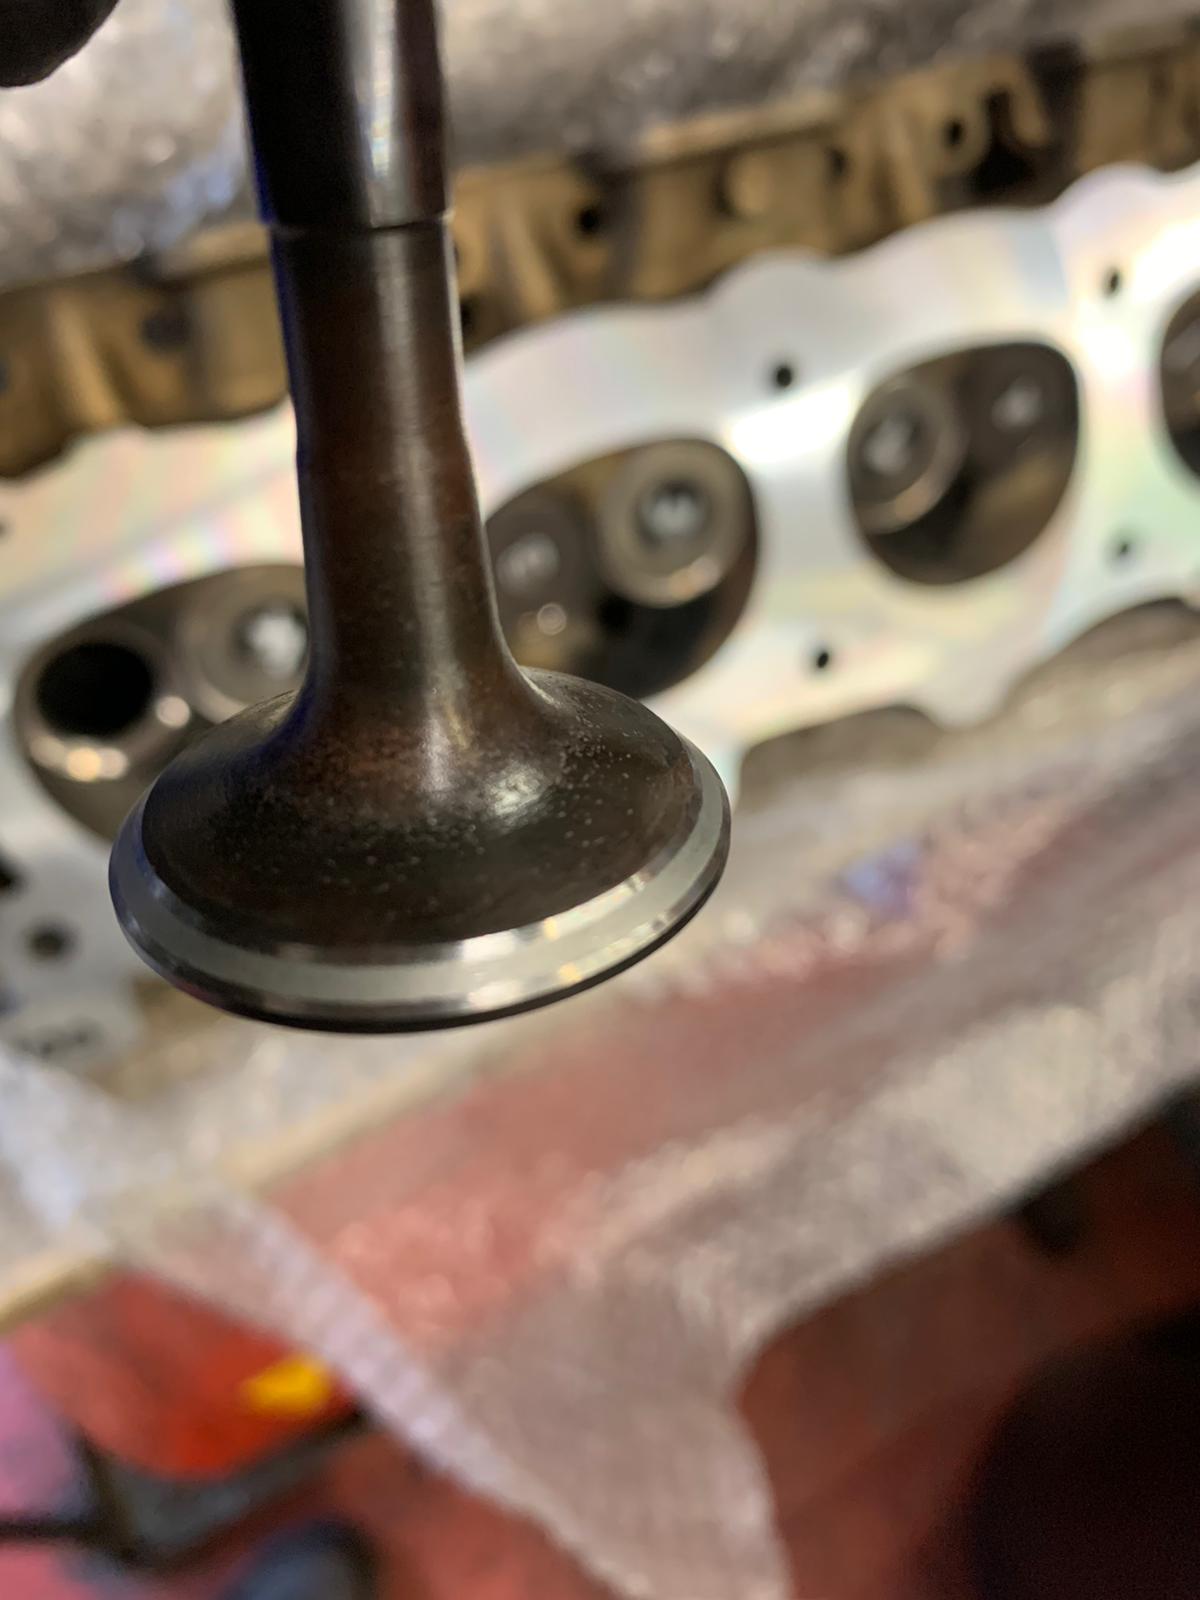
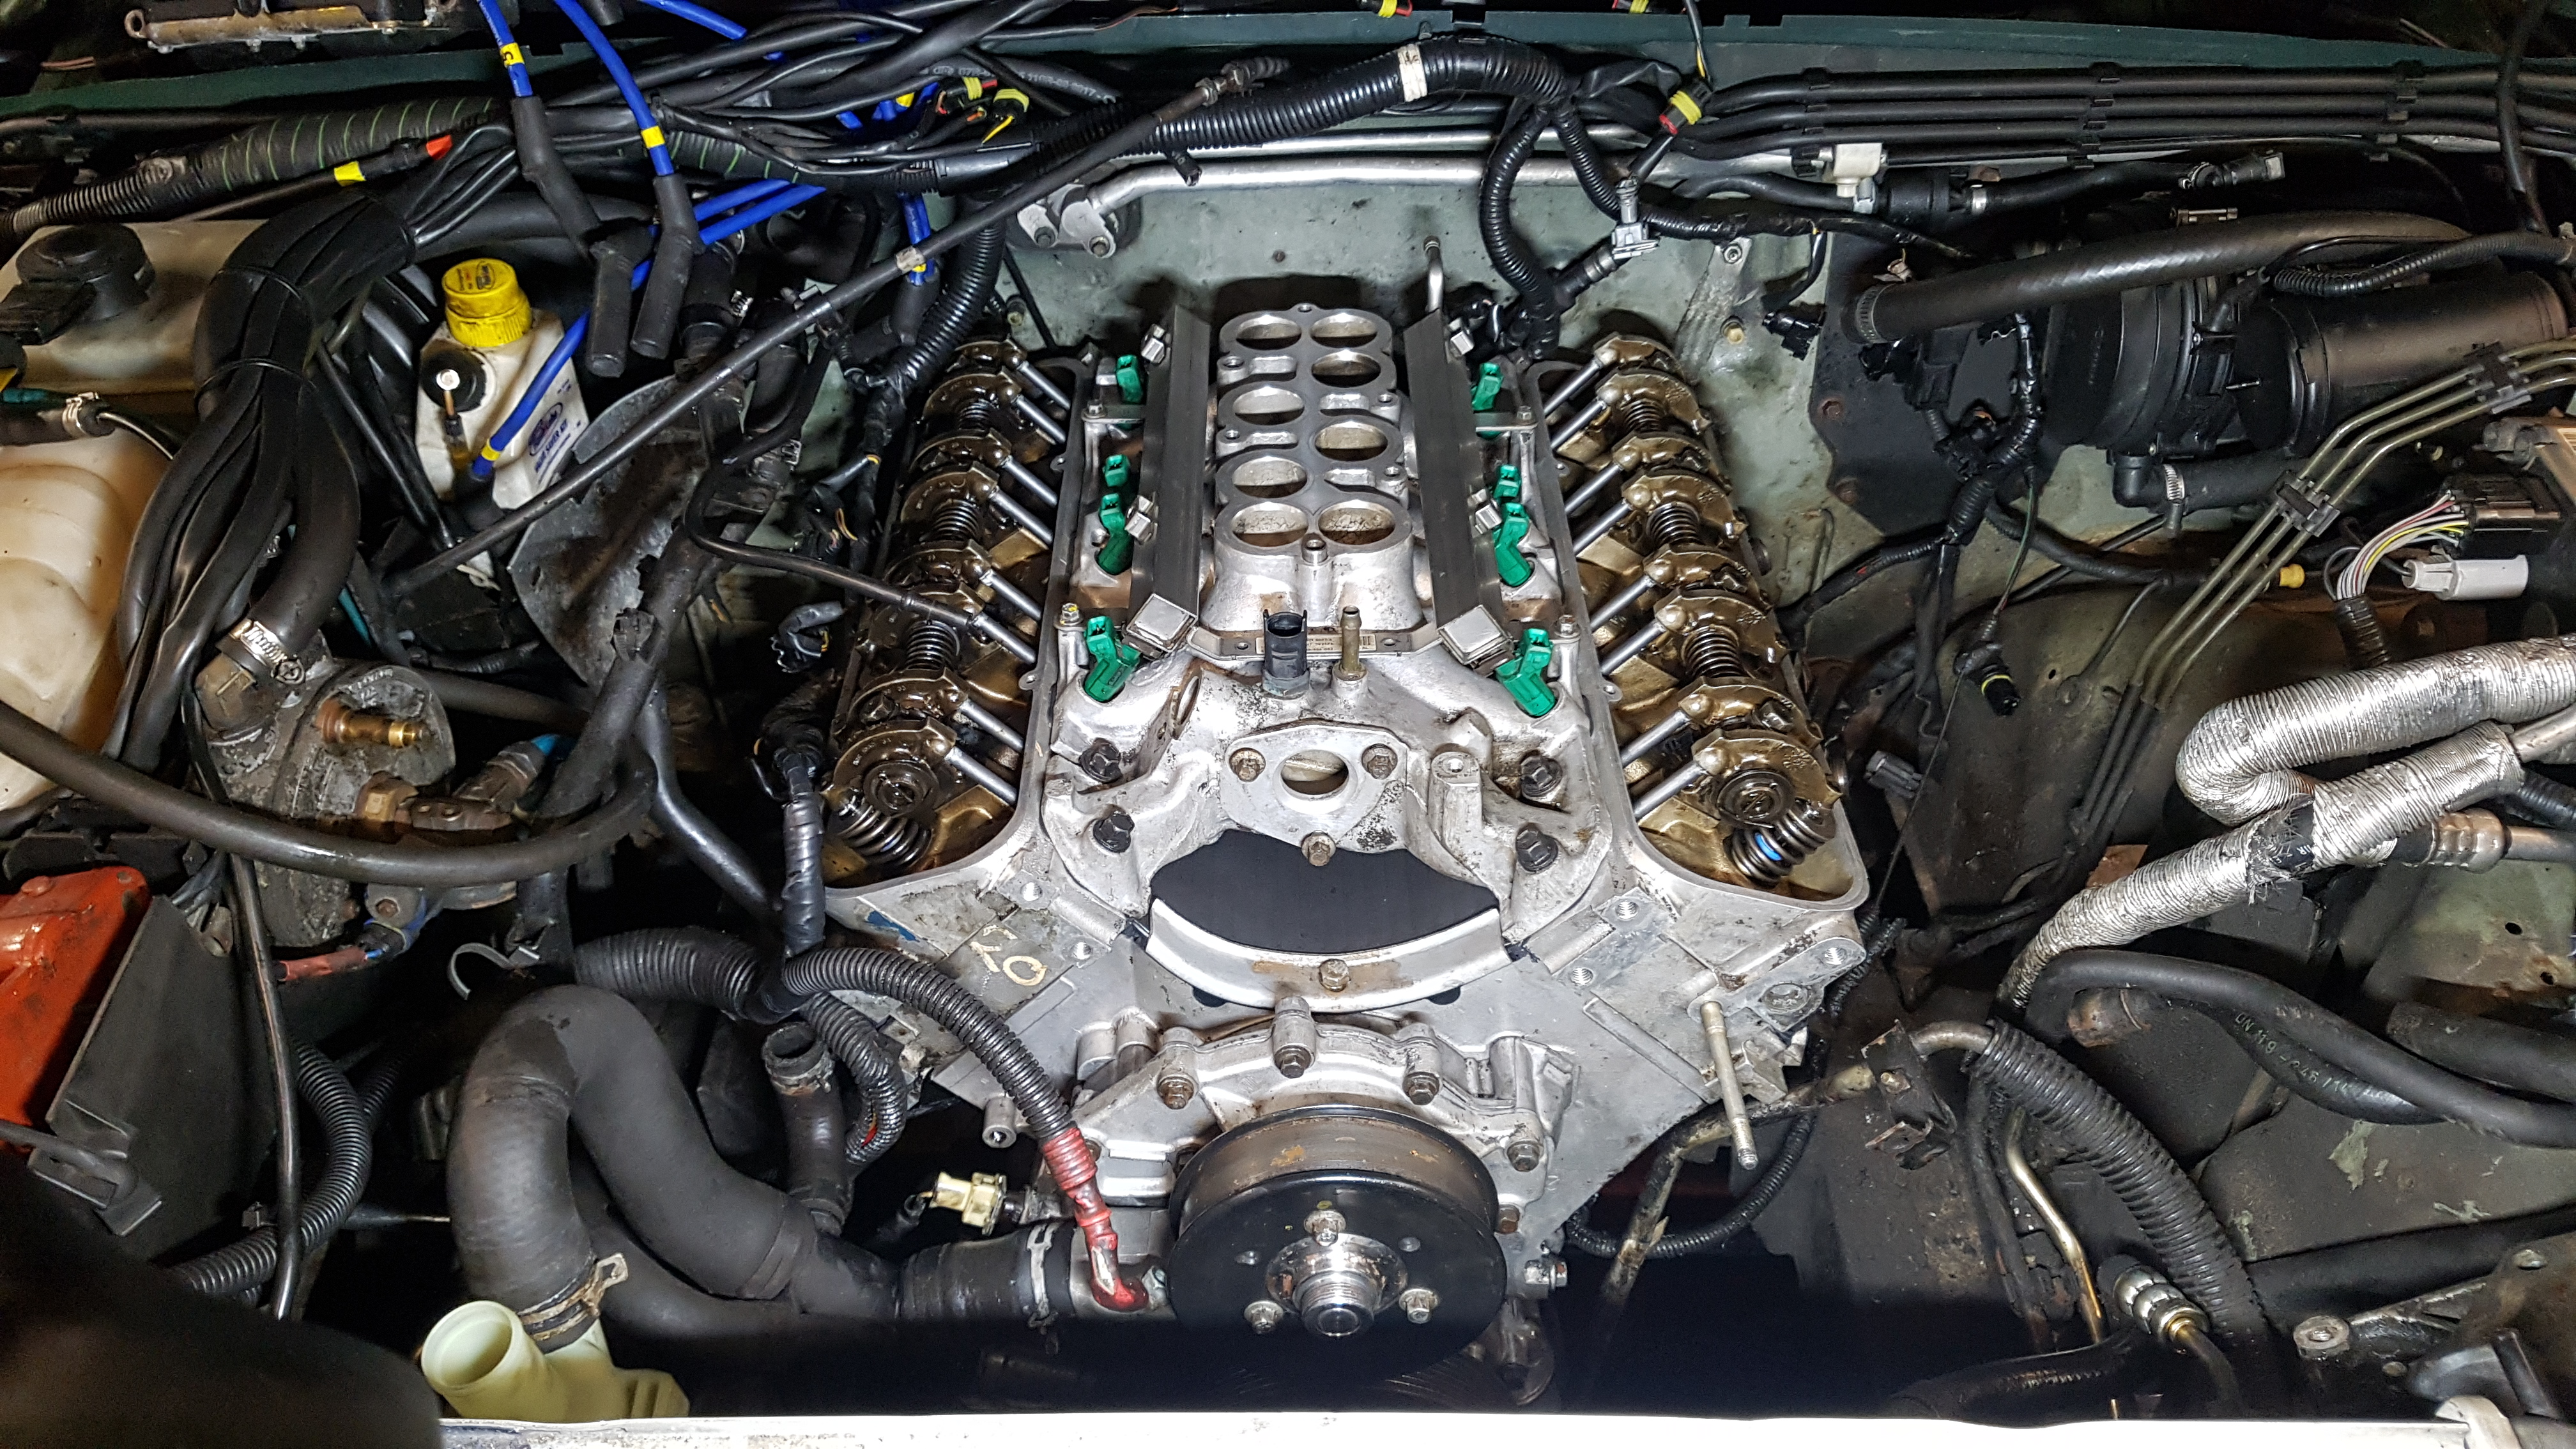
When the heads came off it showed that the exhaust valves were all leaking and getting blowback. So off to the machine shop for recutting all valves and seats, lapping and a skim.

e8gOsZS.jpg


8SA2CZ8.jpg


A5jeA1p.jpg


H5JyMGw.jpg


wNx5S56.jpg


ySkCrUM.jpg


Heads now back on with Elring gaskets and ARP head studs;)

9y8j8XW.jpg


v1vwwhL.jpg


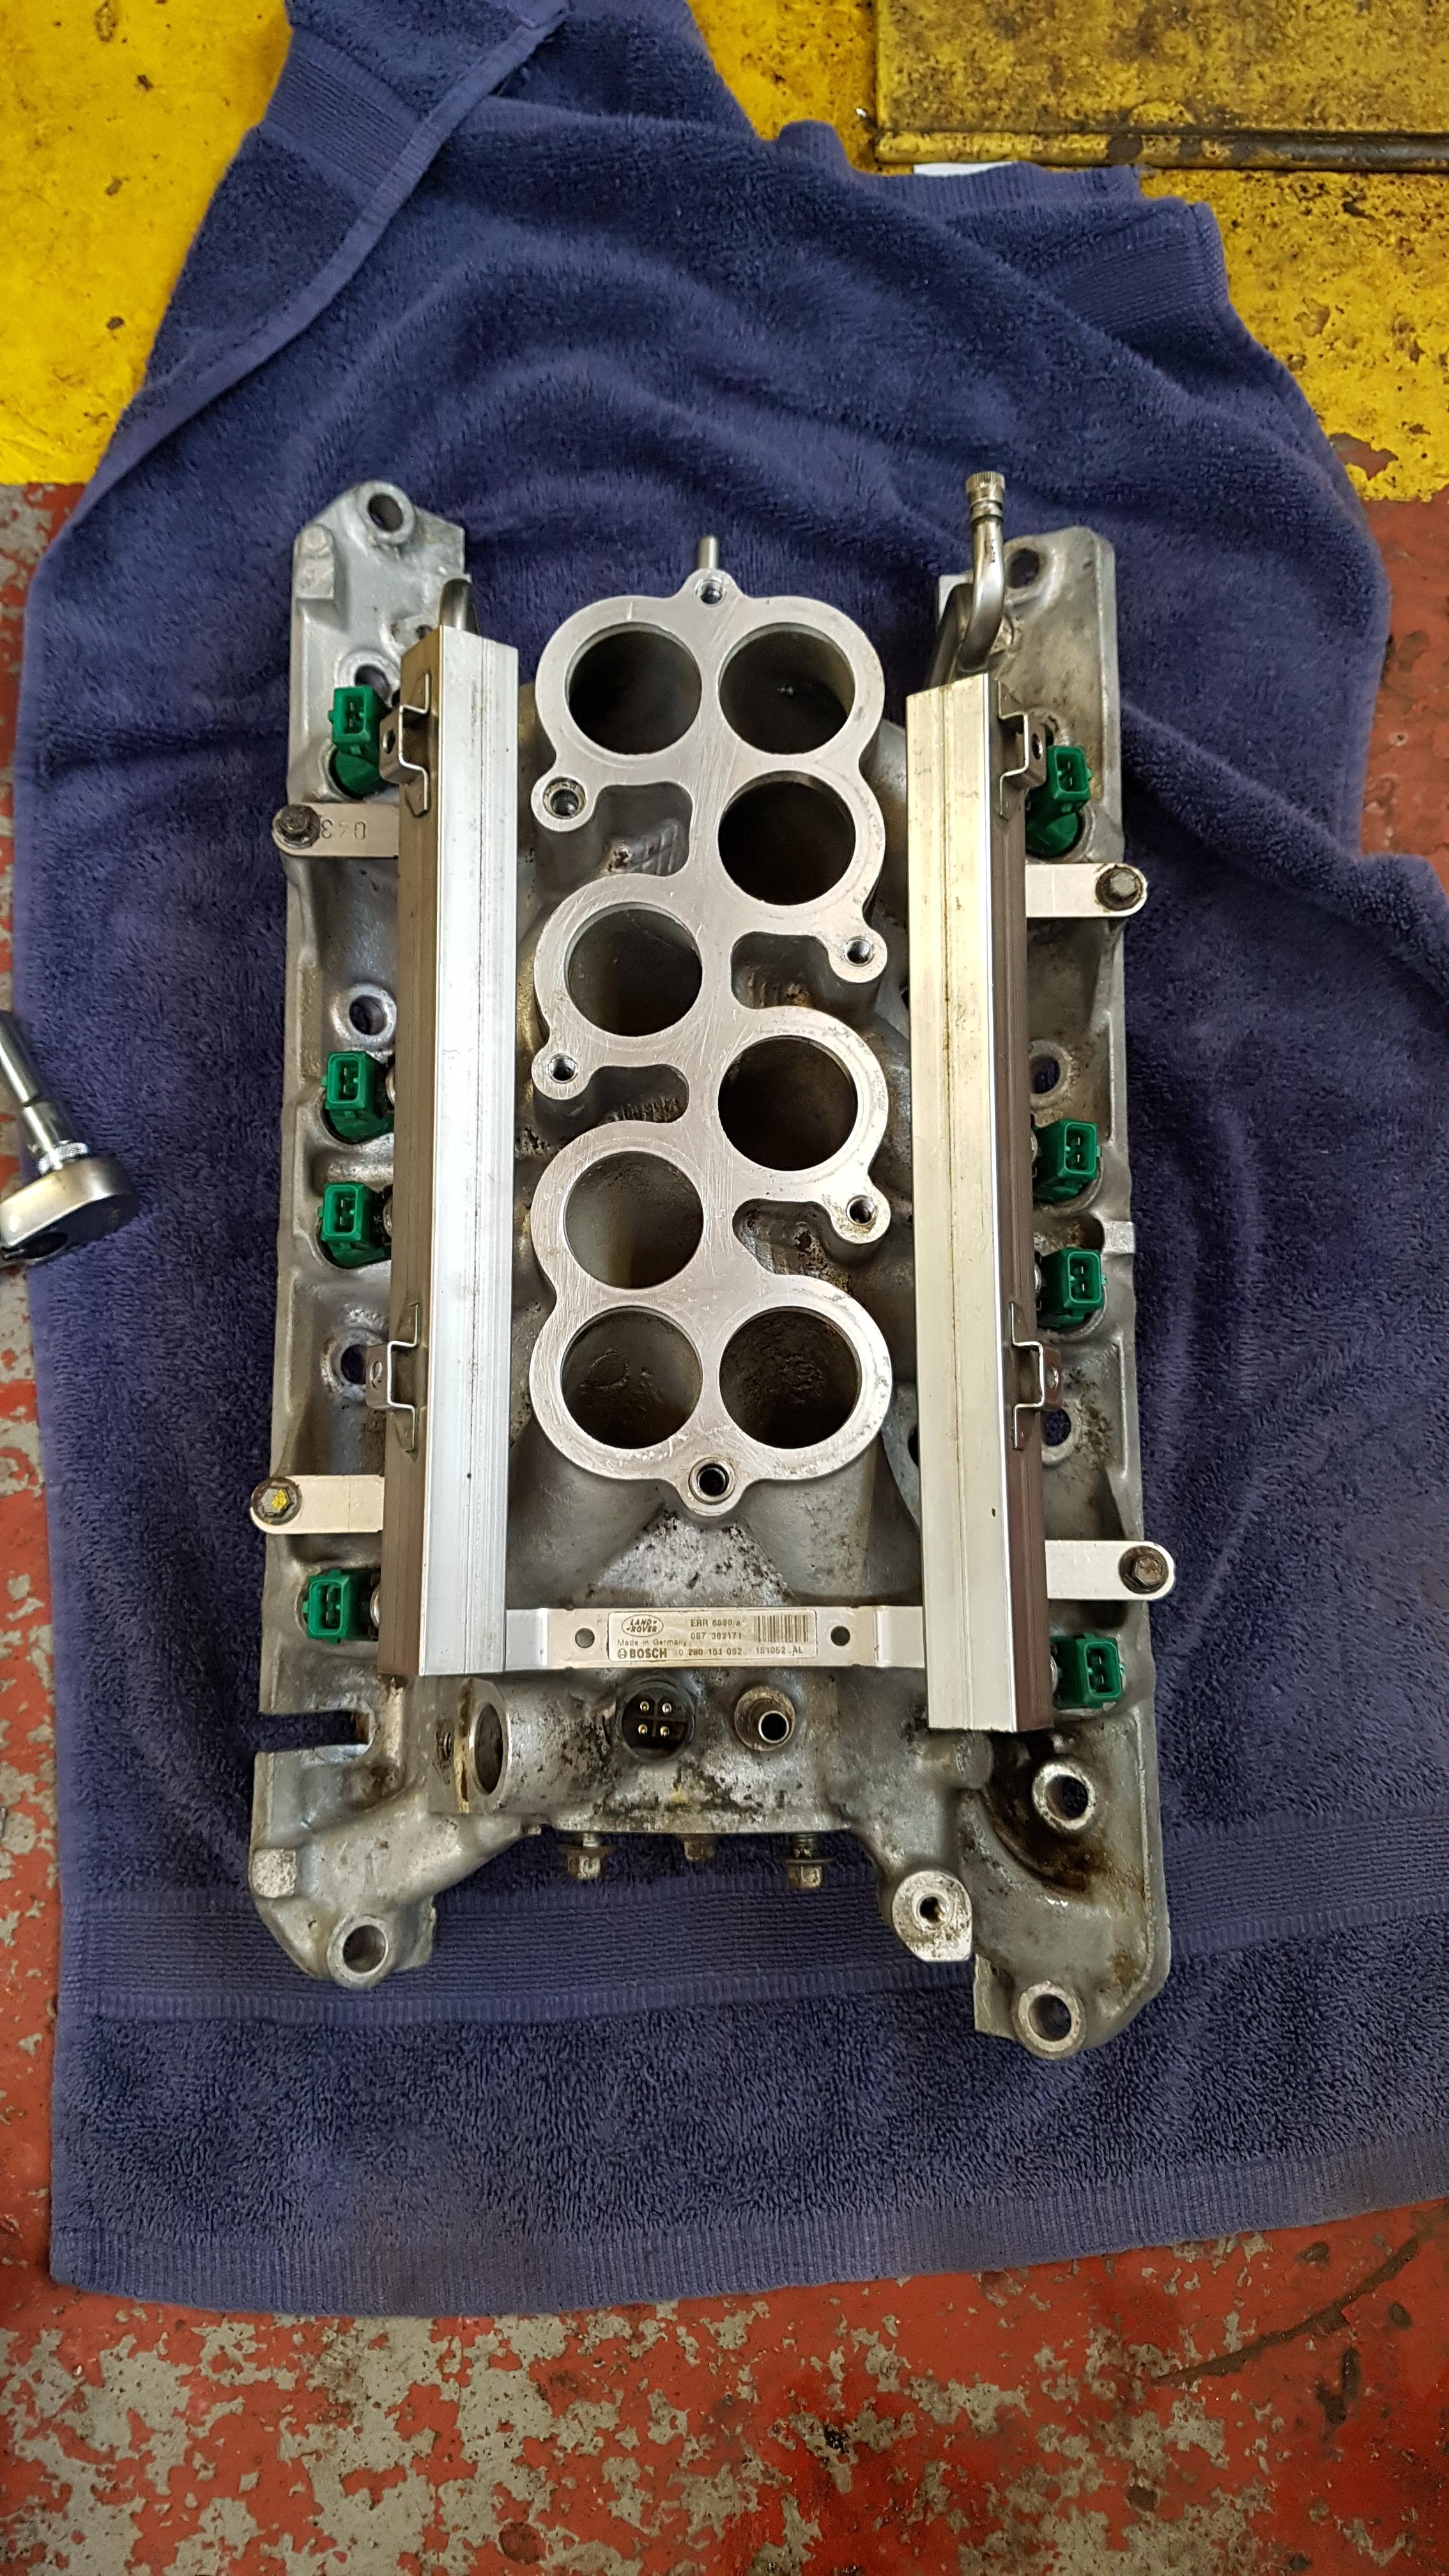
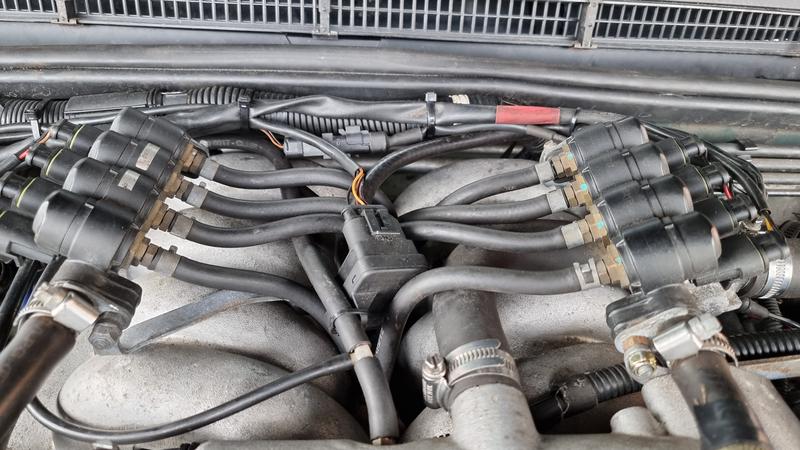
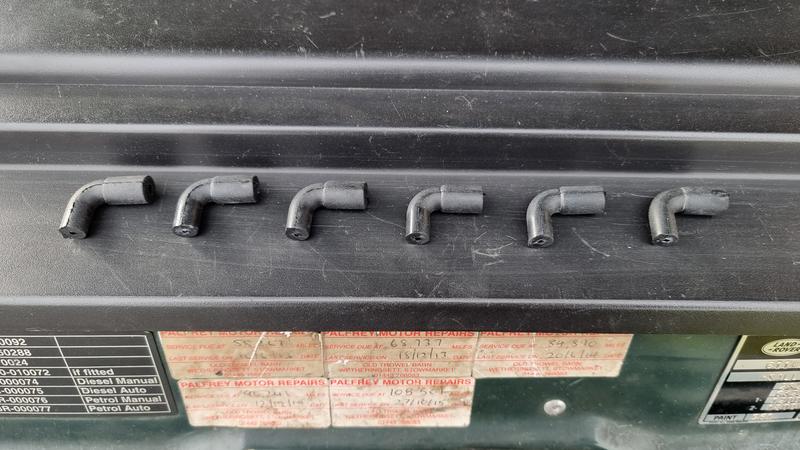
Injectors all removed, cleaned and new seals fitted.

DivRtU9.jpg


g315cqj.jpg


DBr8ezJ.jpg


RQKosVP.jpg


f1Vip32.jpg


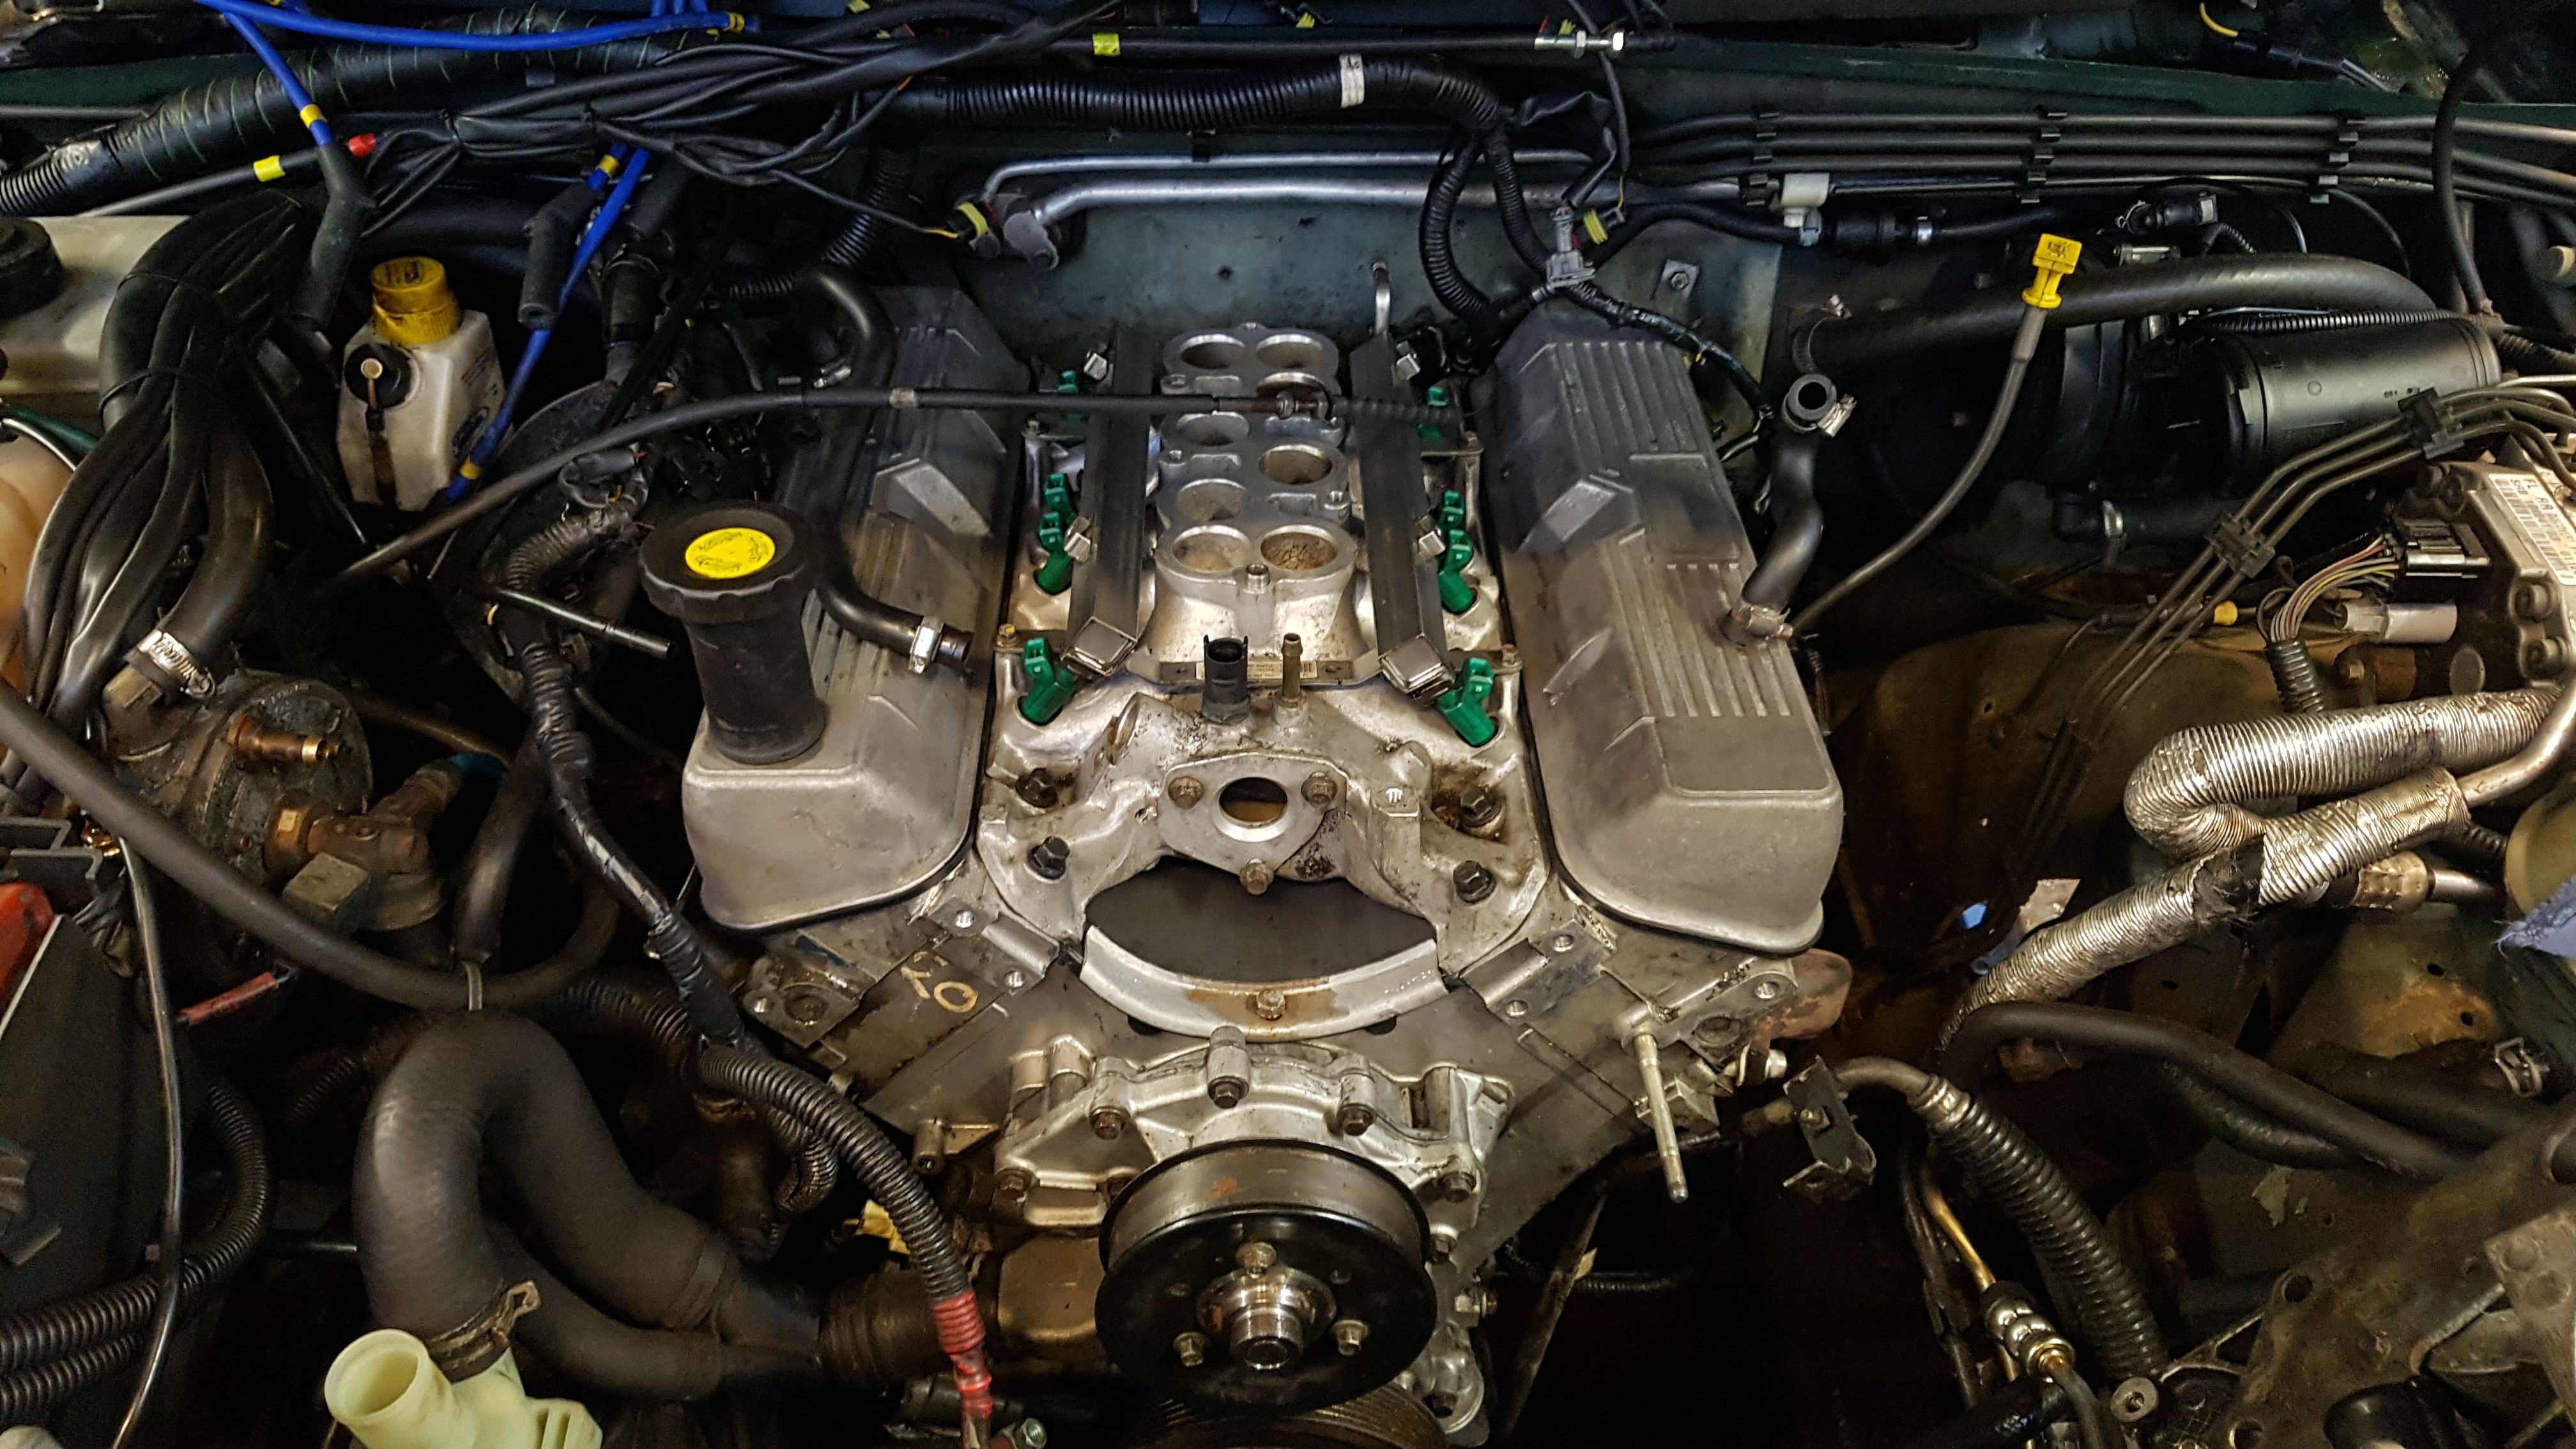
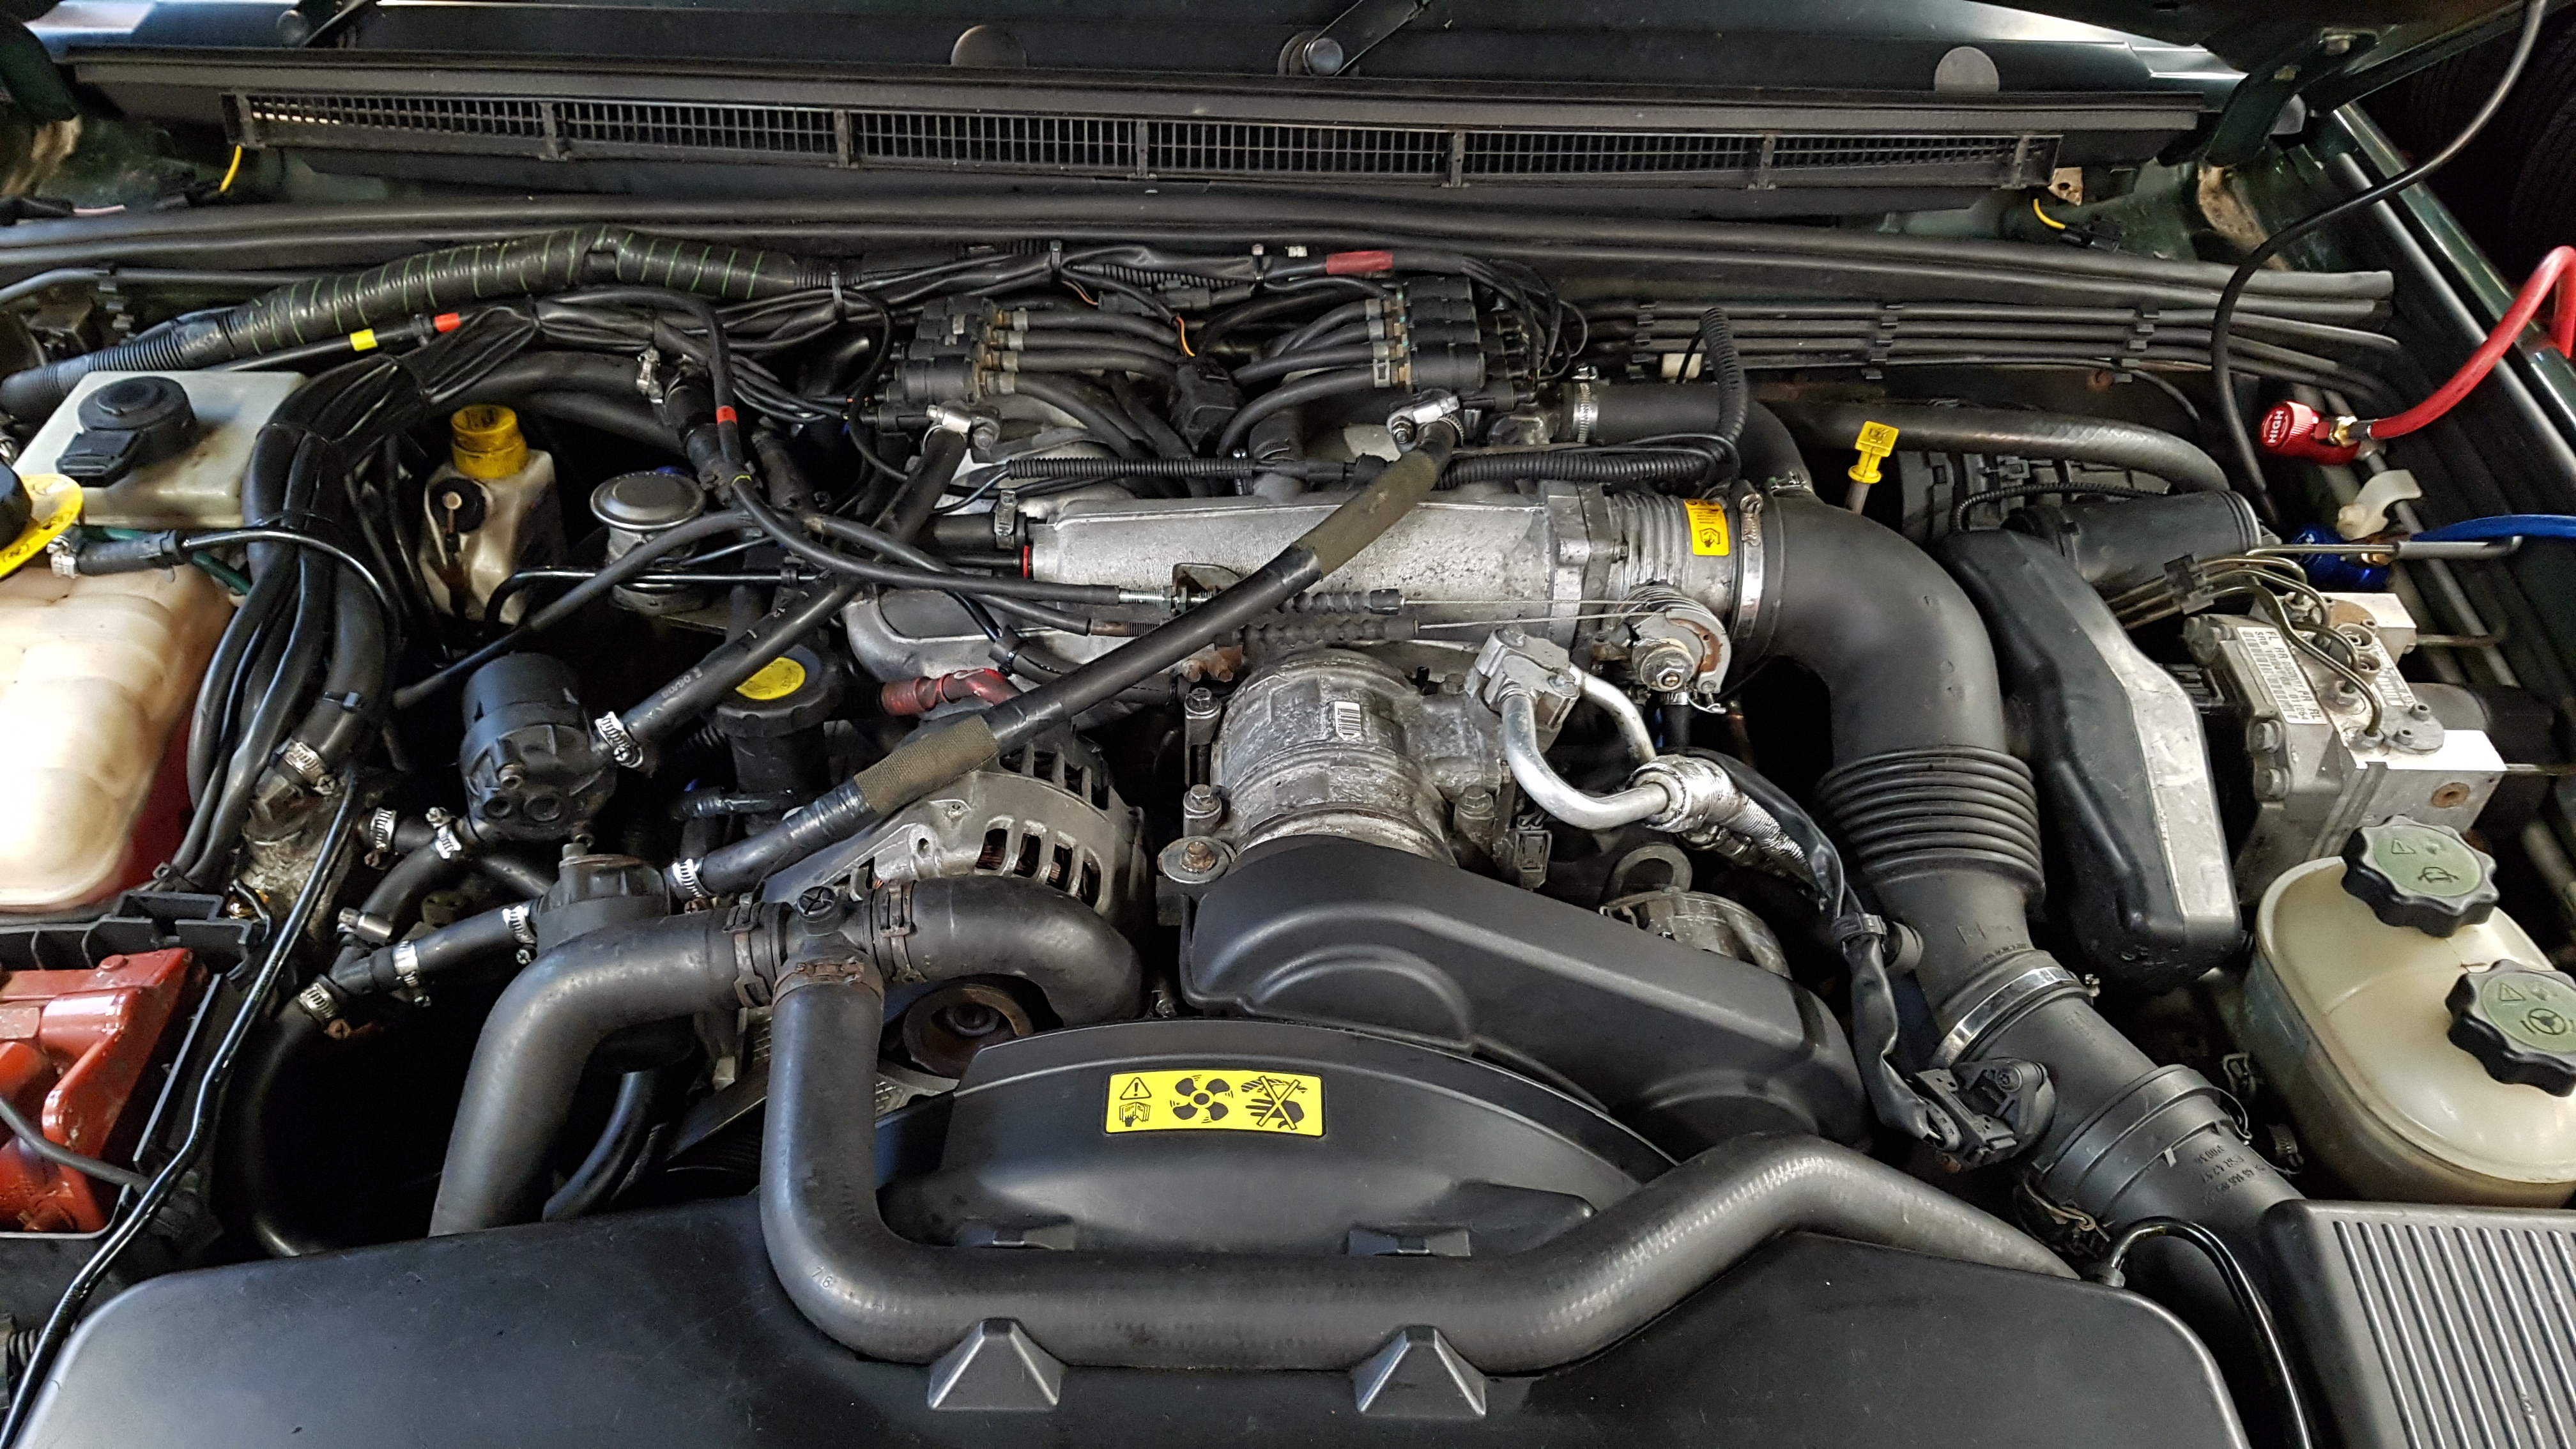
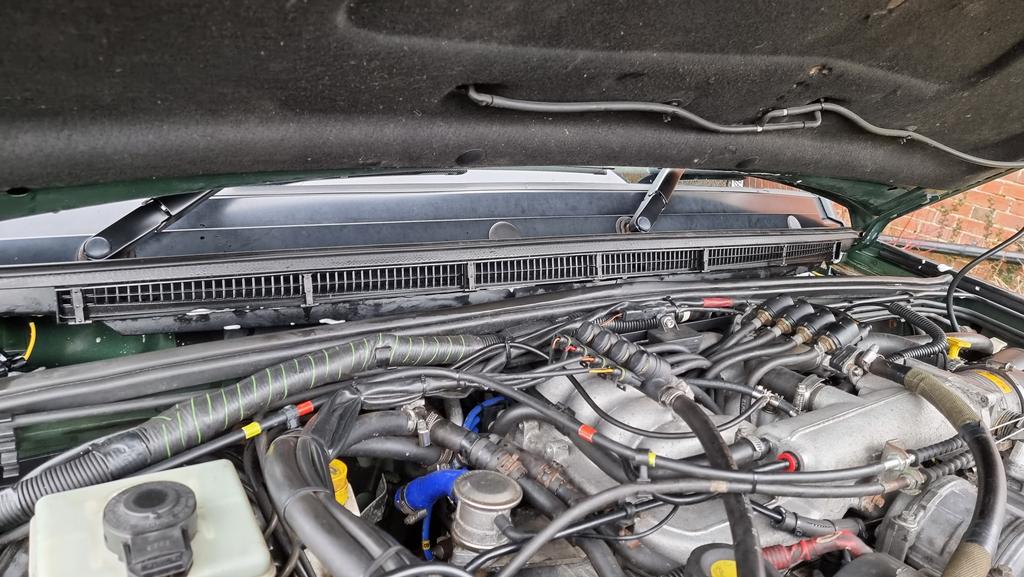
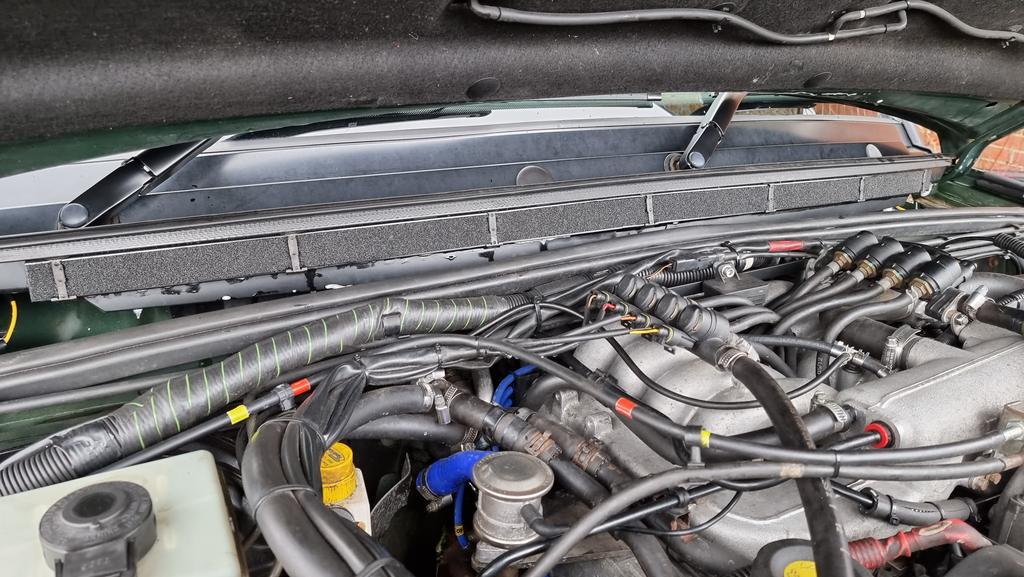
Finally all back together and sounding so smooth, very happy!!

GaQQLHM.jpg


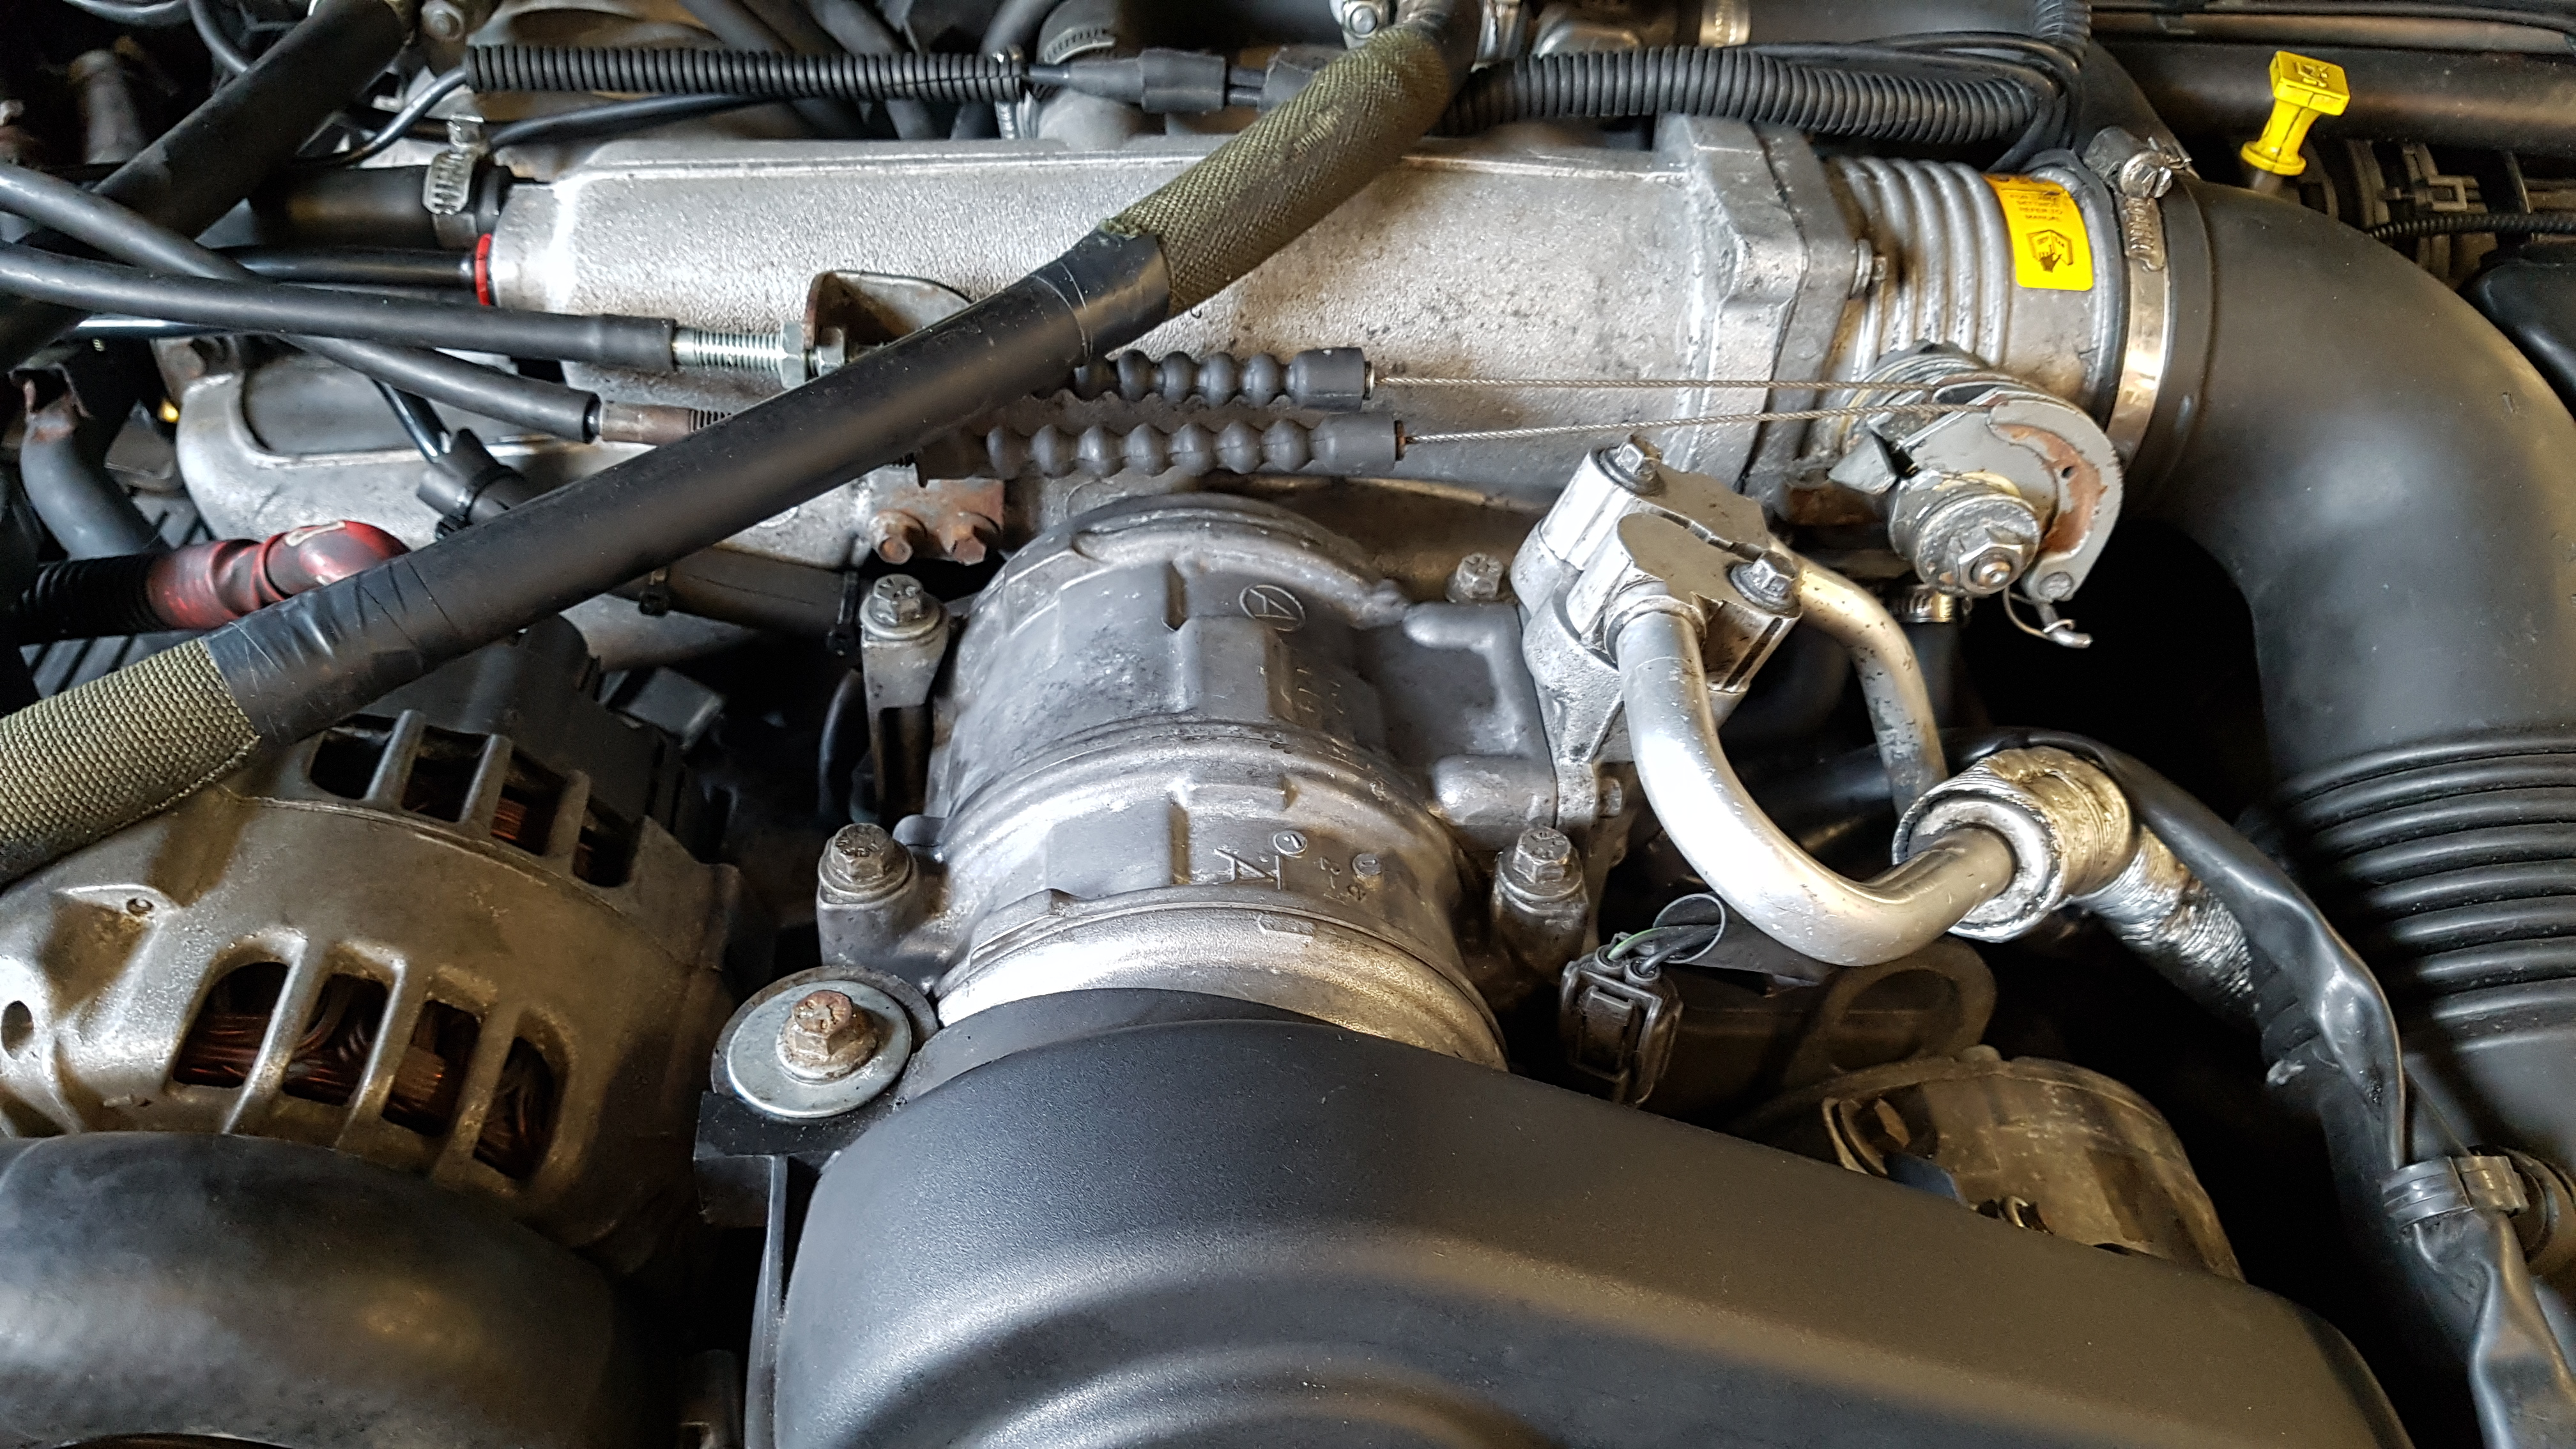
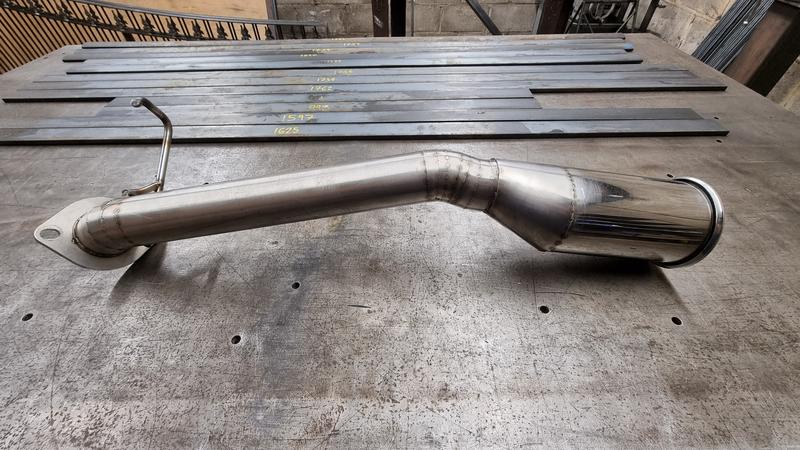
During the rebuild I also replaced the belt tensioner and both pulleys with genuine land rover ones. I upgraded the secondary air exhaust manifolds for the later smooth stronger ones.

It's now running comp cams break in additive with Valvoline VR1 20w50 oil, I'll do another oil change in 1000 miles to just straight VR1.

Thanks :D
 
Ha ha you could say that! I thought sod it, there's no point doing half a job.

Cheers mate. Hopefully will be sorted engine wise for a while.
 
So I got fed up of hearing rust fall from the NSR door when you close it so I stripped it down to investigate. This is what I found...

8TZGk66.jpg


thD3Nj3.jpg


The small window support had completely rotted away and had filled the bottom of the door up with rusty particles! So I removed all the loose rust, cleaned it all up, hoovered the door and applied rust converter.

RP5uYXF.jpg


After that had dried I gave it a couple coats of black.

KdlpSid.jpg


JnvYbzp.jpg


I made a little support of what was left over from the real support to hold the window in place.

PtOmC6L.jpg


I also cleaned out the bottom of the door, gave it a layer of rust converter and a couple layers of underbody seal.

soza39L.jpg


Finished. Obviously this is only a temporary repair to keep me going till I get a pair of rear door frames and refurbish them so I can swap them over.

OxrbMpl.jpg


The OSR door was exactly the same as I found out when changing the door lock, the same treatment was given to that frame too.
 
Last edited:
Looking good fair bit of effort gone in ther mate, keep up the good will be worth it
 
Picked up a few bits today, a missing washer hose clip, a missing screw for the fan surround, a new service book to continue my service history as my book is now full and a new battery/jack cover.

5wId9eu.jpg


zHGGudR.jpg
 
Yesterdays task was to fix the AC. So After I completed the engine work I filled the AC with a UV dye and gas to check for leaks. I found the the AC compressor was leaking around the seam of the actual unit, the o rings on the pipes and one on the front pipe going to the condenser. I sourced a good second hand unit and some new o rings. Swapped it over cleaned it up, fitted the new seals and sorted :)

Thought while I was at it I'd put it up in the air on the ramp to check the engine for leaks. Bone dry and clean silver :cool: Happy days!

5gYL19F.jpg
 
So I don't like the untidy LPG install under the bonnet. I'm working on a solution for a new filter location setup at the moment but for now I have addressed the injector rail mounting, map sensor mount, small hoses and clips. This is a before photo, notice the left bank of injectors is only mounted at the front and not at the rear. Also the map sensor just loose resting on the fuel lines.

ZxRXw8J.jpg


So I fabricated a steel bracket that joins the injector banks and provides a mount for the map sensor. This was then powder coated black.

wG4JJ9X.jpg


qn3FagD.jpg


alZTc11.jpg


Here's the fitted pic including new hoses and clips.

fwwhC6s.jpg


JOQbdO8.jpg


While I was at it I replaced all of the rubber elbows on the secondary air lines as they were very soft and loose. Great tight fit now :) This is what I used for this...

OCiuAgi.jpg
 
So I've been fabricating this backbox delete...

cfDb4FO.jpg


JtmUW7c.jpg


0vEOIPm.jpg


Tig welded...

C0FNJgf.jpg


J4eCDUM.jpg


yZ5ZgLW.jpg


2.5" 316 stainless steel into an outwardly roller 4" tip.
 
Back
Top