Bobtail build

This site contains affiliate links for which LandyZone may be compensated if you make a purchase.

matty_daak

Active Member
Posts
366
Location
Bristol
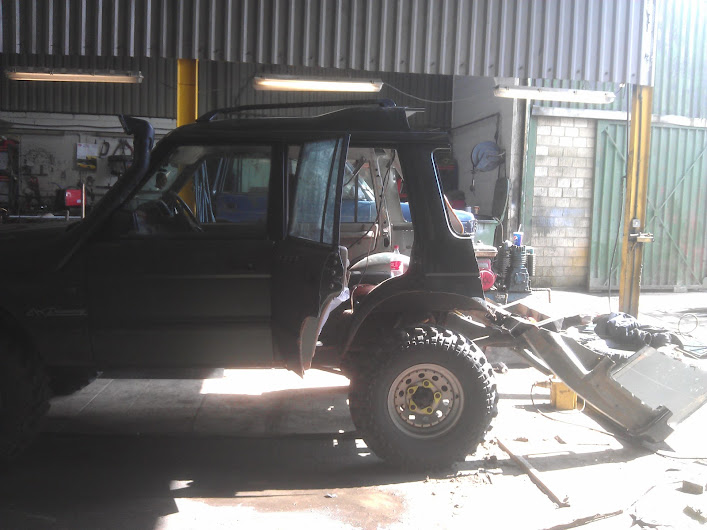
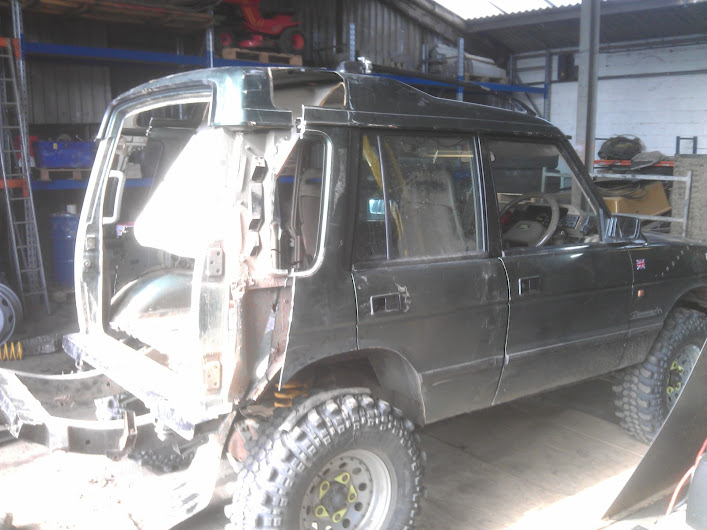
After months of reading threads on here and toying with ideas I came to the conclusion that I was going to begin heavily modifying my disco! A few of the guys in my club have done bobtails but a few are not to my liking, ie look good but not very strong or very strong but look horrid.. I spent days and days trawling through Google images finding ideas for something I liked. I finally decided (in a moment of 'Ahh fu*k it!') that I was going to build a 2 door bobtailed pickup out of my 5 door disco! After sourcing the rear panels from a 3 door disco to save welding up the rear doors, I figured the first step was to begin the bob tail with the existing setup as it would need doing anyway. So why the pickup some may ask, well I wanted to keep a decent load area and build a rangie style drop tail gate, eventually I might look at a canvas back for it. But for now, 5 door bob :)

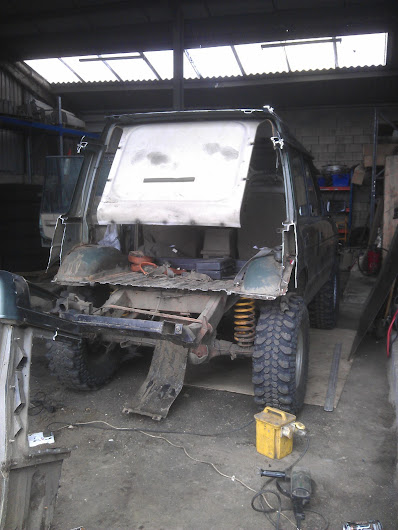
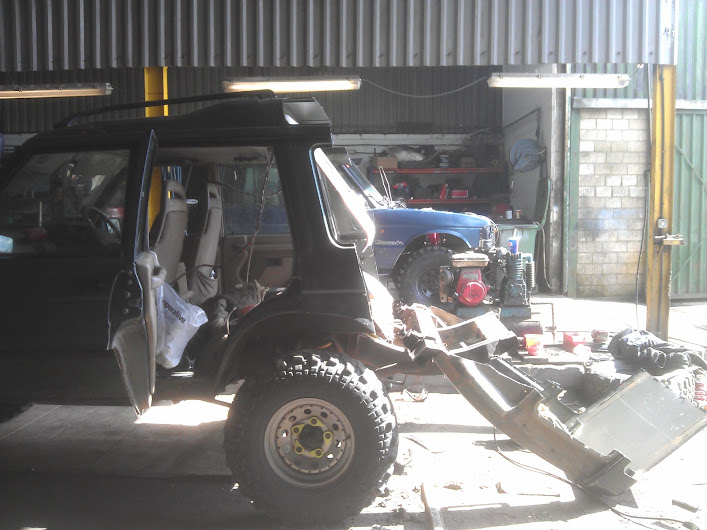
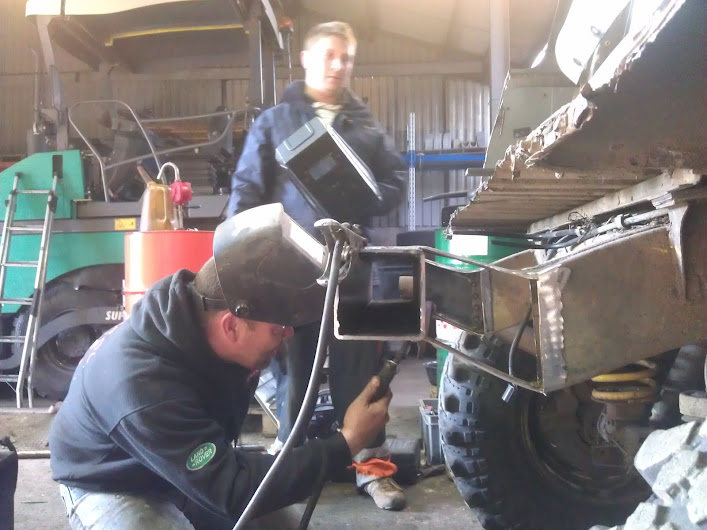
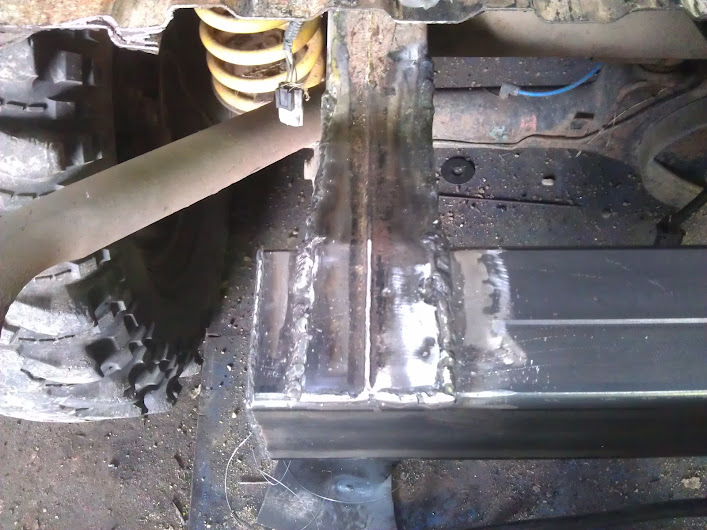
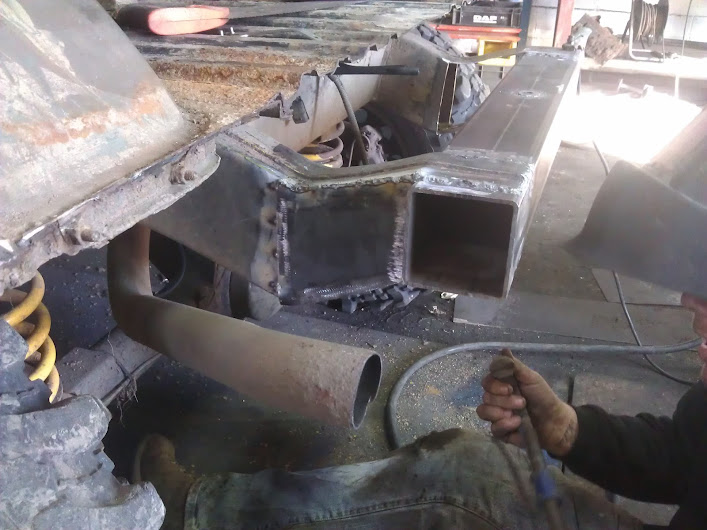
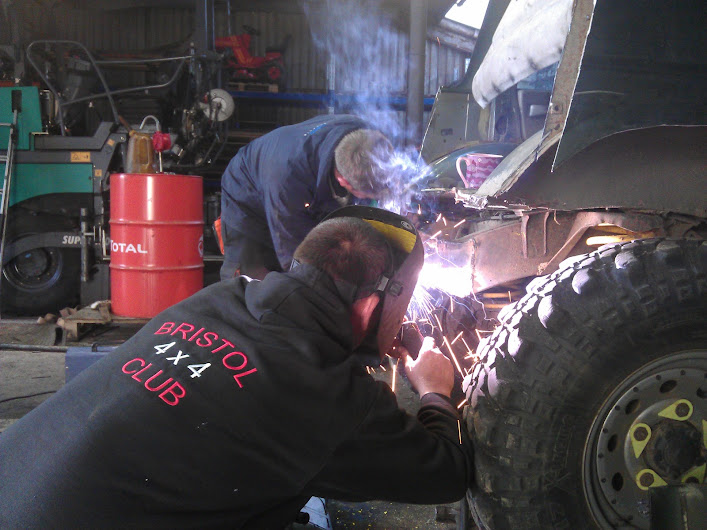
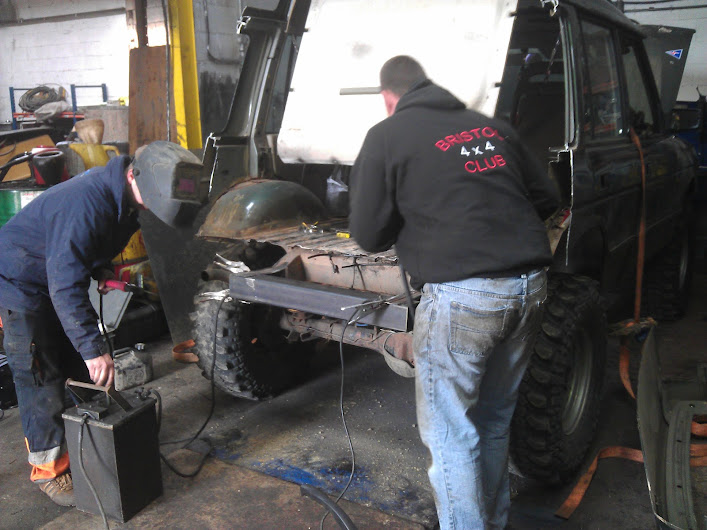
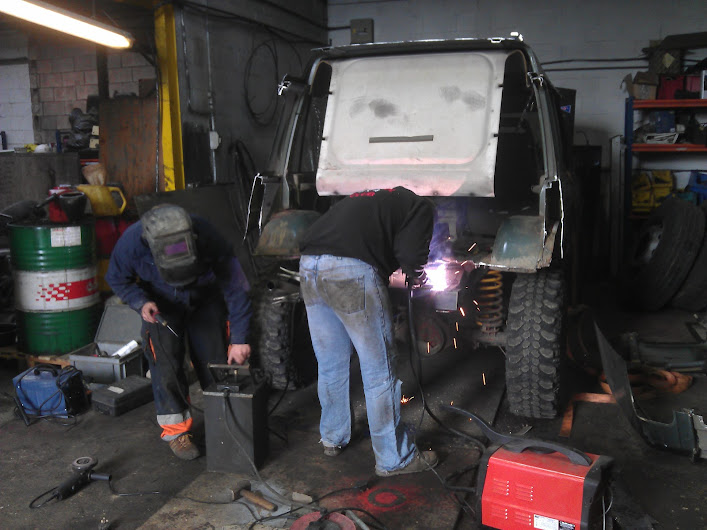
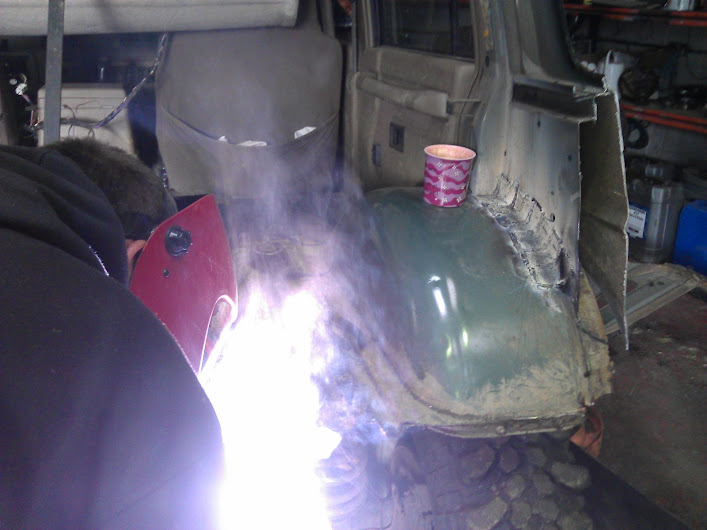
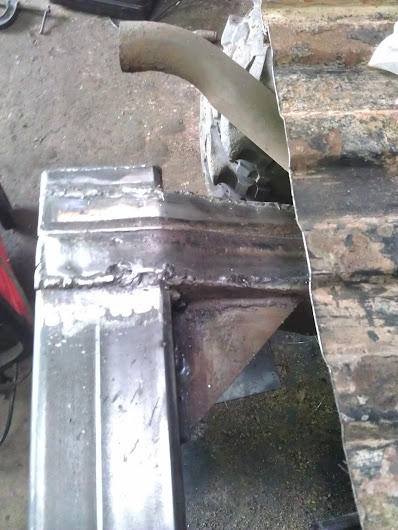
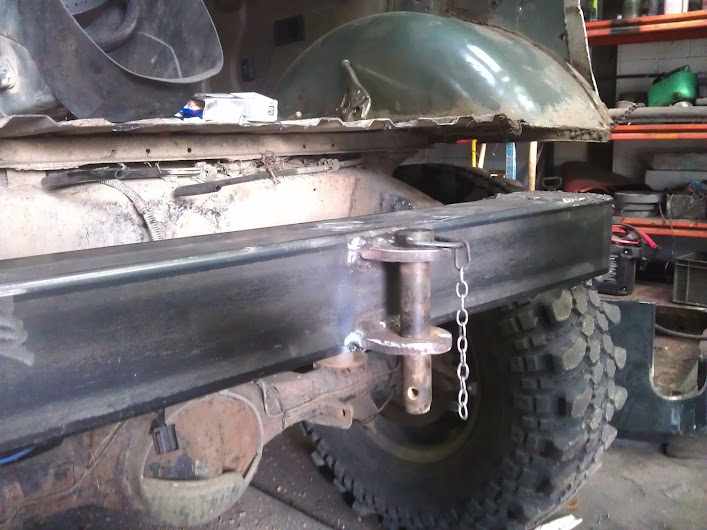
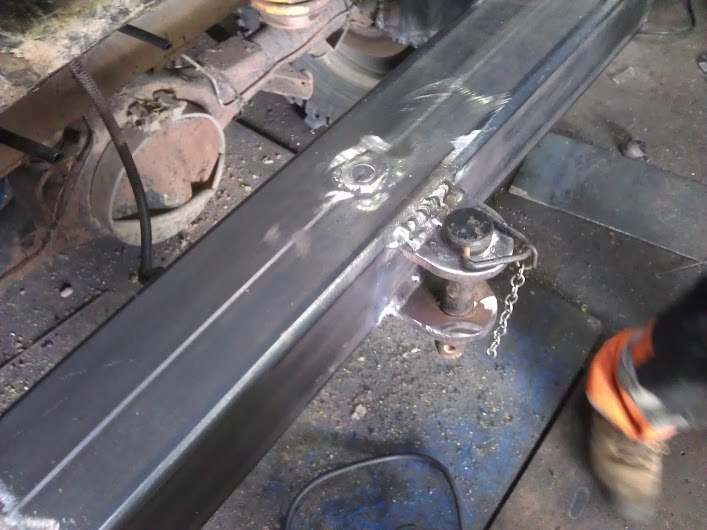
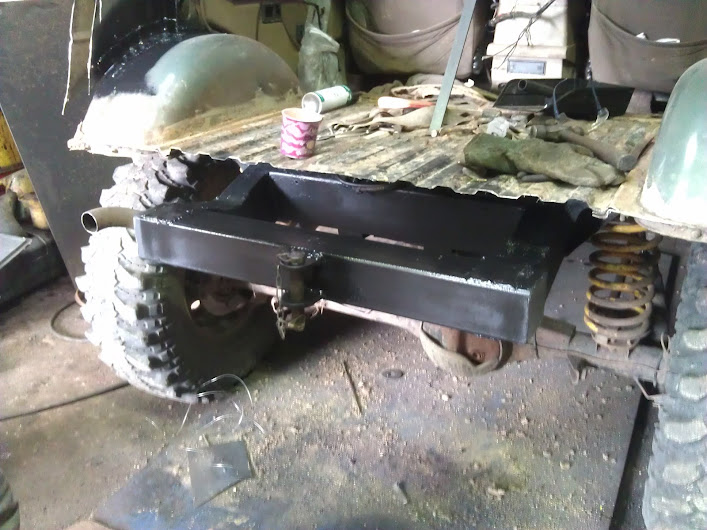
So here's a few piccies of the process...

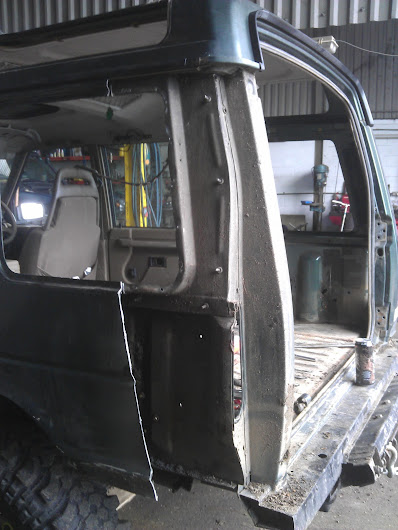
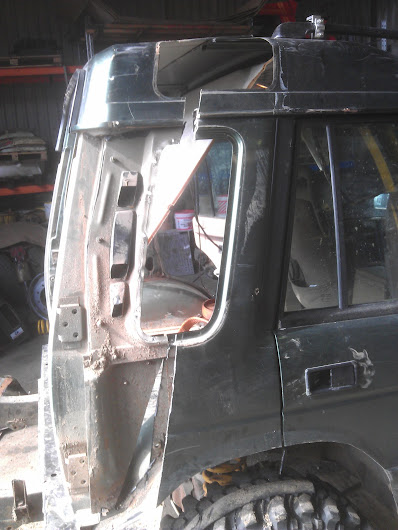
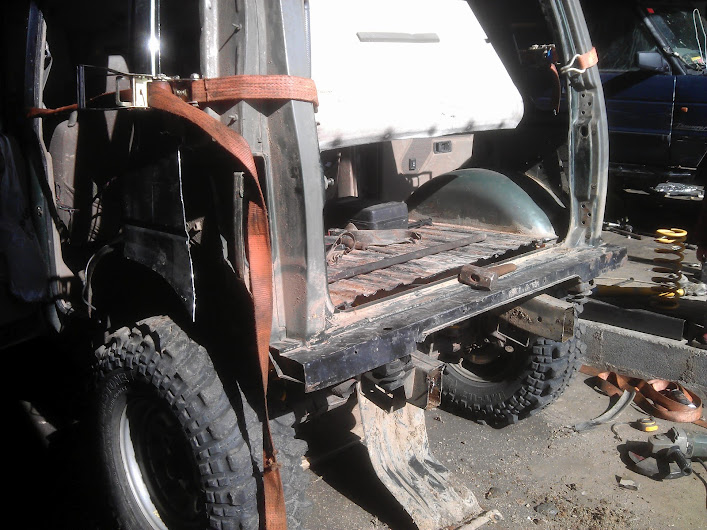
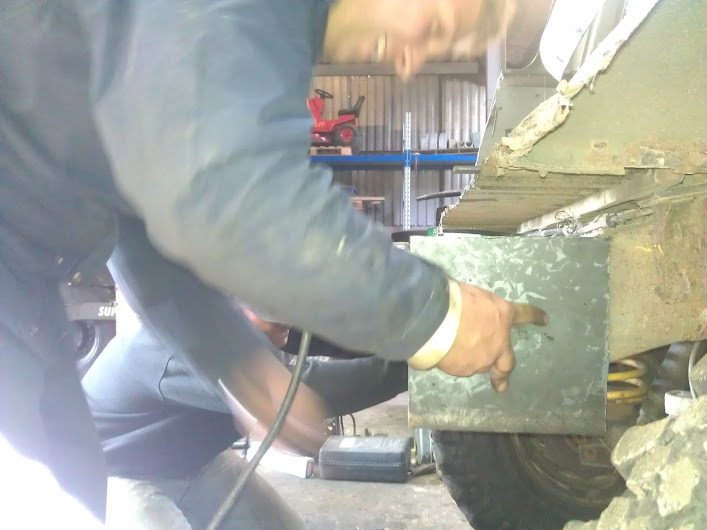
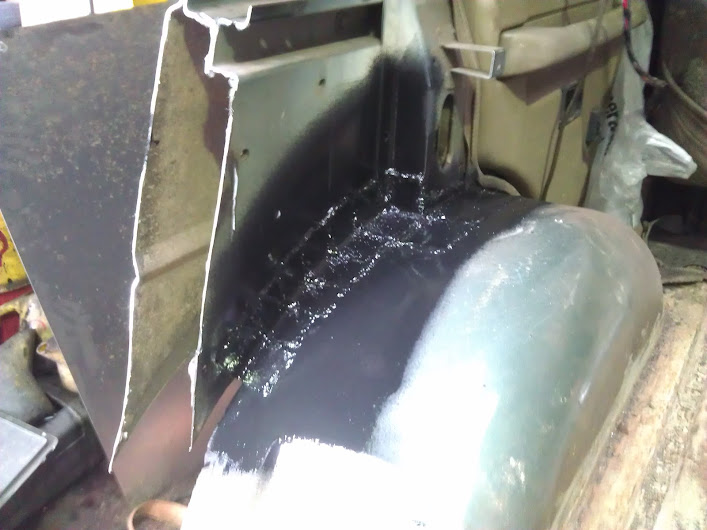
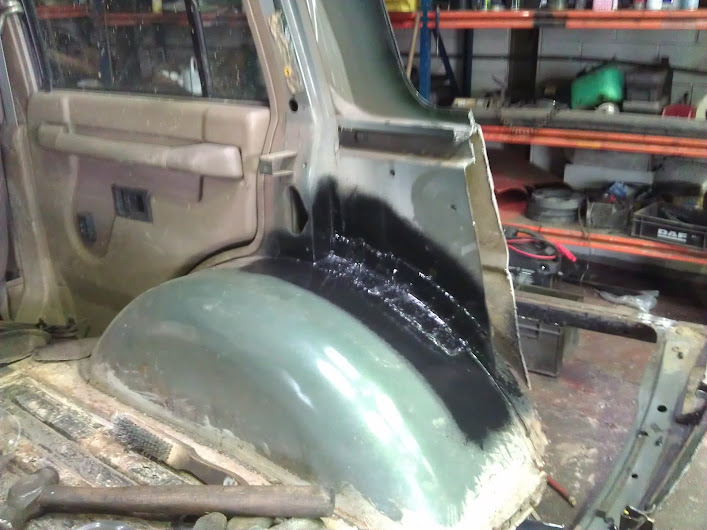
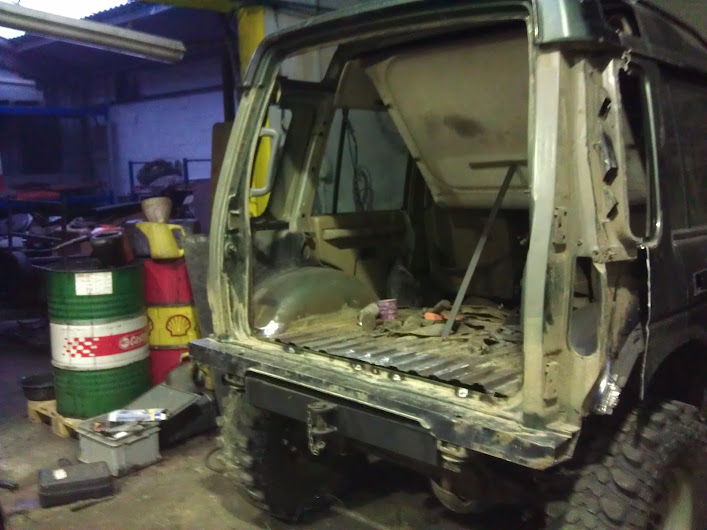
First job was to strip all the back end out:
IMAG0365.jpg

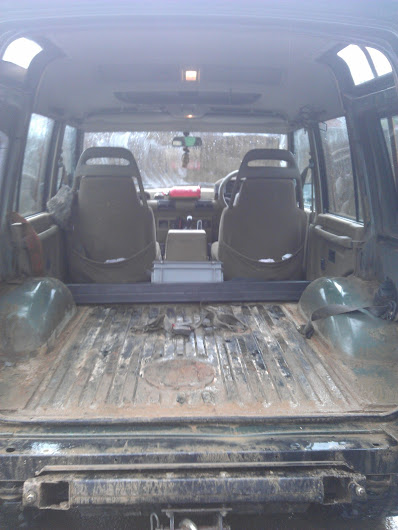
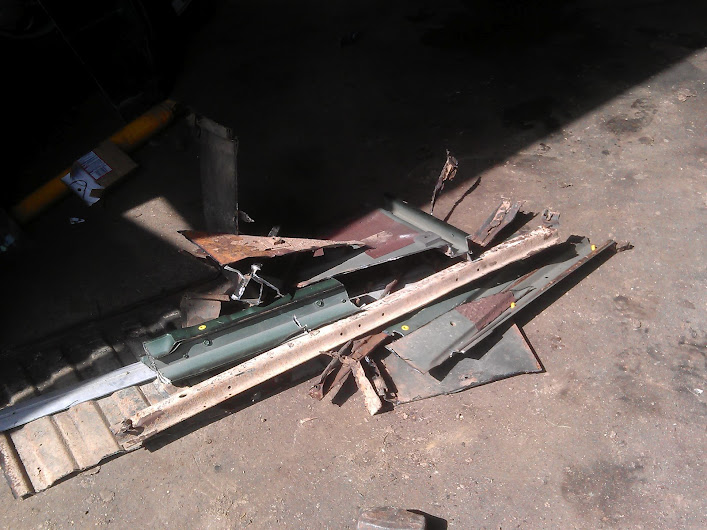
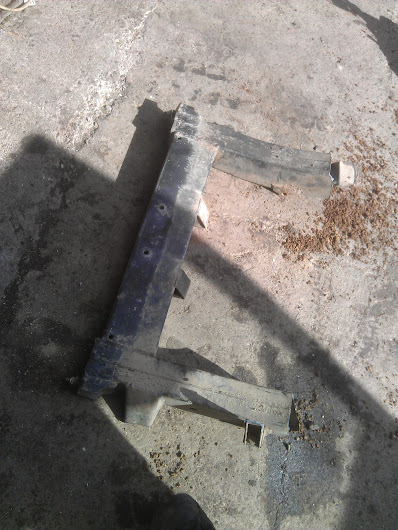
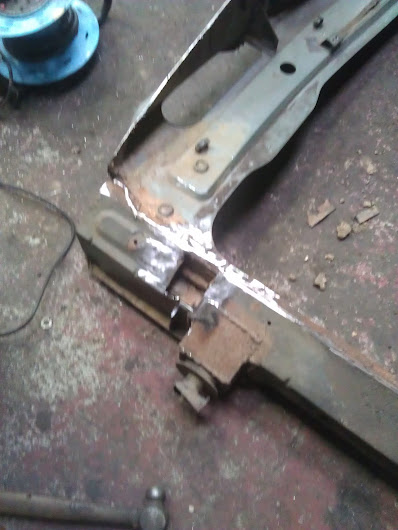
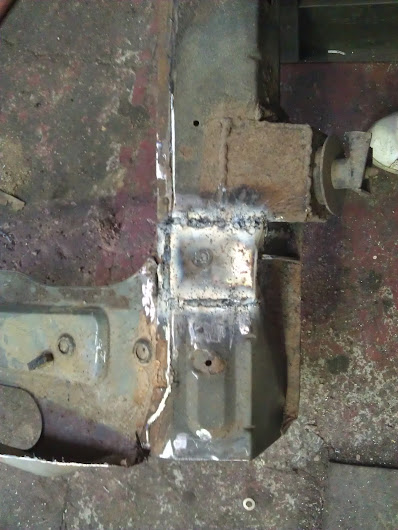
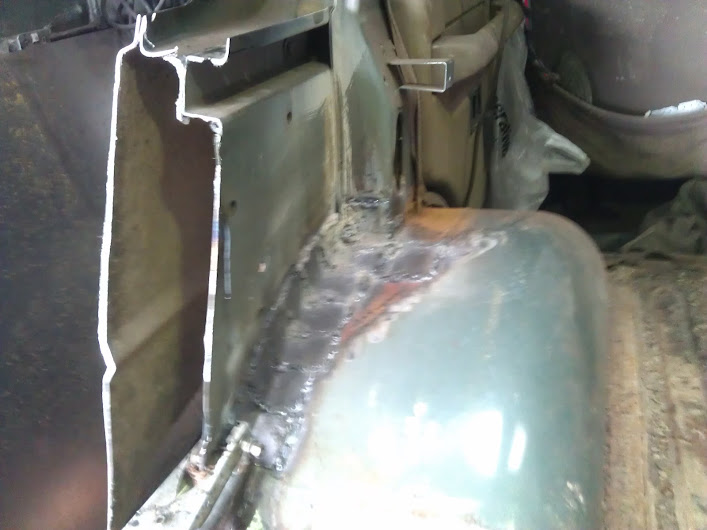
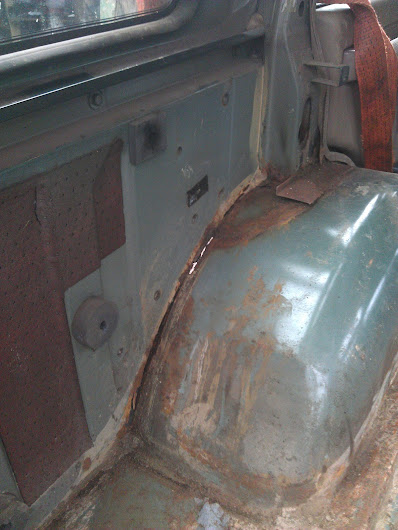
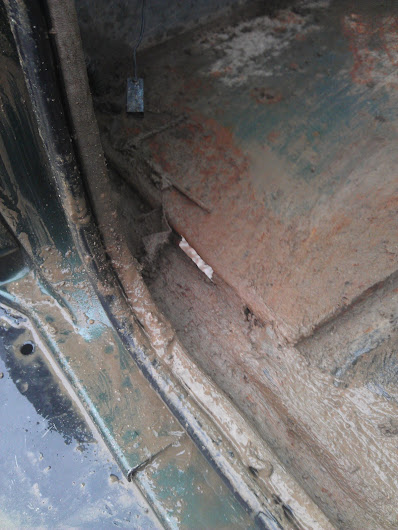
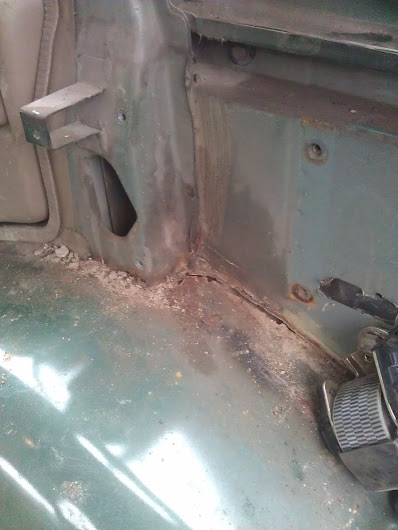
Good ole disco... rotted! To be expected I guess!
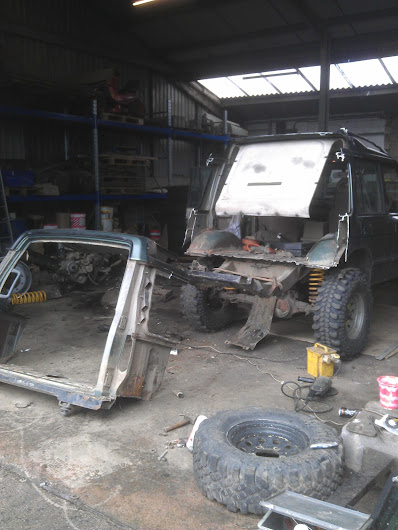
 :eek:
IMAG0366.jpg

IMAG0367.jpg

IMAG0369.jpg
 
The first cut is daunting... I've measured out everything so the outer skin will overlap, the inner I'll cut shorter so it can be welded up nicely:
IMAG0372.jpg


Once the outer skins were carefully removed the abuse with the big old 9" could begin! The result... half a disco!:
IMAG0373.jpg

IMAG0374.jpg


She's gonna be a little shorter when finished! The backend has lifted quite a lot after taking so much weight off it, I've worked out that it should drop down a bit once the boot door and spare go back on:
IMAG0375.jpg
 
IMAG0376.jpg


The factory rear body support will go back on with new fabricated mounts on the new rear cross member.

The scrap pile aint finished yet!:
IMAG0378.jpg


It'll look something like this... excuse the line of the inner panel, I had to cut out a bit more rot, it will be levelled up and plated later :):
IMAG0380.jpg
 
IMAG0381.jpg


Thats gonna improve the departure angle a bit ;)

Just gotta 'trim' the chassis back next:
IMAG0382.jpg


Something like that! Told you the scrap pile wasn't finished ;)
IMAG0383.jpg
 
So next to put a bit of strength back in that chassis! The new rear crossmember will be a lovely bit of 4"x4" box with a nice 4mm wall (sorry about the british measurements!) We've cut the chassis back on the corners of the legs so that the top and bottem could be tied into the new rear end. The box section was lifted to sit neatly under the original rear body supports and boot etc.

IMAG0395.jpg


You can see how much the chassis needed fabricating to suit. The top of the original chassis welded on top of the new rear member gives extra strength when being tugged on ;)
536279_3159399185671_1286033866_32349371_1024049651_n.jpg
matty_daak

IMAG0402.jpg


Next the sides were plated and welded all rounded, the edges are overlapped for a better weld:
IMAG0396.jpg


Like this:
IMAG0394.jpg


Gotta love the free plug... ;)
IMAG0398.jpg
 
Last edited:
Thought we'd try out the arc from the arc... Yeah it just melted stuff! lol
IMAG0391.jpg


IMAG0392.jpg


Had a bit of a hole in the rear end so that had to be patched.. Before...
IMAG0400.jpg


And after:
IMAG0406.jpg
 
The rear body mounts had been plated before, one less job to do I guess!

A bit of a break from the rear crossmember to attack the rot, I figured lots of little bits would be easier than trying to fu*k about and get the right curve:

IMAG0409.jpg


And the other side:

IMAG0411.jpg
 
Check out this bad boy! :)
IMAG0404.jpg


Nice bit of weld on that! You can try as hard as you like to rip that off... my money is on the rope breaking!!
IMAG0405.jpg
 
Looks good with the stone chip on it :)

IMAG0413.jpg


Next is matching up the body, tacking it in place and fabricating the new rear body mounts:

IMAG0418.jpg


Damn thats smart if I do say so myself! :) What do you think?
 
Thanks for the feedback! :) So far it's taken an afternoon to strip it - tackling all the seized/rusted bolts sucked! Another afternoon to chop it up, followed by a trip to the A&E after an incident with the angle grinder... 3 hours of surgery to re-attach tendons and nerves, several stitches, a cast and a sling and some hardcore pain killers later... Another two afternoons welding the cross member and getting it to the stage it is now (with two mates helping for the last two afternoons as I can't work as well one handed!)
 
That looks really good. Well done! Hope you get well soon.

Come on Matt - let's do yours, i will help and then we can do mine afterwards. Come on you know you want to. I will give you a full week of evenings so let's say 6 till 9pm for 5 days.
 
Thanks for the feedback! :) So far it's taken an afternoon to strip it - tackling all the seized/rusted bolts sucked! Another afternoon to chop it up, followed by a trip to the A&E after an incident with the angle grinder... 3 hours of surgery to re-attach tendons and nerves, several stitches, a cast and a sling and some hardcore pain killers later... Another two afternoons welding the cross member and getting it to the stage it is now (with two mates helping for the last two afternoons as I can't work as well one handed!)
It was all sounding fine till the grinder incident, hope you are alright tho?
 
Back
Top