Another LT 230 rebuild which kit?

This site contains affiliate links for which LandyZone may be compensated if you make a purchase.
your making a good job of it ,the dti fixing idea is a good one
Thanks James.
Cant claim the DTI idea as my own someone showed me years ago, its just a standard one from a mag base then I put it in the lathe and centered drilled and tapped the other end to 8mm so I have two chances of getting it fixed.
This morning I was looking for the shim, I think its FRC 9926 but smallest one I can see is 3.15 mm, do you know if there are any smaller ones? I think 3.00 would be plenty.
Wish I had access to a surface grinder.
One other thing which I have been looking at s the speedo drive seems to rely on being clamped by the spacer and bearing to drive it, is this right?
 
I bought a set of Ashcroft shims, they're 32 quid for a full set, pricey but you end up with the exact shim thickness you need.

http://www.ashcroft-transmissions.co.uk/diy-rebuild-kits/lt230-rebuild-kits/lt230-shim-kit.html
Thanks Ben I think that's the way to go no point in doing all the work and not getting it right.
Been messing about this morning cleaning bits suddenly thought better take out the oil filler plug and make sure it's ok, wow it's so bloody tight I've heated up the casing and tried but no go left it soaking in penetrating oil while I re group and get ready for the next attack,
 
Thanks James.
Cant claim the DTI idea as my own someone showed me years ago, its just a standard one from a mag base then I put it in the lathe and centered drilled and tapped the other end to 8mm so I have two chances of getting it fixed.
This morning I was looking for the shim, I think its FRC 9926 but smallest one I can see is 3.15 mm, do you know if there are any smaller ones? I think 3.00 would be plenty.
Wish I had access to a surface grinder.
One other thing which I have been looking at s the speedo drive seems to rely on being clamped by the spacer and bearing to drive it, is this right?
speedo worm is just clamped by rear flange
frc9926 3.15mm is thinnest std shim,for input ,if std shims dont work you need to look why as a rule, those bearings would take more than 2 thou preload
 
speedo worm is just clamped by rear flange
frc9926 3.15mm is thinnest std shim,for input ,if std shims dont work you need to look why as a rule, those bearings would take more than 2 thou preload


Its been on my mind, seems odd to me I feel that if it had 0.5 mm pre load before it would have clamped up solid i need to re assemble it and check it to be 100% sure I am measuring the full travel sometimes see more if you take a break and go back to it.
 
If there was a paper gasket between the rear bearing carrier and the casing originally then one needs to go back in, as otherwise the lack of the gasket increases the preload.

Later boxes just used RTV or the like, and similarly this needs to go back the same way as adding a paper gasket to one of these would reduce the preload.
Yes I saw the story with the gasket-no gasket boxes, this one had no gaskets and it has a suffix G so I think it is not one of the early boxes.
I will have a fresh run at it tomorrow and check it all again slowly and carefully.
 
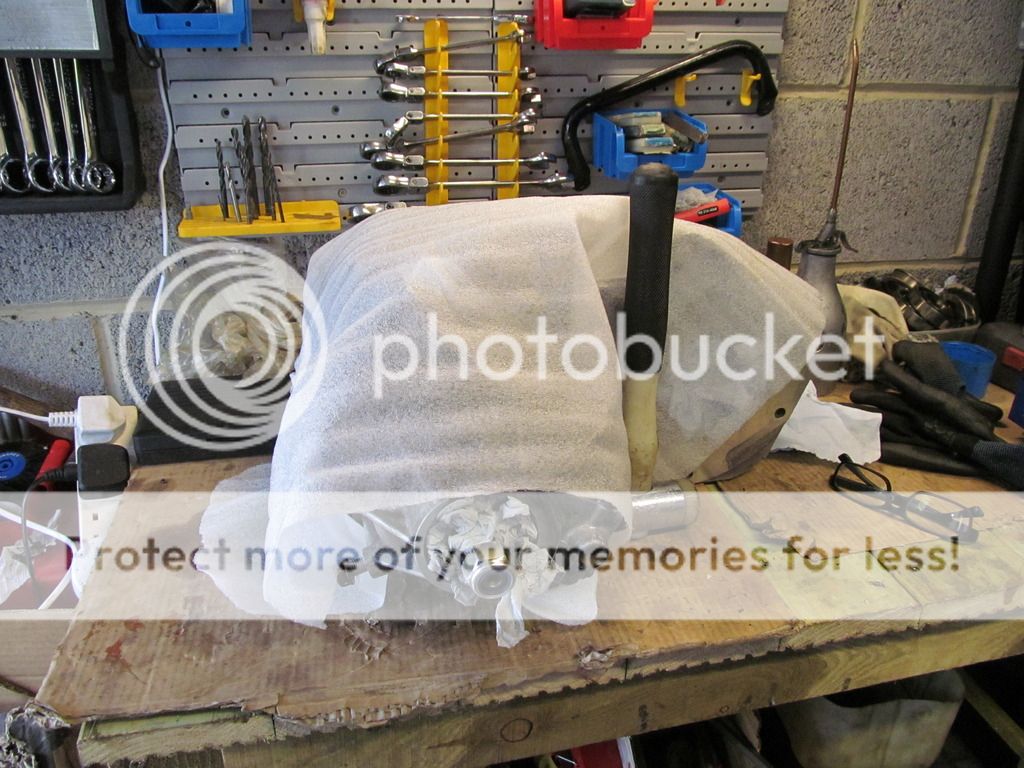
Made my mind up to sort this out so started again
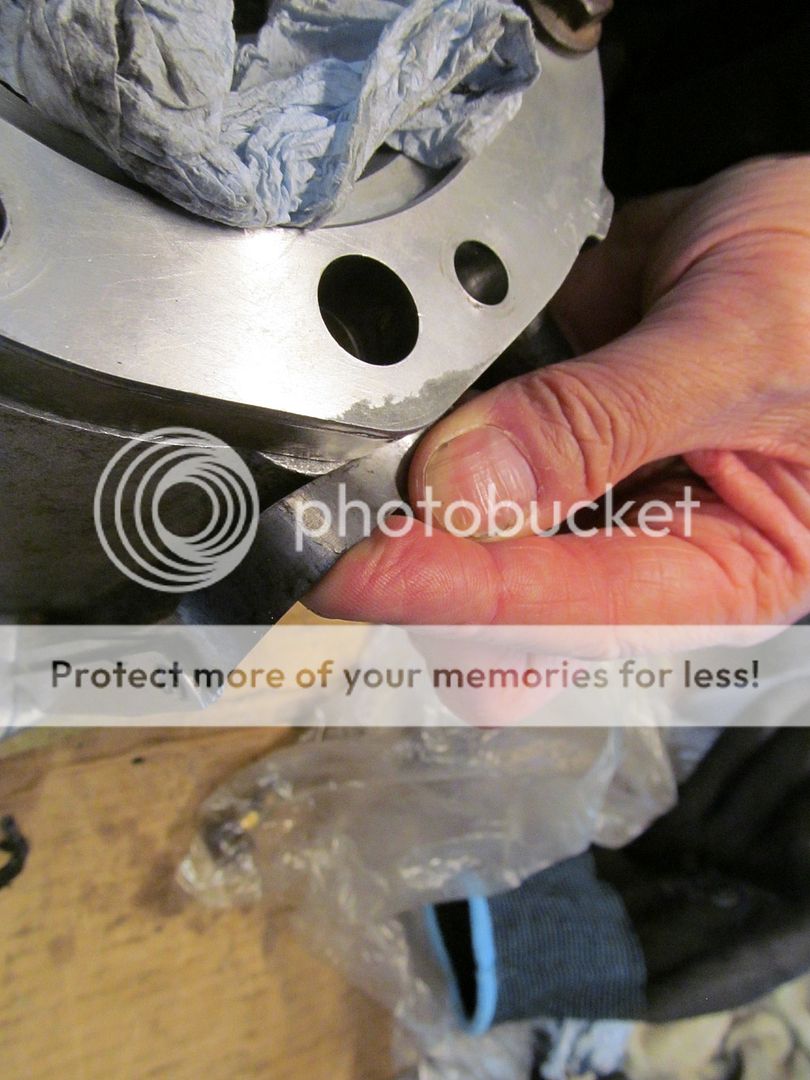
Back to basics run a plug tap down all the 8 and 10mm holes in the casing, then dress the mating flanges slightly and clean up again

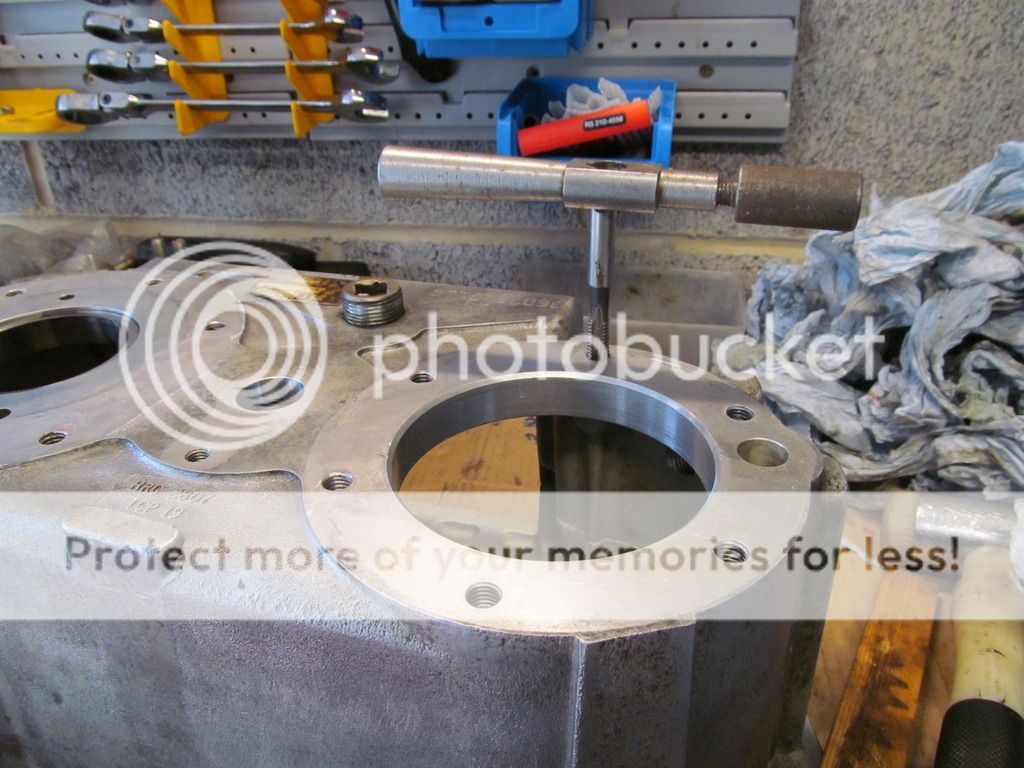
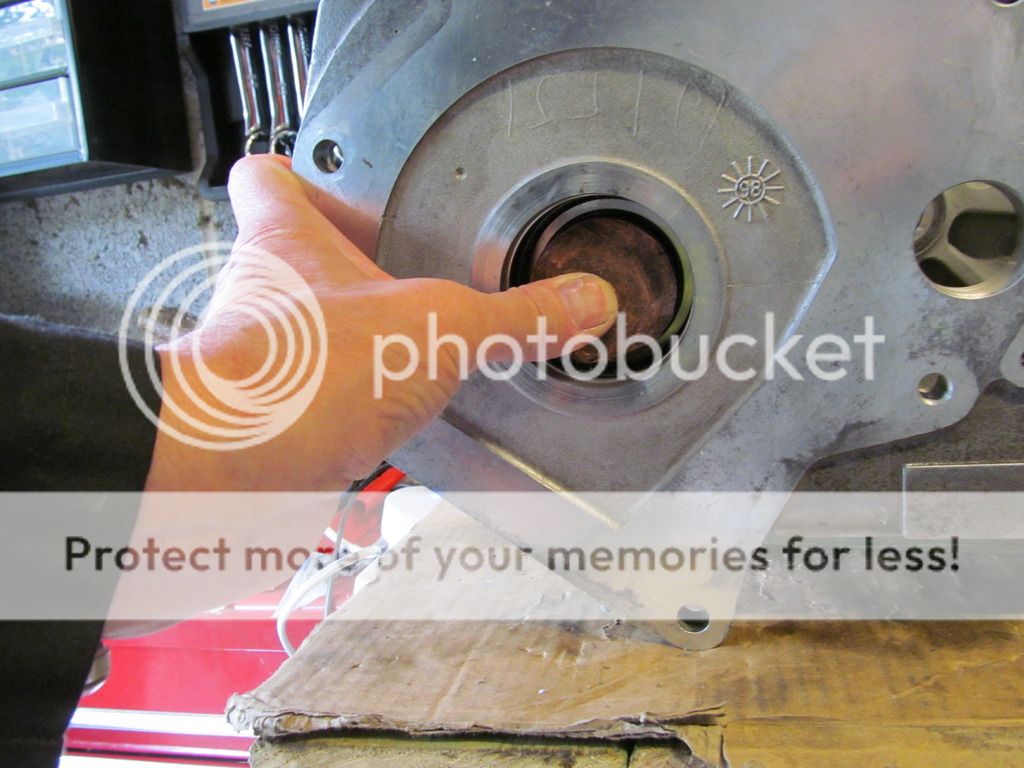
Install output shaft, fit bearing flange and nip it with two bolts, then I checked that it was tight to the casing with feeler gauges ( must get some new ones)

I set up the DTI and checked over and over but hard to get consistent readings, I have been putting the shaft vertical so I can zero the gauge with it in the bottom bearing push it down and then rotate it a bit to get it completely into the outer race, but I am still not happy with the consistency of the readings and the clock returning to zero. With this gap it is easy for the shaft to tip slightly and ruin the reading.

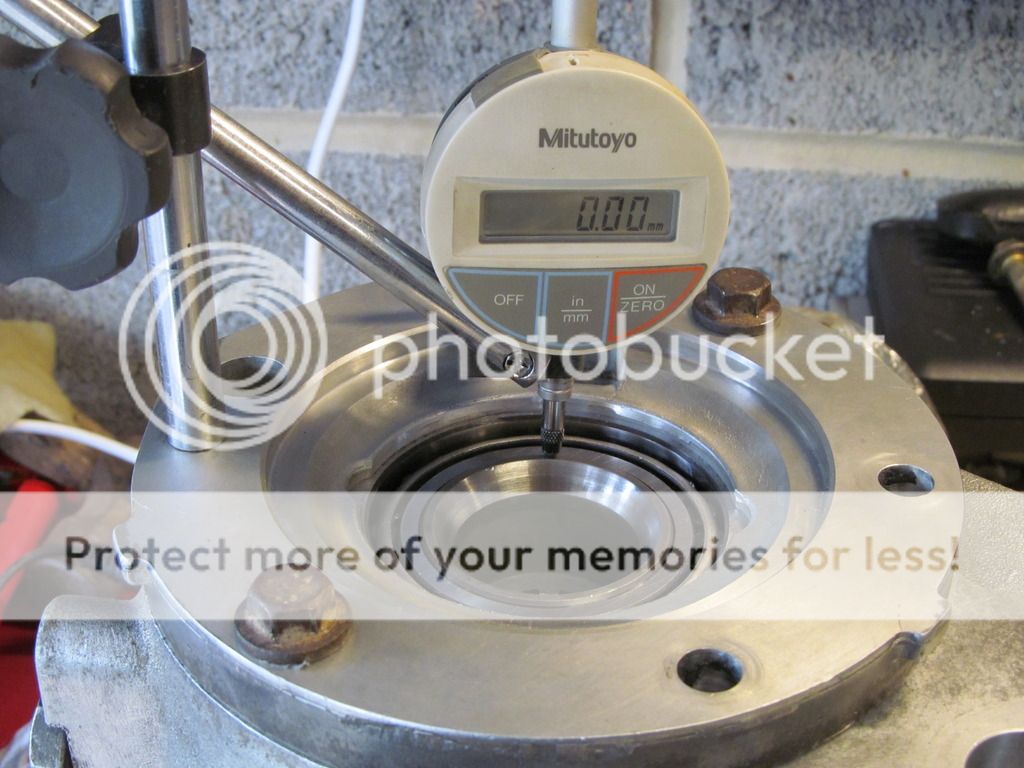
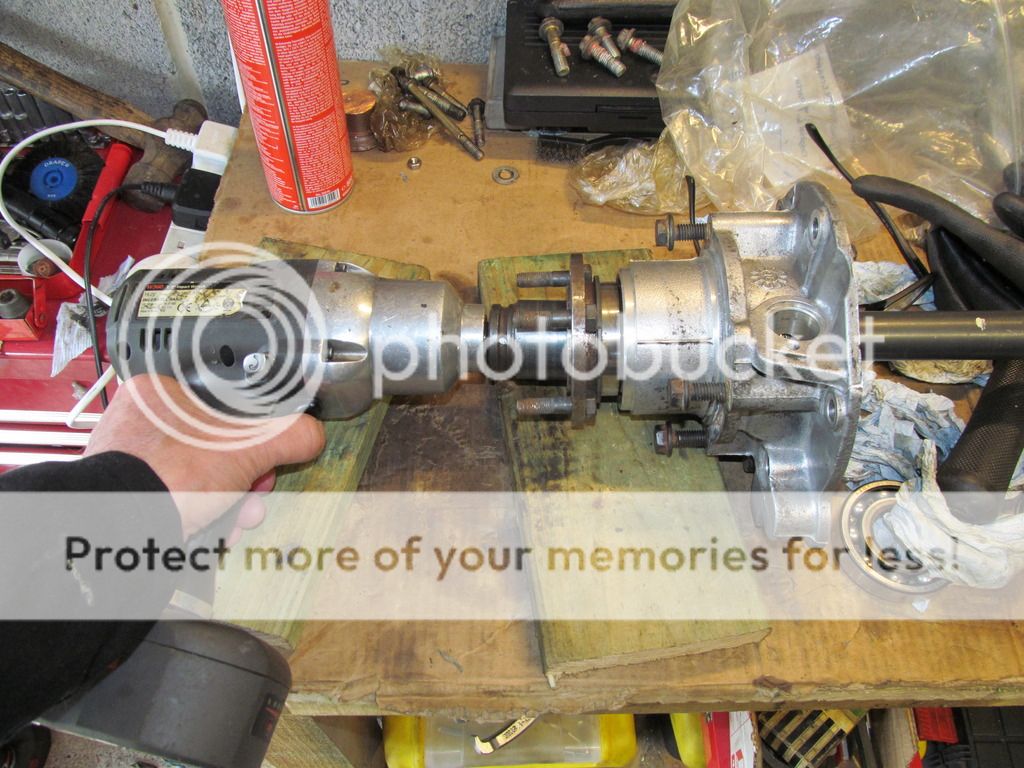
Decided to put it horizontal and pushed my flared dummy shaft into the back, that way I can push the shaft forward roughly from the center using my thumb, then push it back on the shaft at the front.

Now I am getting better readings and it seems to indicate 3.30 - 3.32 mm end float, different to my first efforts, I feel more at home with this so looks like I might get away with using a pre ground shim, a 3.35 mm shim is needed.
James any comment on the pre load, given I cant grind the shim and not every size is available, would you err on the high side or avoid any overload?


Well time to press on a bit, bearings in the freezer warm up the housing and knock in the bearing using one of the old races on the outer.

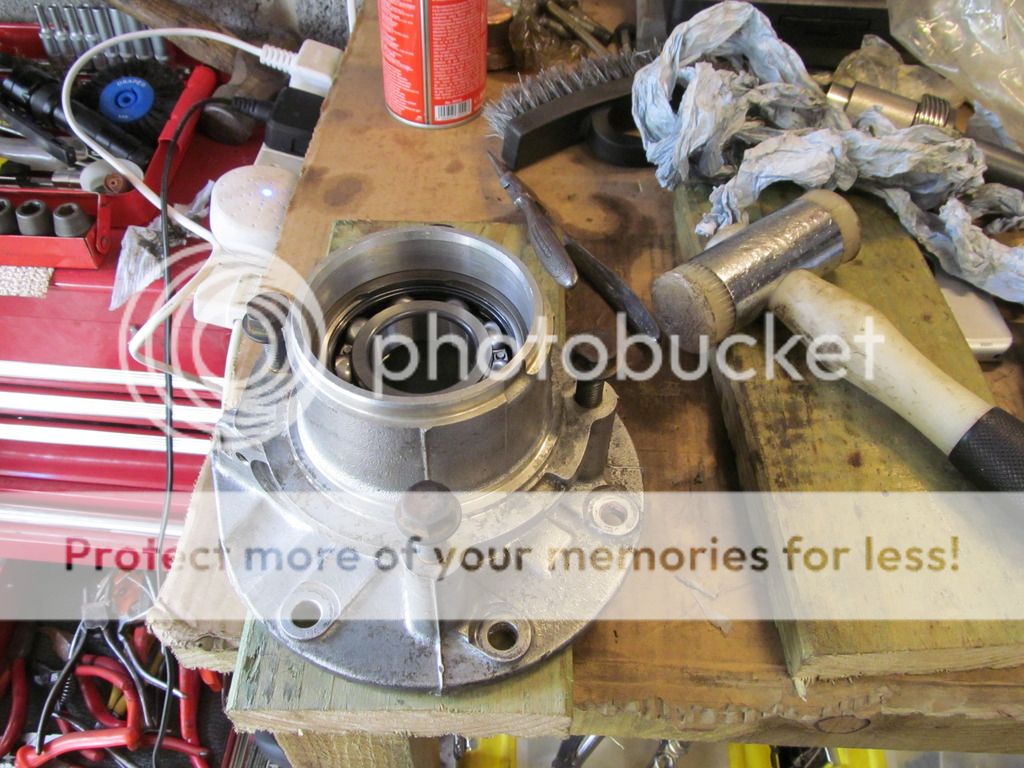
Would love a press but I don't have one, looking for a good way to get the shafts into the inner race.
Put the shaft in position, put the output flange onto the splines, add two washers.

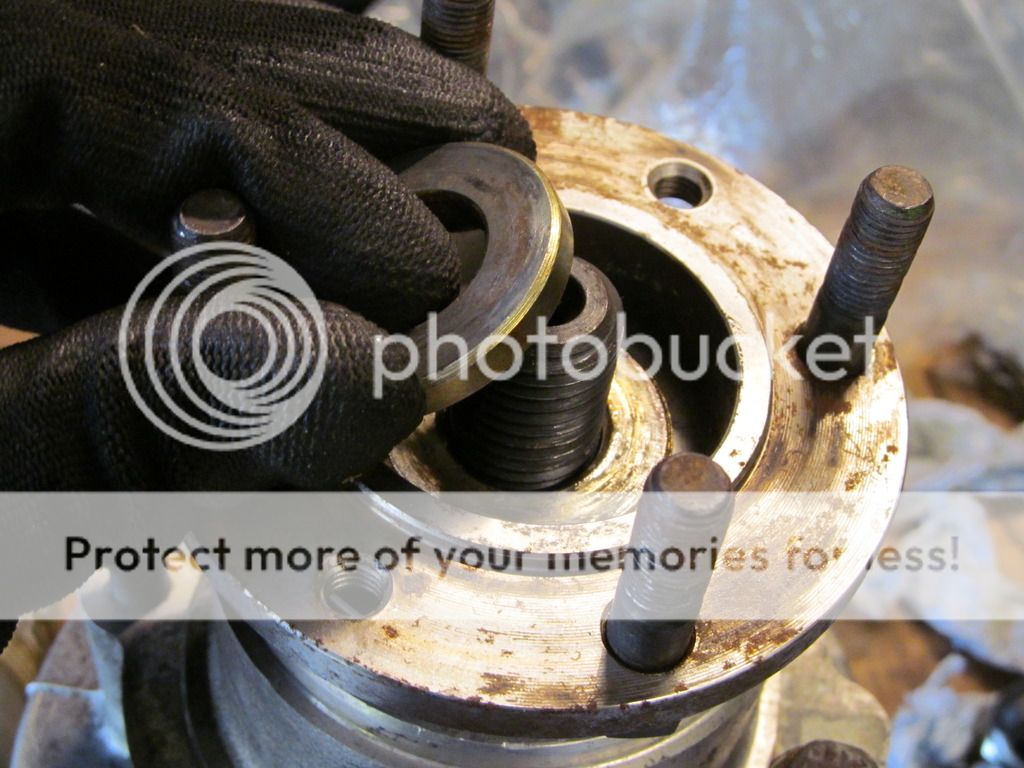
Then put the nut on and use it to draw the shaft into the bearing ( with a little help from my friend) it only pulls on the inner race, you can easily hold the shaft and stop the rotation just with your hand

Just wanted to assemble a bit more, so get out the Hlyomar silicon.
Found over time that if you want to seal with silicon
1 Clean off all traces of the old stuff
2 Minutes before you assemble it clean both faces with solvent
3 Don't go mad it's not the case that more silicon you use better the seal.
4 If possible leave the small bead of silicon which squeezes out when you tighten it up


Sorted out the Diff lock mechanism and put the ball spring and plug back with sealant on the plug.

Now this is where I am up to, need the difflock switch setting up but I am happy I can do that later don't want to break it while working on the casing.


All for now I have to get some health problems sorted next weekend so may be out of it for a short time, stuff some clean paper inside and put it to bed.
 
Last edited:
It's great when it all starts going back together. I tapped my bearing onto the output shaft with a drift on the inner race and then tapped the bearing and shaft into the housing far enough so I could get the circlip in. I do have a press but it seemed more logical to use a hammer and drift. I generally prefer installing interference-fit bearings that way because if it starts to go crooked it's easy to correct things and get them going straight again. If you're just pushing, they can get skewed and jam.

Hope you're feeling better soon.
 
ideally it should turn smoothly but not free wheel when spun by hand, if you were to use a torque meter 5 to 15 lbs inches, or the same pull if you wrap string around the part thats about 2 inches in diameter and use a spring balance
when you come to check intermediate gear you place hi/low in neutral with intermediate gear loose check rolling resistance of input ,when intermediates correct and tight it will be twice the rolling resistance on input
 
Or in my case, feeling smooth with slight resistance but not too stiff. Sounds like there's an innuendo in there but there isn't meant to be.
 
It's great when it all starts going back together. I tapped my bearing onto the output shaft with a drift on the inner race and then tapped the bearing and shaft into the housing far enough so I could get the circlip in. I do have a press but it seemed more logical to use a hammer and drift. I generally prefer installing interference-fit bearings that way because if it starts to go crooked it's easy to correct things and get them going straight again. If you're just pushing, they can get skewed and jam.

Hope you're feeling better soon.
I thought about that, had one of those have a cup and think moments, looked all over the garage for something to press the bearing onto the shaft, then picked up one of the output flanges, checked that the splines on the shaft would not be damaged and gave it a go worked a treat.
Now I,m looking at the bolts, they look quite scabby now, want to change them.
Thanks for the good wishes.


ideally it should turn smoothly but not free wheel when spun by hand, if you were to use a torque meter 5 to 15 lbs inches, or the same pull if you wrap string around the part thats about 2 inches in diameter and use a spring balance
when you come to check intermediate gear you place hi/low in neutral with intermediate gear loose check rolling resistance of input ,when intermediates correct and tight it will be twice the rolling resistance on input
I am tempted to get a 3.4 mm shim and try it. Would you put in the intermediate gear while waiting for the shim? Would be nice to do a bit more, I have enjoyed it so far.
 
I thought about that, had one of those have a cup and think moments, looked all over the garage for something to press the bearing onto the shaft, then picked up one of the output flanges, checked that the splines on the shaft would not be damaged and gave it a go worked a treat.
Now I,m looking at the bolts, they look quite scabby now, want to change them.
Thanks for the good wishes.


I am tempted to get a 3.4 mm shim and try it. Would you put in the intermediate gear while waiting for the shim? Would be nice to do a bit more, I have enjoyed it so far.
not till youve set input gear ,coming on well
 
Well bit of an enforced lay off, I had a trapped nerve in my back and had to have an operation last Saturday, pain and discomfort.
Getting a bit bored though so I took a look at my project. Promise I wont lift anything heavy.
The shim I ordered arrived its 3.35mm, ( 3.37 when I miked it) old one was 3.48mm, so I decided to assemble and try it.Put 4 bolts in and carefully tightened with my fingers then tried the gap with a feeler.It was about 0.003", so that seems OK


Clamped it up and made the "pull test" using a cheap luggage scale,
I tested the scale with a 2 Lb weight first it said 2.1 Lb so I'll settle for that.


I get about 2.4KG on the input shaft, So I checked the output shaft, this is only 1KG seems a bit low but there is no play in it. Looking at the drawing of this box I also wondered how much the casing will nip inwards when the intermediate shaft is tightened up.

Took a look at the intermediate shaft it's a bit bruised, the loading of this shaft must be a diagonal force you can see the marks are on one side for the first bearing then 180 degrees for the second bearing, I miked the shaft and it's 24.95 all over but when you put the new bearing inner onto it you can just feel the difference on the marked points, I wonder whether to use it by turning it 180 degrees, but with all the time and effort so far seems logical to get a new one, didn't need the expense but oh well.
 
Last edited:
Any more progress lately?

Personally, I wouldn't be too troubled by the apparent wear on the intermediate shaft. After all, the inner races of the tapered rollers are clamped between the head of the shaft and the crushable tube that goes between them and acts as a spacer so they're unlikely to spin on the shaft. It just looks like a bit of a 'polish' to me rather than wear that you can click your finger nail over!

Oh, and it's worth getting some new rubber rings for the shaft too. They come in packets of 10 so I've got quite a few left over. I'll stick them in the post for you if you need any.
Hi Brown
Not much progress I tried to do a bit more but my arm and shoulder are playing up a bit ( "I told you so" quote from wife)
Put the outer races in the intermediate gear cluster, and put in some nice new bolts in the PTO cover. I was in two minds re the shaft but considering I have spent about £100 so far on the box I looked it up and it is about £20 so I ordered an new one, I contacted my local LR dealer in Ripon and found that it was just as cheap from them with no delivery so I ordered it and a set of injector seals.
when it came I tried the bearing on it and it is much tighter in fact I had to dress the end of the shaft to a very small lead with a smooth file to get a good fit, on the old one I could feel a slight wobble when I put the inner races in the position where the shaft is shiny.


I would very much appreciate if you have some spare O rings for the shaft, I have a Bearmach gasket kit I bought before I knew it was a no gasket box, but the O rings supplied are very poor quality both the big one on the large shaft diameter and the smaller one which goes in the casing have rubber flashes on them from the molding, I just don't trust them I don't want to have an oil leak when it goes in. I am still considering using a gasket on the cover plate, which will not affect any clearances, the cover is quite thin and I just feel it would seal better with a gasket.
Hope to get back into it early next week and push to finish it, then its the R380 next.
 
Last edited:
Great, pm me an address and I shall stick them in an envelope for you. It says Britpart on the packaging unfortunately, but they seem OK and mine have been in since Christmas and there is no sign of a leak.
 
Back
Top