Jonnymoore1970
Active Member
- Posts
- 105
- Location
- Wokingham
2006 Tdv6 Air compressor
Hi gents
I’ve bought a second D3 that needs a few things sorted on it.
Occasionally the yellow suspension light comes on and stops the suspension from working, switch it on and off again and it’s fine.
The suspension goes up and down normally although does give a loud ‘shooosh’ when releasing air....my other one is totally silent.
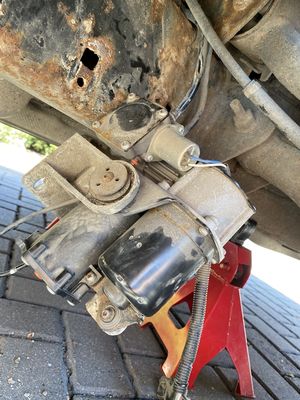
Obviously something not right so decided to remove it and have a butchers.
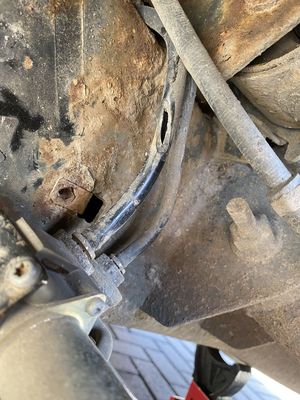
First thing I found was a large hole in one of the air pipes, how on earth does it work at all?
All three bracket mounting clips broke when removing.
The two air pipes on the right are impossible to remove, no matter how much WD I used. (Cut through the pipes in the end)
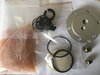
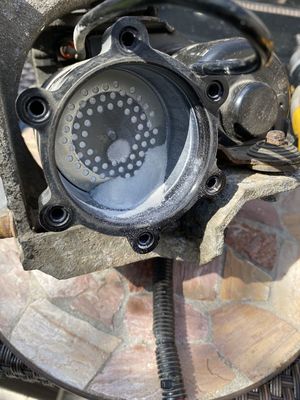
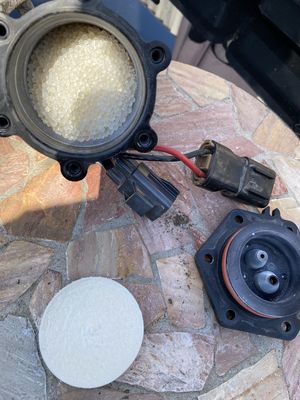
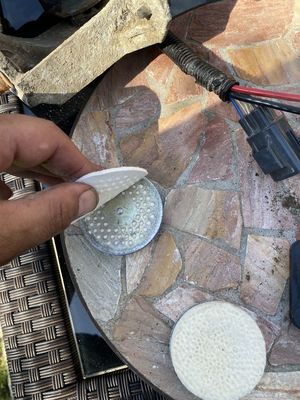
The dryer when first opened was full of dust, must have been blocking the vent.
Otherwise all dry And fairly clean inside .
I’ve got a new dryer on order, also a new kit to repair the pipes that have been cut.
Just need to find some bracket mounting clips.
Hi gents
I’ve bought a second D3 that needs a few things sorted on it.
Occasionally the yellow suspension light comes on and stops the suspension from working, switch it on and off again and it’s fine.
The suspension goes up and down normally although does give a loud ‘shooosh’ when releasing air....my other one is totally silent.
Obviously something not right so decided to remove it and have a butchers.
First thing I found was a large hole in one of the air pipes, how on earth does it work at all?
All three bracket mounting clips broke when removing.
The two air pipes on the right are impossible to remove, no matter how much WD I used. (Cut through the pipes in the end)
The dryer when first opened was full of dust, must have been blocking the vent.
Otherwise all dry And fairly clean inside .
I’ve got a new dryer on order, also a new kit to repair the pipes that have been cut.
Just need to find some bracket mounting clips.
")