You are using an out of date browser. It may not display this or other websites correctly.
You should upgrade or use an alternative browser.
You should upgrade or use an alternative browser.
1983 Land Rover SIII 109 diesel truck rebuild
- Thread starter TheYellowLandy
- Start date
This site contains affiliate links for which LandyZone may be compensated if you make a purchase.
v8250
Well-Known Member
- Posts
- 6,872
- Location
- Deepest Darkest...
@TheYellowLandy , just seen this thread...it's great you've bought a Series as your first car at the ripe old age of 17! Re' the rivet holes, as others have said, if you fill with filler the filler will fall out :. bonding and sealing an alloy plate behind would provide an effective repair + I'd recommend you use a chemical metal/JB Weld to fill the holes prior to buzzing back the rest of the bodywork before you repaint/respray. If you've yet to choose your paint colour take a look at Paintman, they have the full range of Landy paint enamels readily available
https://paintman.co.uk/product-category/coach-enamel-paint/cars-and-classics/land-rover-colours/
Re' the cage...if selling, sell as is and let the buyer pay the cost of refurb'. Good luck with your first Land Rover!
https://paintman.co.uk/product-category/coach-enamel-paint/cars-and-classics/land-rover-colours/
Re' the cage...if selling, sell as is and let the buyer pay the cost of refurb'. Good luck with your first Land Rover!
TheYellowLandy
Member
- Posts
- 39
- Location
- Wessex
Hi all, long time no see ")
It's been a while since I've been on LZ due to a combination of college work and lost passwords, but the Series III has been progressing steadily. I have stopped for the winter as we have had some awful weather and my workshop isn't big enough for a Land Rover (yet!) so things have slowed down recently. That being said, there ar elots of photos from last year.
Starting where I left off, I decided to tackle the wiring, and removed the dashboard to unveil... this mess

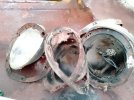
 Some interesting finds in the heater...

To think these were rattling around in the nice hot heater box right above my kneecaps on the drive home!

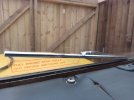
Removed the grille the following weekend, not much rust anywhere on this vehicle but the one place that is a little crumbly is behind the base of the front slam panel. The red and black coiled wires are for the Ramsey winch, and yes, those wires at the top of the grille have been painted yellow.

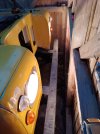
Last trip out with the rollcage fitted...

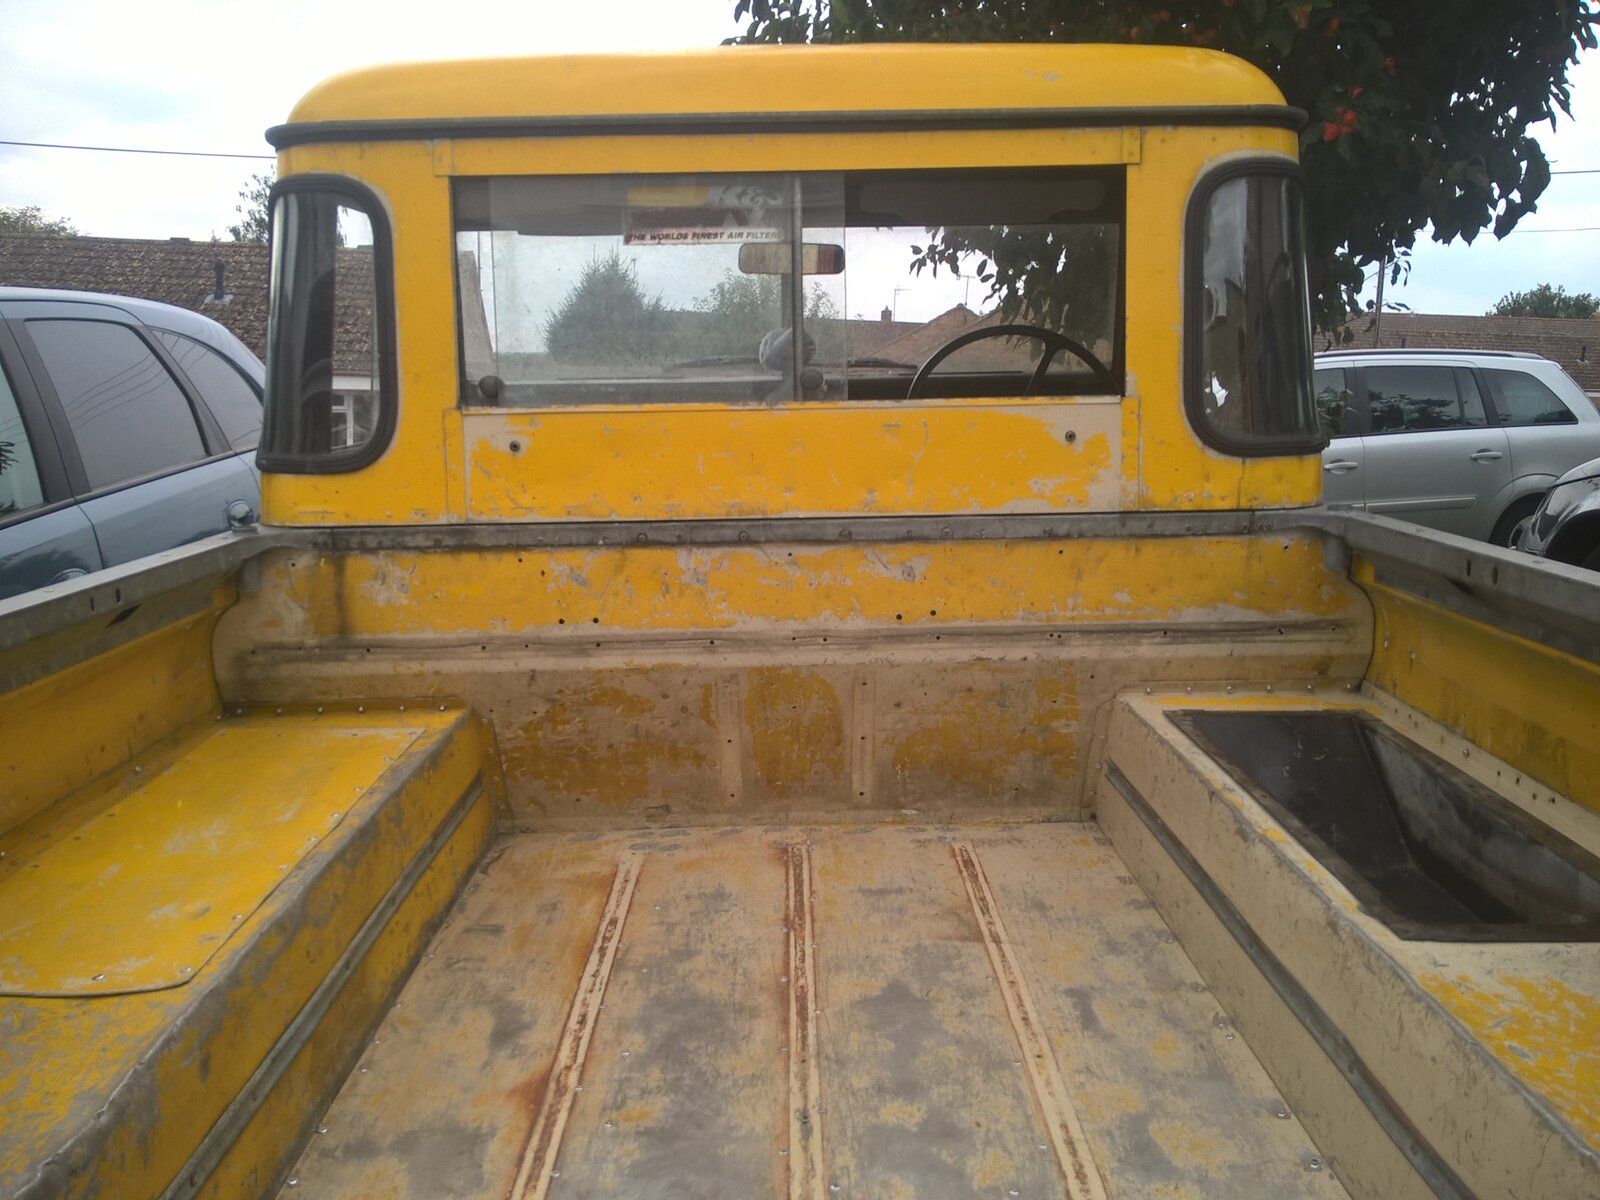
... and that looks a lot better. Last of the chequerplate removed from the sills, and without the rollcage it doesn't unnervingly tip around corners. Also feels a lot faster (well a bit) and 50mph is within reach.

And finally, a somewhat warm and dry Land Rover. Sadly it won't fit under the garage door so this will have to do.

Thanks to everyone who has showed interest in thi project so far, and there will be more photos soon.
It's been a while since I've been on LZ due to a combination of college work and lost passwords, but the Series III has been progressing steadily. I have stopped for the winter as we have had some awful weather and my workshop isn't big enough for a Land Rover (yet!) so things have slowed down recently. That being said, there ar elots of photos from last year.
Starting where I left off, I decided to tackle the wiring, and removed the dashboard to unveil... this mess
To think these were rattling around in the nice hot heater box right above my kneecaps on the drive home!
Removed the grille the following weekend, not much rust anywhere on this vehicle but the one place that is a little crumbly is behind the base of the front slam panel. The red and black coiled wires are for the Ramsey winch, and yes, those wires at the top of the grille have been painted yellow.
Last trip out with the rollcage fitted...
... and that looks a lot better. Last of the chequerplate removed from the sills, and without the rollcage it doesn't unnervingly tip around corners. Also feels a lot faster (well a bit) and 50mph is within reach.
And finally, a somewhat warm and dry Land Rover. Sadly it won't fit under the garage door so this will have to do.
Thanks to everyone who has showed interest in thi project so far, and there will be more photos soon.
David Leech
Well-Known Member
- Posts
- 311
- Location
- Galway, Ireland
Best of luck with the 'project'. I'm amazed at the care taken by previous owner to have everything colour coordinated, yellow lighter, yellow shotgun cartridges!.....
TheYellowLandy
Member
- Posts
- 39
- Location
- Wessex
Hello all, it's been a while since I posted anything on here, but I have been keeping busy with the project. Here's some of the ongoing work:
- Removed the floor to repair and repaint the footwells and bulkhead

- Replaced the chequerplate [!] tub floor with the original floor and wheelarches
- Acquired a spare instrument panel which I have rebuilt to replace the original damaged one


- Removed the original wiring loom and am awaiting a new Autosparks loom


- Cleaned and stripped engine bay, I'm hoping to have most of this painted and back together by the time the loom turns up


- Removed the floor to repair and repaint the footwells and bulkhead
- Replaced the chequerplate [!] tub floor with the original floor and wheelarches
- Acquired a spare instrument panel which I have rebuilt to replace the original damaged one
- Removed the original wiring loom and am awaiting a new Autosparks loom
- Cleaned and stripped engine bay, I'm hoping to have most of this painted and back together by the time the loom turns up
TheYellowLandy
Member
- Posts
- 39
- Location
- Wessex
More progress despite the weather:
Manifolds off and cleaned.

Engine paint is in surprisingly decent condition...

...although it's a bit oily inside.

Chassis in engine bay painted as well as the original white paint cleaned up

I flushed loads of rubbish out of the radiator, and soldered up a couple of leaks...

...whilst on the inside I cleaned up the [rust-free!] bulkhead and gave the footwells a lick of paint.

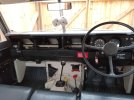
Also put the new wiring loom in...

...and reinstated the dashboard.

All that's left to do is replace the rear window seals and the cab is finally done!

Also have to weld up the front slam panel before I can put the radiator back in
Manifolds off and cleaned.
Engine paint is in surprisingly decent condition...
...although it's a bit oily inside.
Chassis in engine bay painted as well as the original white paint cleaned up
I flushed loads of rubbish out of the radiator, and soldered up a couple of leaks...
...whilst on the inside I cleaned up the [rust-free!] bulkhead and gave the footwells a lick of paint.
Also put the new wiring loom in...
...and reinstated the dashboard.
All that's left to do is replace the rear window seals and the cab is finally done!
Also have to weld up the front slam panel before I can put the radiator back in
LincolnSteve
Well-Known Member
- Posts
- 1,224
- Location
- Lincoln
Great progress, well done.
TheYellowLandy
Member
- Posts
- 39
- Location
- Wessex
More progress on the Landy,
Welded up and painted the front panel...

...and removed what was left of the old headlights.

Nice shiny new ones with halogen bulbs...

Then I decided to remove the dashboard (again!) to fit some additional wiring. What an excellent idea that was ...

Not again! Finished the aux panel though. The warning lights are for the brakes and rear guard (fog light). Switches are for fog light and beacons.

Who thought that cramming a fuse box in that tight space was a good idea? Eventually got it all in, then realised the wires weren't connected properly

It got dark in the end but I managed to finish it

Now the weather is better I should be able to get the bodywork painted and she'll be back on the road. Spent the winter being distracted by building a shed and fixing daft modern cars and I accidentally bought a lathe. Note to self - do NOT open Facebook marketplace when at the pub...
Welded up and painted the front panel...
...and removed what was left of the old headlights.
Nice shiny new ones with halogen bulbs...
Then I decided to remove the dashboard (again!) to fit some additional wiring. What an excellent idea that was ...
Not again! Finished the aux panel though. The warning lights are for the brakes and rear guard (fog light). Switches are for fog light and beacons.
Who thought that cramming a fuse box in that tight space was a good idea? Eventually got it all in, then realised the wires weren't connected properly
It got dark in the end but I managed to finish it
Now the weather is better I should be able to get the bodywork painted and she'll be back on the road. Spent the winter being distracted by building a shed and fixing daft modern cars
and I accidentally bought a lathe. Note to self - do NOT open Facebook marketplace when at the pub...Attachments
TheYellowLandy
Member
- Posts
- 39
- Location
- Wessex
More progress:
Replaced this old fuel sender, now I have the novelty of a working fuel gauge...

Refitted the interior and gave it a good clean...

New wipers...

Finished rebuilding the Ramsey 6000 winch that came with the truck, needed a bit of TLC but is in full working order.

Some welding on the bulkhead...

...and a bit of filler.

Then primer...

And some yellow paint...

Refurbished the old badge with some paint and lacquer...
 Looks much better!

Replaced this old fuel sender, now I have the novelty of a working fuel gauge...
Refitted the interior and gave it a good clean...
New wipers...
Finished rebuilding the Ramsey 6000 winch that came with the truck, needed a bit of TLC but is in full working order.
Some welding on the bulkhead...
...and a bit of filler.
Then primer...
And some yellow paint...
Refurbished the old badge with some paint and lacquer...
Attachments


LincolnSteve
Well-Known Member
- Posts
- 1,224
- Location
- Lincoln
That's looking really good. Nice one.
TheYellowLandy
Member
- Posts
- 39
- Location
- Wessex
Had a bit of luck when sorting out my paint store - found this galvanised spray for gates and fences. Worked a treat on the grille and it is firmly stuck on there! I did use some 1k etch primer first to give it a good base. It looks like the original silver finish, not sure whether they were originally painted or not. Just got to finish the black bit around the lettering now.


More yellow, might need flatting off and another coat...

More yellow, might need flatting off and another coat...
TheYellowLandy
Member
- Posts
- 39
- Location
- Wessex
Done! Now just got to put it all back together

Bobsticle
De Villes Advocaat
- Posts
- 27,632
- Location
- Manchester
The Yella Peril. 
Similar threads
- Replies
- 8
- Views
- 741
- Replies
- 6
- Views
- 1K