22900013a
New Member
- Posts
- 214
- Location
- Oxfordshire
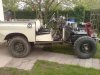
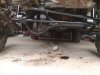
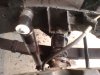
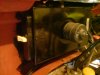
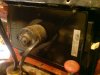
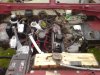
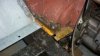
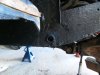
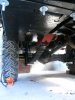
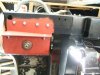
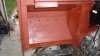
Oh and the front crossmember should have rivnuts in to hold the winch mounting plate - if you put bolts right through they will crush the front x-member when you tighten it up.

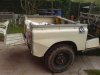
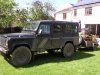
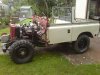
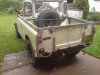
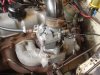
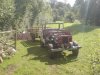
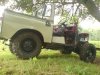
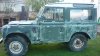
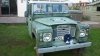
 bloody beautifully done mate ... flat caps off te yer
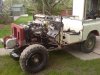
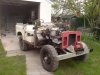
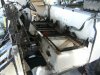
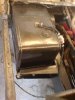
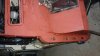
 looks good mate does the winch work?

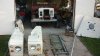
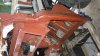


looks great, just to get back to one of your questions about drilling chassis and cross members, i usually driil through the chassis and put a steel tube in to fit the width of the chassis section and weld this in both sides and then you can fit a bolt through the tube and tighten it up without squashing the chassis
Welcome To LandyZone, the Land Rover Forums!
Here at LandyZone we have plenty of very knowledgable members so if you have any questions about your Land Rover or just want to connect with other Landy owners, you're in the right place.
Registering is free and easy just click here, we hope to see you on the forums soon!