110 defender rebuild project and v8 conversion

This site contains affiliate links for which LandyZone may be compensated if you make a purchase.
I'm a bit light on forum-worthy pics today. Just lots of shots of various wires and connectors.

Over the weekend I've managed to get the seat box out, and the dash. I think I'm ready to start feeding the engine bay wiring through the bulkhead, but ran out of light.

In the garage, I've got the radius arms on the front axle, and everything lined up ready to do the front suspension. The a-frame should be ready to go on tomorrow/Tuesday.

Then its stub axles, discs, hubs, calipers on the rear.
 
A bit of progress tonight, though not without its head scratching moments.

I'd read online that the front springs/axle combo will look a little odd without the weight of the engine, so I was prepared for that. What I wasn't prepared for was the realisation that I can't fit the shock absorbers until the engine is on! I could always use spring compressors whilst I fit the shock, but that would seem to put an awful lot of pulling force on the shock once the spring compressors were released.

Anyway, I started by jacking up the chassis enough to allow me to get stands under the axle. N.B. fit your radius arms to the axle upside down, before then carrying it under the chassis, and inserting the chassis ends of the radius arms into the holes (the manual talks nonsense here!).


Then on with the spring compressors, and stick the springs in place. Once done, it all looks a bit dicey tbh. I'm sure the springs want to pop off the lower seat the first chance they get! Why no spring retainer bar on the fronts?


.......

Then I started taking apart one of the rear hubs and cleaning it up, ready for tomorrow's stub axles.. Check out the slightly ropey surfaces! Luckily non of them are bearing surfaces.


That's it for tonight.
 
Looking good, and you're working through it at a good pace too. I wondered the same with regards to the front spring retainer, or lack of.
 
I am getting proper hacked off with photobucket!

It keeps either failing to upload from my phone, or uploading about 6 copies of each sodding picture... then I have to delete them one by one. The website version of the "album" is totally different to the phone app version. bonkers

I got one stub axle/hub/disc etc completed last night, but until I find a fix for this arsing app/site, I can't really show you.
 
There's no need to use photo bucket anymore is there? I just upload straight from the phone. That's assuming you're taking the pics with a phone anyway.
 
This is what I did last night:

Stub Axle....

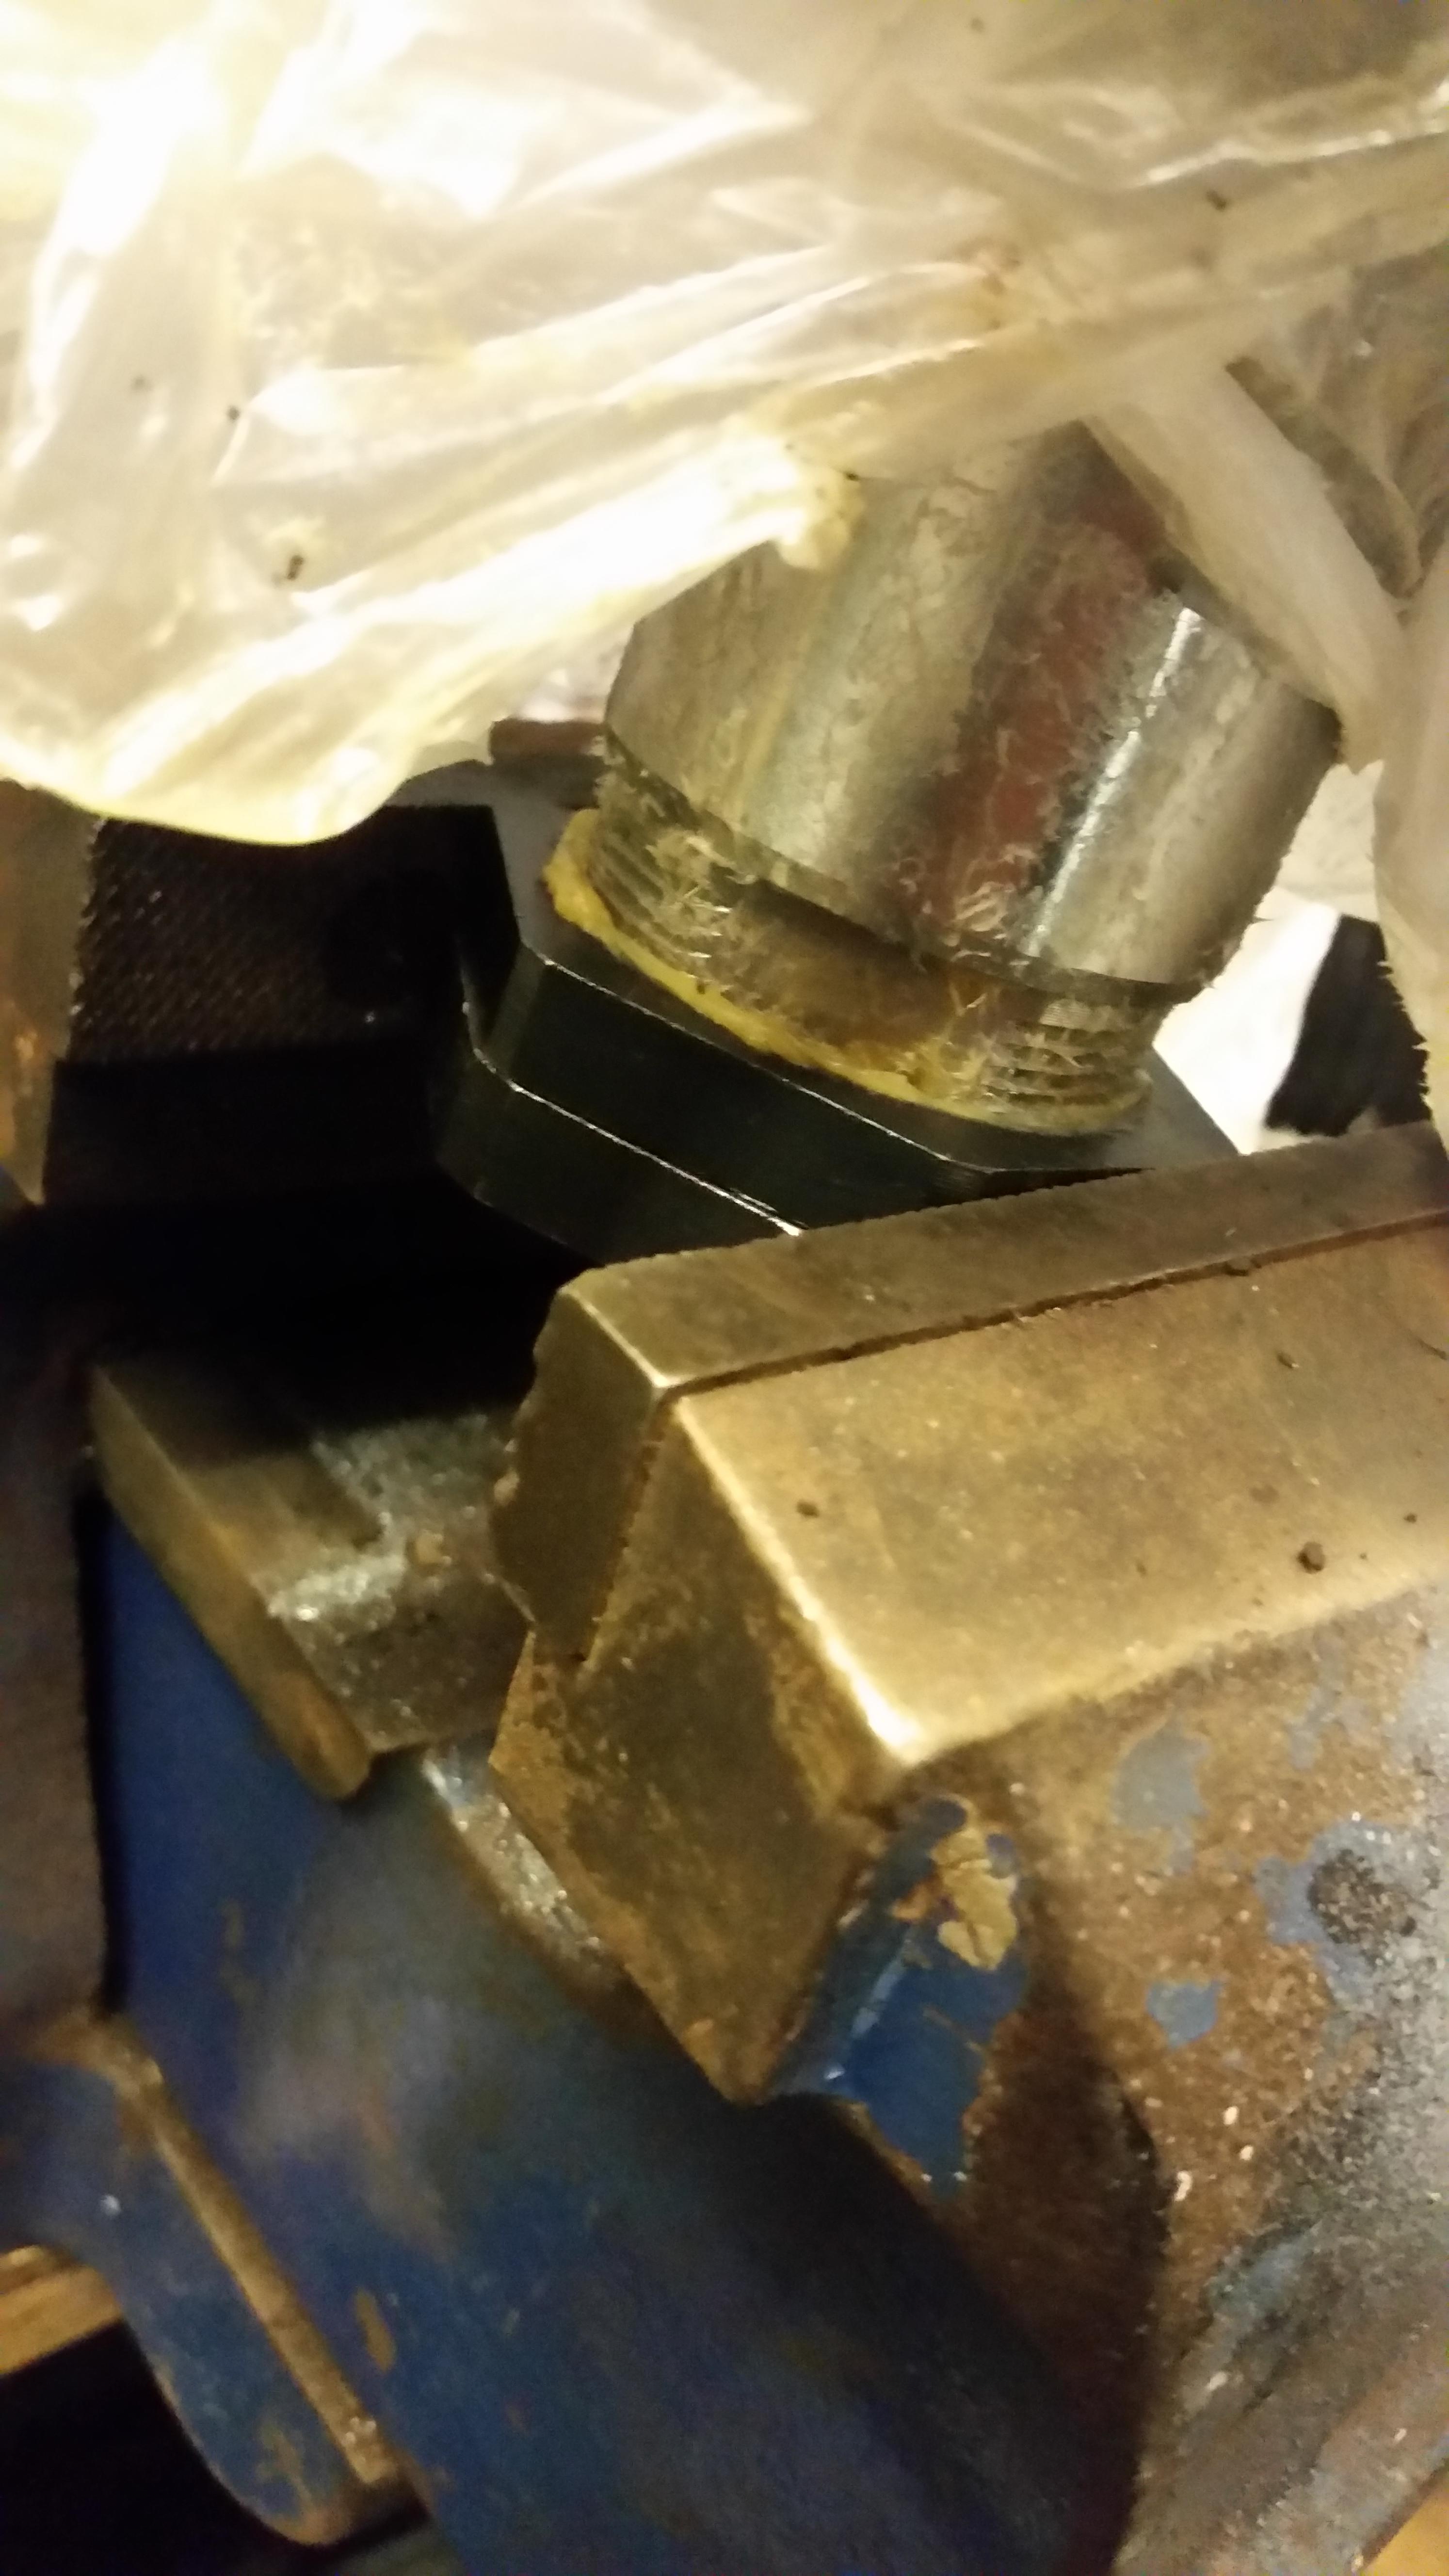
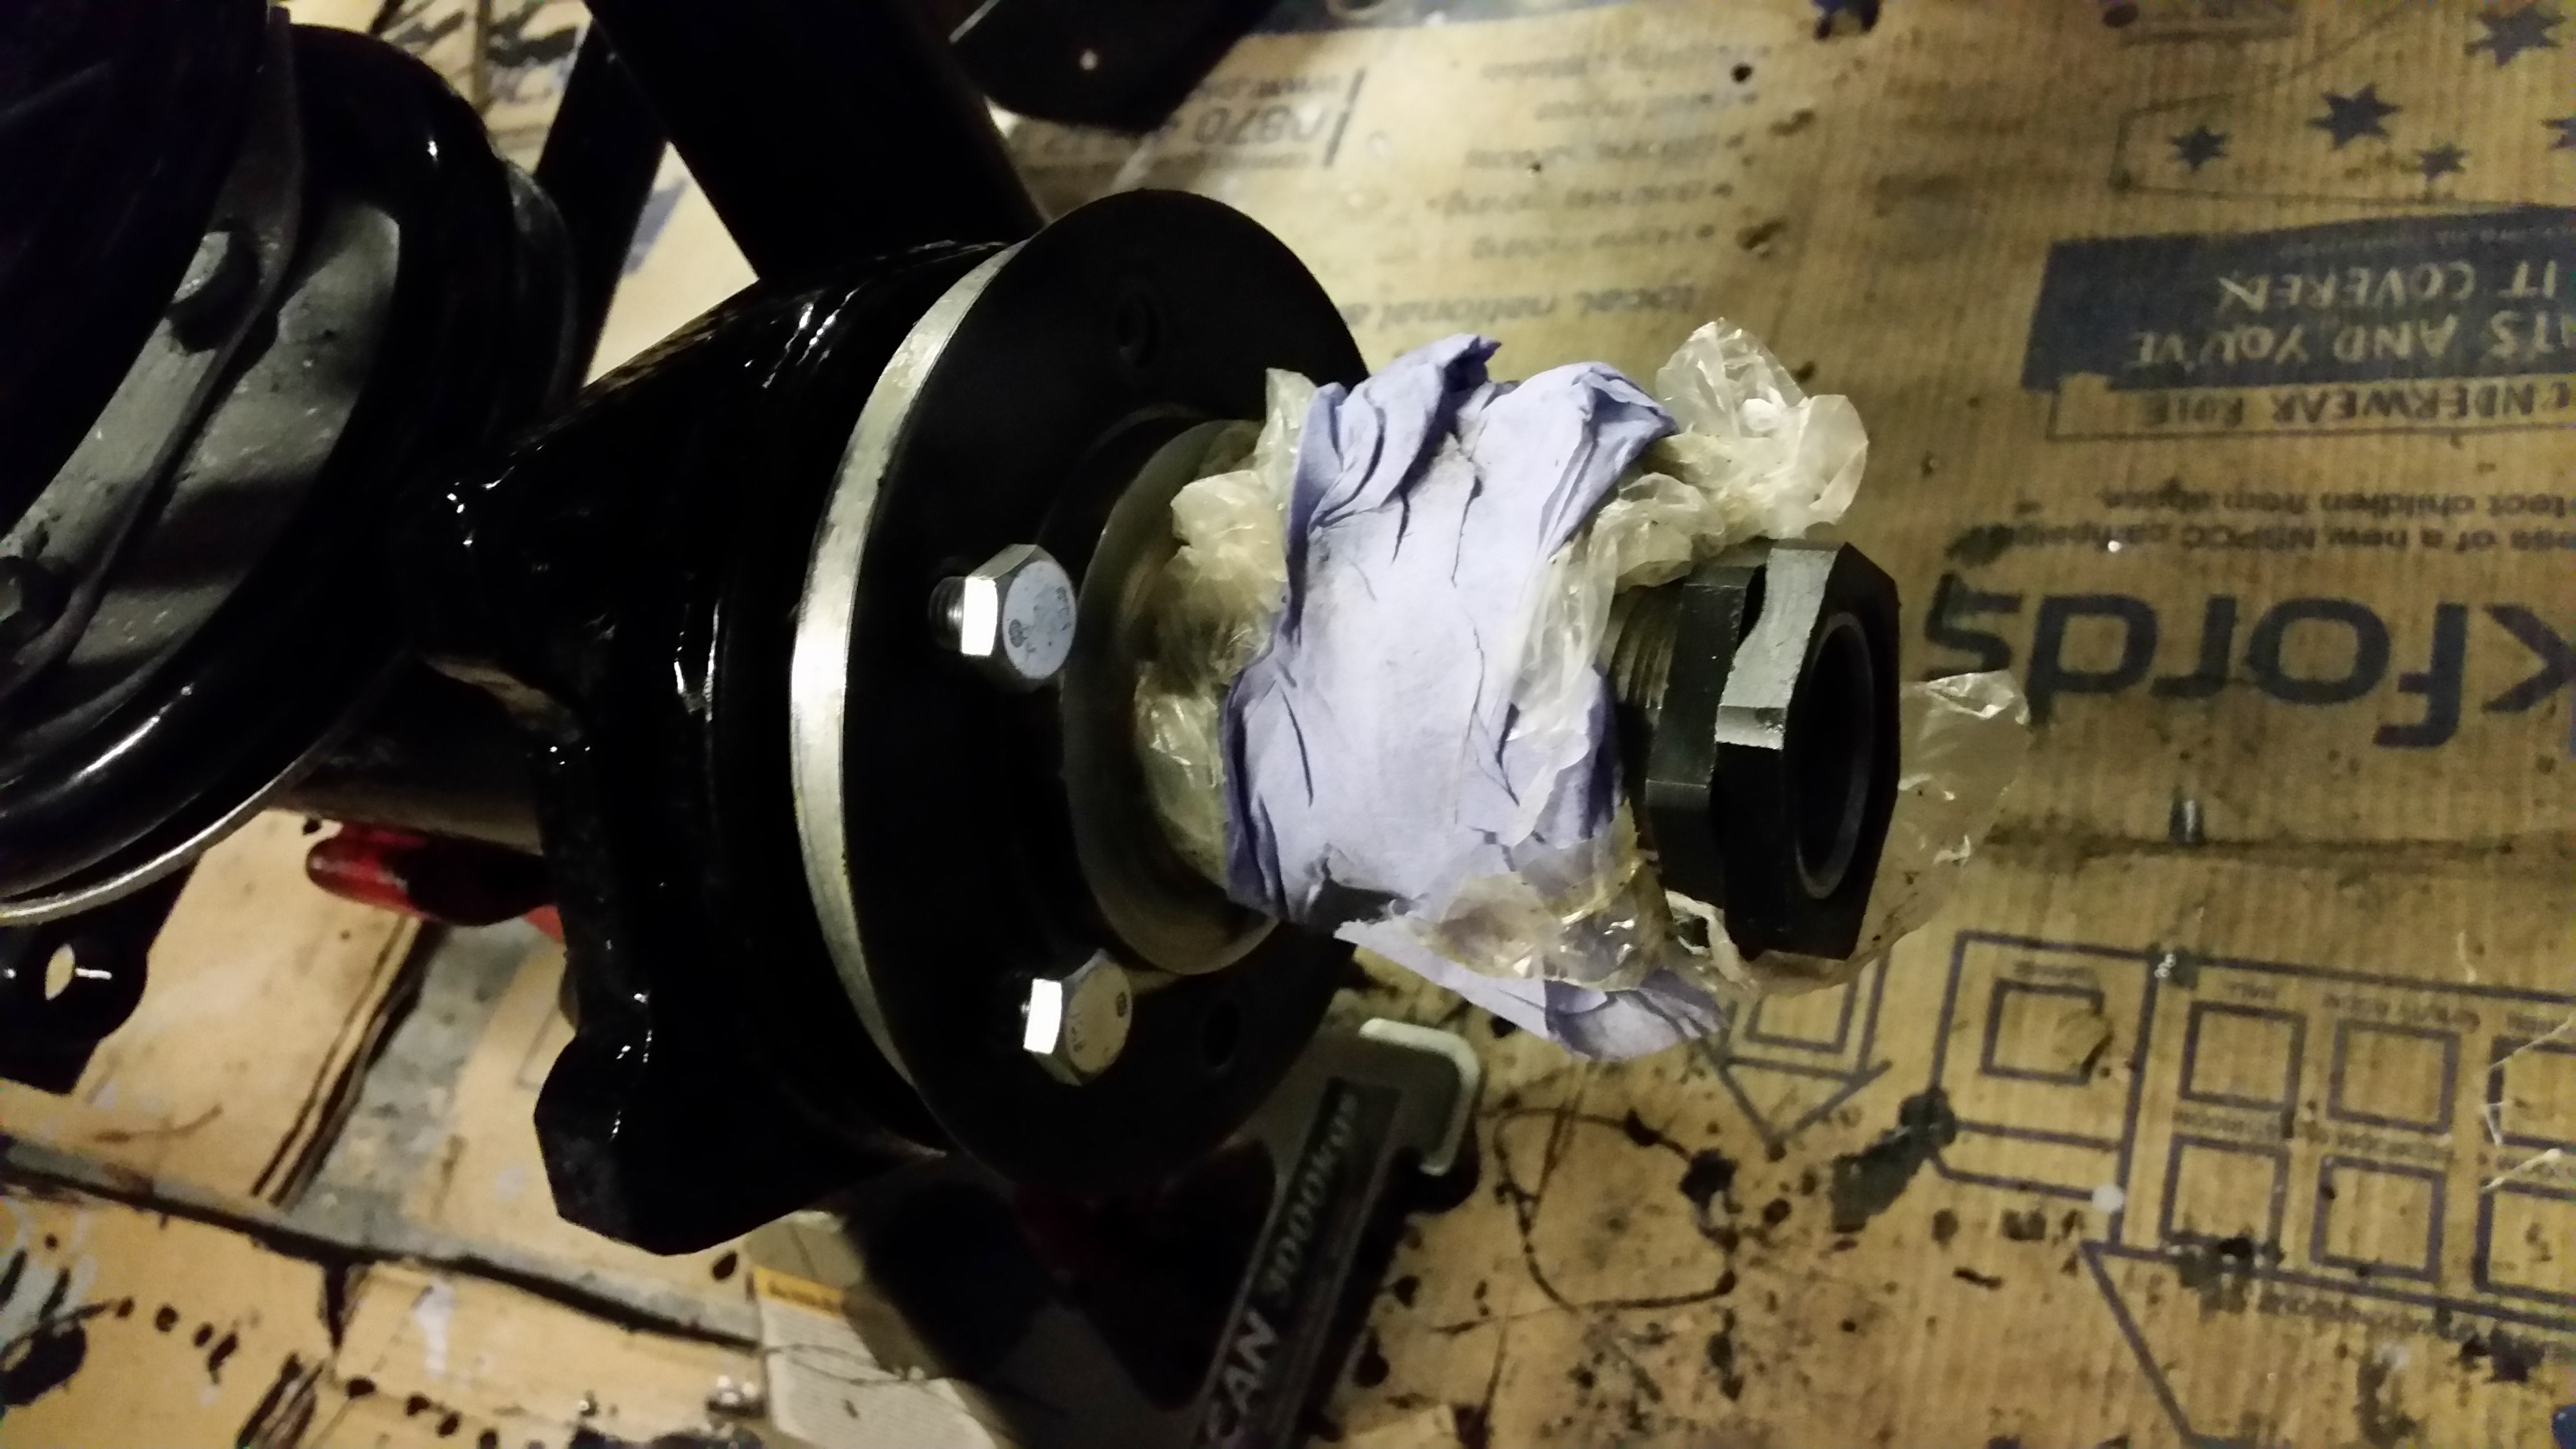
first attach a couple of nuts to the end of the stub axle to allow you to hold it in a vice without damage:

d0TDBzY.jpg


then drift in your new oil seal with a suitable drift:

fPyepPM.jpg


then attach to the axle end. the axle-to-stub-axle gasket it held on with a smear of grease at this point, and in the same motion you also attach the "mud shield" ring, and the brake caliper mount.

2uSS13N.jpg


**************************

next onto the wheel bearing stuff:

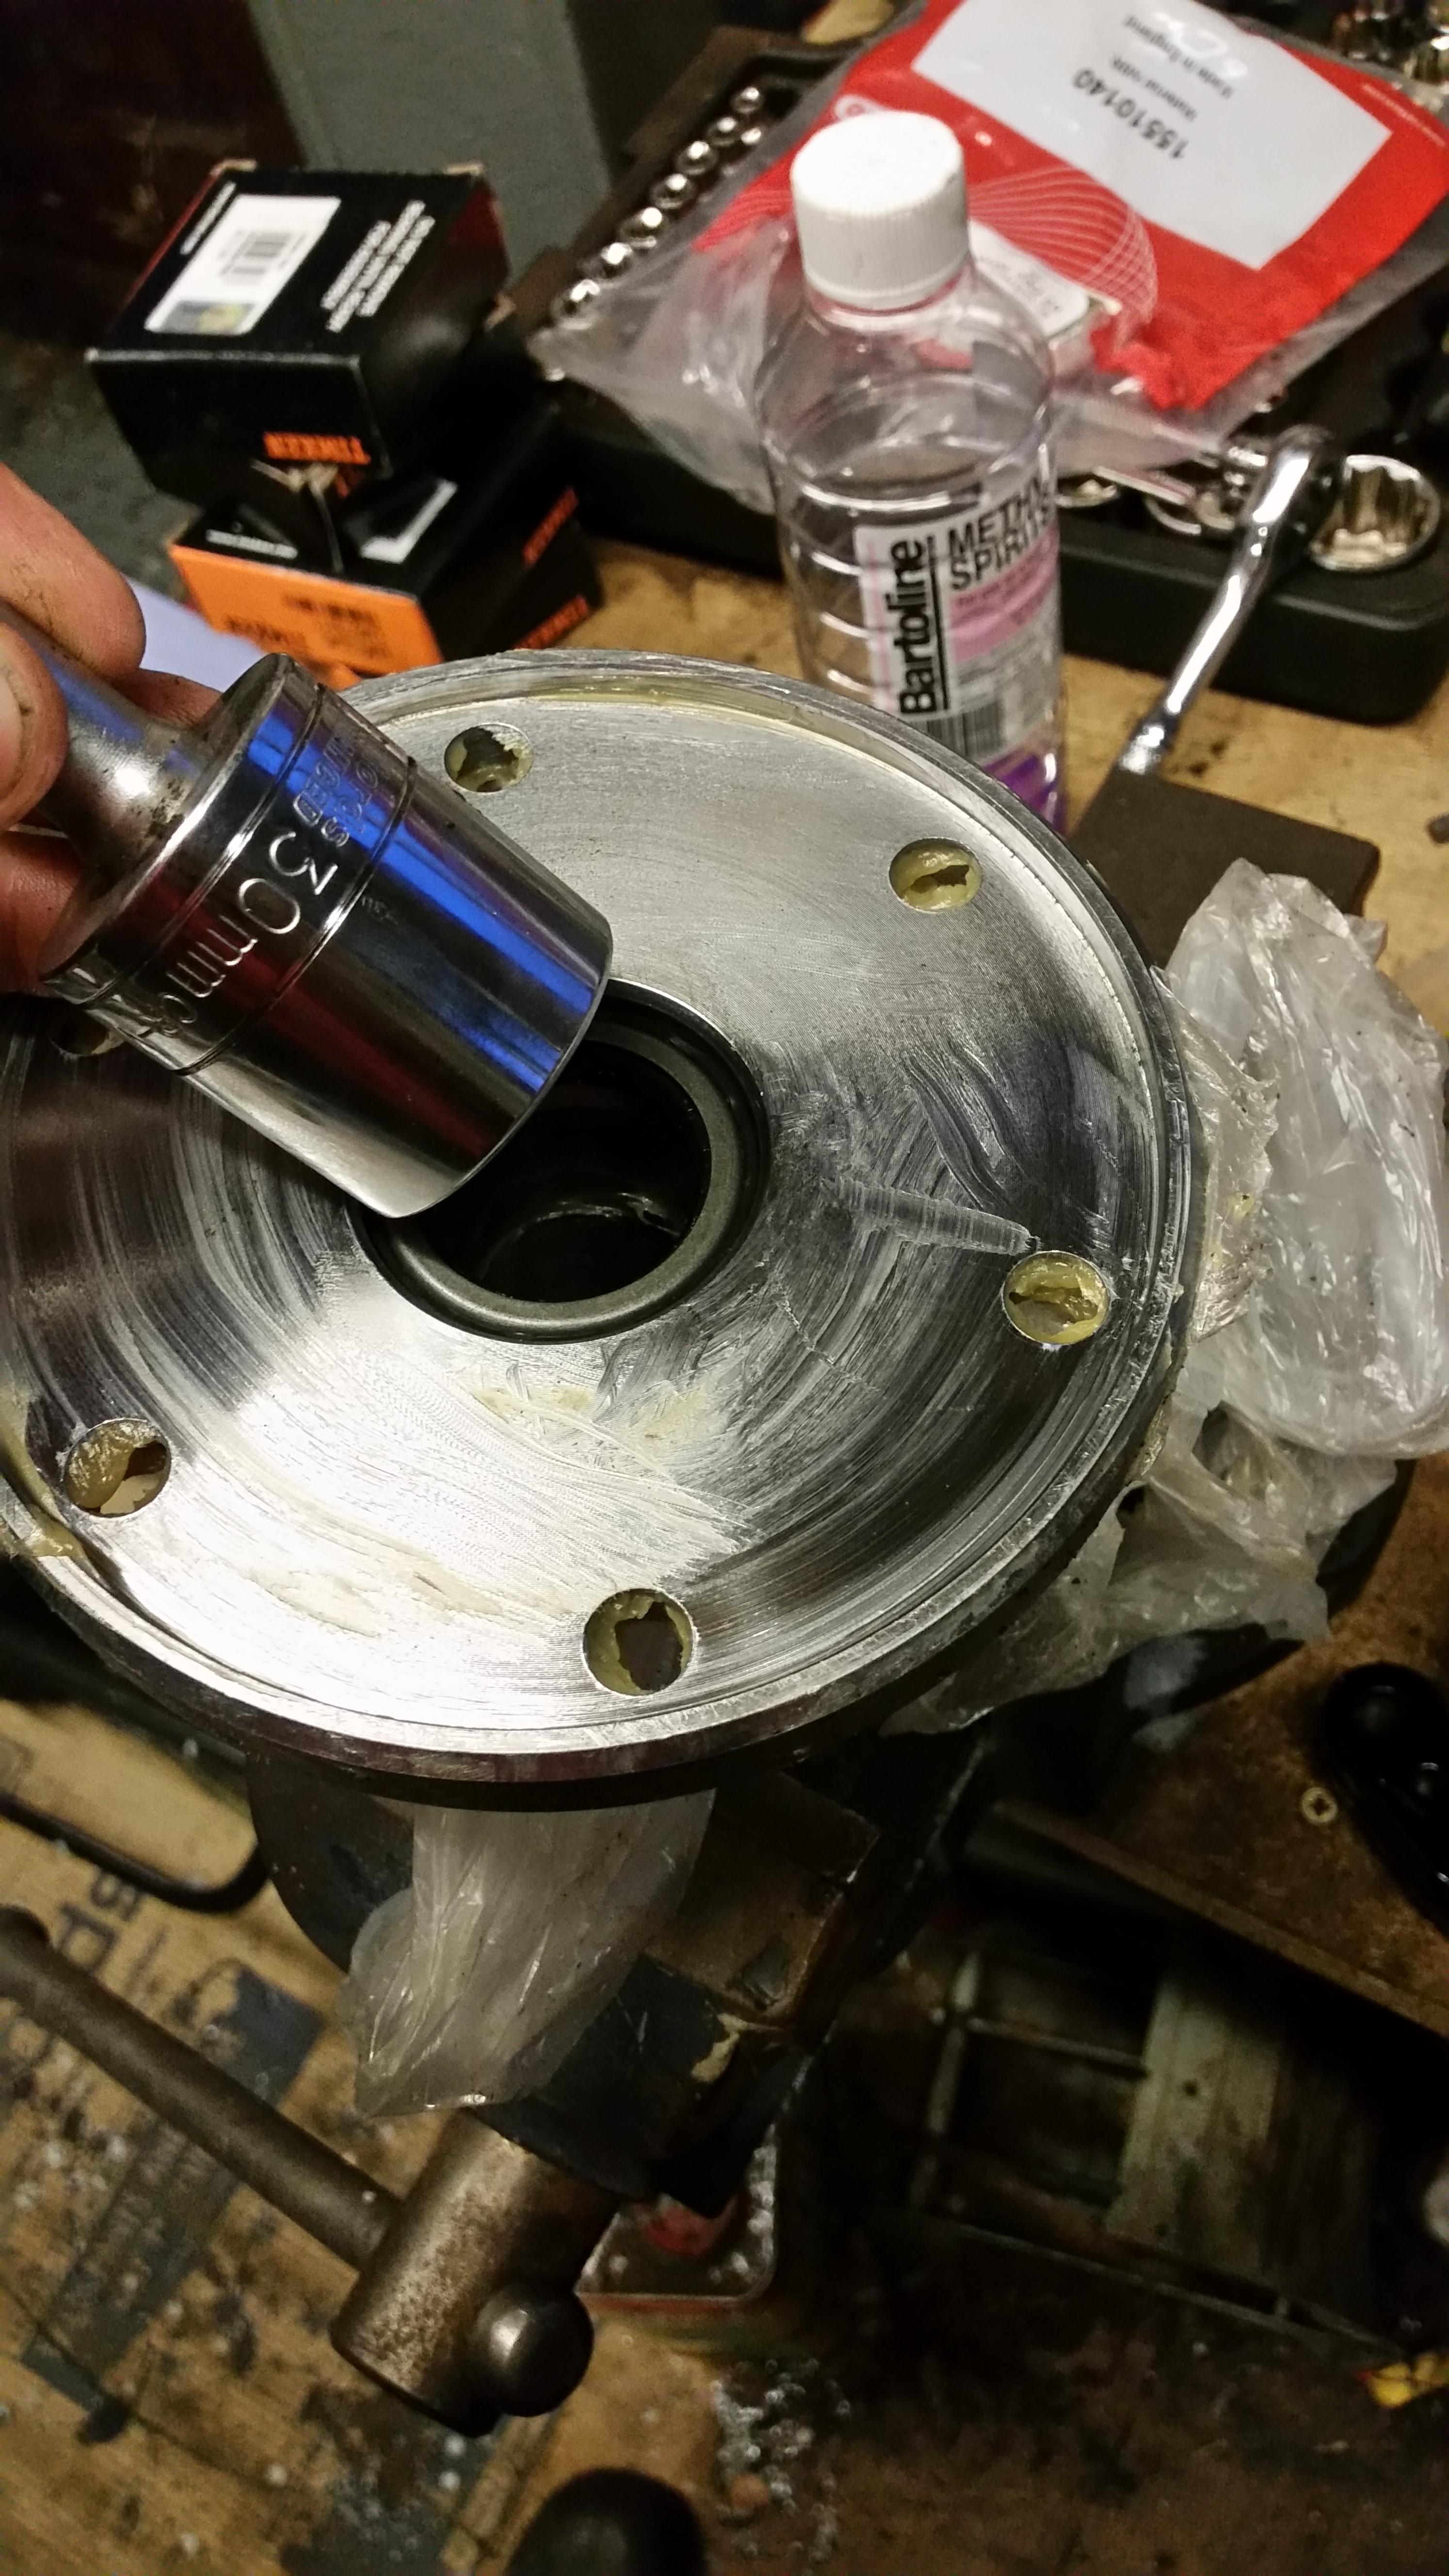
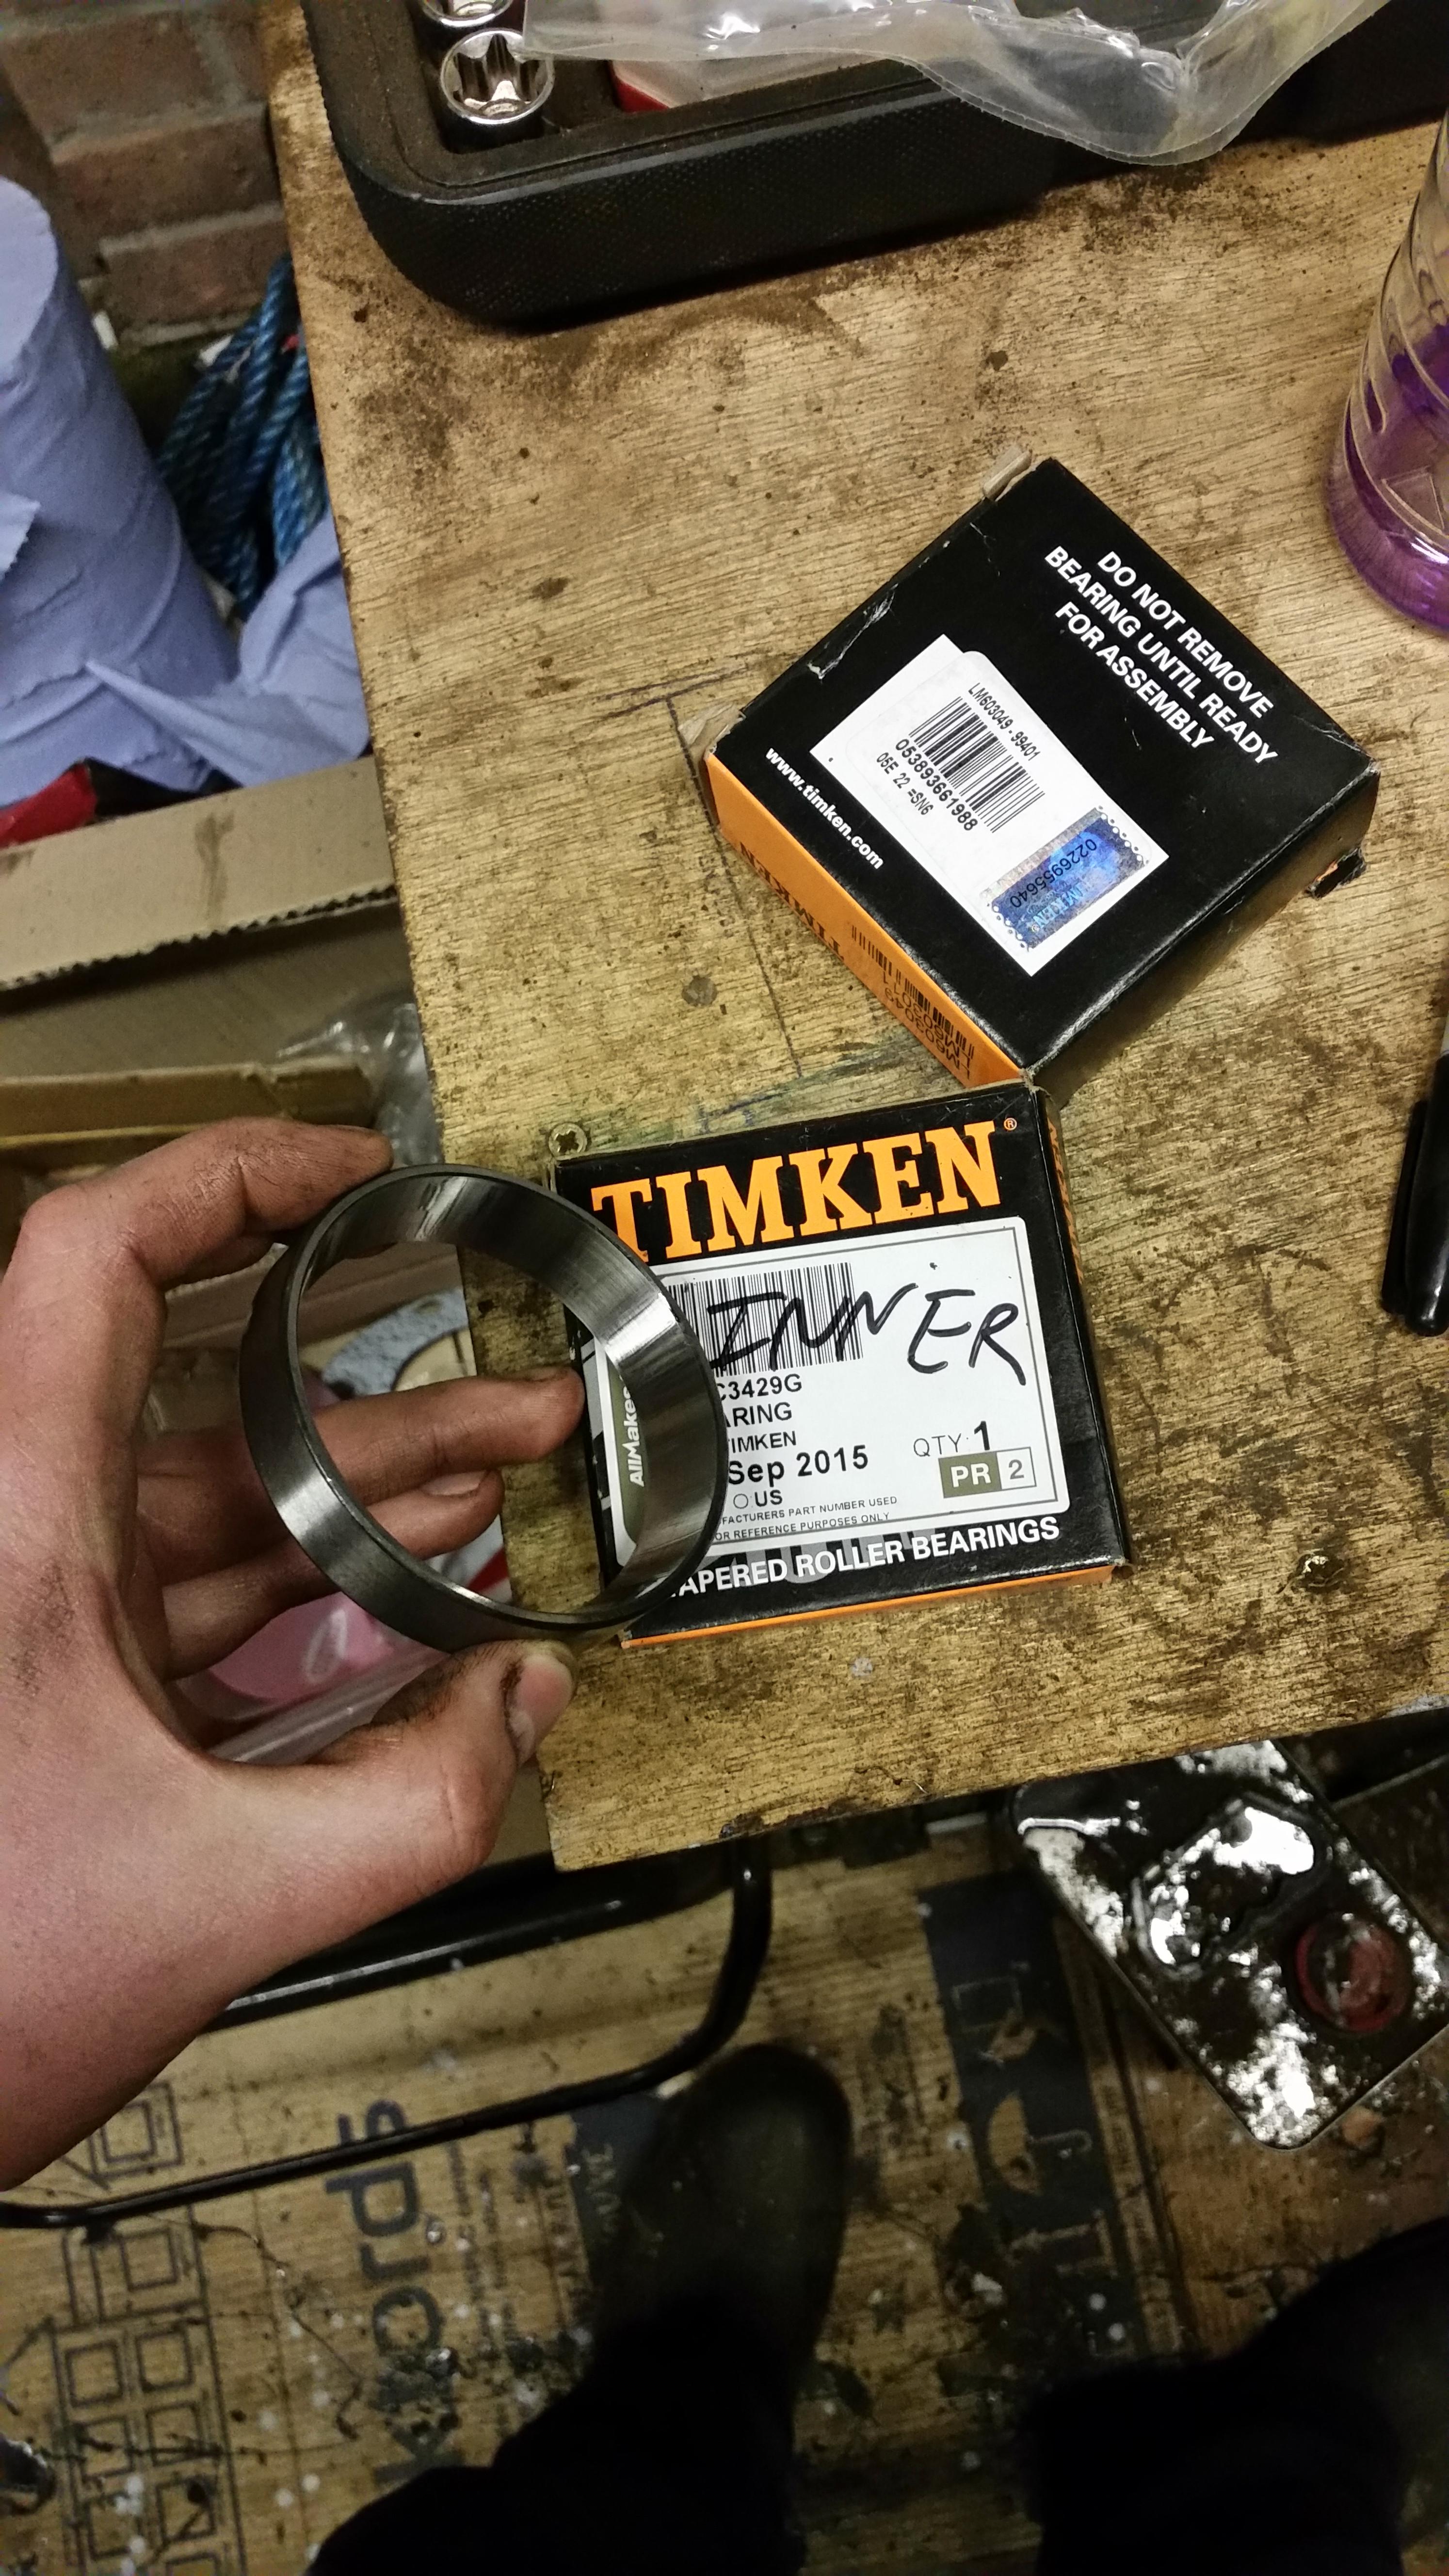
first get one of the new bearing races out of the boxes, and mark that box with "inner" so that you keep the same bearing race mated to the same bearing. Also give the inside of the hub a spray with WD40 or similar:

9ambfS0.jpg


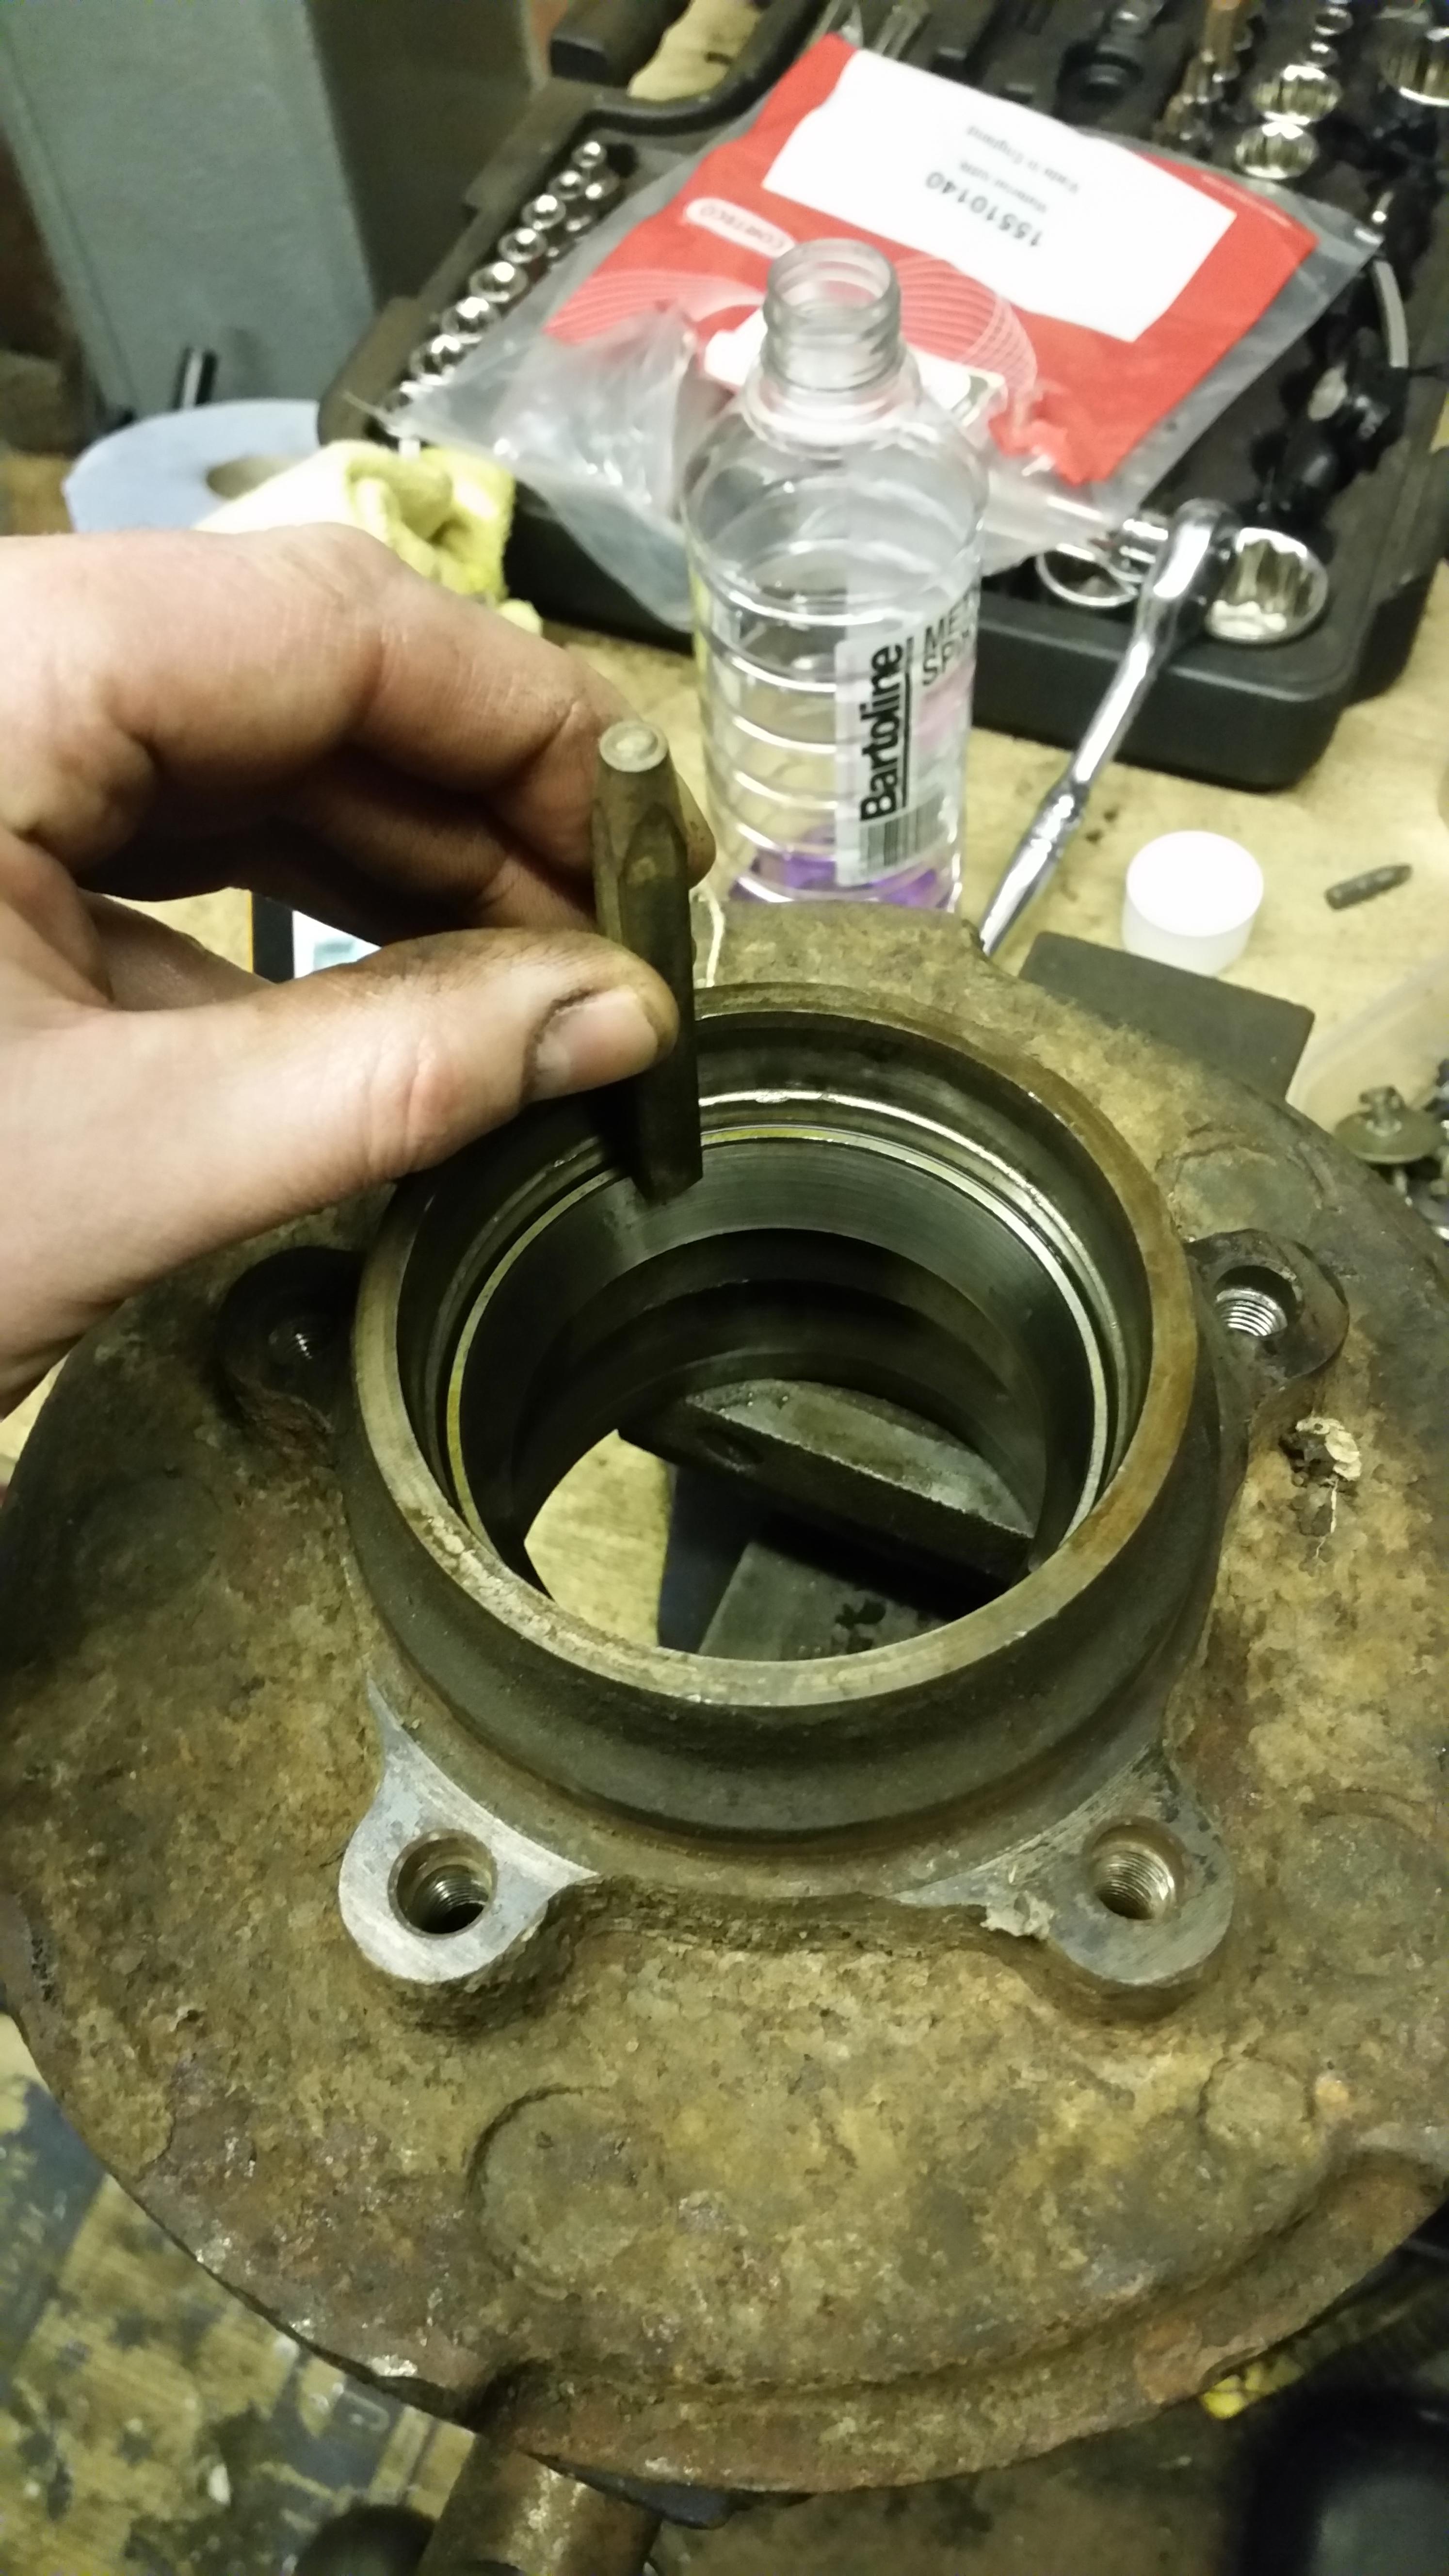
use an old bearing race to drift in the new one (this is one from the last time I did on a landy back in 2010, and I kept it thinking "that'll come in handy next time.... so please with myself"). Just make sure you keep checking that the drift is "free", and dont get it caught in the tighter section.

ng4eZdT.jpg


Then use something soft and blunt to drift it the rest of the way..... without damaging it!

9gqPJHy.jpg


******
Repeat for the outer bearing race

*******

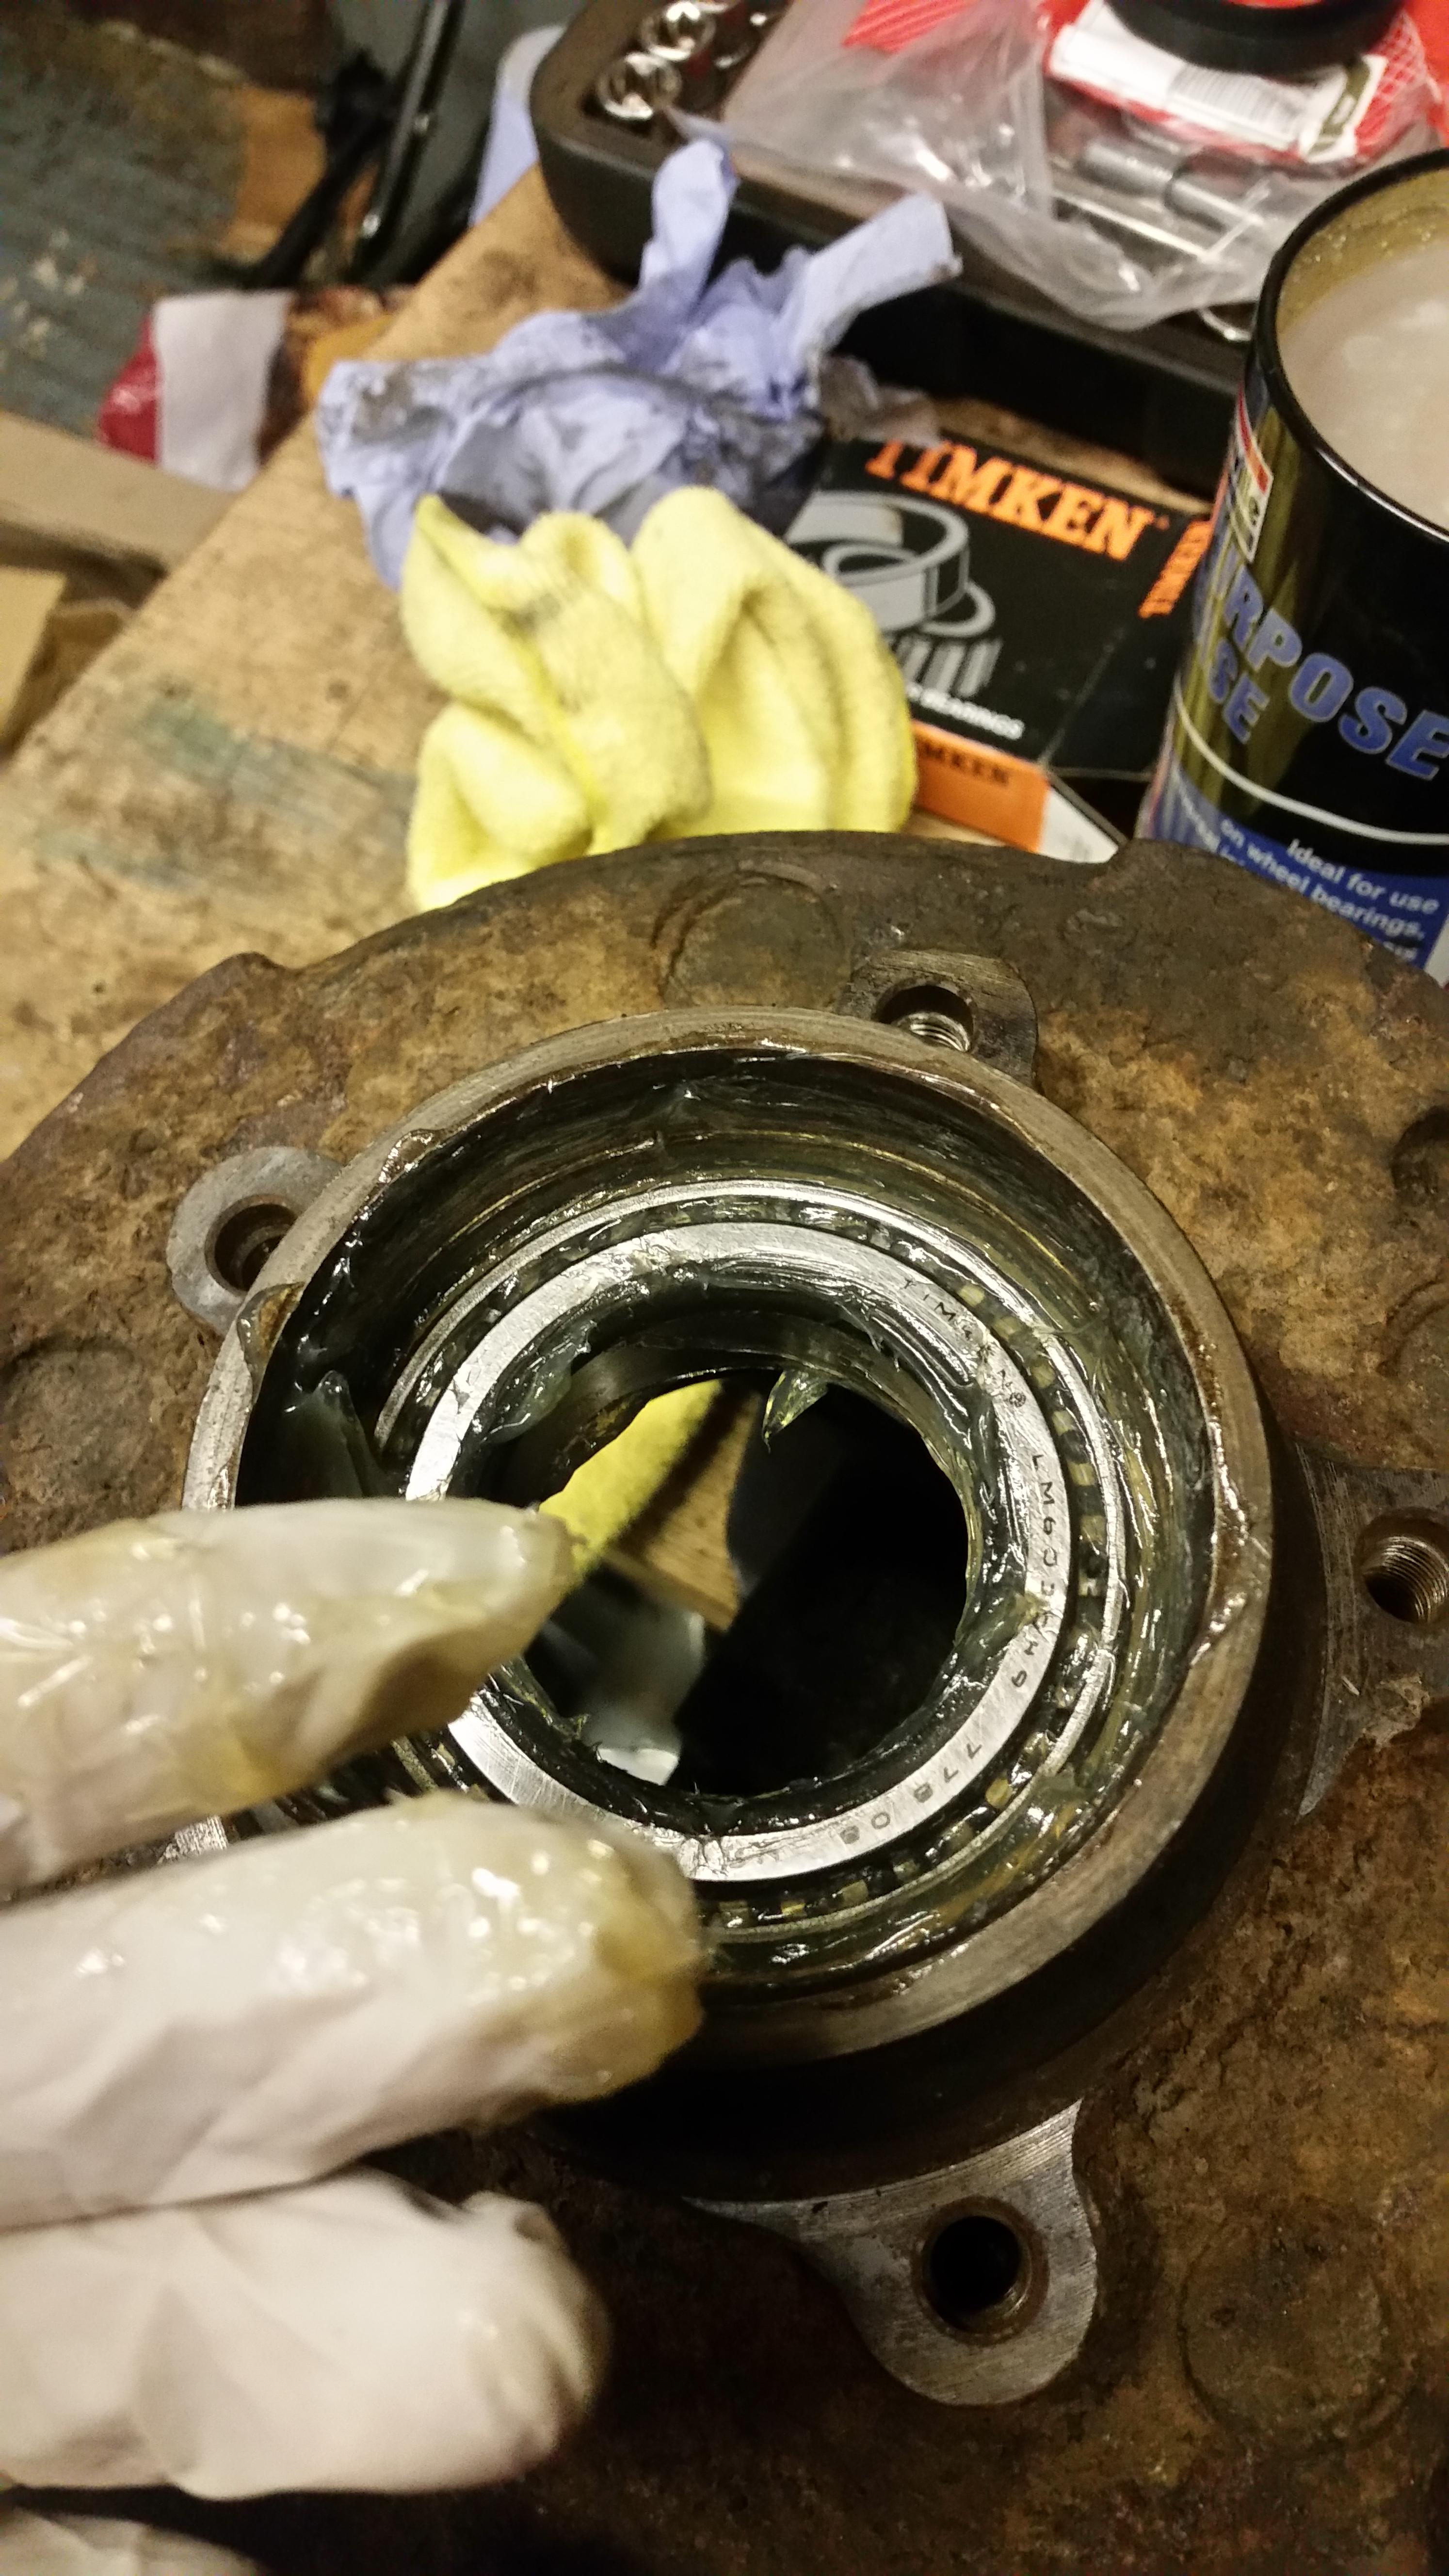
then load the previously labelled "inner" bearing into the inner race:

yoe39lH.jpg


pack with grease:

DrlIeaV.jpg


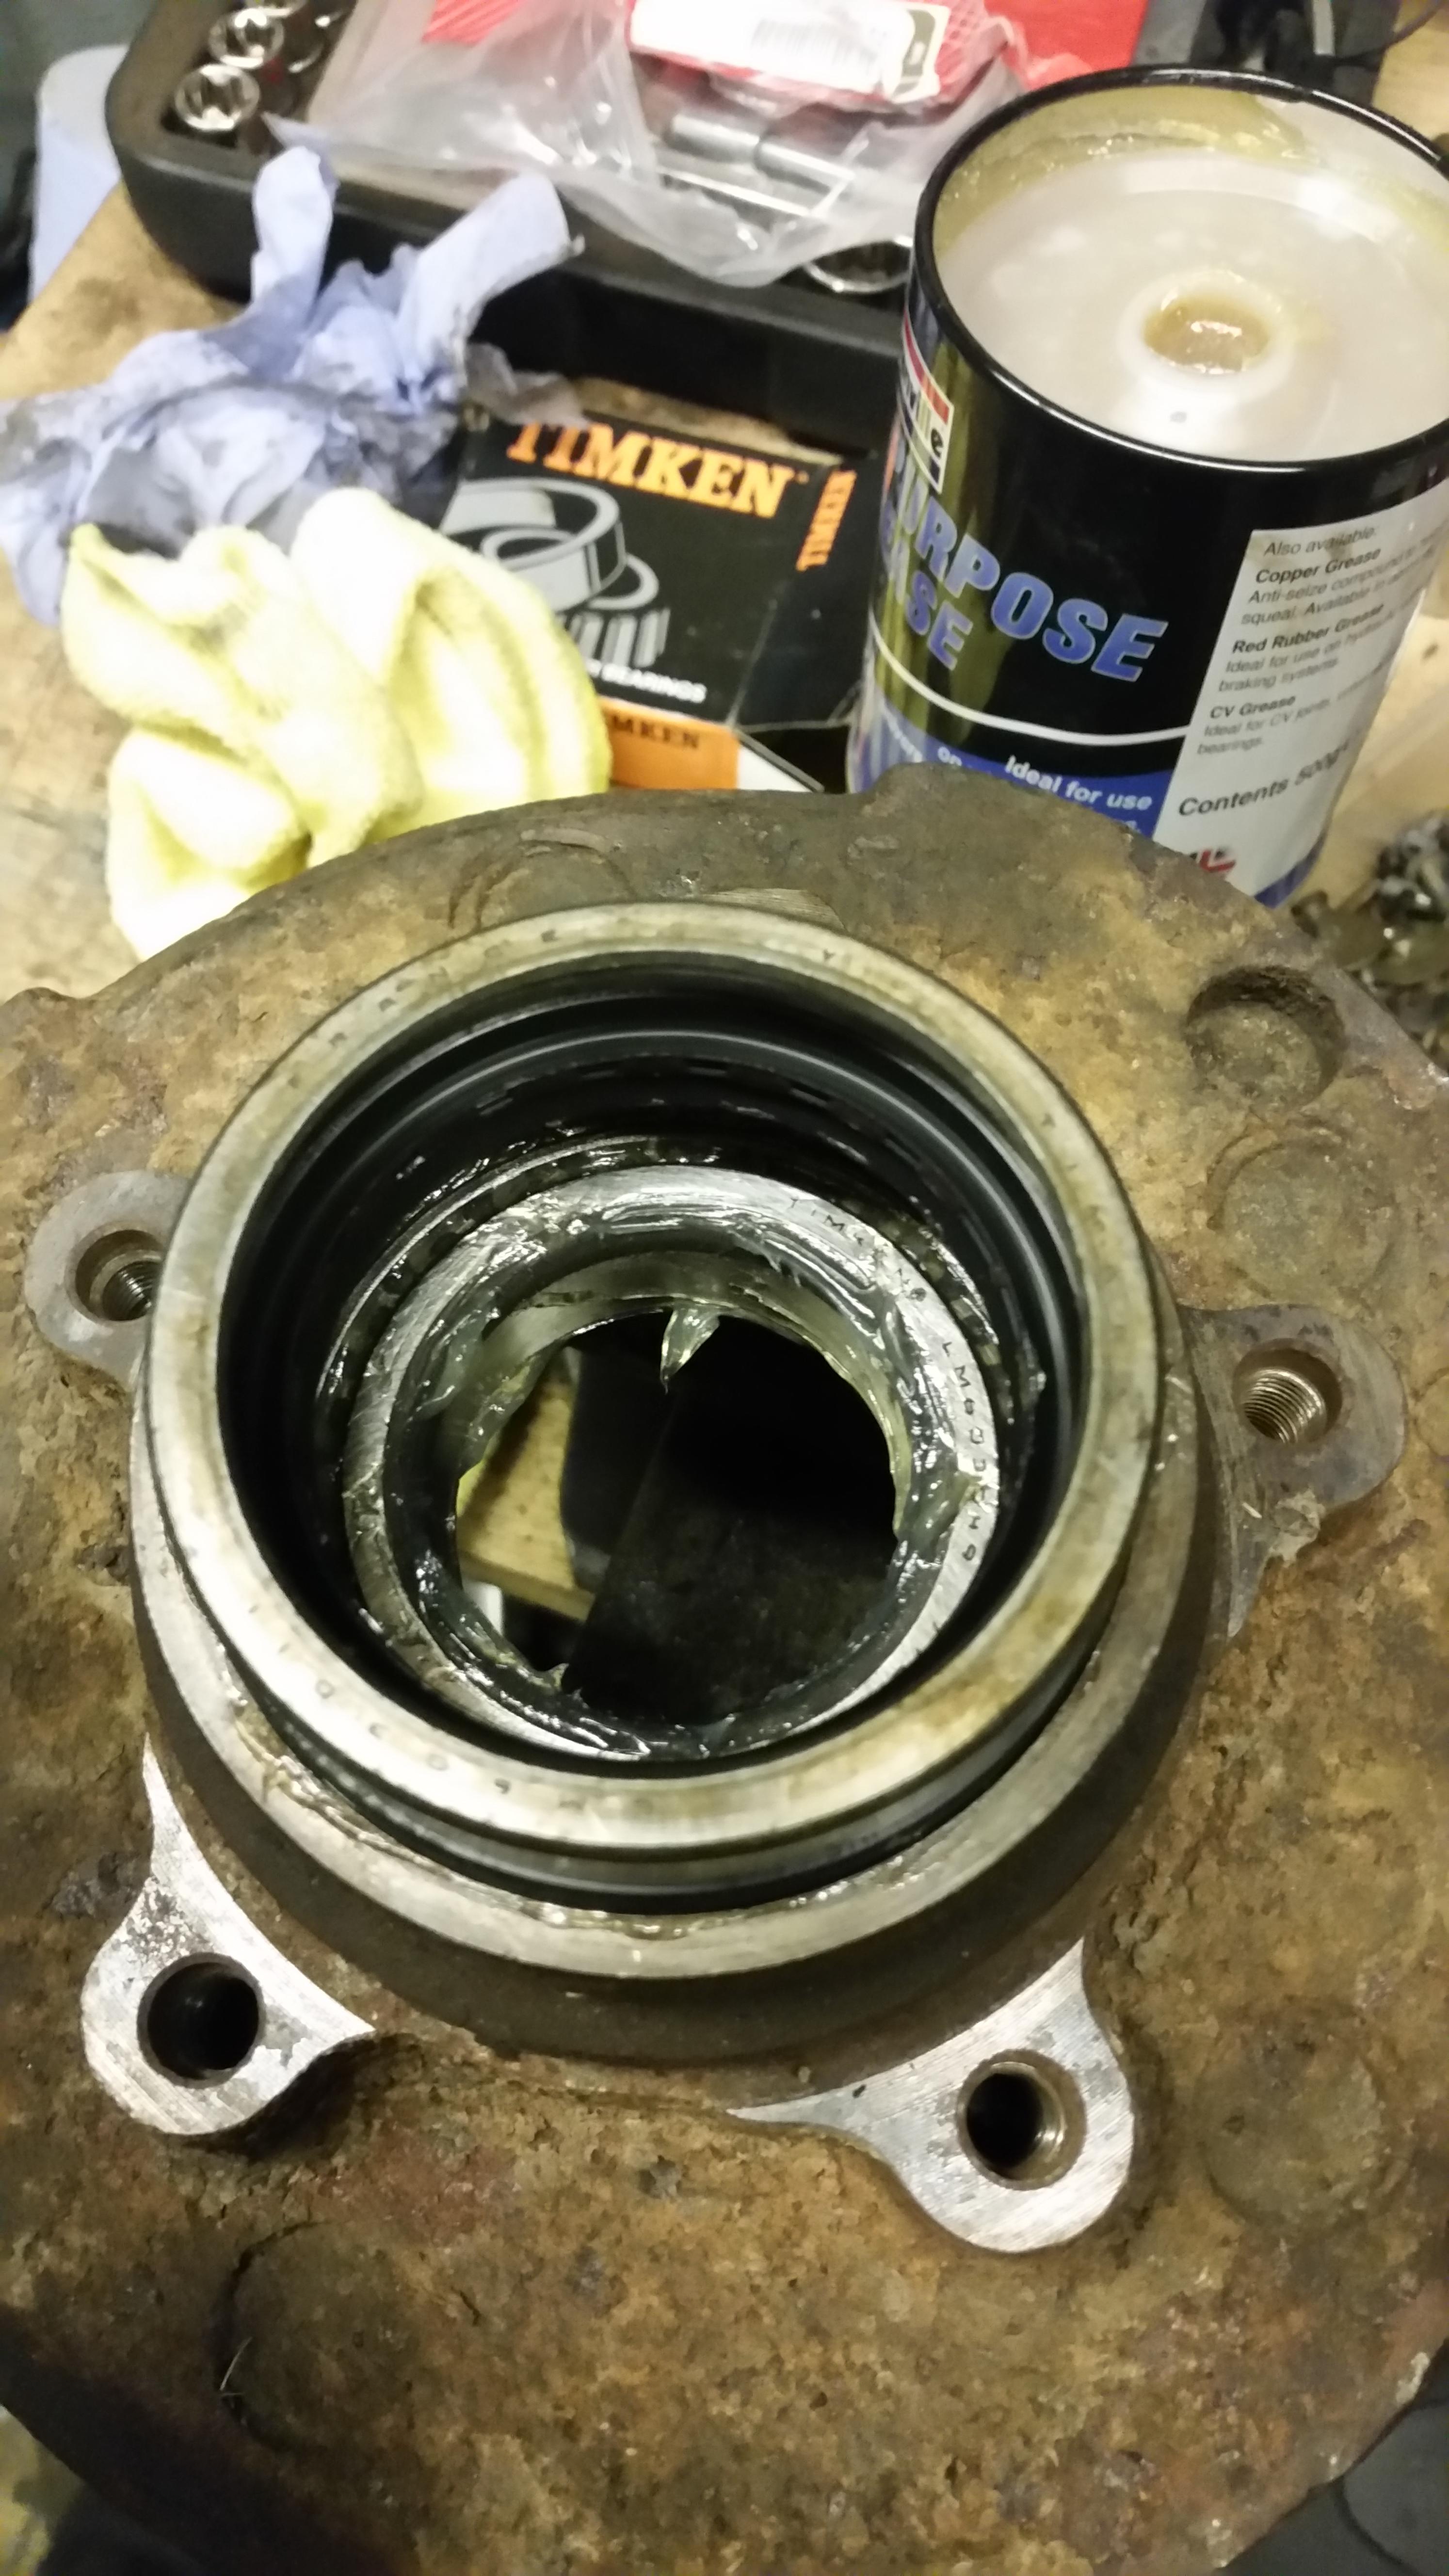
then drift in the new inner hub oil seal with the same bearing drift:

r54FwIf.jpg


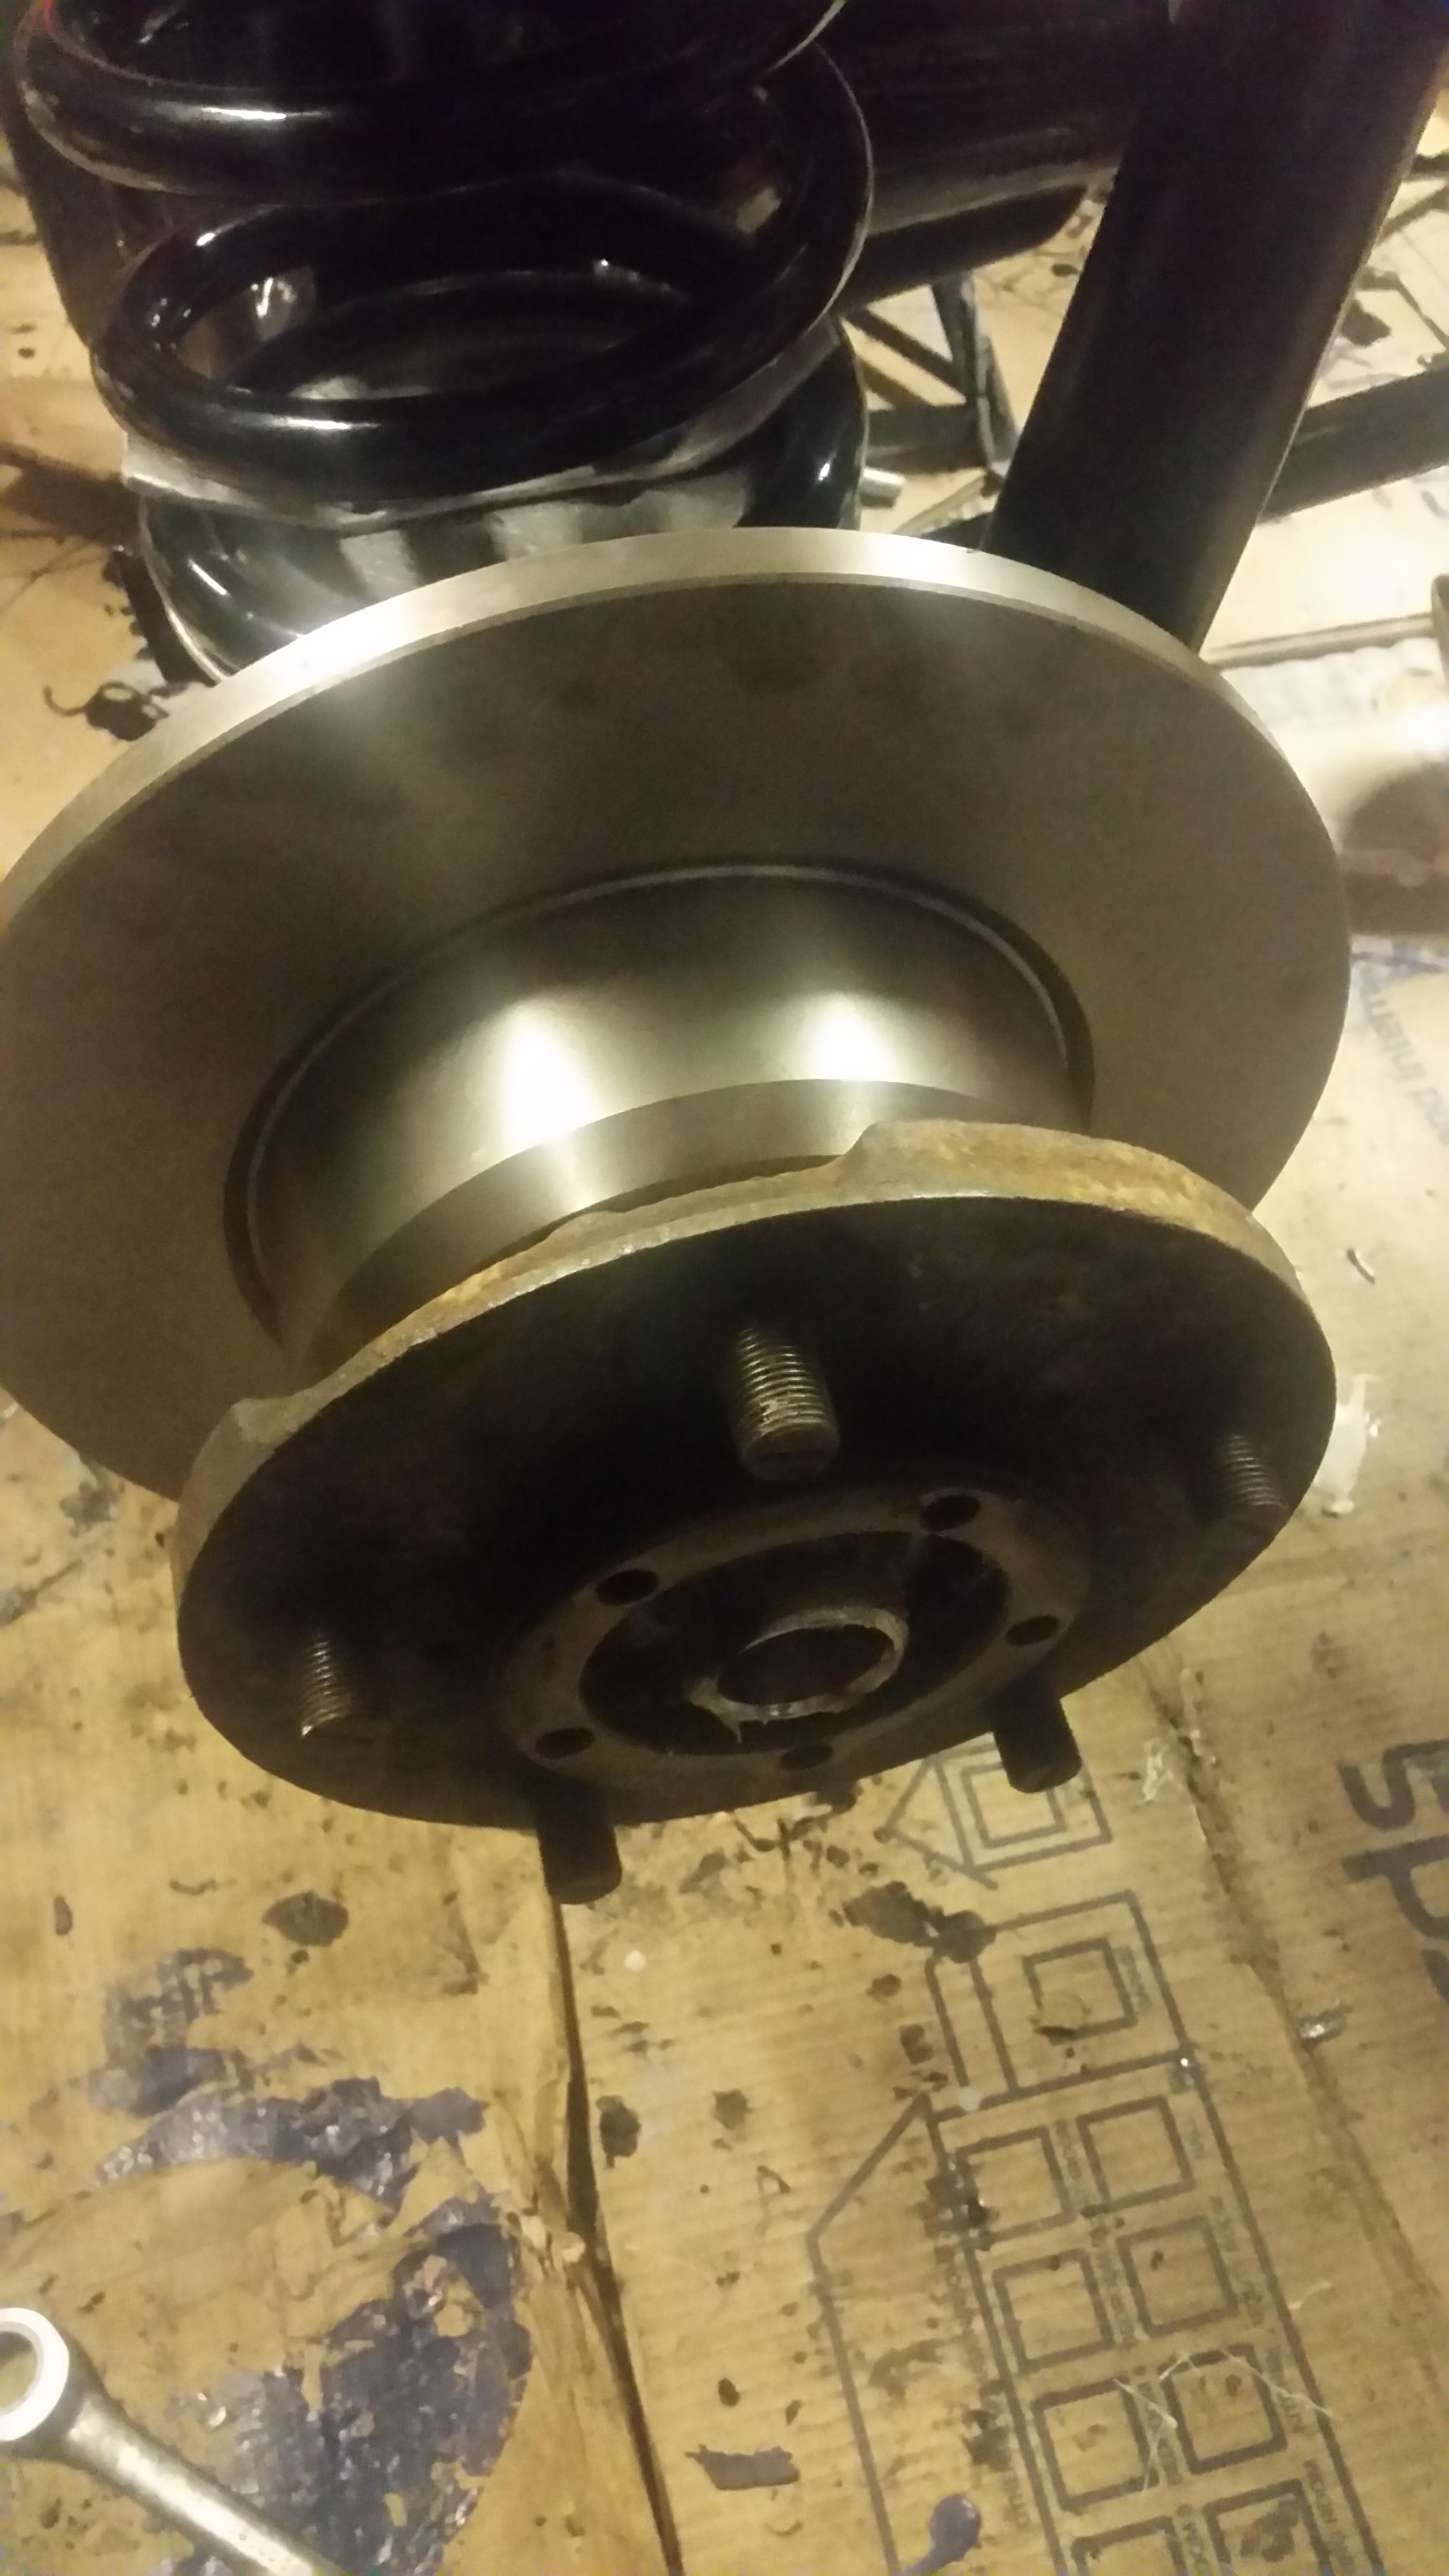
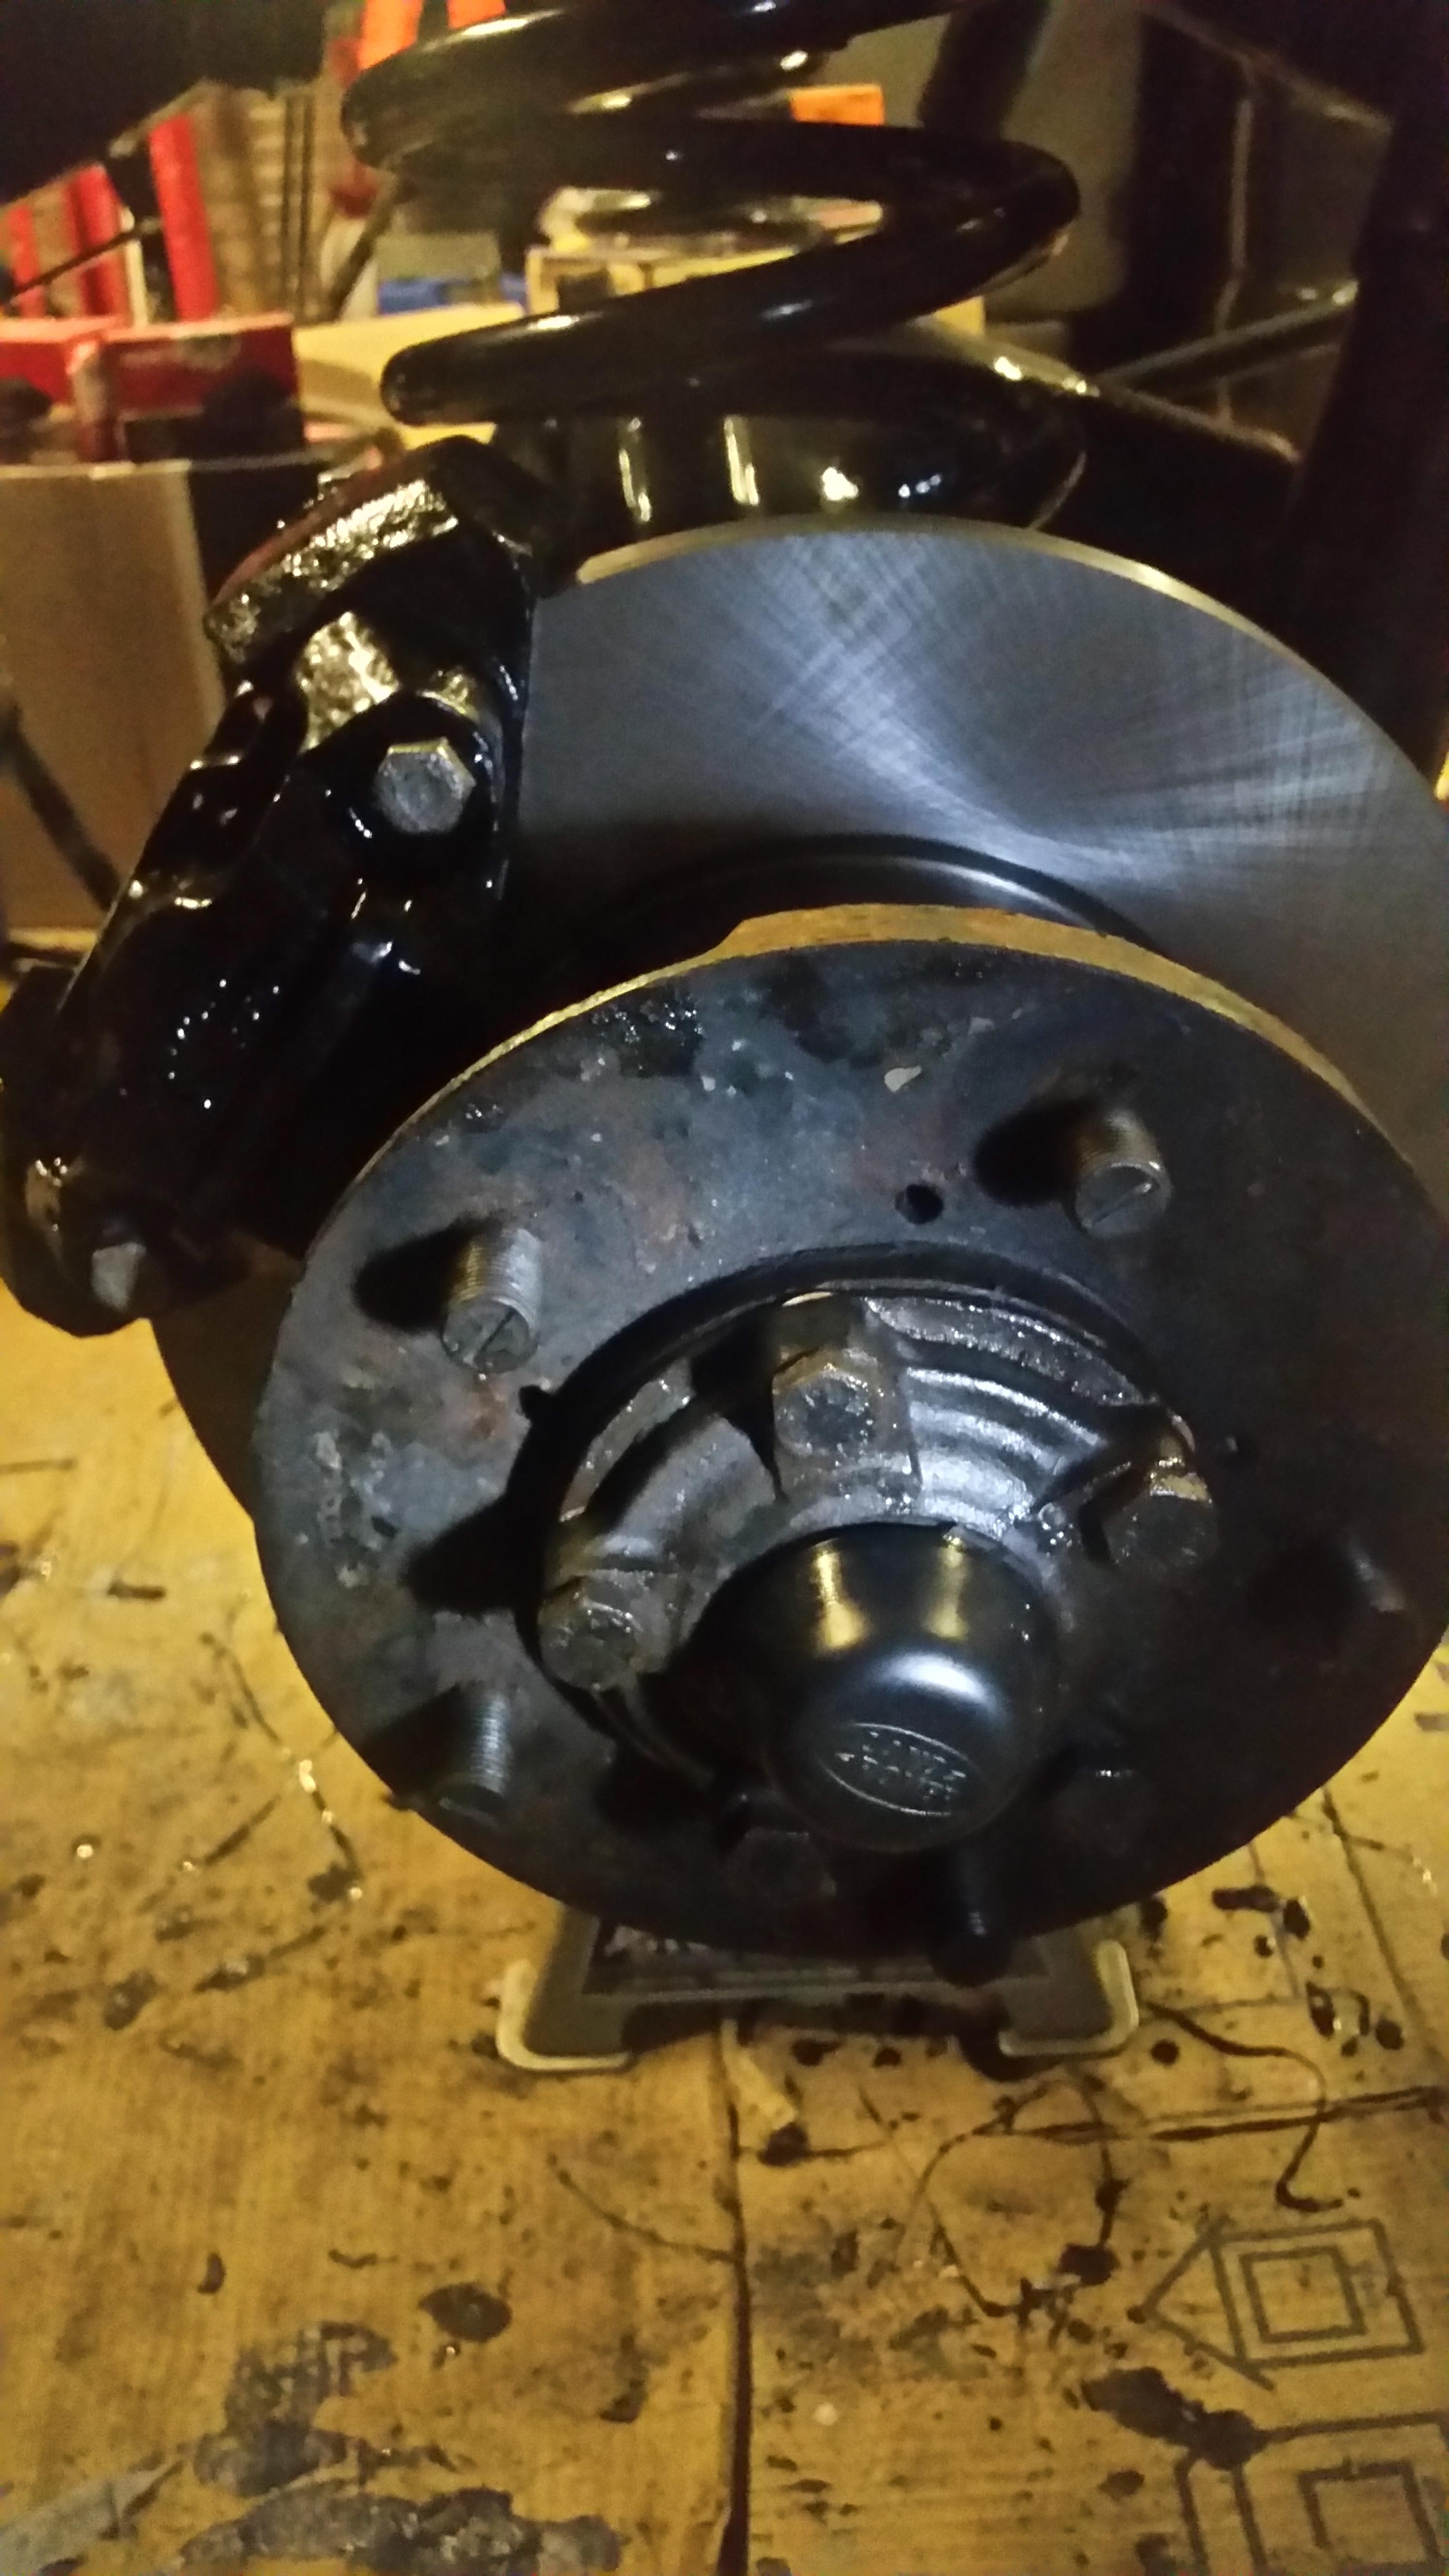
Then... get all set up to install the hub, before remembering that you need a brake disc! what a numpty!

WCEaEGy.jpg


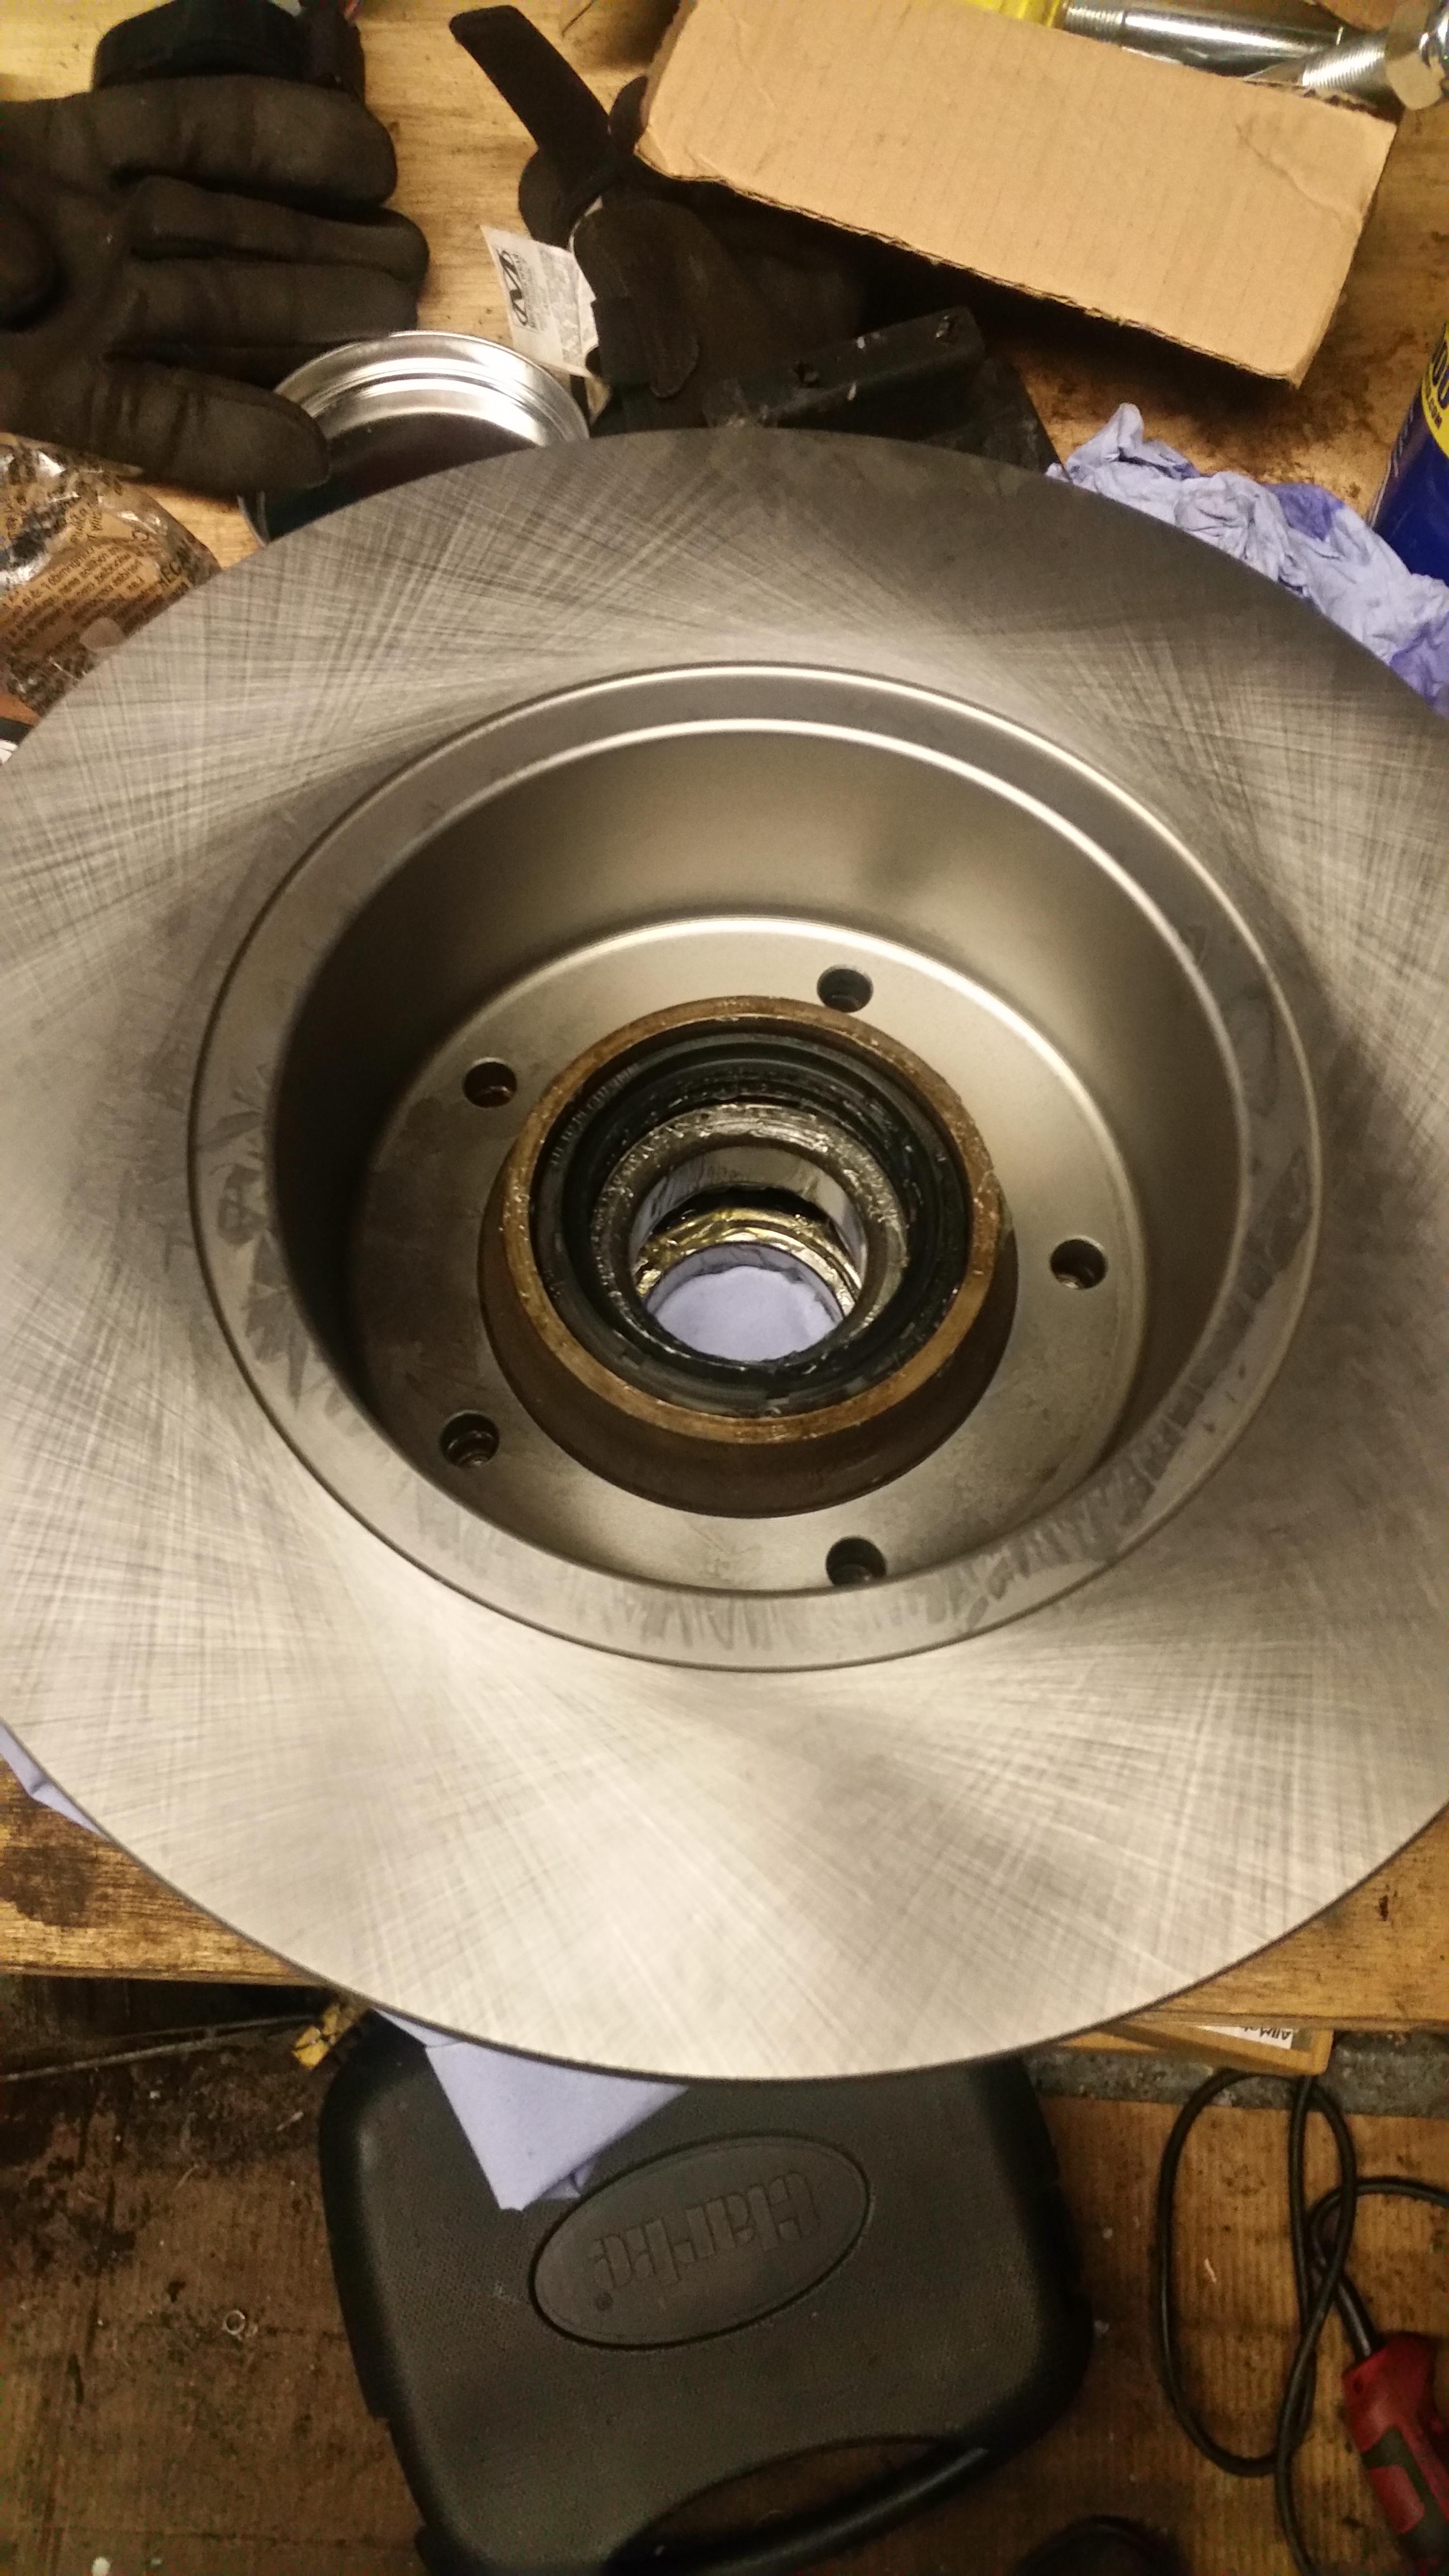
Line up the new brake disc on the hub:

ZskkZUF.jpg


then add threadlock to the bolts and torque them up. Then fill the valley between the bearings with more grease.

ydDTo3E.jpg


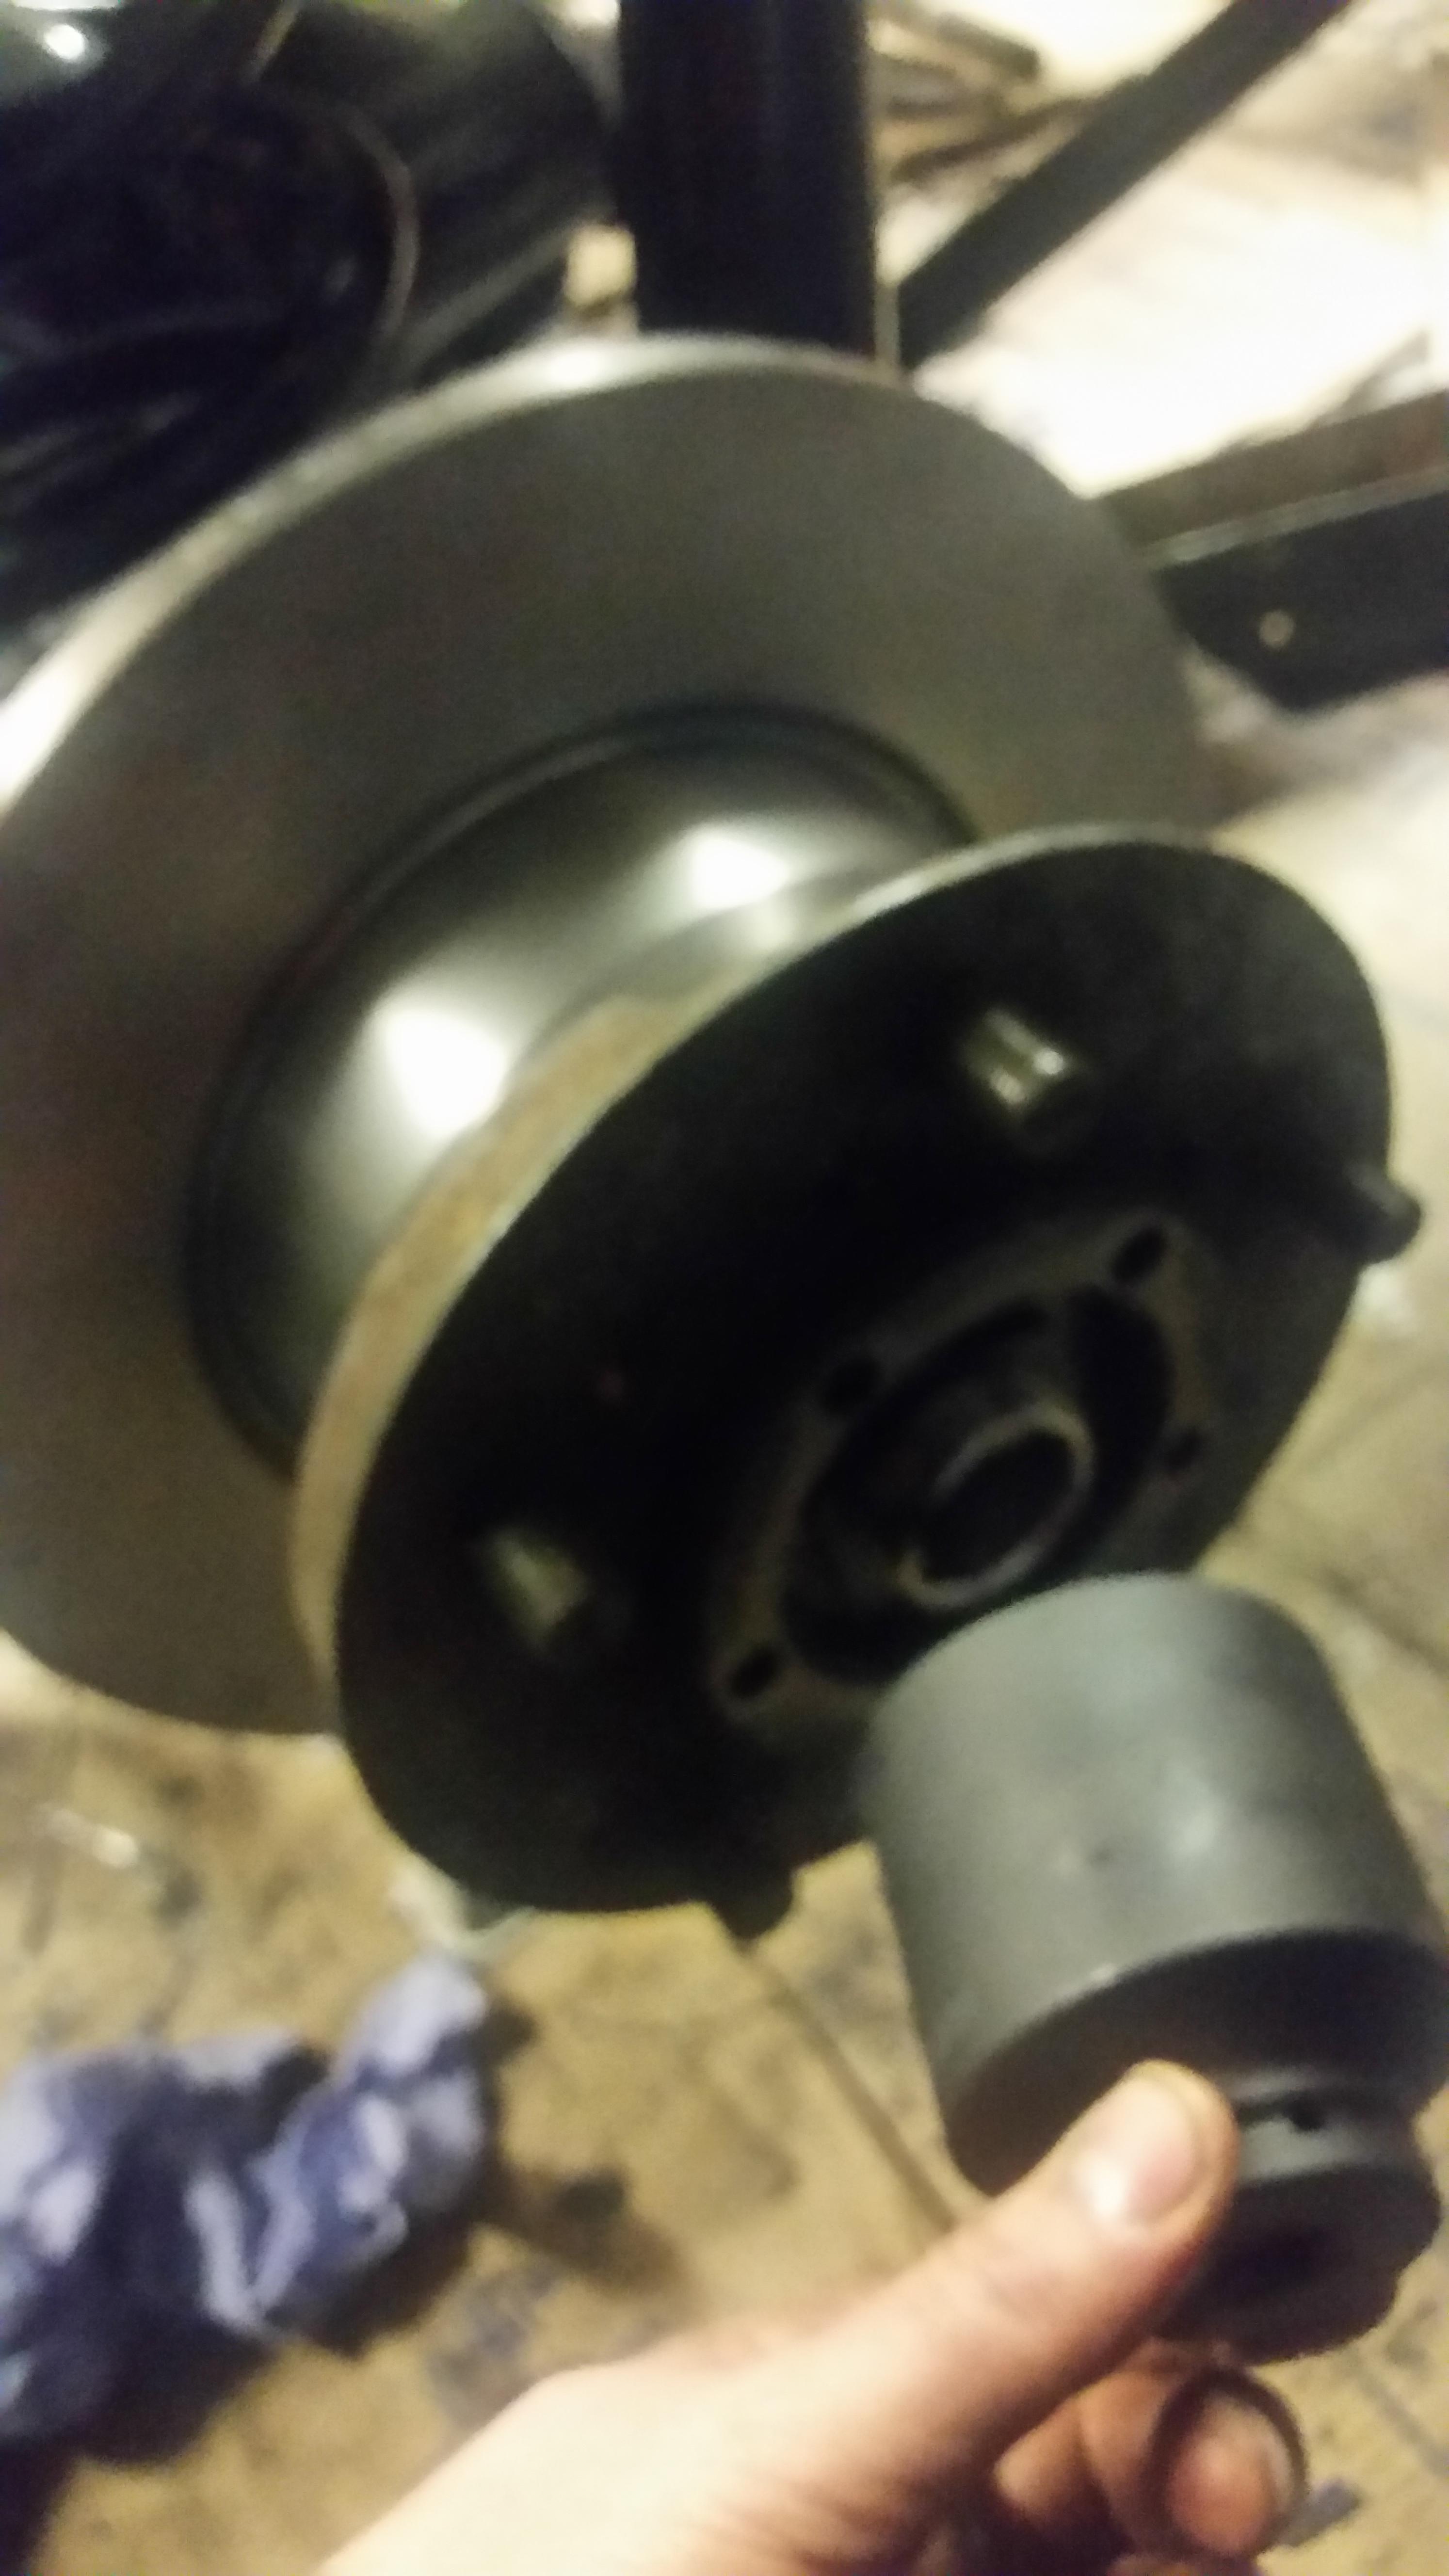
on she goes... steady.... careful not to damage anything on the way. Also add the outer bearing at this stage, and pack with more grease.

UMpPJ61.jpg


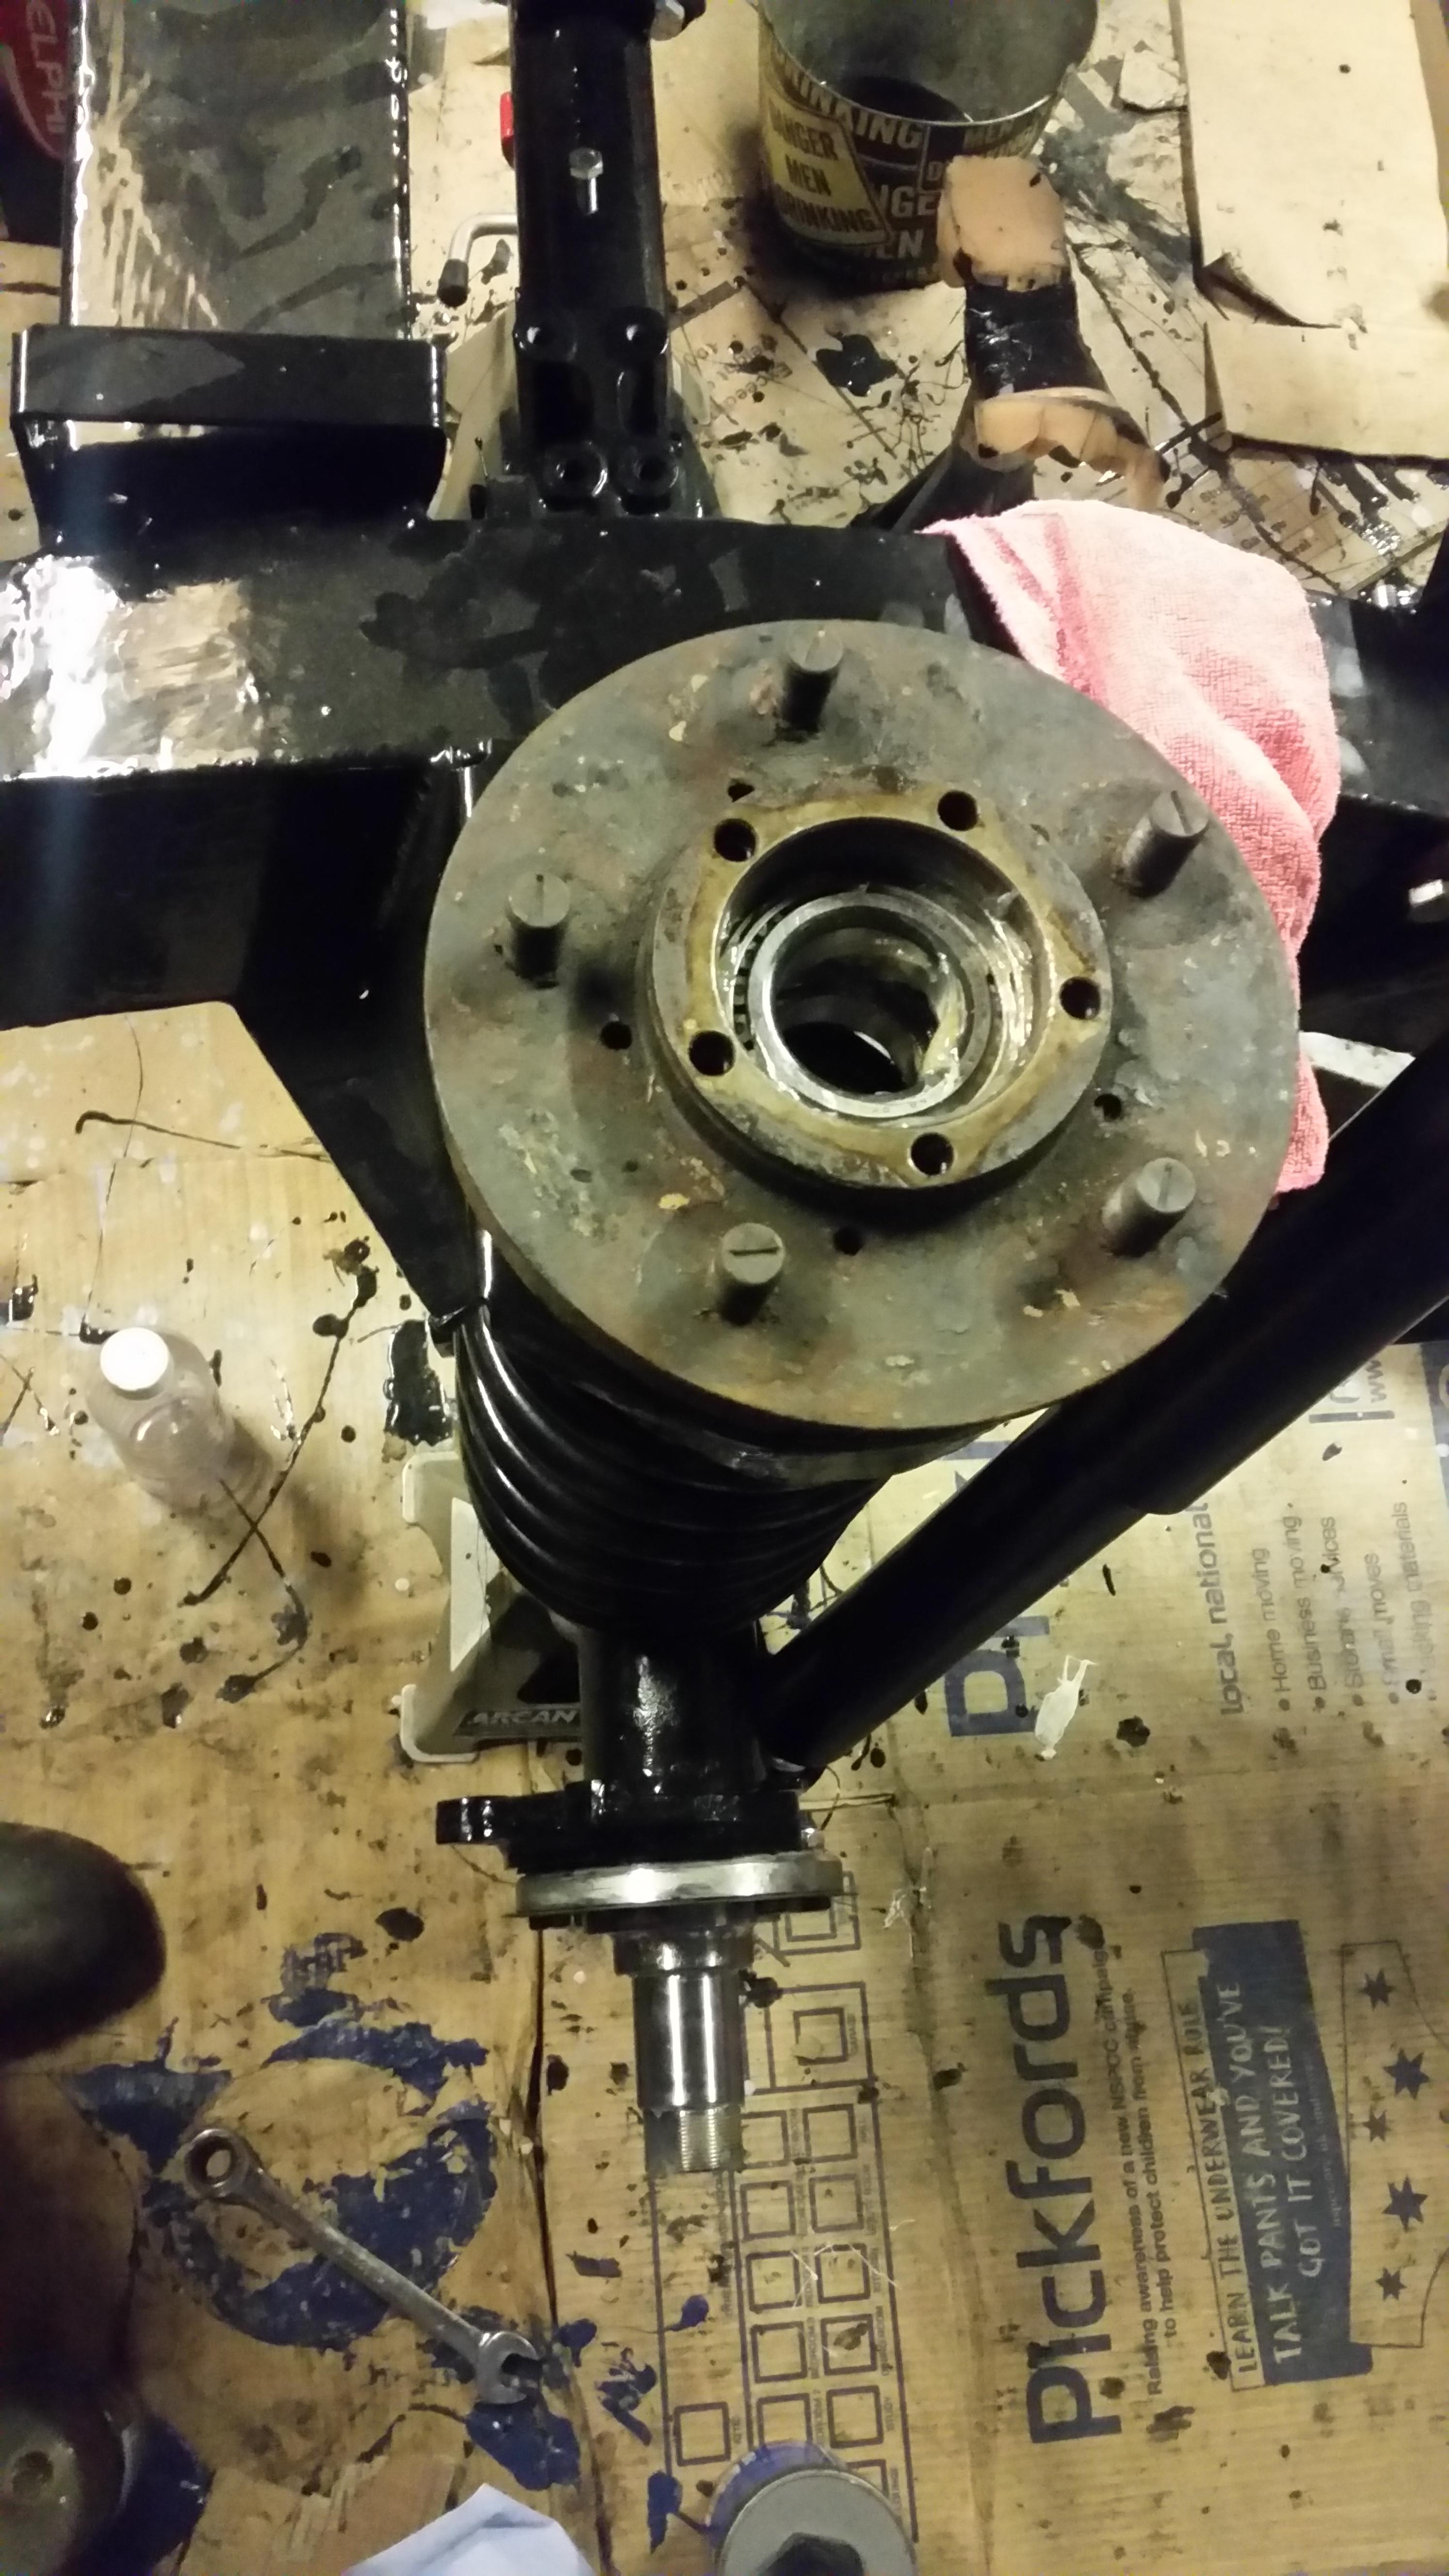
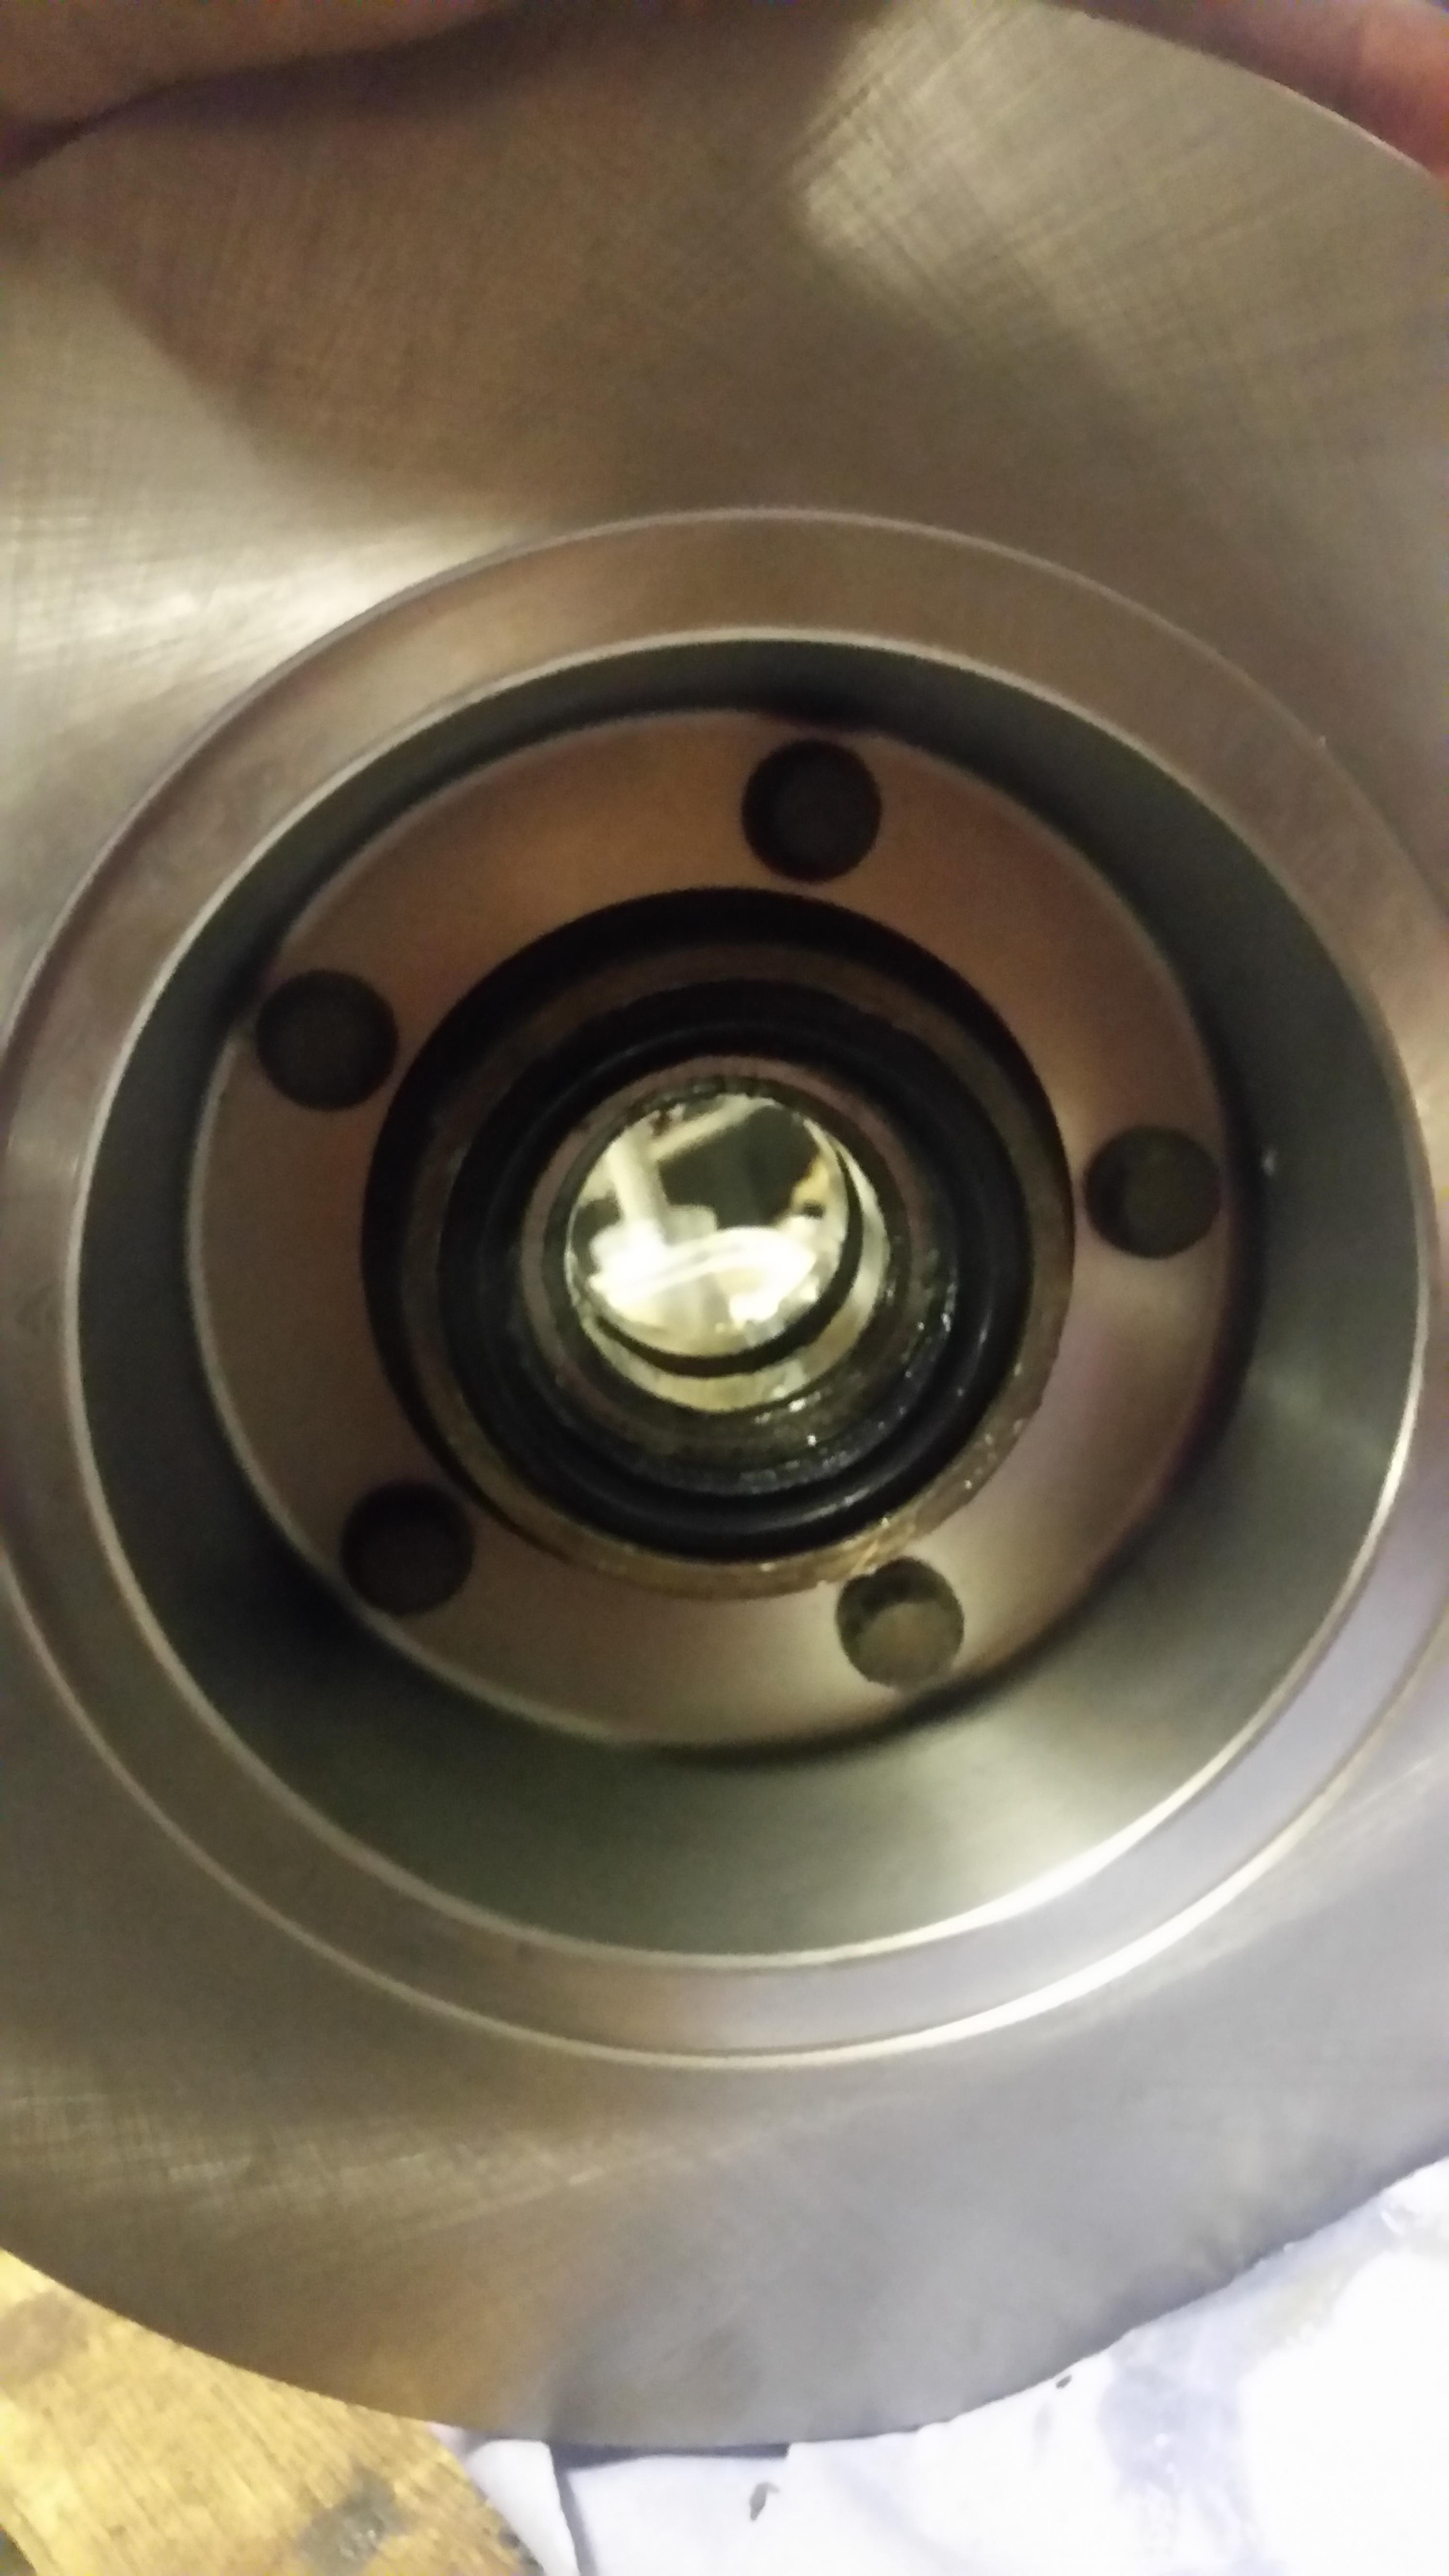
sorry for the photo quality - no light in this bit of the garage. Next goes the (re-used) spacer washer:

gBciFQT.jpg


Then the 1st hub nut (adjuster nut) done up hand-tight only... then back off a quarter of a turn according to the manual.

YFVZlzi.jpg


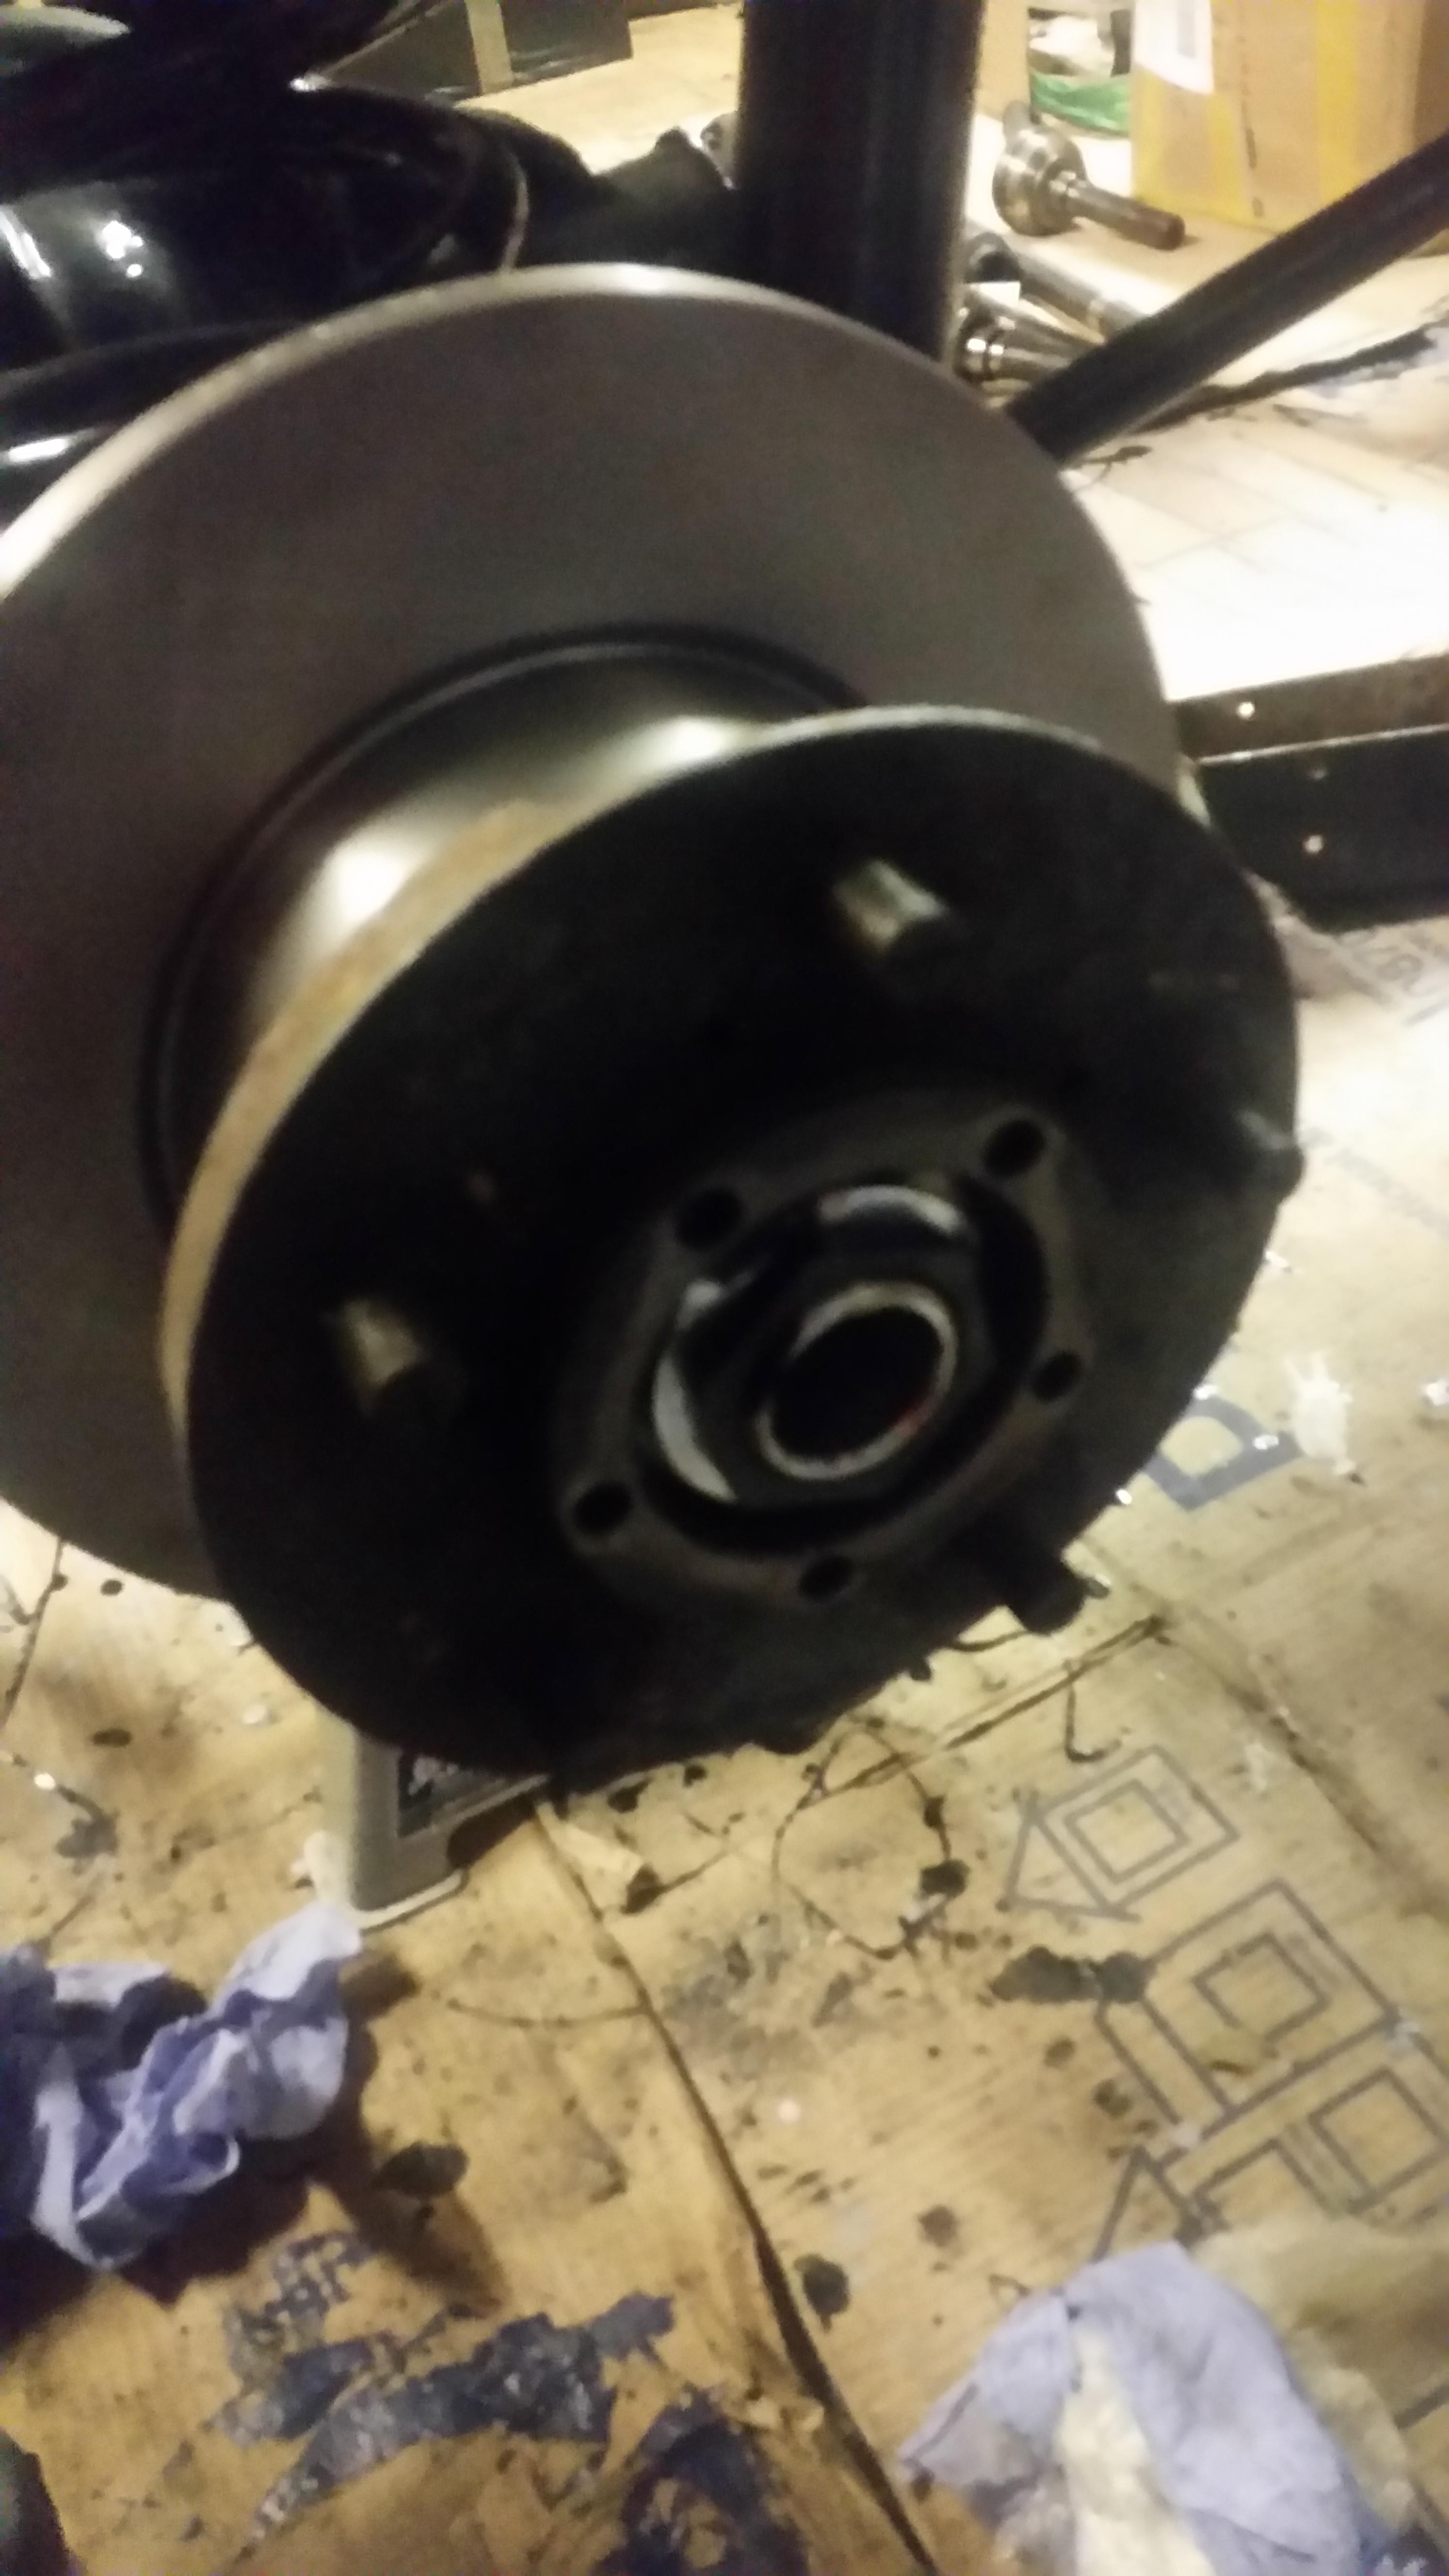
Then the lock washer and the final hub nut (lock nut), torqued up according to the book:

UVIB0K0.jpg


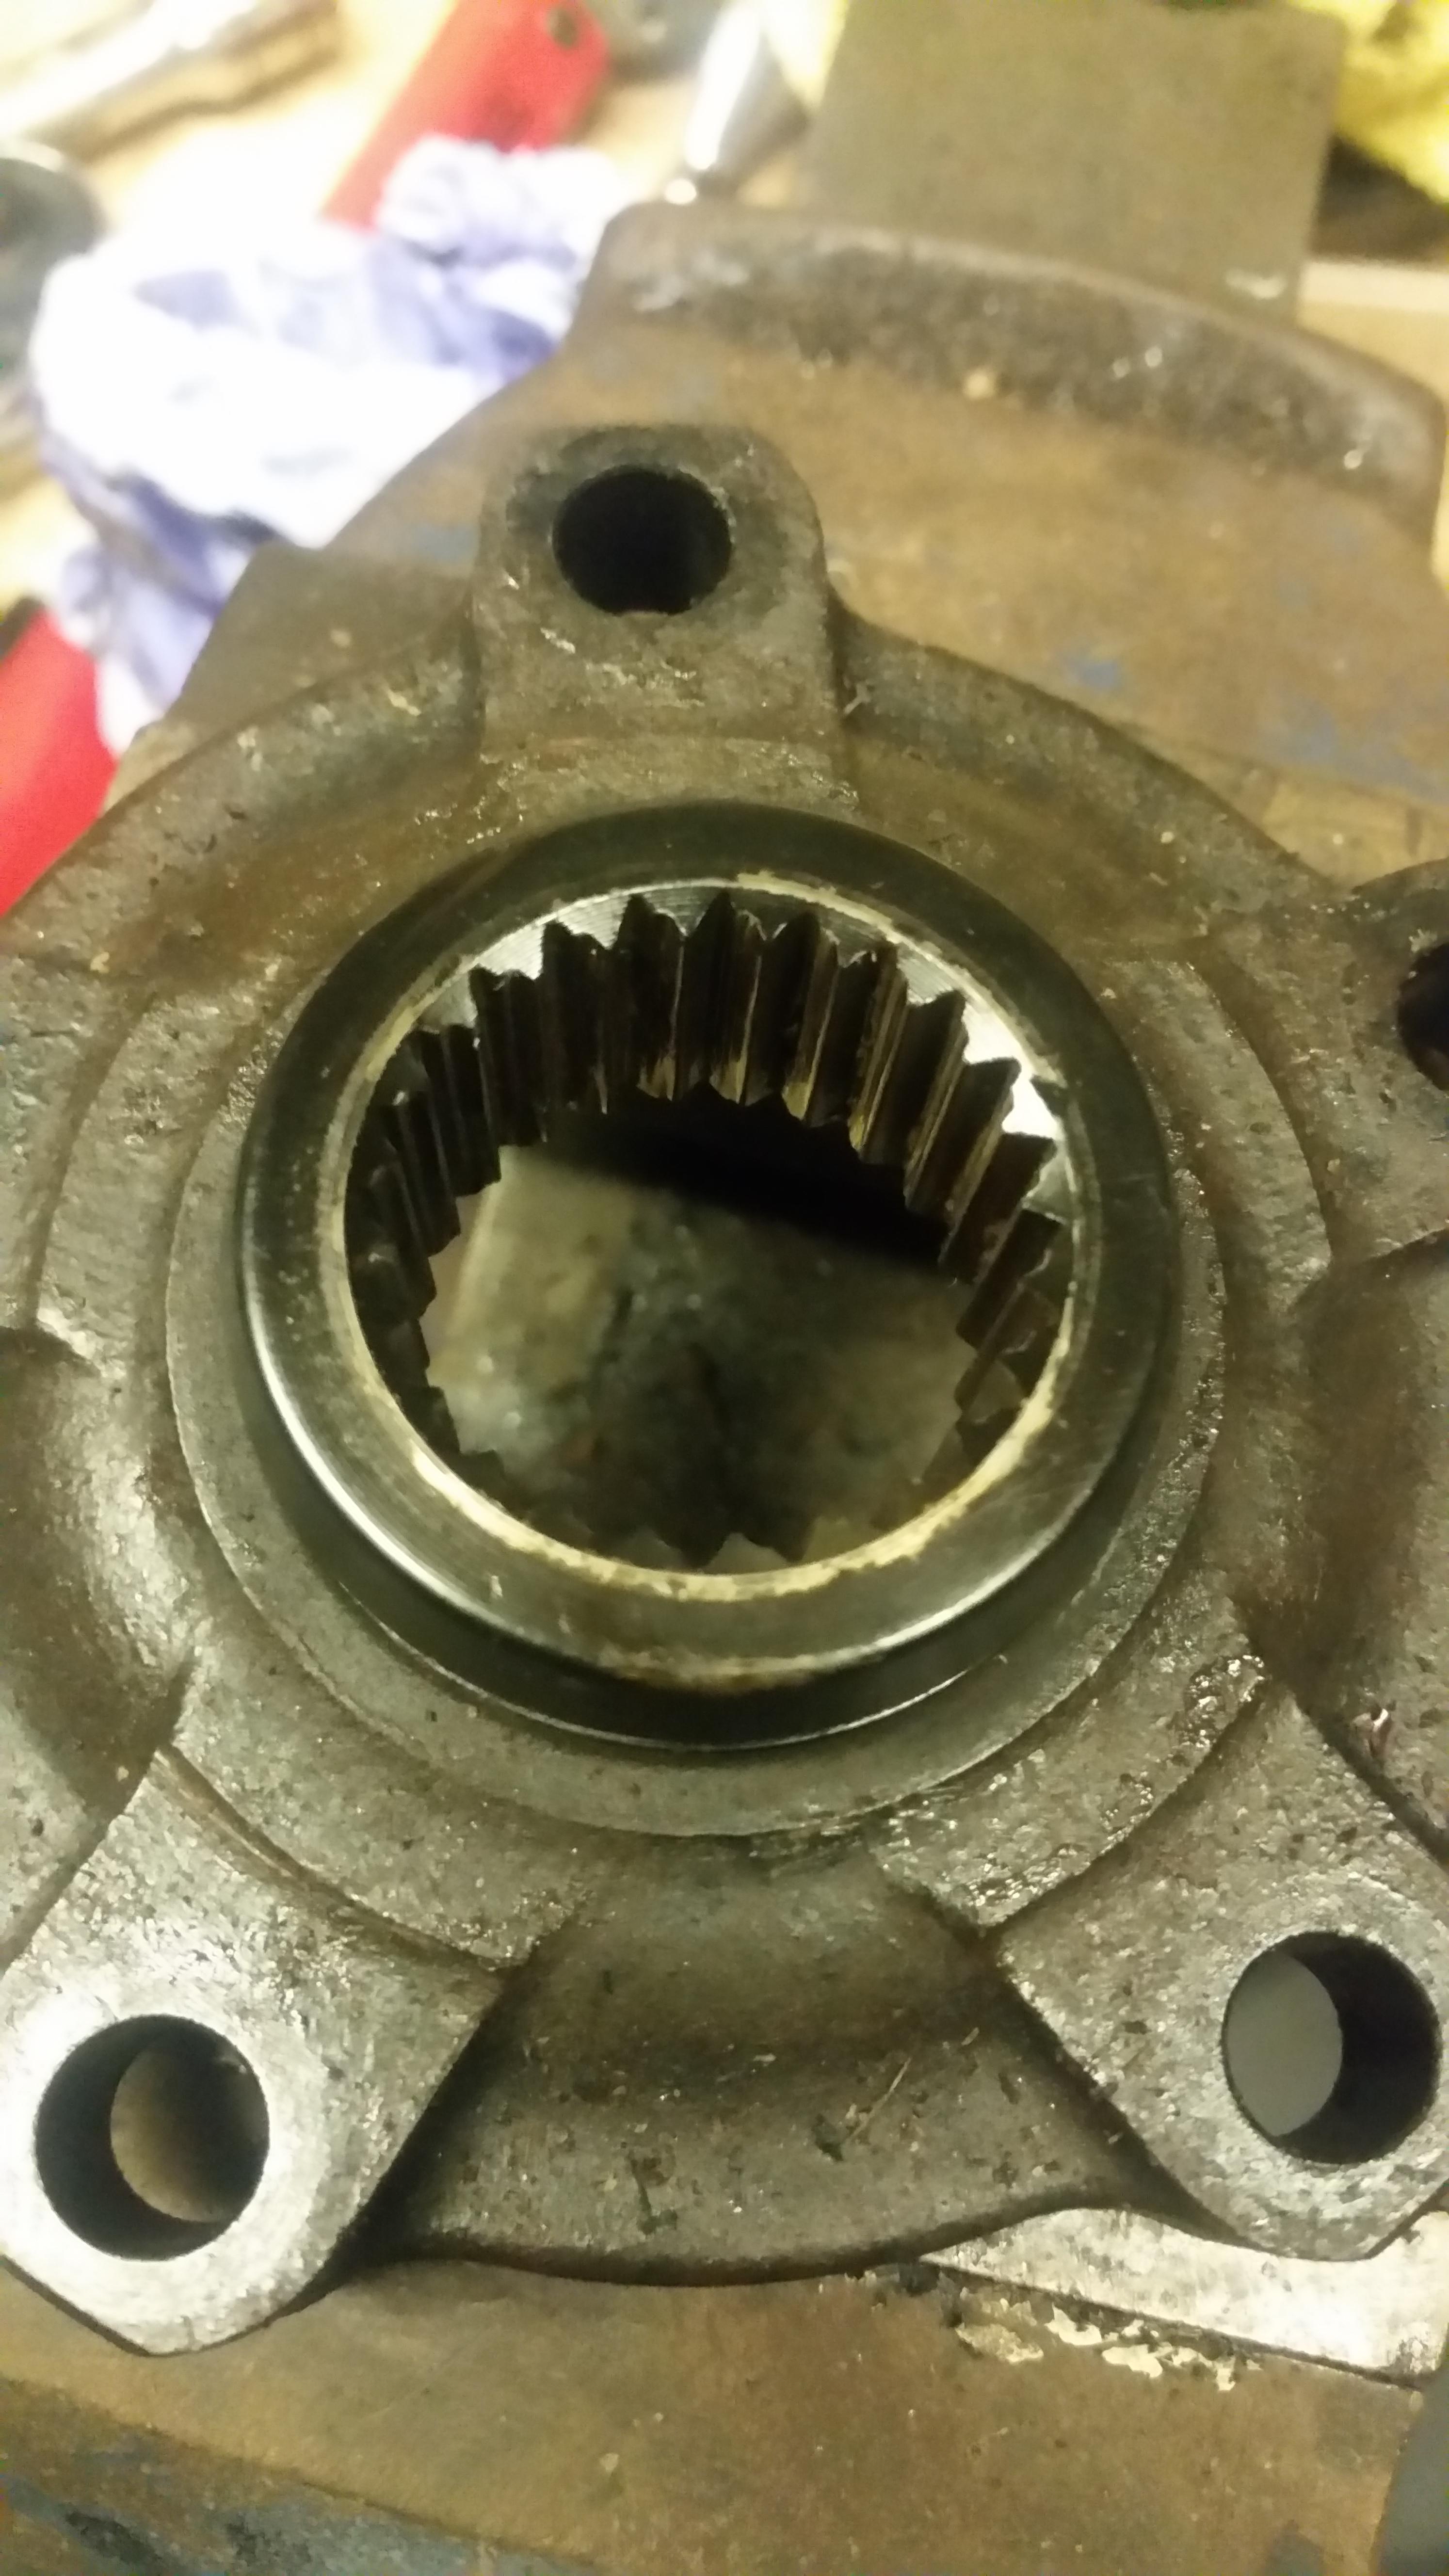
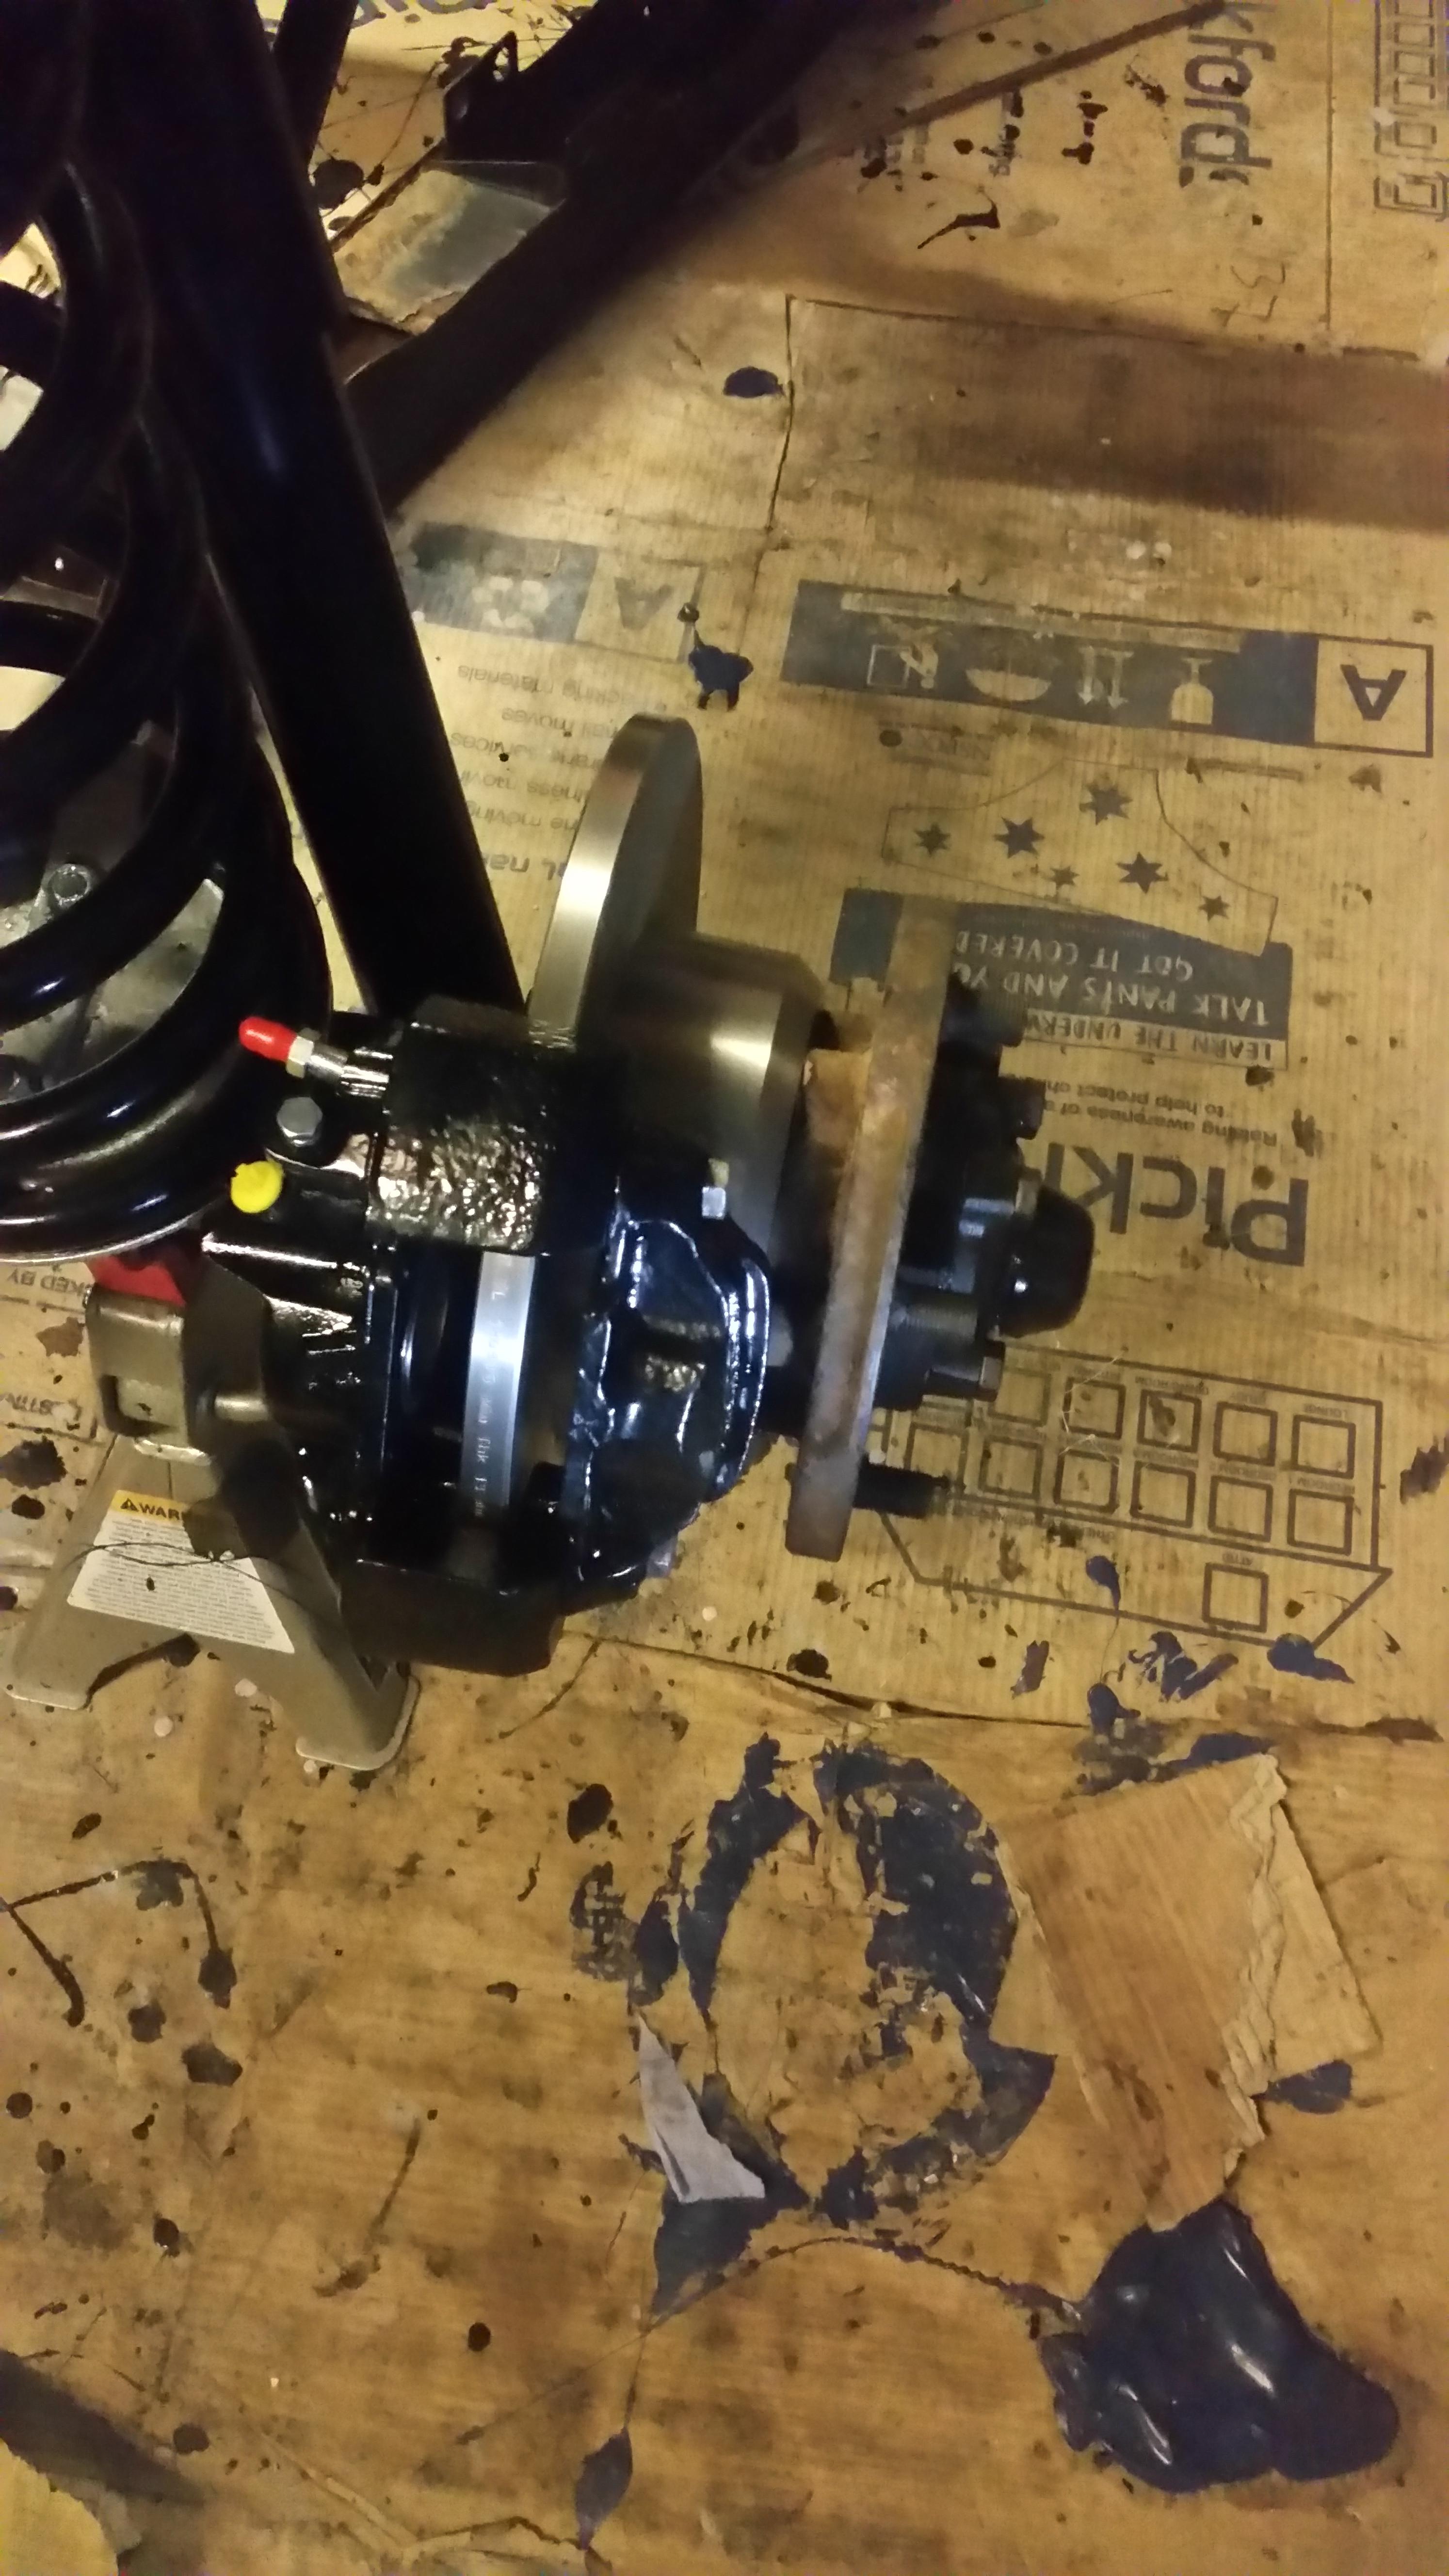
The on with the drive flange (again, gasket held with a smear of grease):
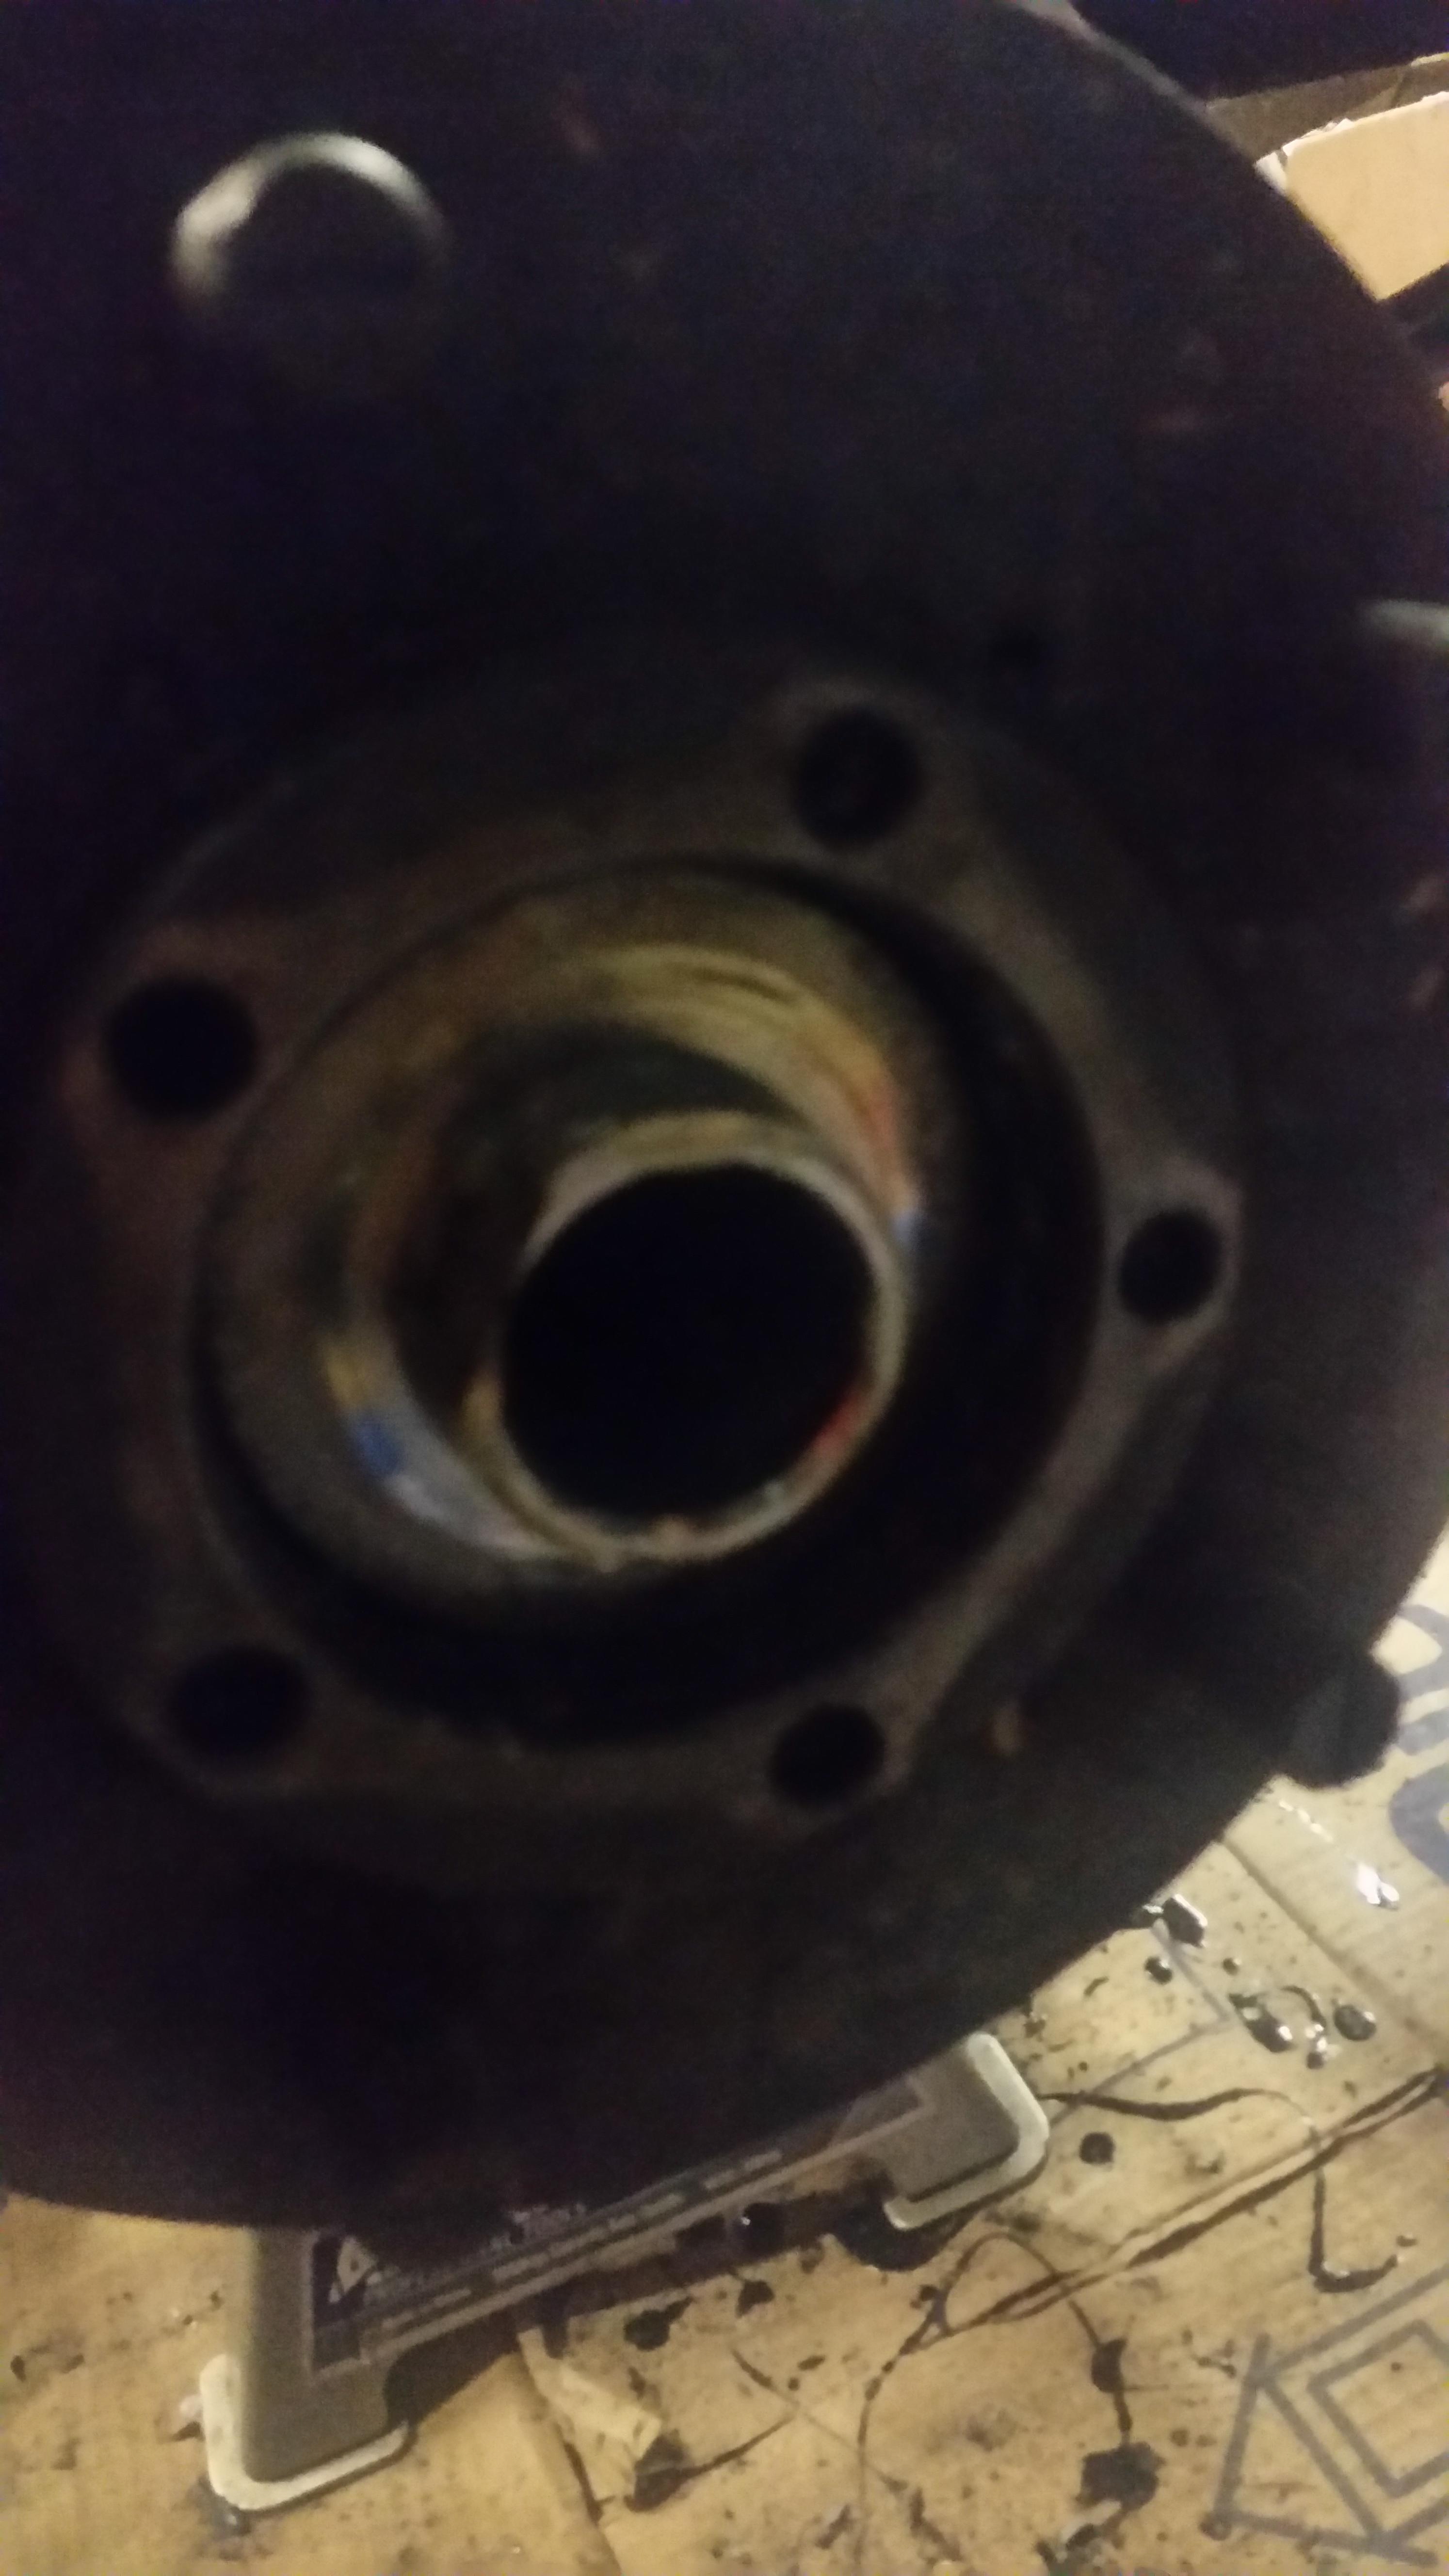
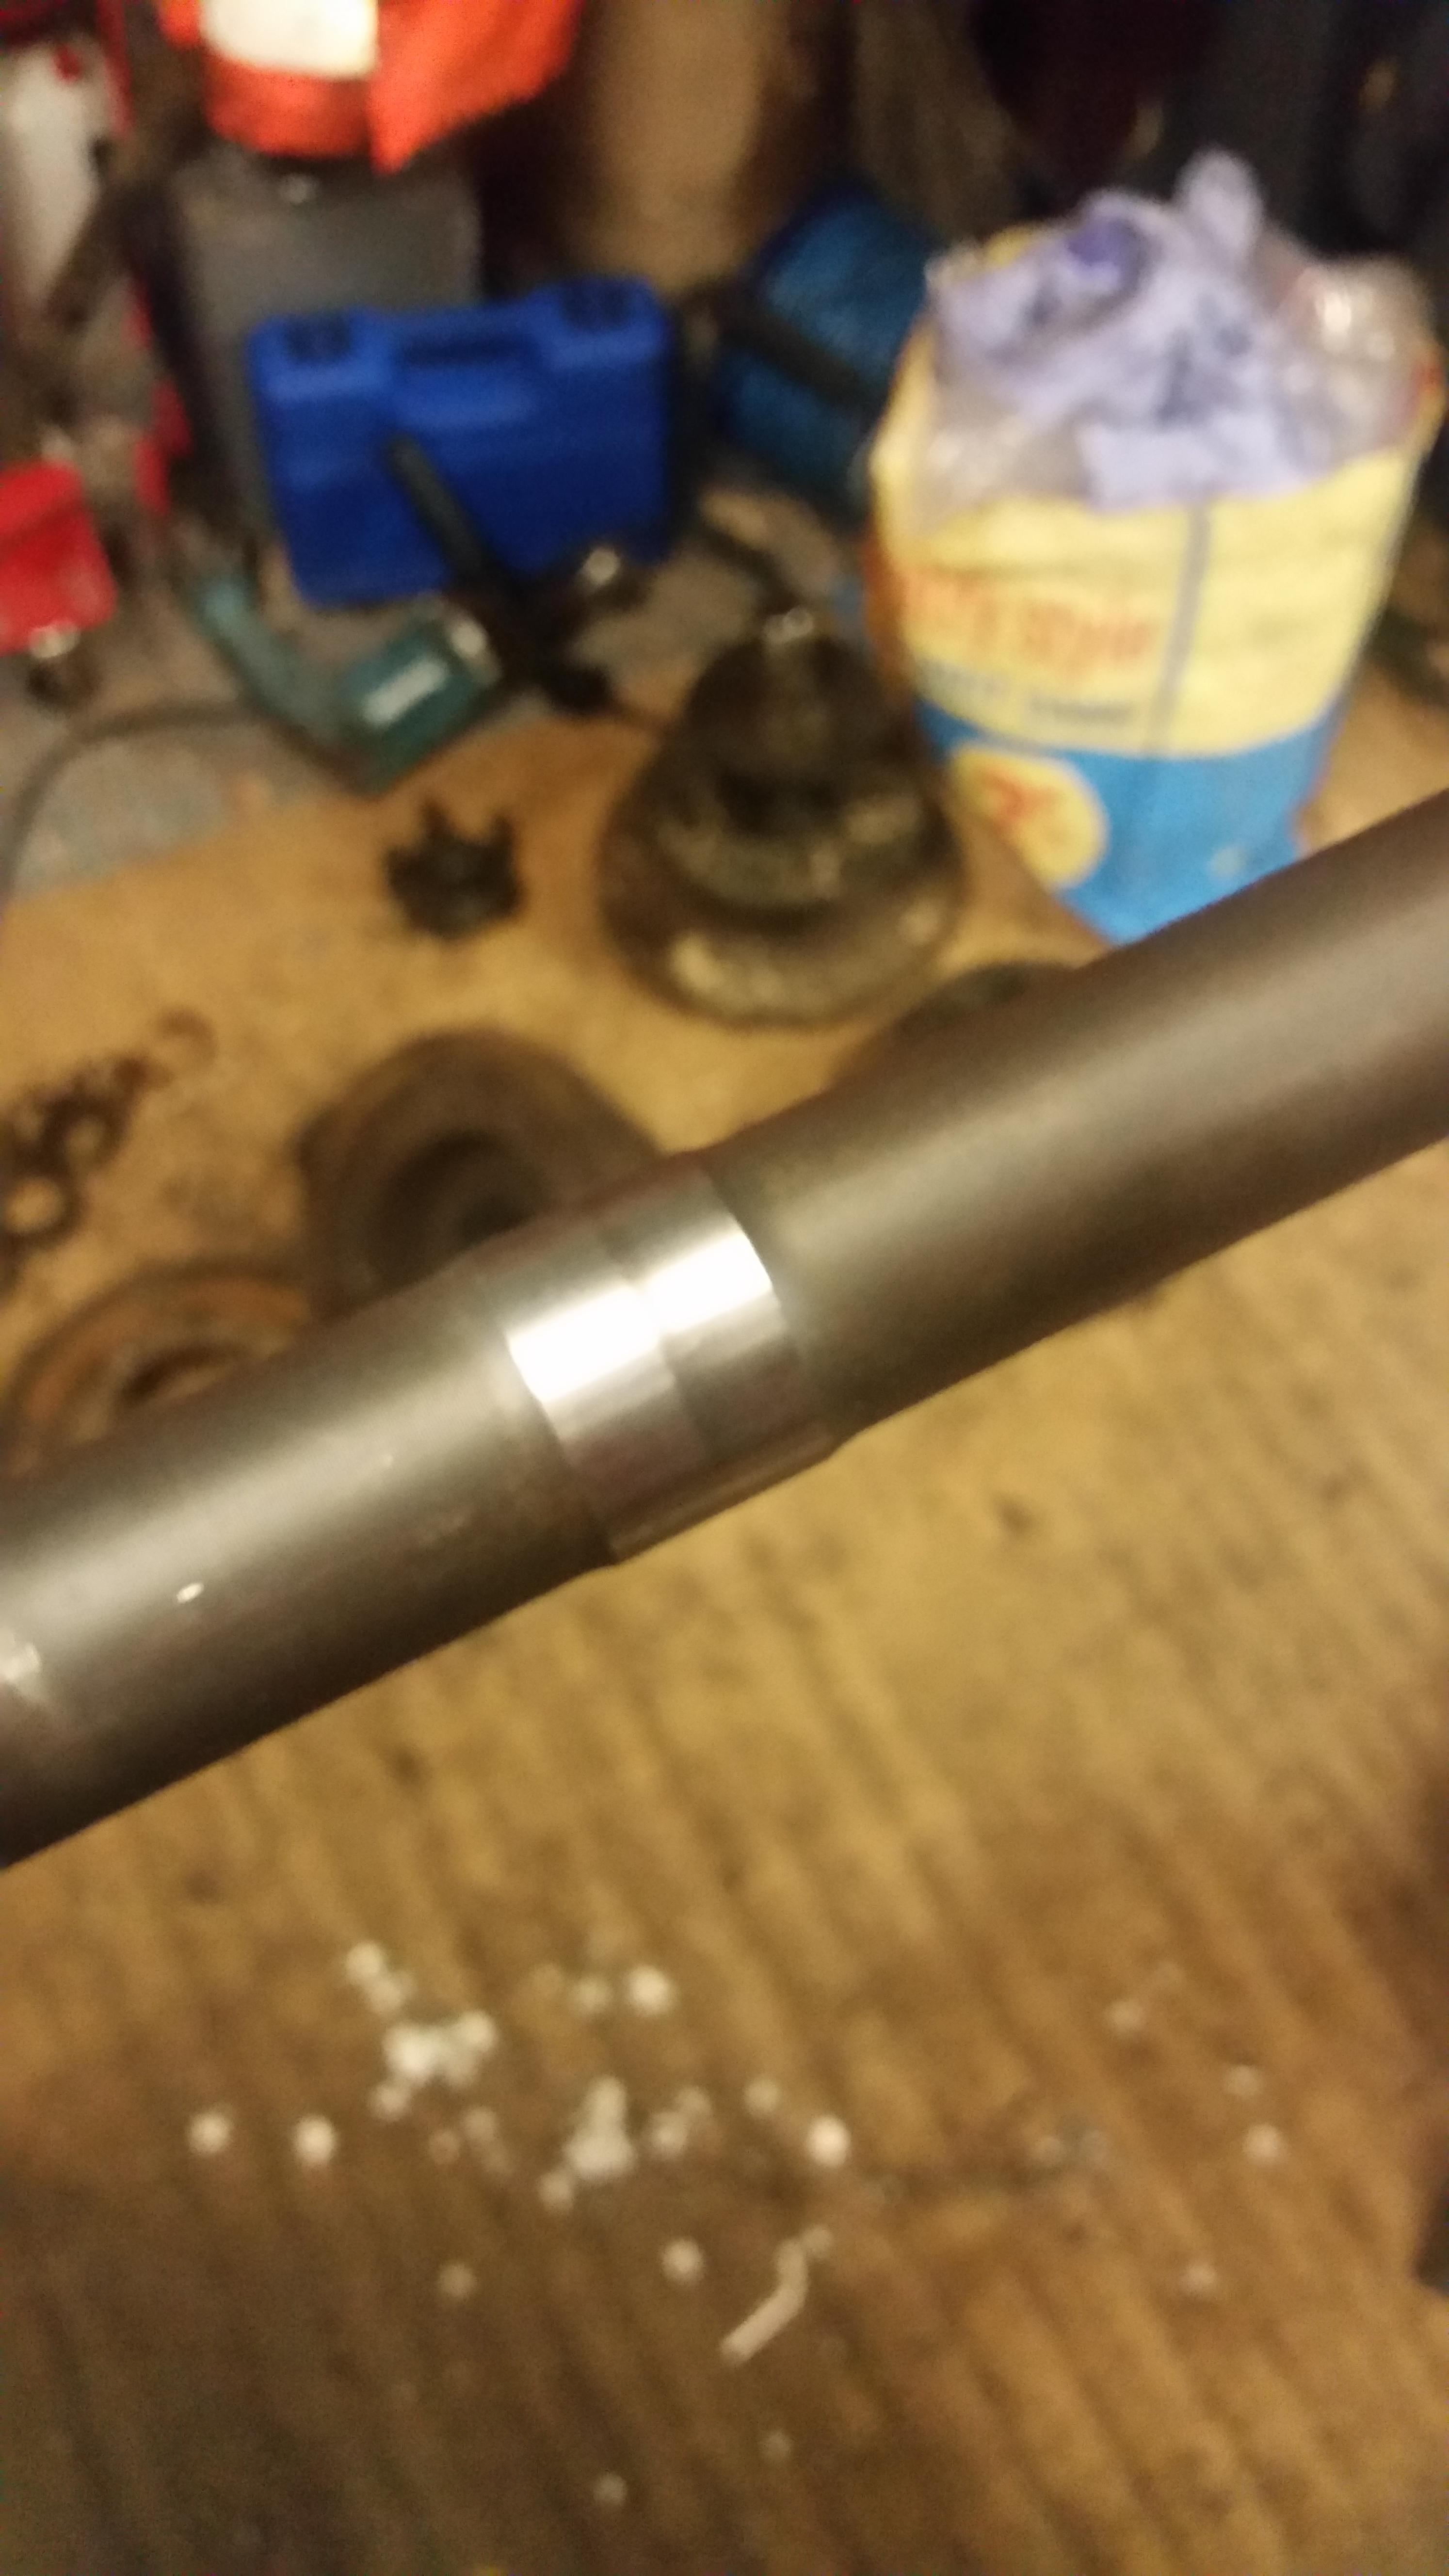
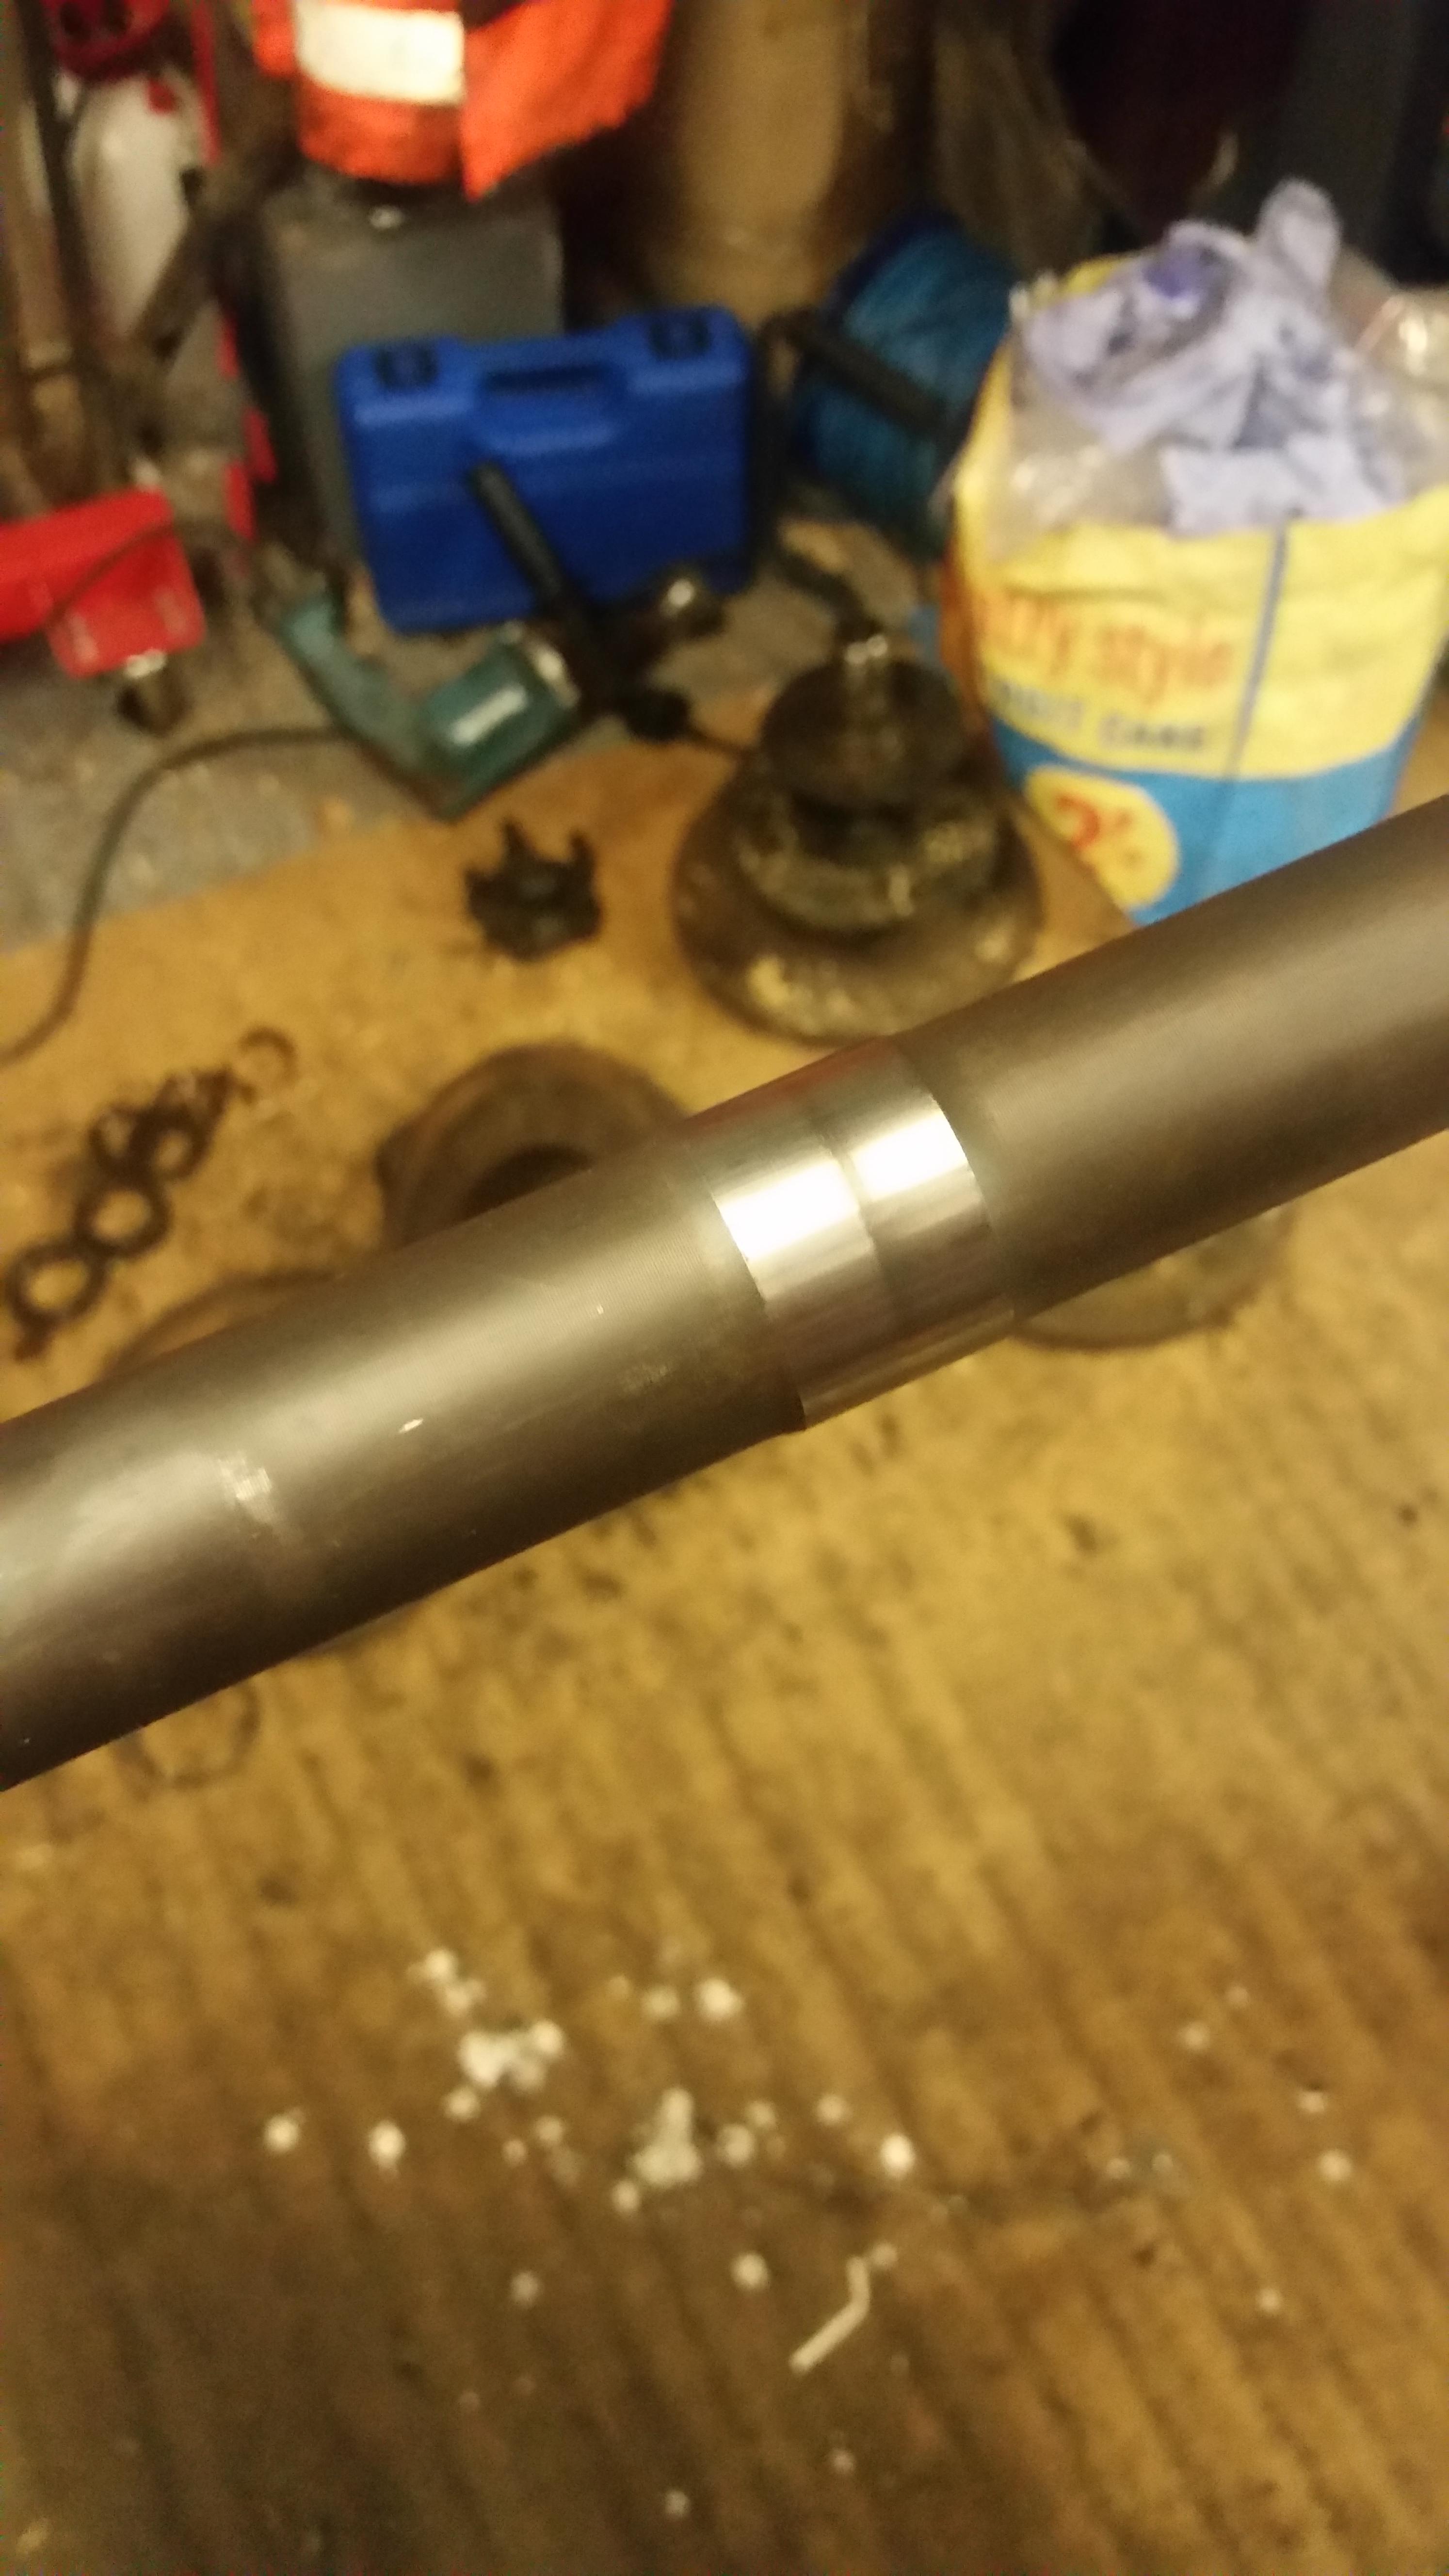
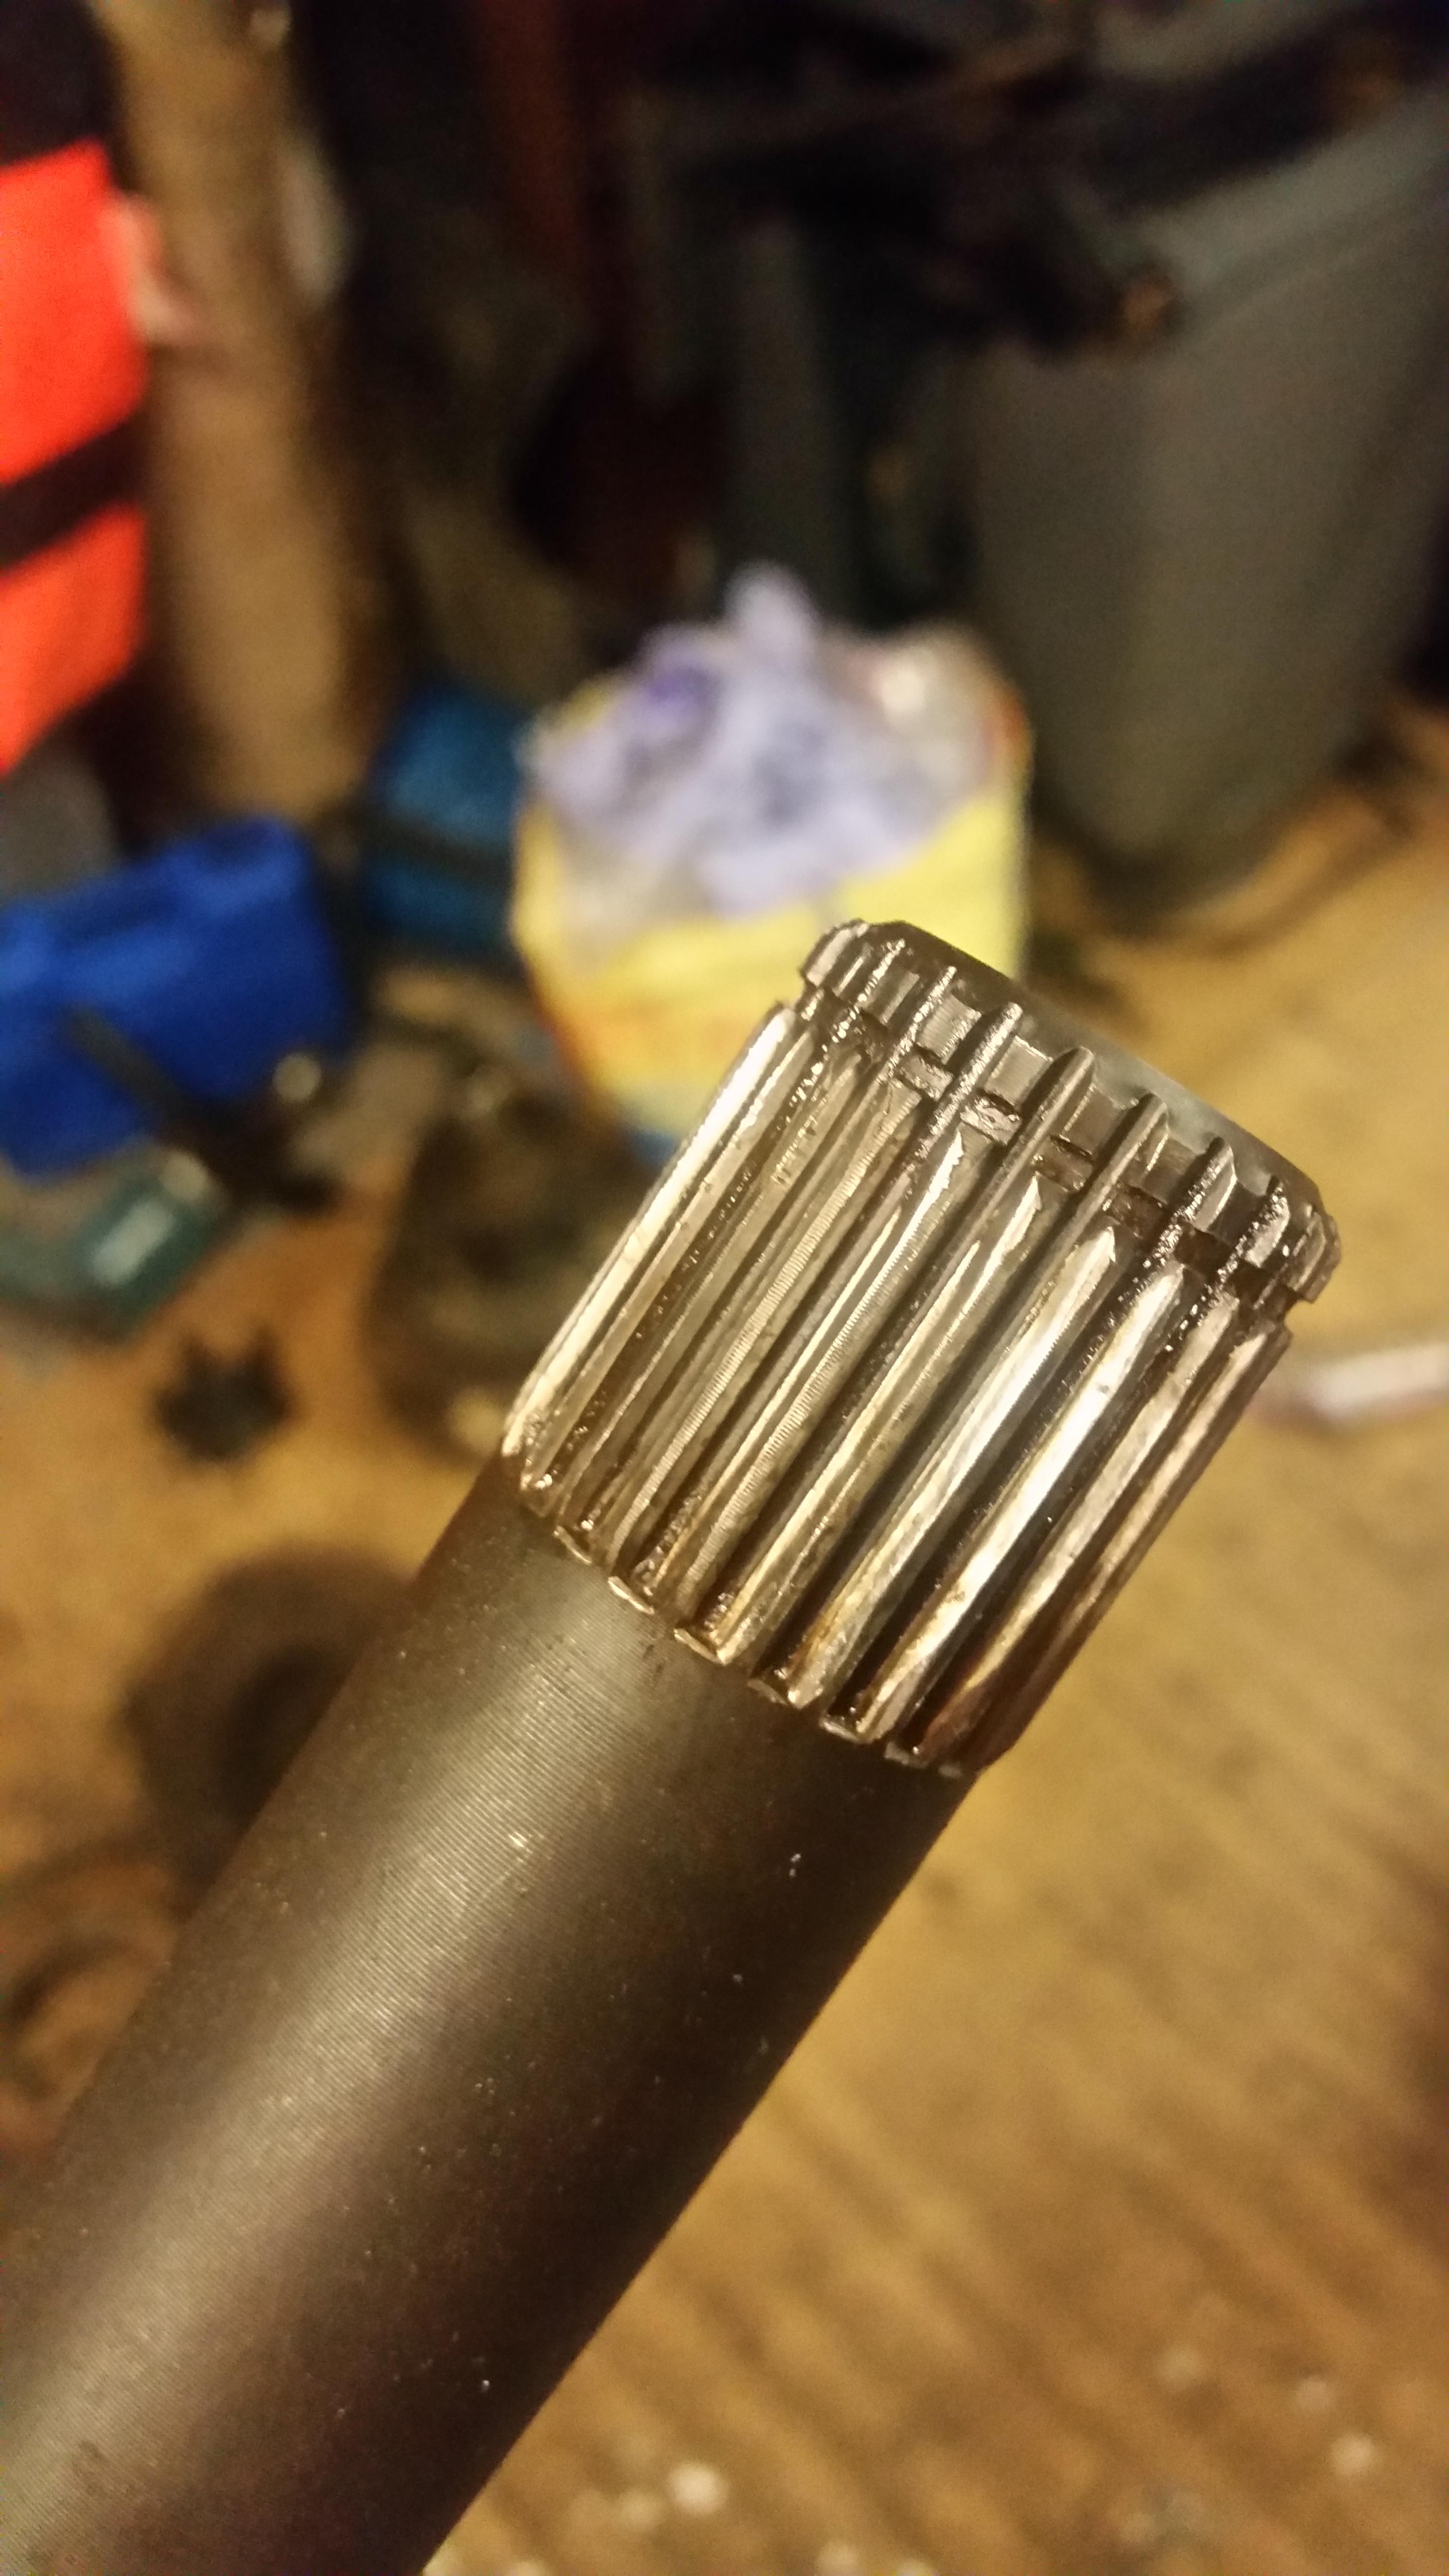
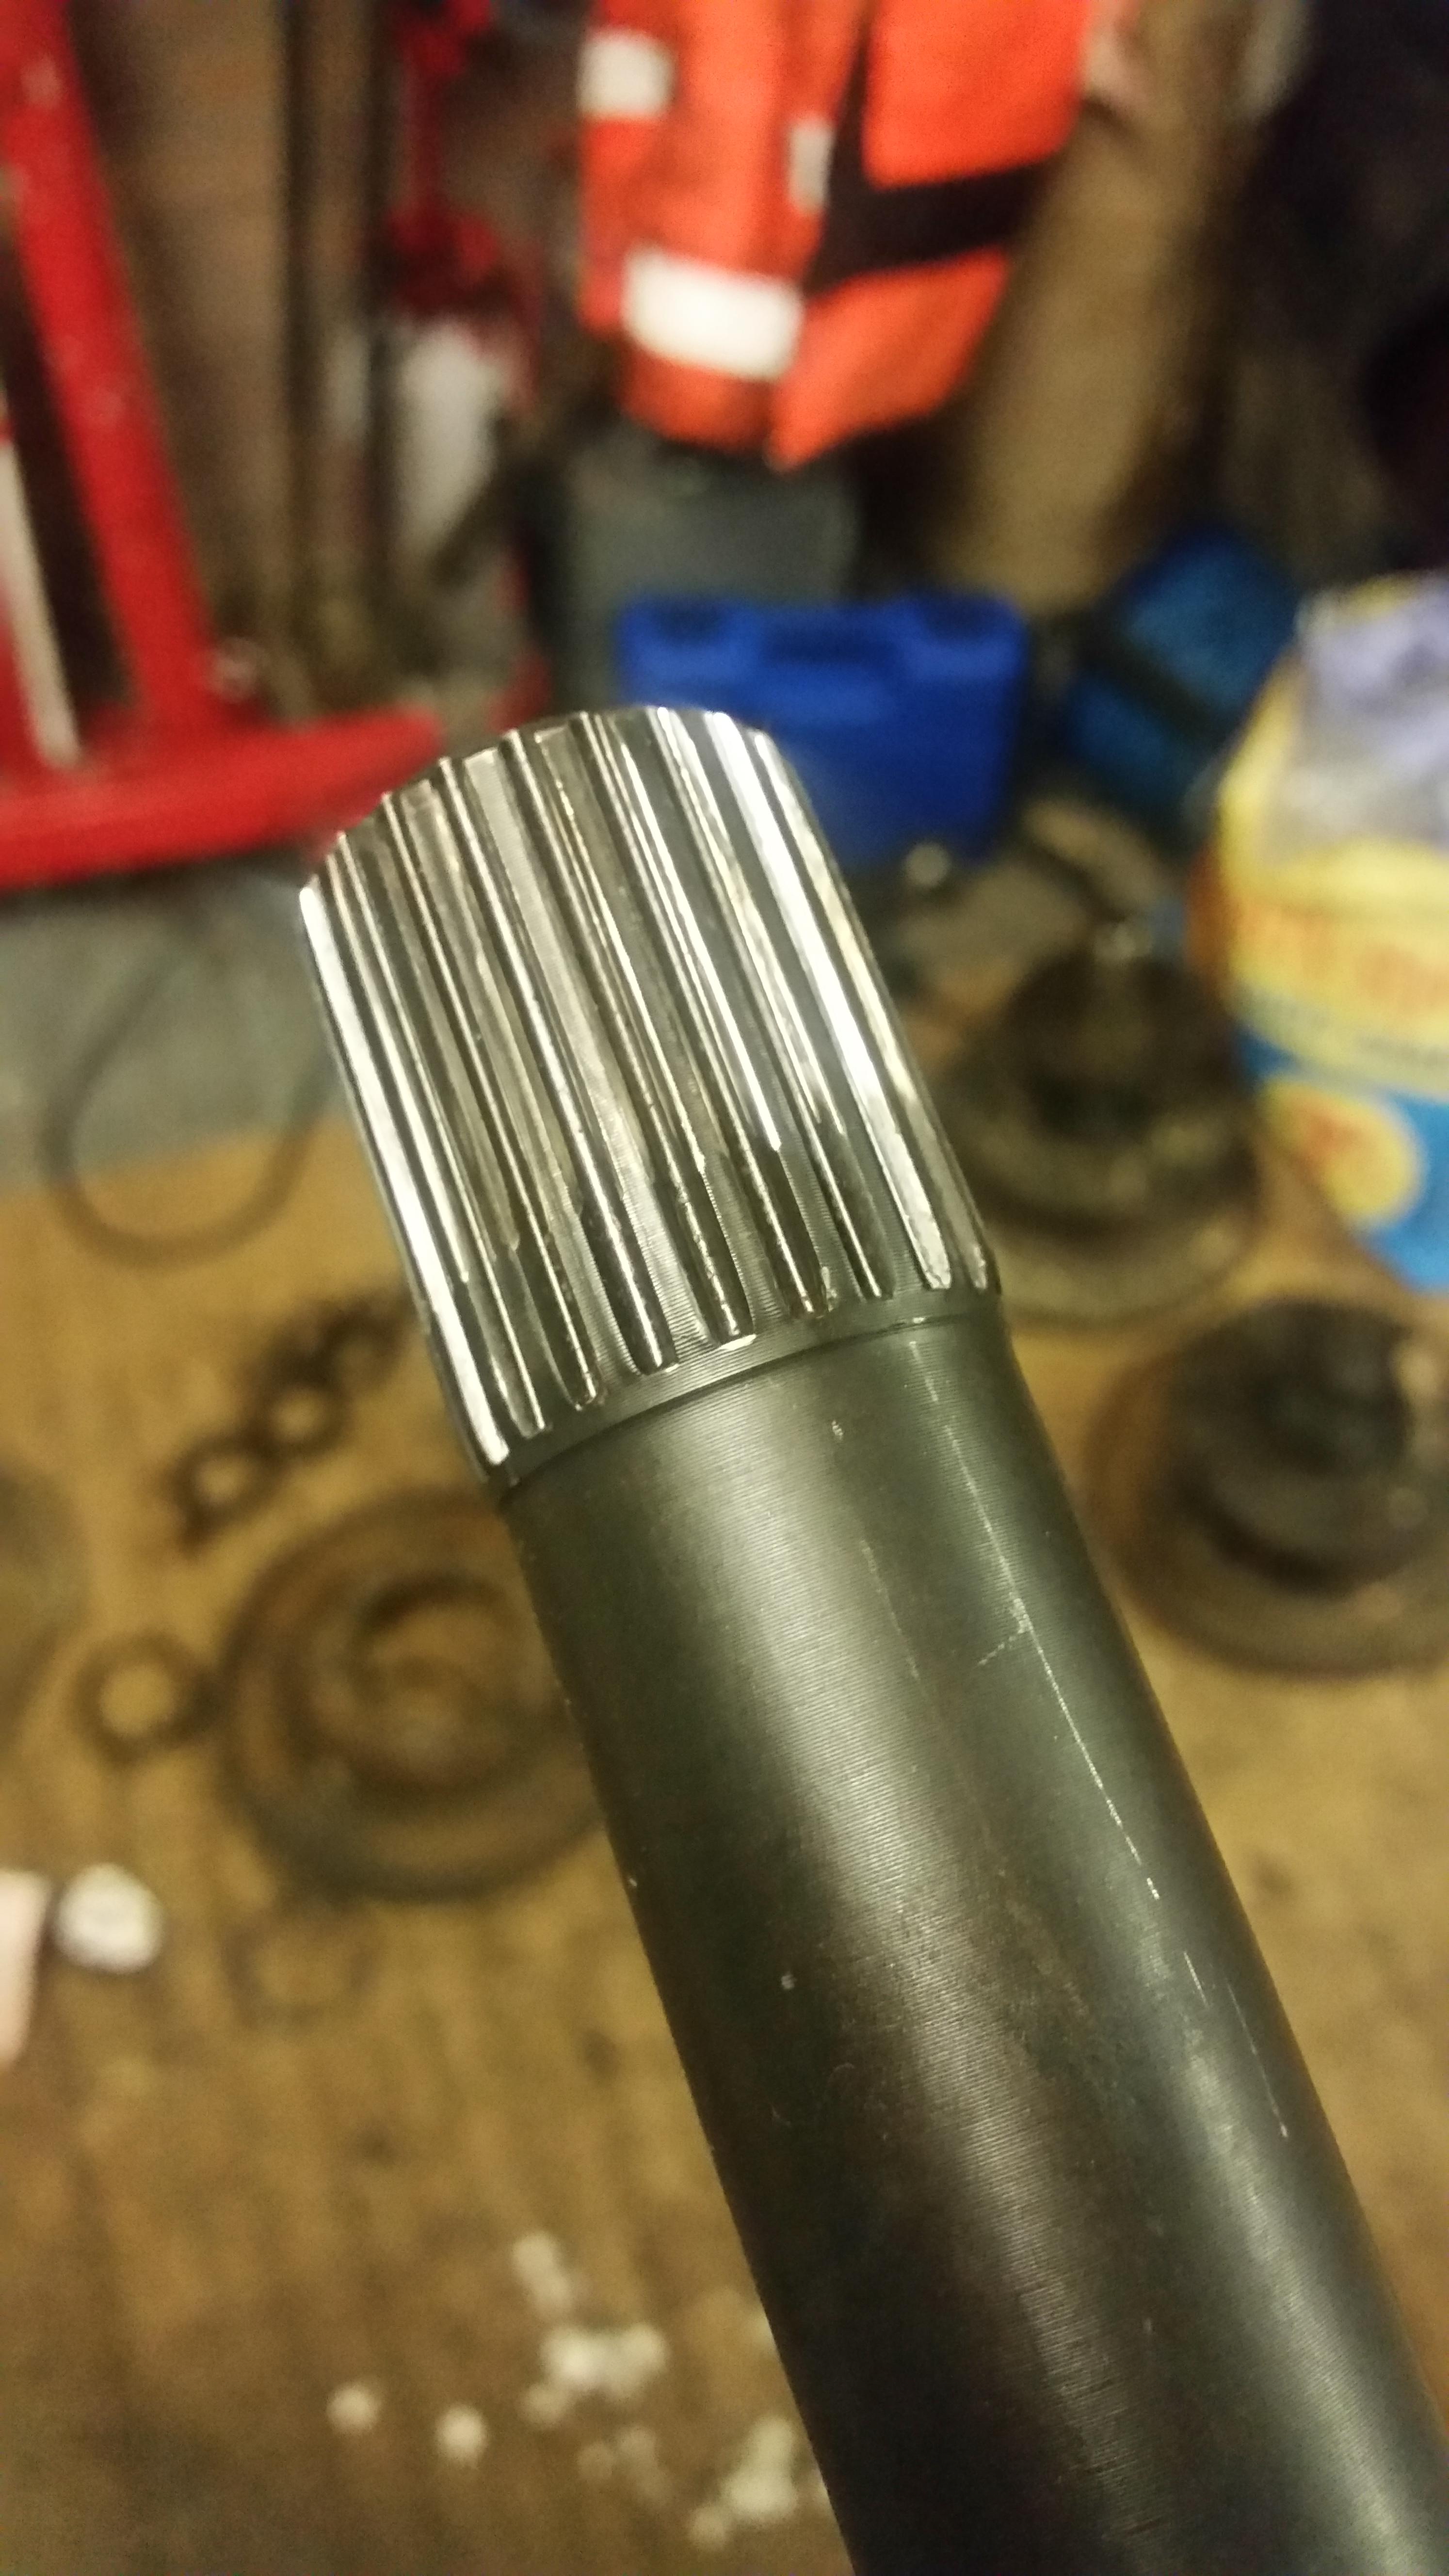
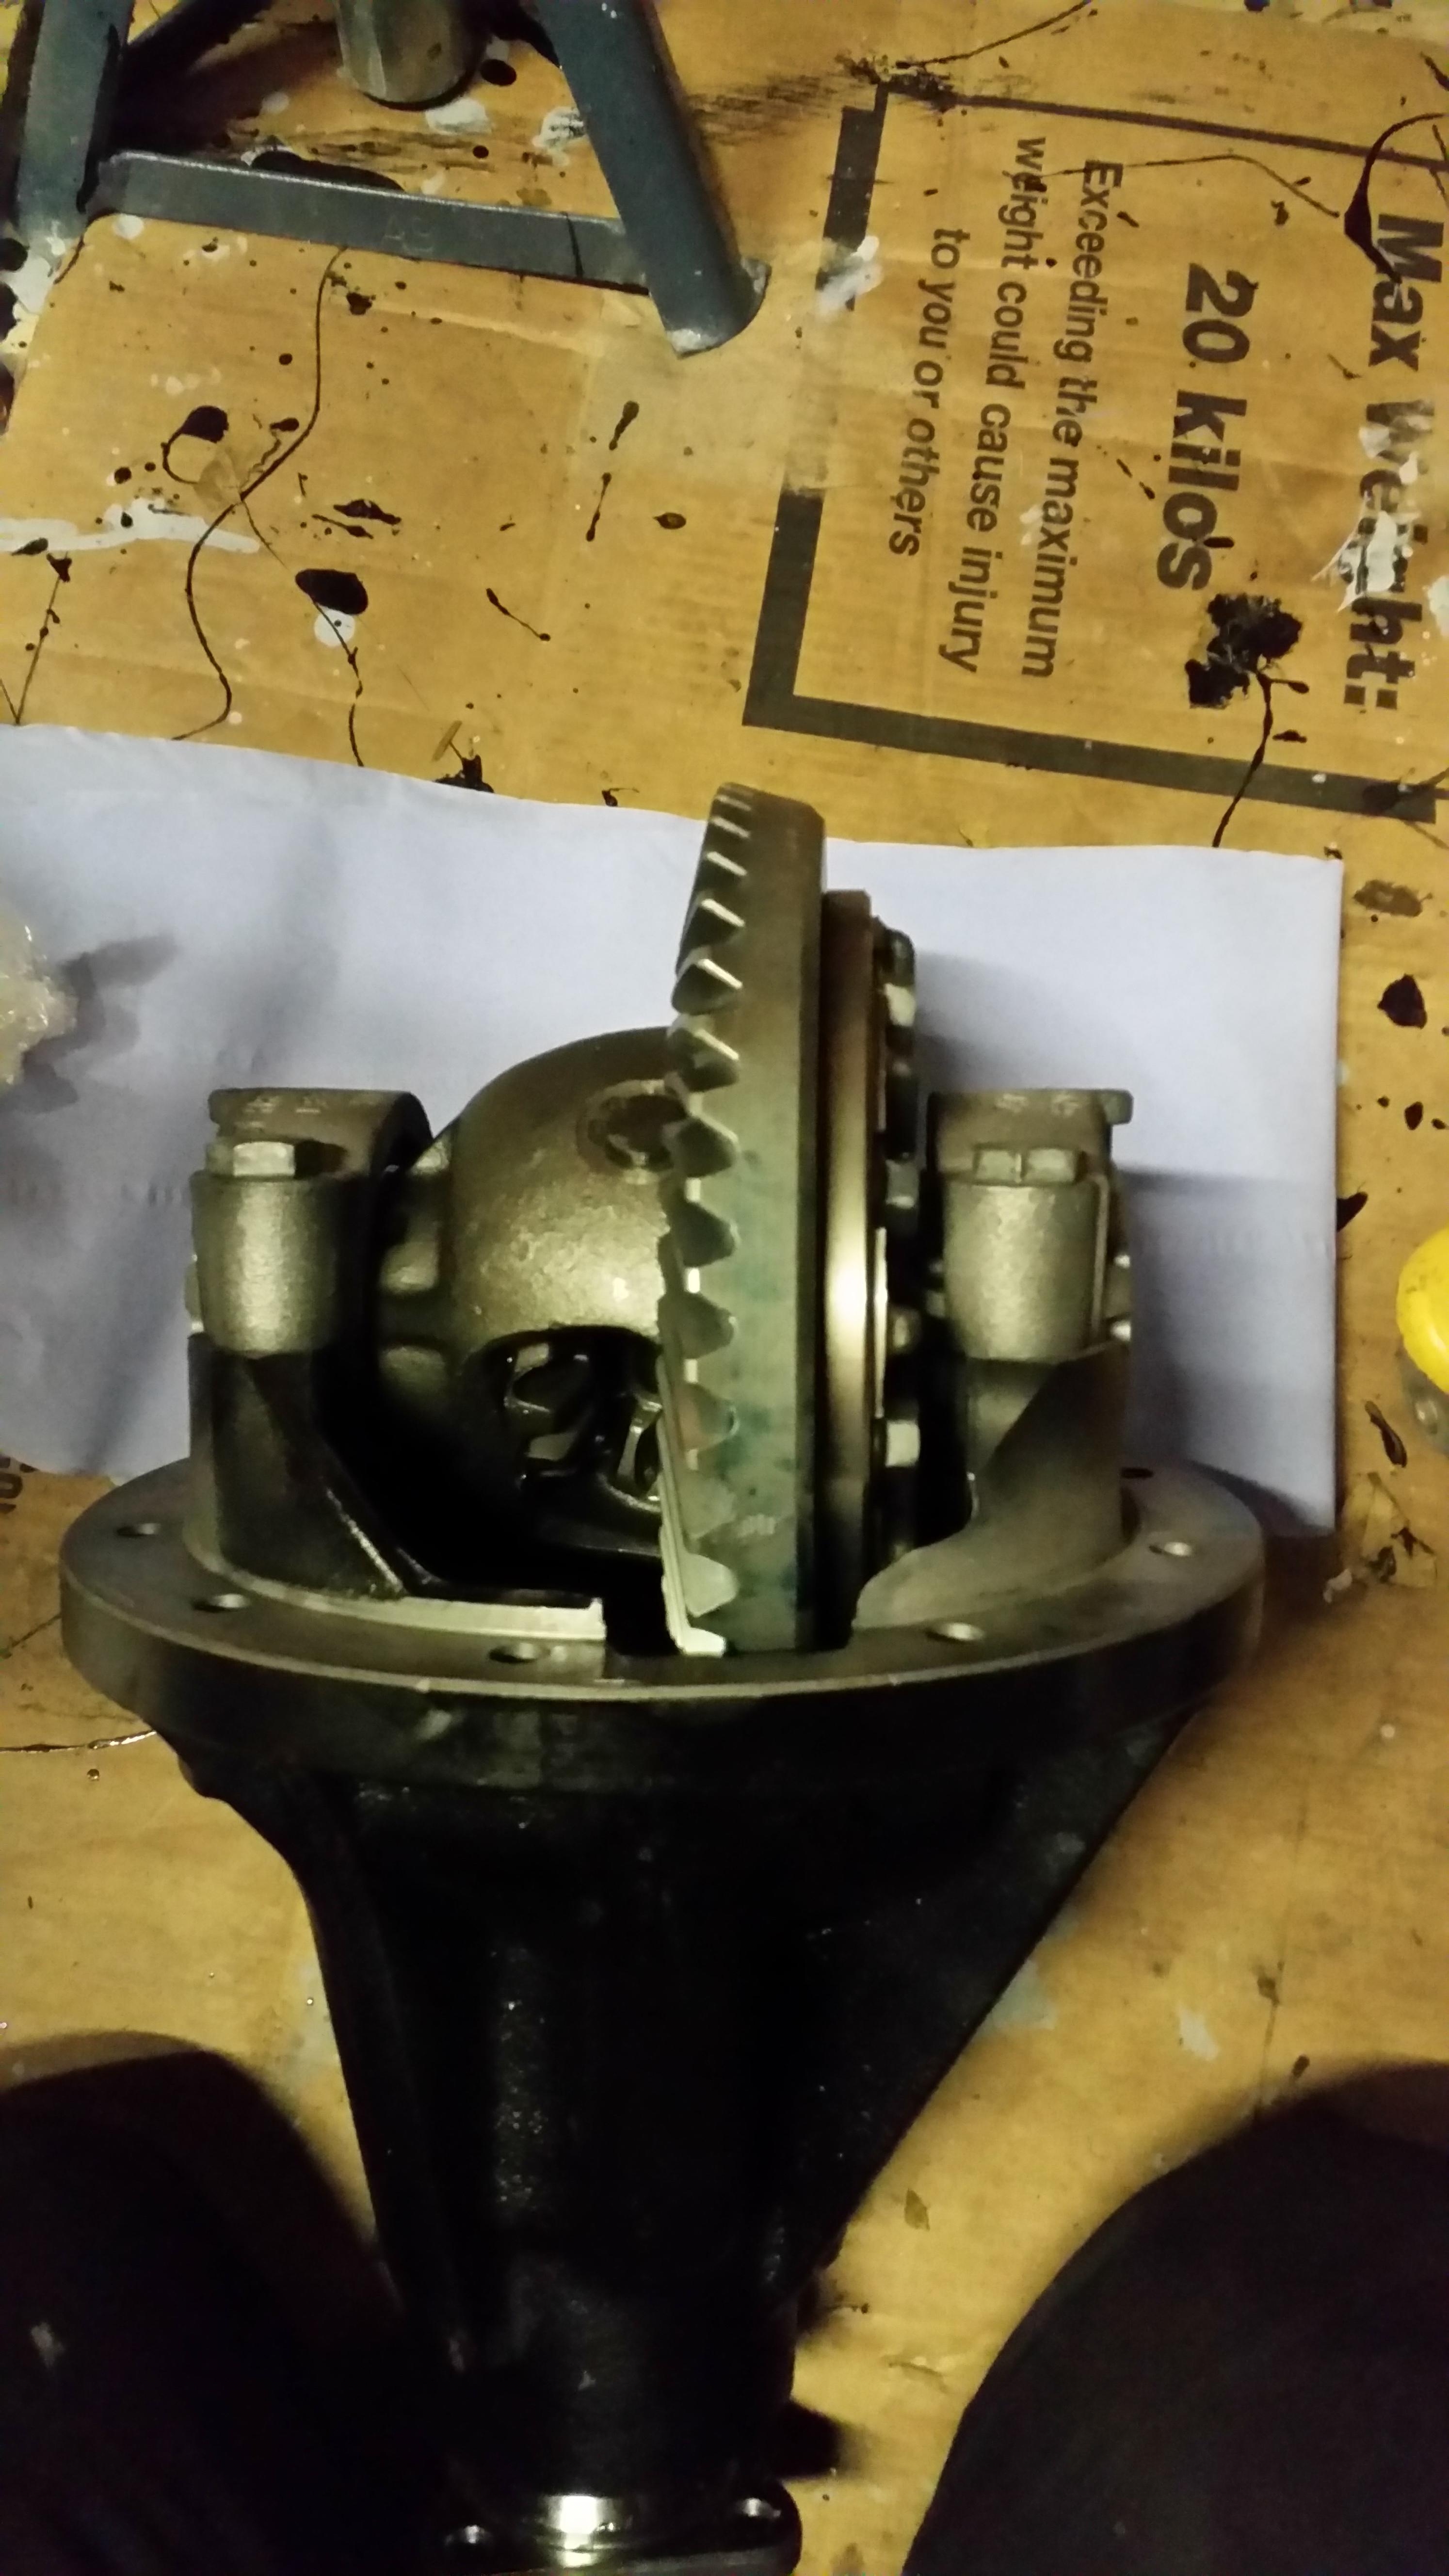
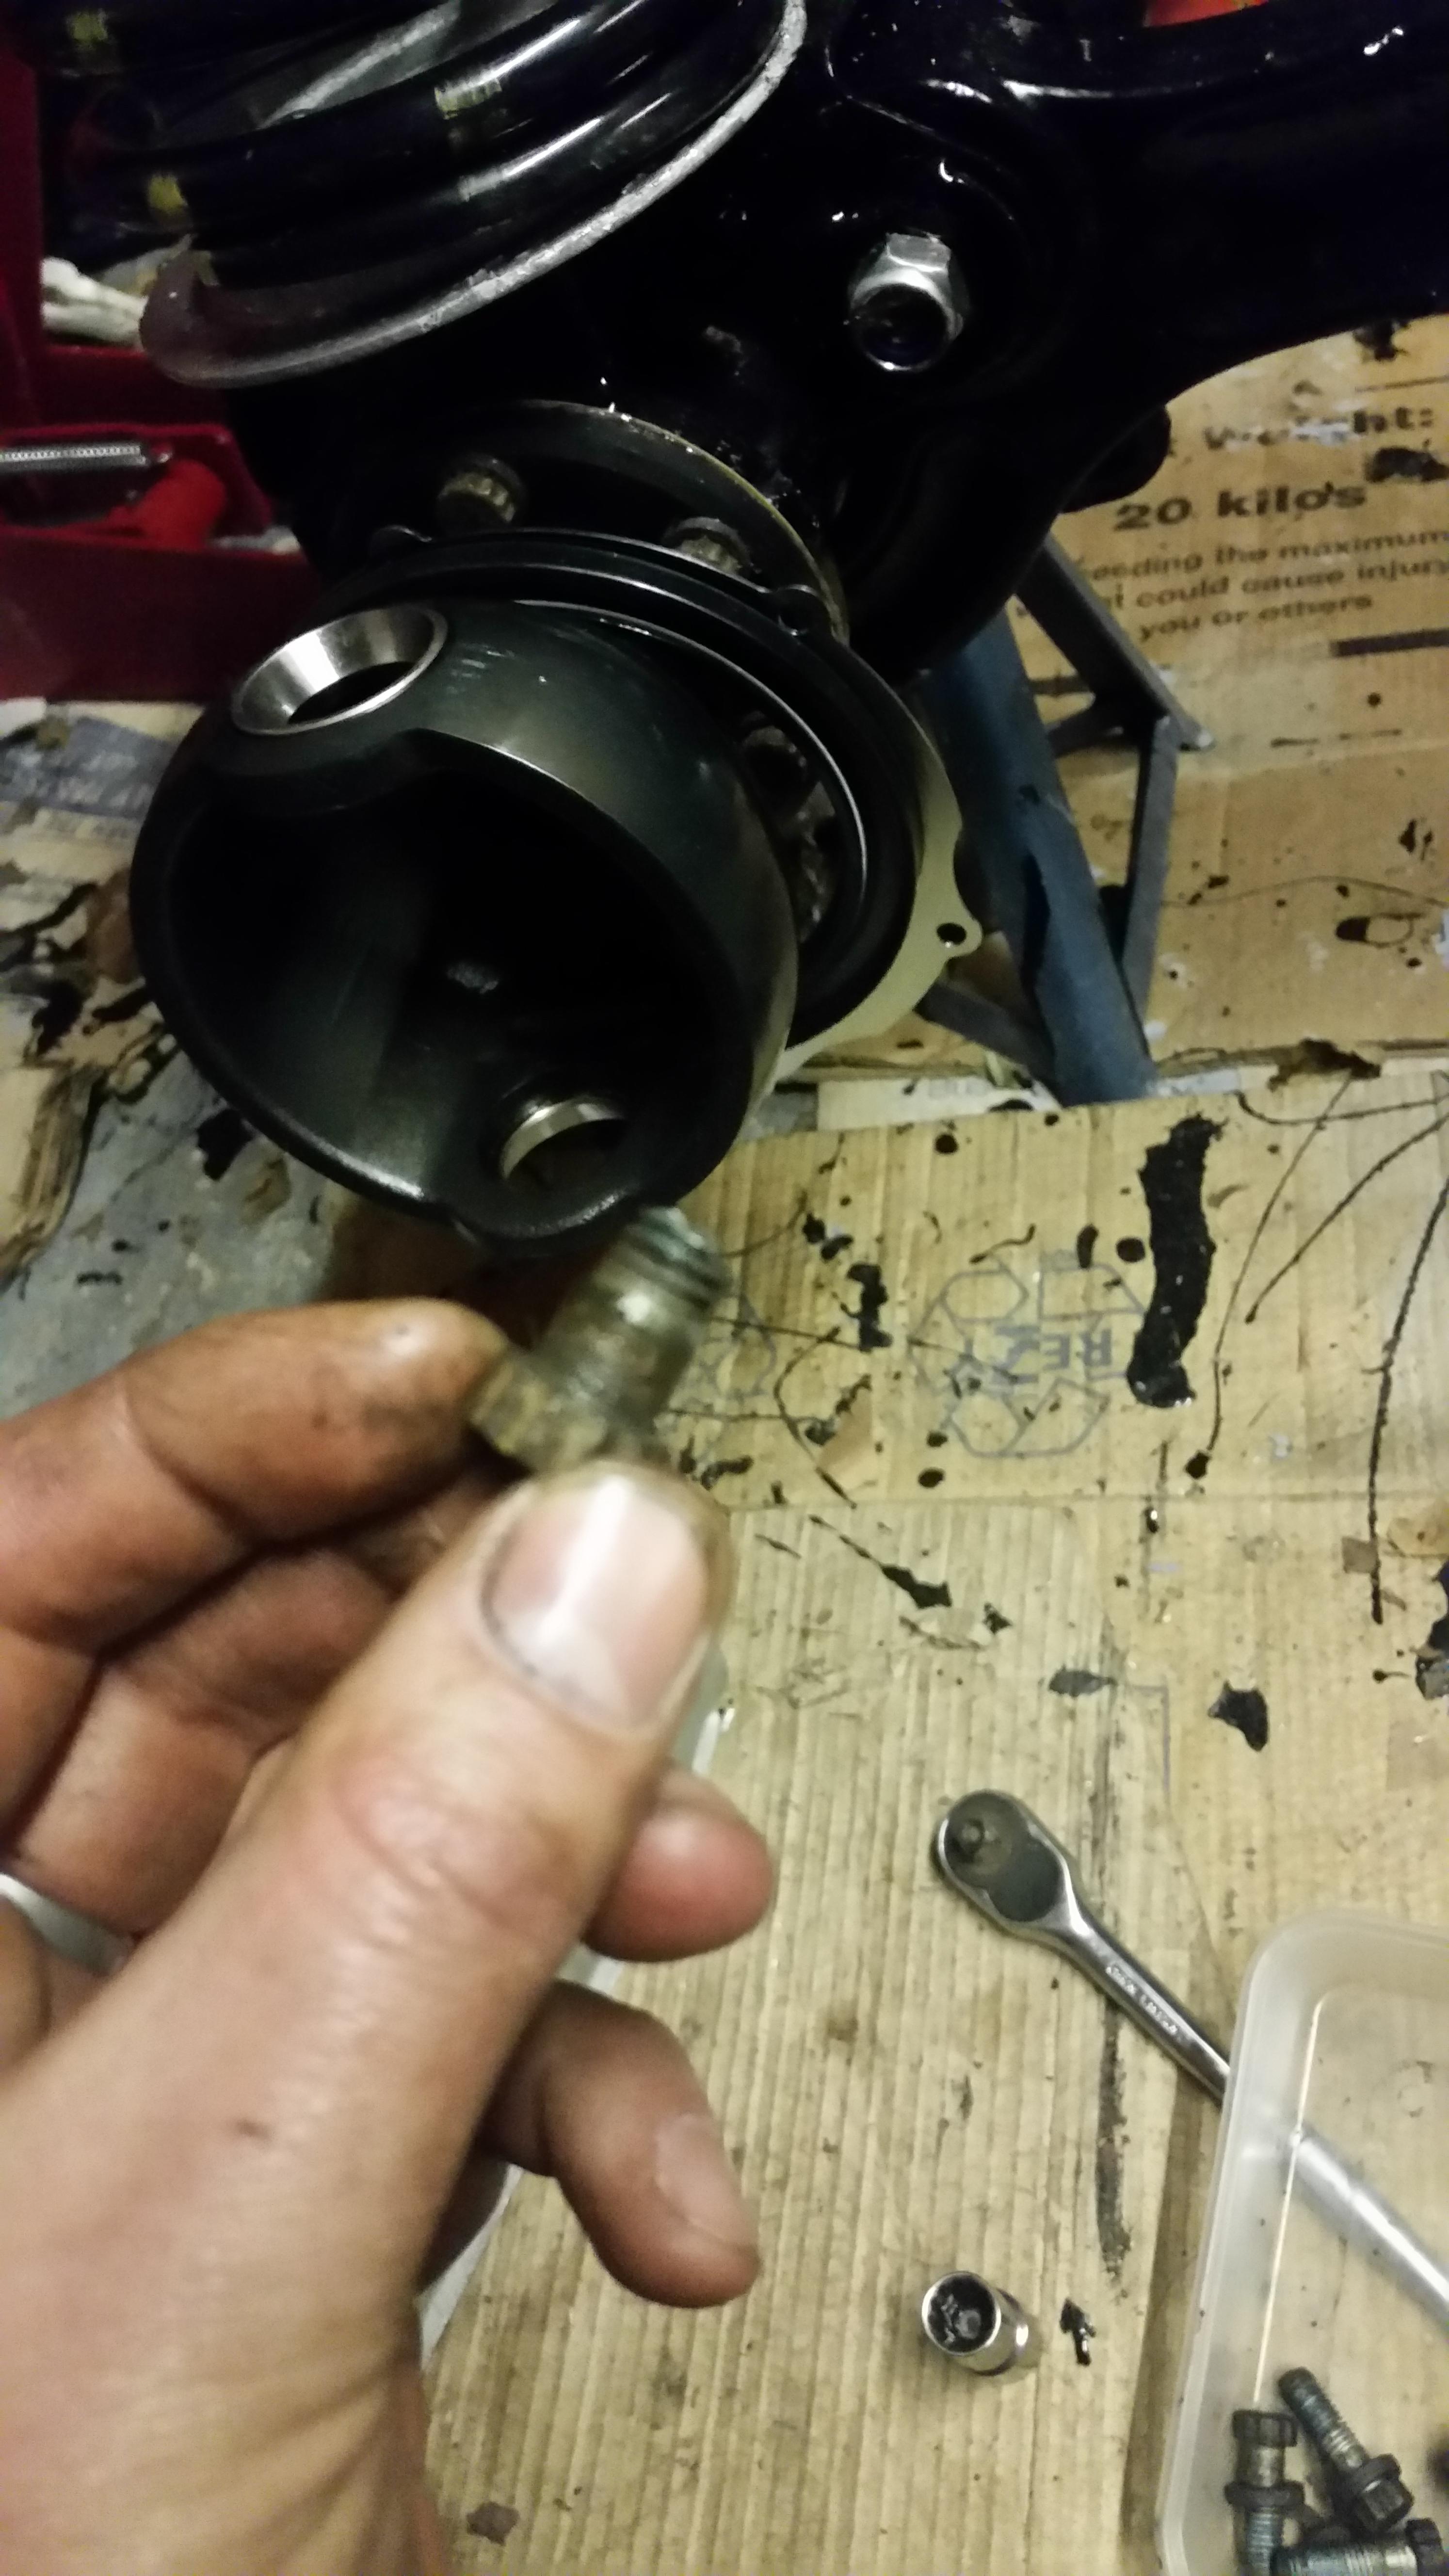
dm6L57B.jpg


******

wanna see my shaft?

nJO13AY.jpg


AxGjxdM.jpg


nGxrIxh.jpg


alrZUXf.jpg


I've re-used it for now, but perhaps it's worn enough to warrant new ones?

******

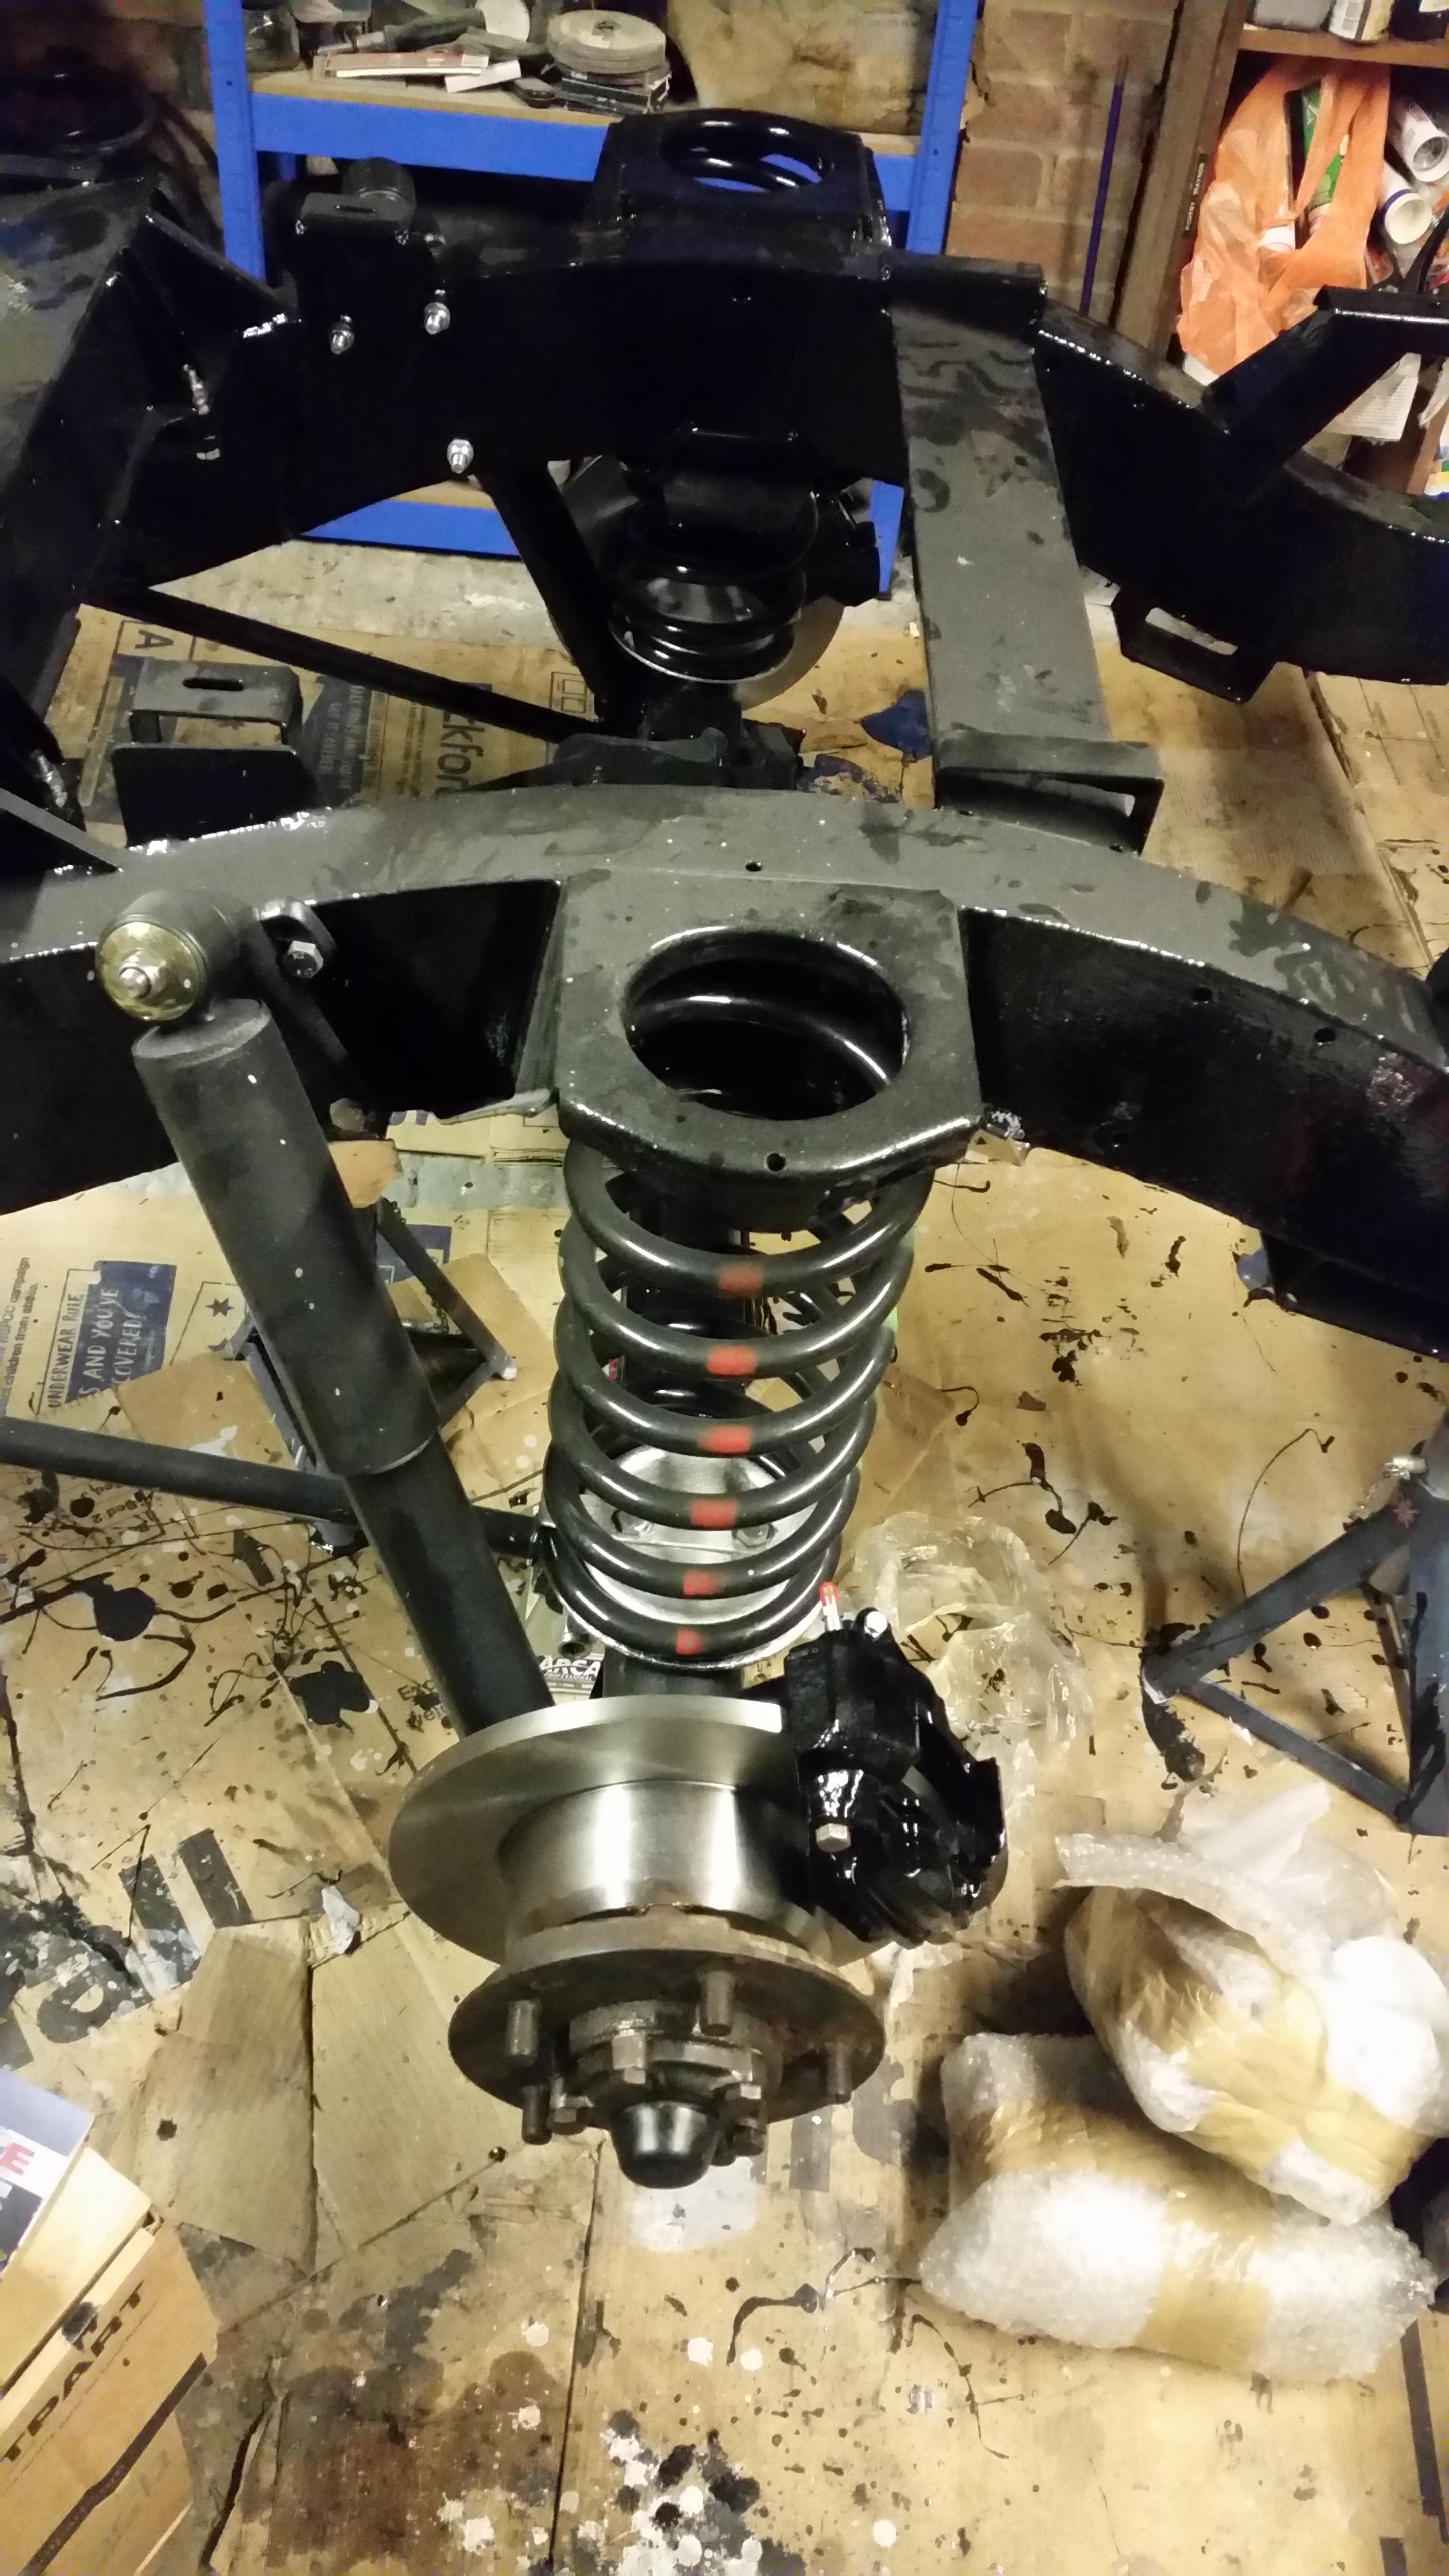
then in the shaft (again, careful, careful), and on with the circlip and rubber cap:

QofXXEO.jpg


Zw3sRrC.jpg


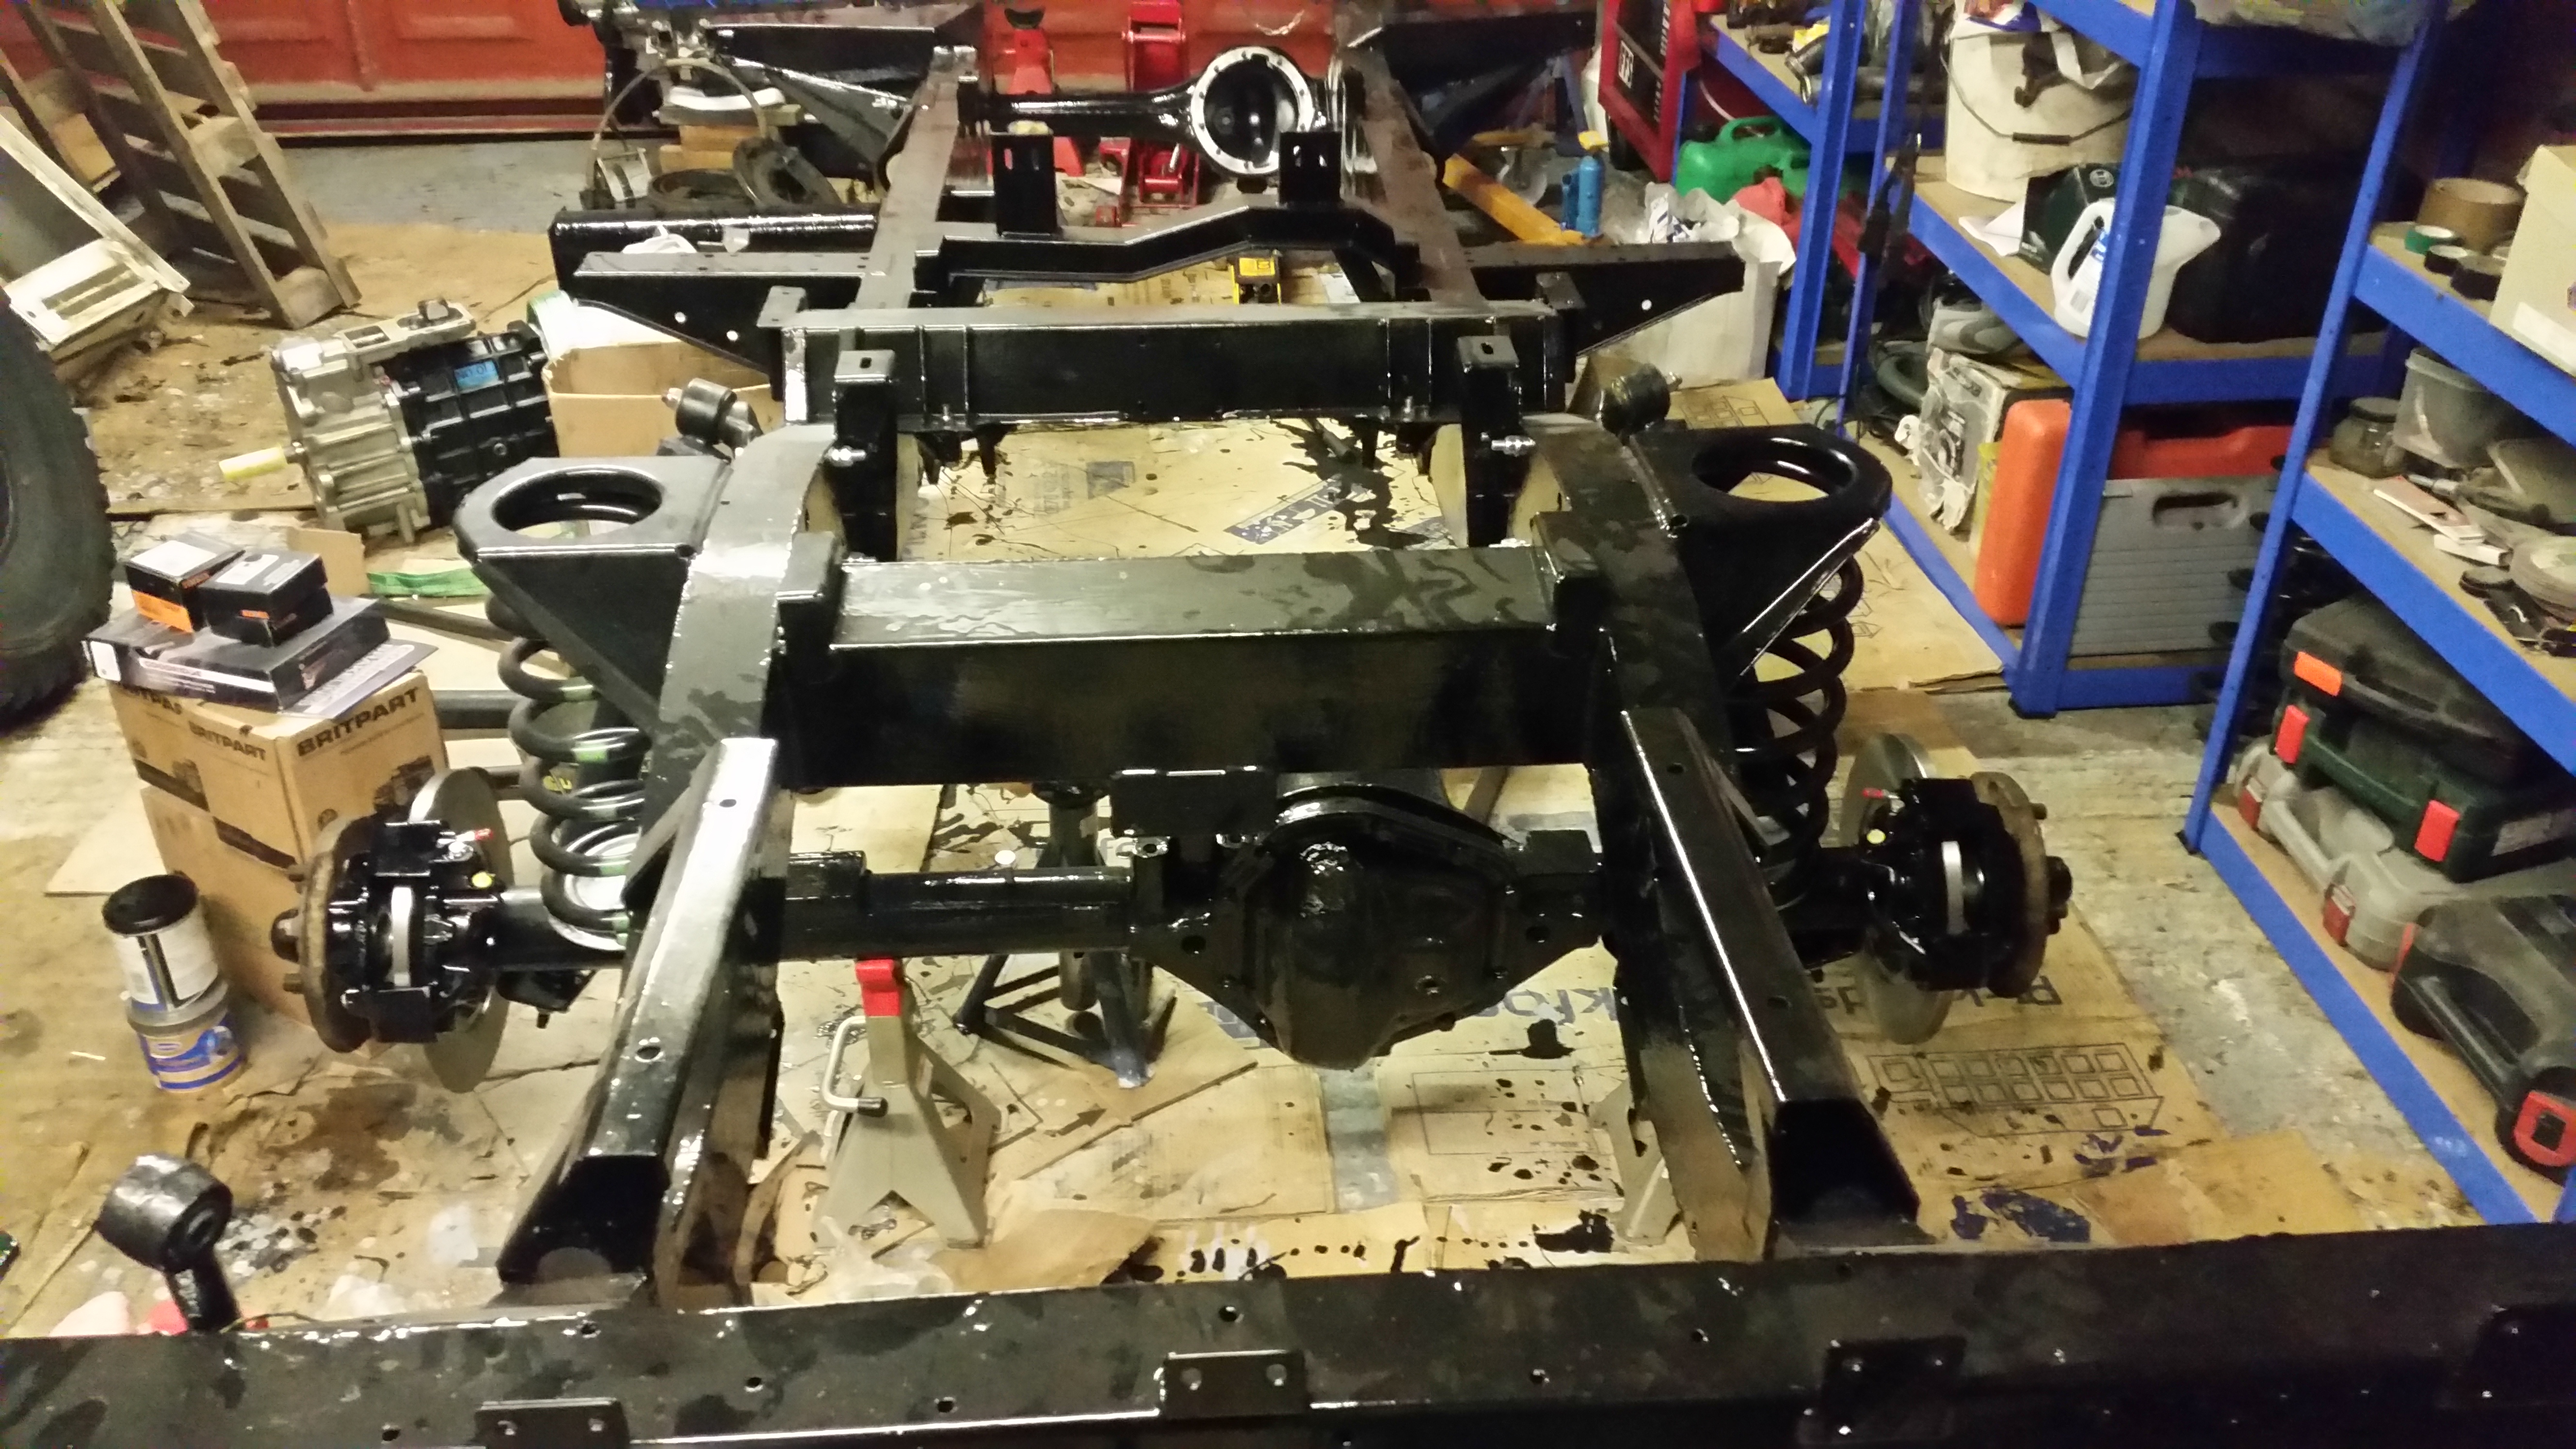
Now I shall go back out and do the same on the other (long) side of the rear axle. Don't worry... less photo's next time.
 
Great, that's looking nice. I wish I'd had the time and space to clean everything up and paint it like that when I did mine.

You might get a bit of a transmission clunk from those splines! Mine used to clunk and thy weren't as worn as that. Never mind, the shafts and flanges are easy enough to replace at your leisure once the car is finished.
 
Thanks folks!

Brown - yes that was my thinking too. Get the thing mobile in such a way as to not cause damage to anything else, then tweak/renew things which need it. obviously anything deeply imbedded gets renewed too.

TBH I thought I was being a bit slack when it came to cleaning parts etc... don't worry, they'll soon rust and look like everyone elses - just not the chassis hopefully!

I don't know if I mentioned it before, but my better half and I are planning a big house/location move this year. We're not sure when, as it's really down to when the right thing comes up.... hopefully between june and september ideally. The point being that I now have a rough deadline to complete by. I'd rather have the landy to help us move, as aposed to having to pay for a trailer service to move it for us!

I'm not toying with the idea of ditching the total spray job (circa 4k-5k I think) in favour of just getting a nice fresh puma rear tub, sides, roof... and then having the other panels painted to match. The ashtree bulkhead is still a certainty in my own mind (and should be happening soon hopefully), but my pricing comparison went like this:

new seat box: £165 + painting £100
new rear door £300 + painting £200
new front doors £400 + painting £400
Paint current wings £100
Paint current bonnet £100
new rear tub to determine colour £700
Total = £2465.... let's call it £2,500 - £3,000

vs

new seat box £165
new rear door £300
new front doors £400
full paint job on all panels whilst apart £5,000
Total = £5865 - probably doesn't need rounding up, as the £5k paint job is a worst case I think.

so basically, there's a fair chunk of money between the 2.... anything I don't spend on the landy, we get to put towards the new place and the move. Happy to have the maths challenged.
 
Seems like the major expense is the professional paint job, either way. Is there no way you'd be willing to attempt this yourself? You seem to have a decent indoor workspace, which is half the battle. Quite a few people on here seem to have got a nice shiny finish at home, and they're not professional car painters for the most part.

The paint finish lets mine down a bit - it looks OK from a distance but close up it looks dull and scratched. But the costs involved have put me off getting a decent professional repaint. Once I've built myself a shed in my friend's garden - maybe later this year - I shall be thinking seriously about doing it myself.

I've toyed with the idea, and I have a mate who's keen to help, but:

I've never spray painted and have no idea about thinners, hardeners, nozzles, etc.
I'm probably not of the type to do enough prep work to the current paint job to ensure a lasting finish.
I'd probably be reliant on my mate to borrow his gun and compressor... he's a hobbyist too.
I'm suspecting that it would take a very long time to prep, prime, paint the thing myself, and time is thing I think I'm *most* short of.

still open minded of course
 
Yes, I know what you mean - taking all the lights and handles off and endless hours with wet'n'dry. That's the major thing that's putting me off. I've never sprayed a whole car. I painted our old Series model with a tin of army green and a brush, but on that we were going for more of a military survivalist aesthetic. When the time comes I'll try it one panel at a time with a spray gun and see how I go.
 
Yes, I know what you mean - taking all the lights and handles off and endless hours with wet'n'dry. That's the major thing that's putting me off. I've never sprayed a whole car. I painted our old Series model with a tin of army green and a brush, but on that we were going for more of a military survivalist aesthetic. When the time comes I'll try it one panel at a time with a spray gun and see how I go.

Which sounds a very sensible approach (panel by panel), but would be a bit slow for my timescales I fear.
 
got some more done this evening....

Got these bad boys on the rims with tubes:

V79FeWZ.jpg


then front diff fitting (after getting the inside of the axle totally clean and dust free:

JVX9Wam.jpg


MiFMea3.jpg


A nice neat bead of granville's high temp instant gasket... outside of the bolts!

UQ7WyEc.jpg


assembled (I would have used fresh nuts but they're daft imperial fine thread ones)

5ON3vSA.jpg
 
then I realised things were going a little too well:


2iymKOw.jpg


jUFHrOz.jpg


That's what I get for re-using old bolts. Looks like I've got lots of drilling to look forward to!

Anyone know if I can use hex head bolts as replacements? what do you call that type of bolt heat? bonus points if anyone can tell me the size... imperial version of m10 I guess?
 
Just checked, and it seems they're about 32mm long (inch and a quarter?), and m10 standard coarse thread seems to fit fine... Do you reckon I could use m10 x 30mm hex head 10.9 set screws?
 
Think it is a bi-hex. Photo not clear. If it has a shoulder, do you think it can do without one by using set screw, it does weaken it, but 10.9 is pretty hard, your old 3.9 about, think big end bolts are same
 
Back
Top