90truckcab
Well-Known Member
- Posts
- 4,739
- Location
- staffordshire
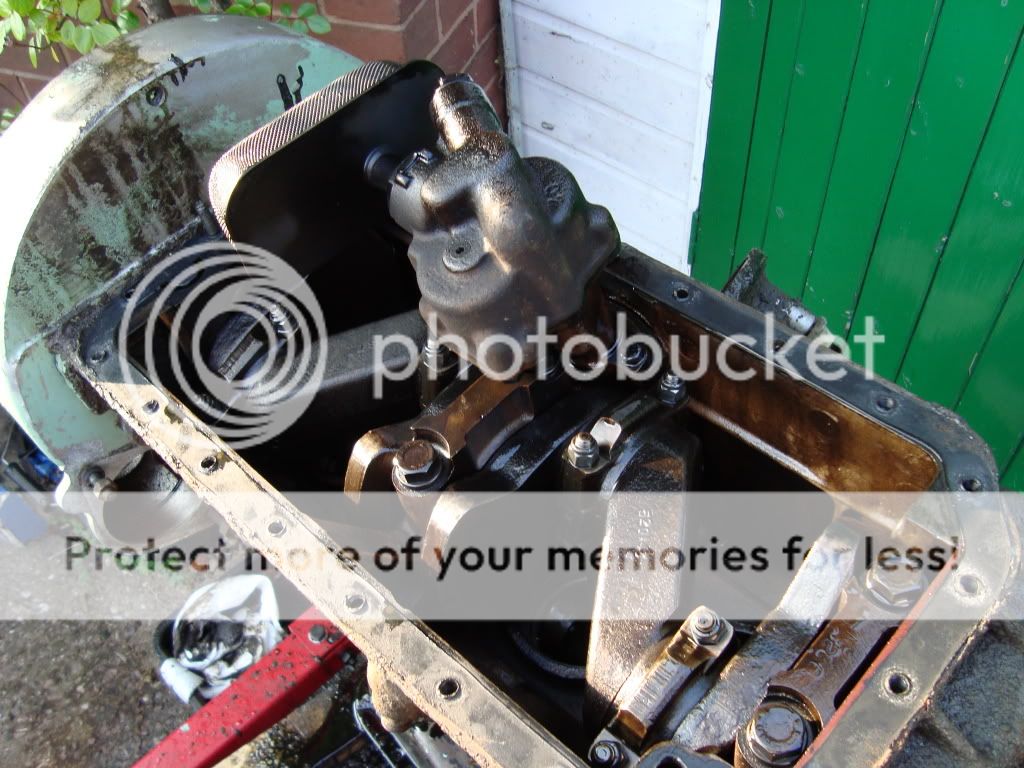
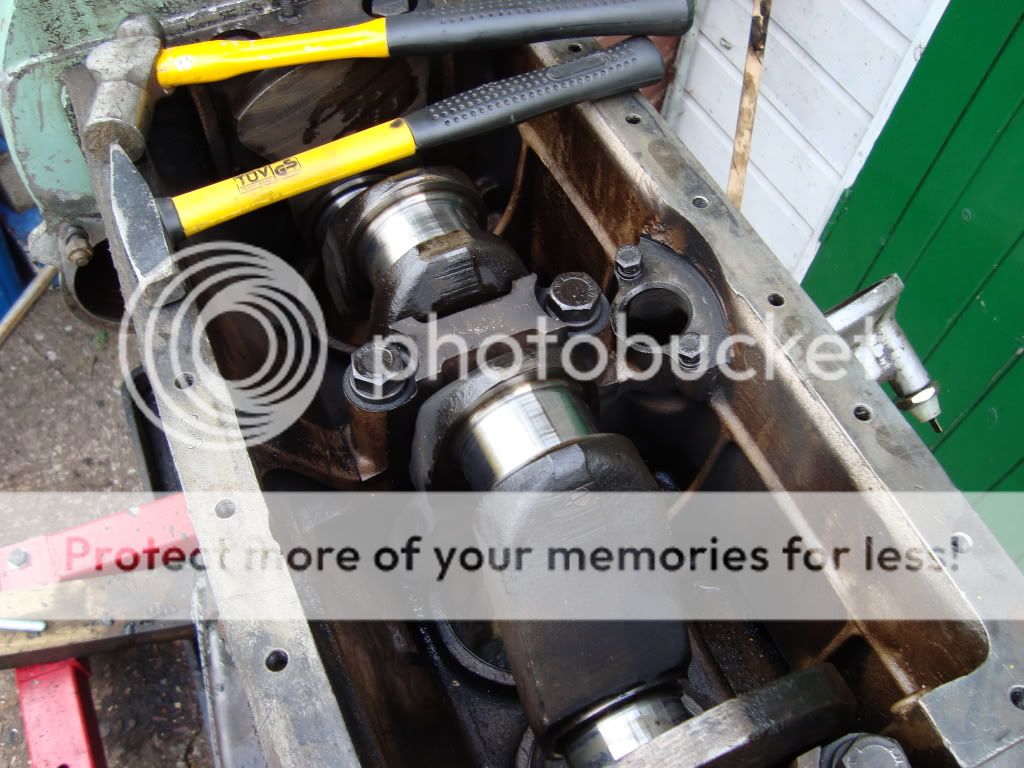
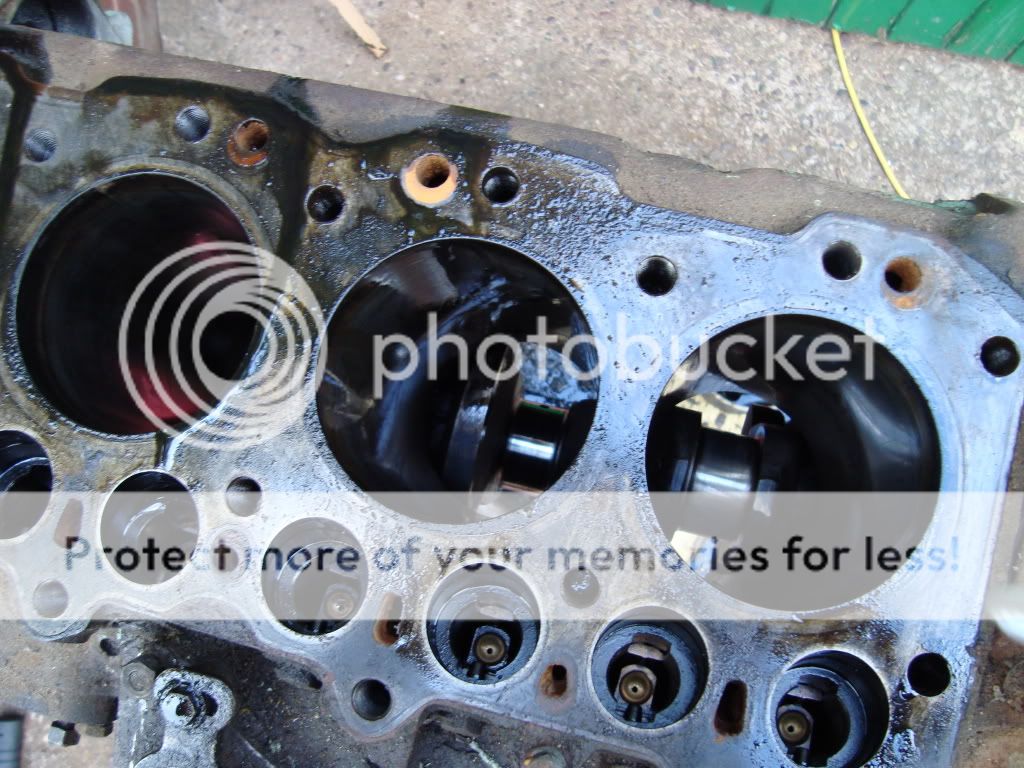
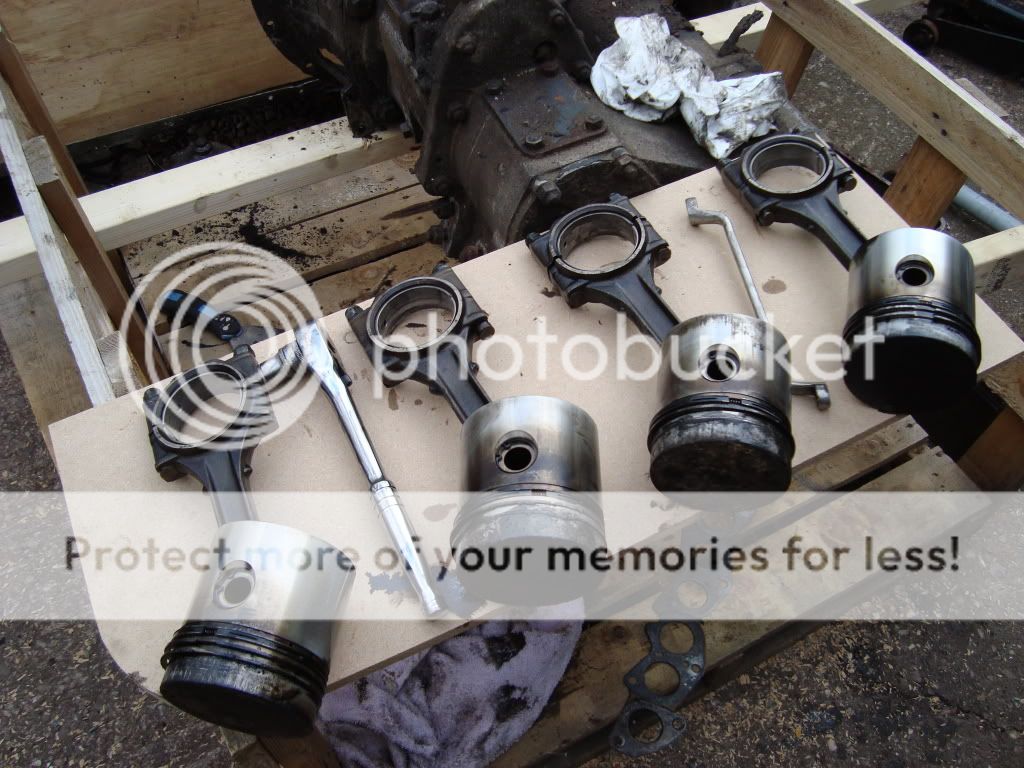
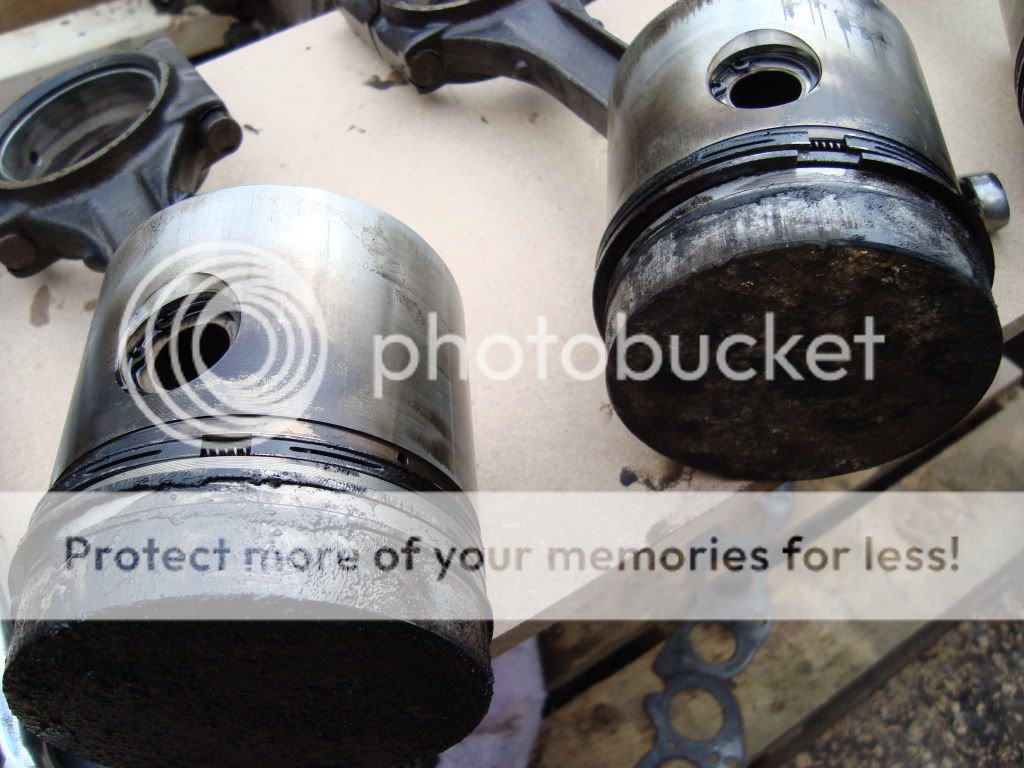
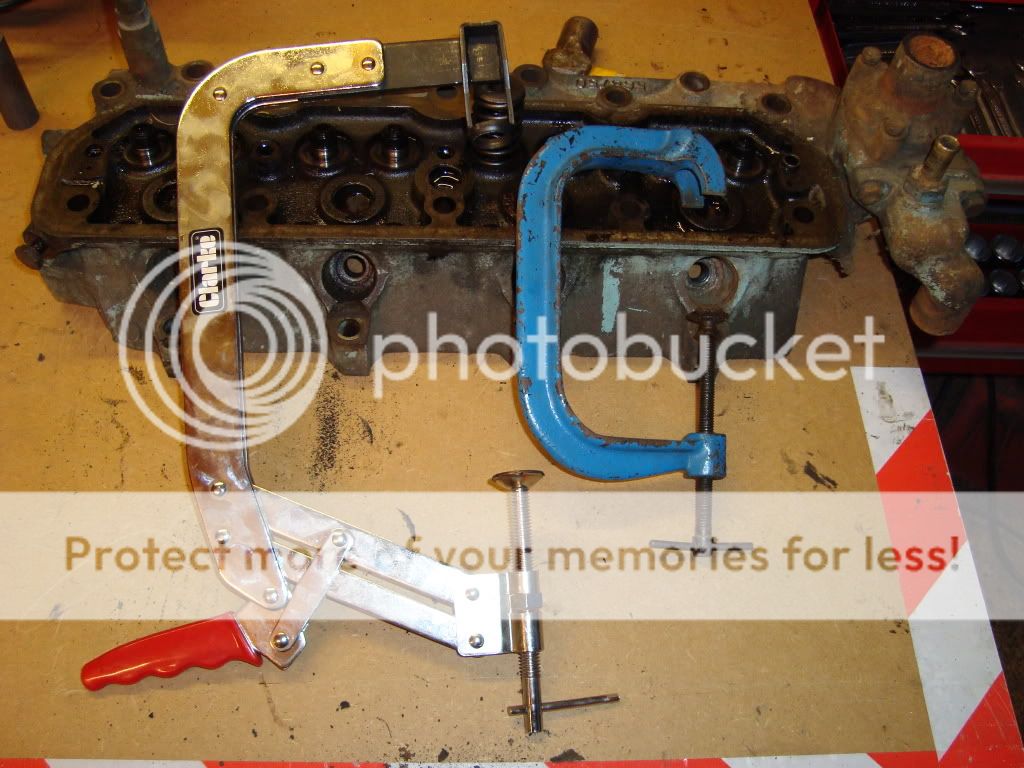
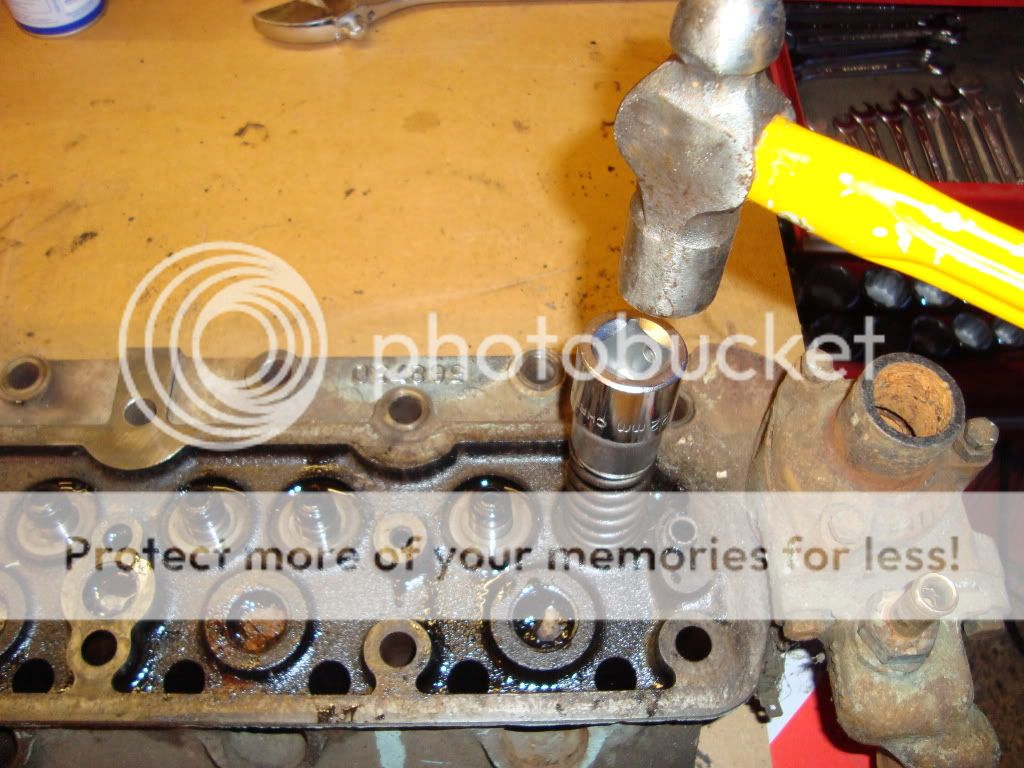
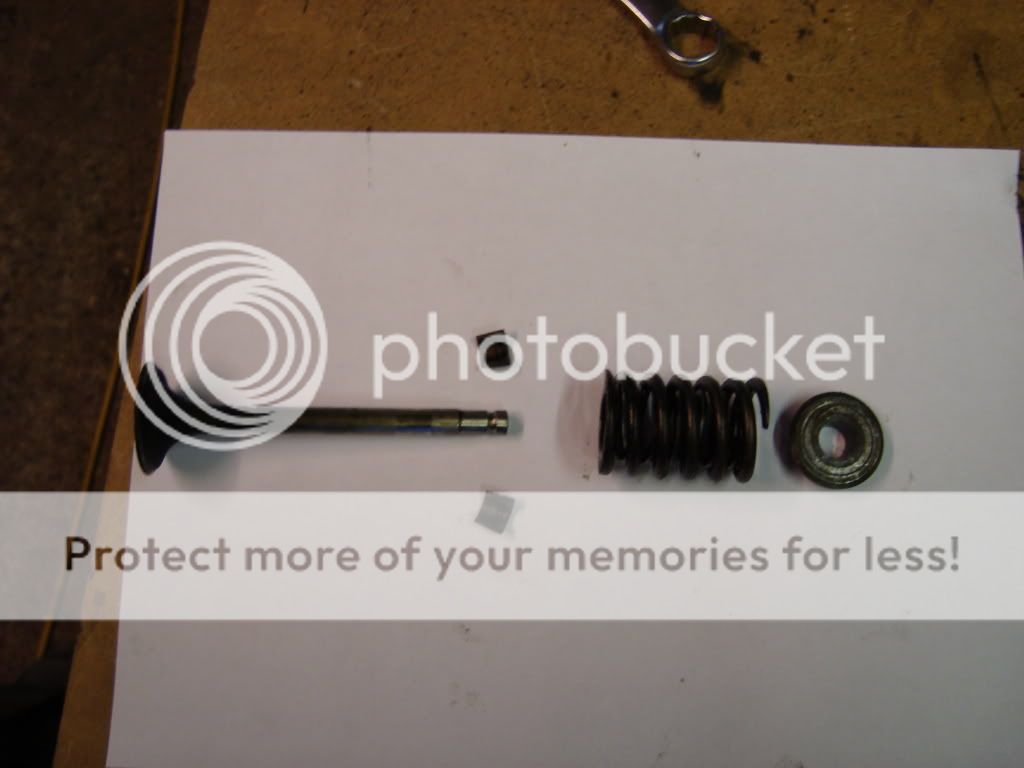
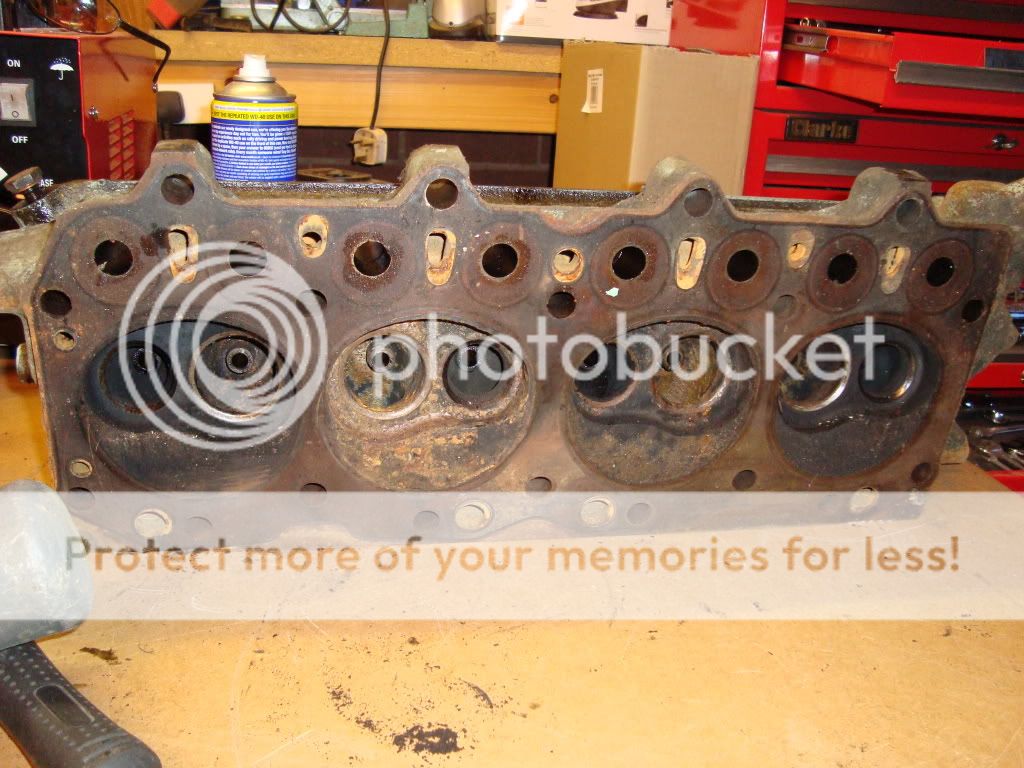
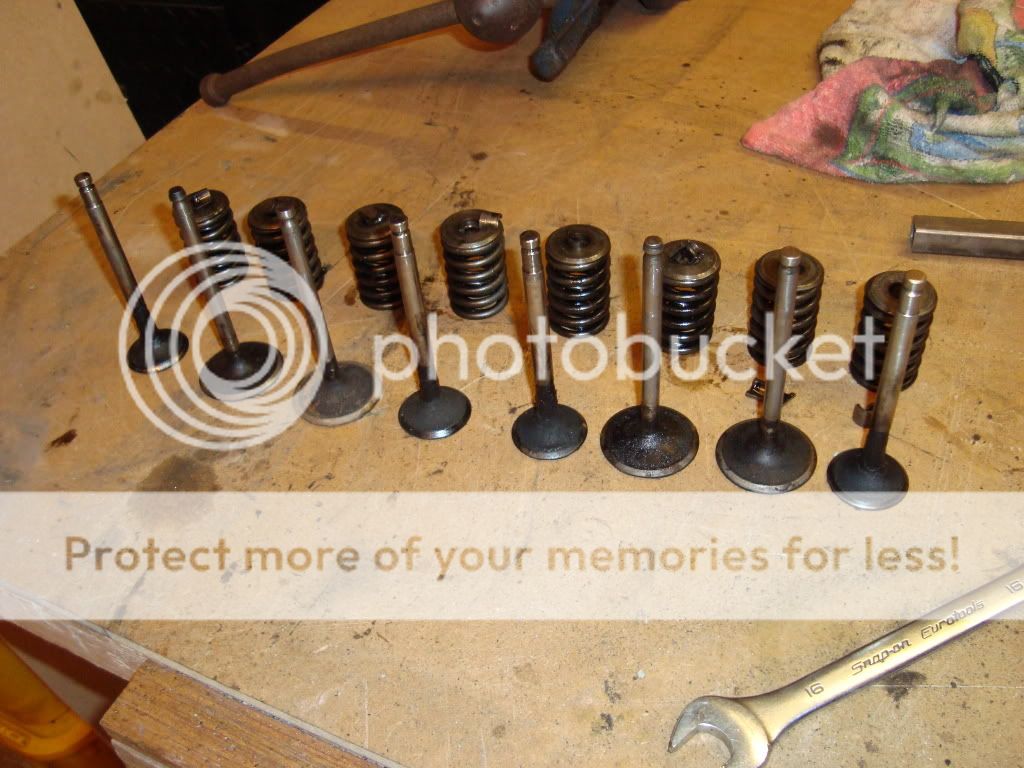
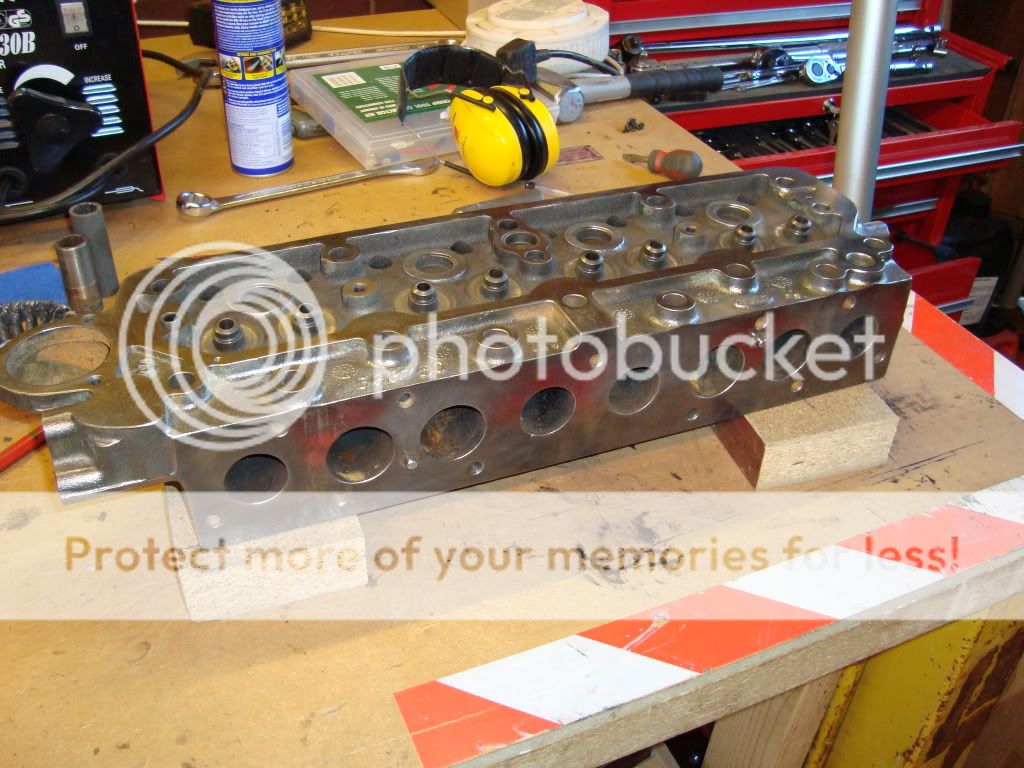
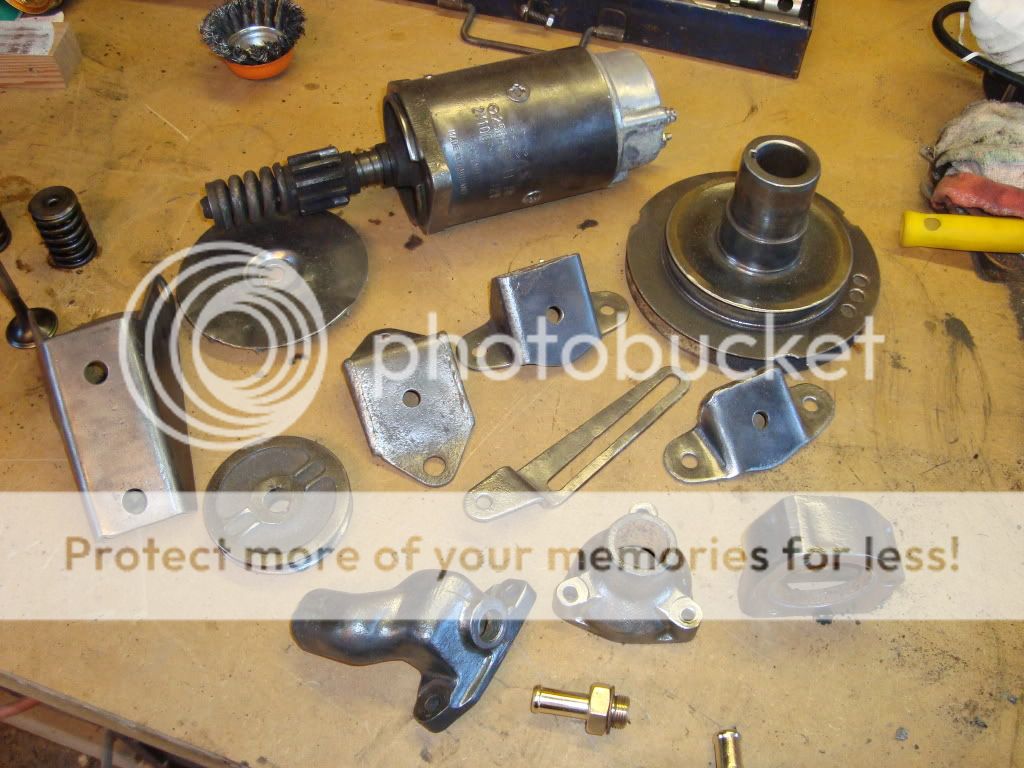
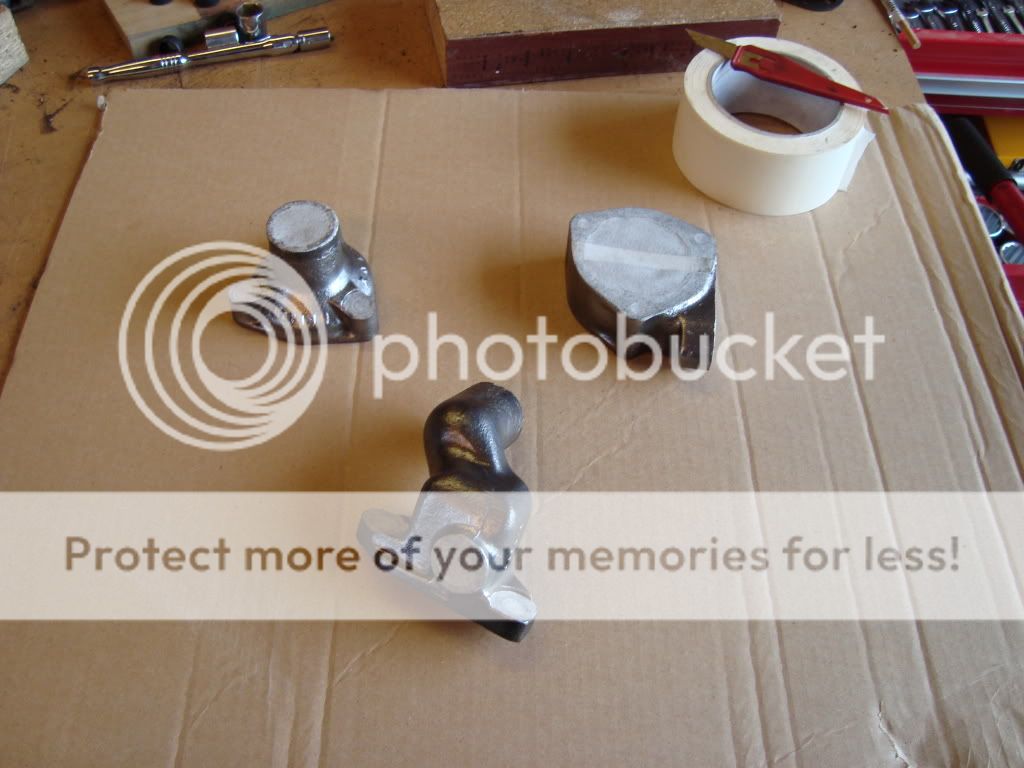
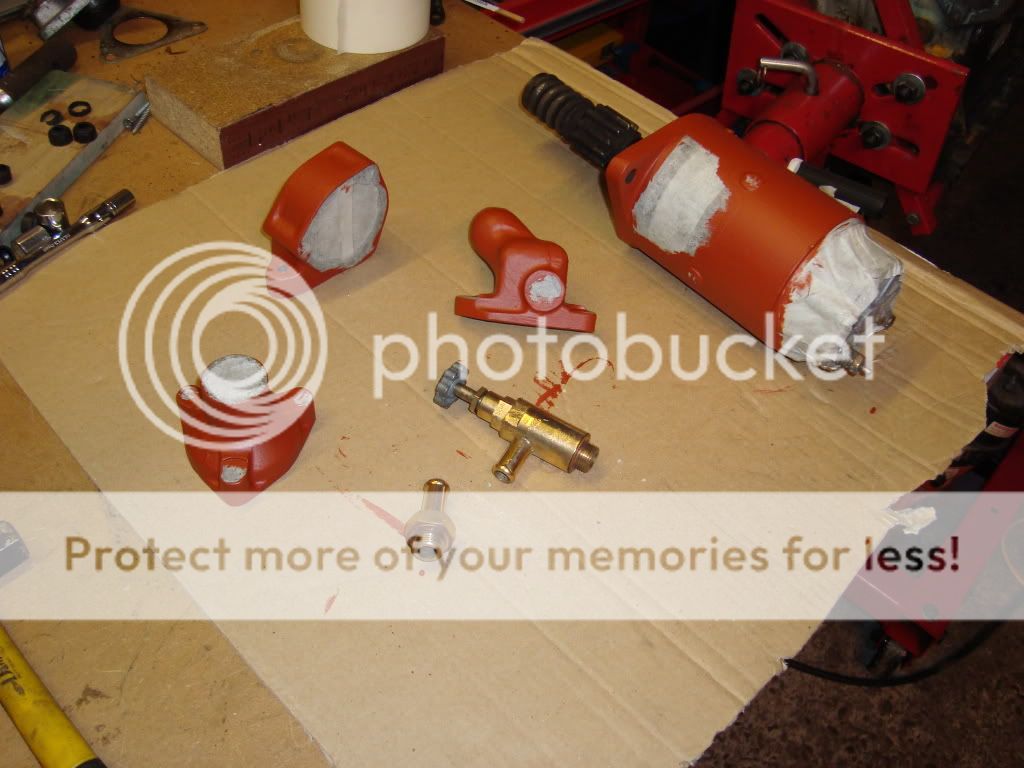
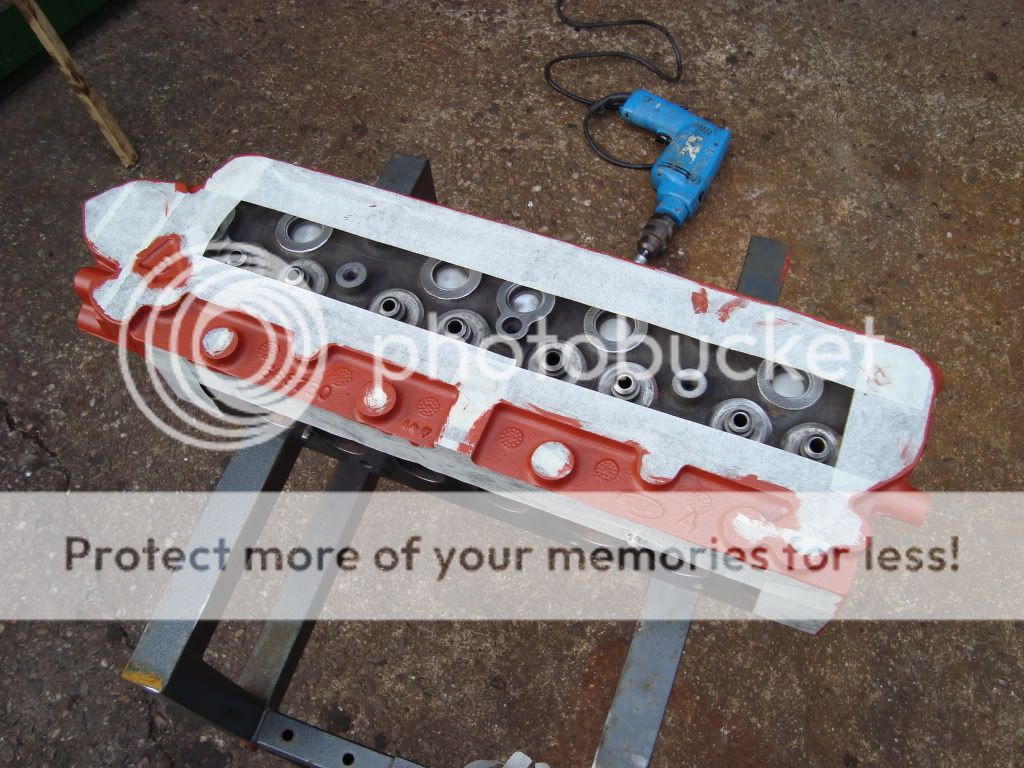
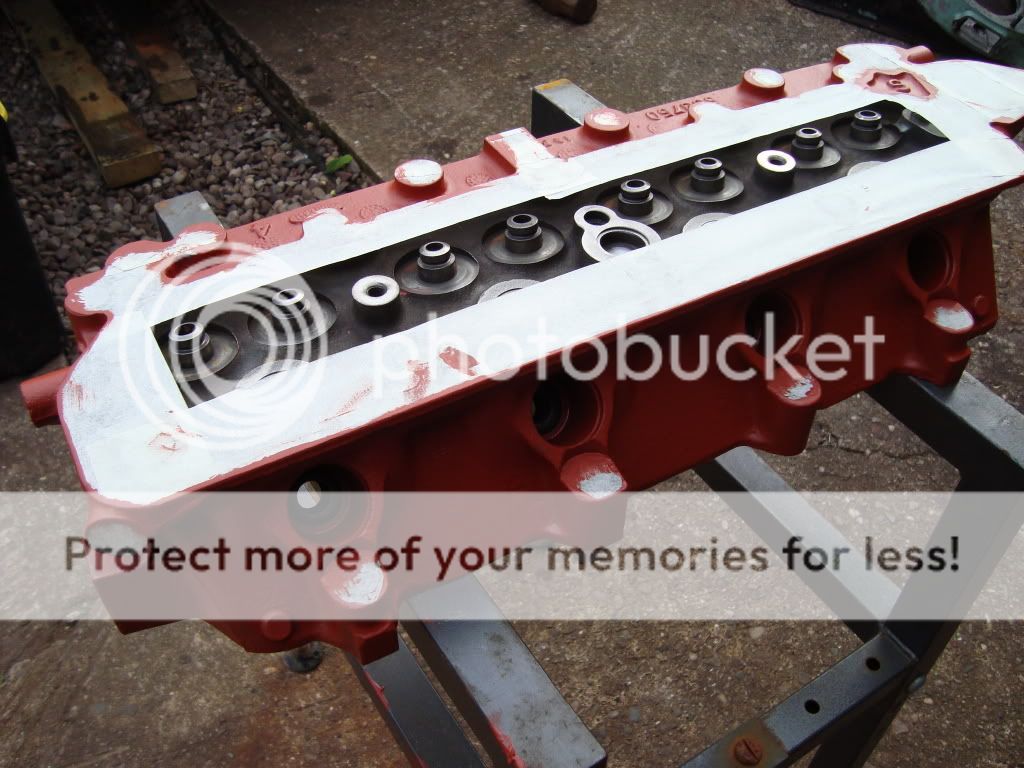
right, as some of you may kno, apart from my 90 truck cab, i now have a rather tatty but classic, well loved series 2a 88" pickup. in need of restoration, so as of the last couple of weeks i have been slowly been getting stuck in to a bit of work ,
hears a few pics of the work so far")
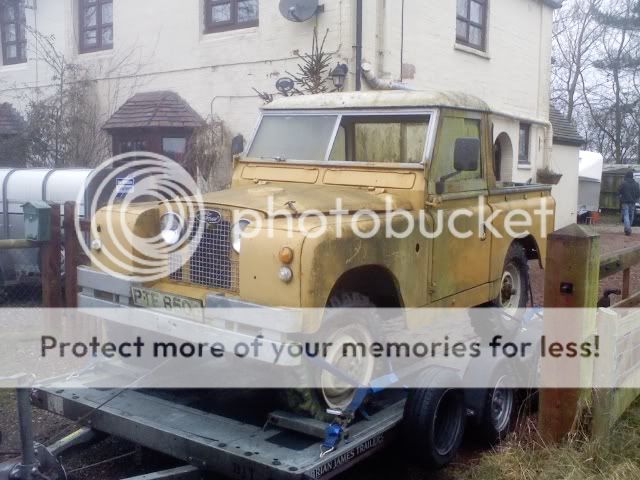
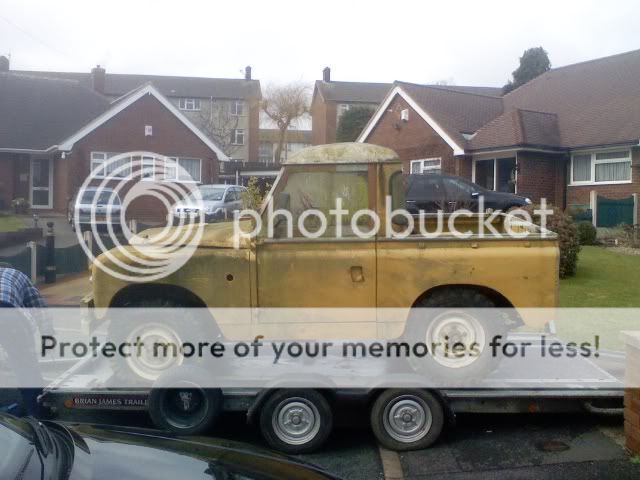
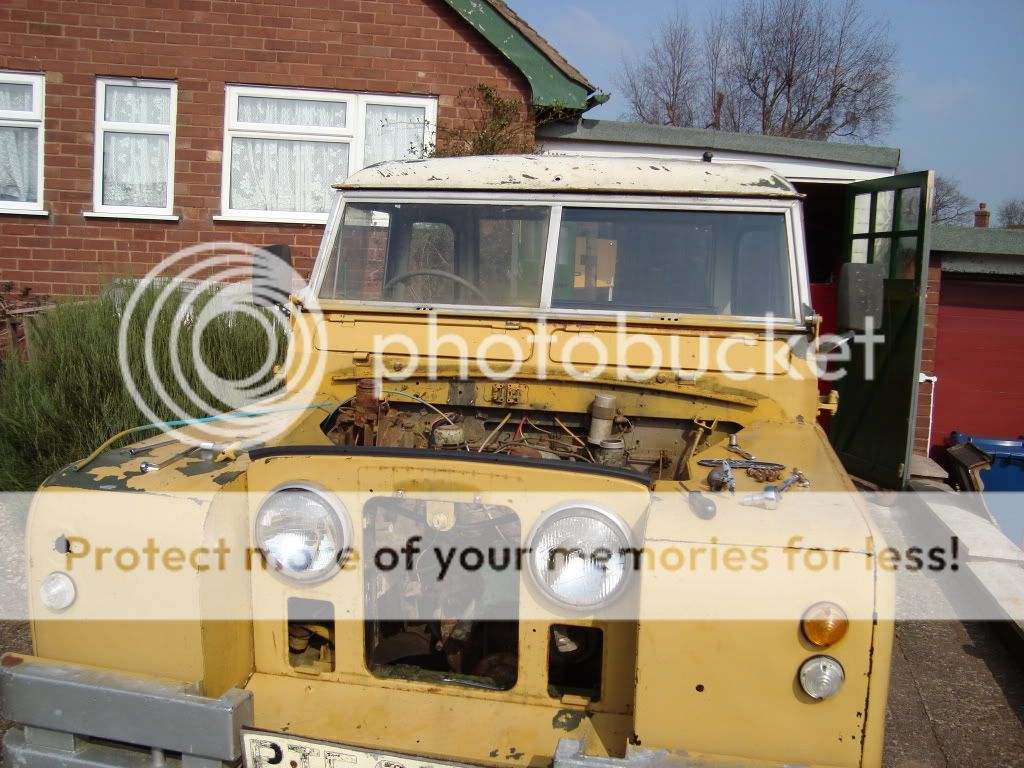
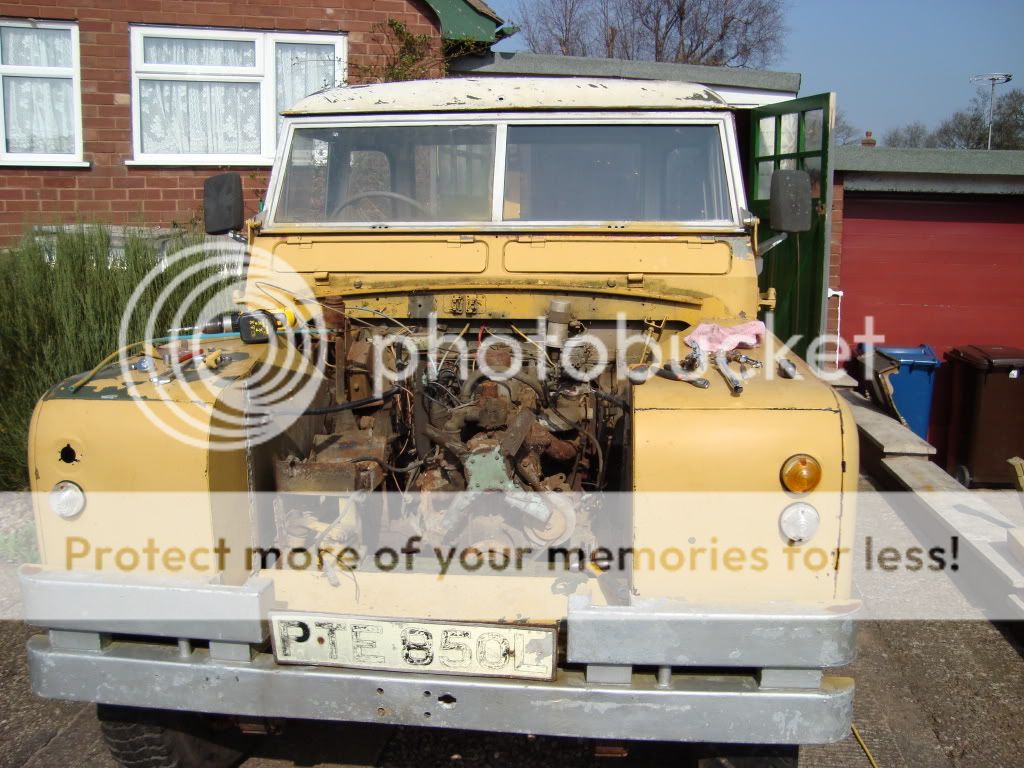
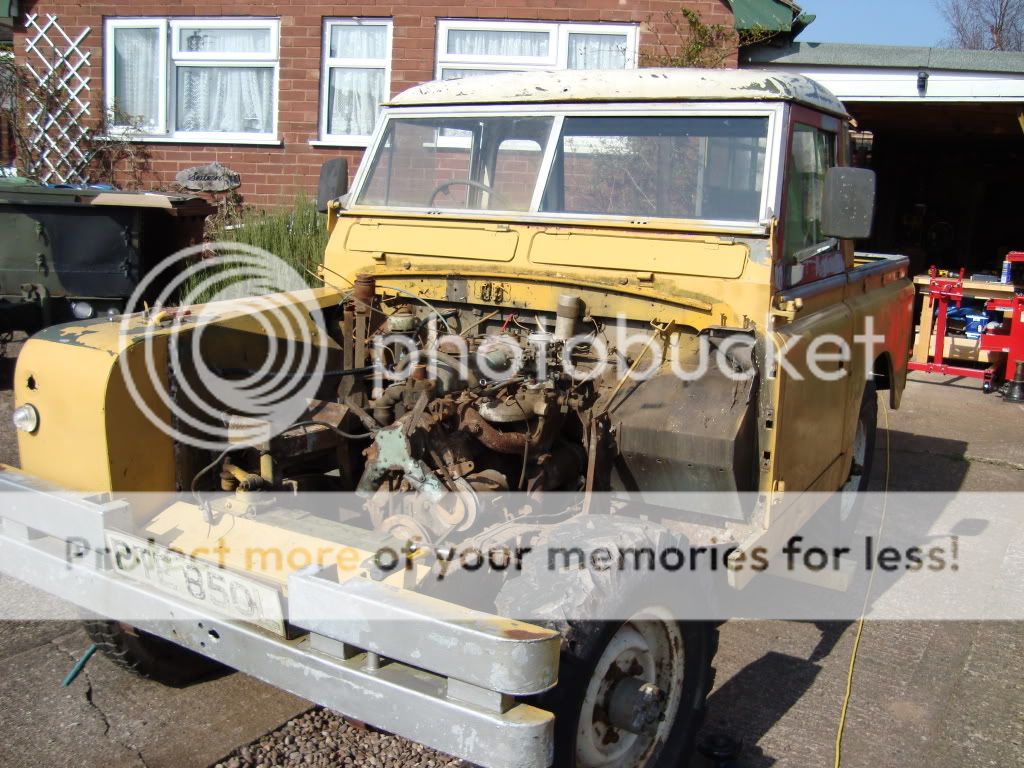
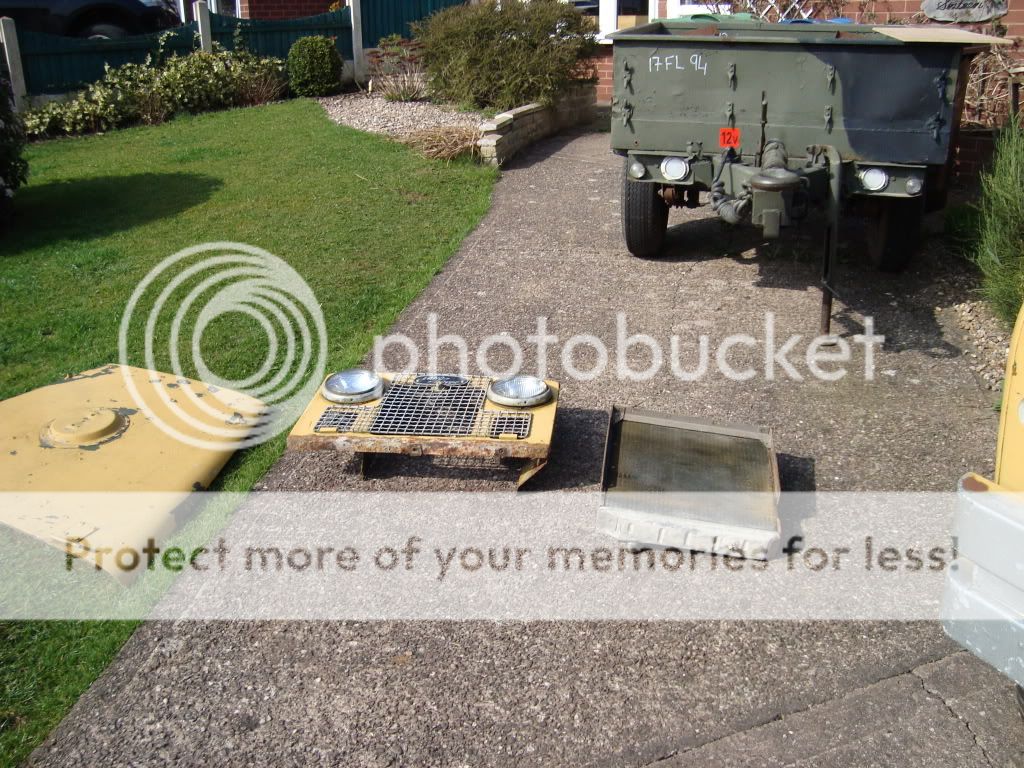
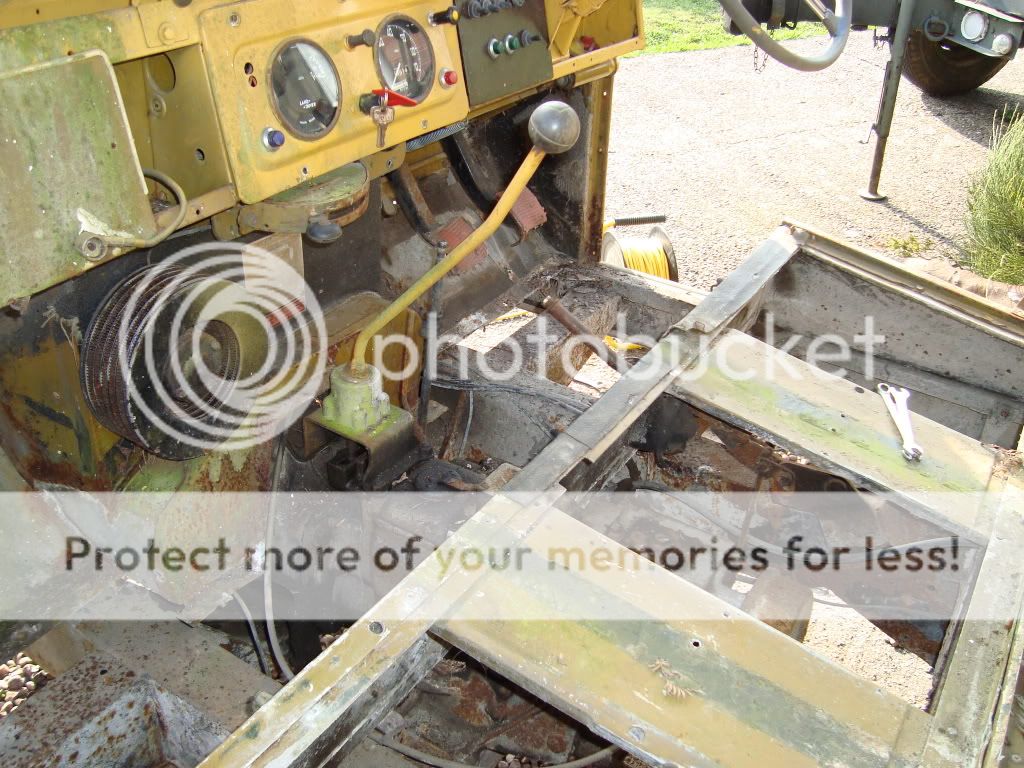
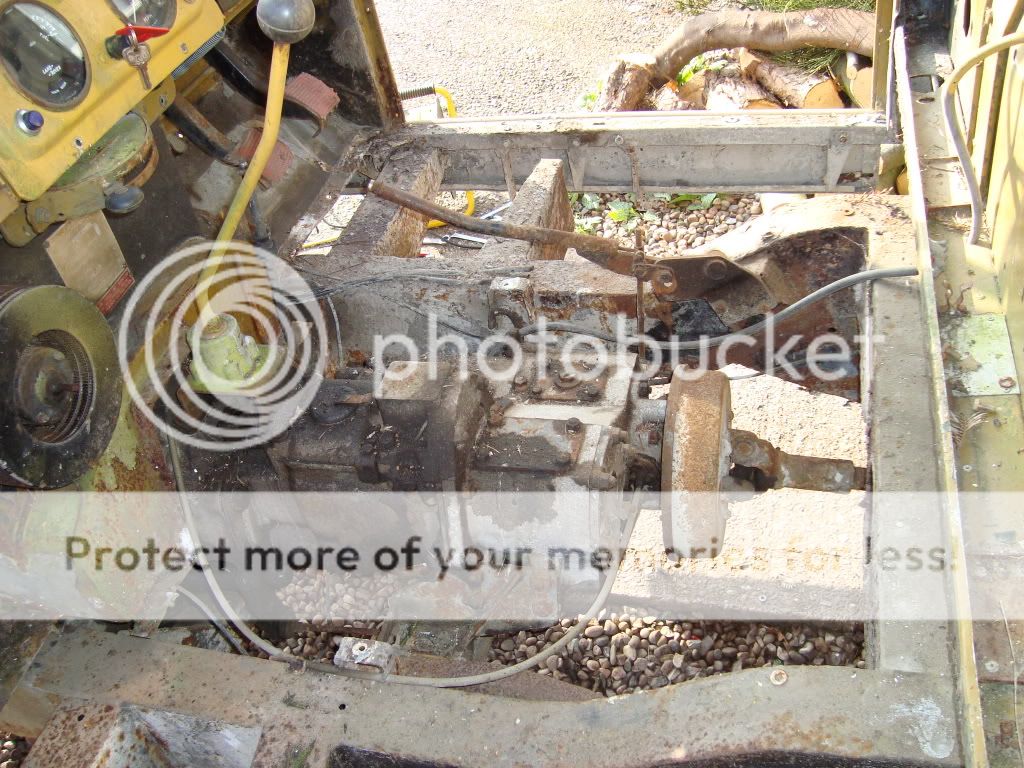

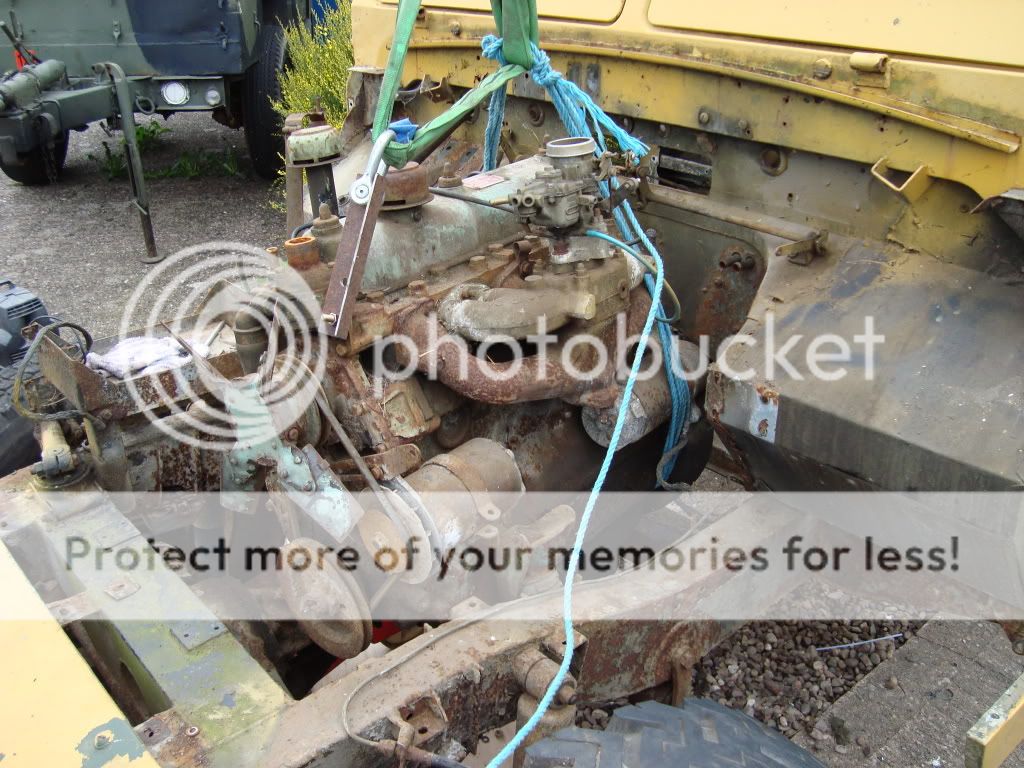
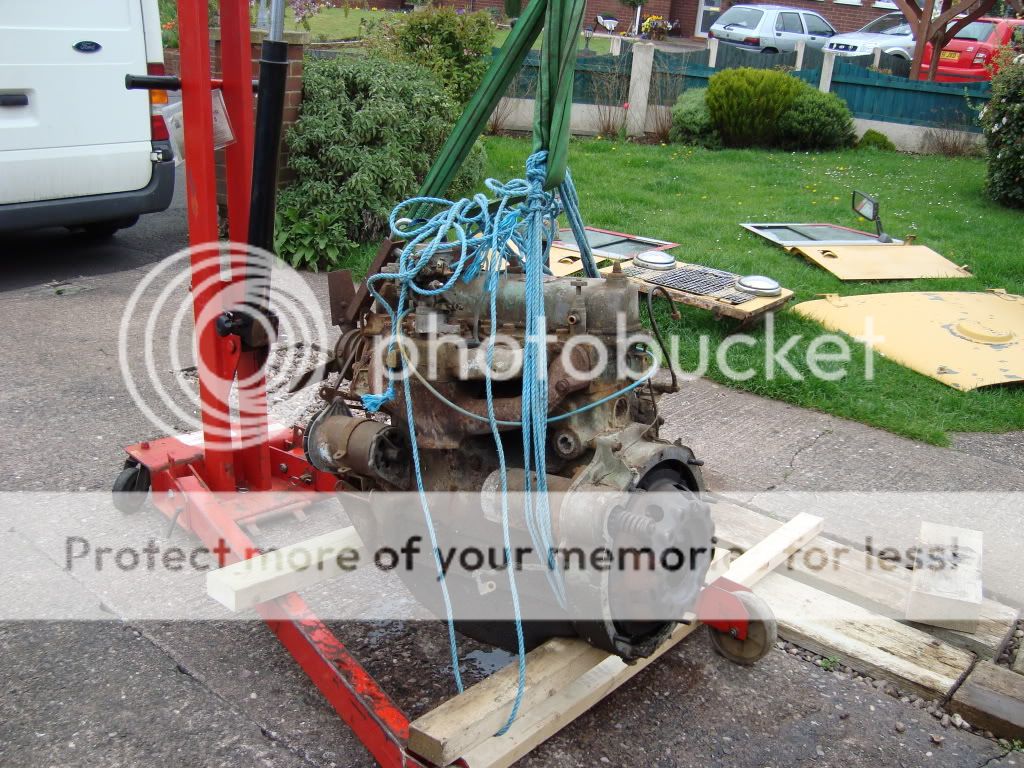
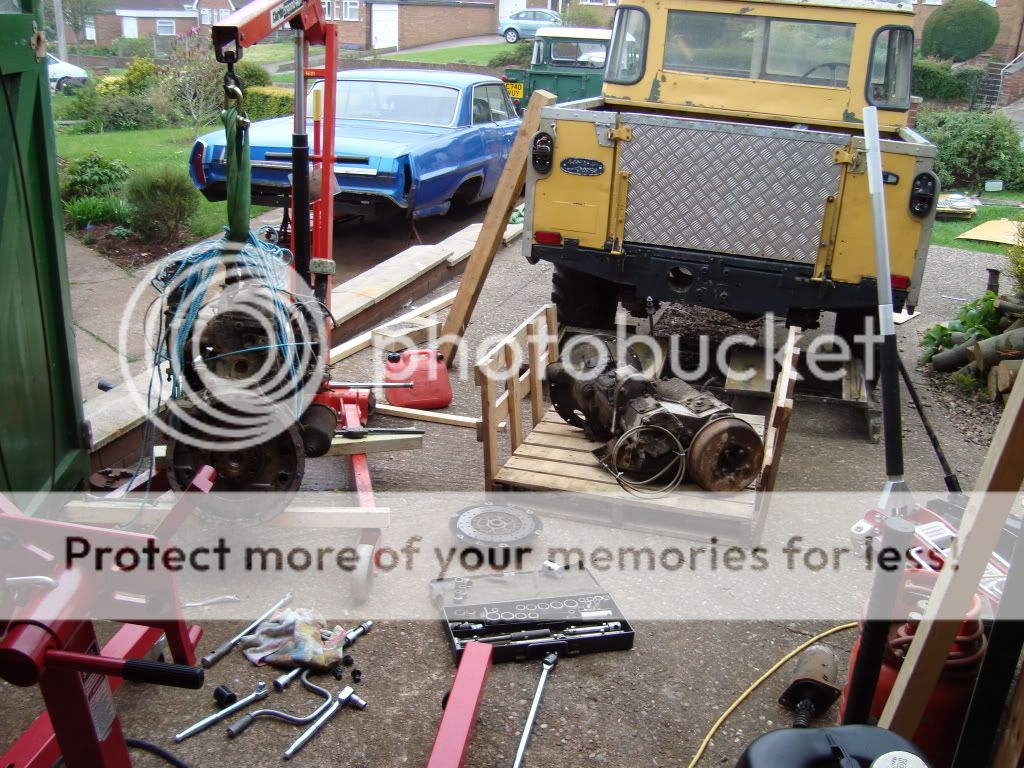
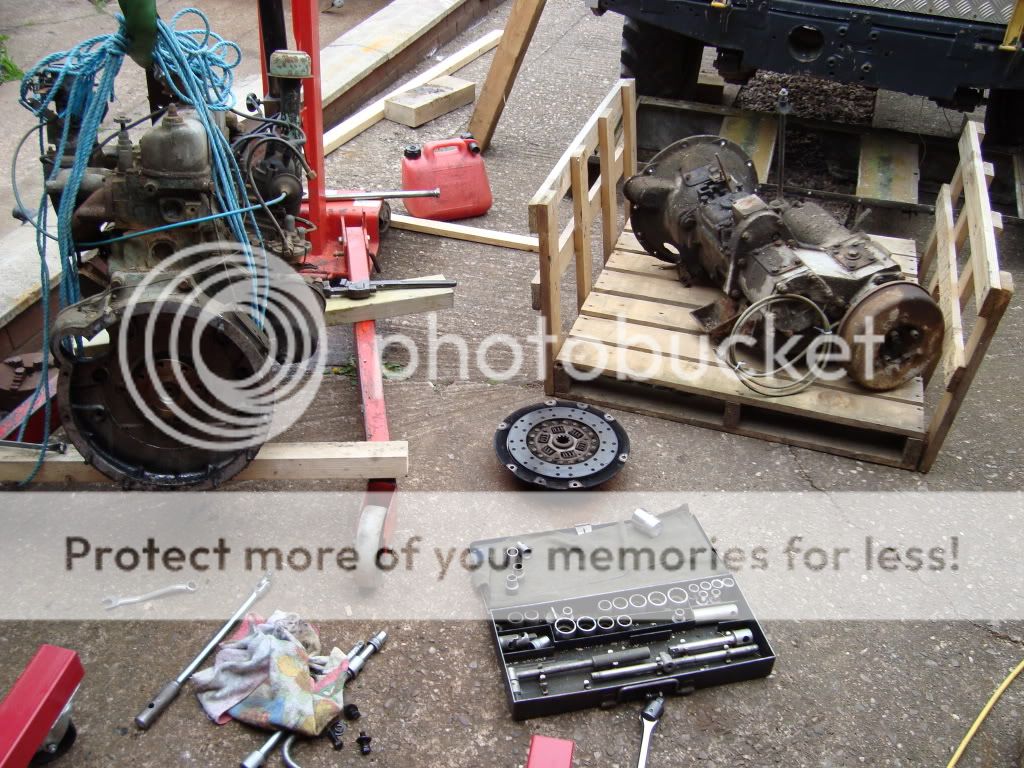
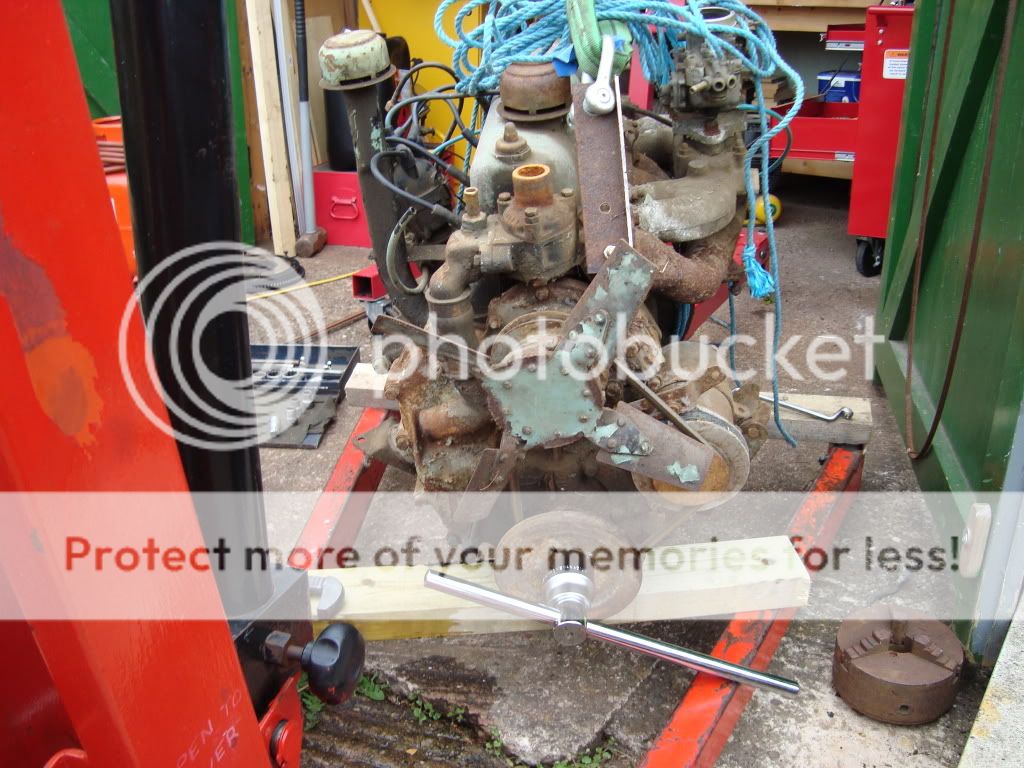
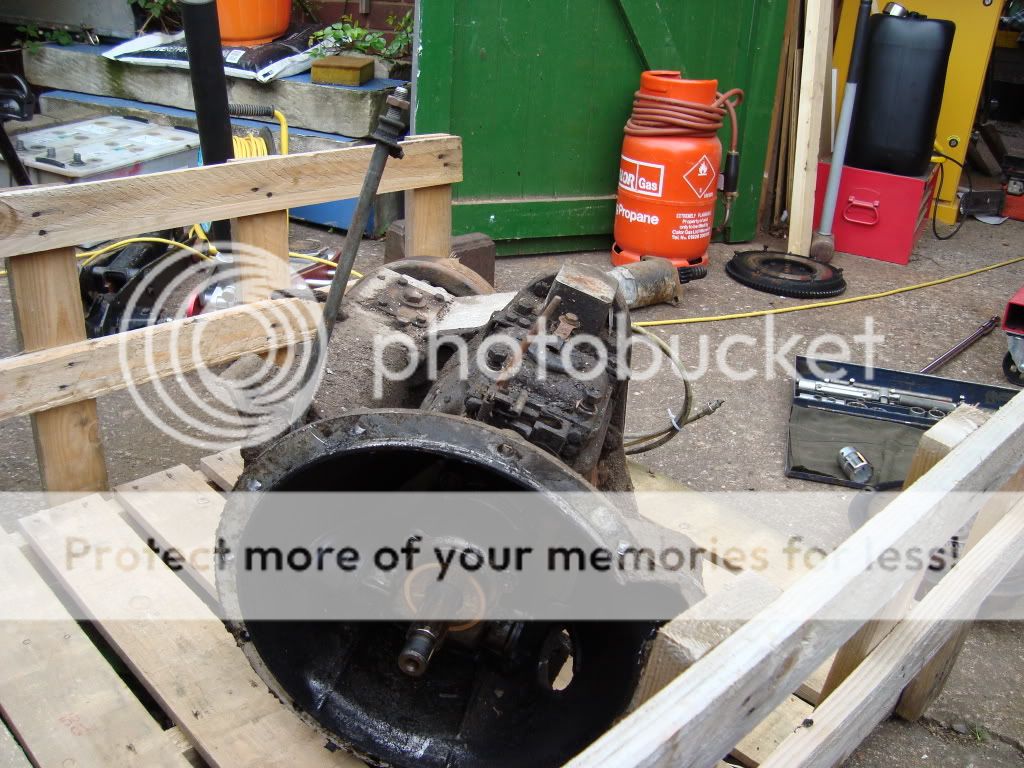

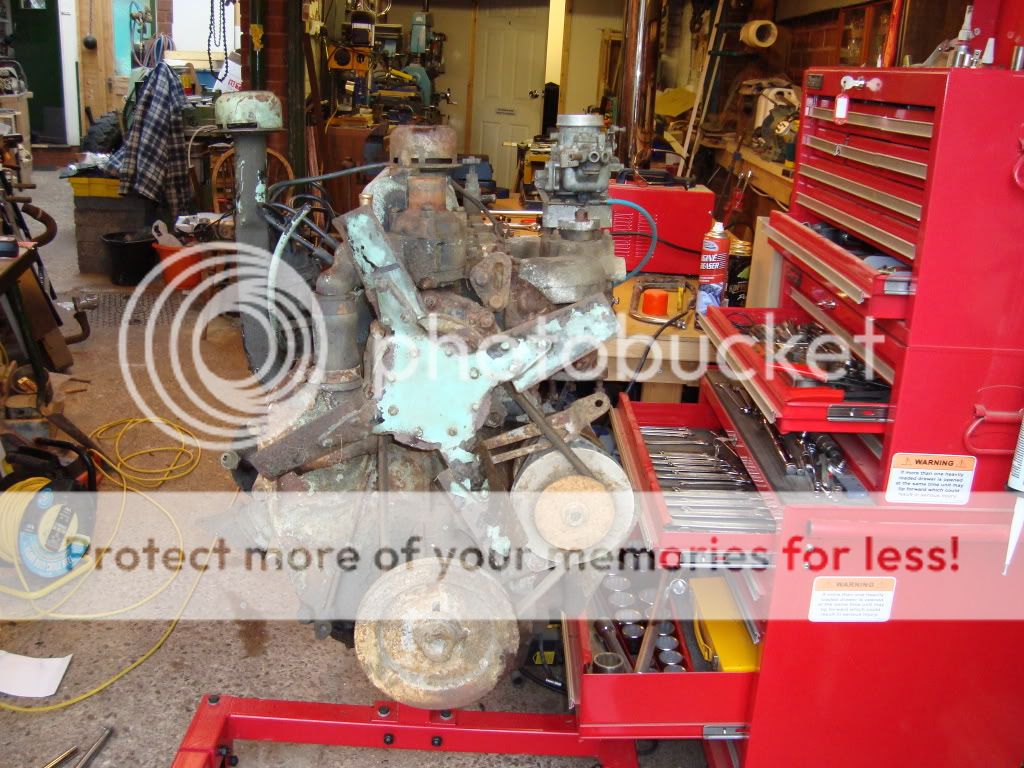
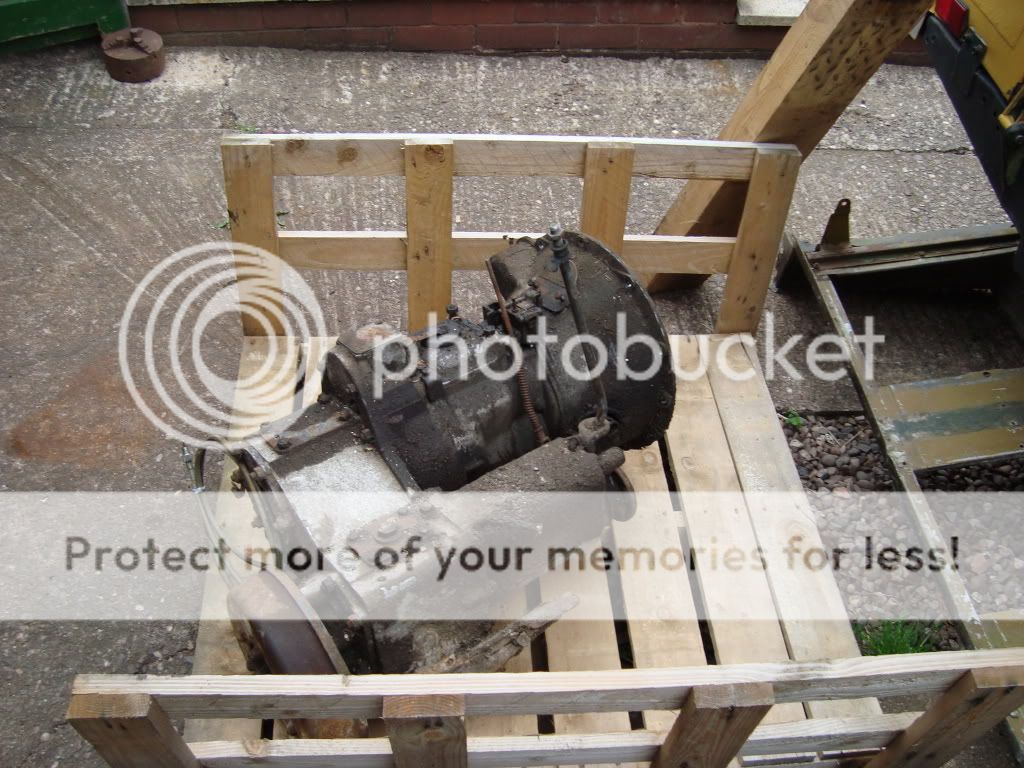
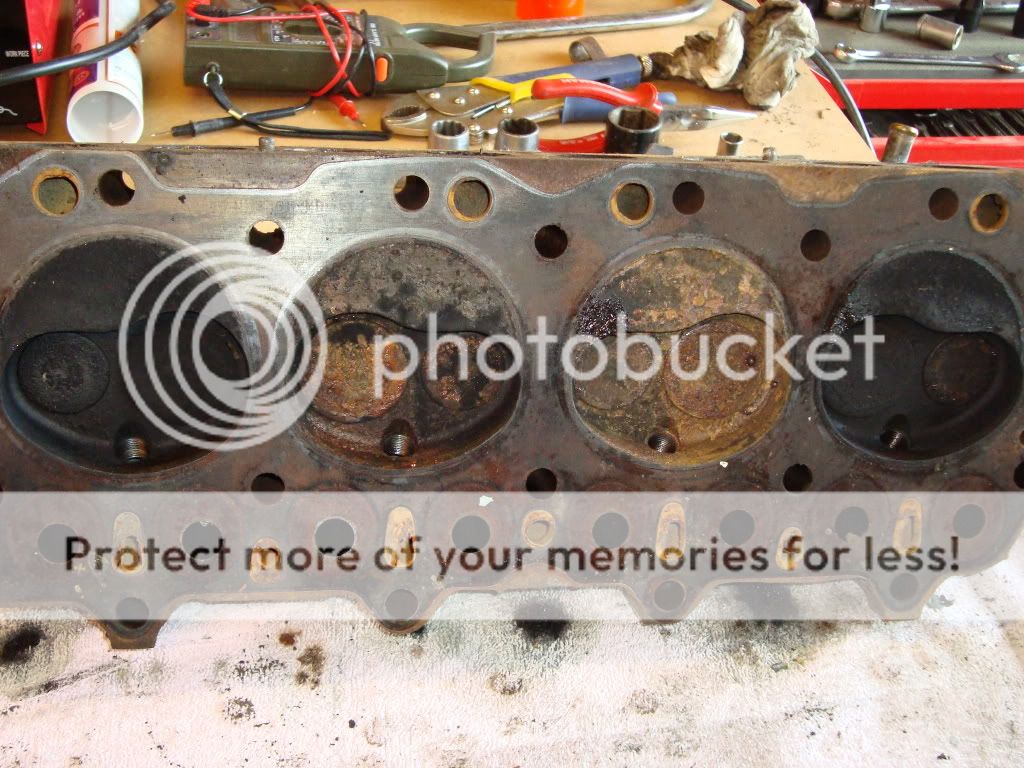

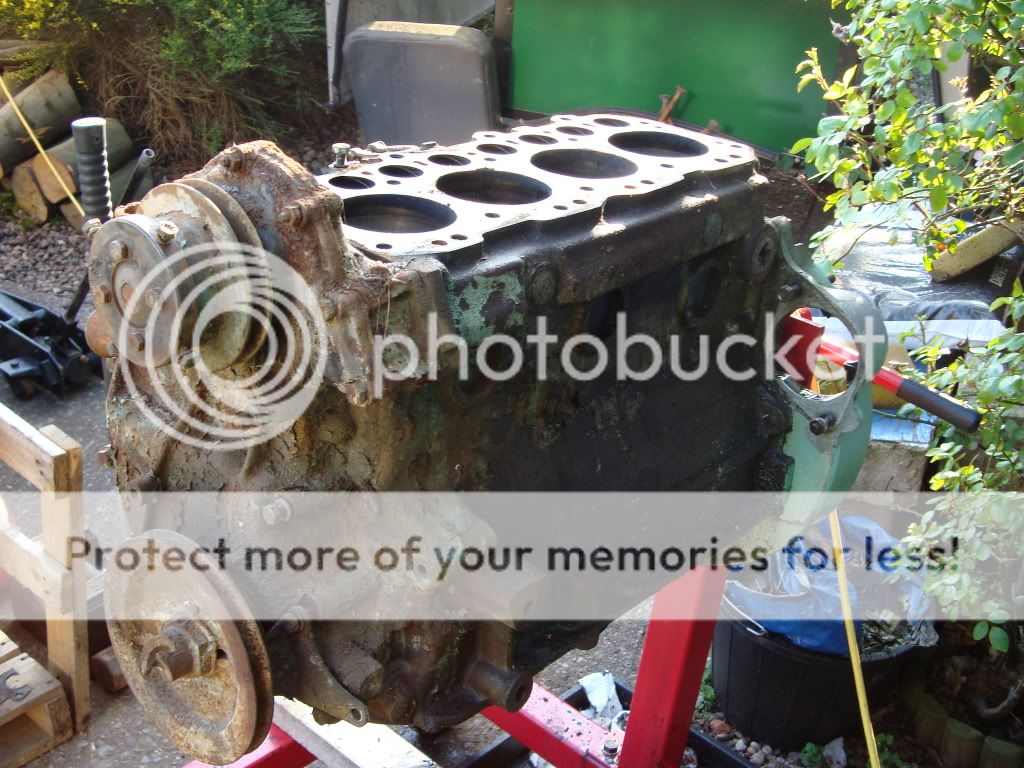
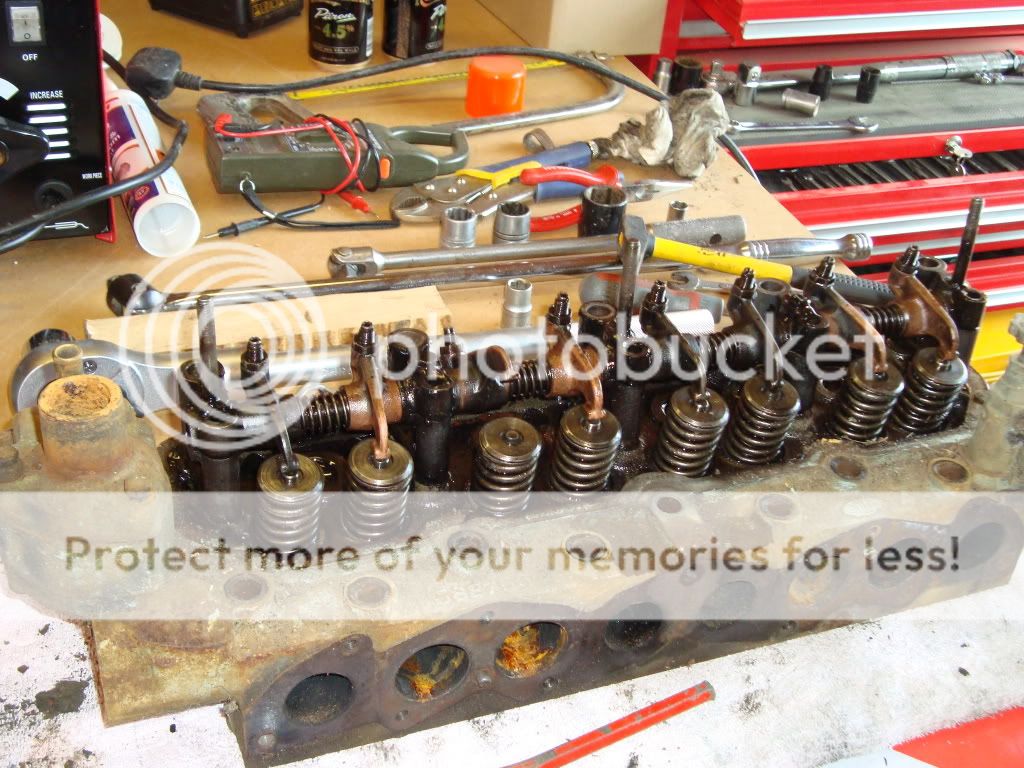
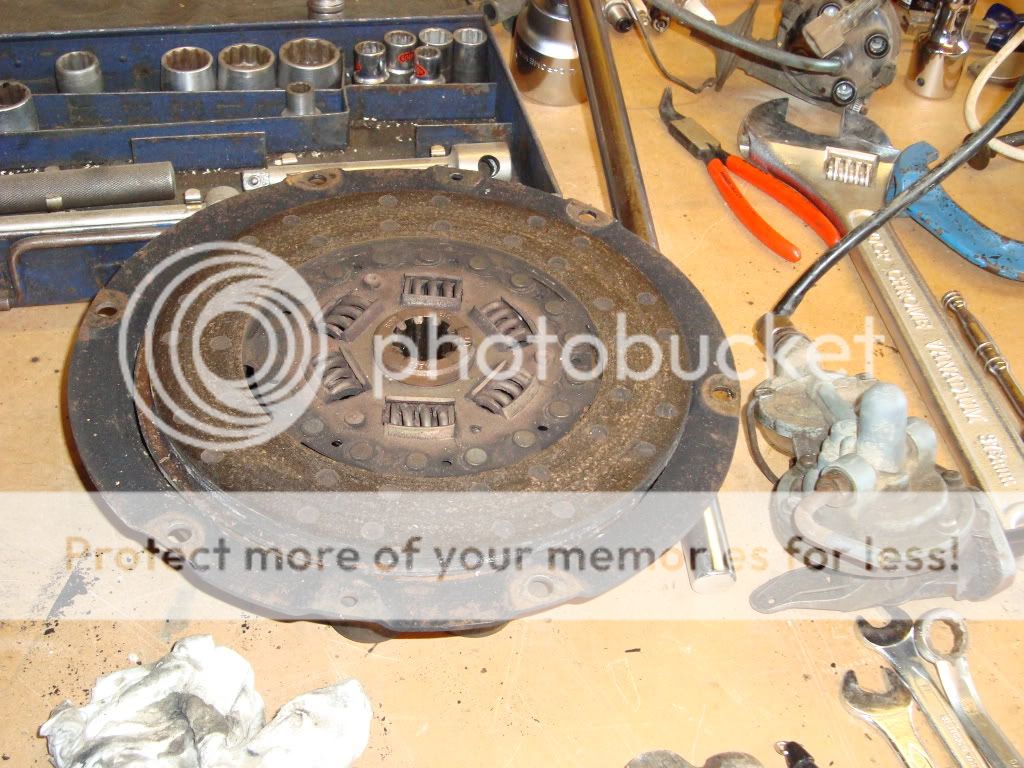
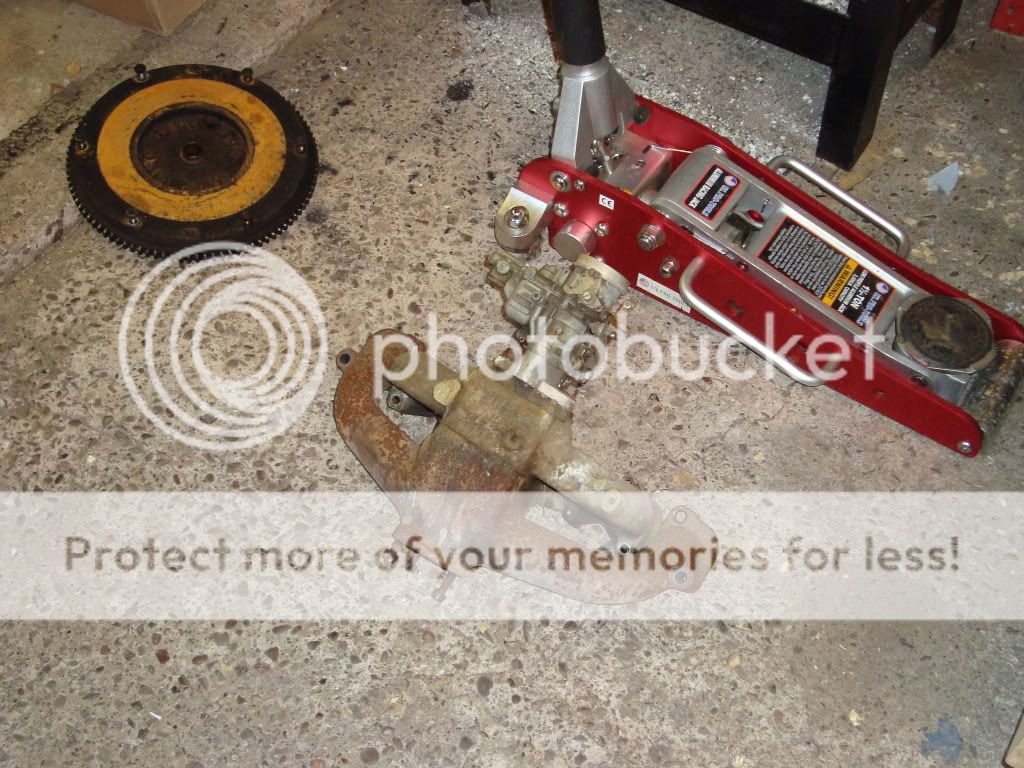
hears a few pics of the work so far