1988 90 rebuild

This site contains affiliate links for which LandyZone may be compensated if you make a purchase.

Caseymi

Member
Posts
18
Location
Ireland
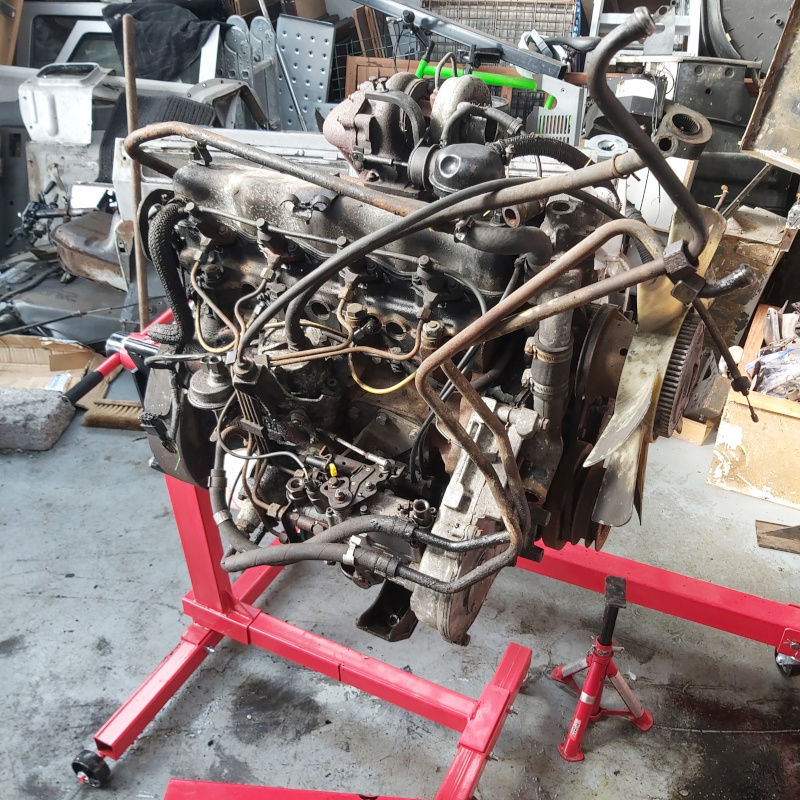
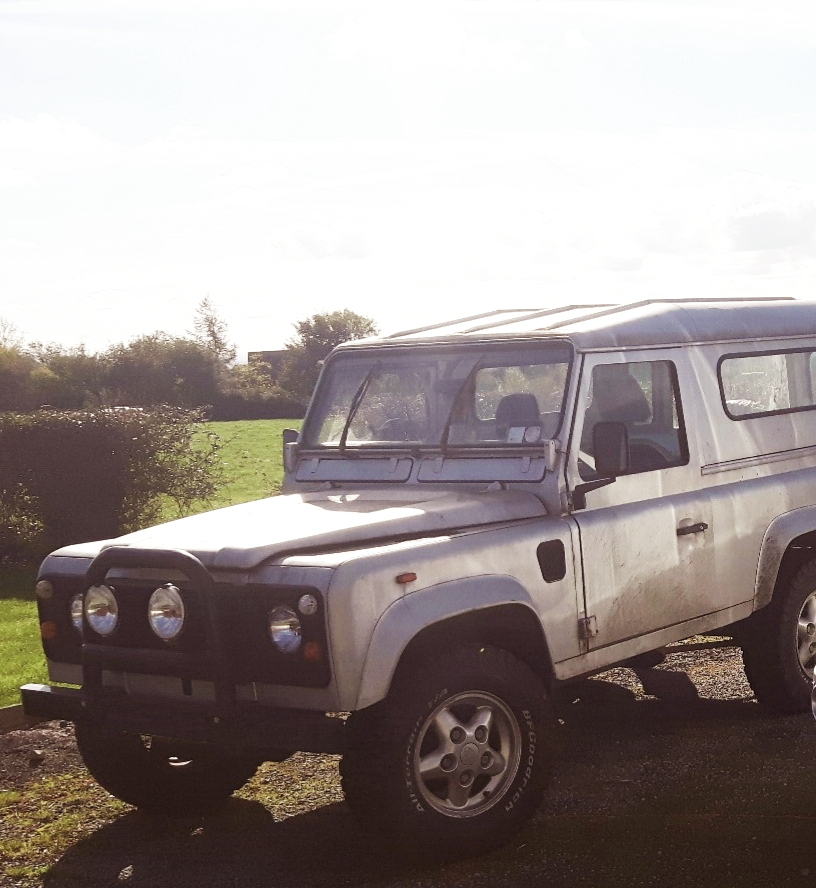
So I've finally started making headway with rebuilding my 1988 2.5 TD 90.

I've had it for about 10 years always intending to rebuild it but am only managing to get the time, money, and patience to give it a good go now.

I am by no means an expert and will greatly appreciate any advice or suggestions on how to get this road legal again :oops::oops::oops:

20200625-154901.jpg


I started back in mid May and have been heading in the right direction (I hope)

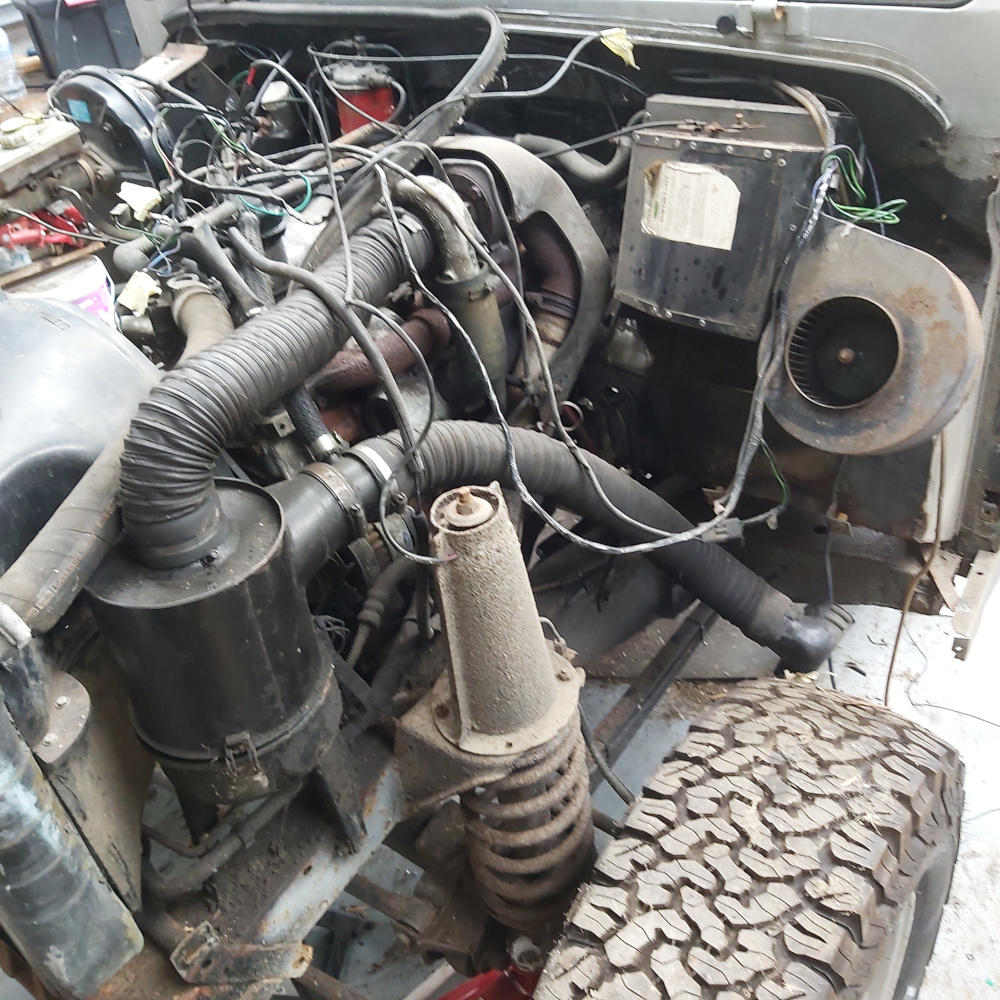
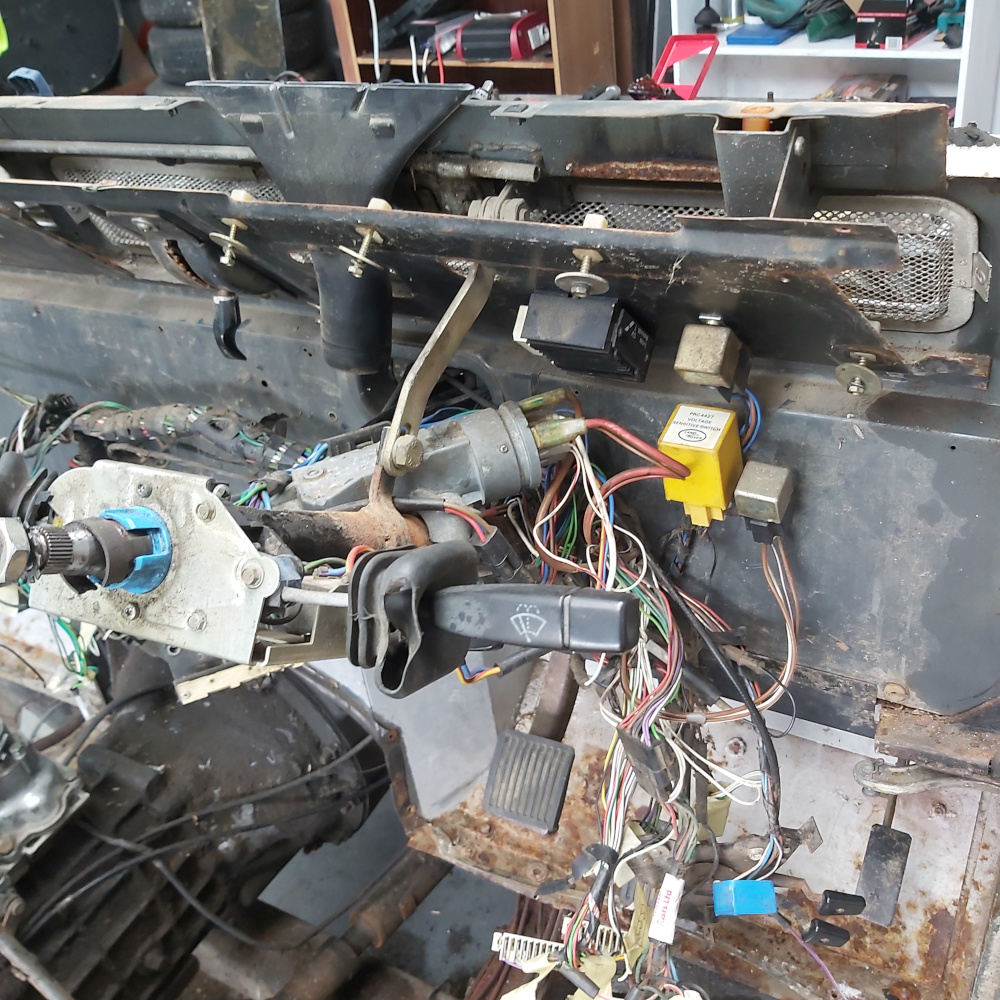
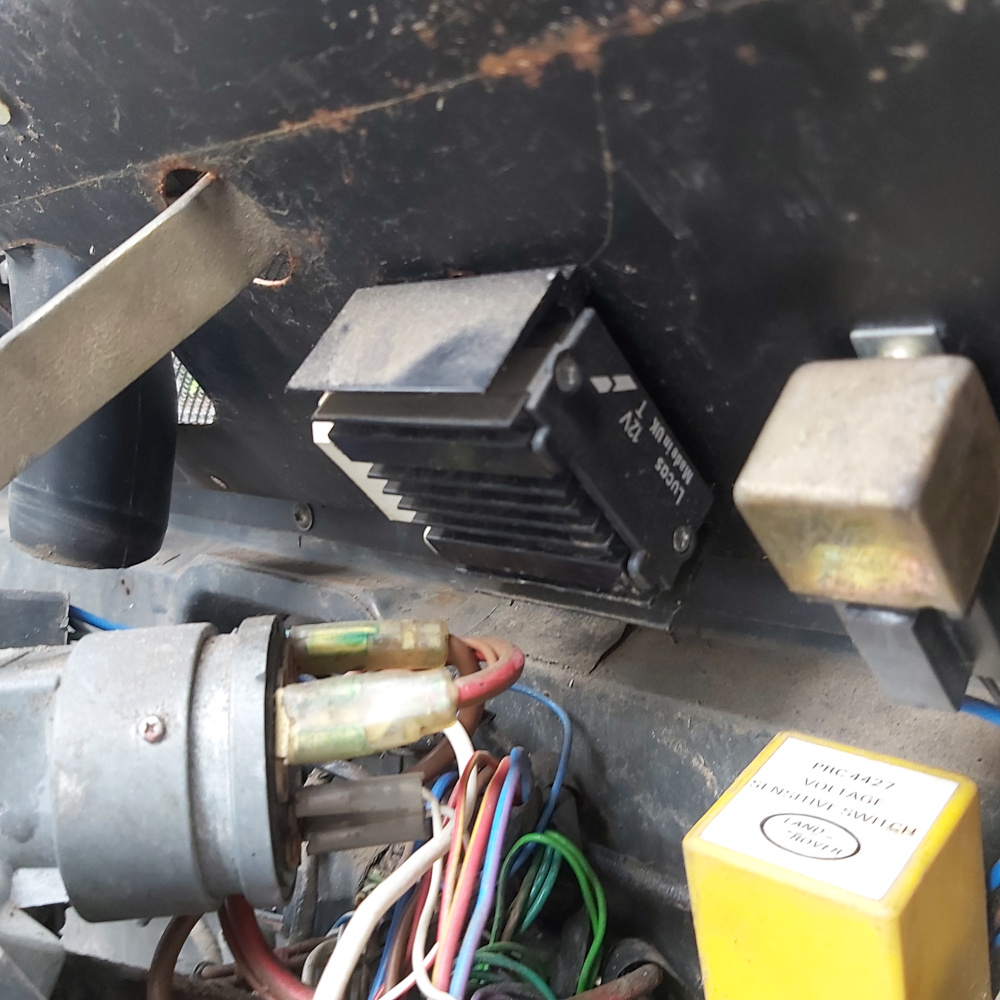
Progress so far includes
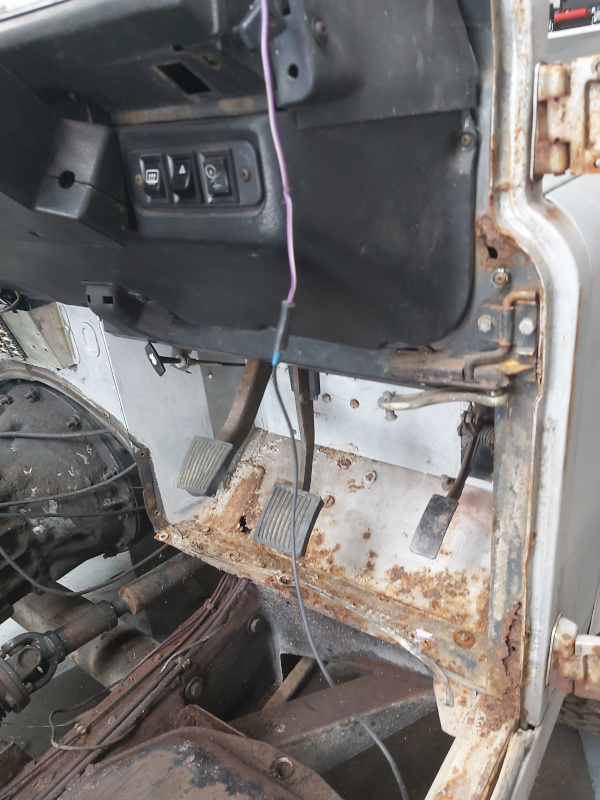
Removing doors (Some rust on the sills - not too bad I don't think)
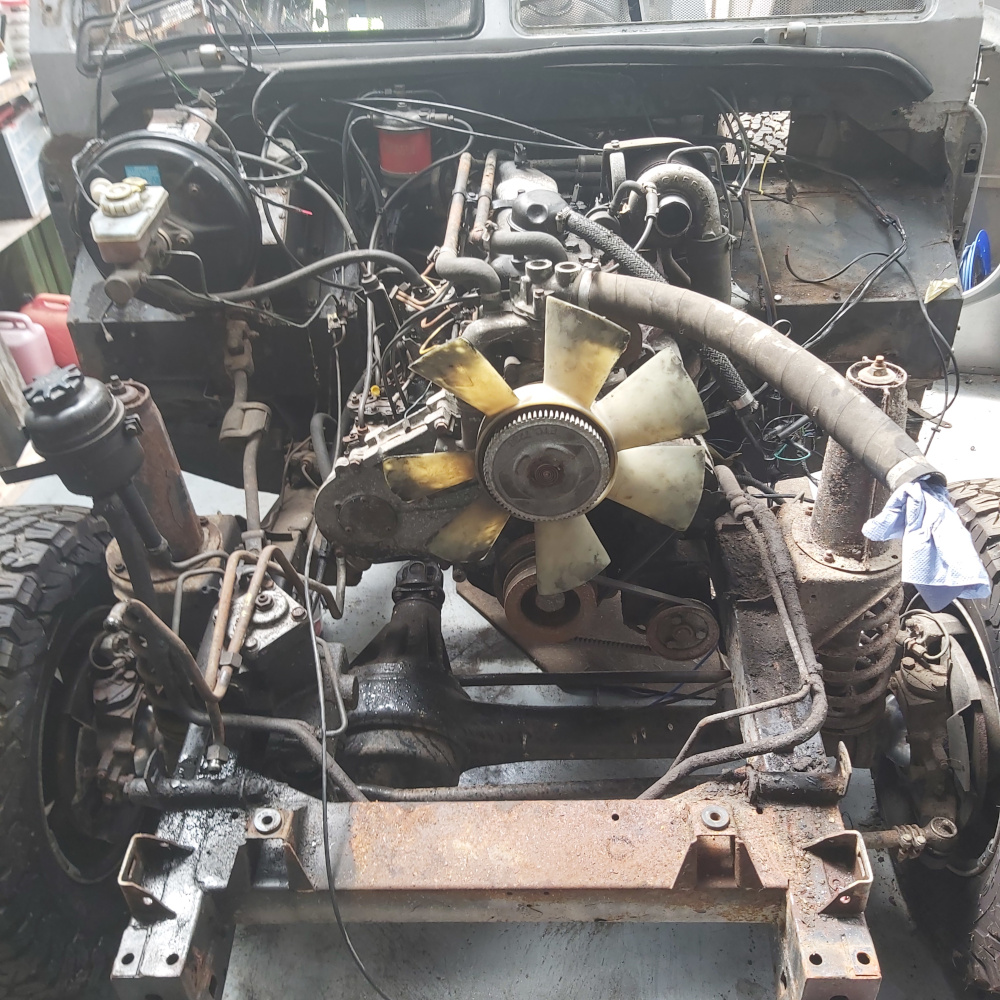
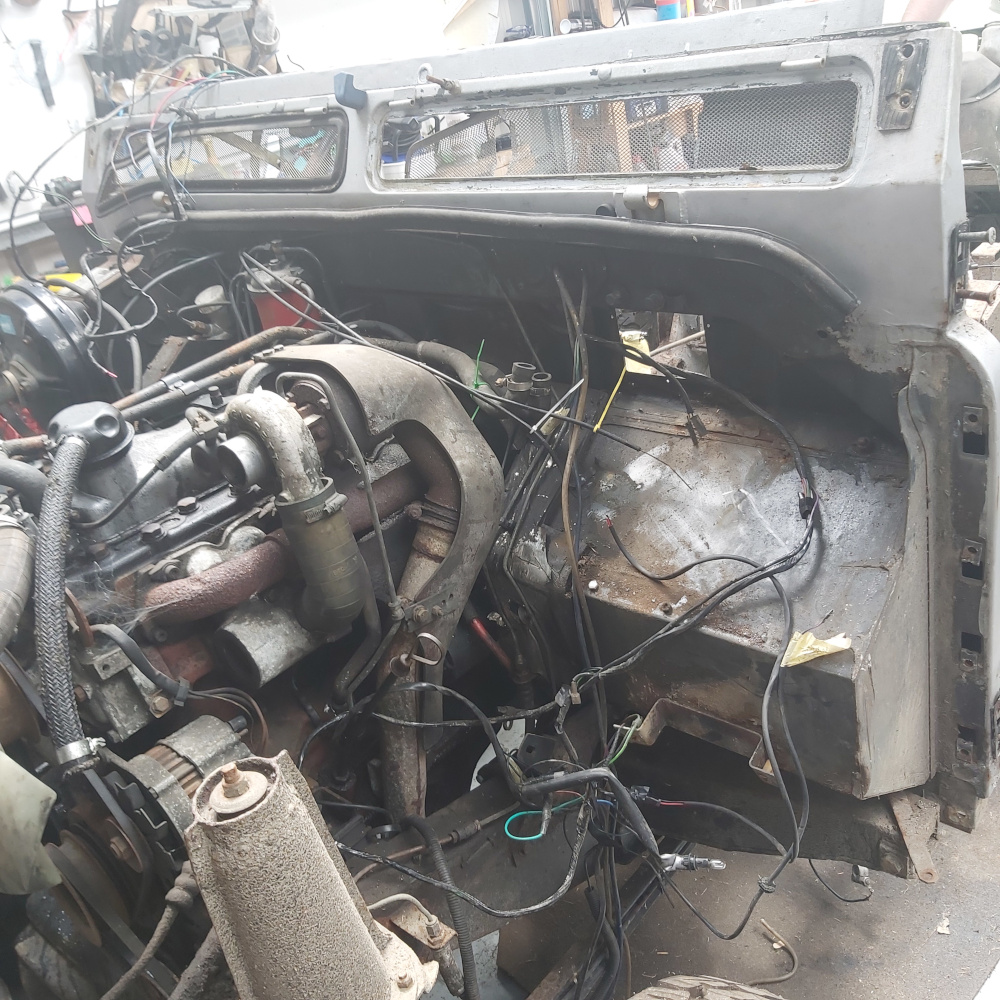
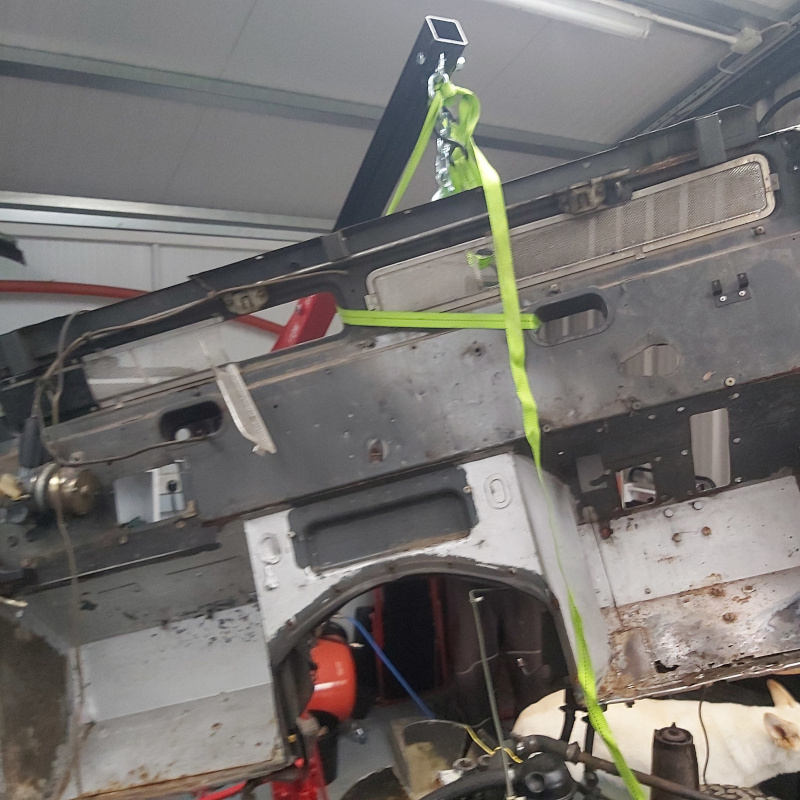
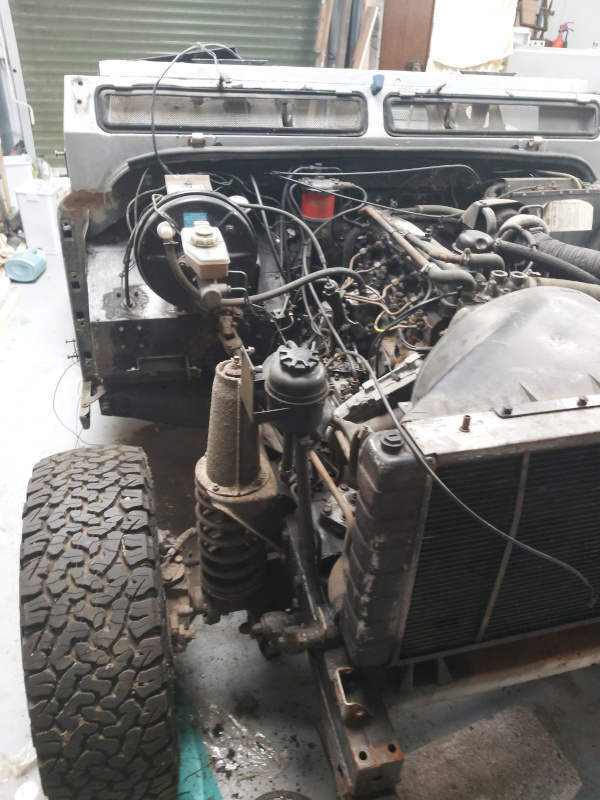
Removed the Roof, side panels, rear tub and drivers side front wing.

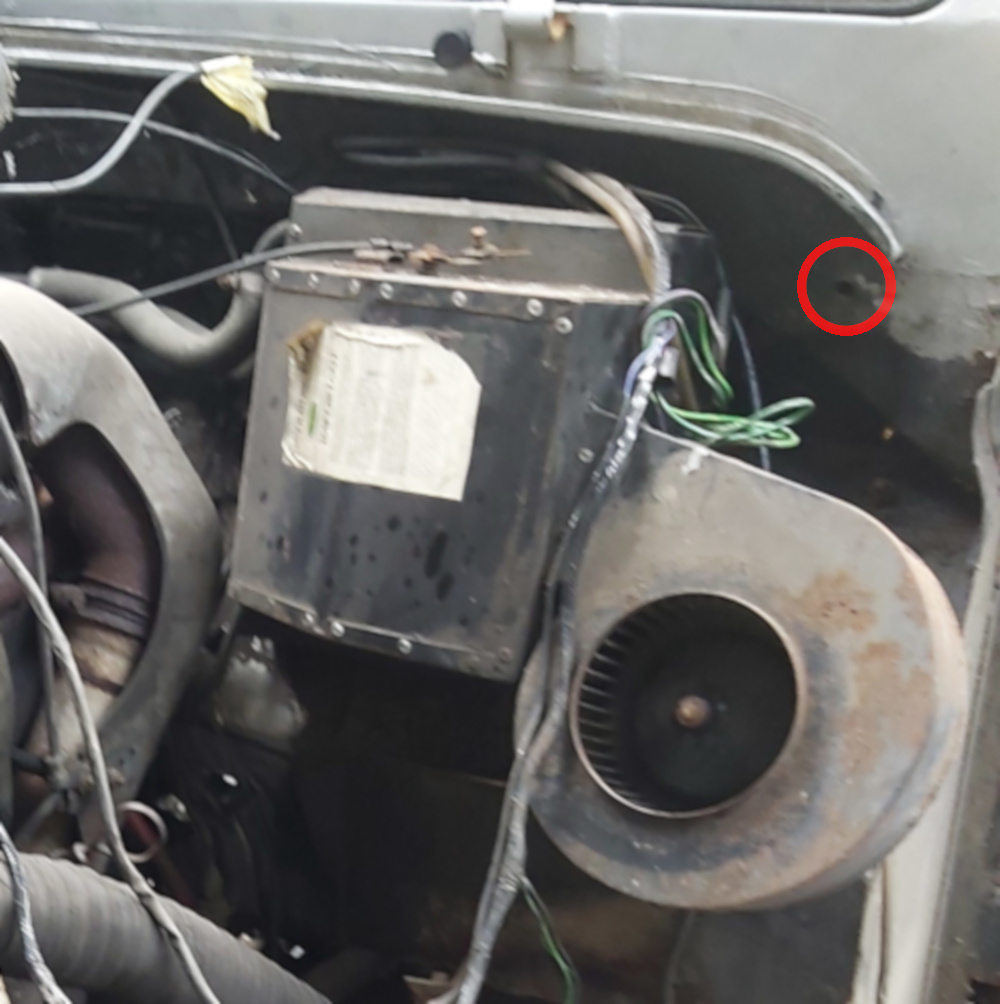
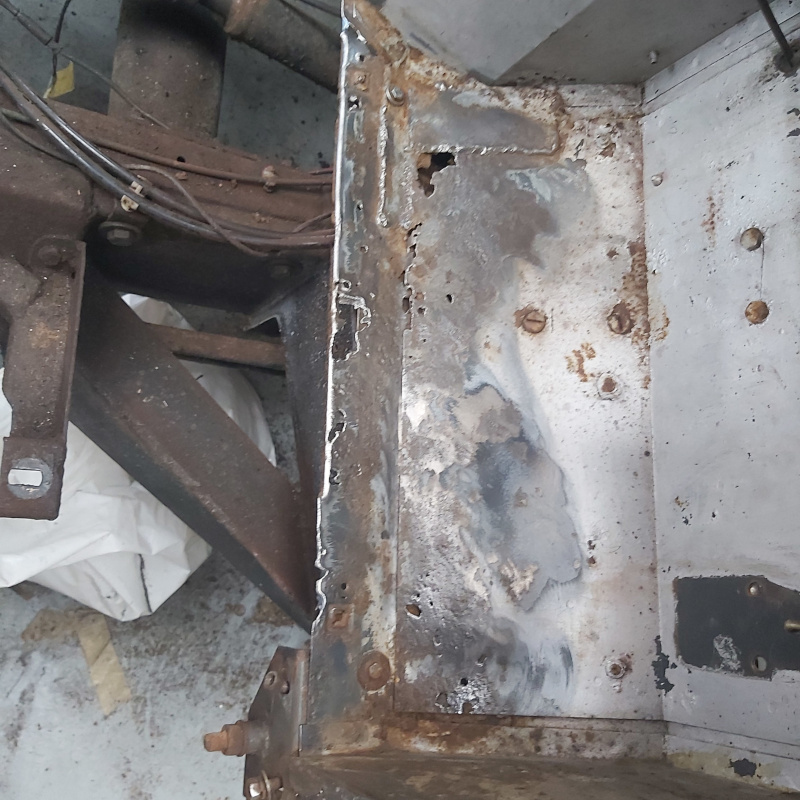
Overall (so far) I have been surprisingly rust free,
Areas needing attention include:
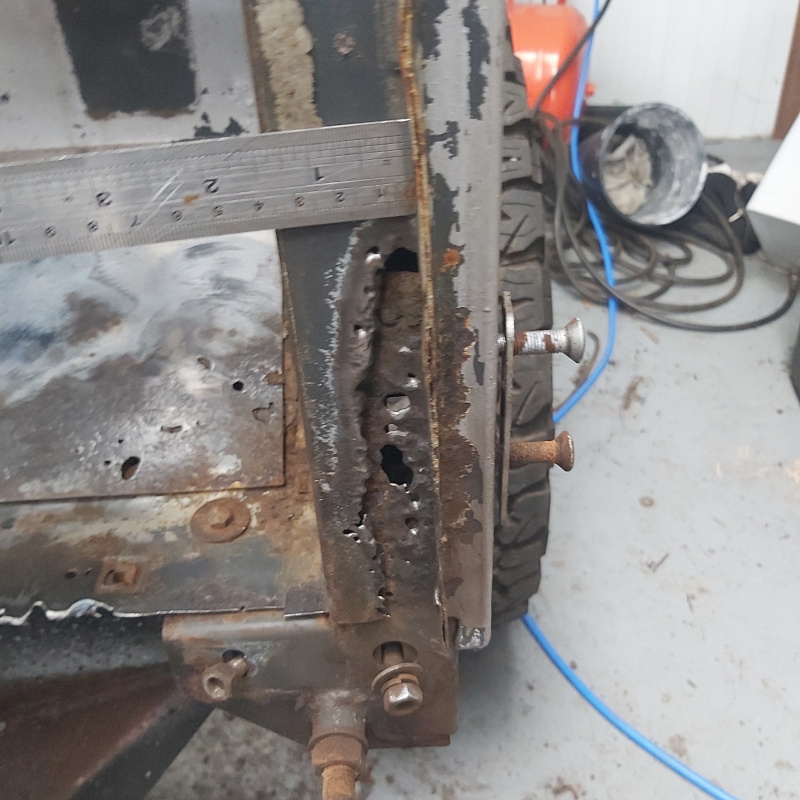
Driver side A Pillar
20200628-164326.jpg


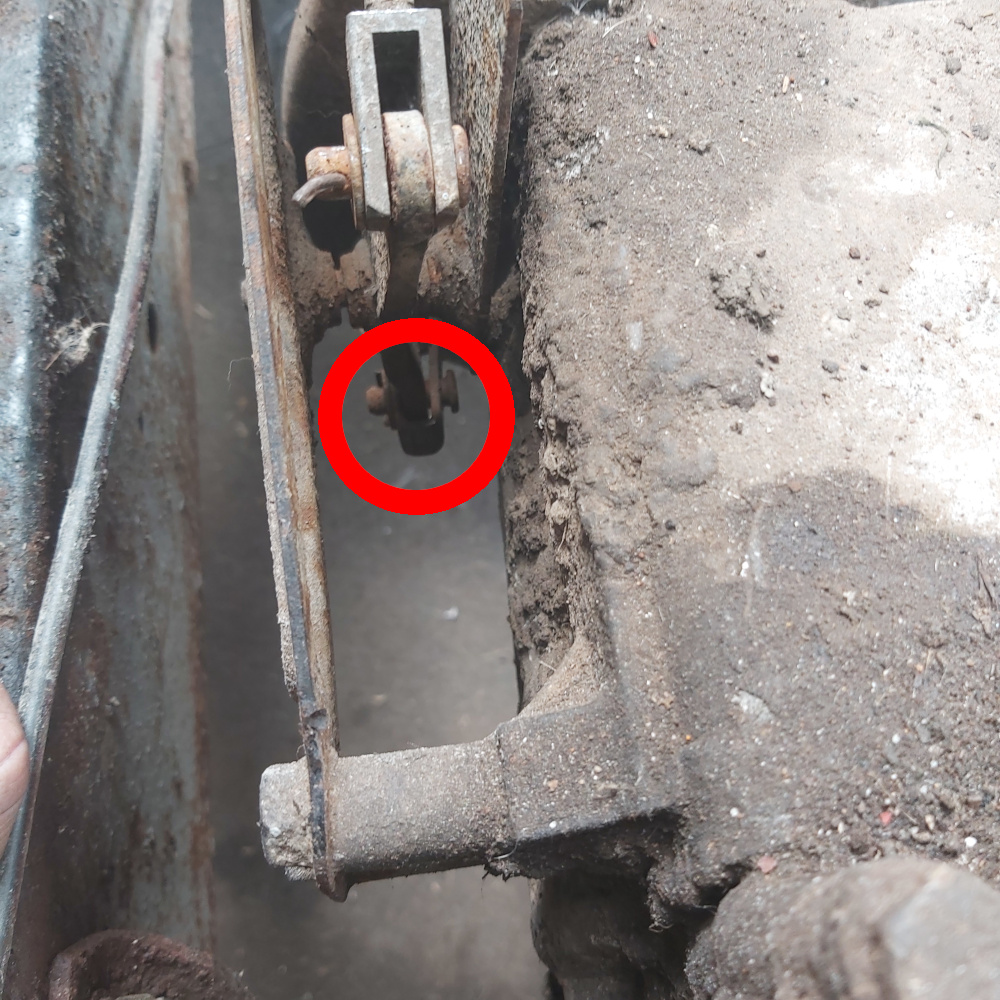
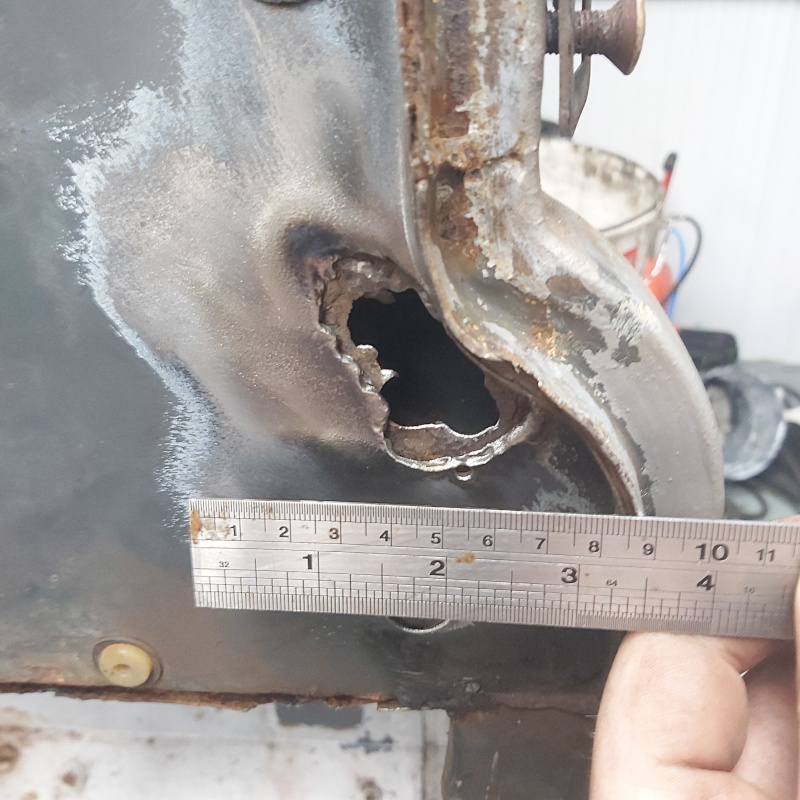
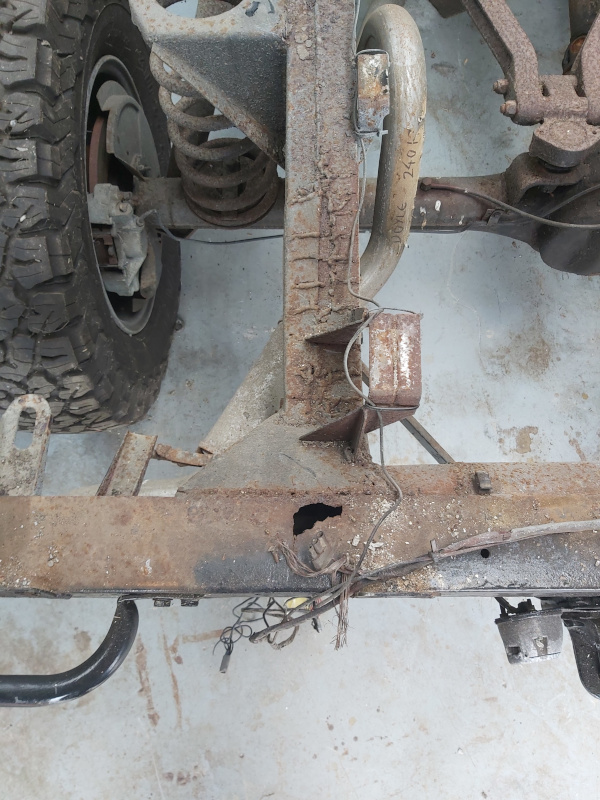
Small patches of the rear ross member

20200628-164218.jpg


20200628-164226.jpg


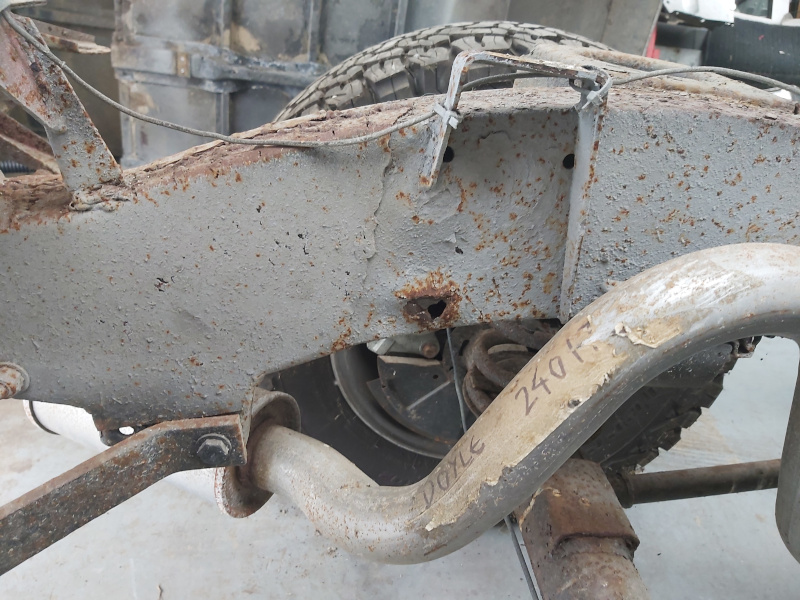
and the tub just in front of the bulkhead there is a big hole (haven't got a pic of it)

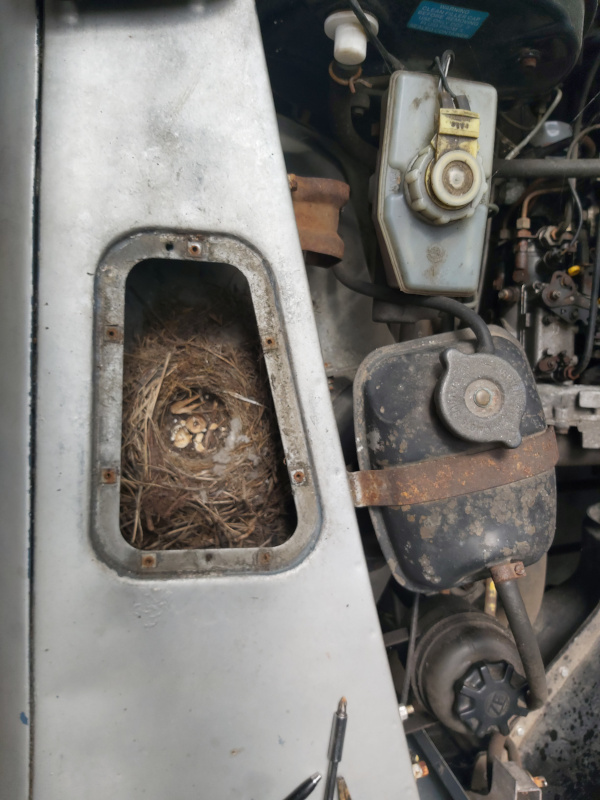
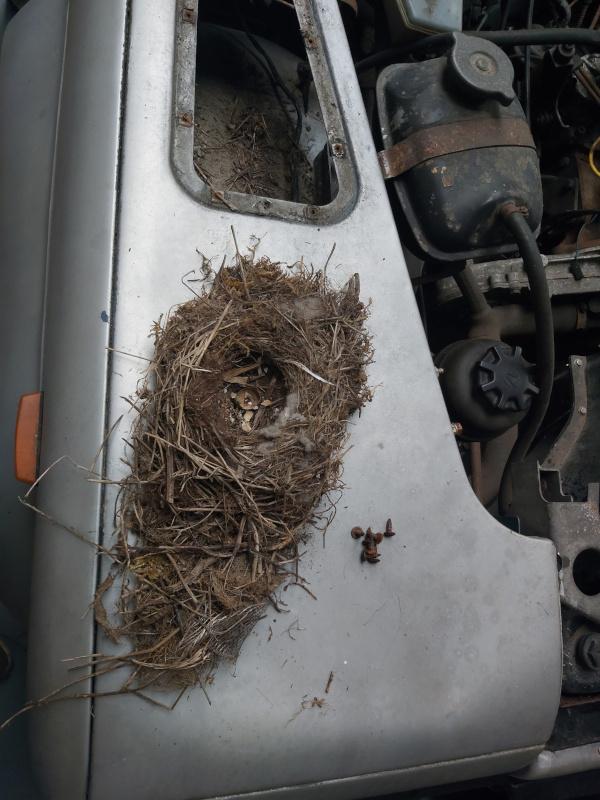
This landy has sat up for quite a while with the first few years being outdoors and as a result while I was taking off the front wing I came across an old birds nest with craked eggs still inside just under the plastic cover
nest.jpg


nest2.jpg


So this is where I've gotten to so far, I'll be working away at it across the summer with the hope of getting it finished in time for next summer.

20200628-200725.jpg


20200705-171239.jpg


Hopefully I will get out to it again this weekend and will post an update with what I manage to get done,

Michael.
 
Last edited:
Managed to spend a few hours on the landy again today.

Removing the passenger side wing proved to be an absolute nightmare as the screw holding the wing to the bulkhead was turning in its rivnut, a liberal amount of drilling and swearing got me through in the end,

20200711-1654592.jpg


So this is where we are with the front end

20200711-165459.jpg


Managed to disconnect and label each of the wires going to the Binnacle (will be replacing it with a raptor engineering one).

20200711-174349.jpg


I discovered this box behind the Binnacle which wasn't connected/wired to anything, anyone have any ideas as to what it is?

20200711-173314.jpg


Thanks,
Michael
dim dip relay
 
Managed to get a few more hours in on the project this weekend.

I started by removing the radiator and draining the coolant, straight forward enough if I hadn't kicked over the bucket shortly after draining the rad

20200719-133008.jpg


Following that the heater matrix was out in no time, again a small coolant spill occurred

20200719-133019.jpg


Following that, I decided to face a problem this Landy has had for quite some time, a sticking handbrake.

I started by removing the rear propshaft connecting to the handbrake drum but one of the bolts was rounded so ended up chiseling it off :oops::oops::oops:

After inspecting the linkage it seemed very stiff and looked as if it wasn't fully returning when the cable was released, a gentle tap of the hammer on the bottom of the linkage made it move towards the drum and freed the handbrake completely

20200719-142336.jpg


My plan is to remove the linkage, clean it up and reinstall it and see if it moves a bit more freely - hopefully this will free things up.

My plan for next weekend is to introduce the chassis to a pressure washer.

Thanks,

Michael
 
This weekends "quick wash" ended up taking considerably longer than expected.

There's quite a steep ramp-up to my garage so I wasn't sure that once I got it out I would be able to get it back in (2-tonne towing bar can be used for both pulling and pushing)...

So pulled the Landy out and started at it with a pressure washer, managed to get all loose the dirt and flaky rust off pretty easily and that's when I started to run into trouble.

The transfer box and gearbox were caked in an oily/muddy mix and ended up being an absolute nightmare to get off,

Here's a couple of "before" shots

20200726-113312.jpg


20200726-113328.jpg


and after more time bent over it with a wire brush drill attachment than I would like to admit to

20200726-204734.jpg


20200726-204801.jpg


I've had issues with the hand brake sticking for some time and finally got it all sorted, the linkage was completely seized and full of s**t so after a quick clean, paint and re-assembly I have a handbrake that will both engage and disengage... I'd call that a success

Before:


20200628-185946.jpg


After:

20200726-204731.jpg


Getting something off, stripped, painted, and re-attached is a welcome change from the norm of just removing and adding to the ever-growing pile of parts described as "that needs a bit doing to it"!!

Next on my list is to get the drum off, give it a clean and a lick of paint then finish cleaning the gearbox and bell housing.

Thanks,
Michael
 
Did you figure out what this is (i've got one and don't know either) ???

I've had it off and all knowing google tells me its a dim dip resistor cotrol unit as jamesmartin says above...

It has lucas 37801B stamped onto it.

Mine wasnt connected to anything though so I'm not 100% sure why it was in there!
 
What does it do James ?
first position of light switch puts side lights on but with engine running headlights come on dim as driving lights, the second position puts head lamps on full dip or main beam,was a requirement from the 80s onwards when you werent supposed to drive on just side lights
 
It's been slow progress lately with the 90.

With work and starting a masters the poor landy has really been struggling to get some one on one time with me but we have made som progress in the last couple of months.

I pulled the bulkhead off to have a right good inspection of if

20200905-182924.jpg


Overall, it's in very useable condition. It needs a bit of work around the drivers footwell and a pillar but will definitely be a repair rather than a replace

20200816-110940.jpg


20200816-110909.jpg


20200816-110926.jpg


Once the bulkhead was off we had a second look at the chassis. Overall it's not in the worst condition, and could be reused. the front 2/3 of it is in quite good nick with the exception of the drivers side dumbiron. The rear 1/3 is a different story. Rear cross member is shot, the chassis rails are a patchwork of bad repairs and could do with replacing. It's at this point I started convincing myself this old girl deserves better, my mind started wandering and before I knew it I was looking at galv chassis... decision made, a new chassis is the way to go.

With this development, I set about stripping back the chassis. I had never intended pulling the engine and gearbox but here we are,

20200927-145607.jpg


The motto of this project has changed slightly from "Budget build" to "in for a penny, in for a pound"

Hopefully this weekend I will get the rest of the chassis stripped and outside the shed to free up some space.

My plan is to start restoring parts while I have the space and wait until everything is cleaned/painted/replaced before I bring the new chassis in and start rebuilding.

Thanks,
Michael
 
You don't mess around do you Michael?
Clearly, you're going to end up with something really good.
Keep us all updated!

I've justified it to myself by saying I've been looking at it rot for 10 years and now it deserves a bit of TLC :D:D

Hopefully it all works out now, remembering how it all goes back together will be the fun bit ;)
 
Back
Top