- Posts
- 16,482
Last year the L322 MOT was almost a bust due to a very ineffective handbrake….so this year I decided it was about time to take a look at the handbrake shoes and replace them.
Changing the shoes is dead simple enough….it is the adjustment afterwards that is a PITA.
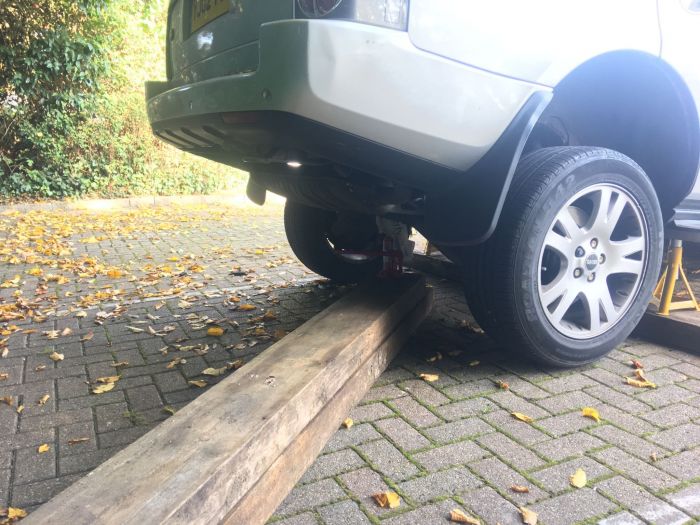
So to start, lift and secure the vehicle, both rears wheels have to be off the ground for this task as you need to adjust each side once the shoes are fitted!
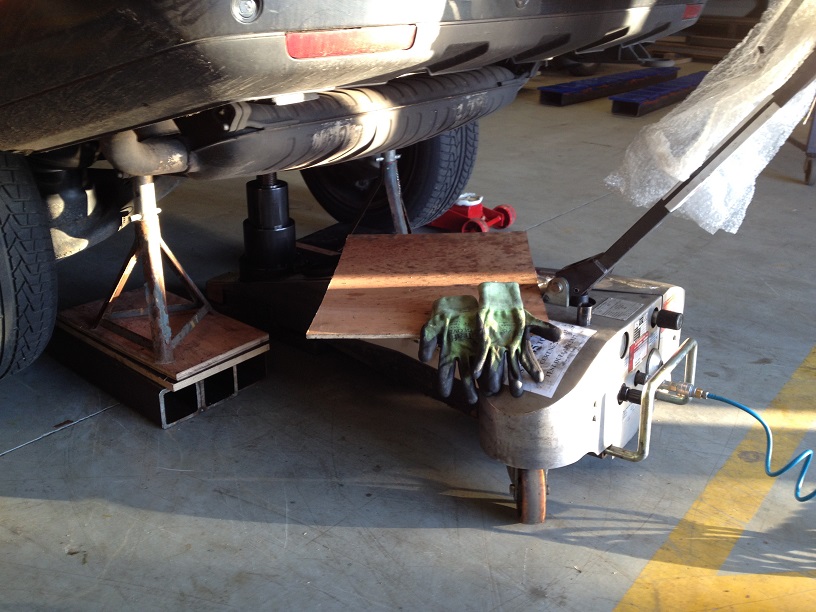
Working for a company who specialises in Aircraft tooling, GSE and components, I decided to use a small 45tonne Aircraft Axle Jack (we do have some 150 tonne axle jacks but they are too big to get under!) rather than lugging out the 12tonne bottle jack I normally use, and also the Aircraft Jack uses compressed air to operate meaning I didn’t have to pump it up manually
But even though the jack is capable of lifting over 15 L322’s at once, there is no excuse not to also support on stands too!
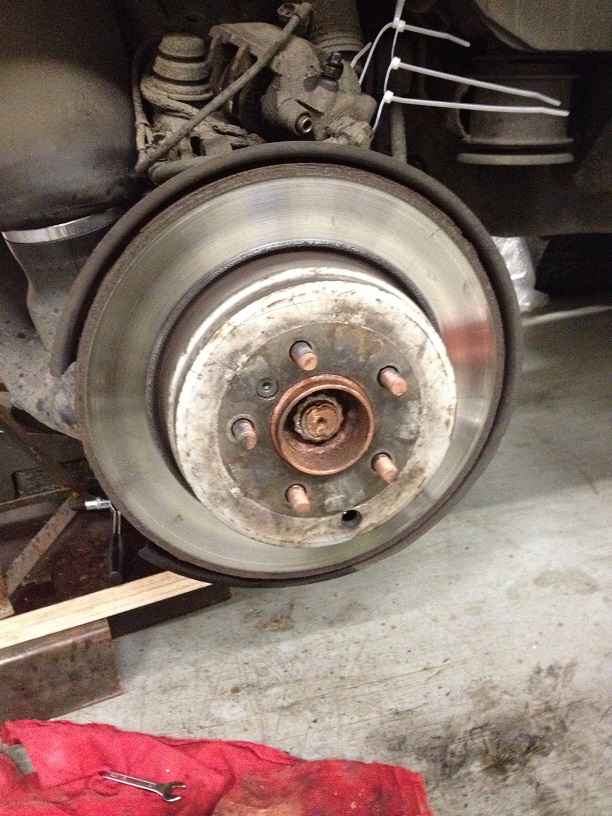
Remove the road wheel
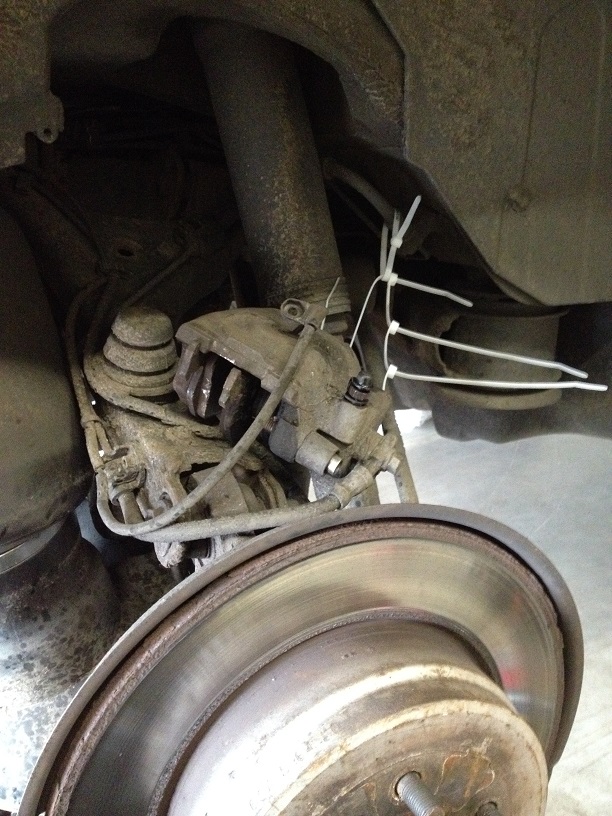
Lever out the calliper spring
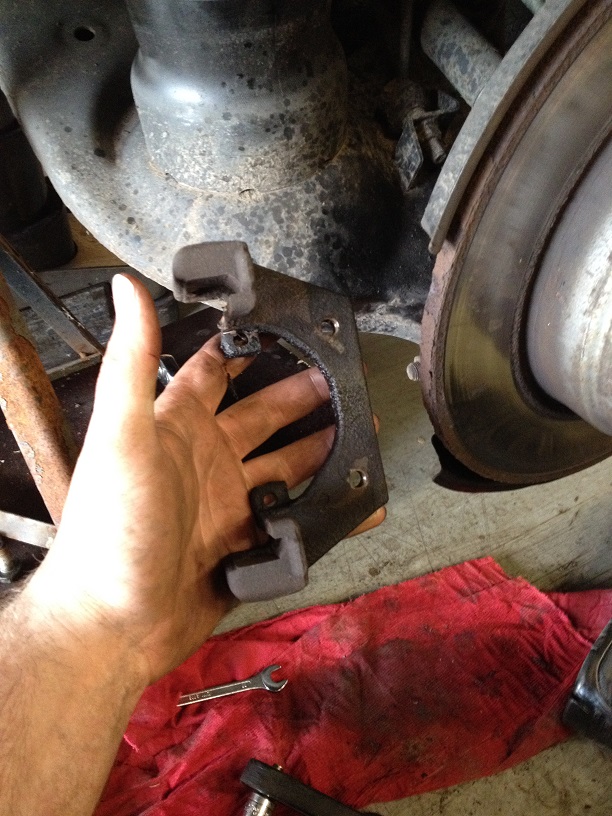
Now you have two options, either loosen the brake pads and then remove the whole calliper and bracket as a complete unit or (as I did) remove the calliper and then remove the bracket
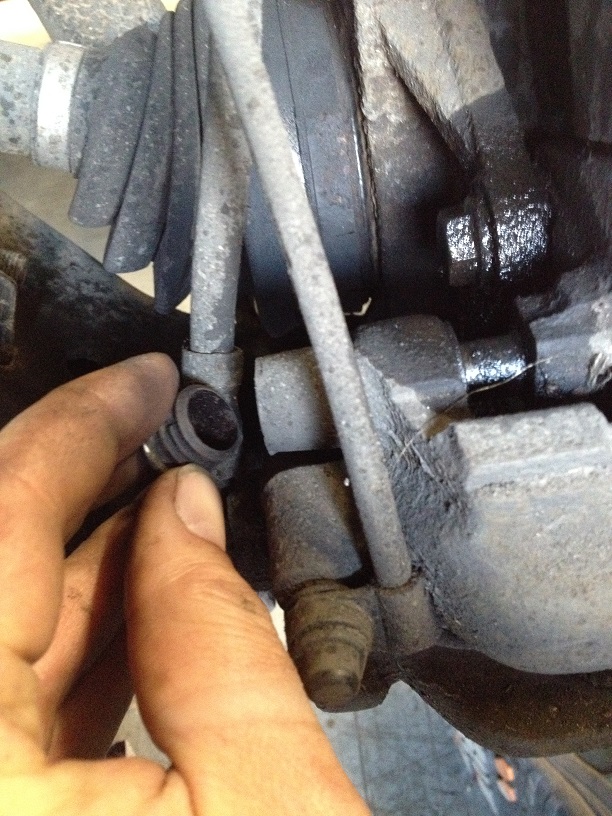
Pop out the calliper slide/guide pin bung
Take the cover off the bleed screw and crack open while pulling/levering the pads away from the disc. Maintain leverage on the pads and do the bleed screw up, this way the brake system doesn’t draw air back into the system if you do the bleed screw up while it is still pouring brake fluid out of it!!
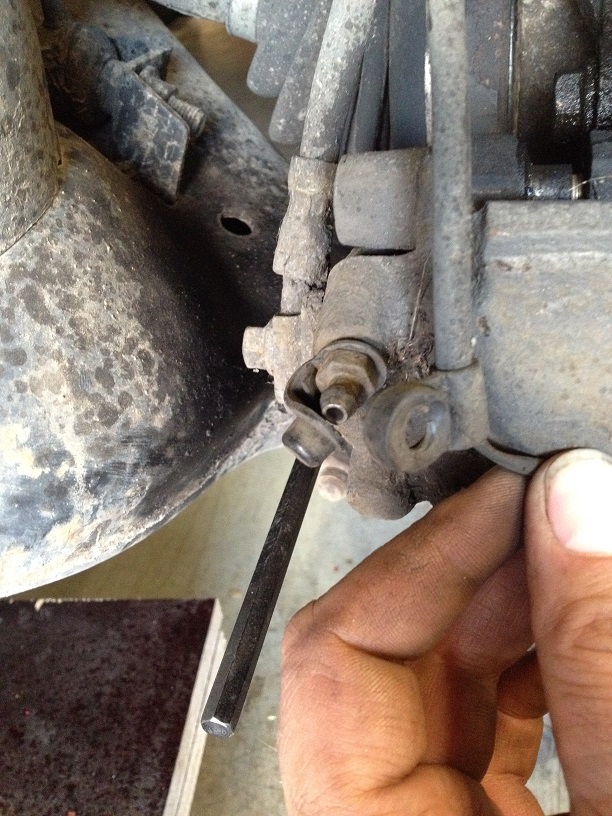
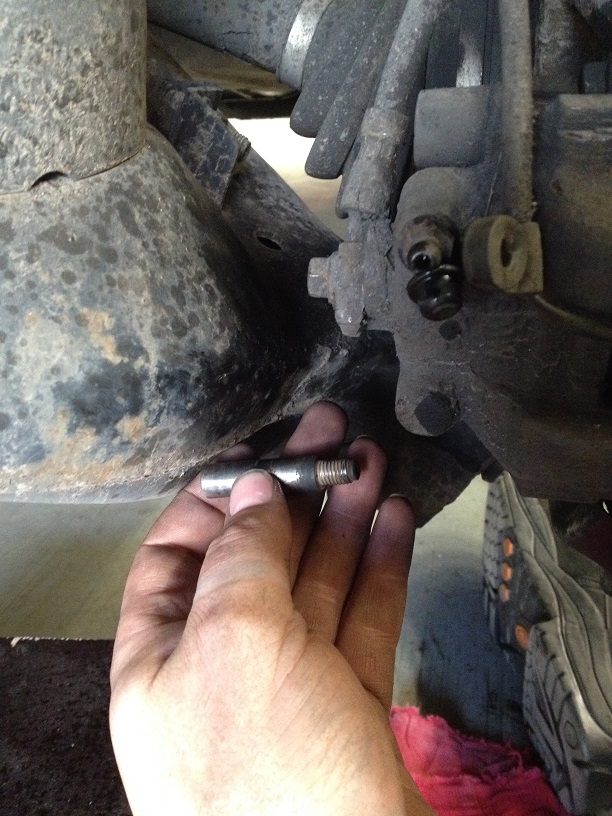
Using a 7mm allen key, undo the two slide pins and carefully remove the calliper out of the way. Tie it in place so it doesn’t fall or hang on the brake hose.

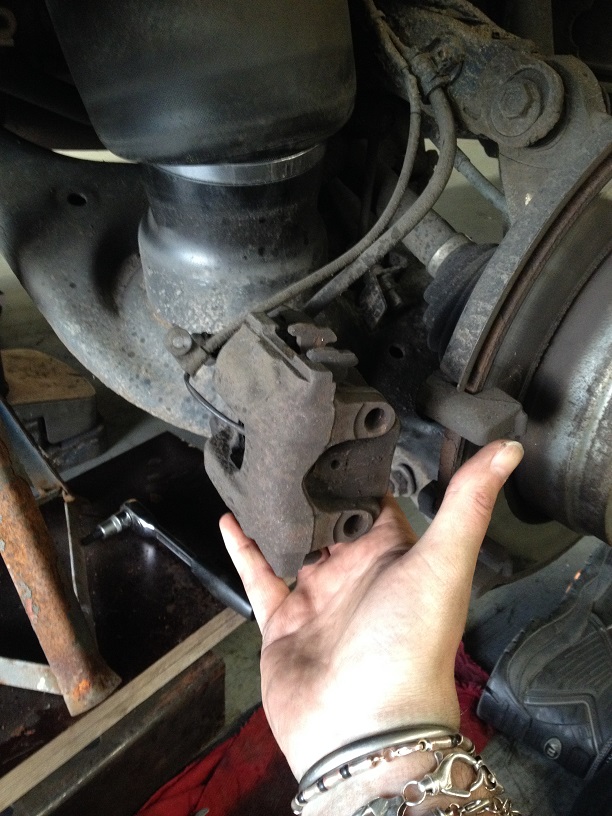
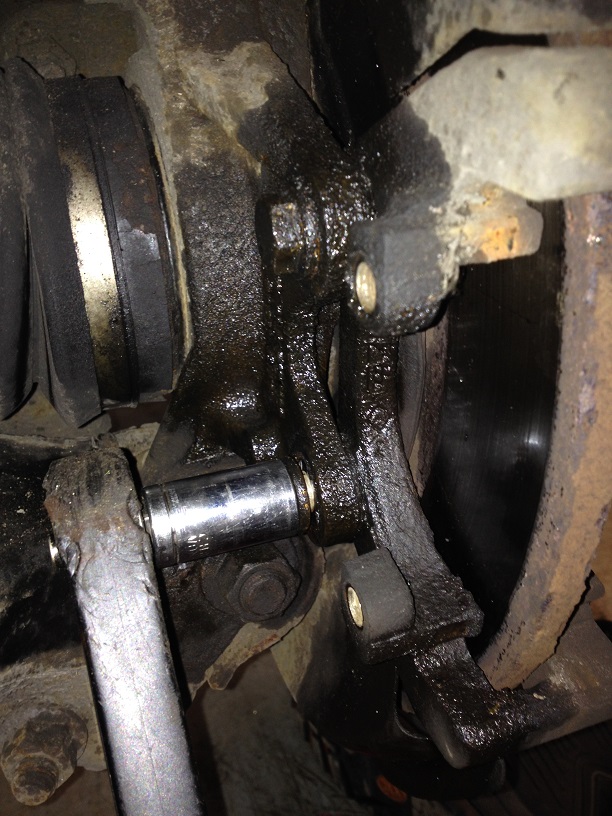
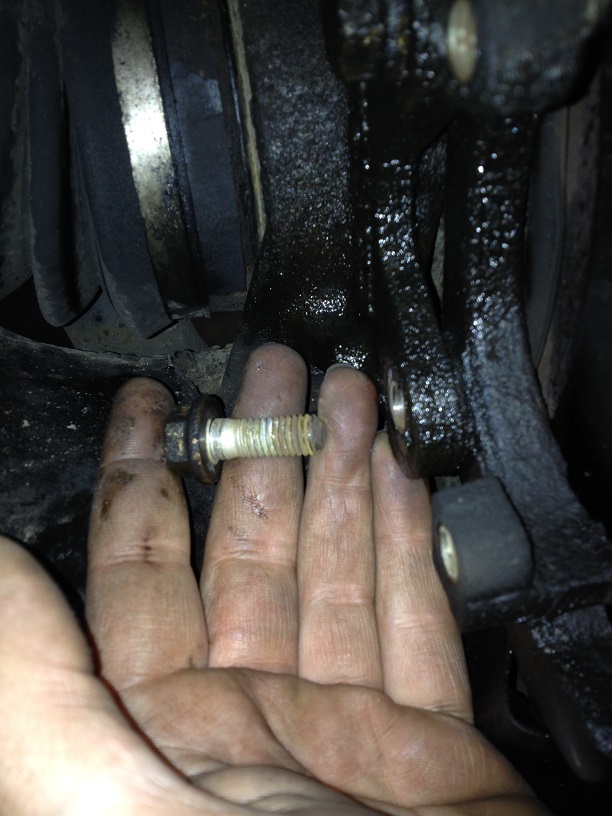
After applying some penetrating fluid to the calliper bracket bolts use the right size spanner/socket (5/8 if I remember correctly)
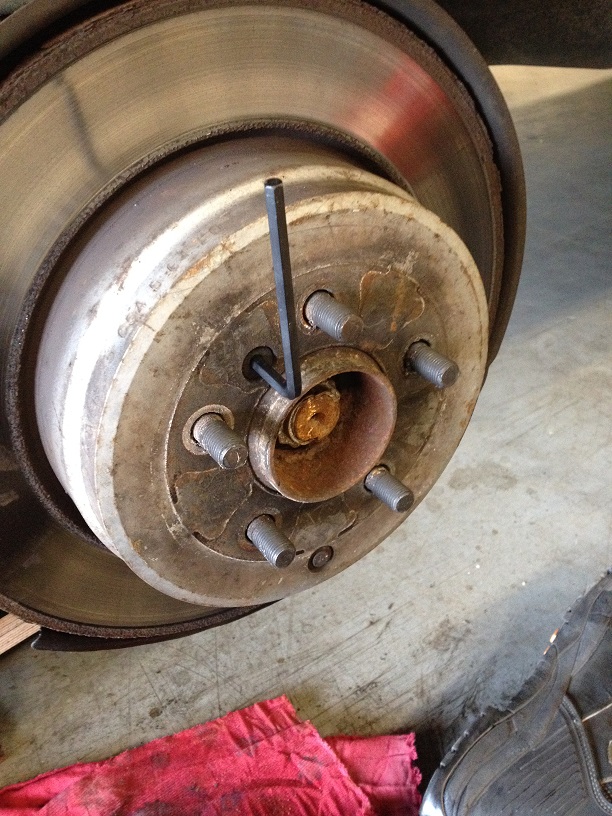
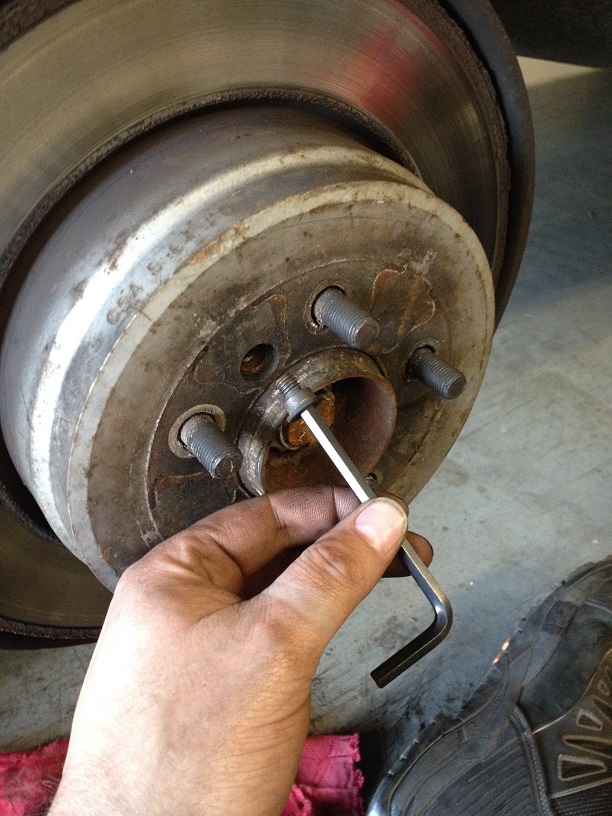
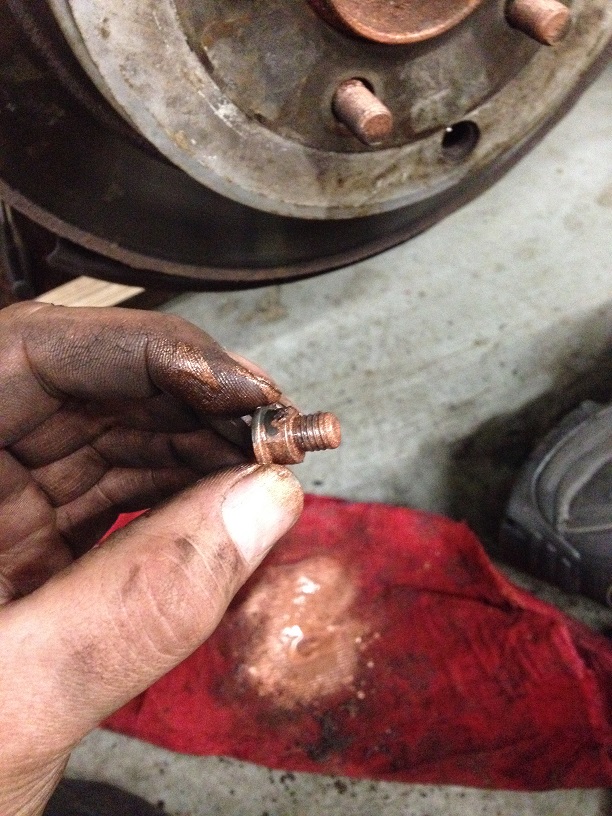
Using a 6mm allen key, undo the disc retaining screw
Remove the adjuster hole bung
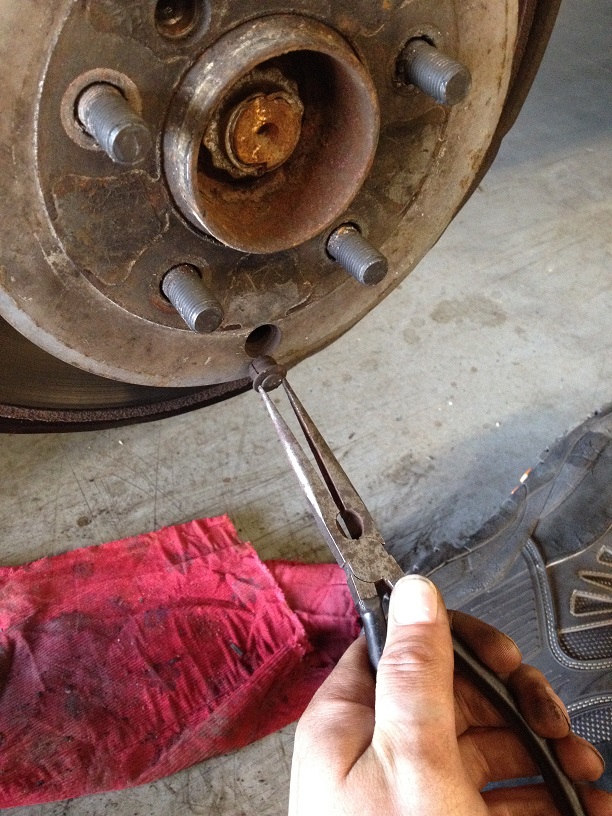
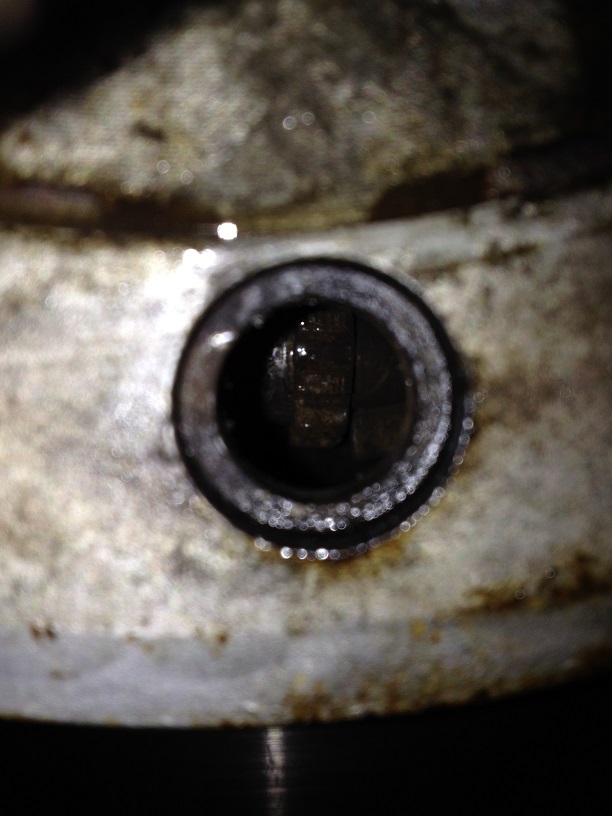
Line the hole up to the adjuster cog (approx 6 o’clock position) and use a flat blade screwdriver or similar turn the adjuster to follow retract the brake shoes (which direction depends on which way round the adjuster was fitted – so just turn it till either the disc stops rotating freely then turn it all the way the other, or turn it until it stops and the disc still turns freely)
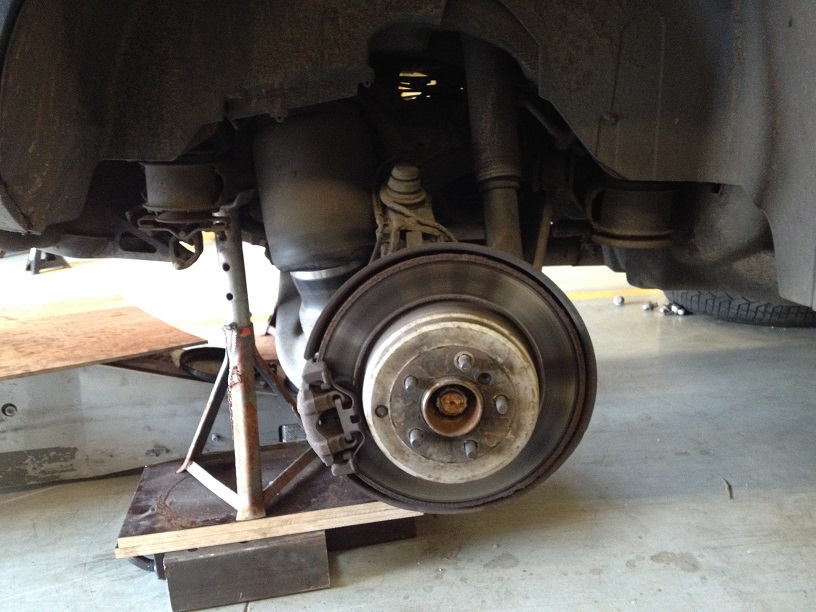
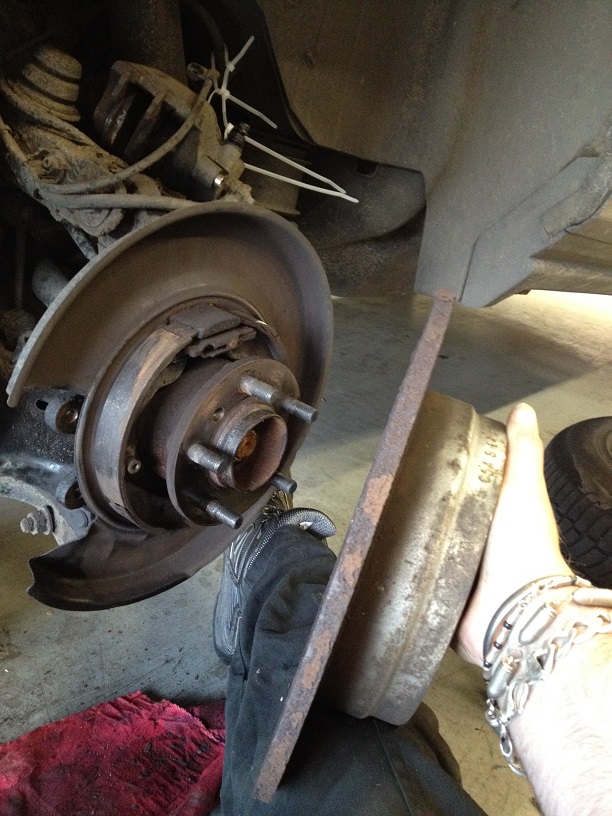
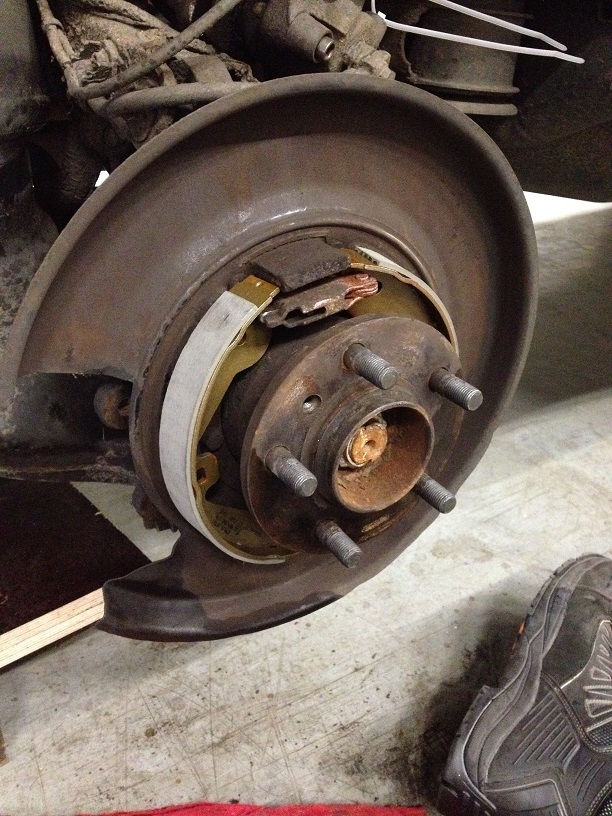
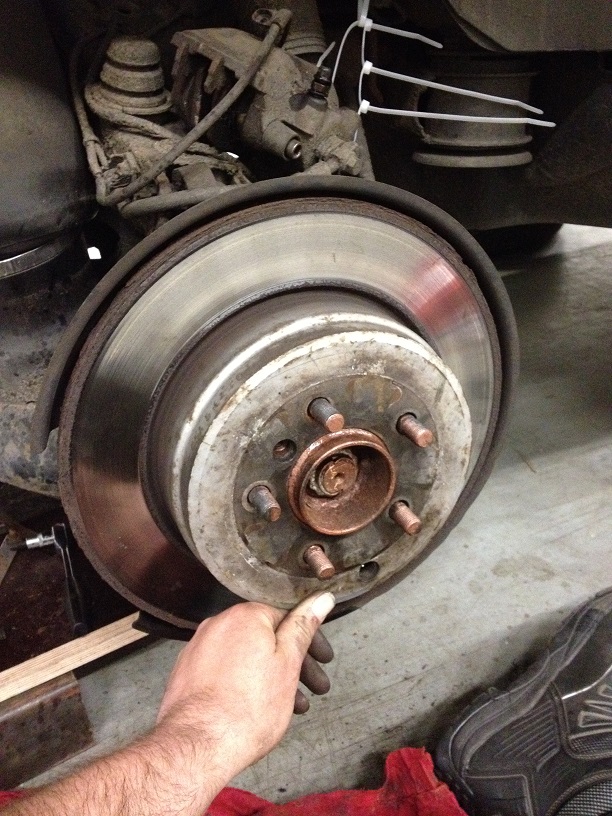
Then with a few taps with a soft mallet to loosen the disc to hub contact, remove the disc
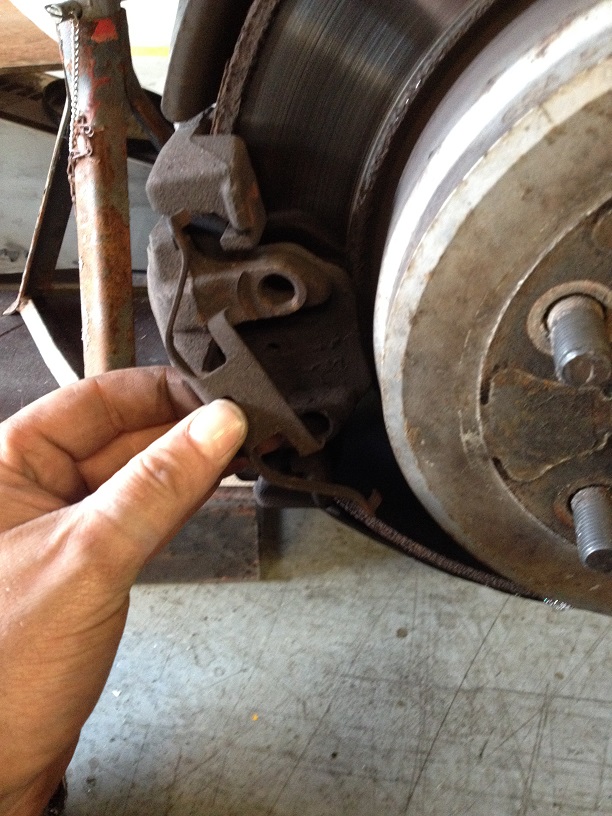
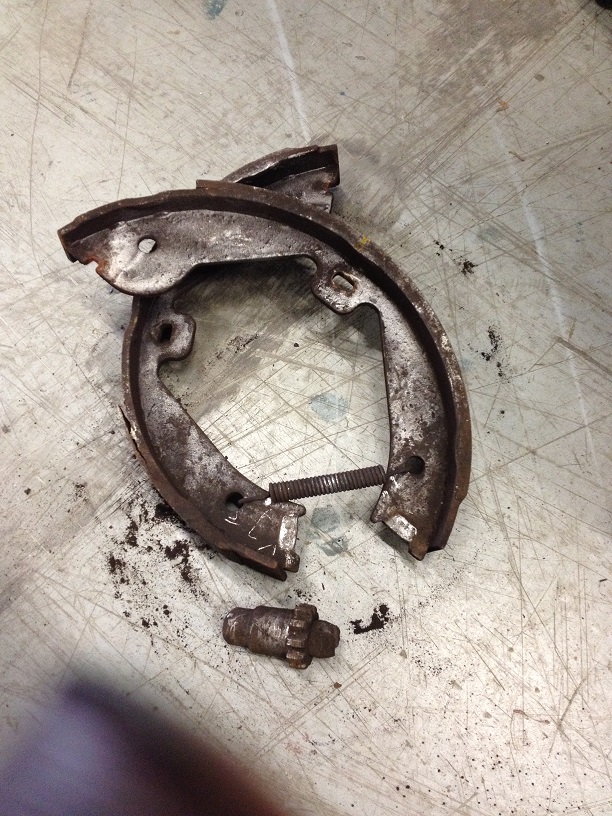
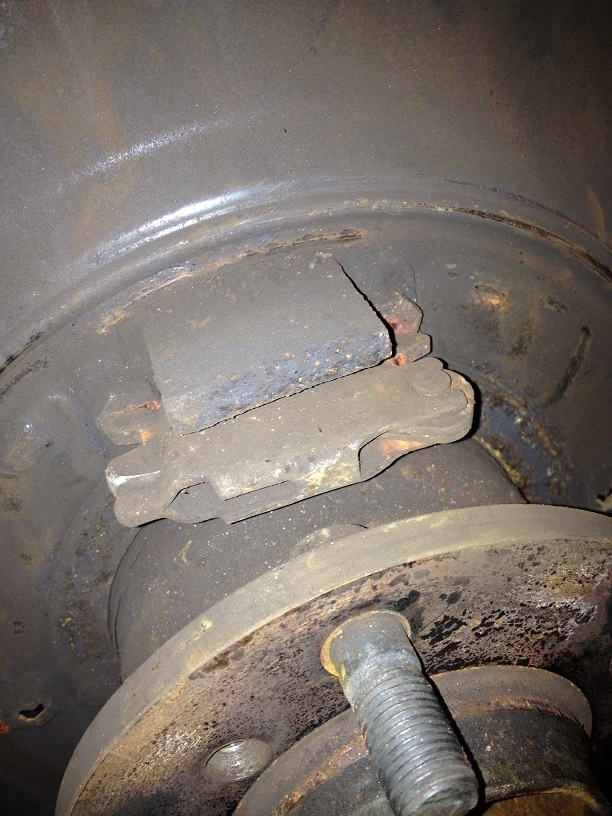
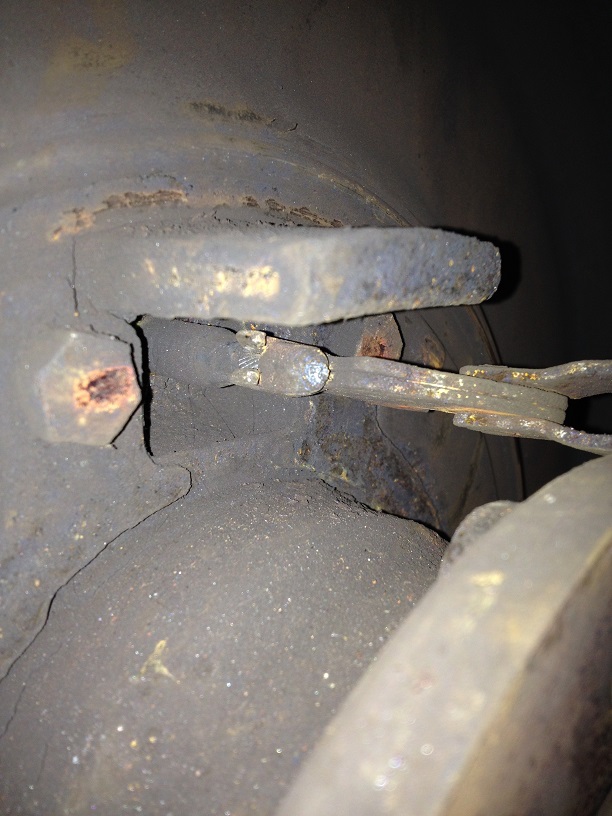
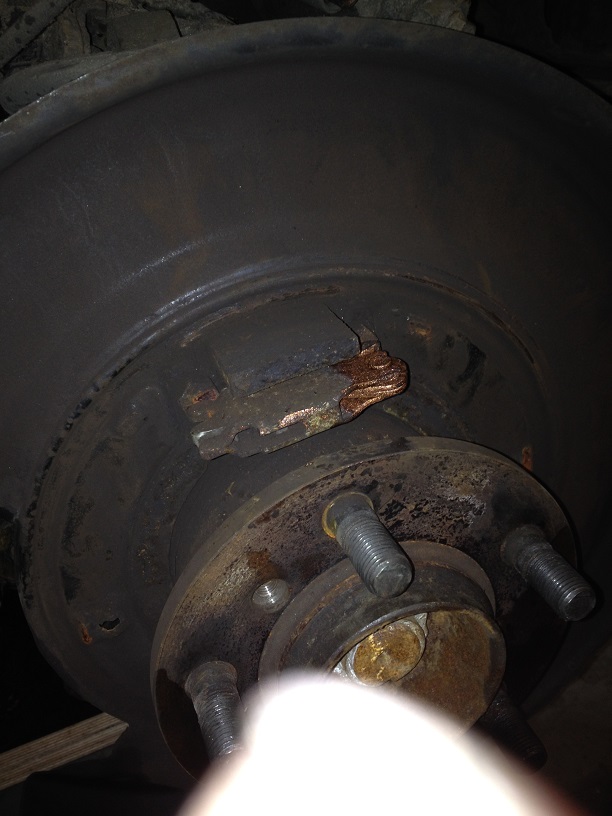
Immediately, the ineffectiveness became apparent!
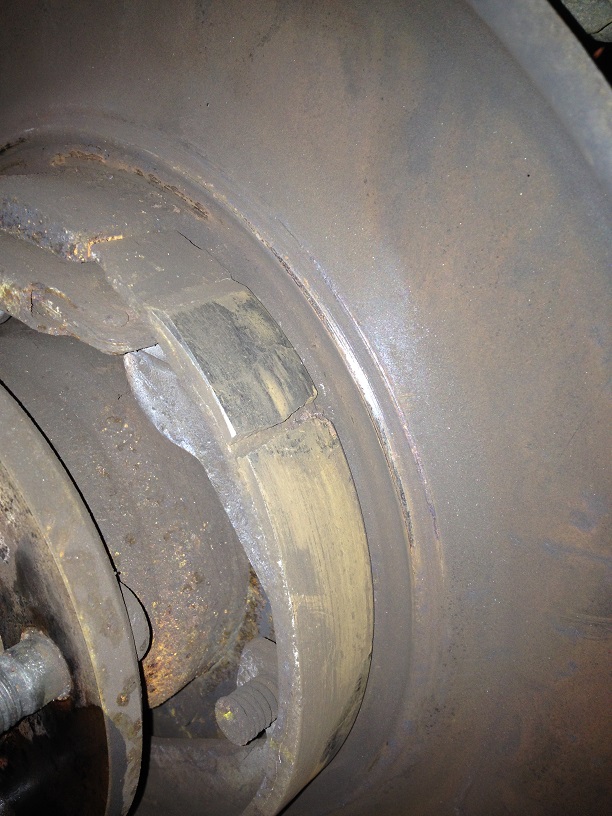
Imagine if one of those fragments came loose and jammed the brake on at motorway speeds!!...Made me shudder that’s for sure!
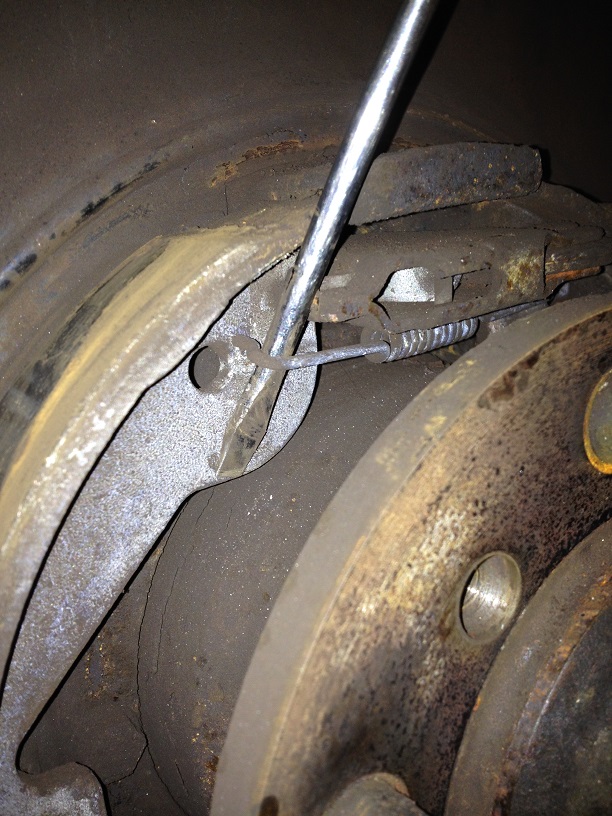
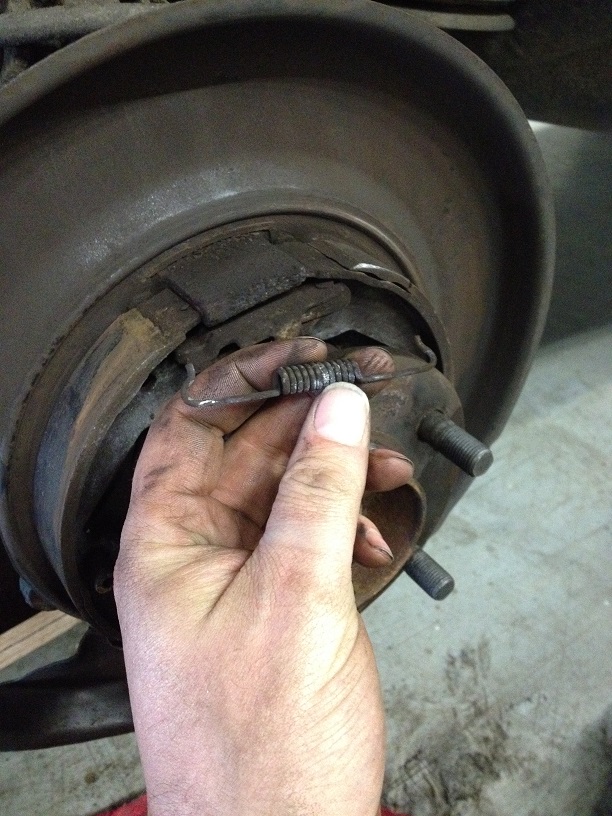
Lever off the top return spring
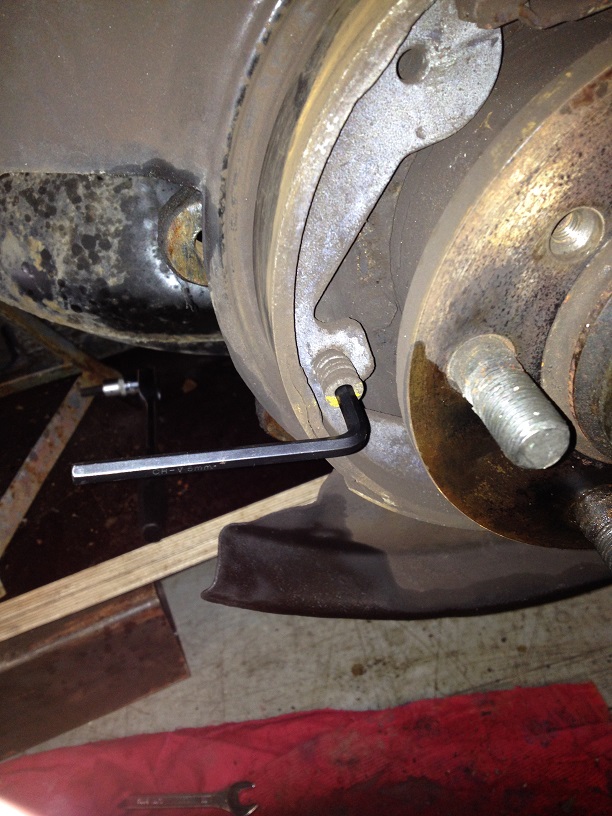
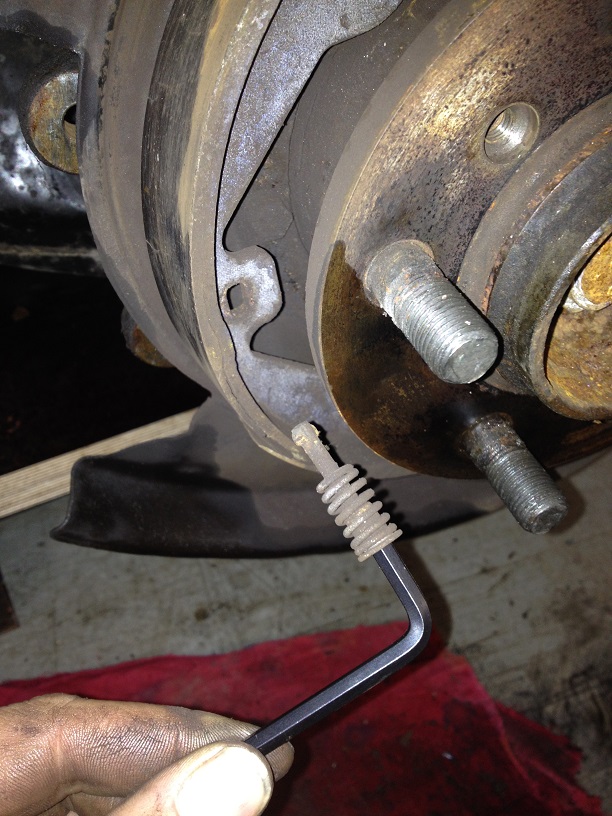
Using a 5mm allen key, quarter turn the shoe retaining pins and withdraw
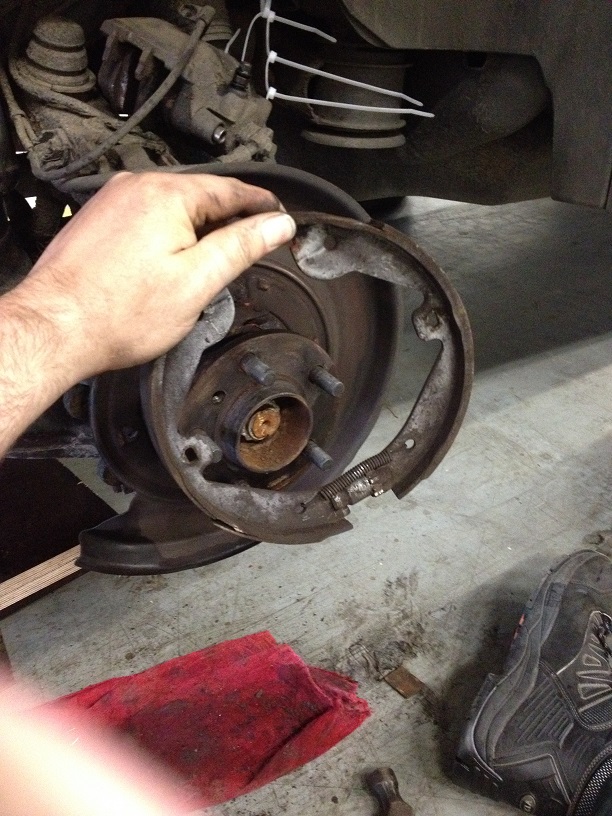
You can now pull the shoes apart and over the hub
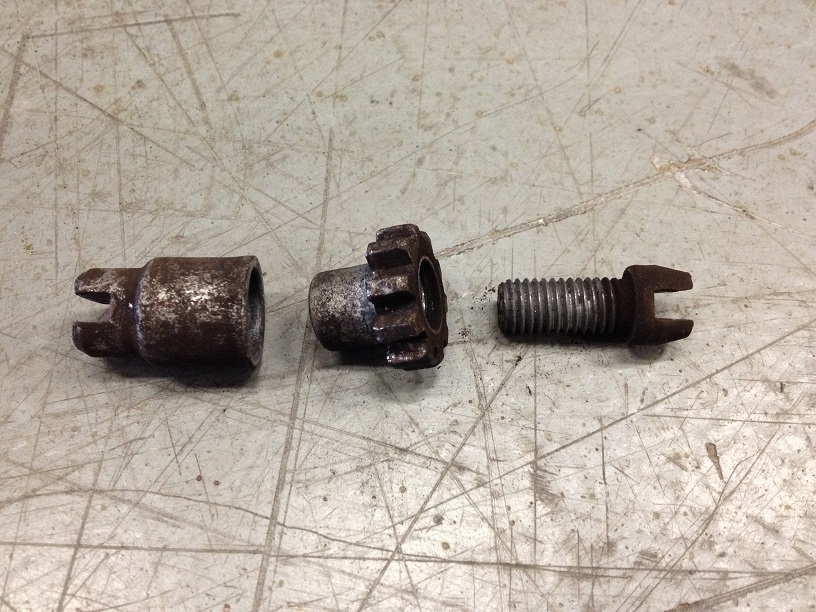
Remove the adjuster
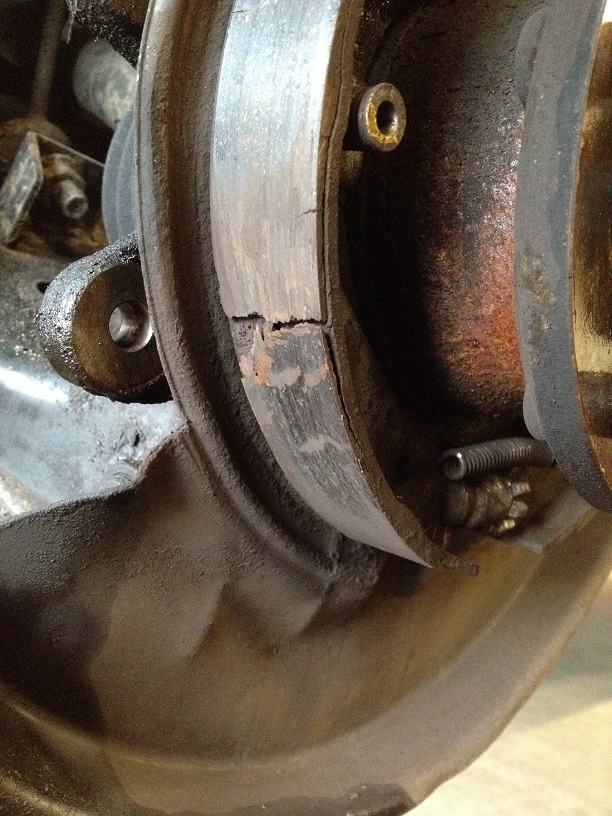
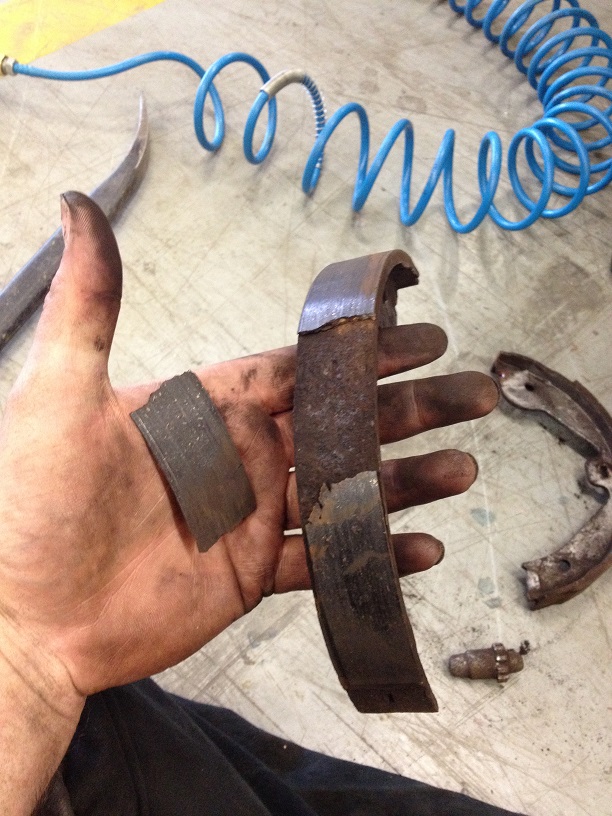
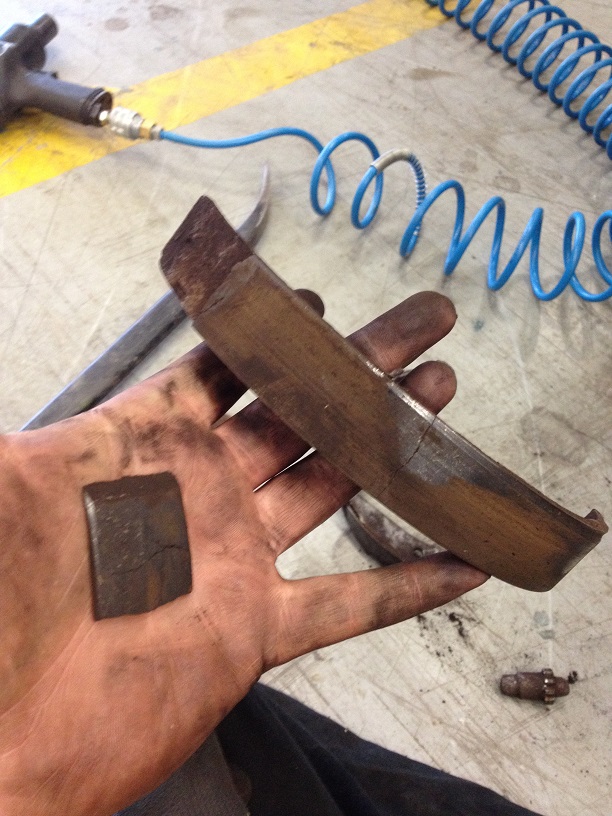
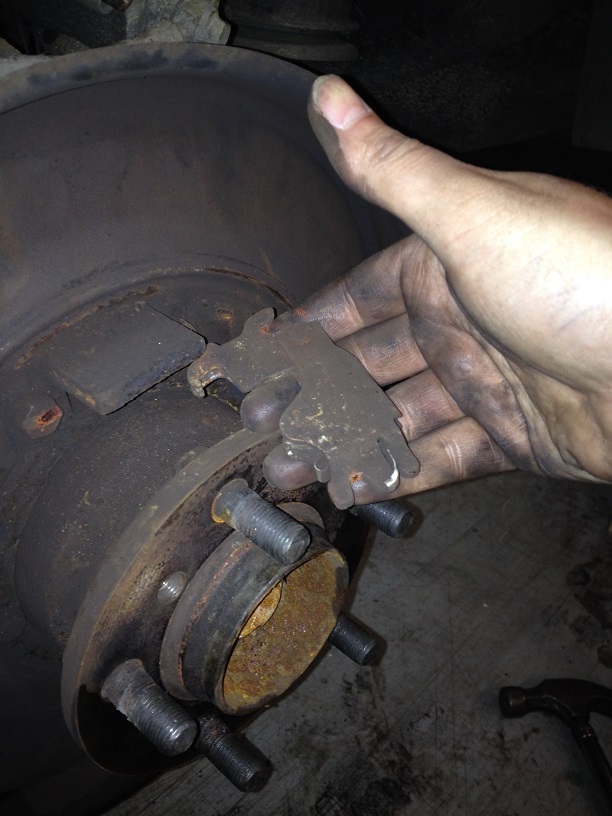
Further inspection of the old shoes – still shuddering about what could happen if these fragments had jammed the brake on solid on the M3 to work!!
Undo the adjuster and clean it up
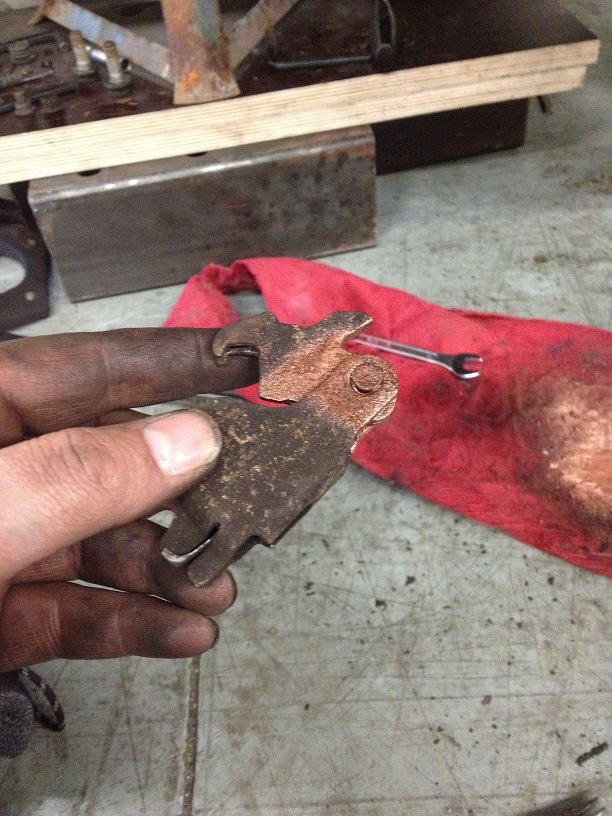
Next is to remove the expander, as it is called, from the handbrake cable. It fits like a bike brake cable so is easy enough get it off.
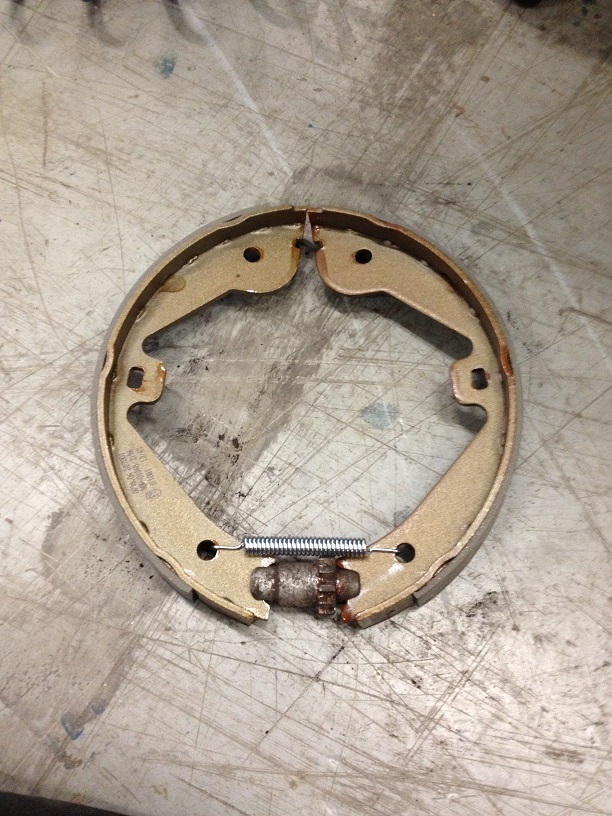
Time to refit the new shoes!
Apply some copper-slip to the adjuster screw thread and reassemble the adjuster.
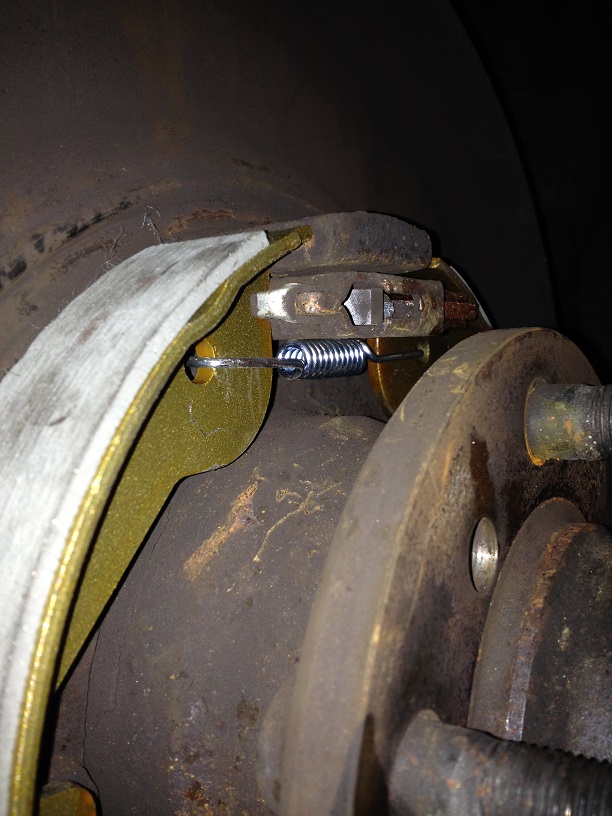
Assemble two shoes with the adjuster and a new lower return spring (upper and lower springs are different!)
Clean up the expander and apply some copper-slip the expander hinge and reattach to the end of the handbrake cable
Fit the shoes to the expander in place
Fit new retaining pins to both shoes

Fight and swear at the top return spring
Apply some copper-slip grease the hub and refit the brake disc after cleaning it up. My rear discs are approaching minimum thickness so I will have to replace them for next years MOT as the pads are just over halfway through (almost 3 years old now) so all will be replaced next year.
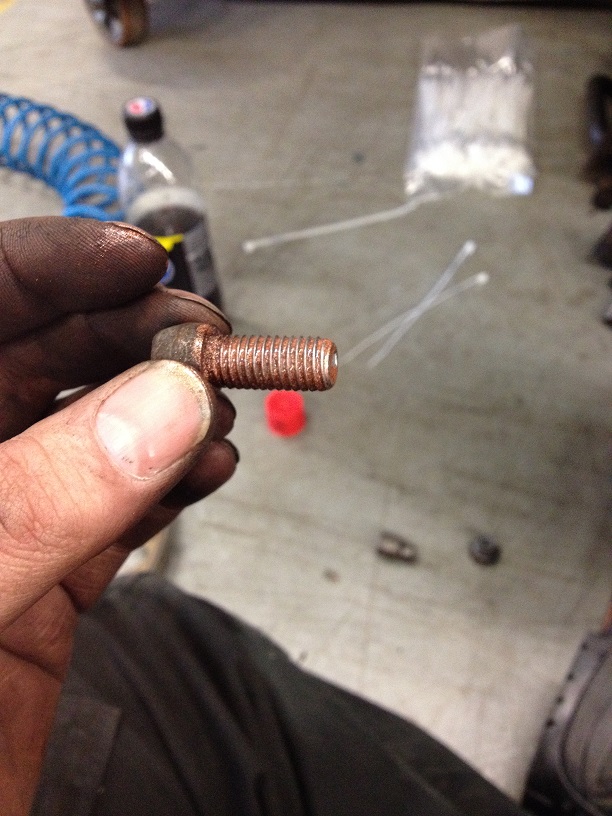
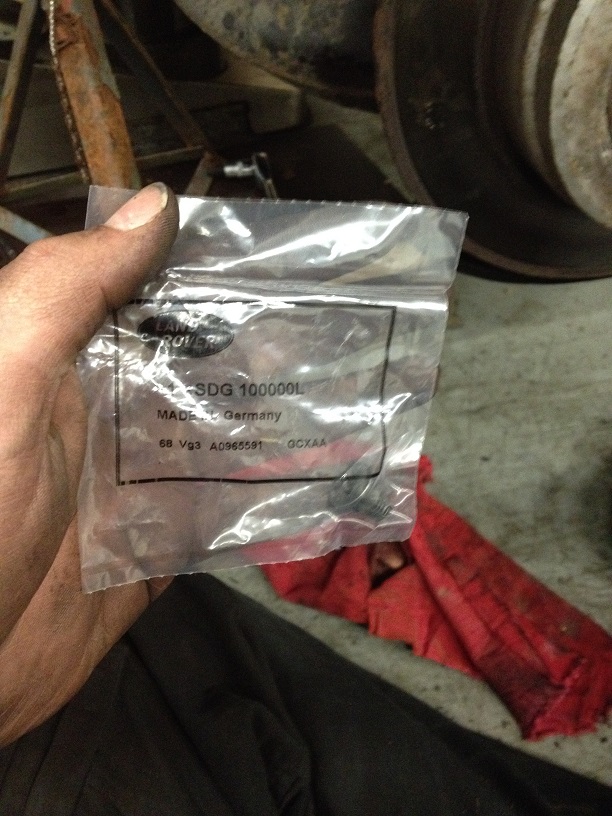
Fit a new retaining screw (no real need to do so, but sometimes they can be so tight to get out they get chewed up, so for the sake of a few pence I ordered new ones in anycase!)
Fit the calliper bracket

Refit the Calliper and the slide pins
Fit the Calliper spring

Repeat for the other side!!!
Now the real fun begins, adjusting the shoes!
According to RAVE, adjust the shoes till the disc doesn’t rotate then back off 8 notches. Apply the handbrake several times and repeat the process.
This I have found to be completely useless…!!!!!
The real bug bear comes from having to adjust, then put the wheels on, lower it down, test it, then raise the car, wheels off, adjust again, wheels on, lower, test, raise etc….
After doing this a few times, you get a bit fed up of it, so I have adjusted to only a couple notches off a locked disc and left it like that.
In this position, from a standstill, it will hold the car when put into drive and given a few revs, and from a 15mph rolling, will retard the car to a stop without throwing you through the windscreen, but is as good as I can get it!
Will let you know the MOT outcome next week!
Grab a coffee and you’re done
!
Changing the shoes is dead simple enough….it is the adjustment afterwards that is a PITA.
So to start, lift and secure the vehicle, both rears wheels have to be off the ground for this task as you need to adjust each side once the shoes are fitted!
Working for a company who specialises in Aircraft tooling, GSE and components, I decided to use a small 45tonne Aircraft Axle Jack (we do have some 150 tonne axle jacks but they are too big to get under!) rather than lugging out the 12tonne bottle jack I normally use, and also the Aircraft Jack uses compressed air to operate meaning I didn’t have to pump it up manually
But even though the jack is capable of lifting over 15 L322’s at once, there is no excuse not to also support on stands too!
Remove the road wheel
Lever out the calliper spring
Now you have two options, either loosen the brake pads and then remove the whole calliper and bracket as a complete unit or (as I did) remove the calliper and then remove the bracket
Pop out the calliper slide/guide pin bung
Take the cover off the bleed screw and crack open while pulling/levering the pads away from the disc. Maintain leverage on the pads and do the bleed screw up, this way the brake system doesn’t draw air back into the system if you do the bleed screw up while it is still pouring brake fluid out of it!!
Using a 7mm allen key, undo the two slide pins and carefully remove the calliper out of the way. Tie it in place so it doesn’t fall or hang on the brake hose.
After applying some penetrating fluid to the calliper bracket bolts use the right size spanner/socket (5/8 if I remember correctly)
Using a 6mm allen key, undo the disc retaining screw
Remove the adjuster hole bung
Line the hole up to the adjuster cog (approx 6 o’clock position) and use a flat blade screwdriver or similar turn the adjuster to follow retract the brake shoes (which direction depends on which way round the adjuster was fitted – so just turn it till either the disc stops rotating freely then turn it all the way the other, or turn it until it stops and the disc still turns freely)
Then with a few taps with a soft mallet to loosen the disc to hub contact, remove the disc
Immediately, the ineffectiveness became apparent!
Imagine if one of those fragments came loose and jammed the brake on at motorway speeds!!...Made me shudder that’s for sure!
Lever off the top return spring
Using a 5mm allen key, quarter turn the shoe retaining pins and withdraw
You can now pull the shoes apart and over the hub
Remove the adjuster
Further inspection of the old shoes – still shuddering about what could happen if these fragments had jammed the brake on solid on the M3 to work!!
Undo the adjuster and clean it up
Next is to remove the expander, as it is called, from the handbrake cable. It fits like a bike brake cable so is easy enough get it off.
Time to refit the new shoes!
Apply some copper-slip to the adjuster screw thread and reassemble the adjuster.
Assemble two shoes with the adjuster and a new lower return spring (upper and lower springs are different!)
Clean up the expander and apply some copper-slip the expander hinge and reattach to the end of the handbrake cable
Fit the shoes to the expander in place
Fit new retaining pins to both shoes
Fight and swear at the top return spring
Apply some copper-slip grease the hub and refit the brake disc after cleaning it up. My rear discs are approaching minimum thickness so I will have to replace them for next years MOT as the pads are just over halfway through (almost 3 years old now) so all will be replaced next year.
Fit a new retaining screw (no real need to do so, but sometimes they can be so tight to get out they get chewed up, so for the sake of a few pence I ordered new ones in anycase!)
Fit the calliper bracket
Refit the Calliper and the slide pins
Fit the Calliper spring
Repeat for the other side!!!
Now the real fun begins, adjusting the shoes!
According to RAVE, adjust the shoes till the disc doesn’t rotate then back off 8 notches. Apply the handbrake several times and repeat the process.
This I have found to be completely useless…!!!!!
The real bug bear comes from having to adjust, then put the wheels on, lower it down, test it, then raise the car, wheels off, adjust again, wheels on, lower, test, raise etc….
After doing this a few times, you get a bit fed up of it, so I have adjusted to only a couple notches off a locked disc and left it like that.
In this position, from a standstill, it will hold the car when put into drive and given a few revs, and from a 15mph rolling, will retard the car to a stop without throwing you through the windscreen, but is as good as I can get it!
Will let you know the MOT outcome next week!
Grab a coffee and you’re done
!
Last edited: