LincolnSteve
Well-Known Member
- Posts
- 1,224
- Location
- Lincoln
So in October 2014 I finally got myself a petrol 88inch series 3. I have no real reason to own one but I have wanted one since I was a boy. Of course because it's my first Land Rover it has turned out to be in much worse condition than I thought. If I had any sense I should have bitten the bullett and replaced the chassis. But because i'm daft I decided that I want to get it through at least a couple more MOT's with it's original chassis and bulkhead first.
 [/URL][/IMG]
It looks pretty good if you don't get too close. At least James liked it.
[/IMG] 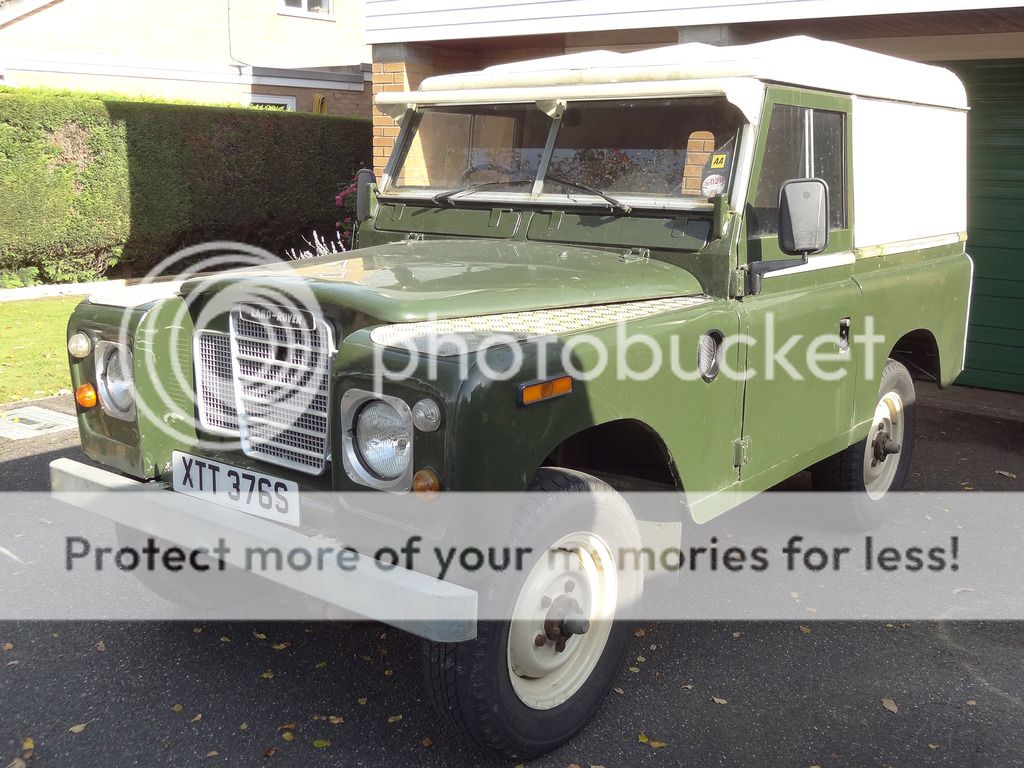 [/URL]
[URL='http://s1042.photobucket.com/user/lincolnsteve1/media/Mobile%20Uploads/DSC06767_zpstottrgxh.jpg.html'] [/URL]
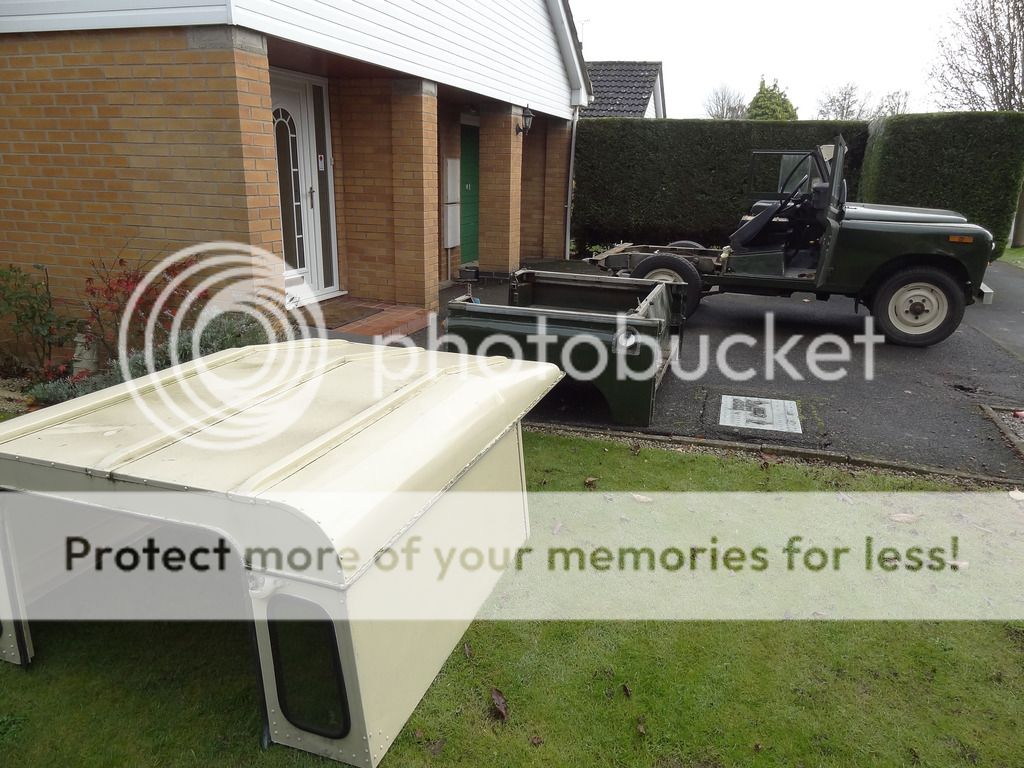
Any way the more I poked about the more it became obvious that some major work was going to be needed so the strip down began.
[URL='http://s1042.photobucket.com/user/lincolnsteve1/media/Mobile%20Uploads/DSC06931_zpswy8h3xgr.jpg.html'] [/URL]
It looks pretty good if you don't get too close. At least James liked it.
 [/IMG] [/URL]
[URL='http://s1042.photobucket.com/user/lincolnsteve1/media/Mobile%20Uploads/DSC06767_zpstottrgxh.jpg.html']
[/URL]Any way the more I poked about the more it became obvious that some major work was going to be needed so the strip down began.

[URL='http://s1042.photobucket.com/user/lincolnsteve1/media/Mobile%20Uploads/DSC06931_zpswy8h3xgr.jpg.html']
[/URL]
Last edited:


 20Uploads/DSC07883_zps3nyaogpf.jpg[/IMG]


 hotobucket.com/albums/b425/lincolnsteve1/Mobile%20Uploads/DSC07909_zpsgpdla1w8.jpg[/IMG]
")


