Tub rebuild - help - I feel sick !

This site contains affiliate links for which LandyZone may be compensated if you make a purchase.

Al2O3

Well-Known Member
Full Member
Posts
11,020
Location
North of the Wall
Been working on the roof the last few days and just started to bit of body prep on the tub, which has been wrapped up all winter.

Noticed the rear quarter panels didn't look very straight so got a tape measure out. There is a 2cm difference between the gap at the bottom of the quarter panel to the gap at the top. :censored:

IMG_5441_zpsivkhwgvc.jpg


I must have something to do with the way I have put the quarter panels in. They were a pig to fit. :censored:

Someone please tell me the gap will pull in :eek:
 
Depends at you're intending to do with it. Will it be a pickup? In which case possibly not. on the other hand with a van top or station wagon you'll have the roof to hold everything together. Assuming that it's wider at the top than the bottom, could you try a sash cramp or something similar on it just to see how easy it is to squash up? If it's just spread a bit in storage and squeezes up readily under compression then you've got no problem.
 
Thanks chaps, that sounds positive. It is a CSW so there is a lot riding on the roof. There are no holes in the tub to line up with the rear cross member :( The new rear quarter panels and new rear body bar don't have them in yet.
I don't want to pay to get it painted for it to be impossible to fit together or the door not fit etc. I've spent enough money on it already with the full new floor and panels.

I've got galv cappings to go on. They might pull it in? :censored:
 
Do the bolt holes in the x member line up? stick them in first.

I was wrong! Just had a closer look. There are holes in the bottom of the quarter panels and they more or less line up with the rear cross member. :)

I can't understand why the tops of the quarter panels are pushed out so far.
 
Itll pull in when you put the sides and roof on.

My last 110 csw did that when I stripped it down. Its a bugger to get back together but it will go.
 
Do you still have the original 1/4 panels? Line them up to compare the fit. Could be you lost the square when fitting them onto the galv uprights.

Yes I do still have the original 1/4 panels. One initial problem was they were not a great copy and I had to fettle them a bit. I think you are right, I suspect I have lost the square and I'm considering drilling out the 4 pop rivets I had to put in across the quarter panels to replace the spot welds. Slight complication is that I sikaflexed the joins too. :(

It'll pull in when you put the sides and roof on.
I'm hoping so, vilguy. I suppose the decision I have to make is (a) leaving it and hope it will force fit later or (b) drill those pop rivets out and try to get a better square on it.
 
Last edited:
Smell of burning rubber at front wheel when heavy breaking and then some smoke . Seams to have stopped after a few miles on my rang rover l322
 
Last edited:
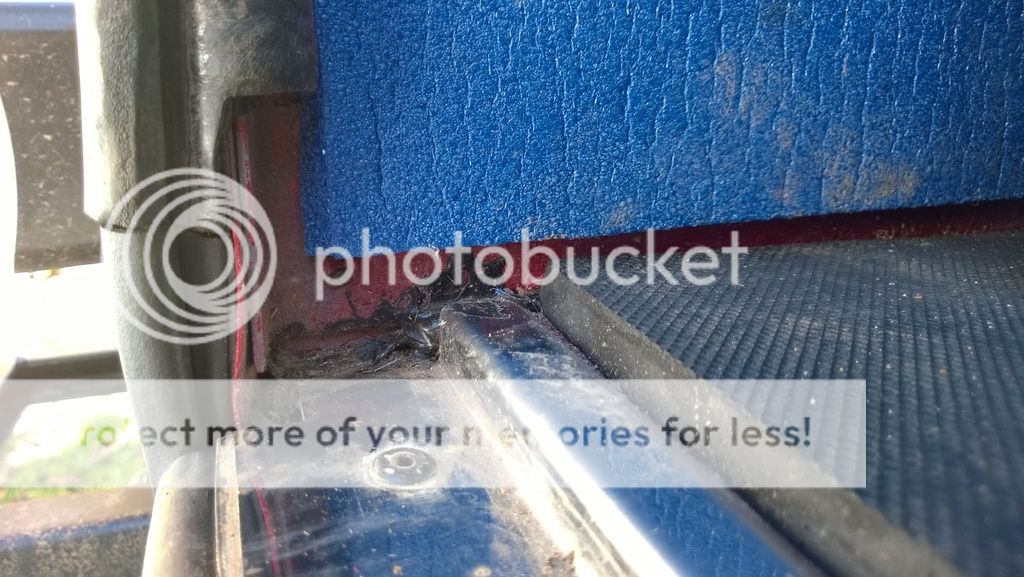
That's interesting James. That picture is of my rebuilt tub - new floor and rear 1/4 panels. So I think that gap has just appeared. The original floor didn't have it I reckon, or nowhere near as big if it did. The black rubbery stuff you can see in the picture is Sikaflex from when I put it together.
You replaced your floor too if I remember correctly. Can you remember if yours had a gap before and after the build?

Yeah, but I didn't replace that bit, so it is as it came out of the factory. I just replaced the floor up to it.

It was filled with a piece of rubber, then painted red, so it wasn't very noticeable. Plus the thresh covers up an amount of it. Sorry for the dirt!
temporary_zps9m2y3f42.jpg
 
Cracking pictures, James. That makes me feel a lot better! :)
I think mine will look very similar to that when it is all pulled in tight. I think the gap will reduce, but I will still be left with a hole where you have filled with the black silicone. Looking at the old floor and 1/4 panels in the back garden there must have been a small gap there before.

I've been measuring the old quarter panels and floor sections this morning and noticed another slight difference between the old and new 1/4 panels. I'm about to bite the bullet - start drilling the pop rivets out and then get the angle grinder out again! I thought I'd past the angle grinder stage :mad:
 
Well, I drilled out the pop rivets across the back and the Sikaflex that I had put in the joint just came away! Lucky really, but obviously disappointing at the same time. It mustn't like surfaces cleaned with panel wipe. Another one of my learning experiences. :eek:

From much measuring and pondering this morning I discovered the distance down to the point of the yellow arrow is about 5mm too long on the new panels.

altered%20rear%20quarter%20panel%20and%20inner%20wing_zps1gtsprkd.jpg


I decided the easiest thing to do was cut the right amount off the shoulder indicated by the green arrow.
This has allowed the bottom part of the rear panel (blue arrow) to make contact with the rear body cross member (red arrow)

It has all but removed that gap I mentioned earlier. As James6546 said there is a bit of a gap there but it is filled with seam sealer or something.

The offside panel moved in 5mm the nearside only about 3mm. Still that's almost 1cm of the 2cm difference. As vilguy says, the rest will just have to pull in. It's helped reduce the difference a bit, but greatly improved the construction of the door thresh area.
 
You could try leaving the pop rivets out until the lid is back on, so that when they go back in they'll go back in the right position.

You're very diligent. I'd have just put a sash cramp on it and wound the handle to pull the sides in and then put the roof back on.
 
Back
Top