Project Rusty.

This site contains affiliate links for which LandyZone may be compensated if you make a purchase.

dieseldog69

Well-Known Member
LZIR Despatch Agent
Posts
9,105
Location
Roaming the UK on assignments
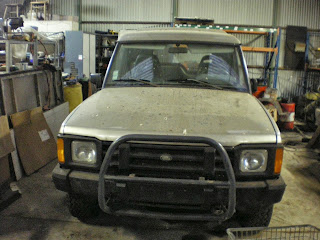
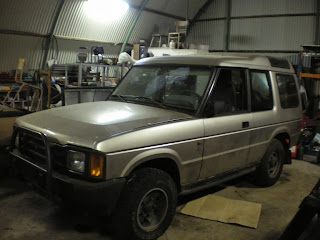
So this is my project, Rusty.
cat+and+new+Disco+021.JPG


cat+and+new+Disco+023.JPG


cat+and+new+Disco+026.JPG


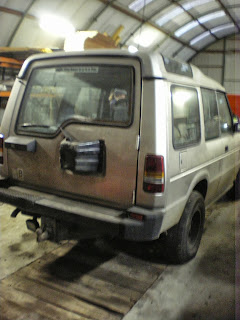
Land Rover Discovery 1 1992 200Tdi diesel.

Not too bad looking from the outside, but that's just the beginning!!
cat+and+new+Disco+028.JPG


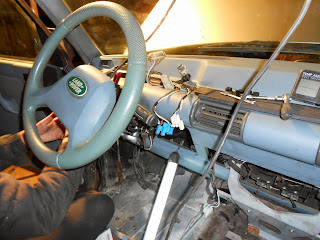
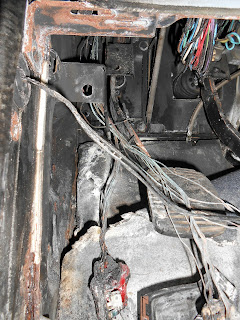
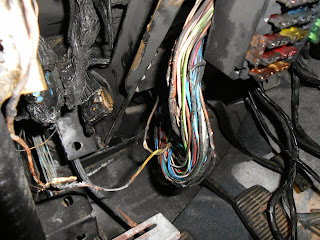
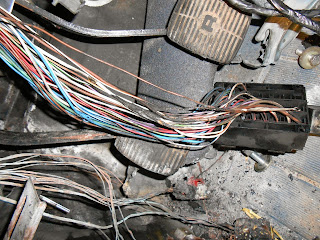
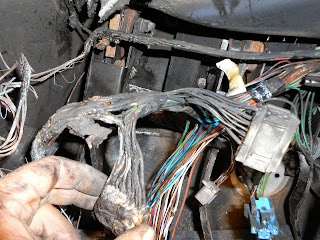
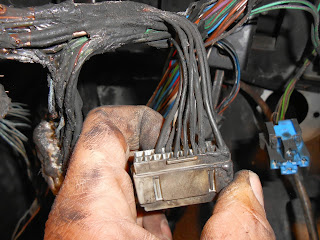
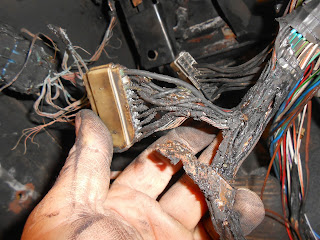
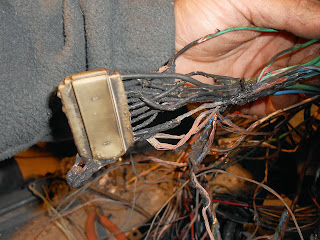
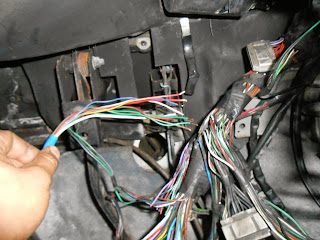
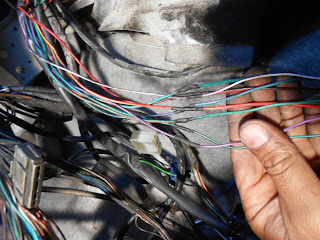
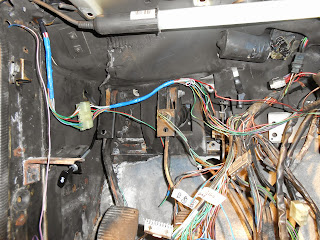
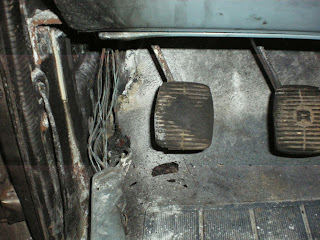
This was initial nightmare!!! A careless welder had set fire to the foam insulation on the bulk head and it burned out most of the L/H loom and affected nearly all the circuits in one way or another!!

I am by no means deterred by any of the work I have done on Rusty and many have said that I was robbed when I paid 1200 euro for him but on the other hand I also know the types of people that were looking at him when he was burned out and a non runner!!! All they are looking at is the chance to double their money selling the engine and transmission on to someone else and scrap the rest, but I not only wanted to make him run again, which I have but I want to make him better than he was when new.

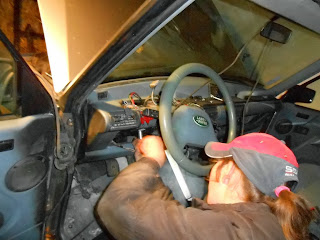
I was busy doing some of this...
Project+Rusty+030.JPG


Project+Rusty+033.JPG


Project+Rusty+034.JPG


Project+Rusty+031.JPG


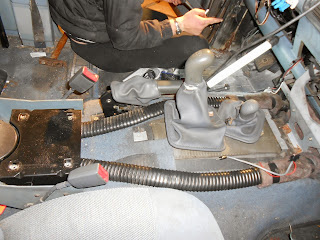
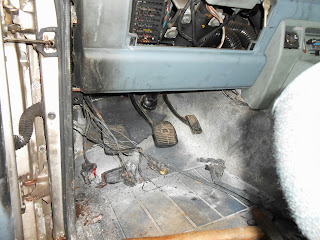
So once stripped out I got to see what I was dealing with, and it wasn't pretty!!!
Project+Rusty+007.JPG


Project+Rusty+008.JPG


13-10-12+rusty+003.JPG


13-10-12+rusty+007.JPG


Rusty19-10-12+002.JPG


Rusty19-10-12+003.JPG


Rusty19-10-12+004.JPG


Rusty19-10-12+011.JPG


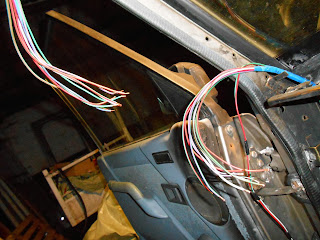
So bad bits cut out and it was time to cut and paste it all back together again.
Rusty19-10-12+041.JPG


Rusty19-10-12+043.JPG


Rusty19-10-12+046.JPG


Rusty19-10-12+047.JPG


Notice there are a couple of extra cables in the new loom section for a time when I build a roof console to fit even more gadgets in to the truck.
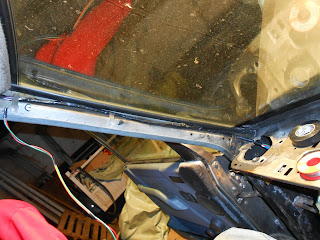
Rusty19-10-12+045.JPG


So with the wiring all finished it was time to see if he started......

Video is unavailable thanks to PhotoBucket holding pix & vids to ransom.

So for the first time in over 7 months of being stood waiting for someone to send him to the scrap yard I started him with the aid of my little van as the battery although was fully charged had a dead cell so was useless and in need of replacement.

So with the wiring done I needed to turn my attention to the welding!!!
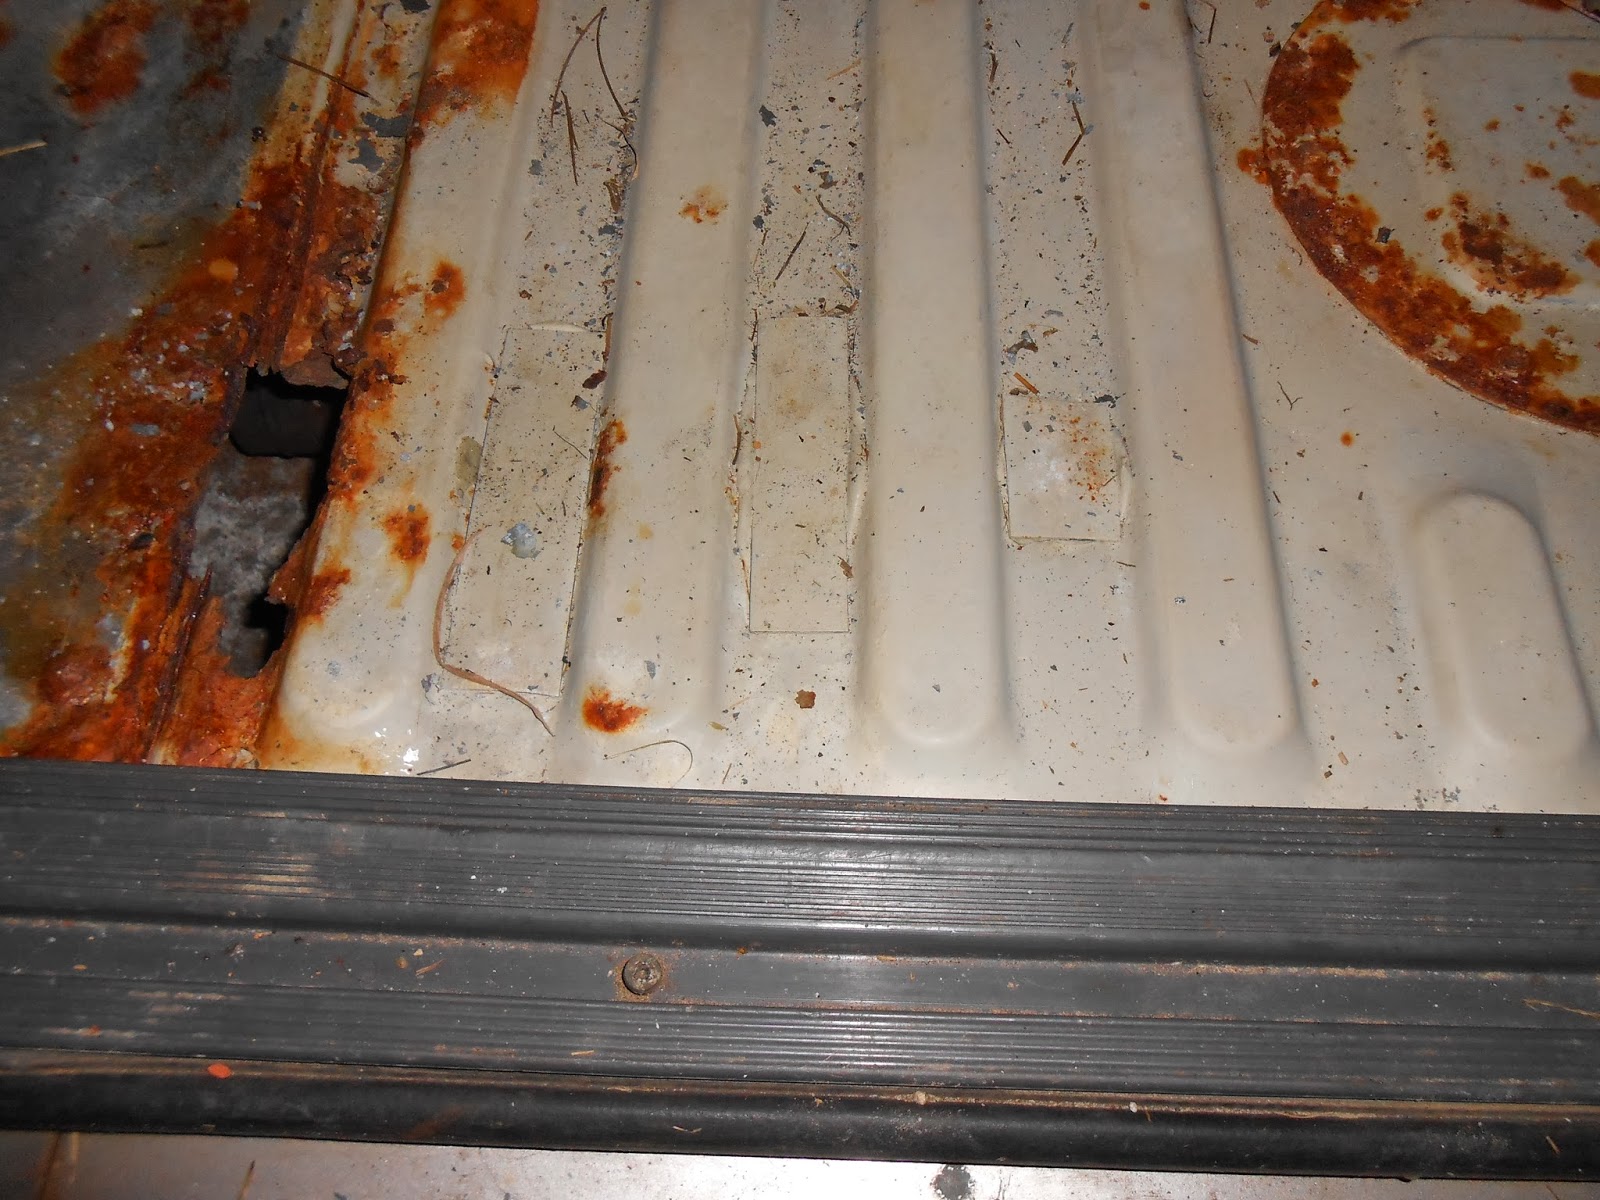
Rusty+06-07%255B11%255B12+005.JPG


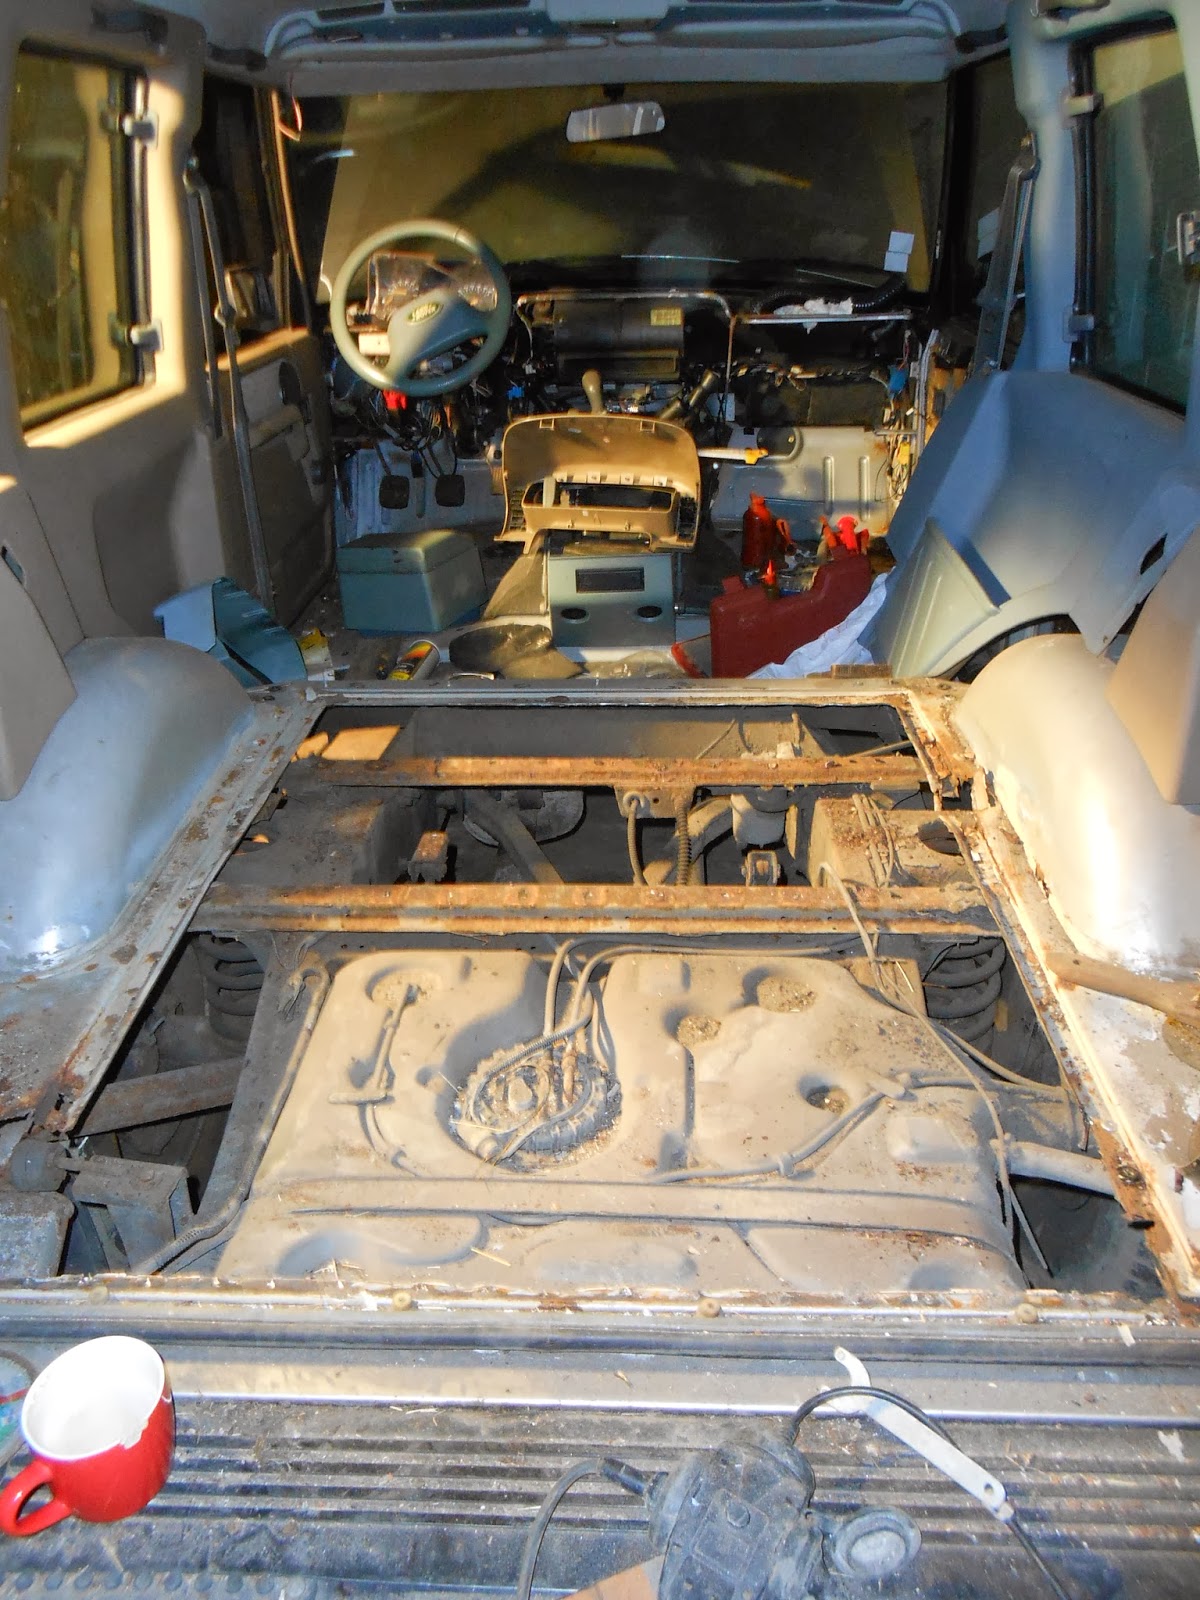
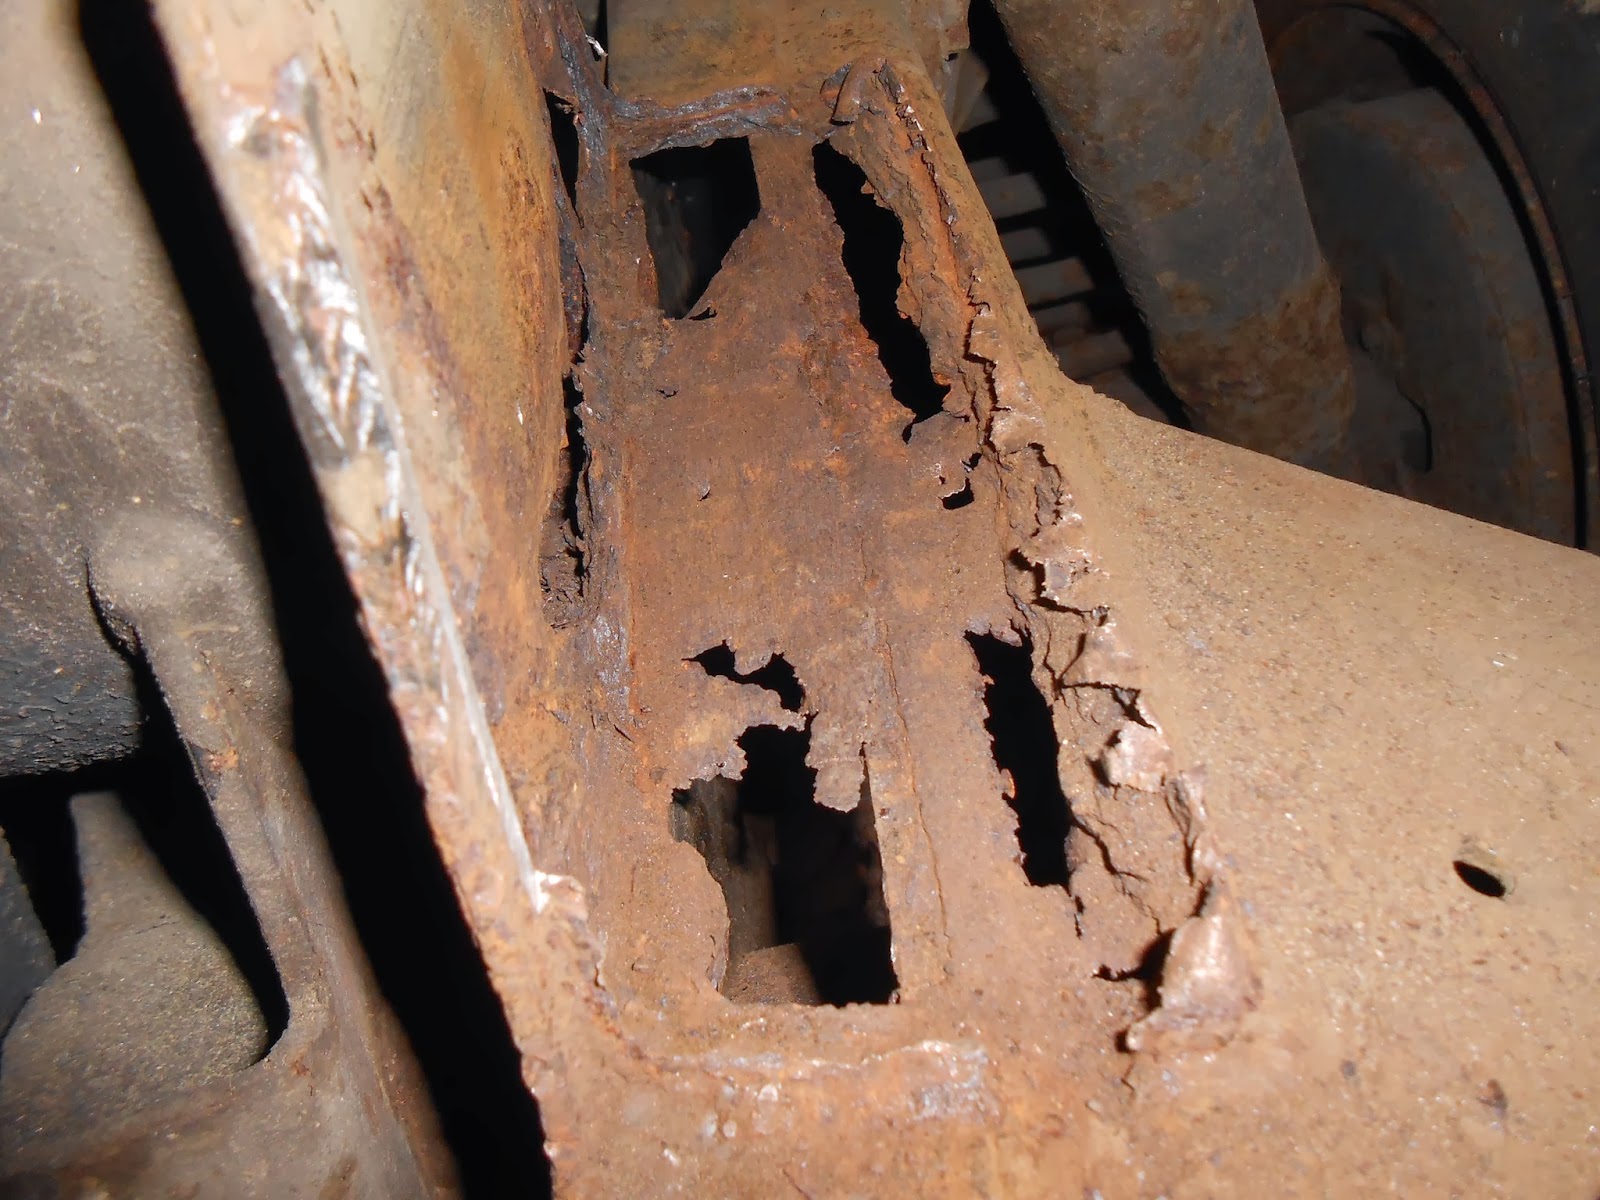
This is just one hole that I knew of but it didn't stop me wondering why on earth the boot floor was not replaced a few years ago when it first rotted through, the little tabs you see are tin strips that are stuck down with silicone, poor effort just to get through the Kuering!!!

So it went from this...
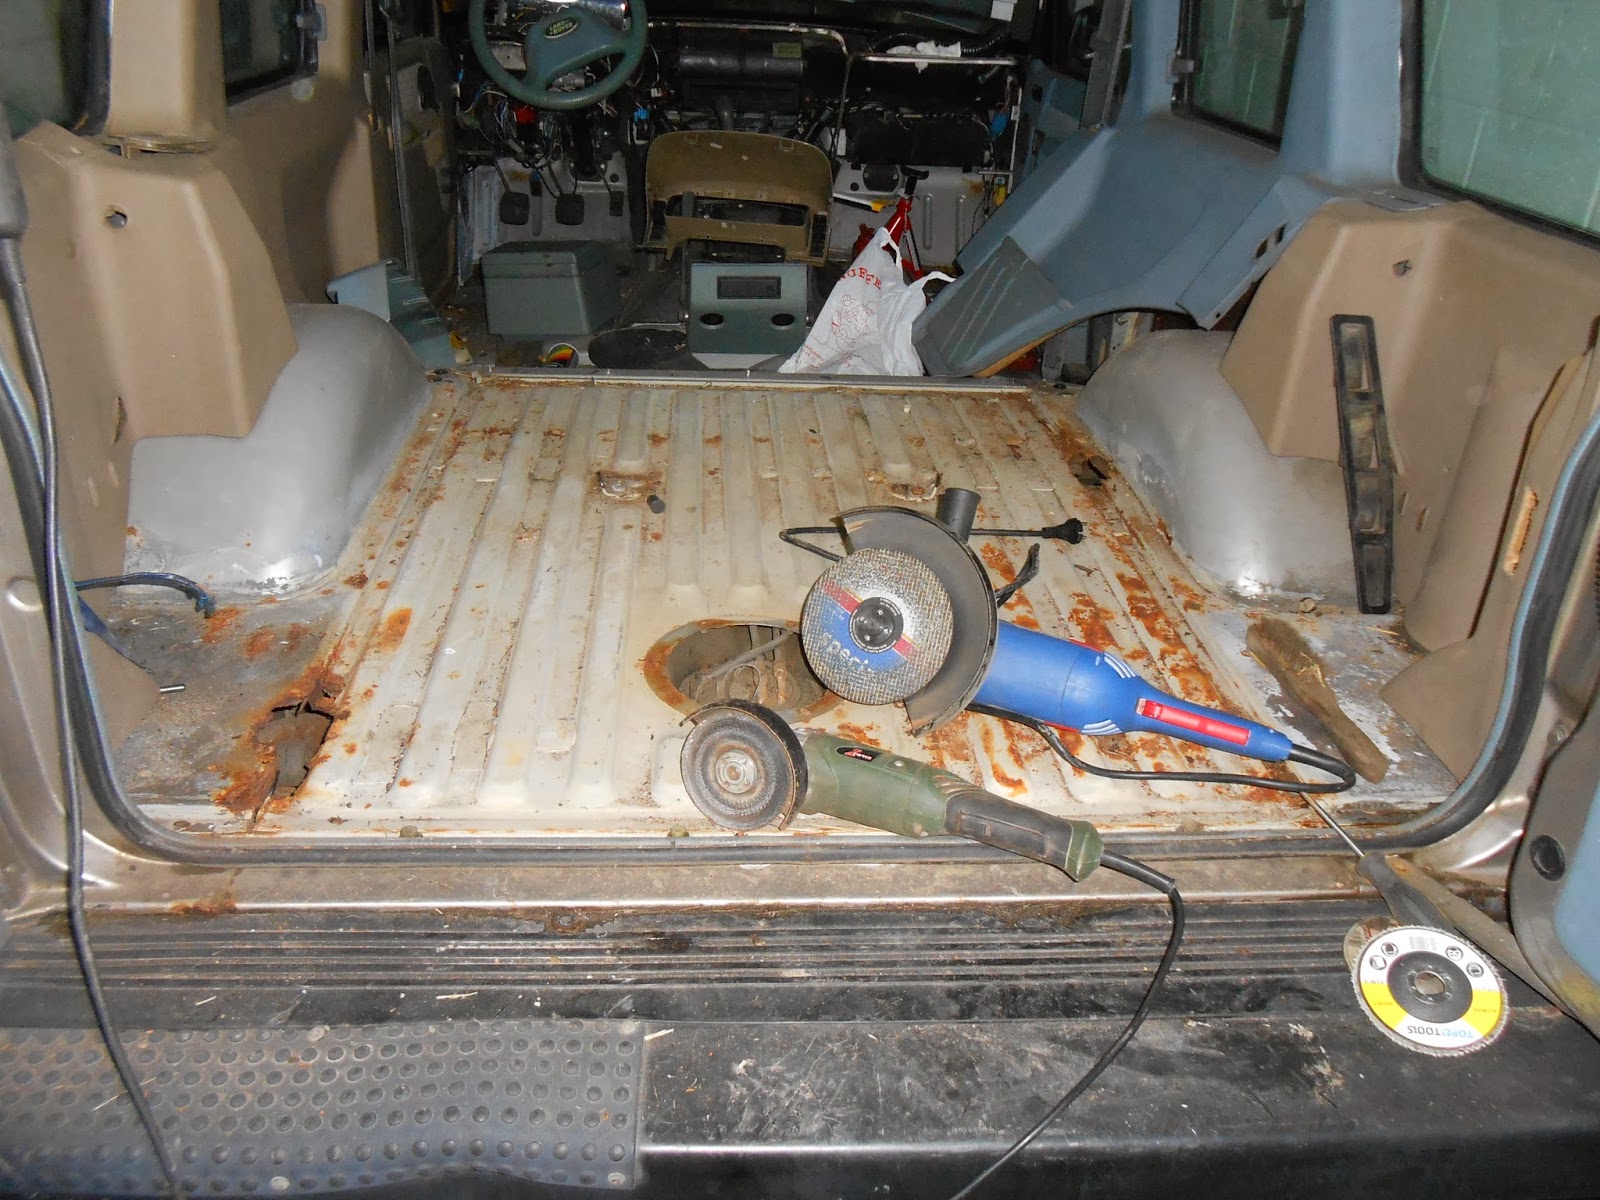
Rusty+12-12-12+015.JPG


To this.....

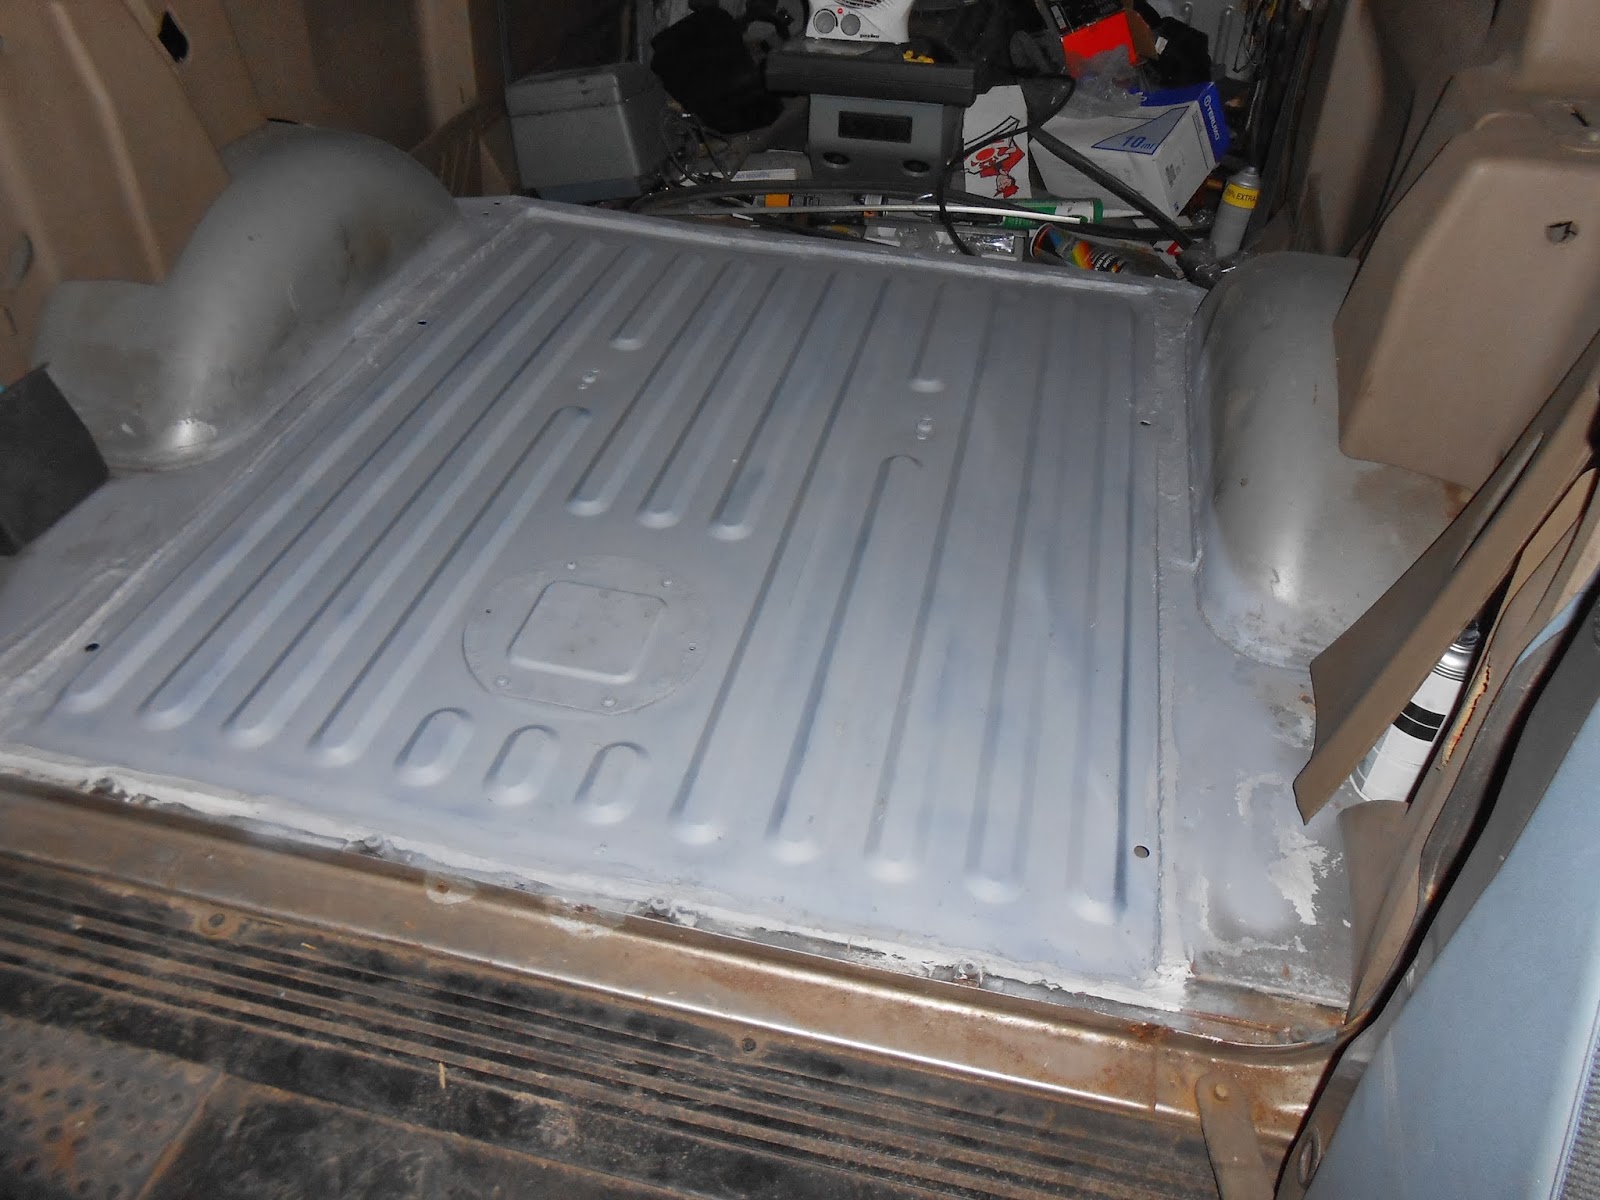
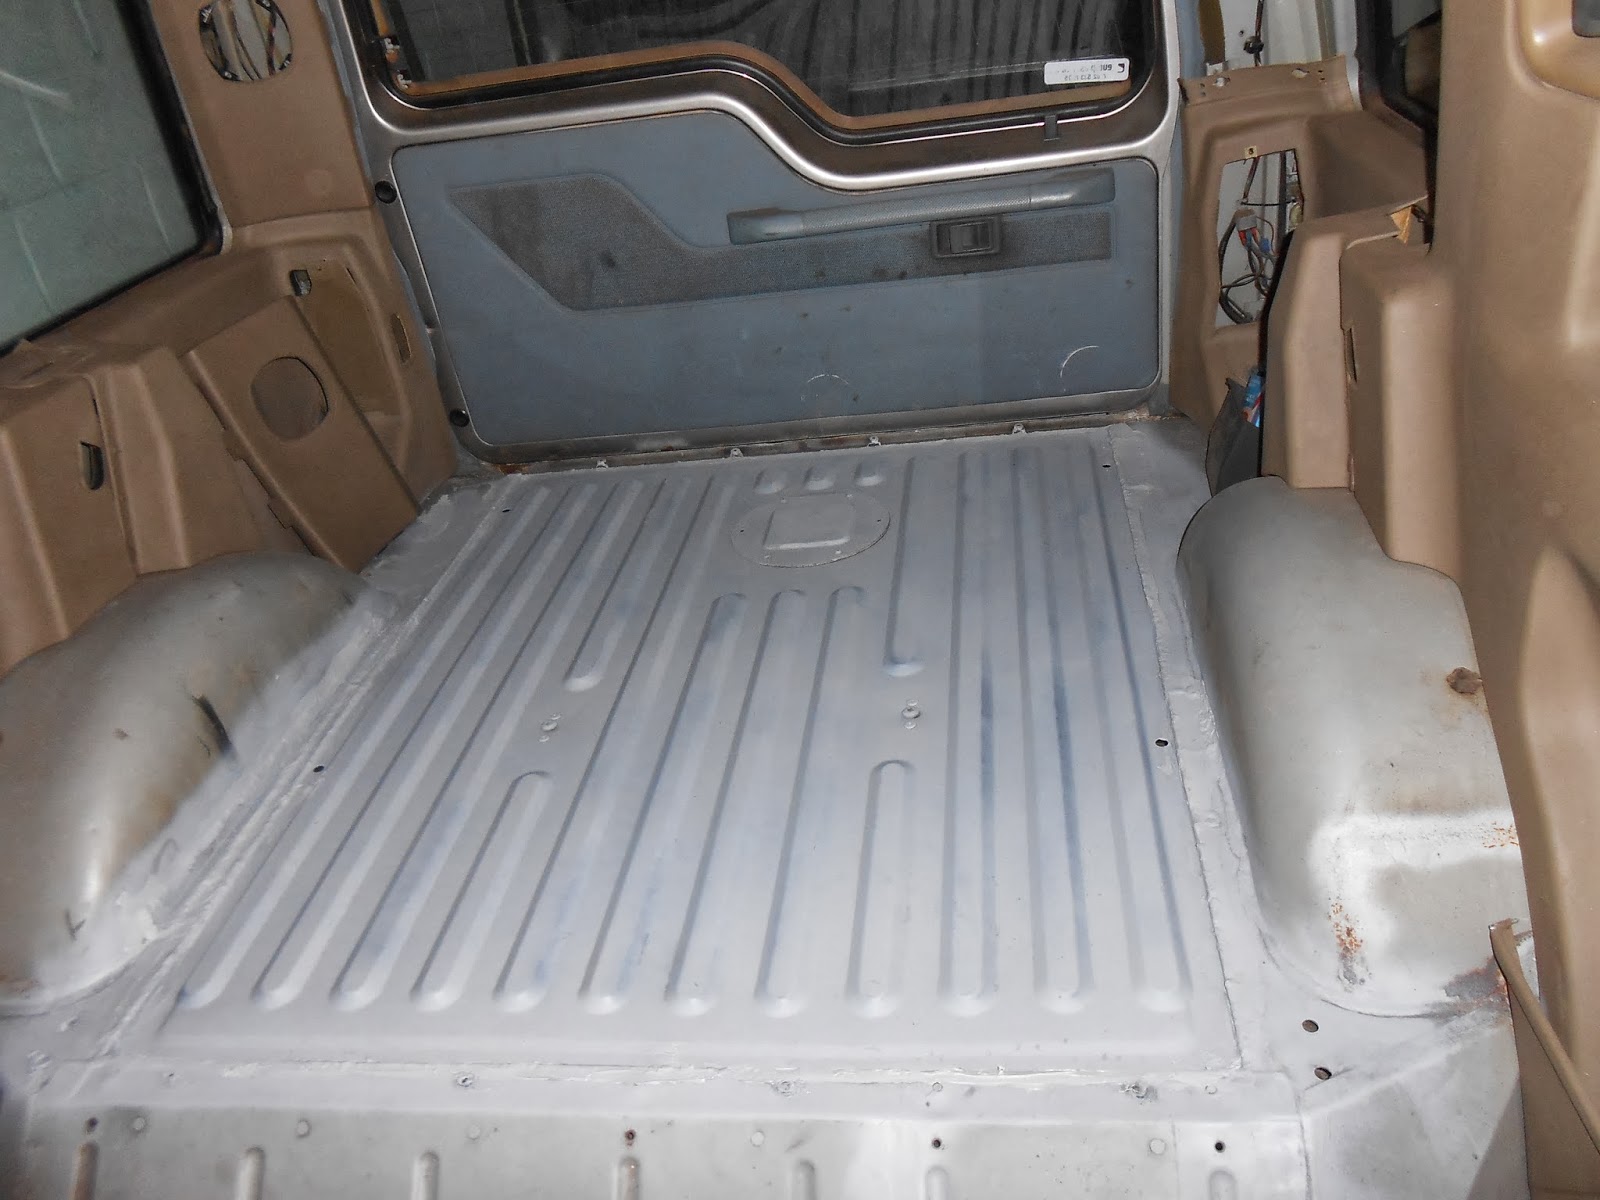
Rusty+12-12-12+017.JPG


Then on to this.....

Rusty+13~24.01.13+006.JPG


Rusty+13~24.01.13+005.JPG


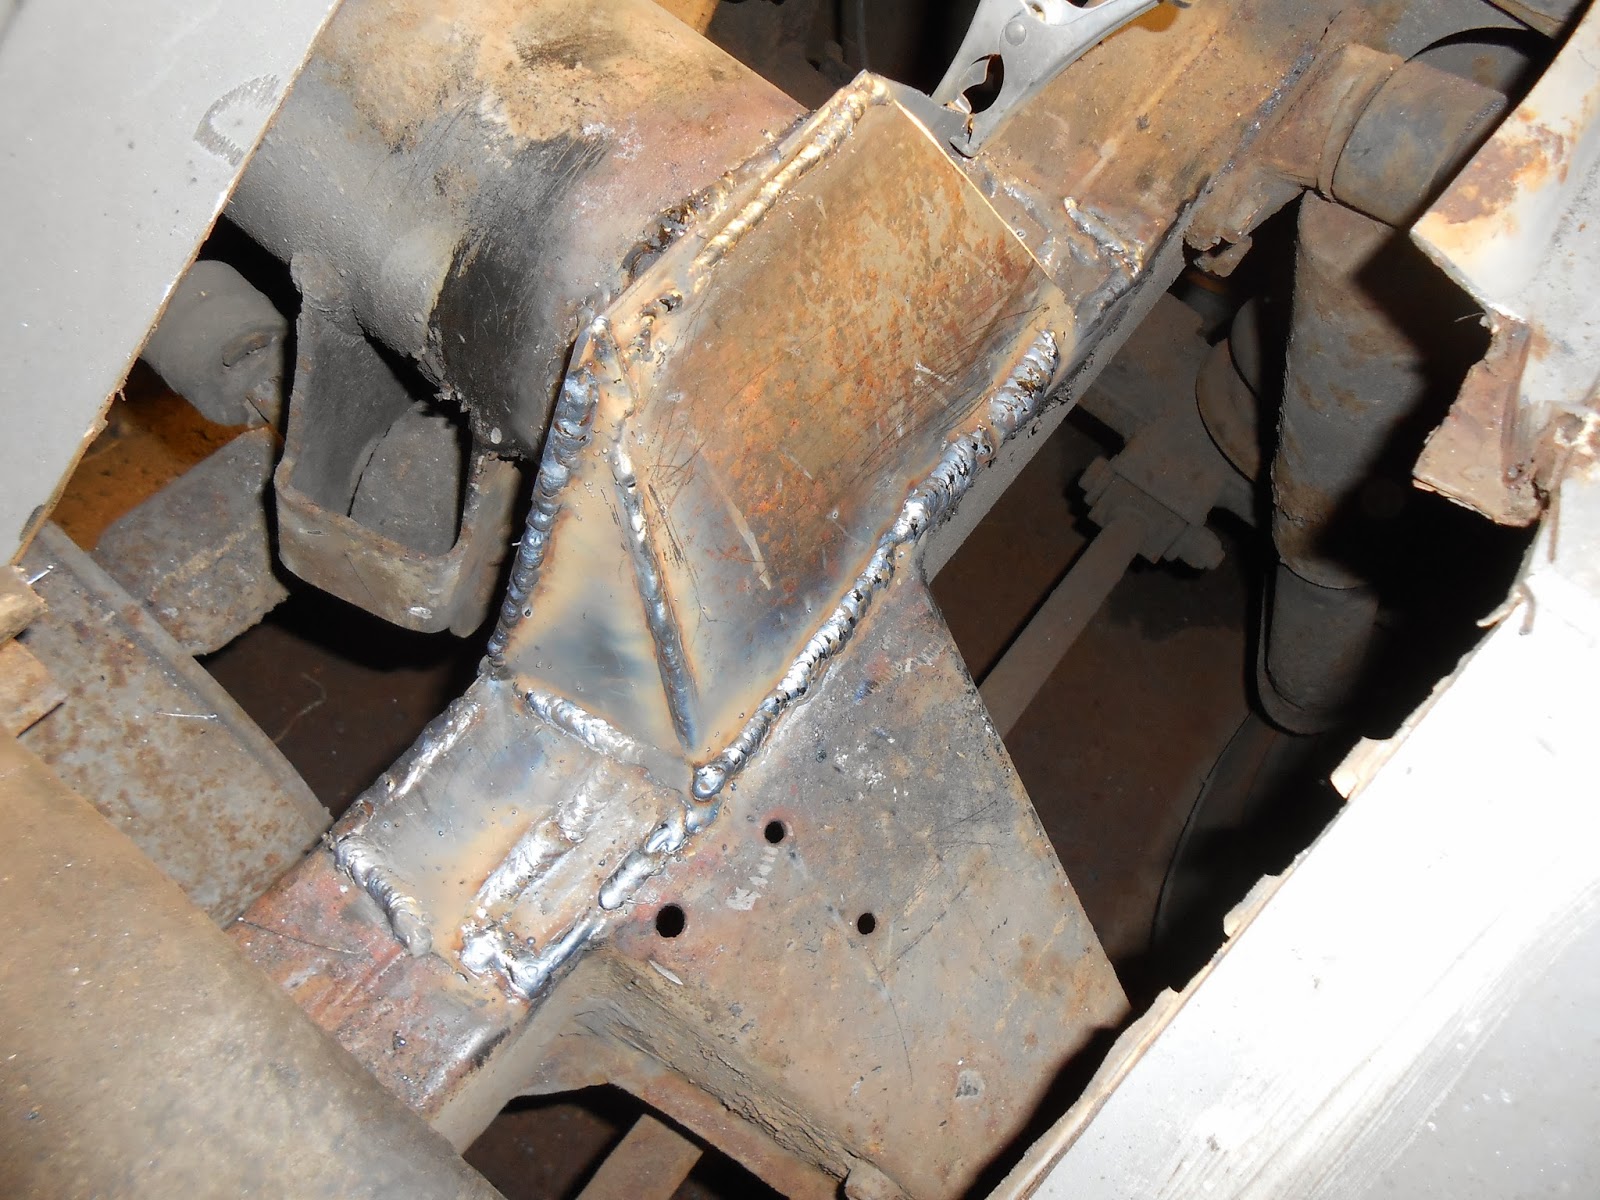
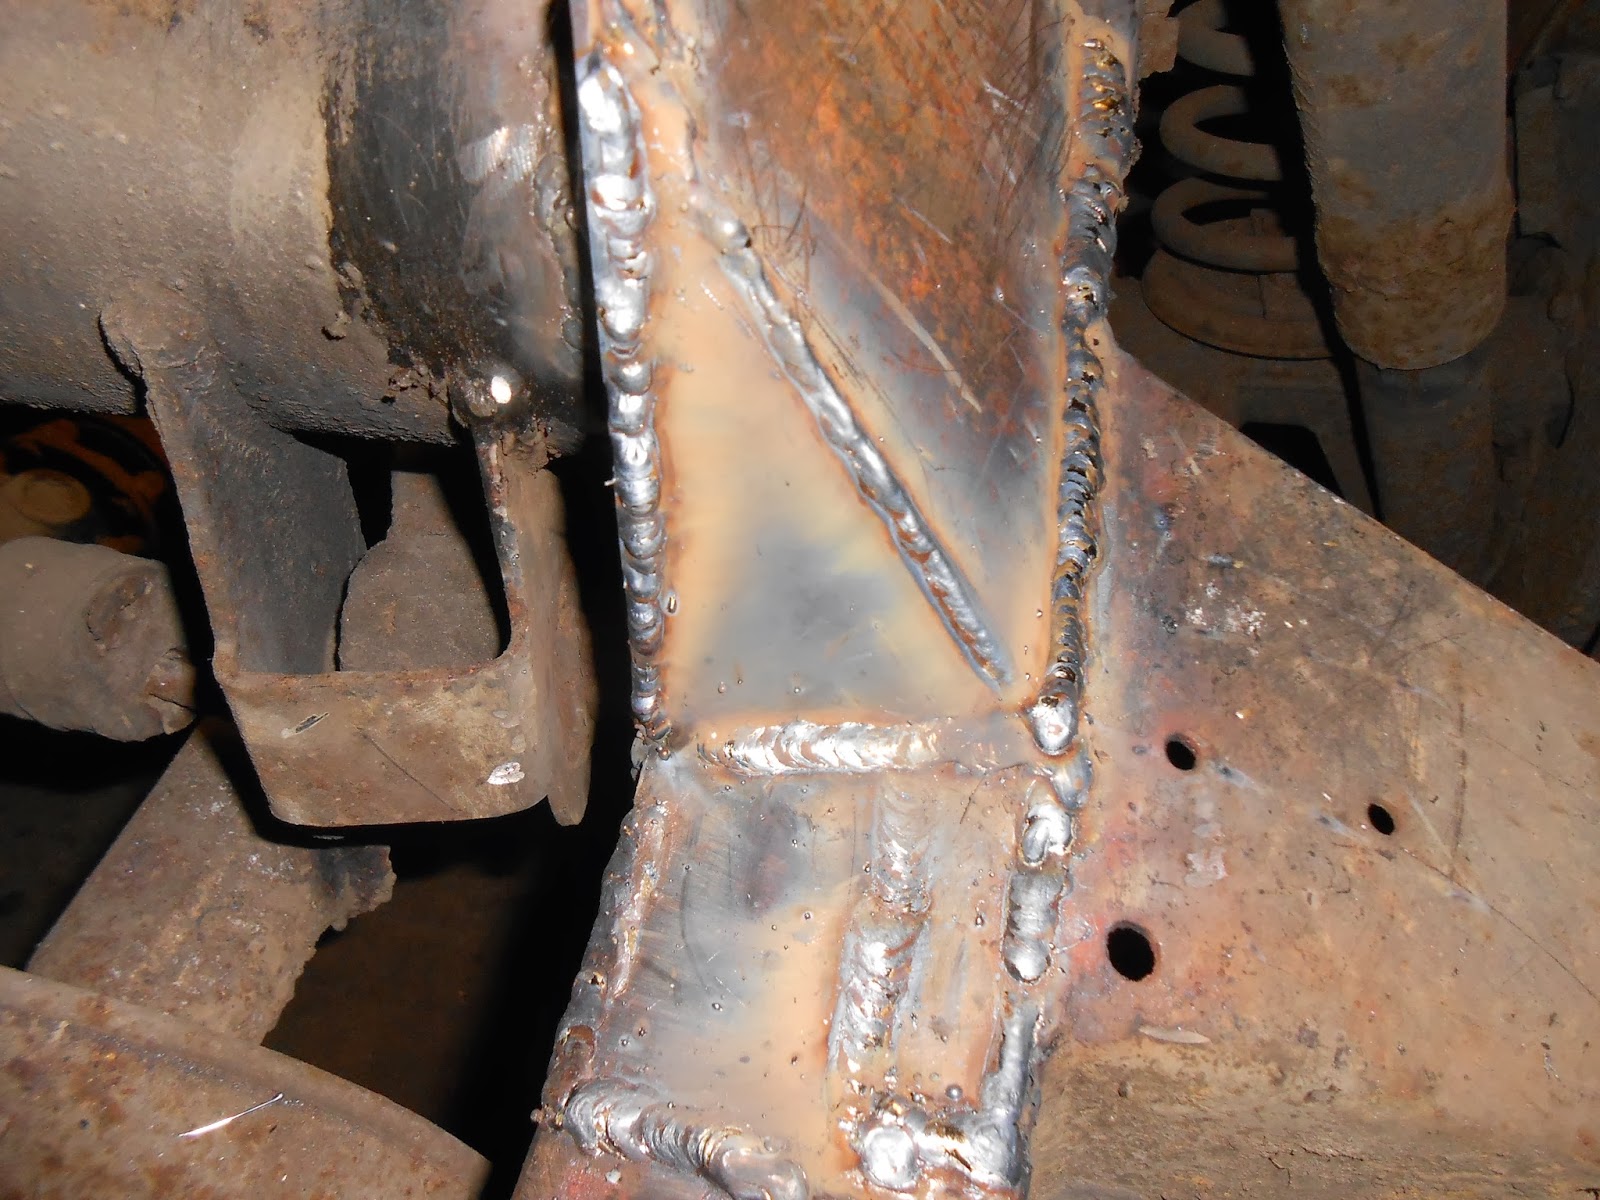
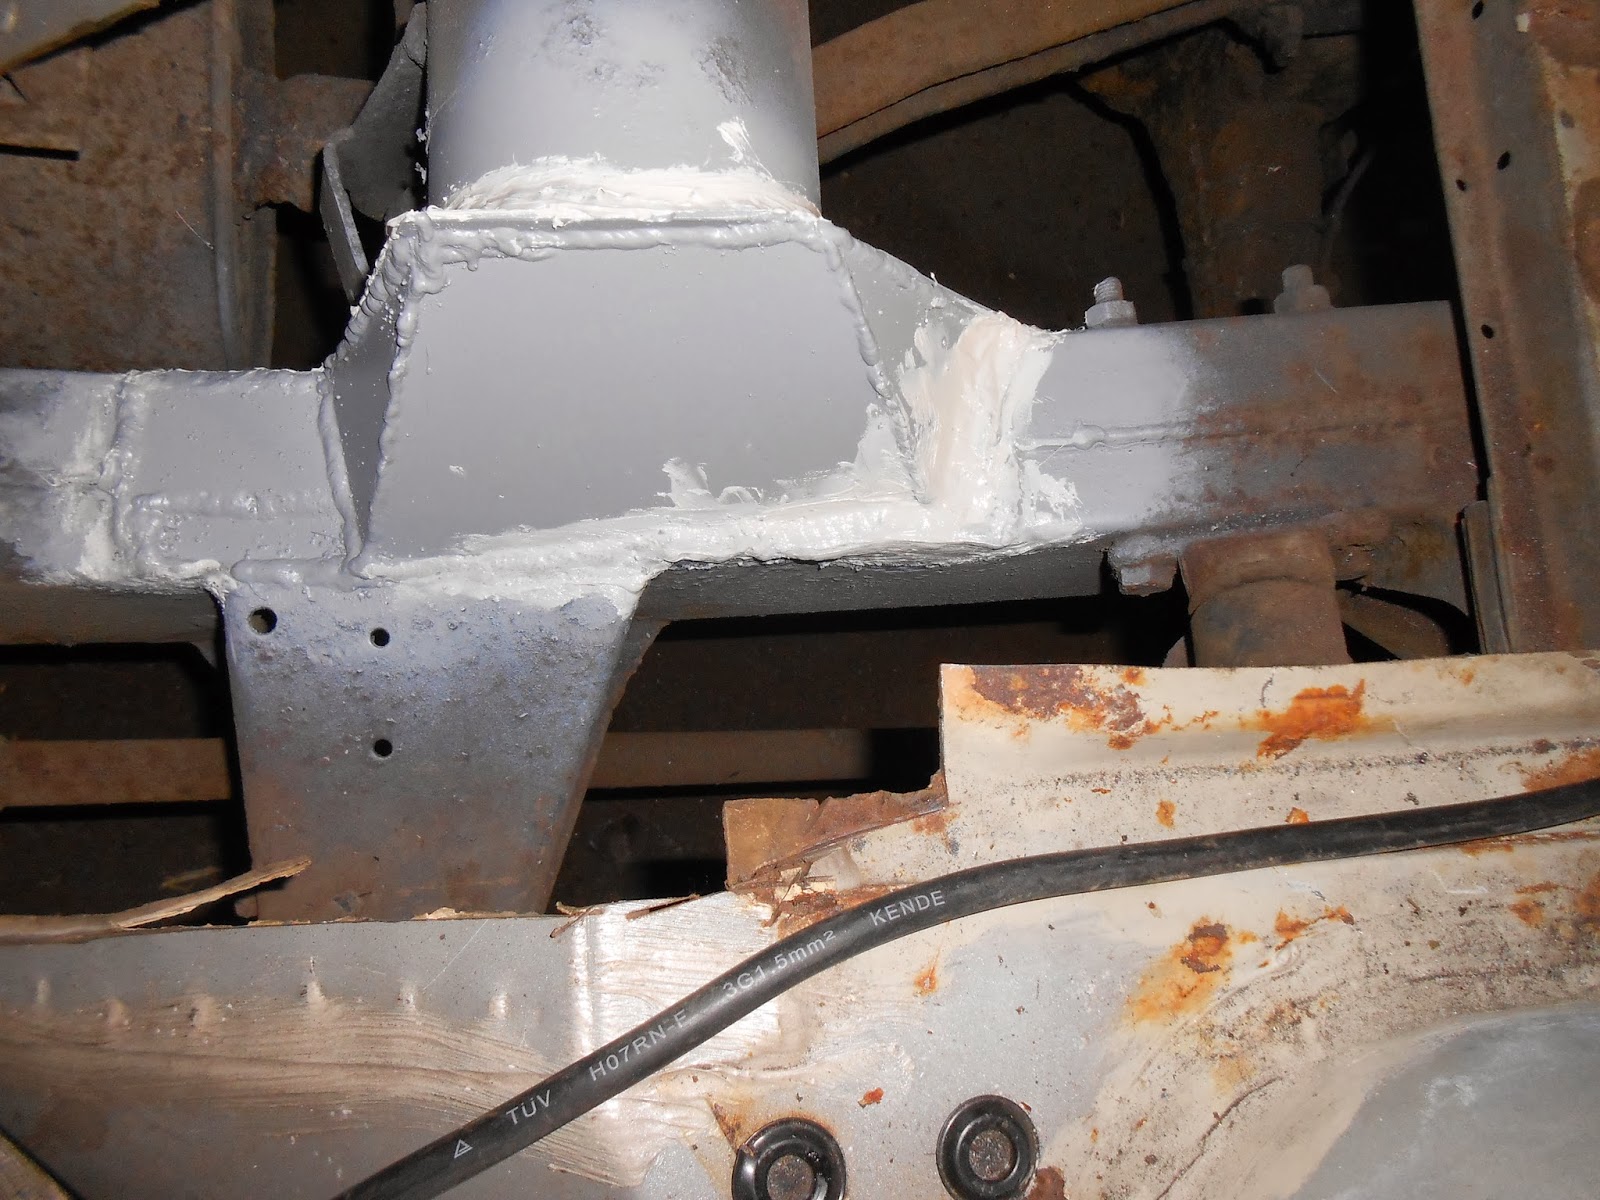
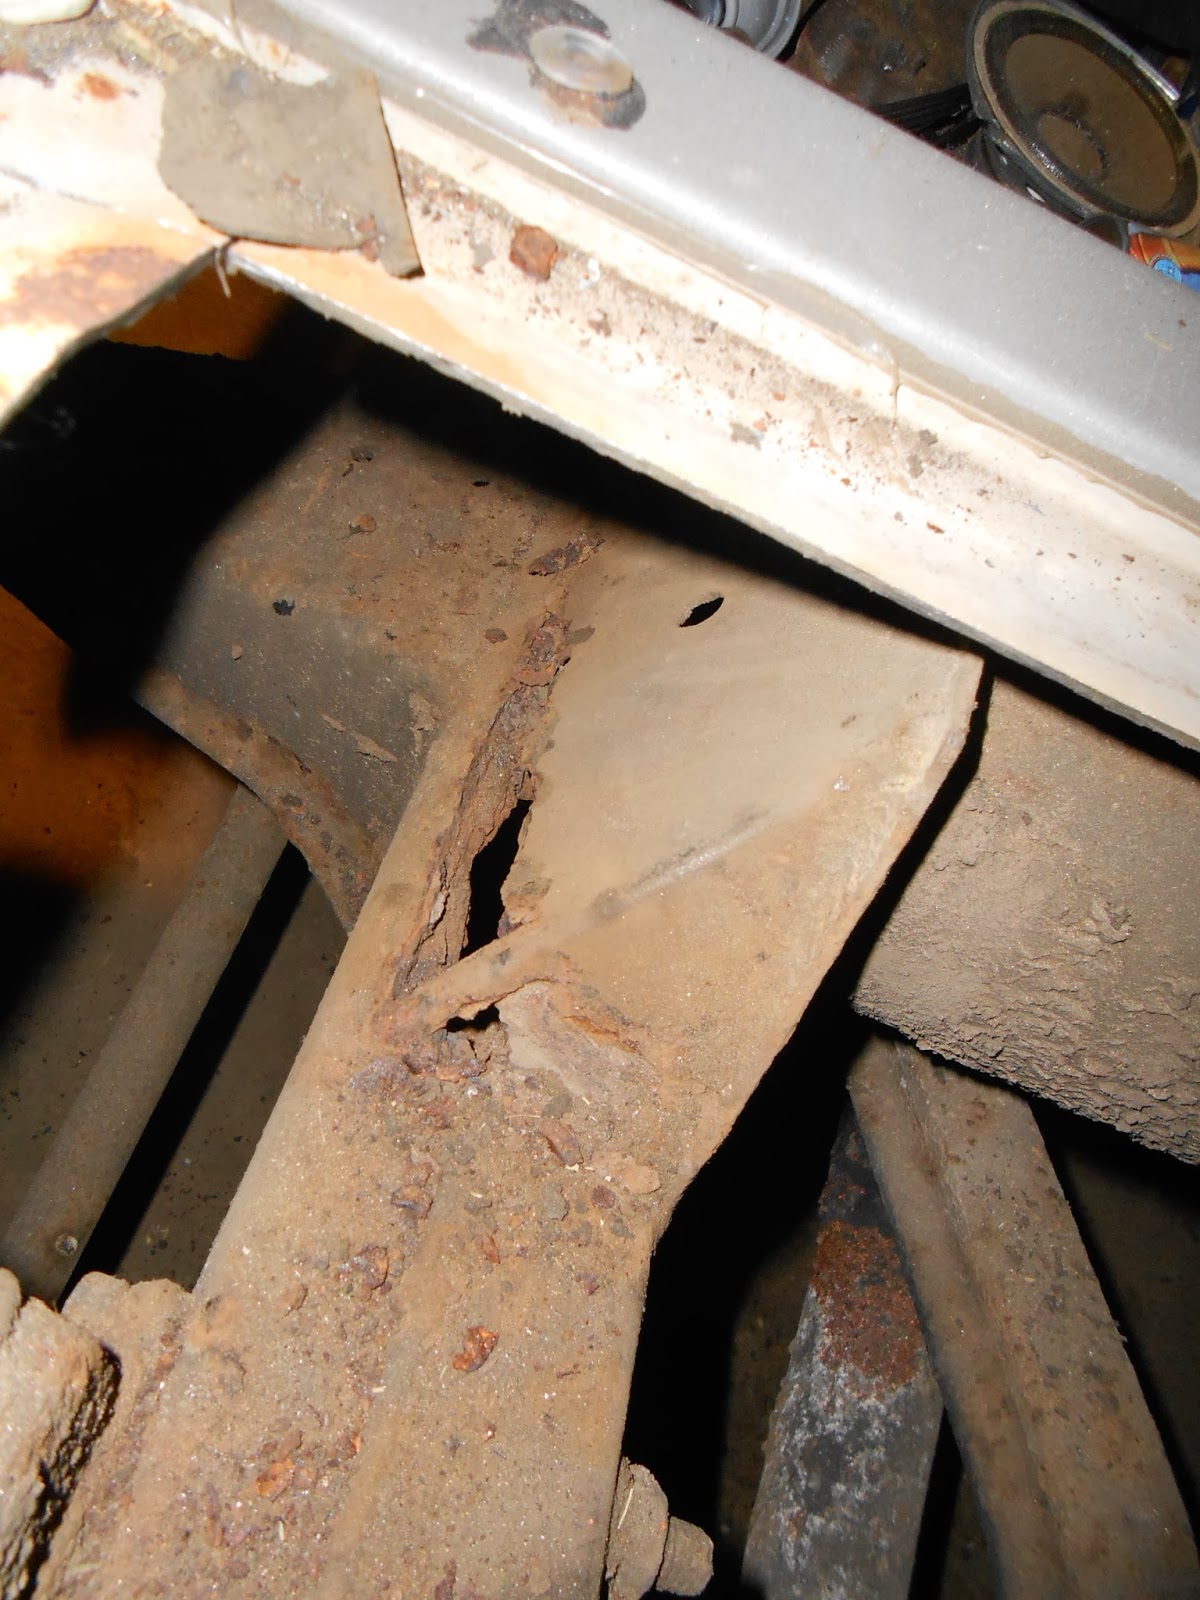
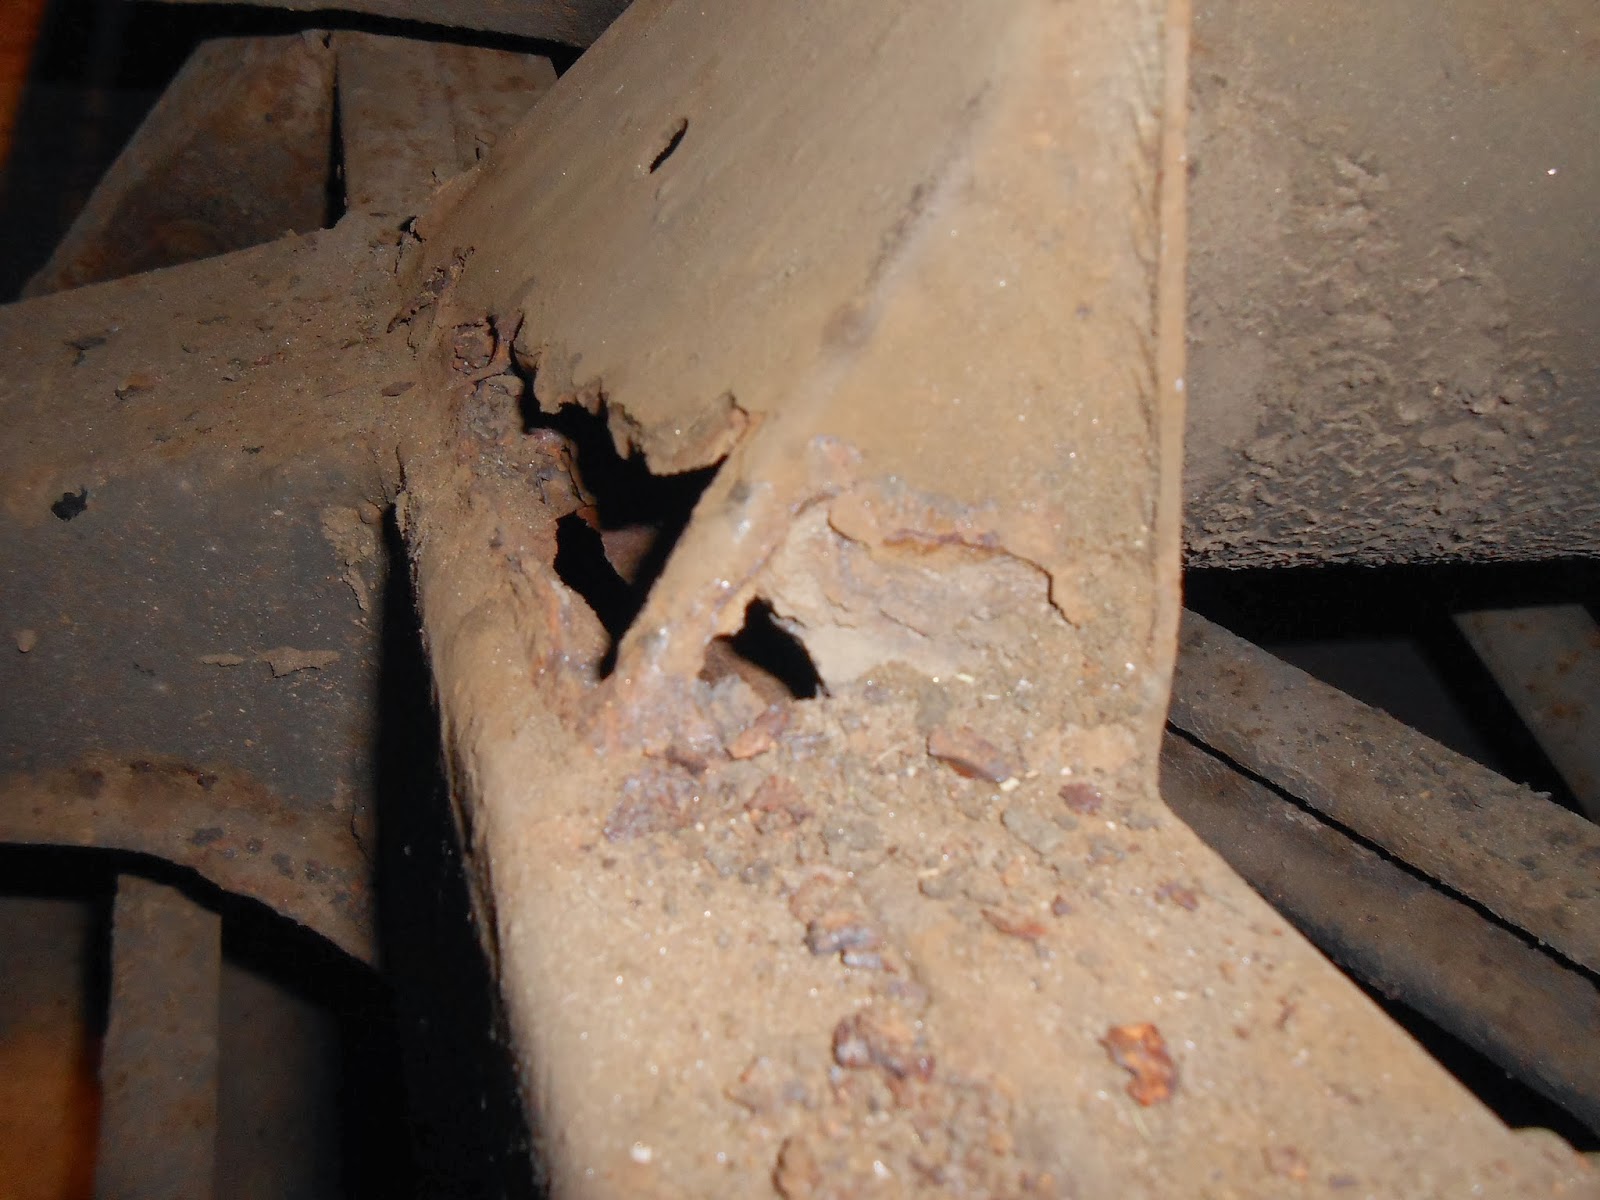
Fully seam welded in with some plating done along the edges to replace rotten metal, I had to replace the floor supports as they were rotten beyond salvage but before the boot floor went in I had to deal with this....
Rusty+12-12-12+022.JPG


Rusty+12-12-12+023.JPG


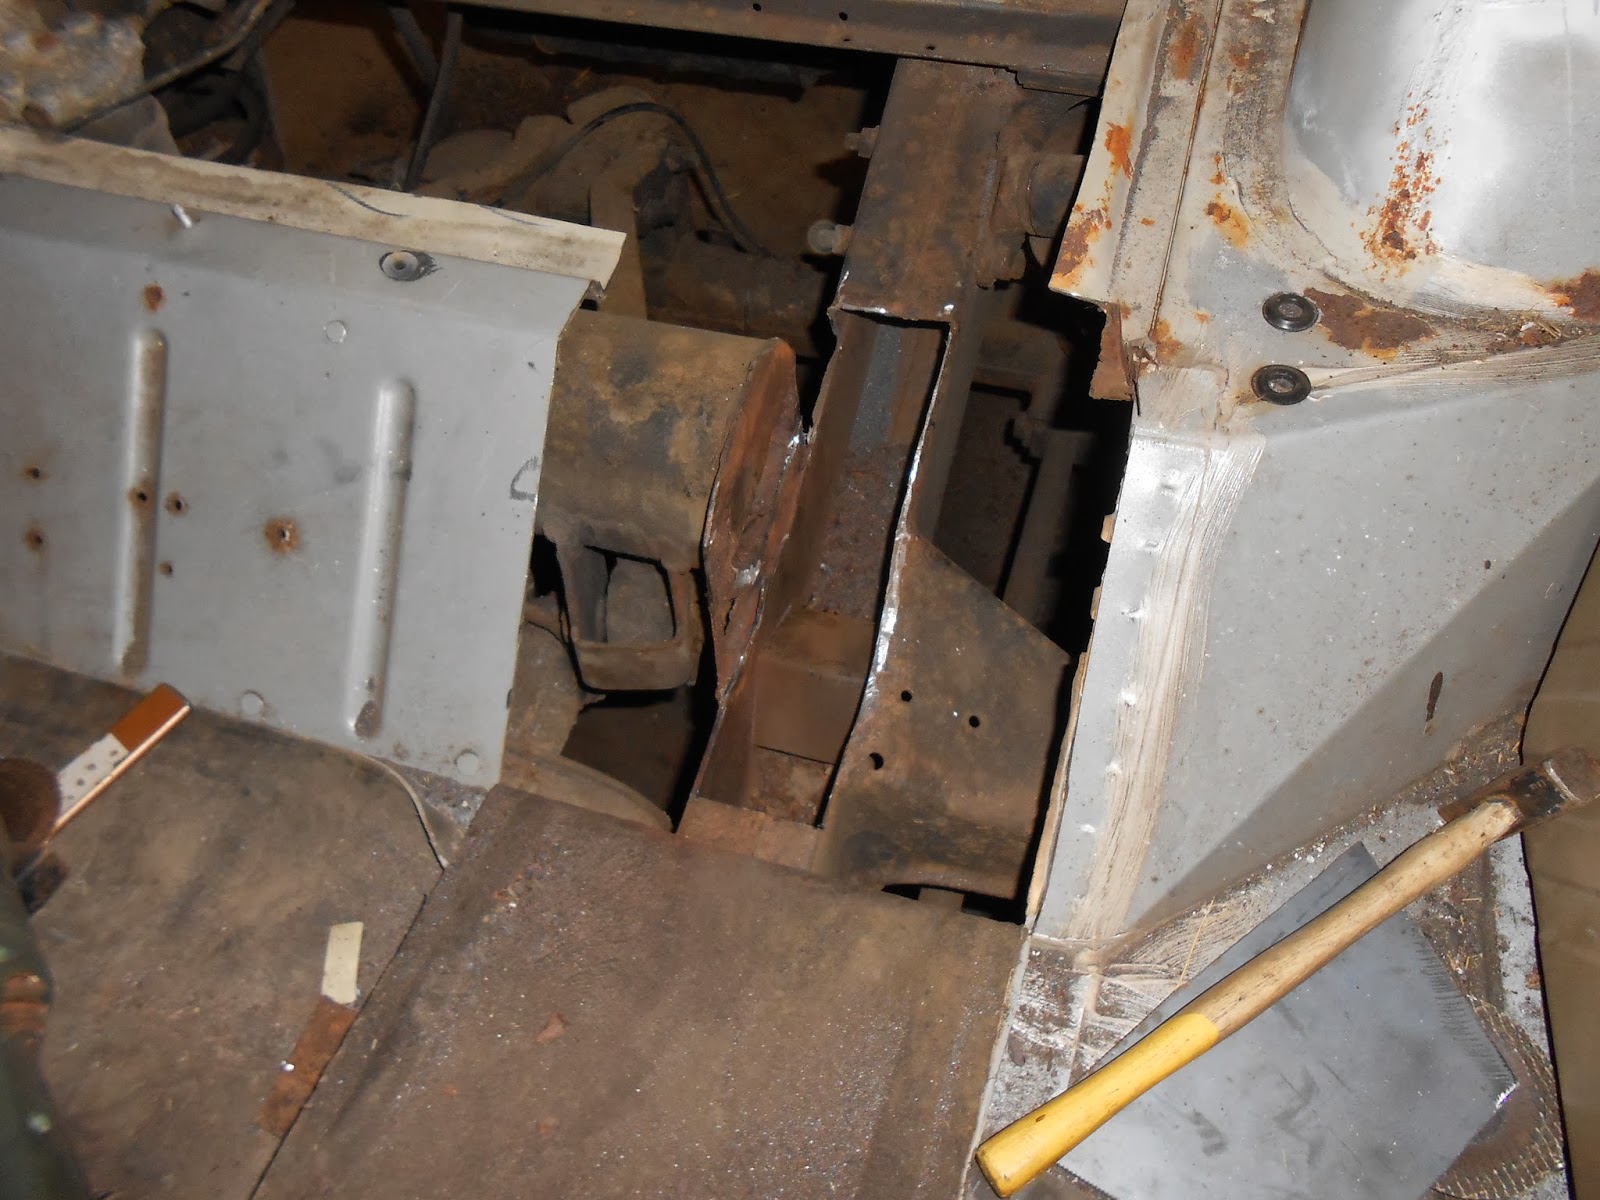
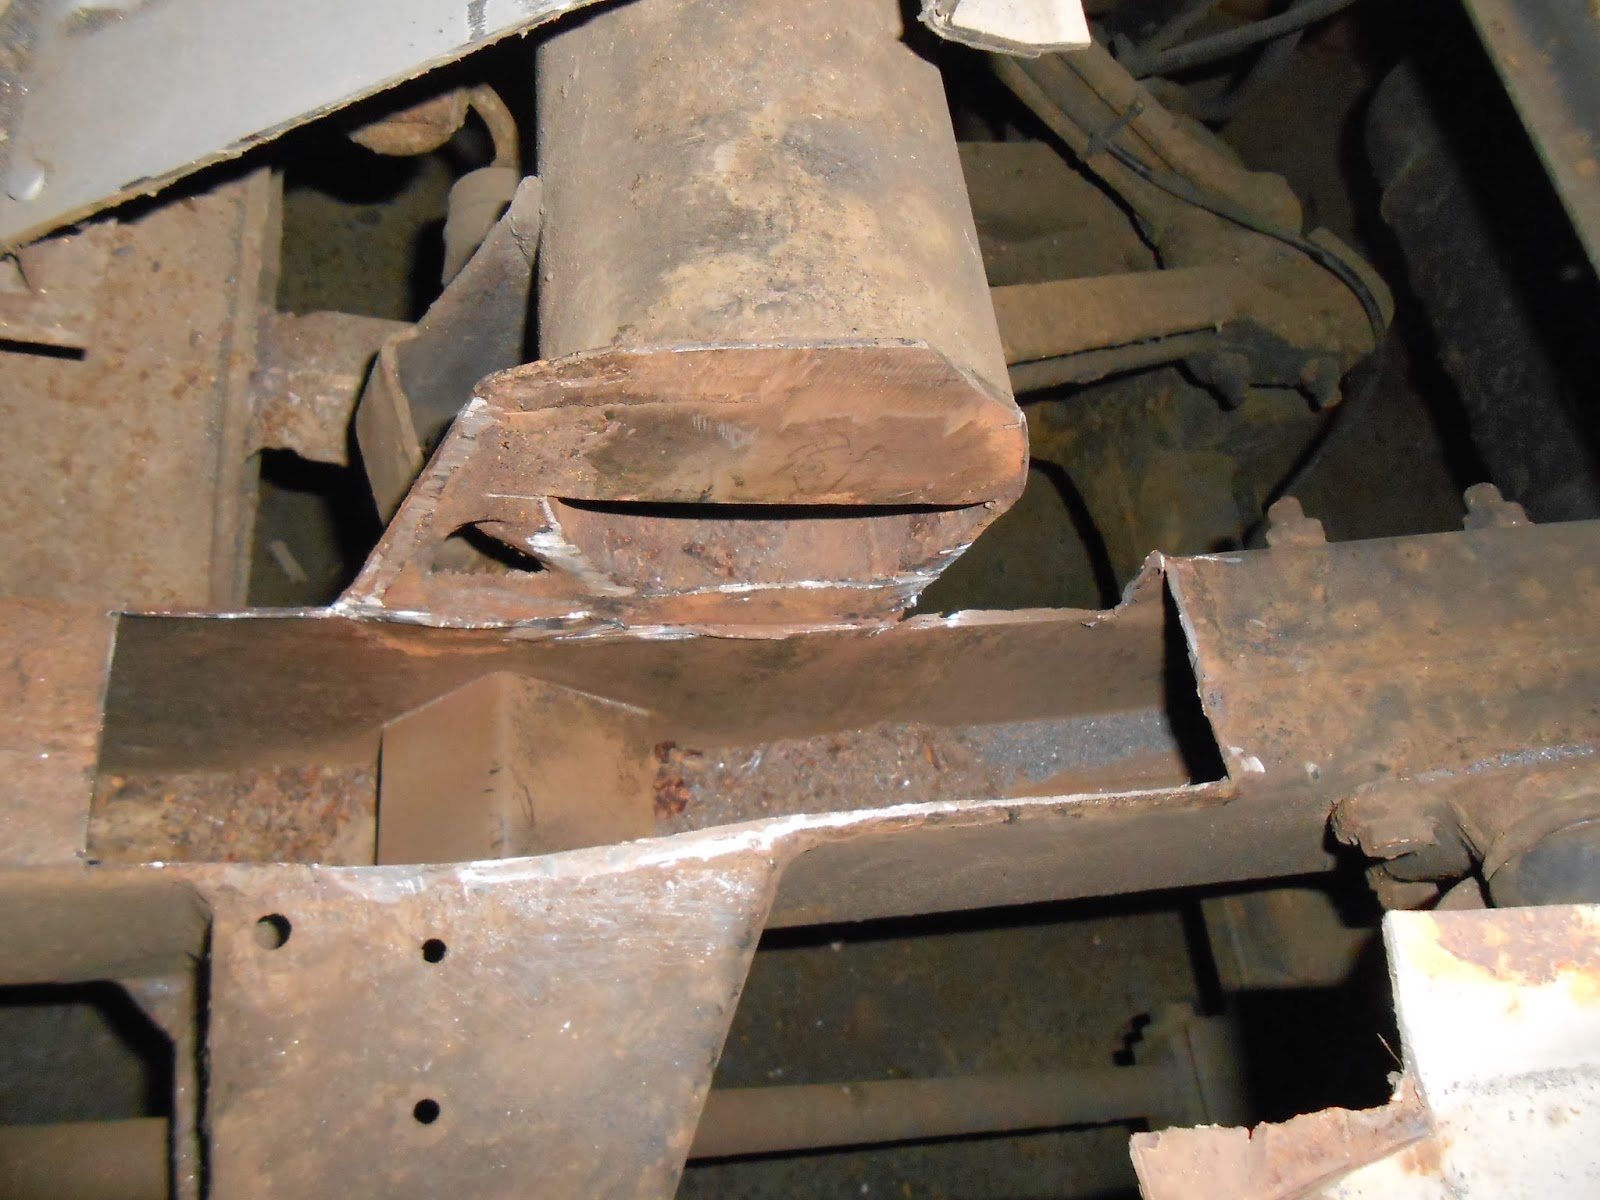
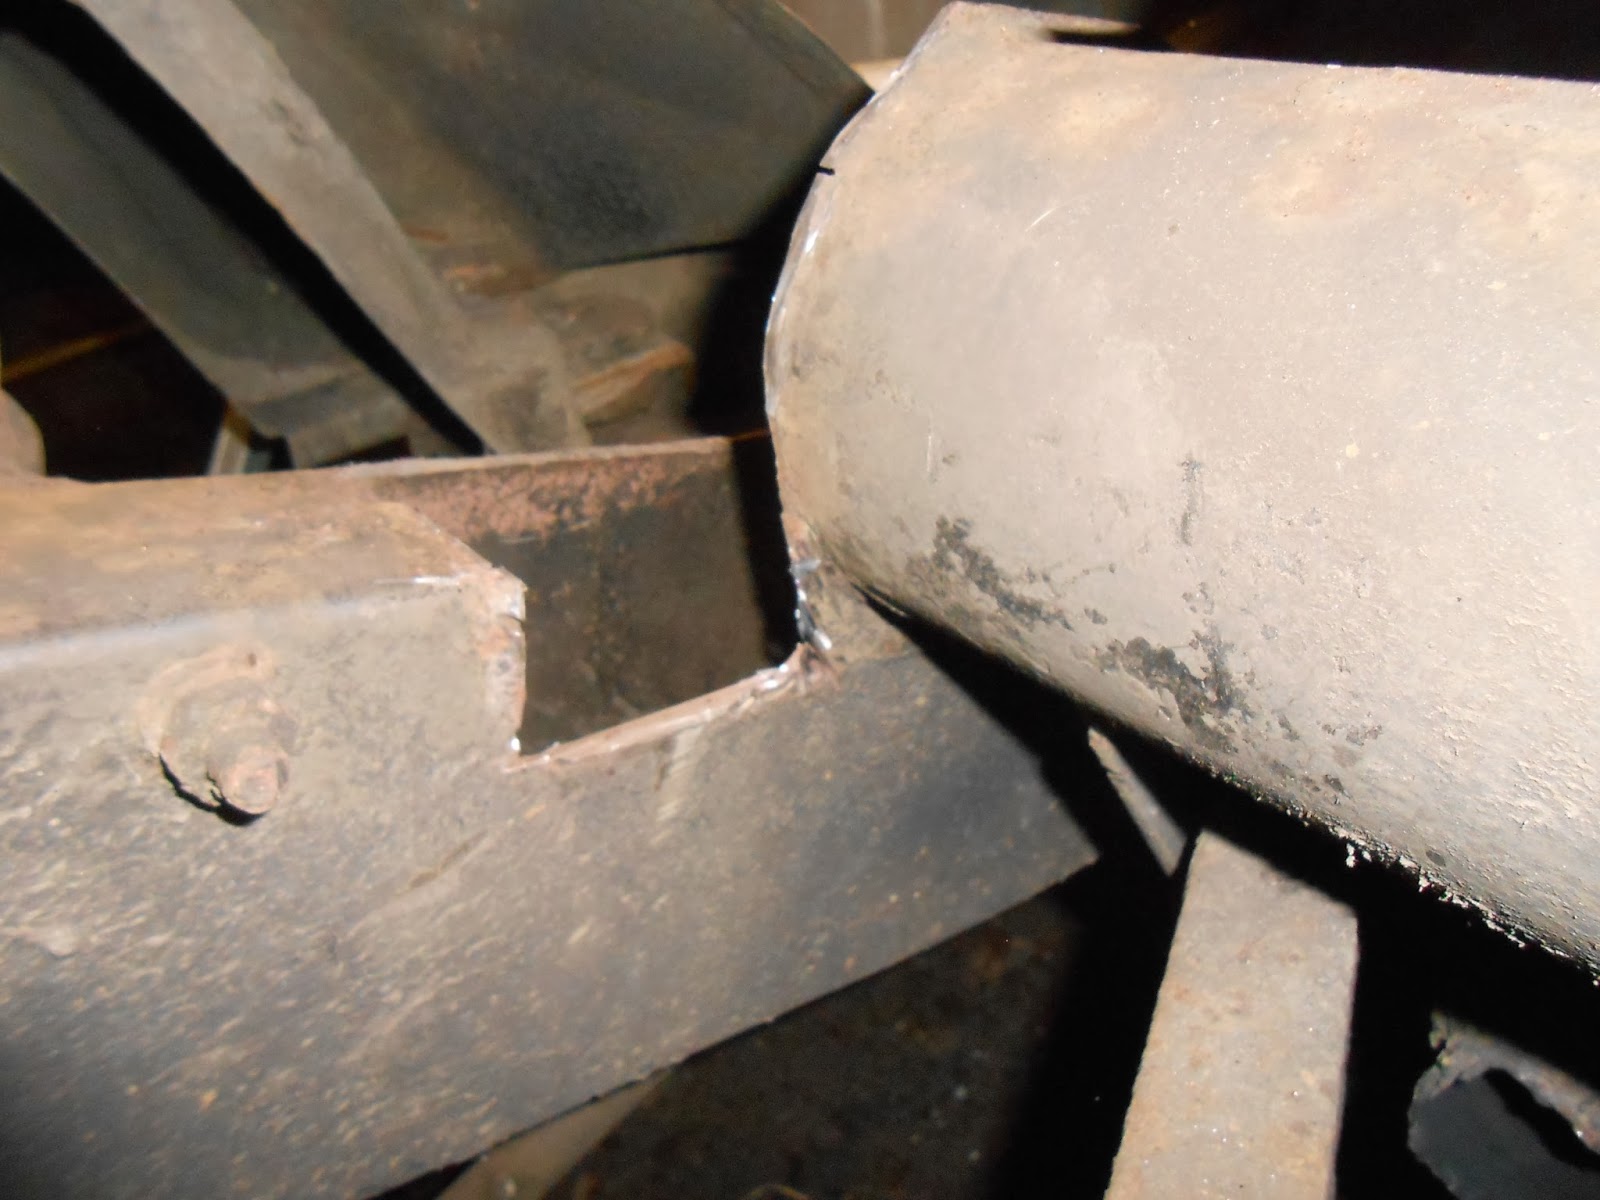
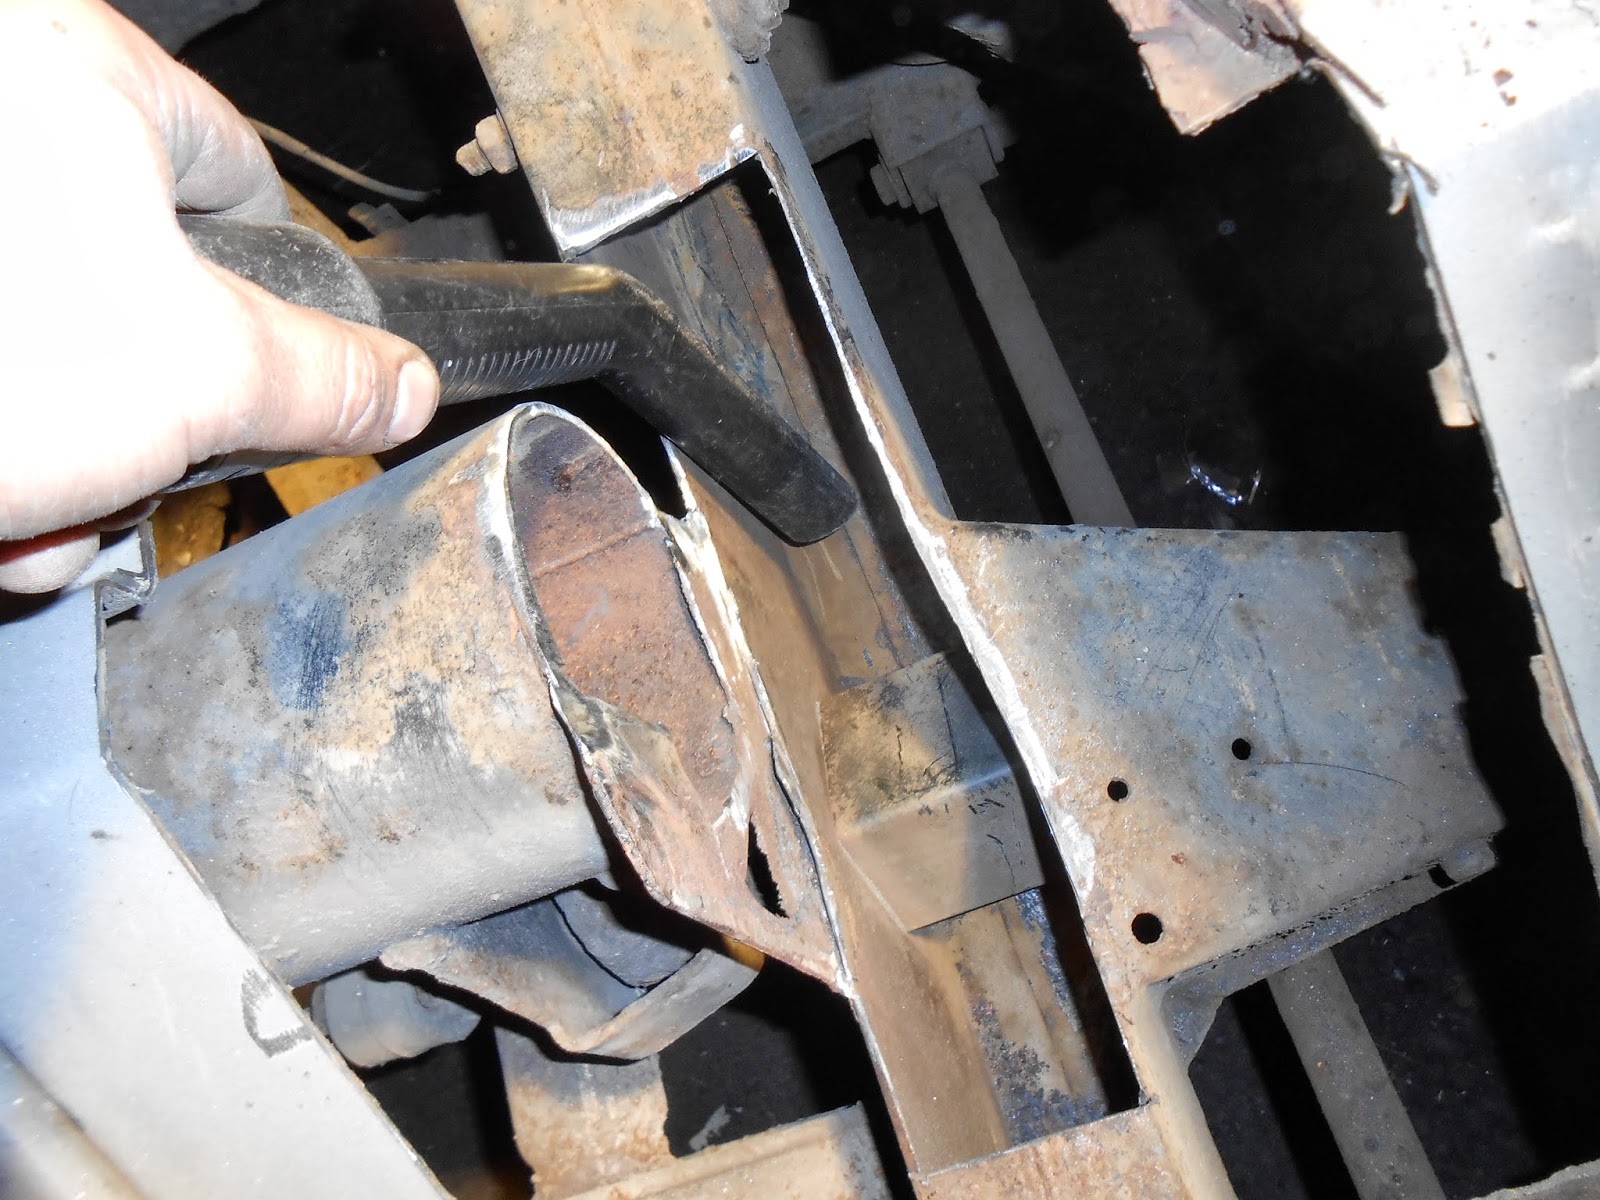
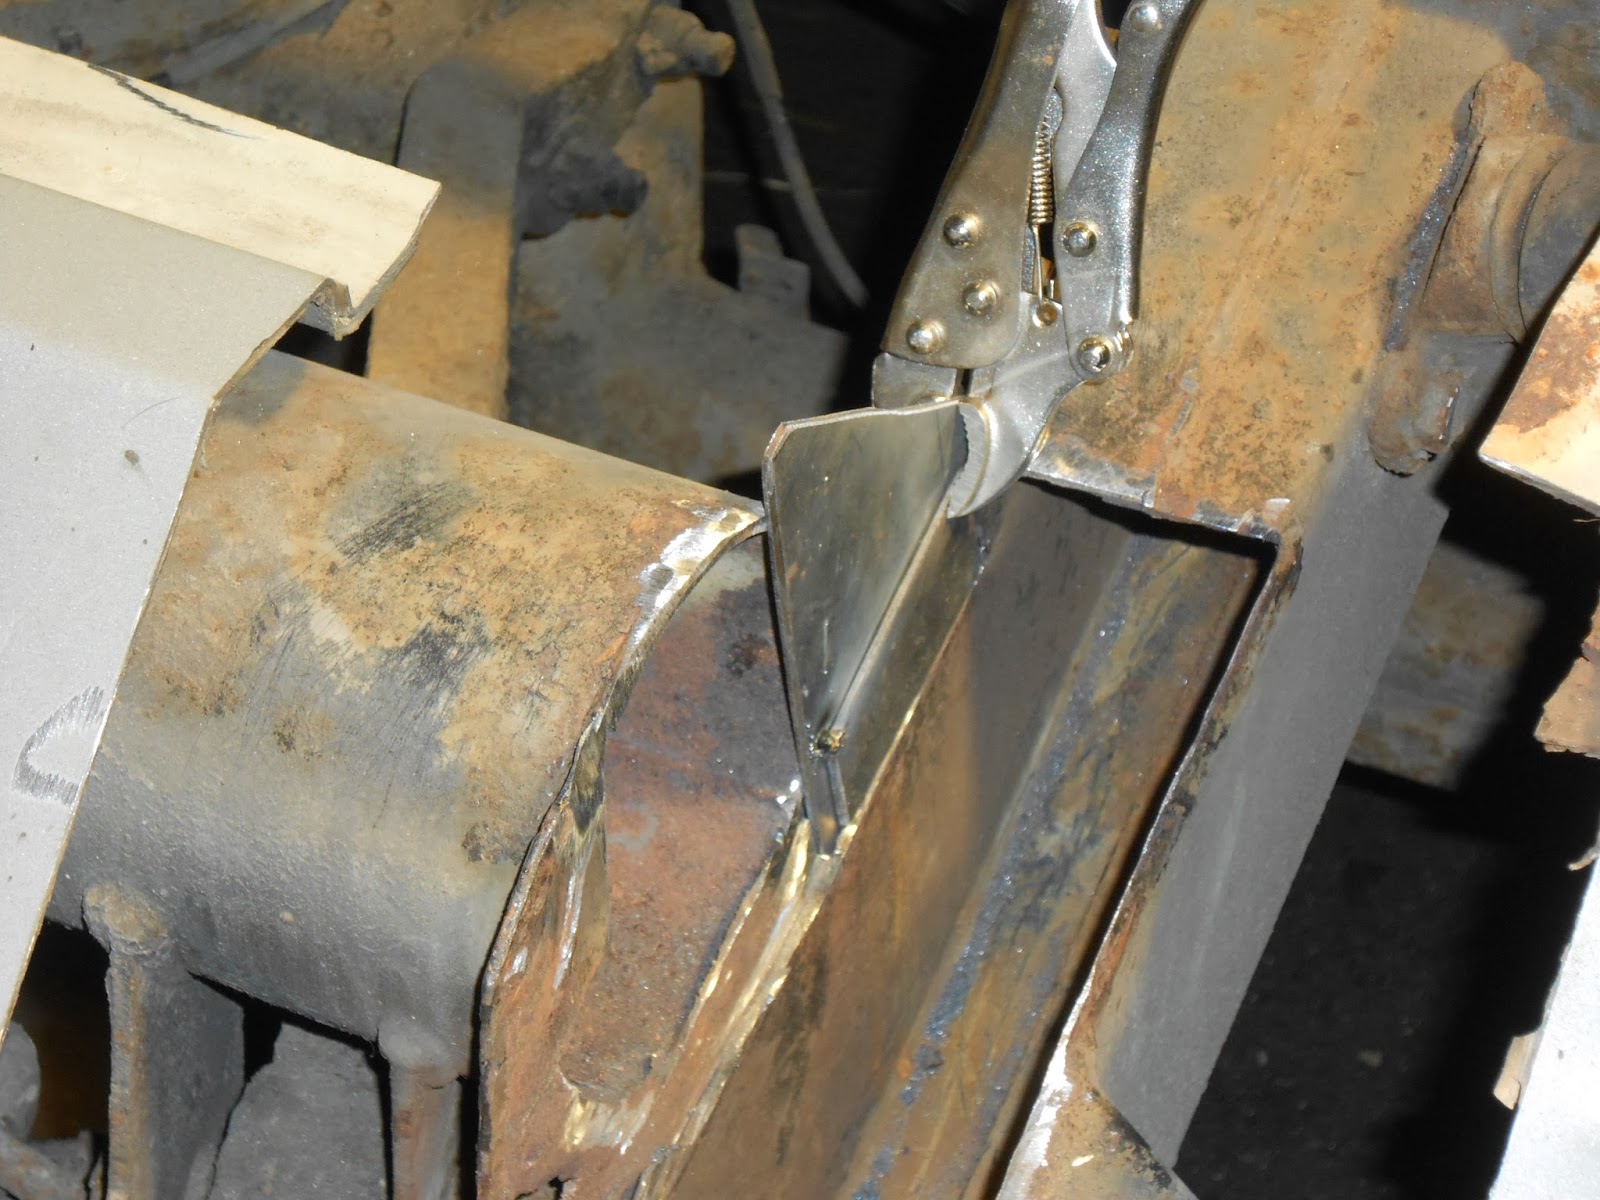
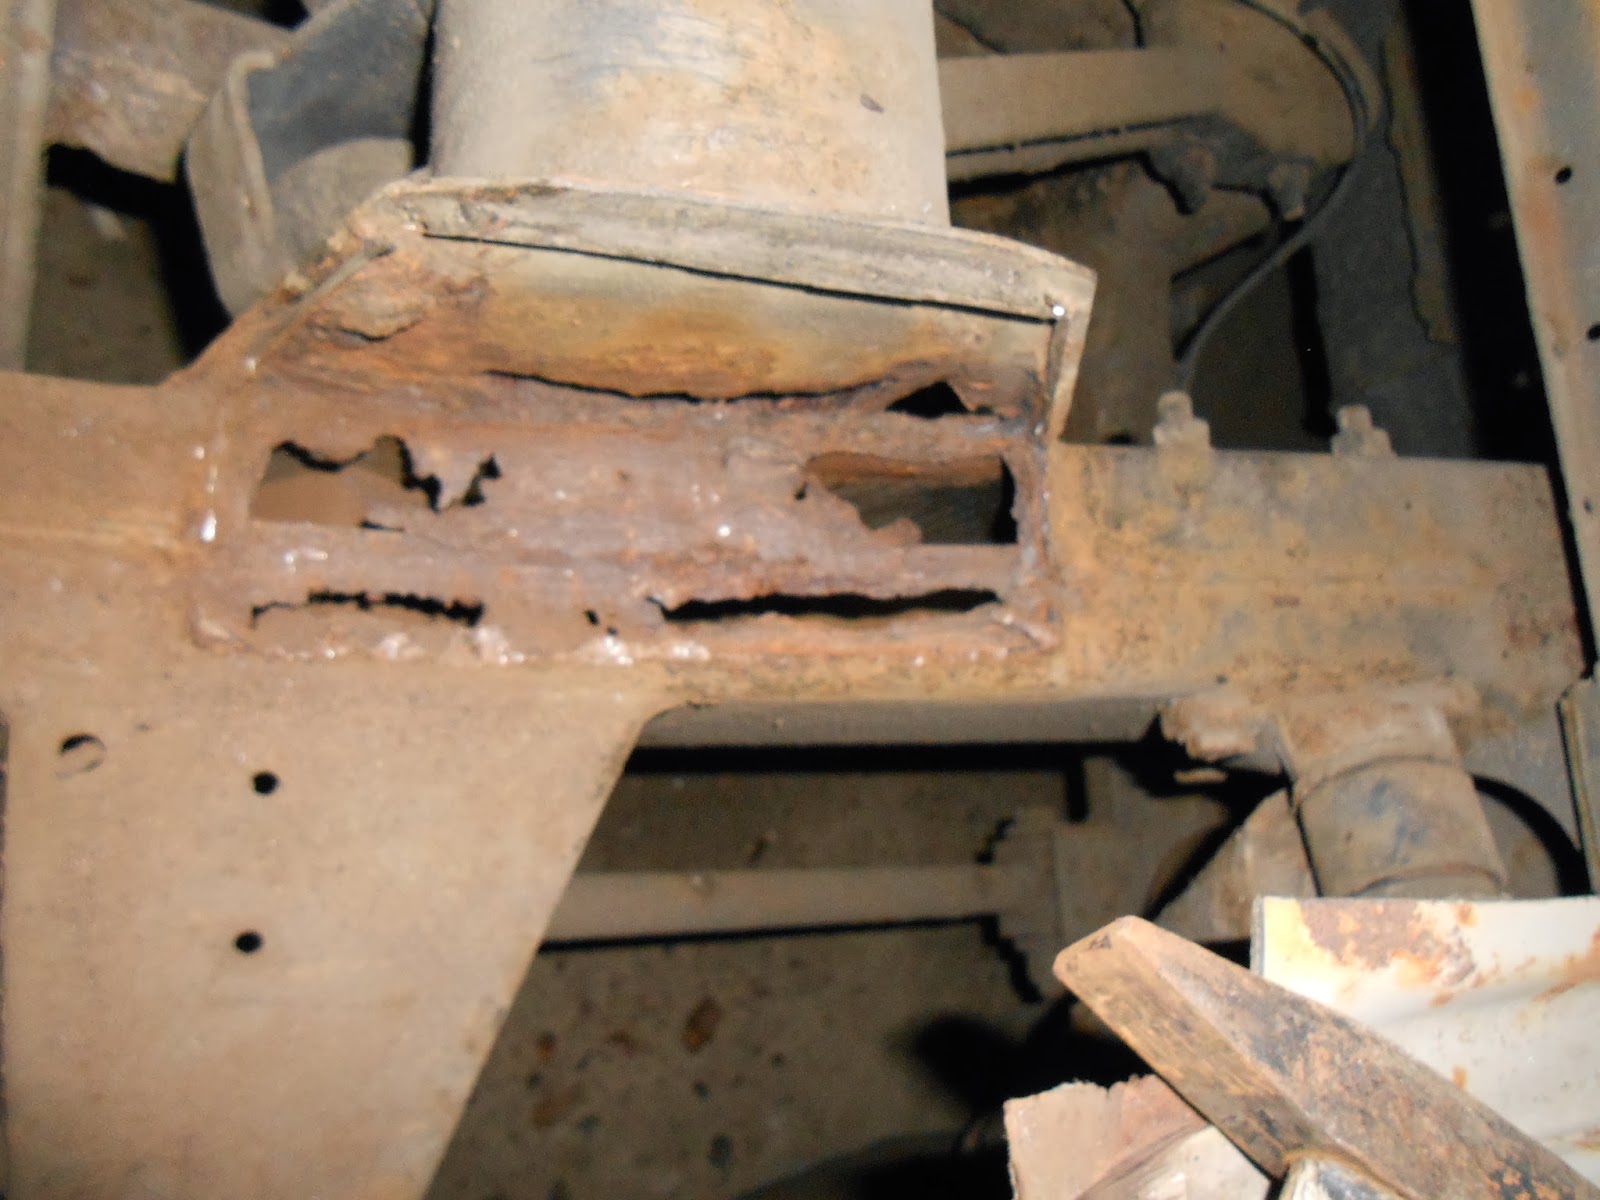
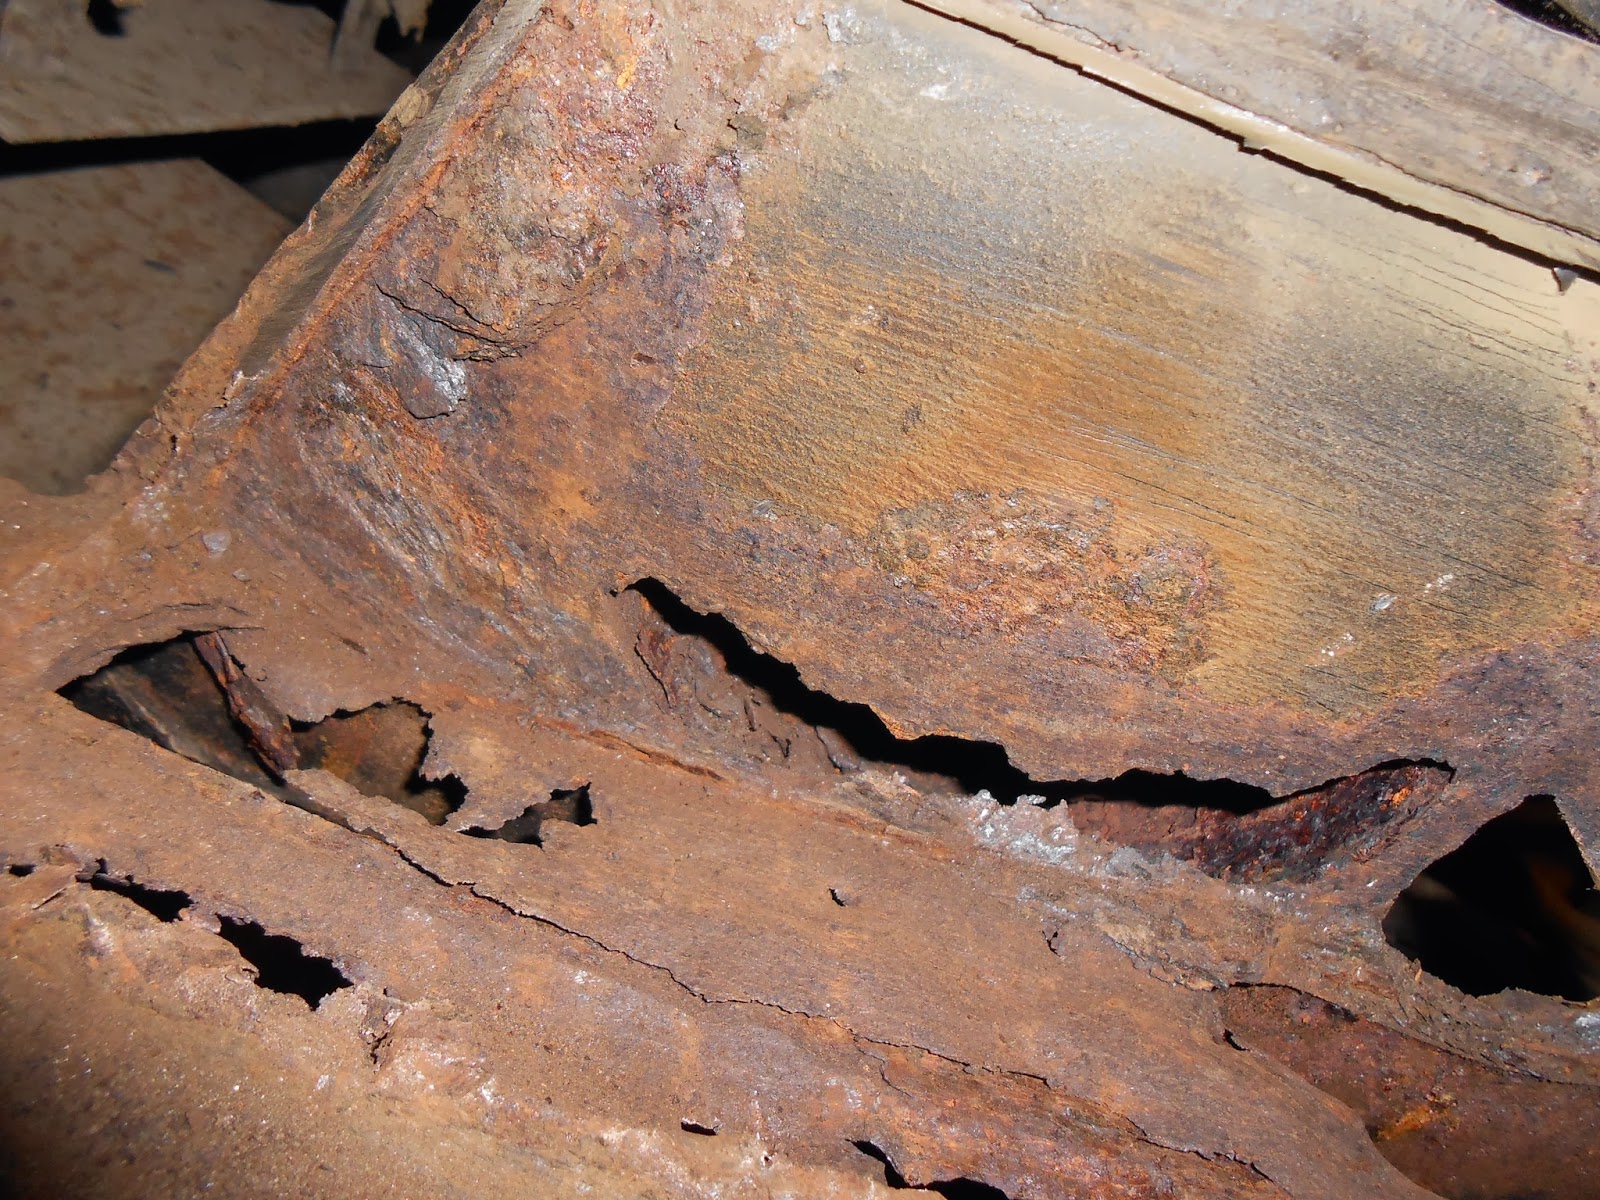
All cut out well nearly, as I opted to do a two piece repair as to save the suspension geometry as it can and usually does move!!!
Rusty+12-12-12+025.JPG


Rusty+12-12-12+026.JPG


Rusty+12-12-12+027.JPG


Rusty+14-12-12+001.JPG


Rusty+14-12-12+002.JPG


Rusty+14-12-12+003.JPG


Rusty+14-12-12+004.JPG


Rusty+14-12-12+005.JPG


Rusty+14-12-12+008.JPG


Rusty+14-12-12+010.JPG


Rusty+14-12-12+012.JPG


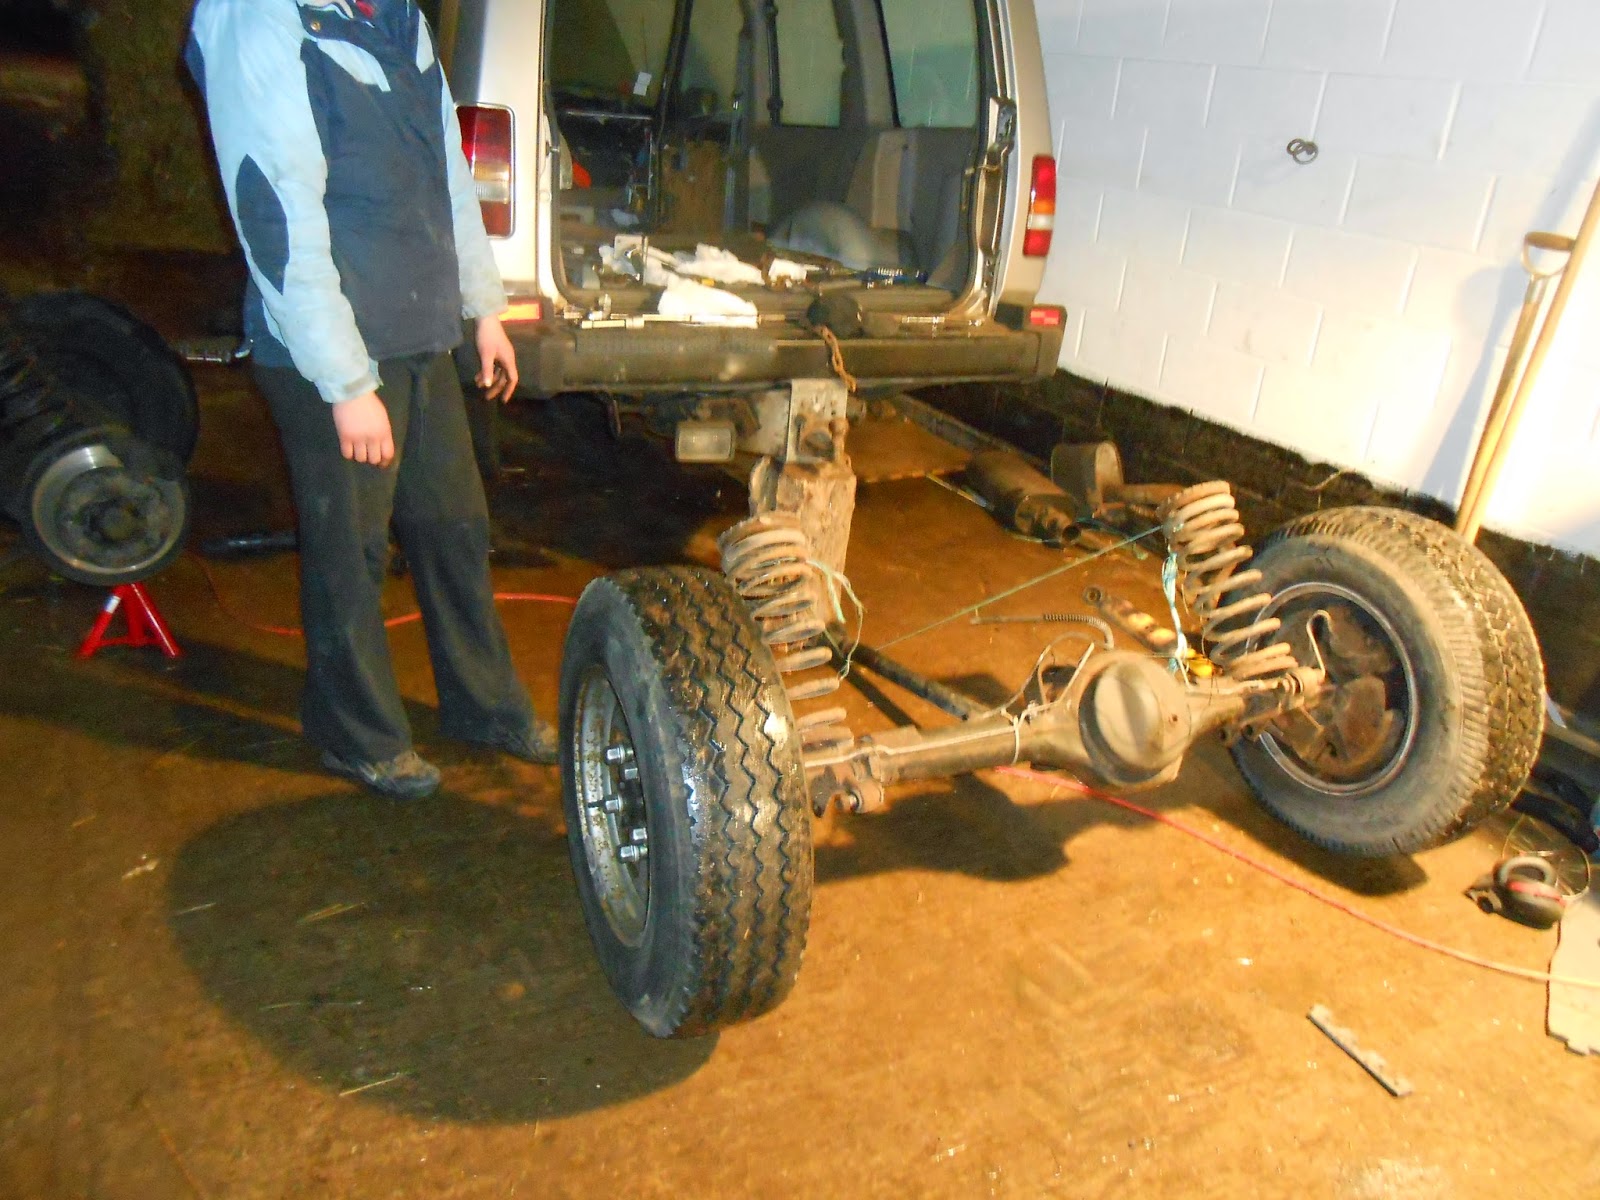
Now I stumbled upon a problem, I needed two more matching 235/75 15" General Grabber for the back axle to replace the racing slicks it came with and the thing is they don't make them anymore and finding them in that size was not to be done so I devised a new plan and wanting to fit taller tyres to give a little diff clearance I decided to fit the 24 spline axles from my old V8 Disco to enable me to use the nice silver deep dish alloys in 16", and well Cooper STT look splendid on them!! This is swapping the back axle and the new tyres....
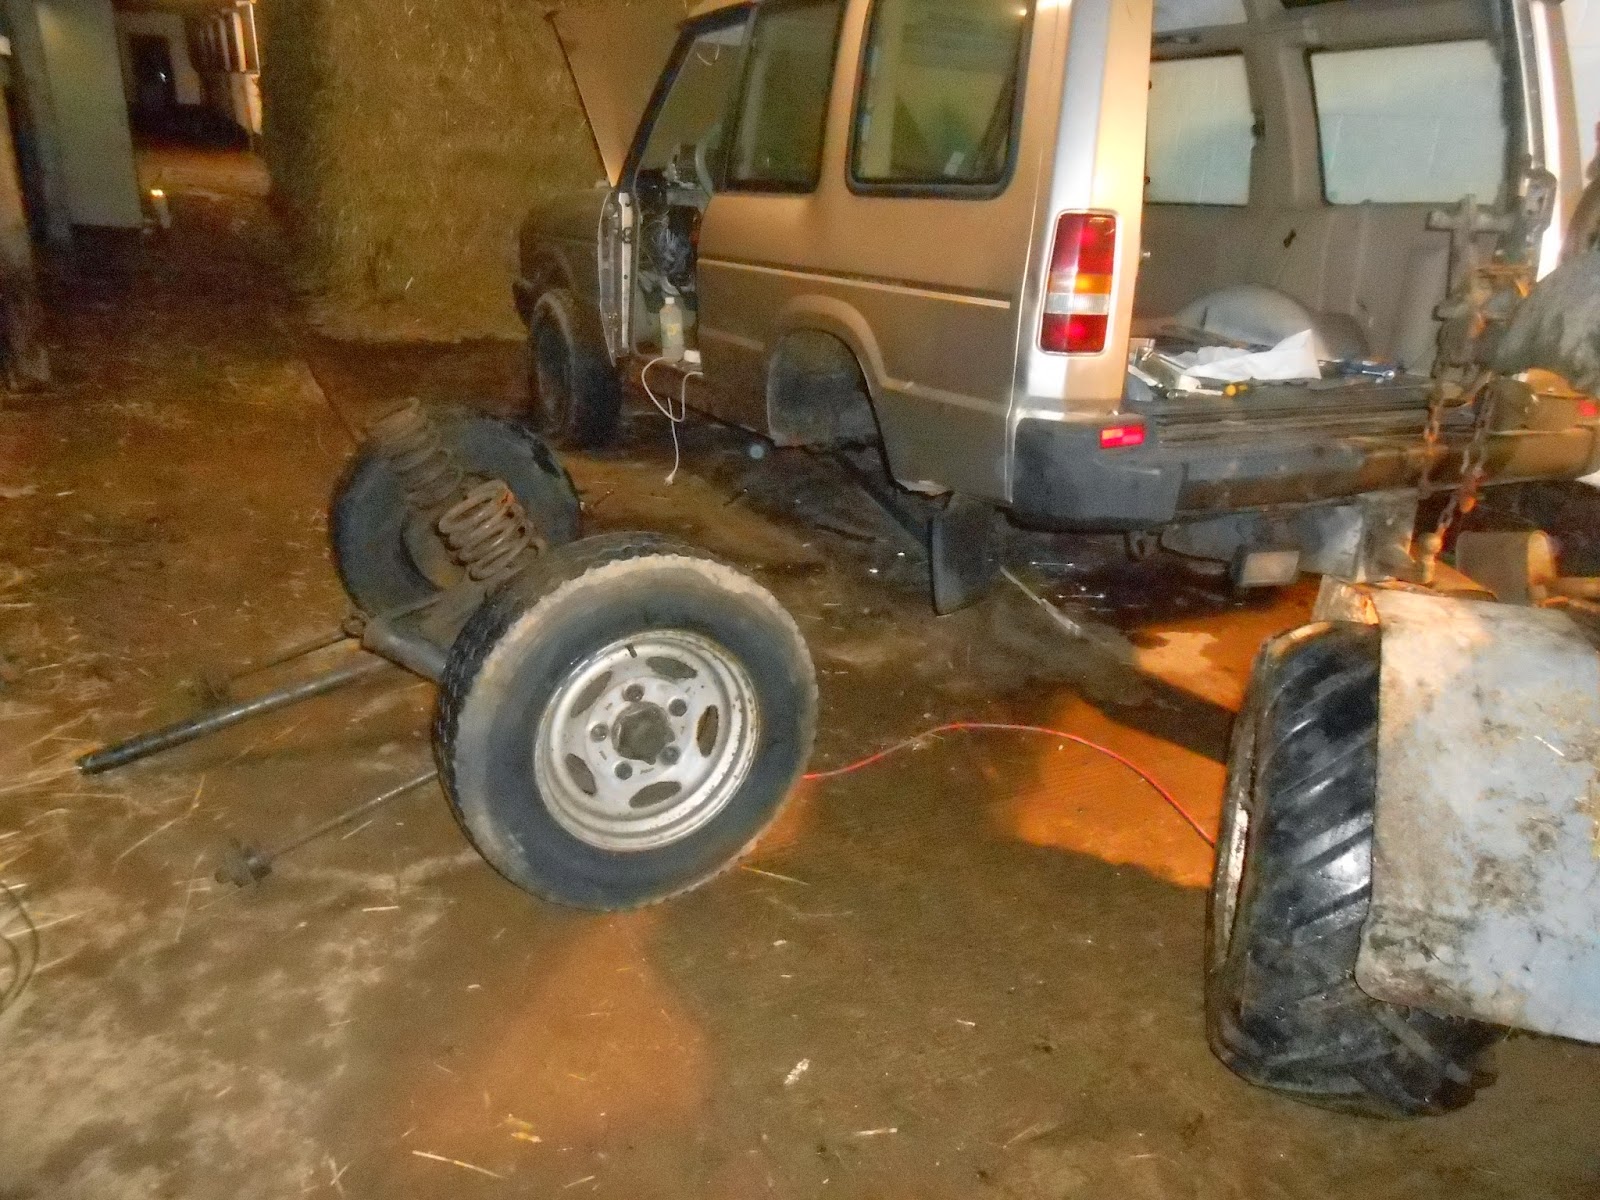
Rusty+13~24.01.13+016.JPG


And new one going in..

Rusty+13~24.01.13+019.JPG


And these are the new tyres against the old ones!!
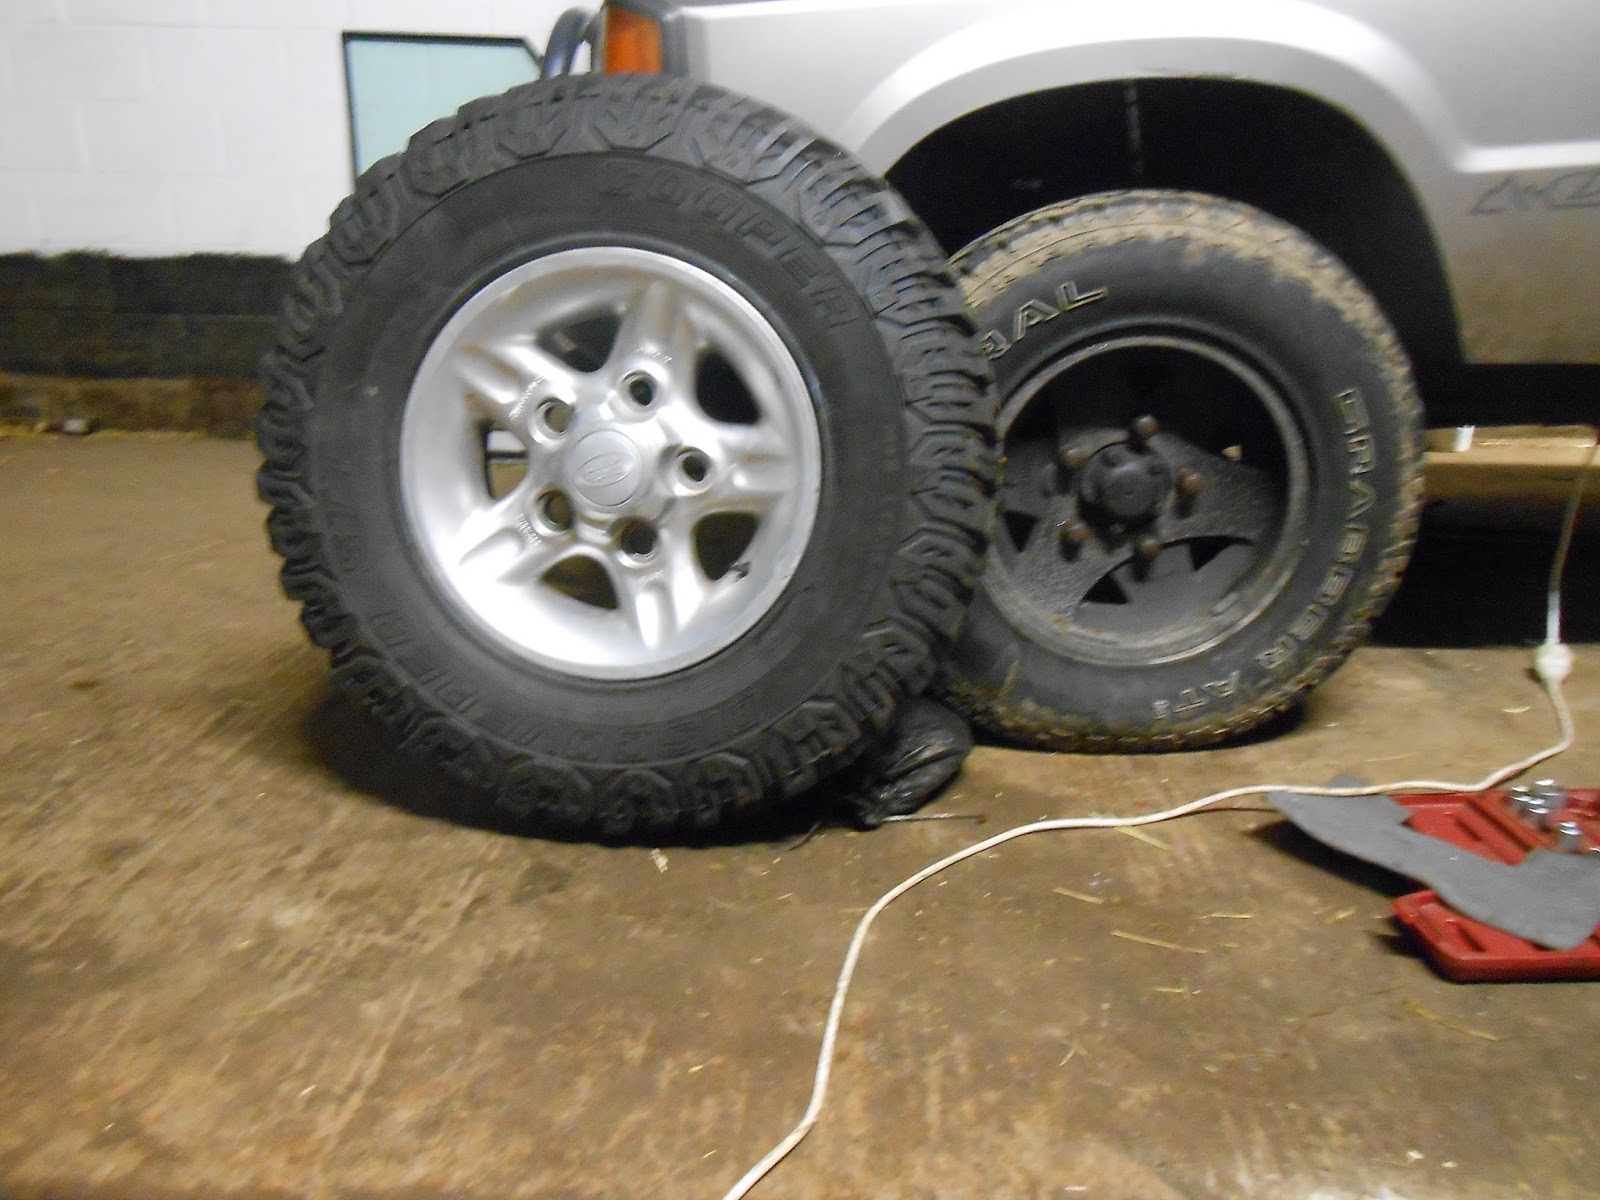
Rusty+13%257E24.01.13+012.JPG


So I still have a million things left to do but the front axle is now top of my list as the old compomotive alloys are sold to another forum member.

Watch this space for more updates.
 
Last edited:
Little bit more to follow, I had already spotted a lot of rust and there was a lot at the bottom of the drivers side "A" pillar which needed an extensive repair and a new bottom section which came as salvage from my red Discovery, as can be seen here....

rusty+09%257E01%257E13+003.JPG


I also wanted to replace the door hinges as the ones on all of the three doors of Rusty were very badly worn, the rear door especially!!

Probably from the weight of the spare wheel hanging on it, but I managed to paint them before fitting but not the hinges for the front door yet, this is the front door hanging on the better hinges..

Rusty+17~04~13+008.JPG


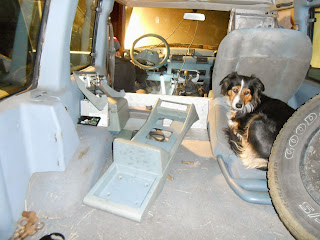
And this is the new color scheme for Rusty, the horrid blue/grey is gone and a much nicer beige, but I wanted a slight twist and have sprayed a lot of the furniture in a chocolate color to break things up see from the back door, you can also see the nicely painted newer hinges too....

rusty+09~01~13+007.JPG


And at last there is a seat and some carpets inside to make it look a lot more like a car again!!!...

rusty+09~01~13+010.JPG


Where the door shut is I have made this an almost seamless repair and you won't be able to tell once it has had top coat that a repair was even made at the door pillar, I will be spraying inside the pillars with Motip cavity wax anti rust to prevent any further corrosion and in the summer months I will be coating the entire underside and all cavities with dinitrol to protect him for many years to come.
 
Last edited:
With the dash being one of the first things removed many months ago, I have done a lot to it, including stripping out all the air vents and getting it ready for a bath...

Rusty19-10-12+014.JPG


You can see here very clearly the fire damage to the air vents and this one was very crispy!!

Rusty19-10-12+015.JPG


Then with everything removed I used Cilit Bang power spray to clean it all up...

Rusty19-10-12+023.JPG


A good scrub with a stiff nylon brush removed all the years of grime and a lot of the burnt on soot and detritus of 20yrs of driving life..

Rusty19-10-12+021.JPG


Also the steel frames and supports were washed up in readiness for being painted up and made like new again..

Rusty19-10-12+024.JPG


And this is the dash with the all the horrid blue/grey vinyl removed, and back down to the foam..

Rusty19-10-12+025.JPG


More to follow of the finished dash with it's new beige vinyl and nice new dash vents
 
Last edited:
Looks like some good progress there. How did you get so much clear access to the tubular cross member? Guessing you cut the floor out to get in there?
 
Looking like a good thread! I'd never have the patience to get stuck into wiring like that! Will be watching this one!
 
  • Like
Reactions: 8ha
So a new look was to behold the dashboard.....

And from the grey foam it became this..

Rusty+10~2~13+002.JPG


Rusty+10~2~13+003.JPG


Rusty+10~2~13+004.JPG


And although I tried my hardest to fit the new vinyl covering as professionally as possible it really could not be done all in one piece on the ends, so I had to make some end covers and pop rivet them on to make it look passable, but I like it, and it is good enough for me and bearing in mind Rusty is more than 20yrs old it reallyis not that important as he will not be a show car or a collectors piece.
All the metal work from the dash once washed, dried and degreased with acetone was sprayed over with a grey metal paint to keep it fresh for a few more years and as this paint was a POR(paint on rust) type paint it was especially good on those that were a little dubious where they were a little close to the fire...

Rusty+10~2~13+005.JPG


A comparison of the burnt vent along an unburned one.....

Rusty+10~2~13+006.JPG


Now, there are small neoprene gaskets on the backs of teh above vents and they were all badly squashed and had long since outlived their useful life, so I needed to replace them with some new ones, long out of service as a replacement part so I used some adhesive foam for draft excluding around door frames and windows, looked like this...

Rusty+10~2~13+012.JPG


Should seal very well and unlike the previous gaskets they cannot move around on fitting of the ventilation system as they are self adhesive.

Now a quick test fit of the under dash air box saw it a close fit but also a potential rattly one when driving rough tracks so I decided to cure that with the foam again by sticking it to the edges that were a close fit and now even if it rattles a little there should be very little noise from it.

Rusty+10~2~13+013.JPG


Well the interior inspired by Terrance Conran was ok but the cobalt blue was never to my personal liking, and I decided to chance it, I broke my 1998 Discovery 1 V8 a short time before I bought Rusty so I decided to use the nice beige interior in Rusty, the interior in the Discoveries never changed much only bar the dash and I preferred the dash from the 200 series anyway as the 300 series seems to make the cab seem bulky in comparison.

But what about the rest of the plastics?

A little bit of creativity with aerosol sprays, and from using these...

Rusties+dash+15~18~01~13+003.JPG


We went from the grey to a chocolate color in stead...

Rusties+dash+15%257E18%257E01%257E13+005.JPG


the center dash panel needing masking to keep the ventilation symbols visible....

Rusties+dash+15%257E18%257E01%257E13+001.JPG


Even the instrument binnacle was given a new coat of paint to make it fit in with the new color scheme...

Rusties+dash+15%257E18%257E01%257E13+004.JPG


This is the center panel after it has had a llick of paint...

rusty+05-09-13+010.JPG


I was very lucky as I managed to get a beige steering wheel when I got my replacement dash vents, it will do for now but I do plan to change the steering wheel for a smaller custom steering wheel to make life easier as the steering wheels on Land Rovers are always a little bit too big, so once I have found a couple of electrical gremlins I will be fitting the dash and all furniture in the new color scheme.
 
Last edited:
I love the attitude you have towards this project - saving a poor old disco from the scrapyard and adding a touch of customisation to the interior. It must be so rewarding.

I wouldn't dare tackle all the melted electrics!

Liking the beige and chocolate theme - it works nicely. Much better than the blue :eek:

The centre console in my 300tdi is from a TD5 and is beige with a brown leather padded arm rest/cubby. I am gradually moving over to the beige theme rather than the grey it came with. I've also been quite thorough in cleaning stuff - it's nice to know it's only your dirt in there!
 
Here we go again, so the newest problem of a significant magnitude is the heater box blower motor, now, yet again I am failing to understand the mentality of some people, I remembered it was not working from earlier in the adventure but with so many other things to fix I figured I would get on with them and sort that out just before refitting the interior etc, but as usual, the first thing to check is the fuse, missing, wonder why? OK new fuse and switching only brings clicking from the heater box, so out it must come......

Heater box in position...

DSCN0338.JPG


There are 4X 9/16 hex headed screws that hold the heater box to the bulkhead and these must be removed...

DSCN0339.JPG

the ventilation pipes must be removed from the heater manifolds and ducts...

dscn0340-jpg.140185


As does the power feed for the blower motor..
DSCN0341.JPG


In the engine bay the feed and return from the heater matrix must be removed also, note there is precious little room for maneuver as the inlet and outlet are very short and barely stick through far enough, and you need to be careful not to give them too much stick as they are not young and may break and end up costing you more than a few extra minutes in undoing them carefully....

DSCN0342.JPG


Once the pies are free the heater box can be wriggled free from it's position under the dash valance and above the transmission tunnel, and once out it is a good thing to open it up for assessment, this is the vacuum operated valve for the re circulation flap being removed..

DSCN0343.JPG


And the pipe from the solenoid valve that controls the vacuum..

DSCN0344.JPG


As you will have seen from the last pictures there is a ring of screws that holds the cover plate on and these can now be removed, and in we go...

DSCN0345.JPG


For all those who have read all about the resistor pack and wondered where it lived and what it looked like, well this is for you....

DSCN0346.JPG


And ta-daaa, one very crispy and rusty looking blower motor....

DSCN0347.JPG


I mentioned at the start of this episode that the fuse was missing from the blowers fuse position, well this is why...

DSCN0353.JPG


The blower motor was so badly worn out that it would have kept catching and stalling, and thus blowing the fuse continually.
 

Attachments

  • DSCN0340.JPG
    DSCN0340.JPG
    173.9 KB · Views: 328
Last edited:
DieselDog, at the risk of being a dick and repeating my question... How did you get so much clear access to the tubular cross member? Guessing you cut the floor out to get in there - that would be the floor infront of the seats, including the 45 deg bit of floor?

Thanks,
Fred
 
DieselDog, at the risk of being a dick and repeating my question... How did you get so much clear access to the tubular cross member? Guessing you cut the floor out to get in there - that would be the floor infront of the seats, including the 45 deg bit of floor?

Thanks,
Fred

Sorry, missed your question :(

Rusty+14-12-12+001.JPG


You can see here the boot floor was out and I had cut 2 slots in the 45° floor plate that were welded up once the repair was done, hope that helps.
 
Last edited:
The front 10 spline hubs went from this....

Rusty+10-16Nov+025.JPG


Rusty+10-16Nov+032.JPG


Rusty+01-03-13+014.JPG


Rusty+01-03-13+011.JPG


Now that the hubs are stripped out I could pull the diff, the trouble with the diff studs and earlier axle casings and diffs is that there are 4 short studs and these have to be knocked out and replaced with the longer studs, for some reason the 10 spline diffs are thinner on the flange at these points.
Rusty+17~03~14+050.JPG


Slap with a hammer to dislodge the splined and flanged studs.

Rusty+17~03~14+051.JPG


4 new longer studs ready to go in.

Rusty+17~03~14+053.JPG


Little bit of jiggery pokery and a set of mole grips to hold them while I wound the nut on so they could bite into the housing.

Rusty+17~03~14+052.JPG


One 24 spline diff installed with a smear of RTV to seal it up.

Rusty+17~03~14+054.JPG


Tapped out the remnants of threadlock from the swivel housing to ensure the stub shaft stays where it is supposed to and rebuild the hub.

Rusty+17~03~14+055.JPG


Tadaa!

Rusty+01-03-13+023.JPG


Now as I am a little bit old fashioned I do prefer oil lubricated wheel bearings and drive members and opted to remove the oil seal from the 24 spline stub axle to get the oil from the swivel housing to the bearings, I was a little dubious of the little rubber caps for holding the oil back and rightly so as on one side it was already weeping badly within an hour of fitting, so new plan and new parts which came in the form of Bearmach heavy duty drive flanges, don't they look shiney :D Although they are hidden by the deep dish alloy wheels once fitted :roll:

Rusty+17~04~13+011.JPG


The back axle was swapped out complete so no need to worry there apart from gouging the half shaft seal out to let the oil lubricate the wheel bearings.
 
Last edited:
How many hours did you spend on the dash removal , heater moter changing and refit ?
I have a seezed heater engine aswell, thought this was 1 day of work,
but seems a bit more ;)
 
How many hours did you spend on the dash removal , heater moter changing and refit ?
I have a seezed heater engine aswell, thought this was 1 day of work,
but seems a bit more ;)

Having had practice I can have the dash out in 30 to 40 mins blower box a other 40 mins hour to strip it down an replace motor an put it back together but be warned of the replacement motors size and fit as original will be 62mm diameter an new onez 59mm you can "shim" them in though but they gotta be tight. Doable in a day if nothing goes wrong ;-)
 
Back
Top