tyregeezer
Well-Known Member
- Posts
- 537
- Location
- Rural Norfolk
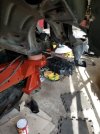
Going out in a bit will reset and run live data, hailing at the moment fitting autobox in the dry
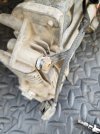
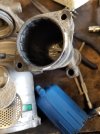
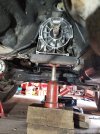
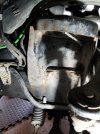
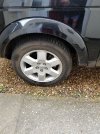
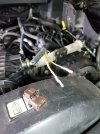
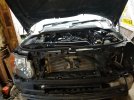
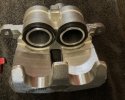
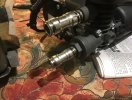
Yes thanks mate it's been looking underneath made me decide maybe to keep no rot few patches of rust but best I've seen, spent its life as a Chelsea tractor as new inside still has leather smell, sump to fit wiring plugs, and a few air pipes and can be fired up, still having a problem with 07 suspension wise, changed compressor now new issues going to switch air springs on this one and use new dunlops, valves and possibly compressor on mine see what happens fitting new front valve block today before fitting bumper, also need discs and pads so looking at brake options, slowing down a bit today as very stiff, have a minor electrical issue will pick your brains later Happy easter
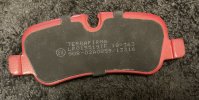


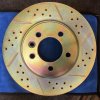
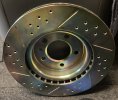
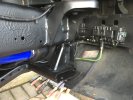
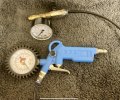
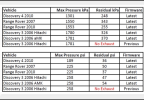
Hi mate just got in from work landrover seems ok no gongs or lights that's a start, gallery pressure about 70psi at tick over but fluctuation up and down, not sure but seems too quick to be possible suspect centre valve block, ordered one today, although it didn't seem to drop while at work but yes I do suspect I am going to go through the whole system, and yes your right lack of maintenance, the biggest problem with D3, didn't work at all when I first bought it, leaks every where so getting there lol, brakes not really decided, but thanks for the food for thought. Have been thinking about the petrol conversion? Rust is mainly in the wheel areas and floor at rear but cleans up well so worth doing can't do sensor areas as will break, when I do the arms will touch up hard to reach areas, finishing bits and Bob's over next few days waiting for 10w 30 to turn up, basically few suspension parts, exhaust when painting is finished and battery area to finish, all the best mate
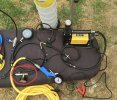
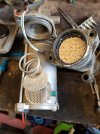
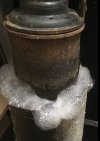
Thanks mate quietly confident compressor sorted, its date code is 2013 also the new dryer balls had a larger diameter?, will run live data again after fitting valve block, just have a gut feeling, funny thing this morning it's sitting level? noticed this last night too, your paint looks great would guess your chassis is in about the same condition as mine hope mine turns out as good will see how it goes, have to leave the back end for now as it sticks out in the rain Lol tidy up morning, at the can't find anything stage many thanks for data sheet something else for my black folder
Welcome To LandyZone, the Land Rover Forums!
Here at LandyZone we have plenty of very knowledgable members so if you have any questions about your Land Rover or just want to connect with other Landy owners, you're in the right place.
Registering is free and easy just click here, we hope to see you on the forums soon!