Trillo's V8 Disco 1 Build

This site contains affiliate links for which LandyZone may be compensated if you make a purchase.
Yep. Thank you very much :)
Saw it change when I refreshed it. Appreciate it. But can you make it so I can edit post 33? Coz I have a couple of things needing fixing :D (photo failed and want to go back to photobucket)
 
Yep. Thank you very much :)
Saw it change when I refreshed it. Appreciate it. But can you make it so I can edit post 33? Coz I have a couple of things needing fixing :D (photo failed and want to go back to photobucket)

Nope, sorry, the last time I lent my magic wand out I didn't get it back for a month, all hell broke loose and Accy took away the staff biscuit tin :eek:

Post YouTube addys straight into the reply box, no need to use link buttons or anything, the software recognises it and does everything for you :)

Probably a good idea to break everything up into shorter posts as well because trying to preview or worse, edit, such long posts is a bit of a nightmare.

Good work though
 
lol. He was the first to give me a hand. First in first served :D Thanks for fixing the embedding tho. Appreciate it. But can you make it so I can edit post #33

Which hand did he give you? Was it washed? :eek::p

I don't think I can, Rats might know how but this is pretty new to us anorl.

If it's that vital tell us what needs to be changed, better still repost and I can move it into post #33.....probably
 
Update:

Alright, got some work done today. So far I've only been running my truck in the riverbed because the bumper gives no protection to the lights (indicators are the first thing that'll hit a bank on and side track). So Dad came up with an idea to weld on end pieces to give me more protection, so that hopefully we can have a go at some side tracks. (It probably won't be the most beautiful bumper out there but it'll do the job until I can buy something like a Cheviot 4X4 Predator bumper :D)

Bumper off (and battery on charge cause it's dying :()

IMG_1216_zps5yxq659g.jpg


How the second mount looks (don't think I ever got a good photo of it)

IMG_1217_zpsokmhjcnm.jpg


A-Frame with 2"x2" 3mm wall square tube

IMG_1218_zpsohy0xrhu.jpg


First cut done (left) and second wedge marked out

IMG_1221_zpspiefrusa.jpg


Cut

IMG_1222_zpspevxpwle.jpg


Folded

IMG_1223_zpsjfpxotcp.jpg


RH side layed out

IMG_1230_zps6fdds81u.jpg


LH side was a little different because we found that the A-Frame itself was 4mm shorter so using the wedge offcut from earlier to to join the 45° bar to the A-Frame (as above) would leave us with less protection so Dad marked out a pattern so that we didn't have to use a wedge and could still extend 4mm more

Cut

IMG_1232_zpsutz5m8w5.jpg


Both ends welded up

IMG_1235_zpsqxflisgg.jpg


All done

IMG_1237_zpsmcjbfxwb.jpg


Painted

IMG_1238_zpsrapprchd.jpg


Today I have also been working on a storage box to sit in the back of my truck. I built it in Woodwork at school and took it home to paint. It has 2 compartments, a dry bin (where everything will normally be) which will be sealed and have a lid, and then a wet bin for tow ropes and snatch straps etc. if they'd already been used in the water and needed to dry out. This bin will be sealed too but will have no lid (so no D-Shackles or anything heavy which might fall out will go in it) but it will have a drainage hole with a bung so that any water can be drained out when I choose. I've already primed it and today I focussed on getting all the screw holes and cracks, dents etc. filled with Polyfiller. Anyway, here's how it looks (still needs sanding tho)

IMG_1225_zpsmut0ksab.jpg


IMG_1228_zpsbzhga7w3.jpg


IMG_1233_zps4hgztke2.jpg


I have some sprung hinges for the lid that have test fitted (and are very springy) that will be refitted when all the other work is done (sanding, sealing and painting). I know I will be painting the inside of it with truck bed liner (hard, waterproof coating) but I don't know whether I'll paint the outside dark grey or tan (like my interior). Any opinions?

Hopefully we'll fit up the bumper tomorrow morning and go for a trip down the river (and side tracks :D) with Dad and my Uncle for a few hours and now that there's 3 vehicles hopefully we can try some harder tracks (and deeper crossings).
 
Last edited:
Update:

Today we got the new bumper/A-Frame mounted up. But before that I put 500 mph tape over all of the old holes in the A-Frame that weren't being used.

Covered

IMG_1239_zpssafgq9cq.jpg


Primed

IMG_1241_zpsd80k8czu.jpg


Mounted

IMG_1245_zpsmvt4rmmd.jpg


It isn't fully finished, as I plan to put rubber matting on the top to cover up the gap

IMG_1246_zpspnswhfli.jpg


How far it sticks out (protects)

IMG_1247_zps5iimkcmq.jpg


While this isn't a permanent bumper it'll be on here probably until I put it back on the road.

Thought I also put in a few photos of the bin. Here is a better photo of the filling I was doing yesterday (still needs sanding).

IMG_1242_zpsggv5znma.jpg


And the sprung hinges

IMG_1243_zpsl1fzjxqa.jpg


I've also just bought a Contour HD 1080p camera so I can film my trips to put on Youtube. I haven't got a windscreen mount yet but that'll be on it's way soon but I need to try and figure out a way to mount it using the mounts it came with for the trip. Sorry I didn't get any pics of the whole bumper but Photobucket doesn't want to work with that one photo so I'll try get another later.
Cheers,
Trillo
 
Last edited:
Update:

Alright guys, big update. Kinda been off LZ for a while, been kept busy by school and other money pits (mainly trials bikes and my RC) so progress has been really slow. I have fitted a few trips in with the Disco since the last update and.... what a beast :D 
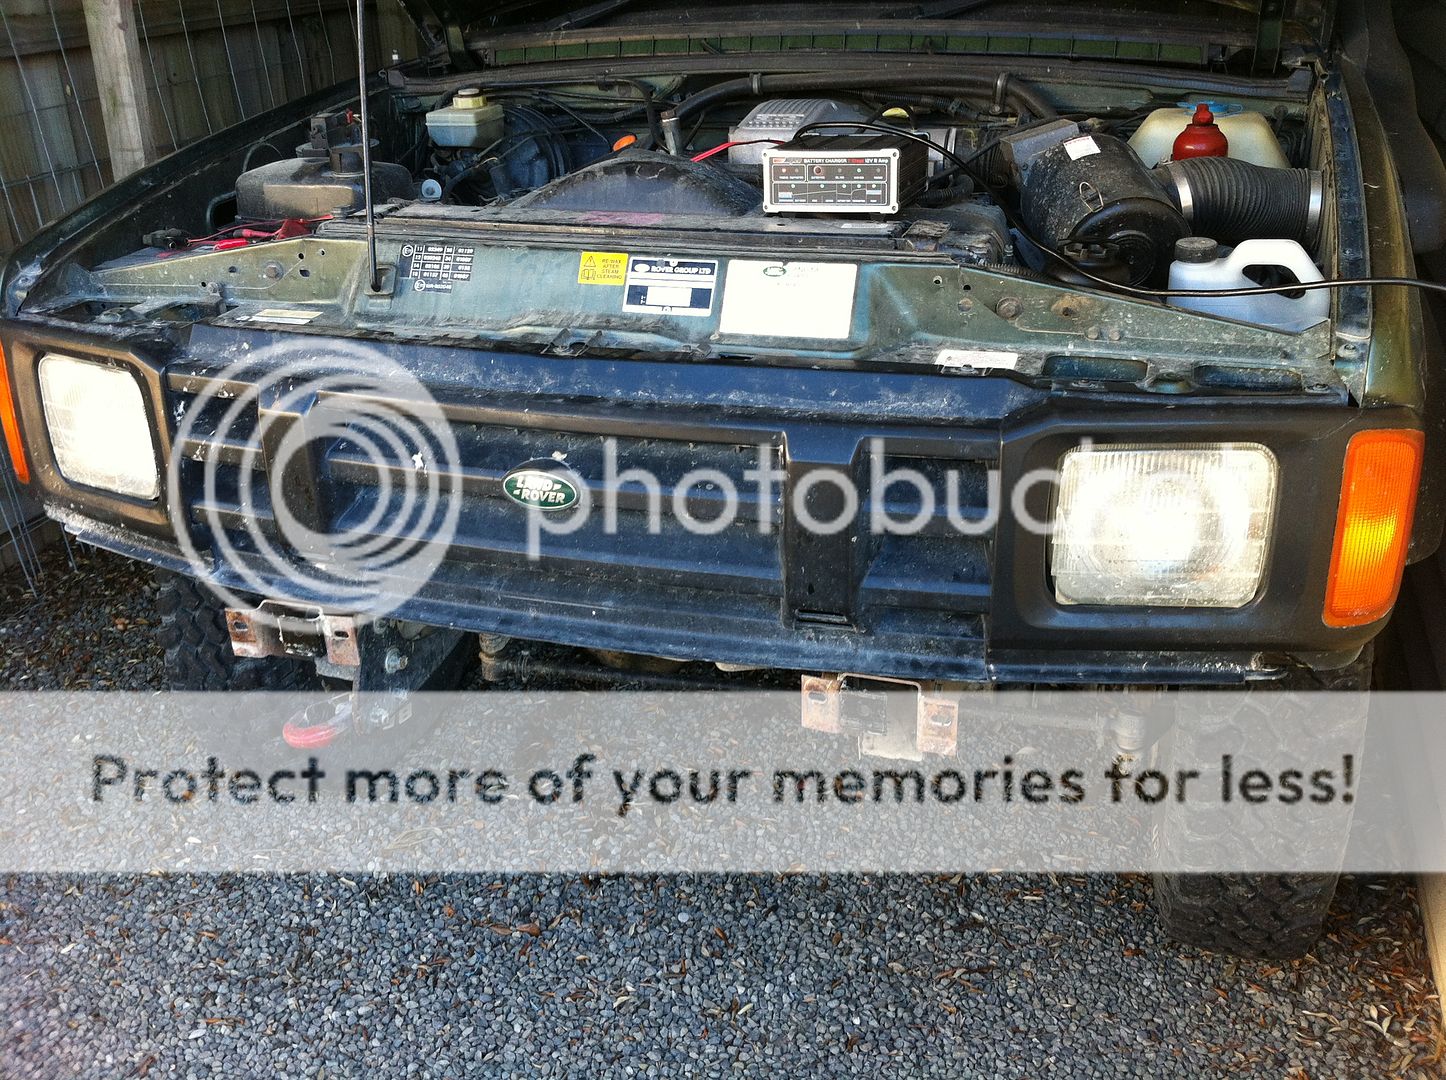
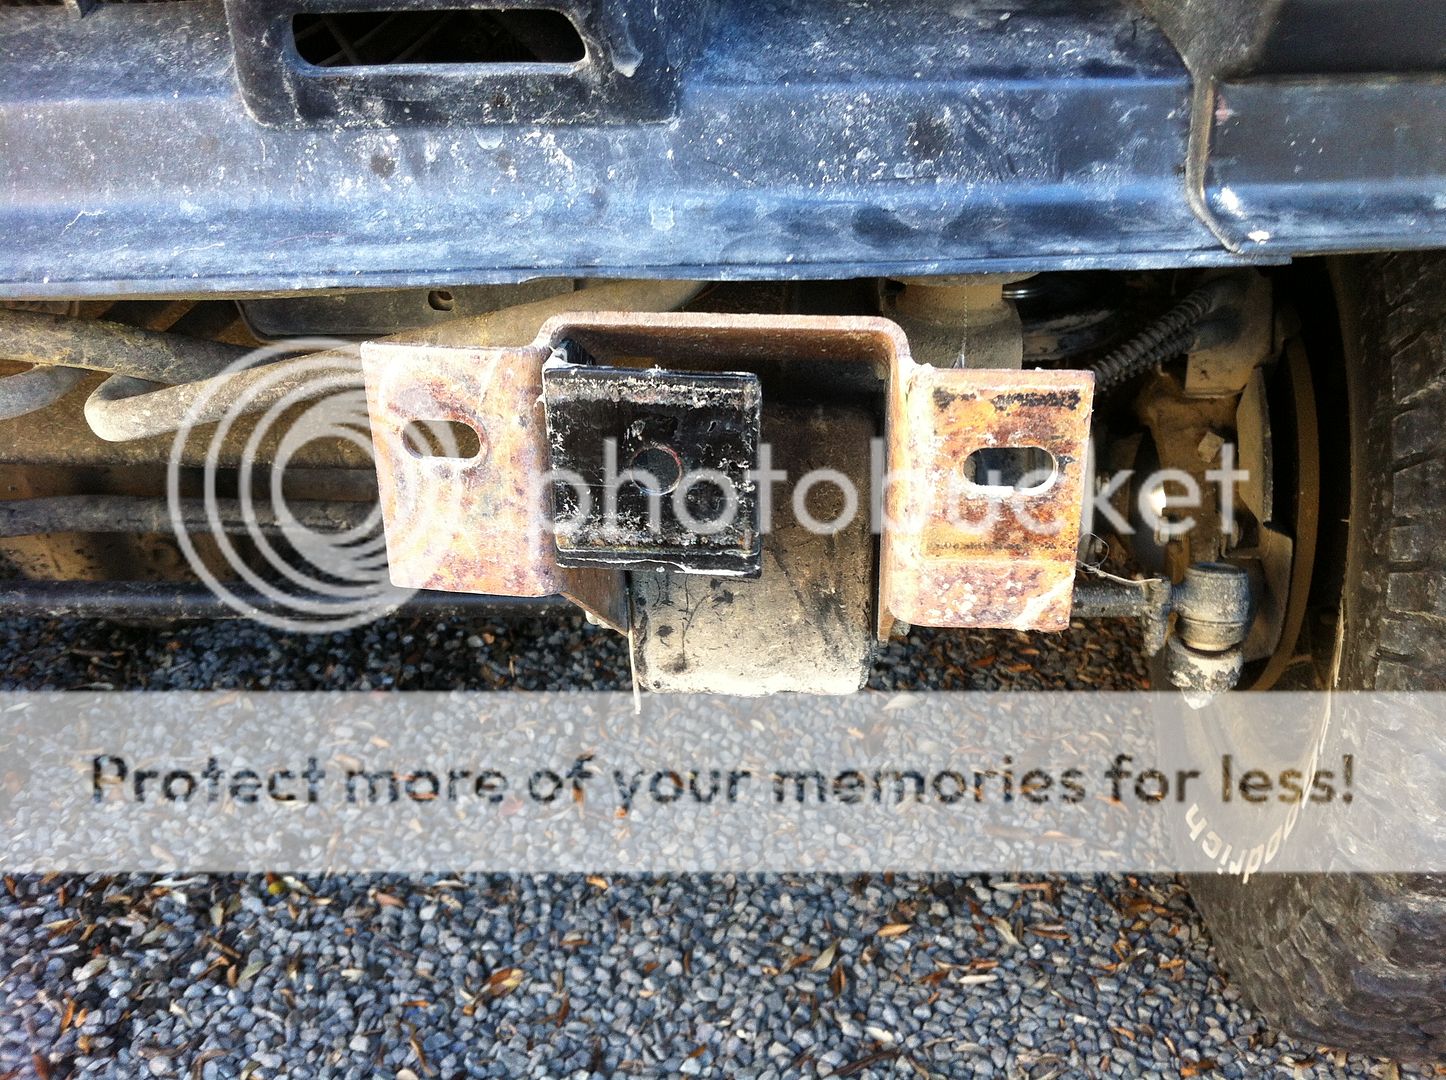
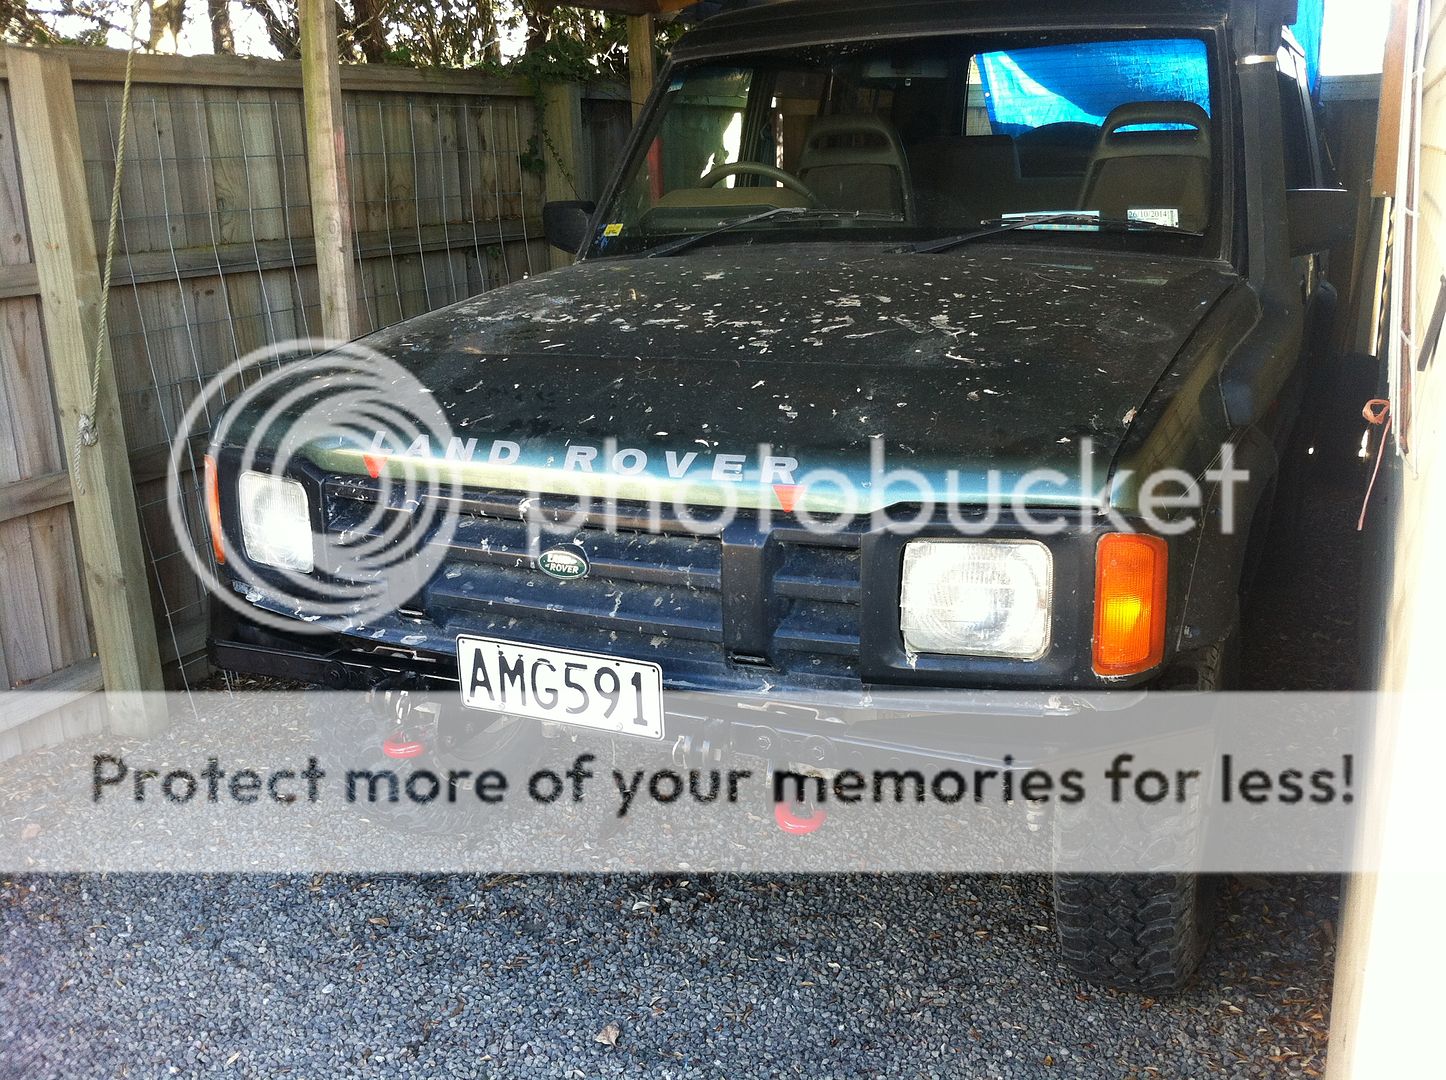
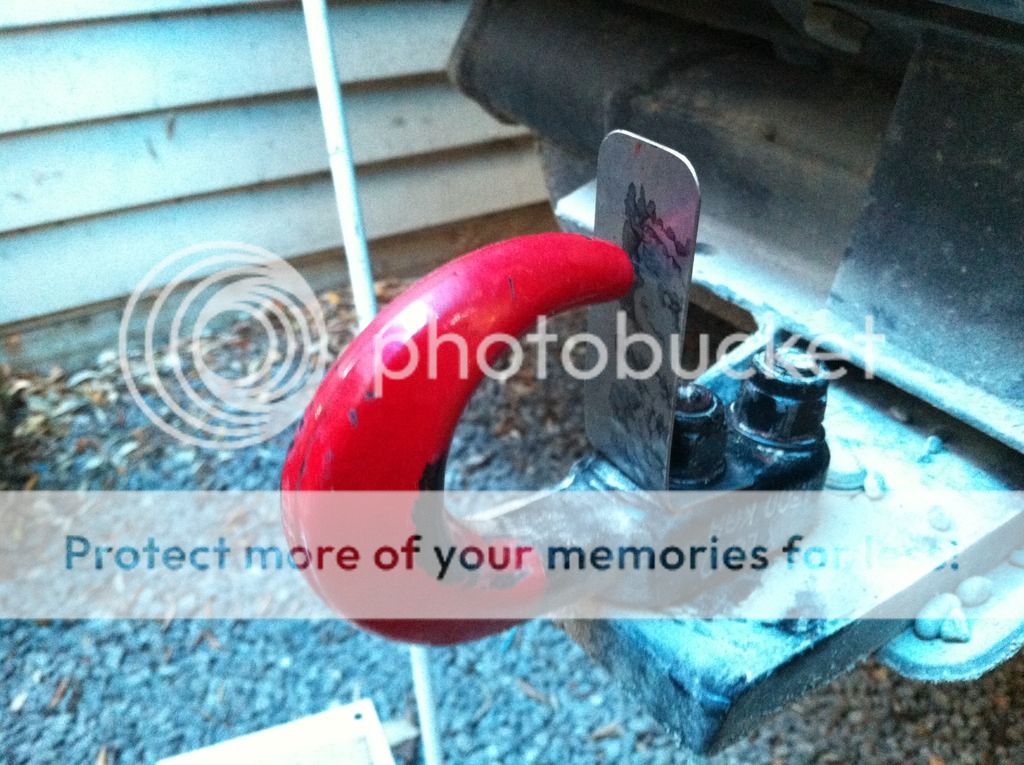
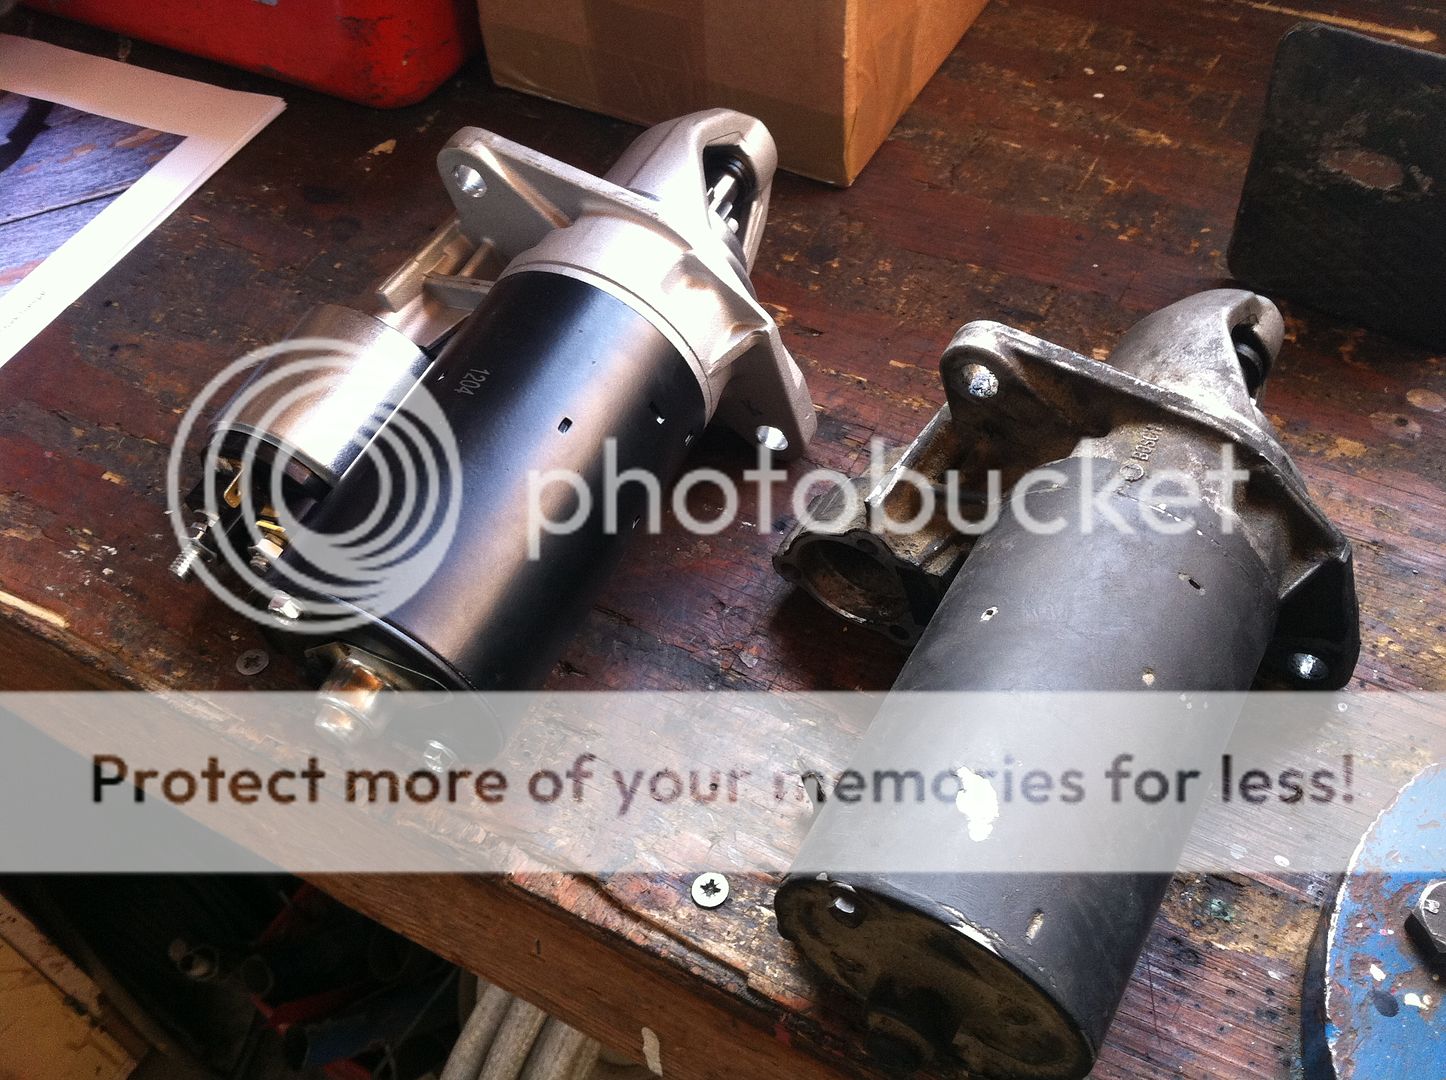
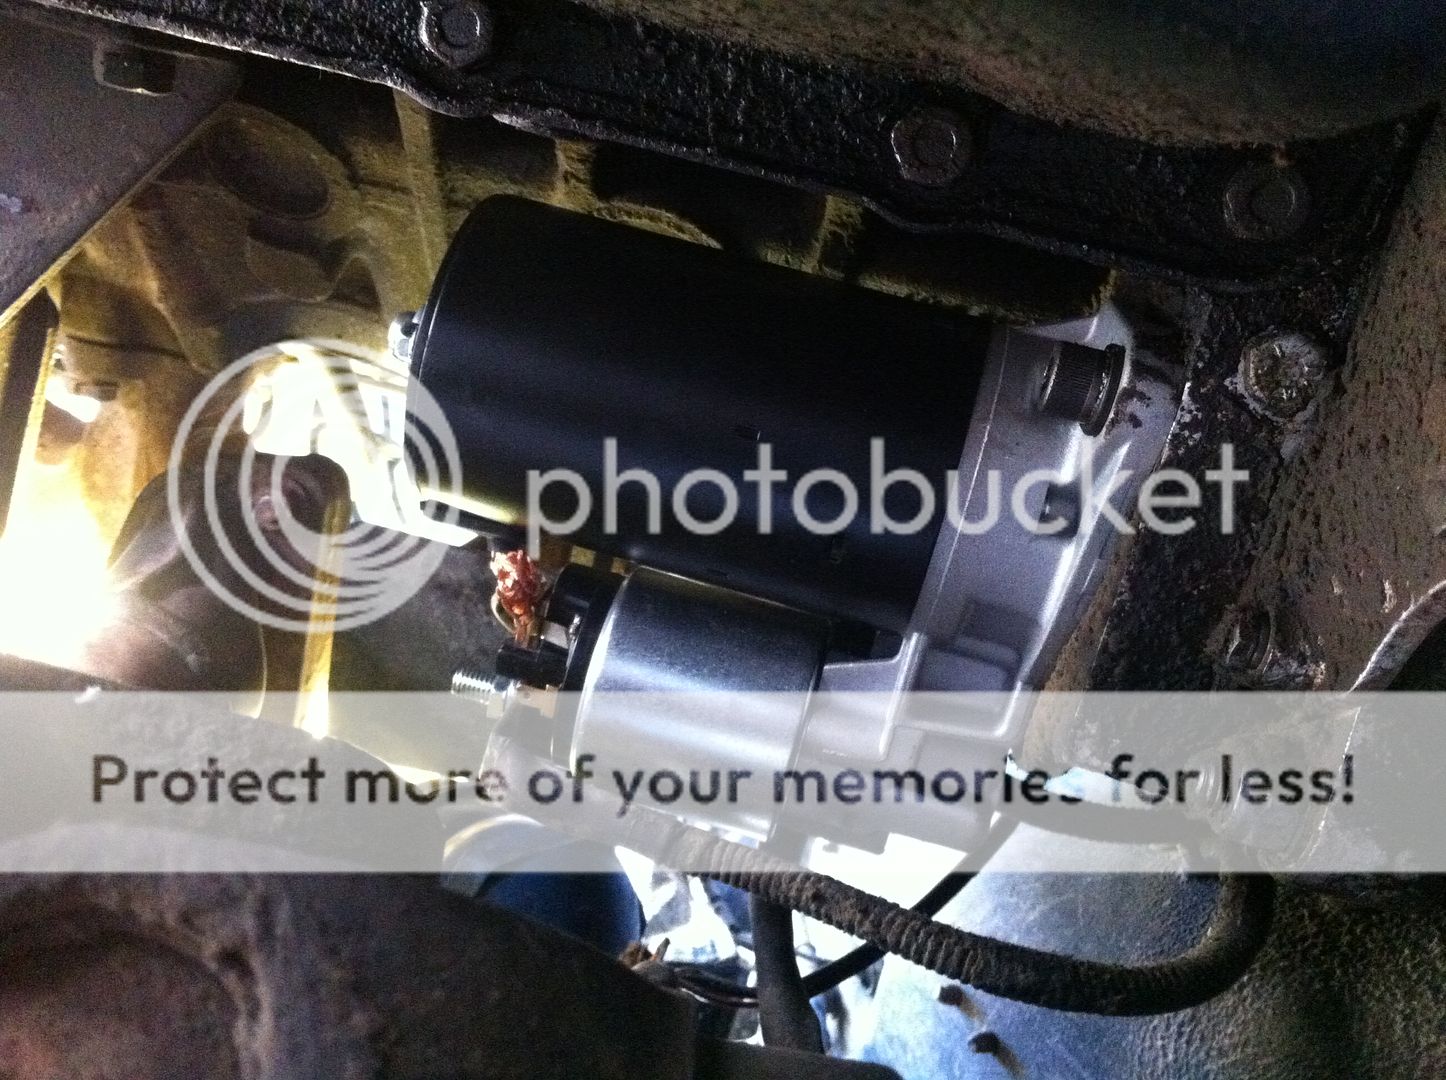
It drove everything I pointed it at and in general it was great. Unfortunately, when I went to start it to head down the river after a 4WD comp. got cancelled and we had to go to plan B, it didn't start. I wasn't too suprised, because the battery is dying so put it on the jumper leads and turned the key.... click. That's all I got. So we didn't go off roading :(. Dad's had this problem on his Rangie, the starter solenoid giving up after too much water. Then a few days before we were going to pull out the starter to swap the solenoid Dad injured his back, which held up the job a bit more. Last Friday we finally got it out (and what a pig of a job!) and found the part number for the new solenoid. Sure enough it was fun of water, rust and mud so a new part was ordered. Well, nearly ordered. After this job having been done on one of Dad's Disco's for around $60, I figured we'd just buy one and bolt it in. After ringing the Auto Electricians Shop, we got a price for the solenoid of $255! Why? Because the the starter in my truck is a Bosch one, with a GRU in it, so makes it far more expensive. So I plan to buy a whole unit second hand for $70, which won't blow the bank so much!

Anyway, back when I built the bumper, I mentioned putting rubber over the gap by the indicator. After having a look round, Dad decided he'd use some ally and get it cut at work. Here's how it came out.

IMG_1263_zpsdn18fctw.jpg


And sitting over the gap

IMG_1265_zpsd90mugpk.jpg


We then chamfered the edges and painted it (yes, it's a horrible paint job!)

IMG_1274_zpsmx51shgz.jpg


We then masked out a line to run RTV along, and then ran it under the plates too. It should be plenty strong :D

IMG_1278_zpsgdcruq4x.jpg


Finished product

IMG_1287_zpsxpluegi6.jpg


IMG_1288_zpsdvvbtjva.jpg


While I worked on this, Dad worked on our other project (and vice versa). When I bought the truck Dad put on a 2 inch receiver for a while but then needed it for his 300TDI so I've had only 1 tow point at the front but Dad said he'd get me a second one, and we'd put a second one on Dad's Disco.

The plate

IMG_1266_zps0gw3sukt.jpg


For the hook I decided to use Toyota pick up hooks (from the 70 Series I think?) which are as rare as hen's teeth. The reason they're rare is because they are so good. They are plenty strong and have a sprung wire keeper on them. We rung about 13 places before finding one!

IMG_1267_zpskx08bmqb.jpg


We then had to drill the holes for the hook in the same spot as the other side. We made a template using card and a hammer :D

IMG_1273_zpstwm8nsob.jpg


Painted

IMG_1281_zpsrptmxivt.jpg


All bolted up

IMG_1283_zpszn4qzsdn.jpg


We then put the number plate back on. The front with the two hooks repainted, the side plates and the number plate now looks very good, much better than what it did before (to be honest, it didn't look that great).

IMG_1286_zpsd5qujyjg.jpg


IMG_1293_zpsfs58zjux.jpg


The last thing we did was made up a new keeper out of some springier steel, which is a bit more better than the mild steel keeper that came with the rear hook.

IMG_1299_zps2suobx7e.jpg


Cheers guys,
Trillo
 
Update:

Hey all, so in the end I decided to buy a brand new starter motor assembly (rather than just a solenoid) which arrived from England to NZ in 6 days, all up costing less than a price for the solenoid alone in NZ. While the old one was a Bosch and the new one had no markings apart from 'EU' they were identical (all mounding and machining marks) so it is likely that they're the same thing.

New vs. Old

IMG_1505_zps2q0lxk0y.jpg


Put in (sit awaiting the shields)

IMG_1507_zpsh1lvz9oa.jpg


Once we got the wiring done it started up first try, and almost immediately :D

Then took it for a run down the river, and got a few pics :p


IMG_1518_zpsjyraixqc.jpg


IMG_1521_zpscillvqhi.jpg

IMG_1527_zpsghkyanar.jpg


I also got the opportunity to test out the new bumper, by ploughing down a riverbank. It performed well, coming back exactly the same as we left, doing much better than a stock bumper.

Video of how it looked straight after!


And a photo from after a while

IMG_1522_zpsfopnwop2.jpg


It also took plenty of rubbing up against trees and other banks and apart from scrathes it's all good. I'm very pleased :)

Hopefully I'll get a video of the whole run up once I get my editing software running properly :rolleyes:
Cheers guys
 
Update:

I've finally finished my woodwork box project. Here's how it looks

IMG_1649_zpsq866pi8f.jpg


So I've painted it in an enamel that's very close to the interior of the Disco. Inside it's been painted with truck bed liner, which is really potent stuff! Today job on it was fitting the life jacket pull tag and re-fitting the sprung hinges.

Pull tag

IMG_1645_zpsbmixflnq.jpg


Fastened on (using staples)

IMG_1658_zpsknptpsxn.jpg


Open

IMG_1648_zpsbvg51xnw.jpg


Closed

IMG_1647_zps3vsc2ttb.jpg


Sitting in the back (between wheel arches)

IMG_1653_zps9gitvrqe.jpg


Opened

IMG_1657_zpsljgy1brh.jpg


I'm very pleased with how it's ended up looking, and with my mark :D
 
Update:

Today Dad and I decided to head down the local river for another run after a club trip was cancelled. We've had a lot of rain recently so the river was up a bit and provided plenty of entertainment! All the dried up bogs from the last flood are now all boggy again and there was plenty of water to test out the waterproofing! We headed straight upstream to see how far up the water was running above ground and then headed back downstream, and that's where things got interesting! I had spotted a bit of a bog on the way up and passing it on the way back I decided to give it a go. I got through easily and threw a bit of mud around and then ran it a second time, getting this video

The bog


I managed to get a bit of mud inside, but nothing like what you English lot manage on pay and play sites, but for a kid who only has driven braided riverbeds where there is little mud it was quite good :)

Anyways, here's a shot I got of my Disco that I really quite like

IMG_1663_zpsgfy7n2kp.jpg


And Dad's Rangie

IMG_1664_zpspqaee4d1.jpg


The two side by side

IMG_1668_zpsc2yqtvzo.jpg


As you can see the weather was beautiful, and really hot!

Dad found a bit of a climb which we've only driven in the dry


It was a great day thanks Dad, and really tested out my truck (bonnet deep water)
Cheers guys
 
Back
Top