bustersbus
Well-Known Member
- Posts
- 13,755
- Location
- Near Dumfries, Scotland
TRACK ROD ENDS RENEWAL
Ah was just checkin’ stuff out under the bus and noticed my track rod ends were pretty much knackered.
Anyways, here’s how ah did them…
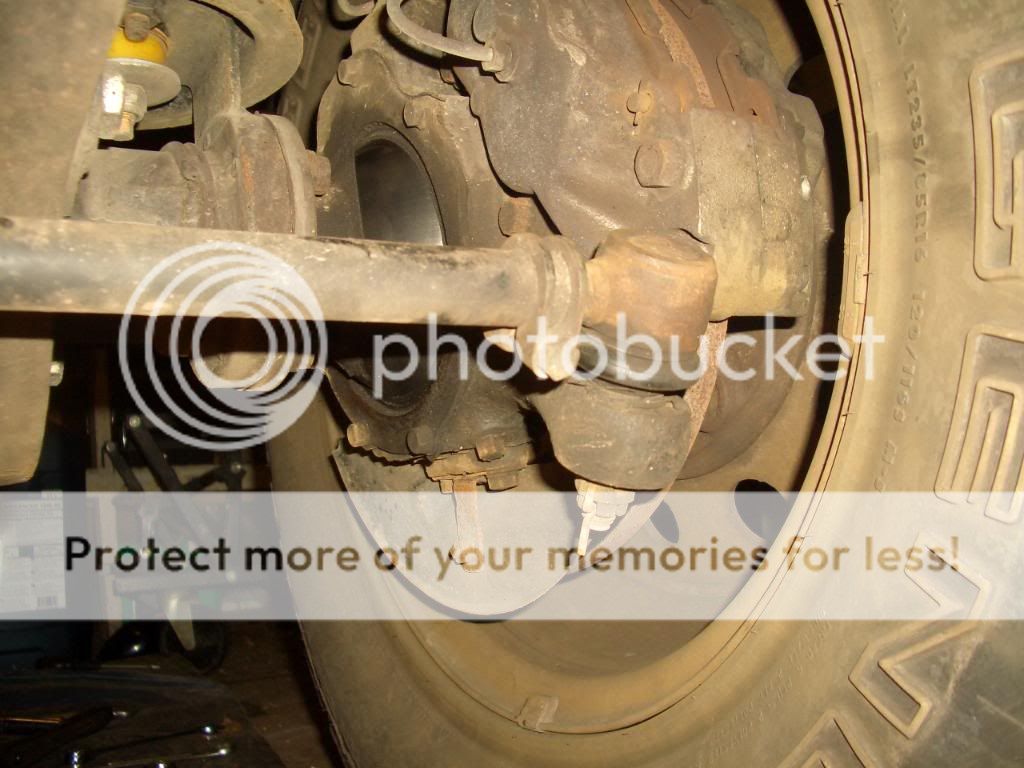
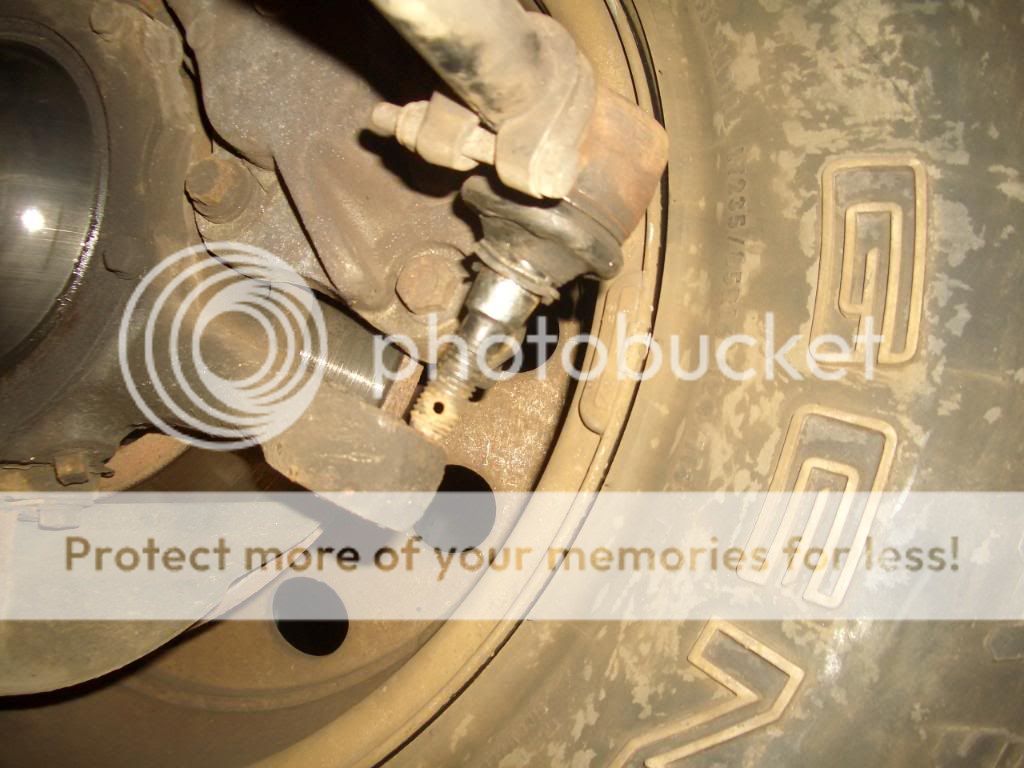
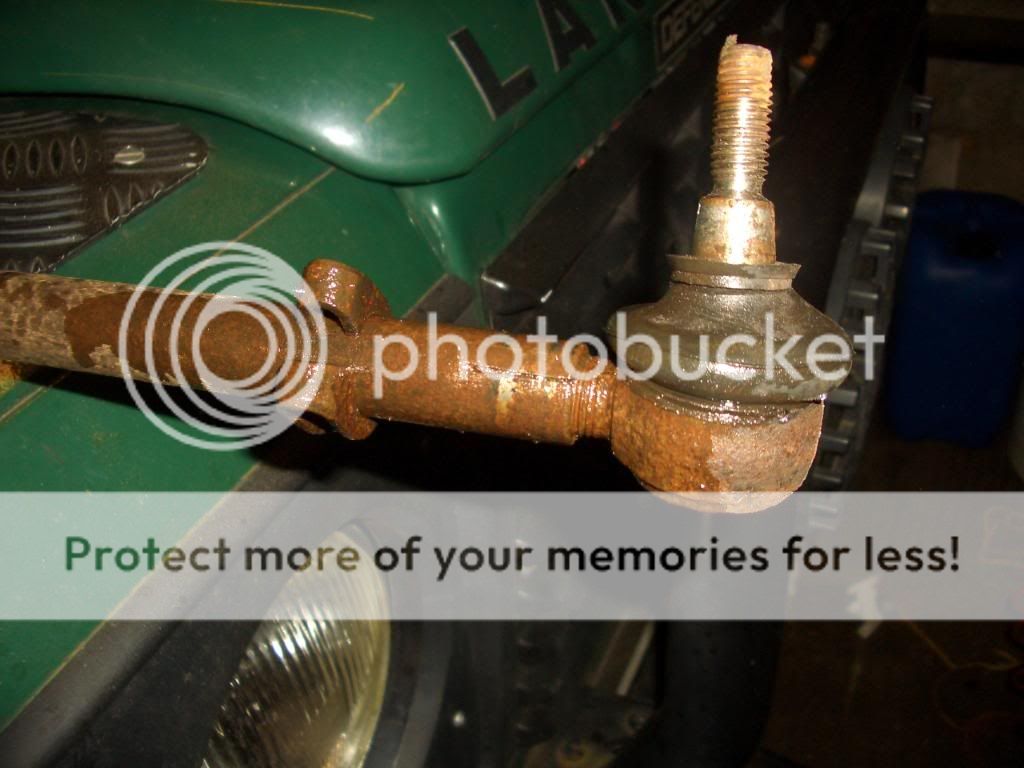
The track rod end…
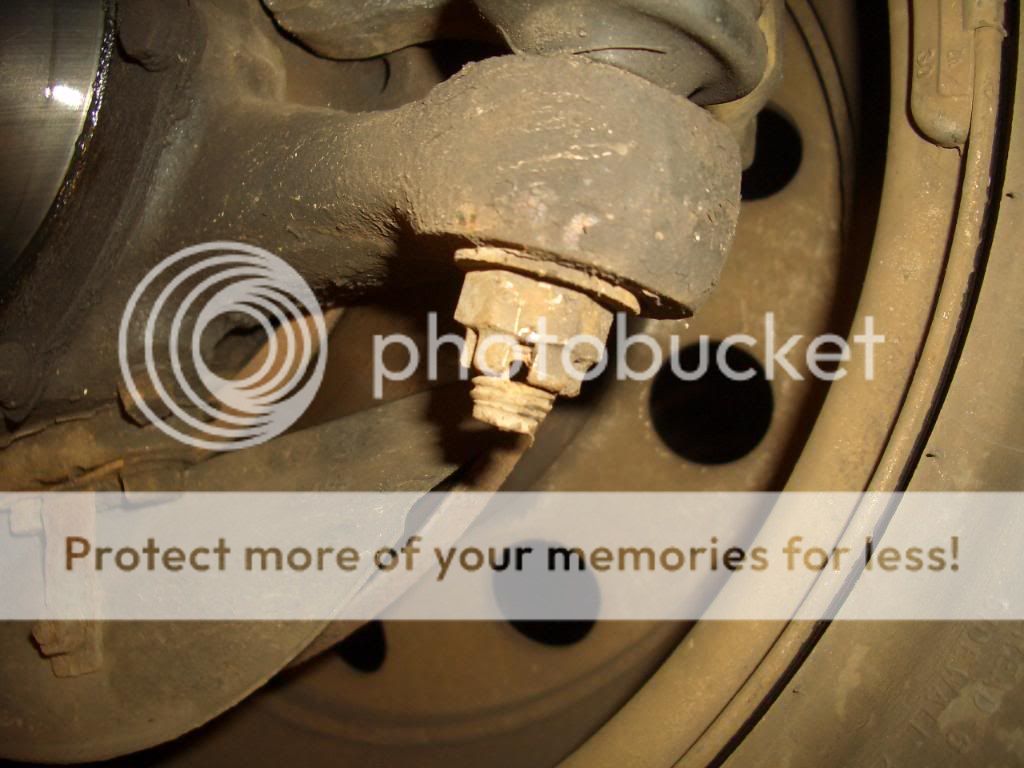
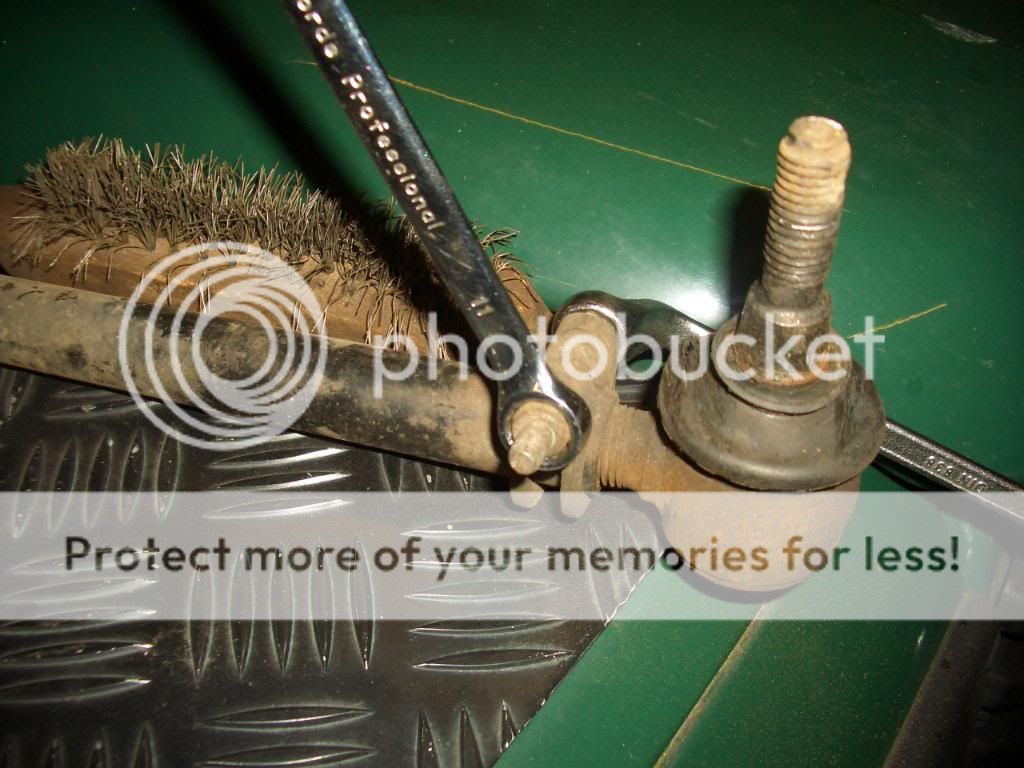
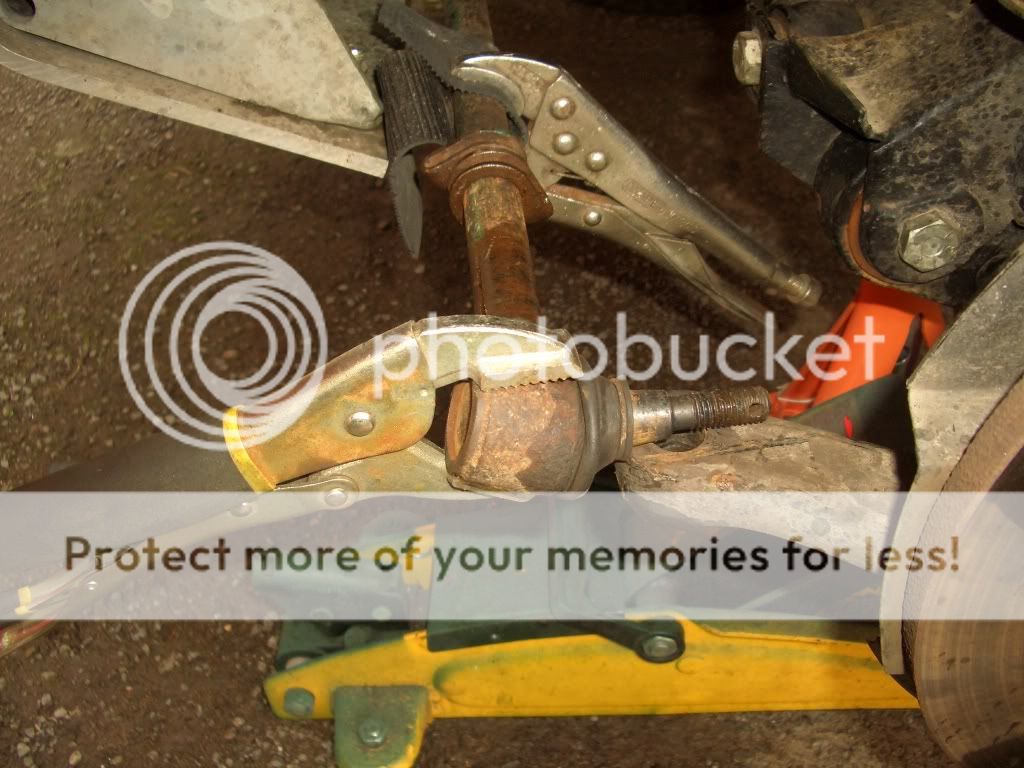
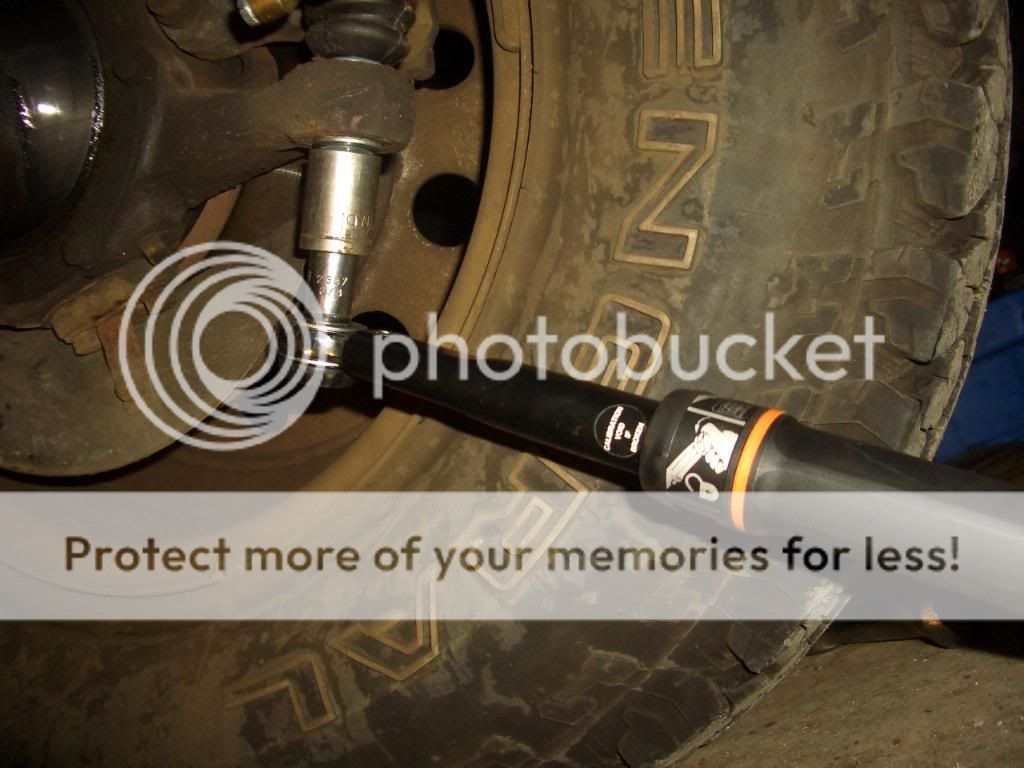
Ah removed the split pin…
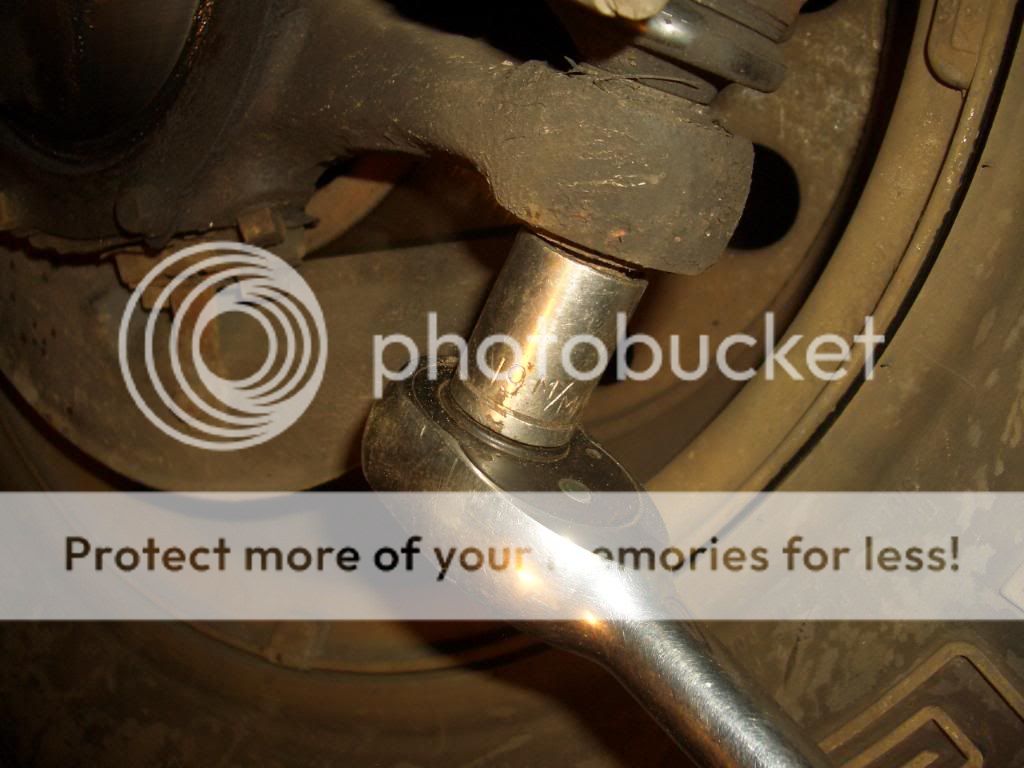
then undid the castle nut….

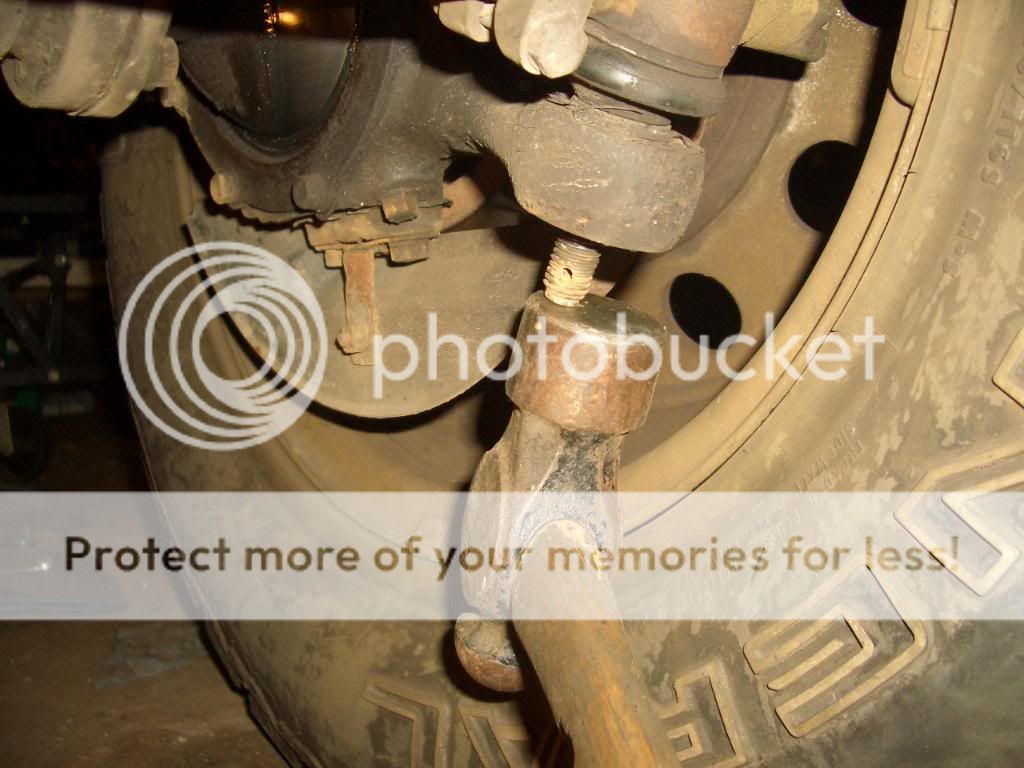
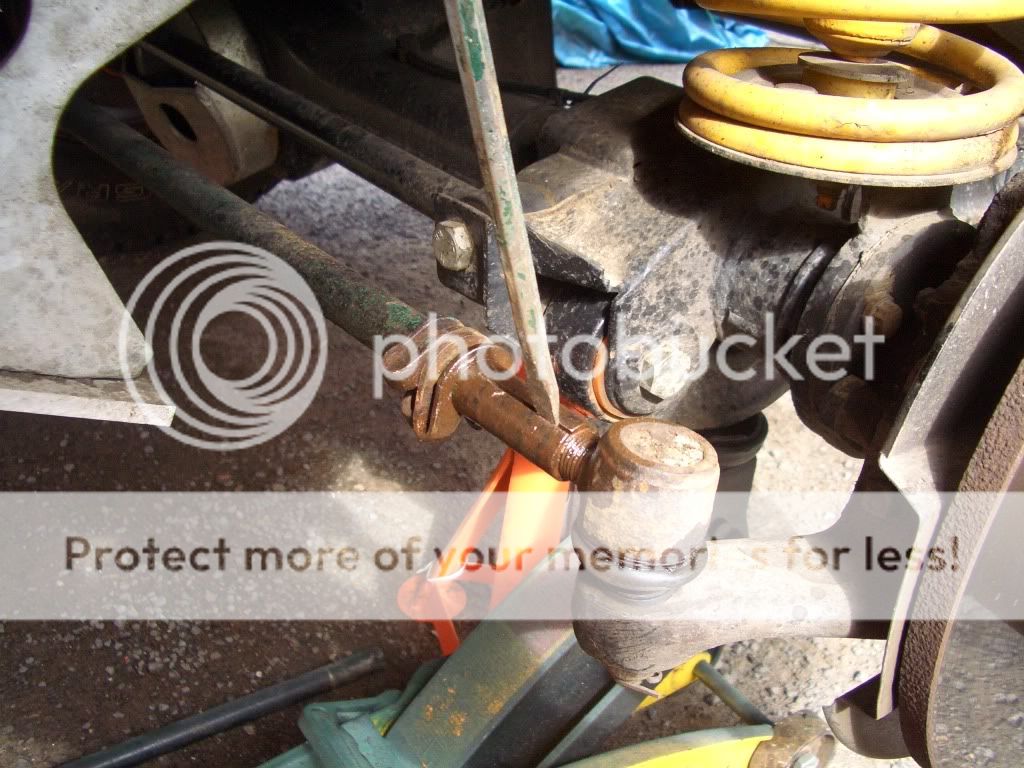
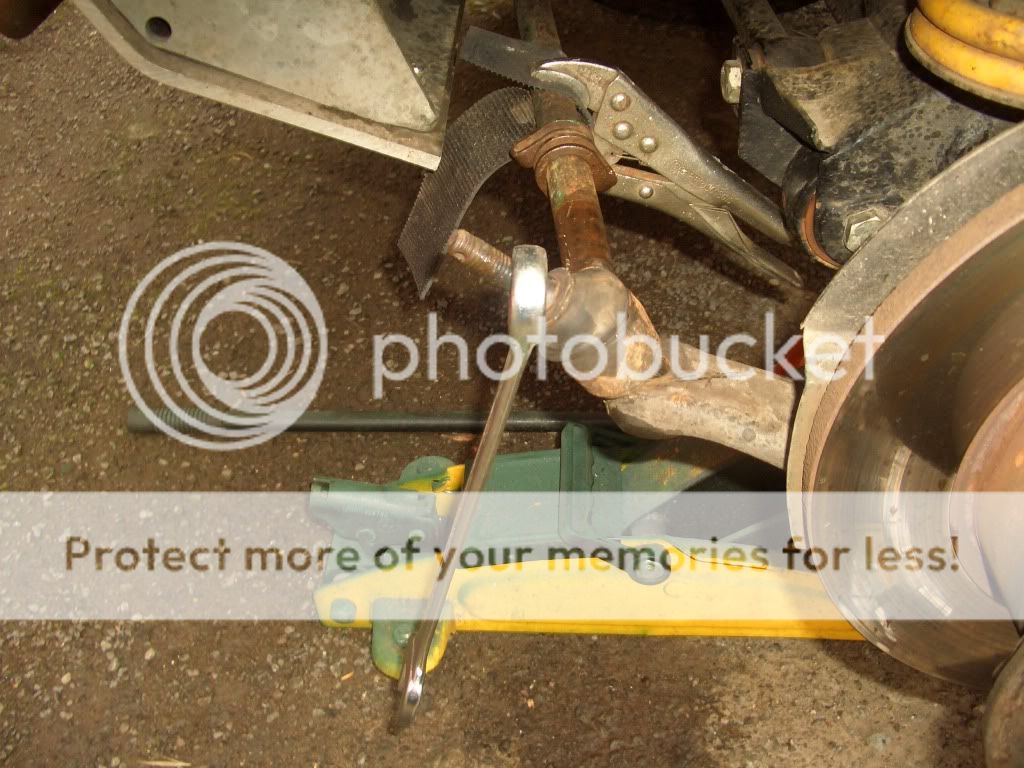
Once the nut and washer were off , ah was in two minds wether to knock the track rod end out with a hammer or just use a ball joint splitter (either way would’ve worked and it didn’t matter as the ends were knacked anyways), decided to use the splitter….

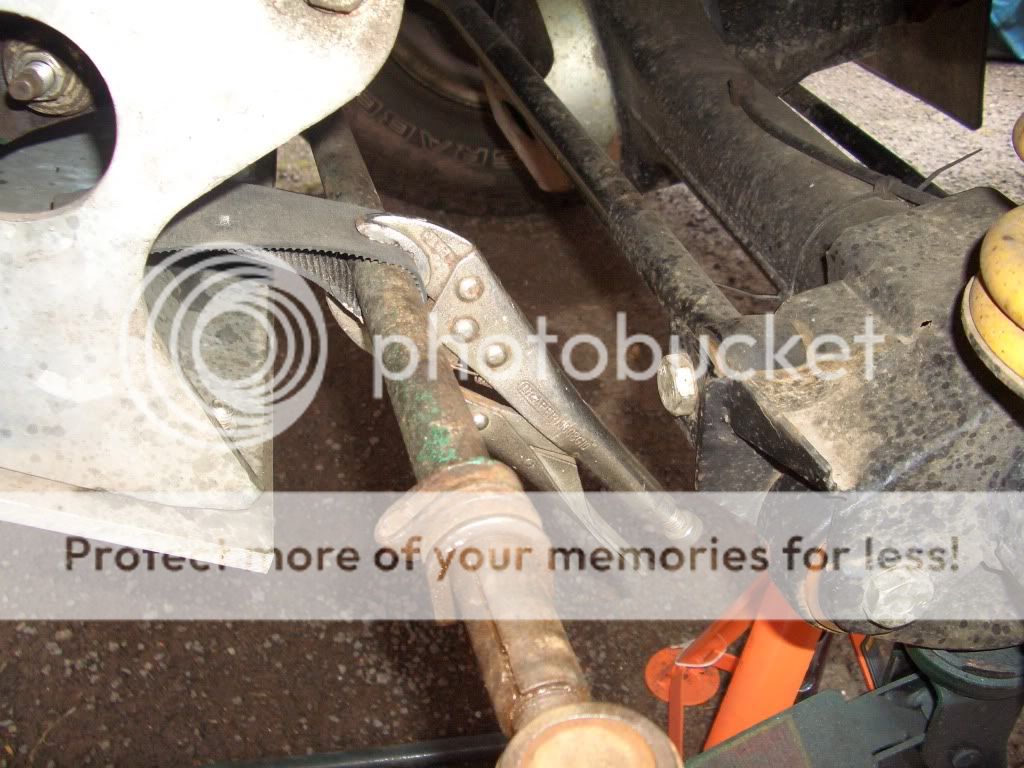
Then ah did the same for the other side.
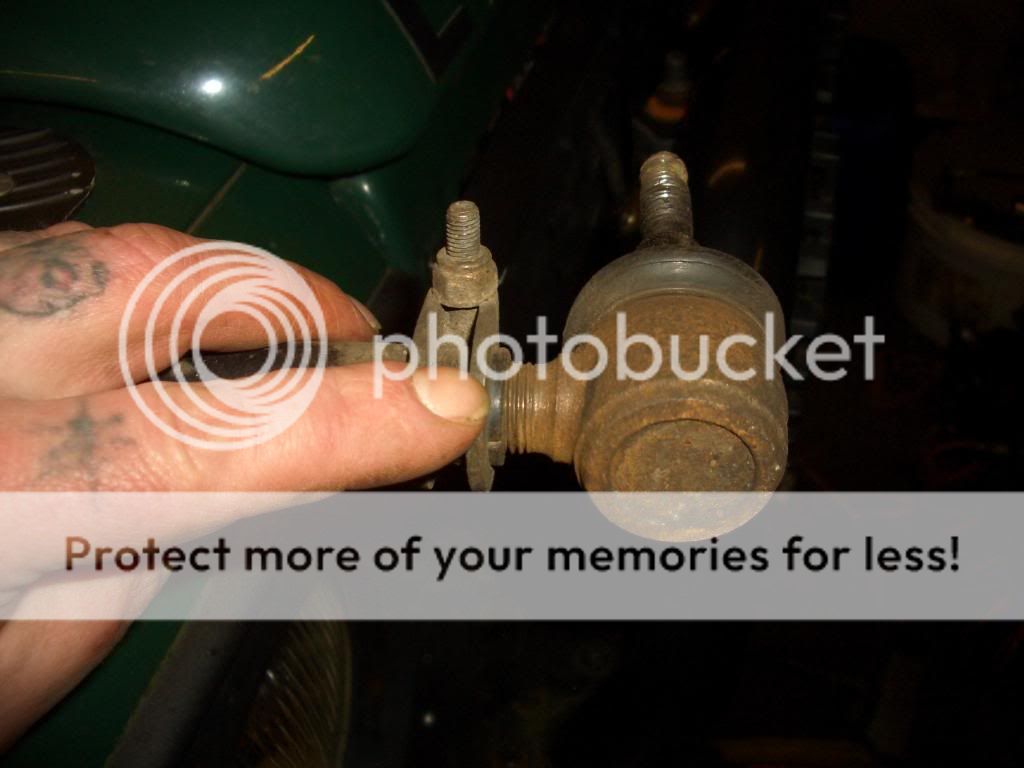
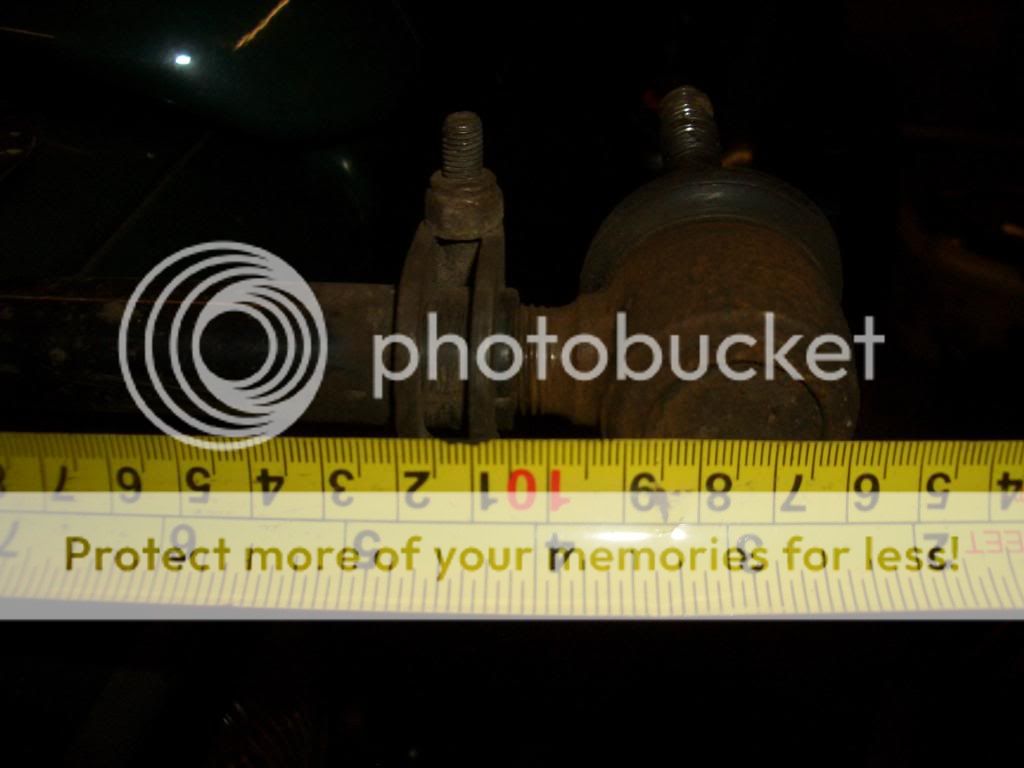
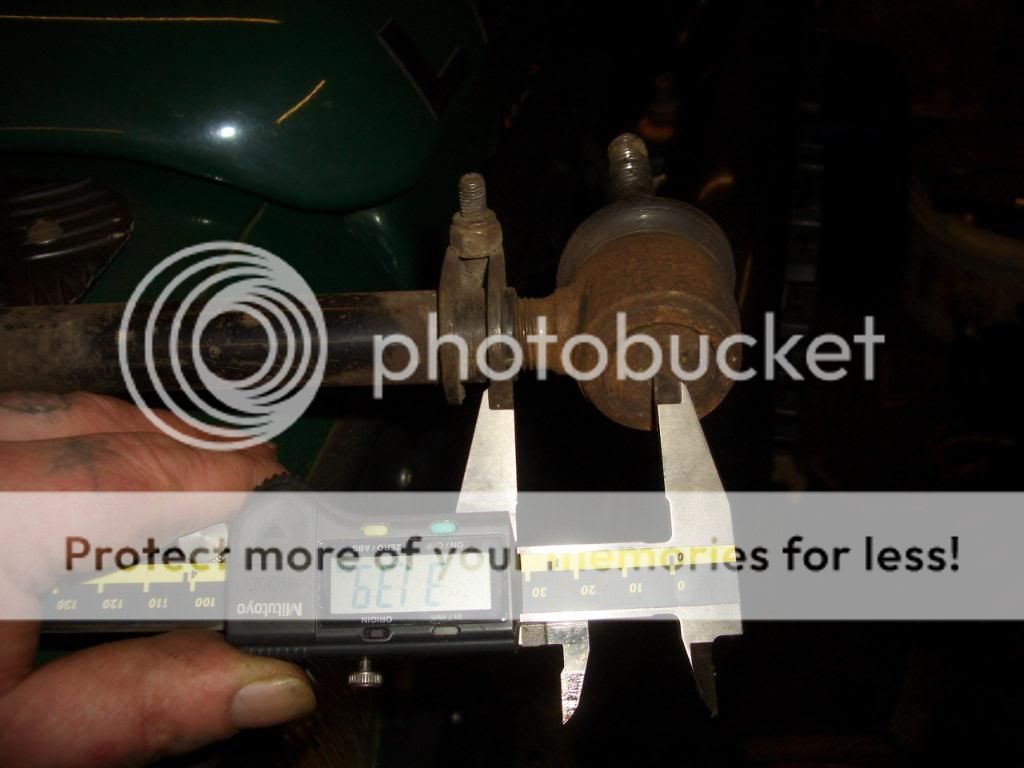
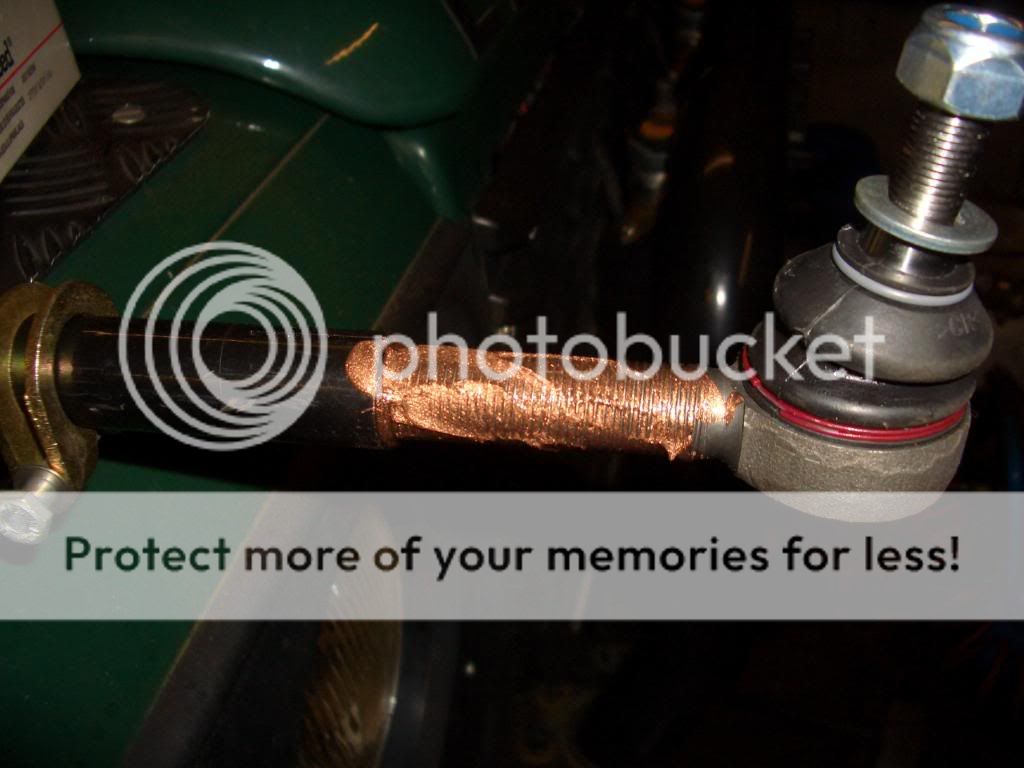
Next it was a case of measurin’ the threads (ye could count the threads, use a tape or vernier thingy)
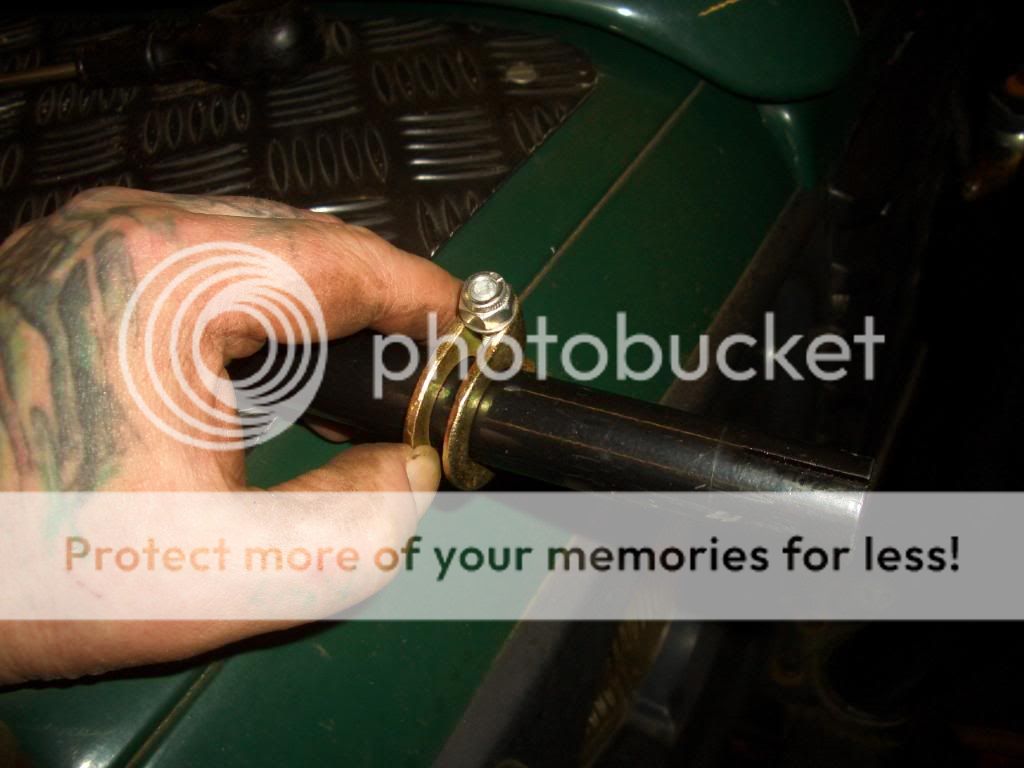
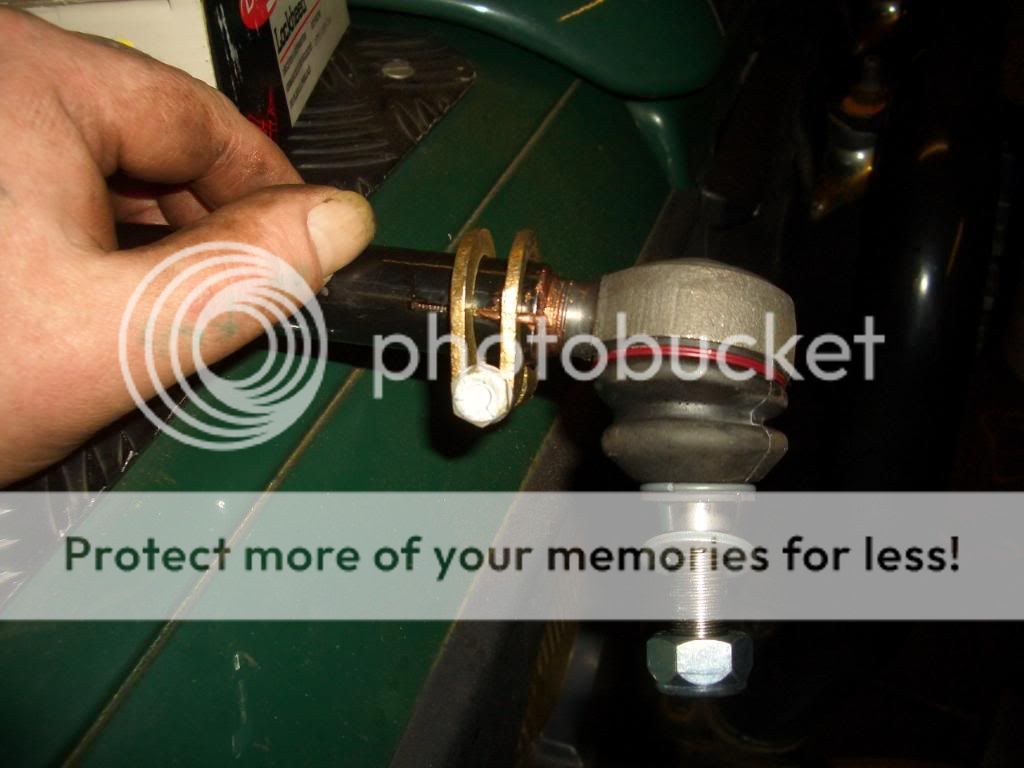
Then ah gave the end a wee clean with a wire brush and removed the clamp on the track rod…
slid it out of the way and gave the rod and end a guid soakin’ in some GT85…
then lettin’ it soak in before clampin’ the rod in a vice and removin’ the ball joint. Ah forgot to take photies of this and then cleanin’ and paintin’ the rod!!!
( to give ye an idea ah’ve taken these photies from my drag link ball joint renewal post)
After the paint had dried, ah stuck on a new clamp, bolt, washer and nut….
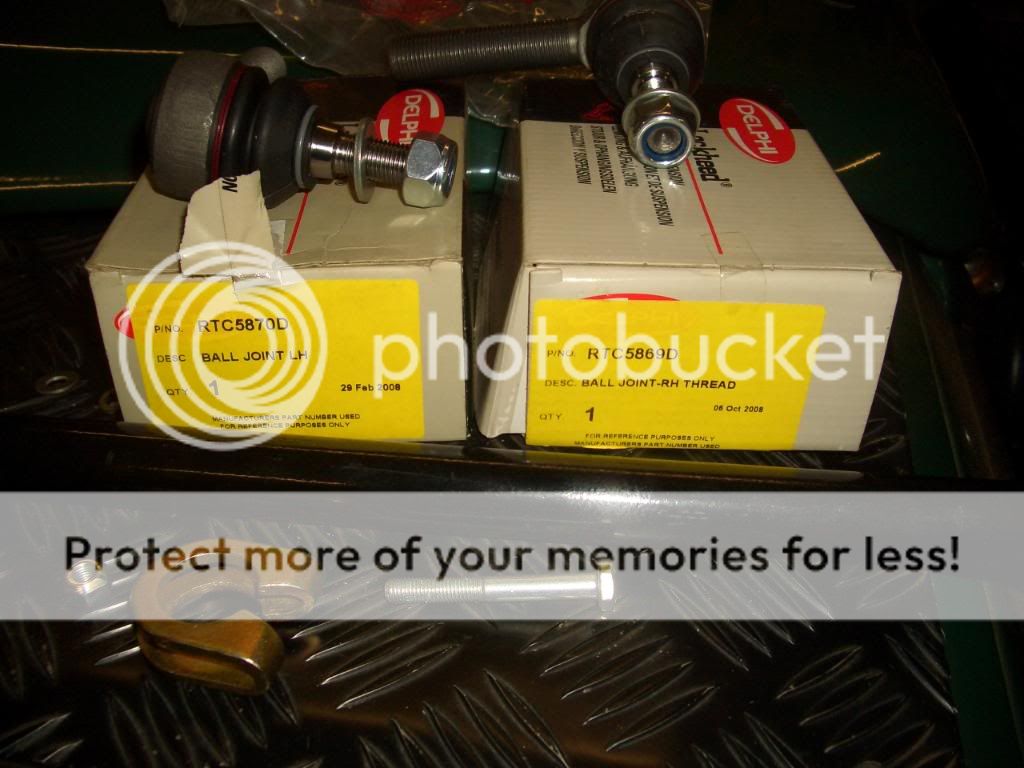
Then took a photie of the parts ah used (don’t ask! Ah was getting’ a bit ahead of myself!!!)…
Back to normality! Ah covered the threads of the ball joint with copper grease and wound it in to the right measurement and loosely clamped it up…
once that side was done ah did the same on the other side.
The manual says that both ball joints should be in the same upright position, so ah used a piece of angle iron to make sure mines were. Ah sat the track rod and ends so they sat flat on the bottom and both the sides touched the side of the angle iron.….
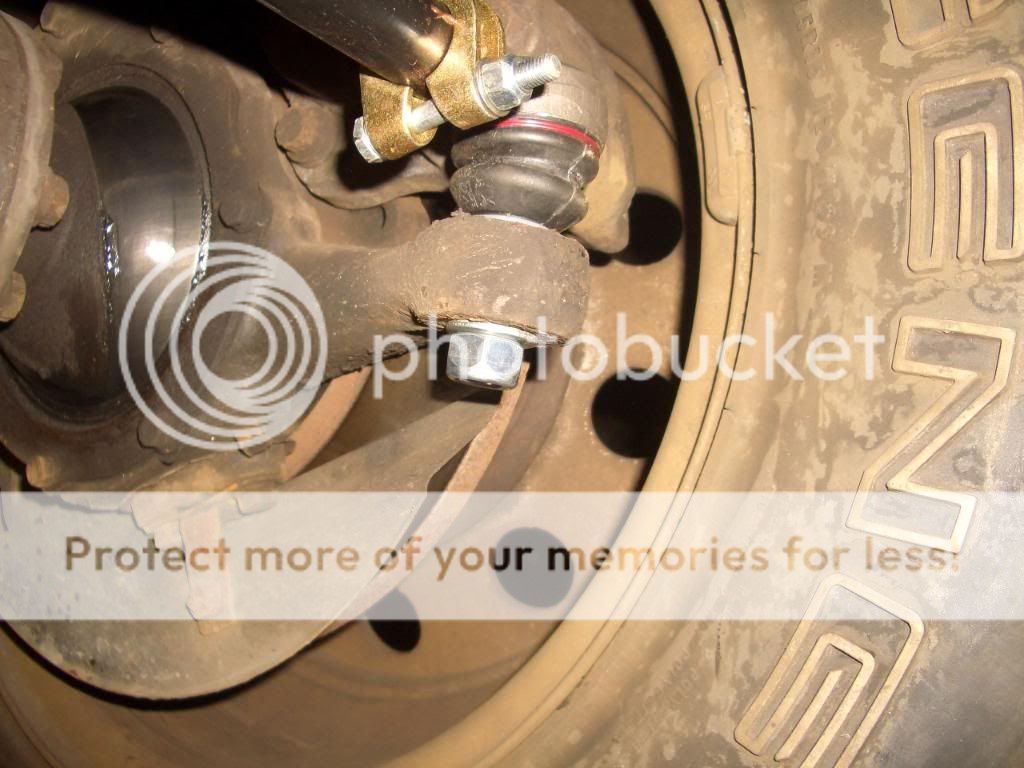
when ah was happy everything lined up ah remeasured it to make sure it was the same length etc, ah stuck it back on the bus.
The new ends didn’t have the castle nut but did come with nyloc ones.
Then it was just a case of tightenin’ the nut up and settin’ it to the right torque…

then doin’ the same on the other side and that’s about it…. Job done.
***It would be advisable once doin’ this job that ye have the trackin’ checked properly**
If ye have the same problem ah did when tryin’ to tighten the nut on the ball joints, try applyin’ a bit of pressure to the top of the ball joint and givin’ it a pull towards the back to try and stop it turnin’.
Forgot to add... make sure that the track rod is straight! If it's bent, then it might be a good idea to renew it
Ah was just checkin’ stuff out under the bus and noticed my track rod ends were pretty much knackered.
Anyways, here’s how ah did them…
The track rod end…
Ah removed the split pin…
then undid the castle nut….
Once the nut and washer were off , ah was in two minds wether to knock the track rod end out with a hammer or just use a ball joint splitter (either way would’ve worked and it didn’t matter as the ends were knacked anyways), decided to use the splitter….
Then ah did the same for the other side.
Next it was a case of measurin’ the threads (ye could count the threads, use a tape or vernier thingy)
Then ah gave the end a wee clean with a wire brush and removed the clamp on the track rod…
slid it out of the way and gave the rod and end a guid soakin’ in some GT85…
then lettin’ it soak in before clampin’ the rod in a vice and removin’ the ball joint. Ah forgot to take photies of this and then cleanin’ and paintin’ the rod!!!
( to give ye an idea ah’ve taken these photies from my drag link ball joint renewal post)
After the paint had dried, ah stuck on a new clamp, bolt, washer and nut….
Then took a photie of the parts ah used (don’t ask! Ah was getting’ a bit ahead of myself!!!)…
Back to normality! Ah covered the threads of the ball joint with copper grease and wound it in to the right measurement and loosely clamped it up…
once that side was done ah did the same on the other side.
The manual says that both ball joints should be in the same upright position, so ah used a piece of angle iron to make sure mines were. Ah sat the track rod and ends so they sat flat on the bottom and both the sides touched the side of the angle iron.….
when ah was happy everything lined up ah remeasured it to make sure it was the same length etc, ah stuck it back on the bus.
The new ends didn’t have the castle nut but did come with nyloc ones.
Then it was just a case of tightenin’ the nut up and settin’ it to the right torque…
then doin’ the same on the other side and that’s about it…. Job done.
***It would be advisable once doin’ this job that ye have the trackin’ checked properly**
If ye have the same problem ah did when tryin’ to tighten the nut on the ball joints, try applyin’ a bit of pressure to the top of the ball joint and givin’ it a pull towards the back to try and stop it turnin’.
Forgot to add... make sure that the track rod is straight! If it's bent, then it might be a good idea to renew it
Last edited: