Synthetic Paint Help

This site contains affiliate links for which LandyZone may be compensated if you make a purchase.

jondee10

New Member
Posts
8
Does anyone have any experience with the synthetic enamel paint that you can get from Paddocks?

What would be a good ratio of thinners to paint and at what pressure for spraying? I understand that paint isn't applied half as thin as it used to be, but really am just not sure.. so any help would be grately appreciated.

Thanks
 
About 40psi for spraying. Not had any experiance with the paddocks paint but I have been thinking about giving it a go. Just try adding known amounts of thinners to a known small amount of the paint and then try spraying it onto some scrap sheet (Old knackered door bottom) and increase the thinners until you get a nice even spray pattern from the gun. From what I understand the paint from Padds dries quiet quickly so you should be able to see your results soon after spraying.
 
Had a chum who sprayed it and didn't get great results - although passable. He wished he'd brushed it ... so when I did mine I brushed it, really carefully, vertical strokes on the sides and it came out really well. Just sold the LR ('76 series 3) for nearly £2k so it can't have been TOOO bad.

Personally didn't think it dried very fast though, had to leave mine overnight before I could get near it.

Finish is good & glossy but quite soft compared with factory automotive paint finishes. I got away with one coat.
 
Hi...
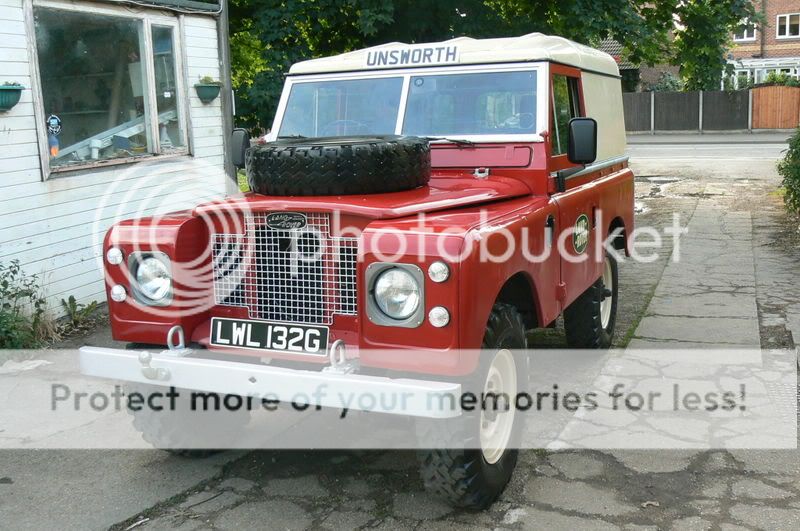
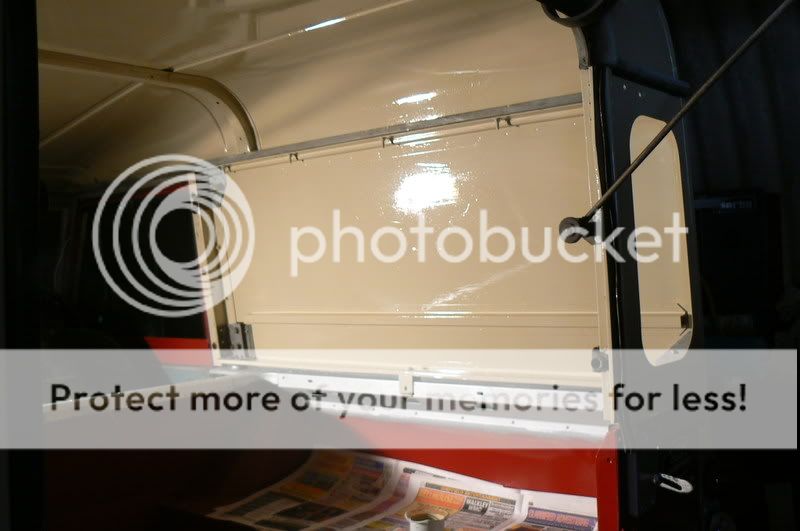
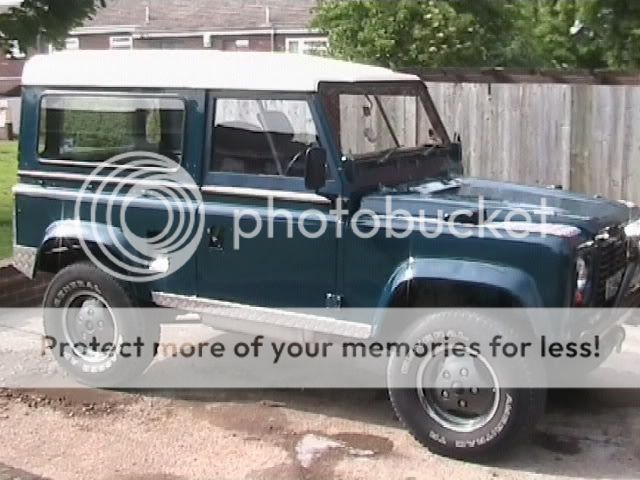
Heres some experience from a lad whos used nearly 15 litres of the stuff!.. Its Brilliant paint, You can spray, roller or Brush it on as said. I did my 2a late last year in the cold and frost and although its not perfect heres the finish..

P1130104.jpg

P1130470.jpg

P1120874.jpg

P1120854.jpg


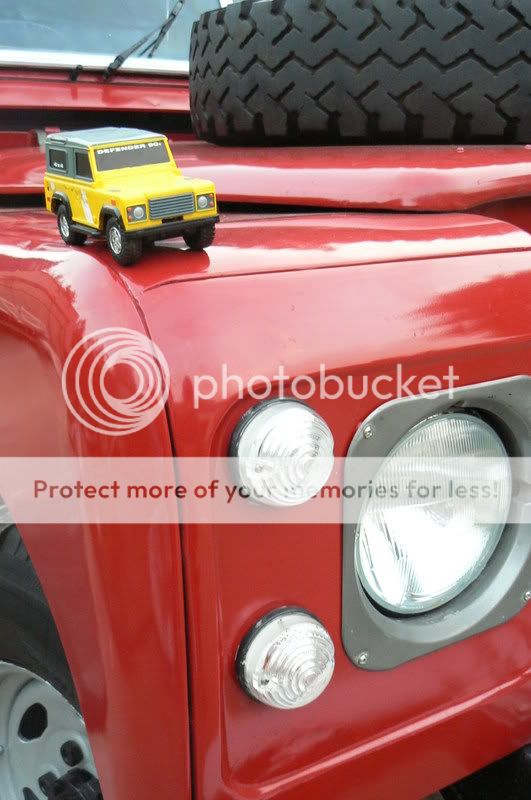
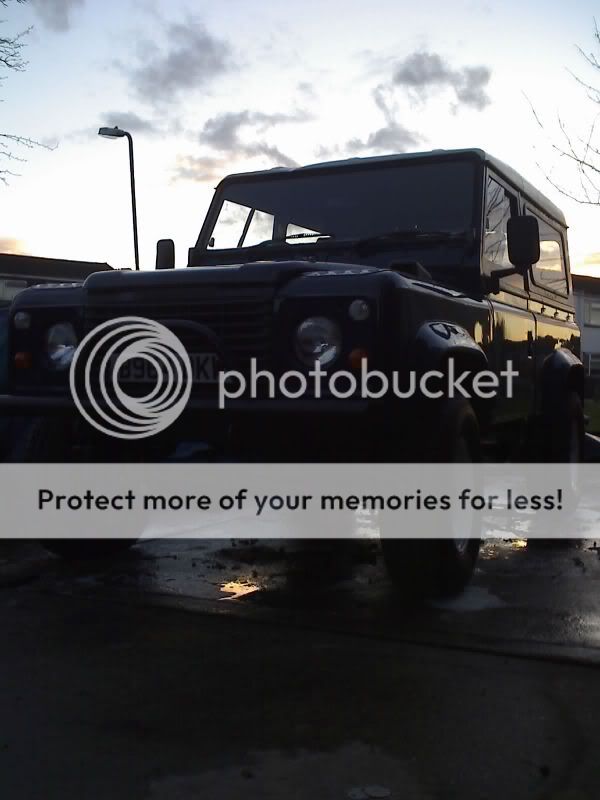
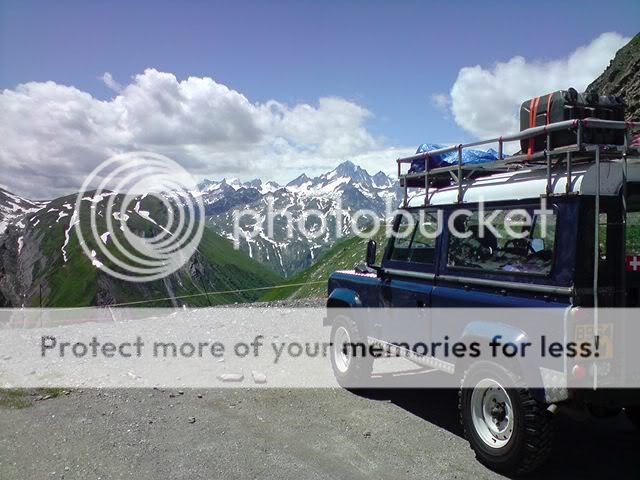
(Dont ask about the little toy 90 :D It was a photo taken for LRM)

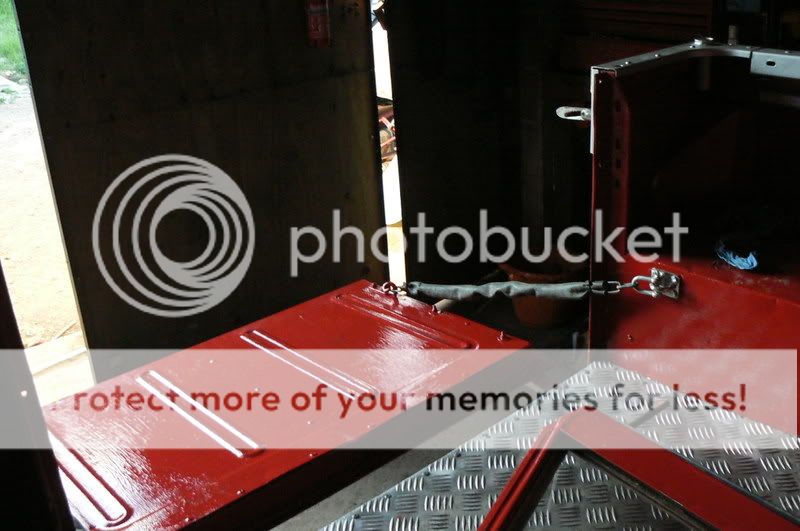
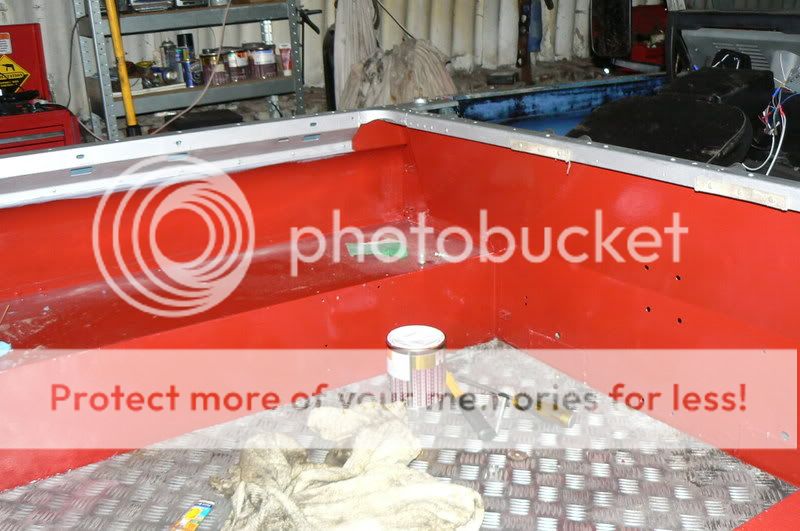
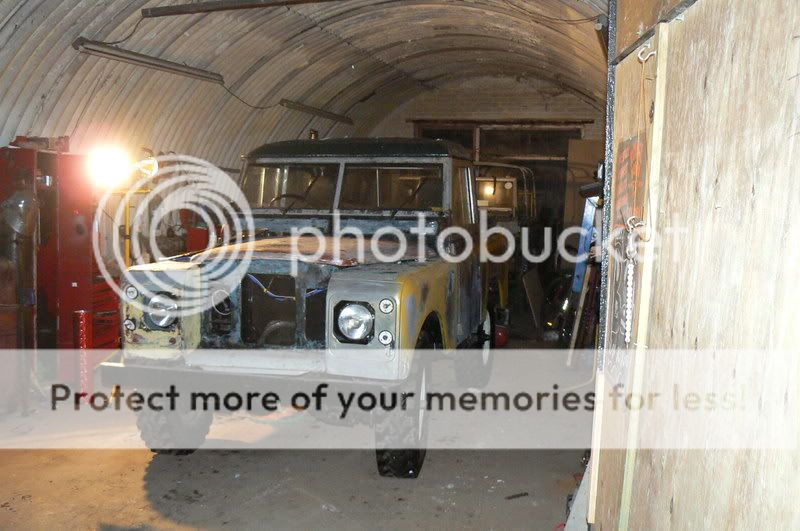
I Carried out a baremetal respray, I'll admit I should have used etch primer and I didnt, But the surface was keyed so much it really wasnt nessesary. I used a litre of paddocks grey primer, And Testrosyl red grade thinners for the base coat then it showed up any areas needing work, Then another 2 coats of primer (Used 50-50 thinners to paint which is the max you should mix too or your paint will just dull within a year!) Then used paddocks masai red paint.. Aprox 40-60 and 3 coats although I wish I had given it a 4th but I'tll probably get done again in a year or twos time..

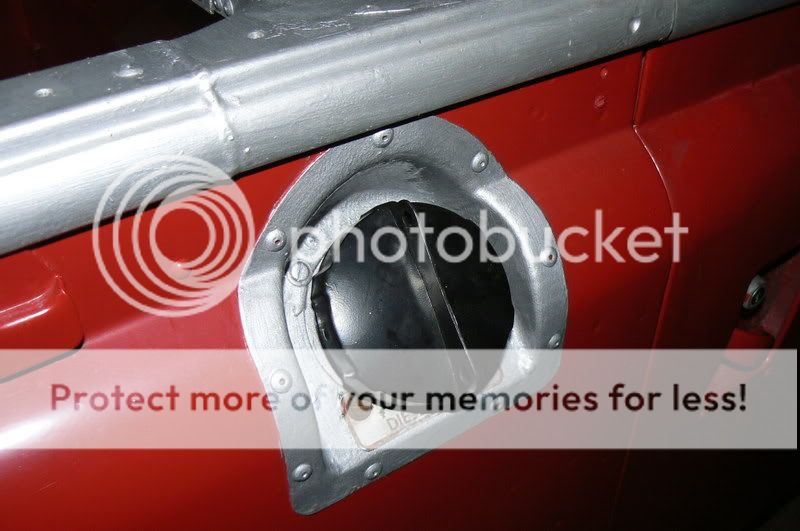
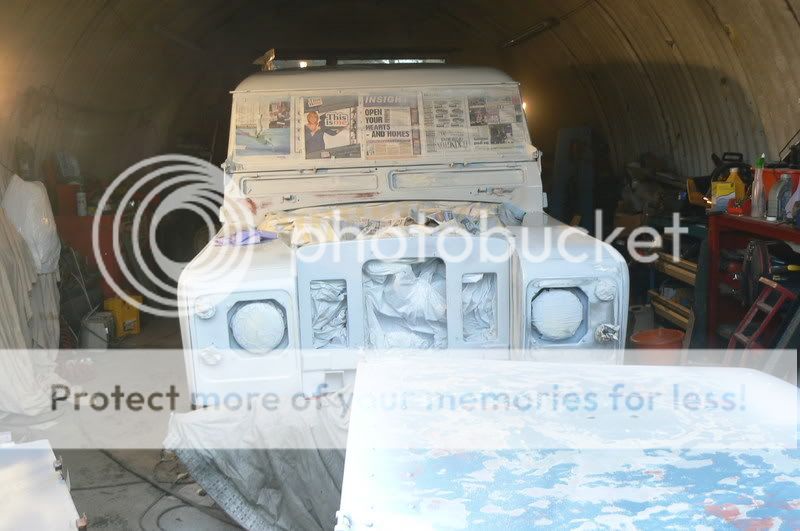
I brush painted the uppermost part of the roof, But sprayed the sides, at the same time did the catflap and gave the top a quick rub down and a spray over.. Good tip is to buy a tin for spraying and another for brushing only.. I havent yet used a roller but I am going to give it a try soon just to see what finish I can achieve..

Well take your time with it and you'll come out with a finish to be proud of, Also get some paint prep wipes and rubbing pads from halfords.. they are a god send! And DONT use different thinners or paint brands at all!. My bonnet and front apron and wingtops which were sprayed with a different make of primer came out wrong and rough.. Although I have swapped the bonnet and I covered up the wings with Gay plate tops..

Also Paddocks paint is Brilliant for brushing..
P1120846.jpg

P1120901.jpg

P1120859.jpg

P1120852.jpg


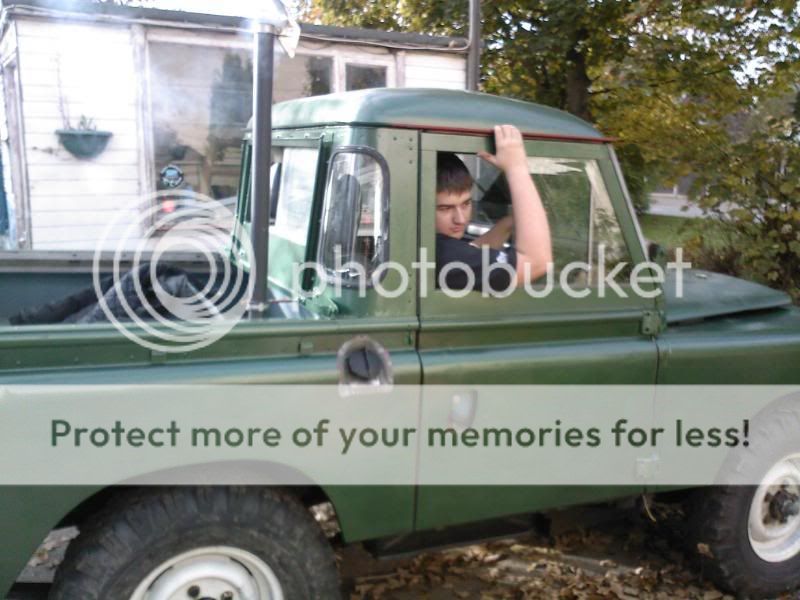
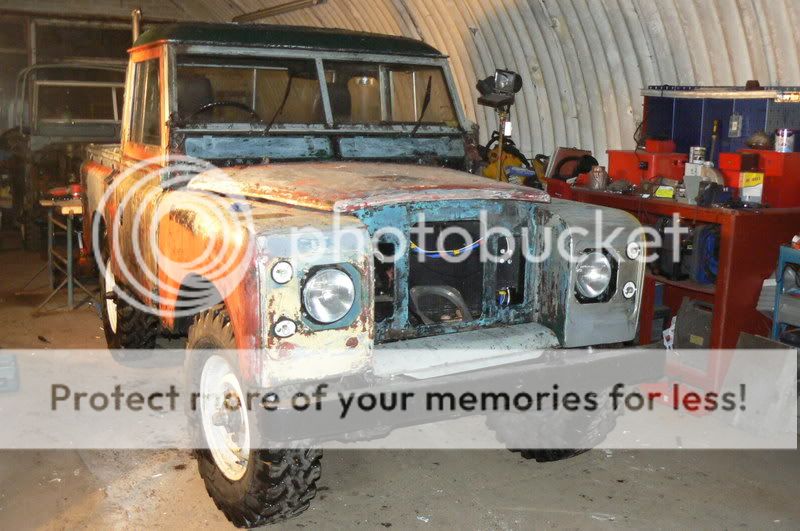
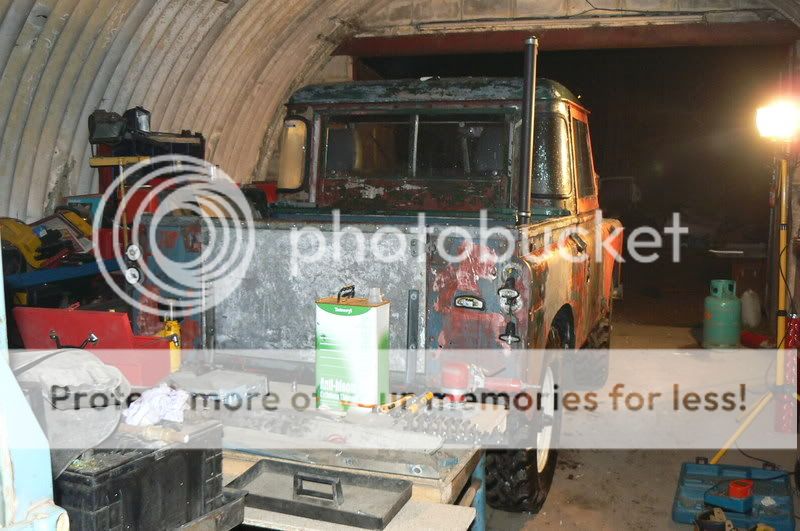
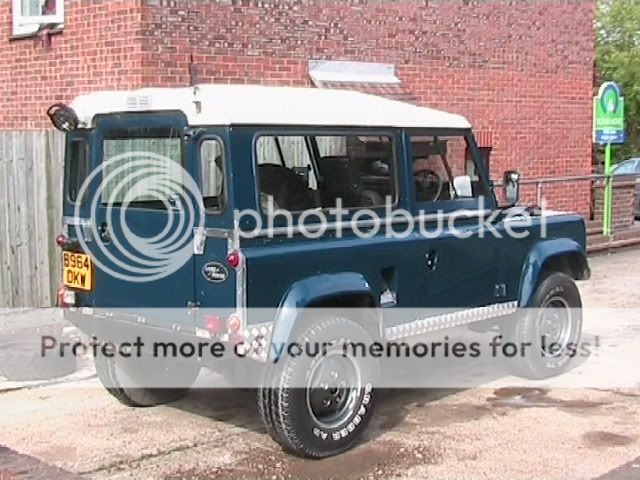
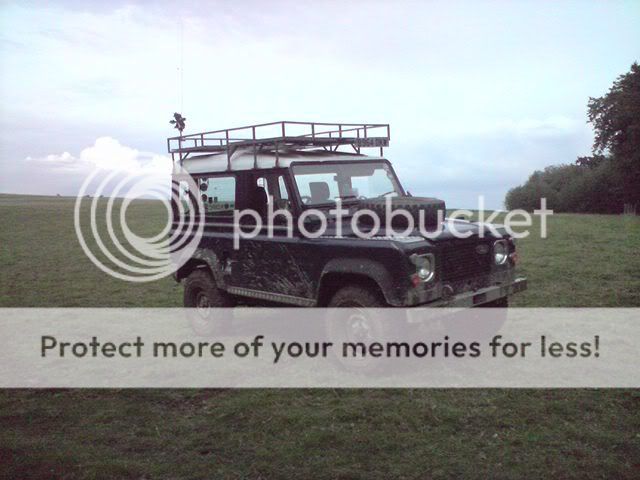
Now bear in mind my truck used to look like this..
SPM_A0116-3.jpg

P1100648-2.jpg

P1100641.jpg

P1100639-1.jpg

P1100722-1.jpg


All in all, Its the best paint I have ever used!
 
i did my 90 with tekaloid from avenue coatings.
came out a treat , although enamel is such a soft paint its scratched to buggery now.
you cant polish enamel either so its a rub down with very fine wet and dry and a coat of clear coat once a year.:(

148.jpg


IMG_0279.jpg


IMG_0283.jpg


141.jpg


143.jpg


P050708_135501.jpg


it now looks like this

P160808_1726.jpg


tekaloid is almost 80 percent gloss so its very shiney ,it looks wet.
 
Heres what my series 3 looked like before and after, I didnt strip the entire thing cos I have neither the time nor the resources, just roughed the original paint with an orbital sander the applied a couple of coats with brush and roller.
n578541227_1122761_7505.jpg


n578541227_1122762_7772.jpg


now lools like this:

n578541227_1198803_6487.jpg


Just ignore the mud:rolleyes:
 
You wanna get the power drill and wire brush bits out:D bring it back to galvy, looks far better:rolleyes:


Wouldnt.. My motors galv is a total mismatch and was quicker paint them. And woulda looked ****e with a nice fresh red paint work..
Then with the wire brush you'd take off the galv in some areas then when it rains your left with dirty rusty streaks of water, Your supposed to use wire wool and nitro morse. And plus this motors my everyday one so I dont care about originality.. :rolleyes: And the rear 1/4 galv sections were too far gone.

Also its quicker to paint them then clean them up
 
Back
Top