Rear quarter chassis replacement

This site contains affiliate links for which LandyZone may be compensated if you make a purchase.

arnottben

New Member
Posts
13
Location
Edinburgh
Hi,

My rear crossmember is rotten through so I want to replace it. I've been told it's easier to replace the rear quarter chassis (like this Series 2 2A 3 SWB Quarter Chassis) than the crossmember itself. Is this correct? and if so, how hard a job is it? I'm replacing the suspension at the same time if that makes it any easier.

Thanks.
 
I cant quite see how replacing the crossmember is less complicated than replacing the rear chassis myself. But anyway, replacing the rear quarter isnt too difficult if you trust your own welding to hold the back of the car together. Take time to align everything up correctly. You will need to take the body off (I have heard that some have done it with the body on, but I dont think it is a good way to do it, just canr see how you can get a decent weld all the way round with the body on).

Few pics of our work...

Chop the old rear off (first line is where to cut, second line is where the new rear quarter should push up to - it slides over the existing chassis)

4Mossgringingchassisoff.jpg


It is always a bit worrying when you see you own car looking like this!:

6RearChassisOff.jpg


Dry run with body on, making sure everything aligns up using professional alignment device AKA jack with a tree trunk on it and G clamps:

7Newchassismatedupcheckingbodyfit.jpg


Body off again, weld new quarter on:

10Newquarterchassisalmostsorted.jpg


Make sure you weld in fish plates!

1weldingfishplates.jpg


10Halfchassispainted.jpg


Sorted!:

9Halfchassispainted.jpg
 
jings! definitely more work than I was expecting. How much labour do you think I am looking at paying a garage to fit a cross member or quarter chassis?

Ben
 
Well I dont know of any garages that would do that work to be honest...but it is a fair few hours...and I dare say the repairs to the chassis if you took it to a garage wouldn't be far off the price of a new chassis anyway!
 
Well I dont know of any garages that would do that work to be honest...but it is a fair few hours...and I dare say the repairs to the chassis if you took it to a garage wouldn't be far off the price of a new chassis anyway!

I second that notion , unless you can find a good mate with a welder . or even buy one there not that expencive brand new , and every landy owner should have one lol .
 
second that notion , unless you can find a good mate with a welder . or even buy one there not that expencive brand new , and every landy owner should have one lol .

And practice lots before trusting new founded welding skills to hold the car together!
 
Have a thorough look over the chassis and bulkhead. If the rest of the chassis and bulkhead are rotten and you don't weld and are not really into learning how, then it would probably be best to just get another Landy in better condition. If it's just the rear x-member that needs doing then it might be worth looking in your local paper to see if there are any people doing a mobile welding service and just pull off the rear tub yourself.

A tip for replacing a rear x-member is to make a jig which lines up with body mounting holes on the rear x-member, which is welded to part of the chassis which is not going to be cut away. That way the new x-member can be welded on in the correct position - don't just guess the alignment - you'll be sorry!

If the rear x-member is full of holes then it's usually the case that the main chassis legs are also rotten to at least just infront of the rear spring hangers, so a 1/4 chassis makes good sense - you also don't need to worry about getting the alignment of the spring hangers right (assuming the 1/4 chassis has been well made).
 
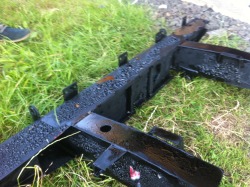
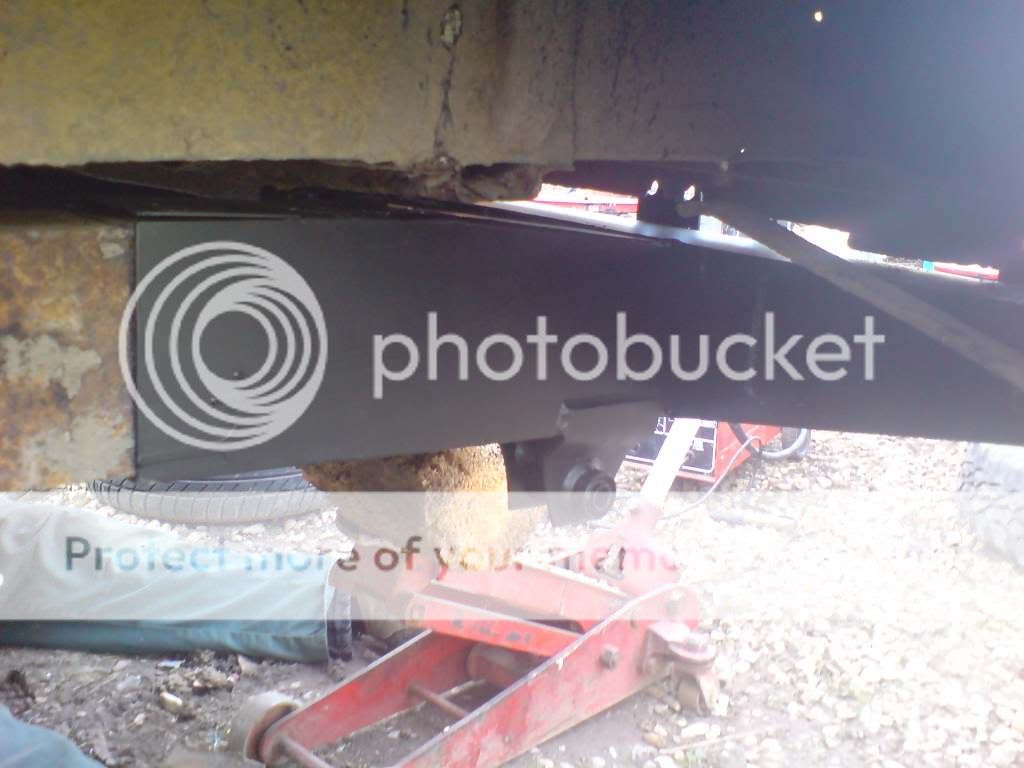
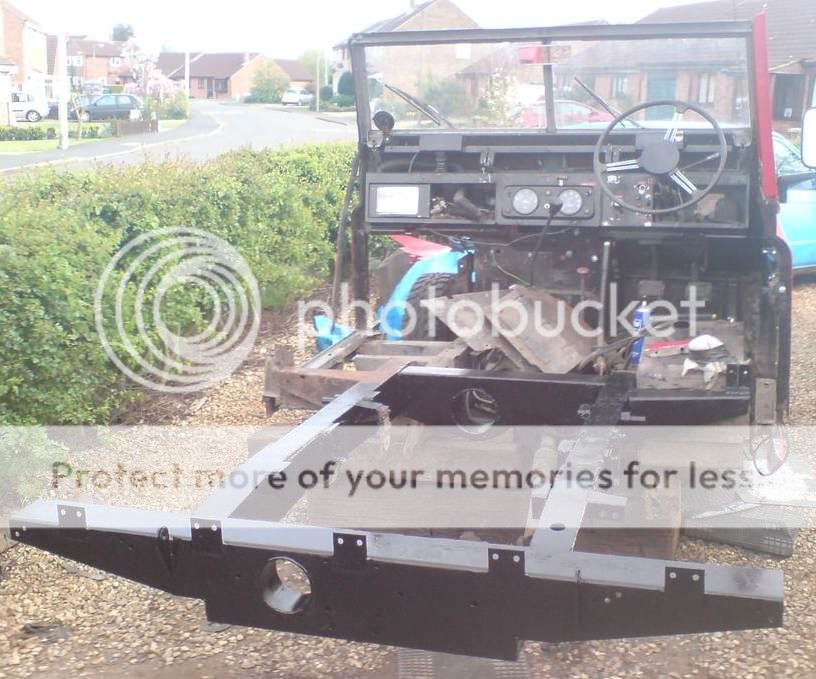
I've just received a quarter chassis and it's a brit part. I'm new to this rebuilding game and spent a lot of time reading up about what to do on a chassis. It appears that land rover chassis seem destined to turn into puff pastry as quickly as possible.

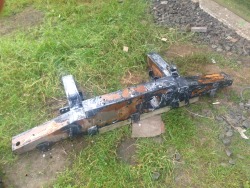
This quarter chassis part has been primed (I think) and painted black. Part of the paint has tiny bubbles in some areas and there is the odd speck of rust where they had missed bits. The most concerning thing is, if you look down the chassis tube at the rear panel, the metal is unprimed, unpainted and shiny bare, a head start for the rust.

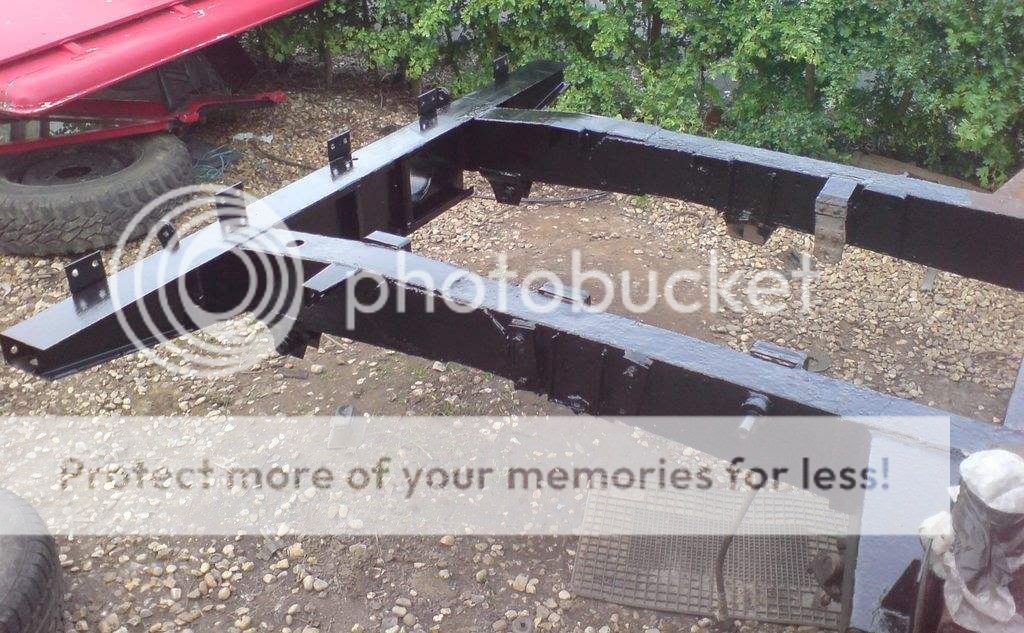
So, down to B&Q and bought some paint stripper and red oxide. The paint stripper is doing it's thing while I'm at work and I'll use a wire brush on the grinder to strip the whole thing back to bare metal. Red Oxiding those hard to reach places, I'll just have to slosh the paint around on the inside.

When that's done I'll need to paint it with a hamerite black or similar.

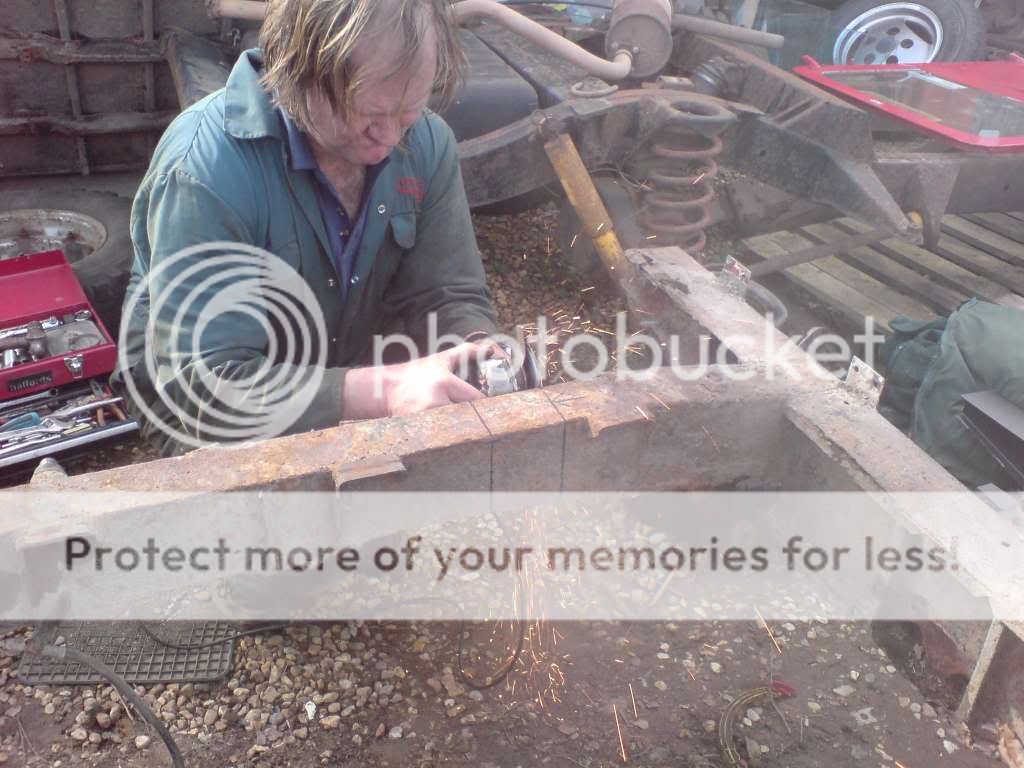
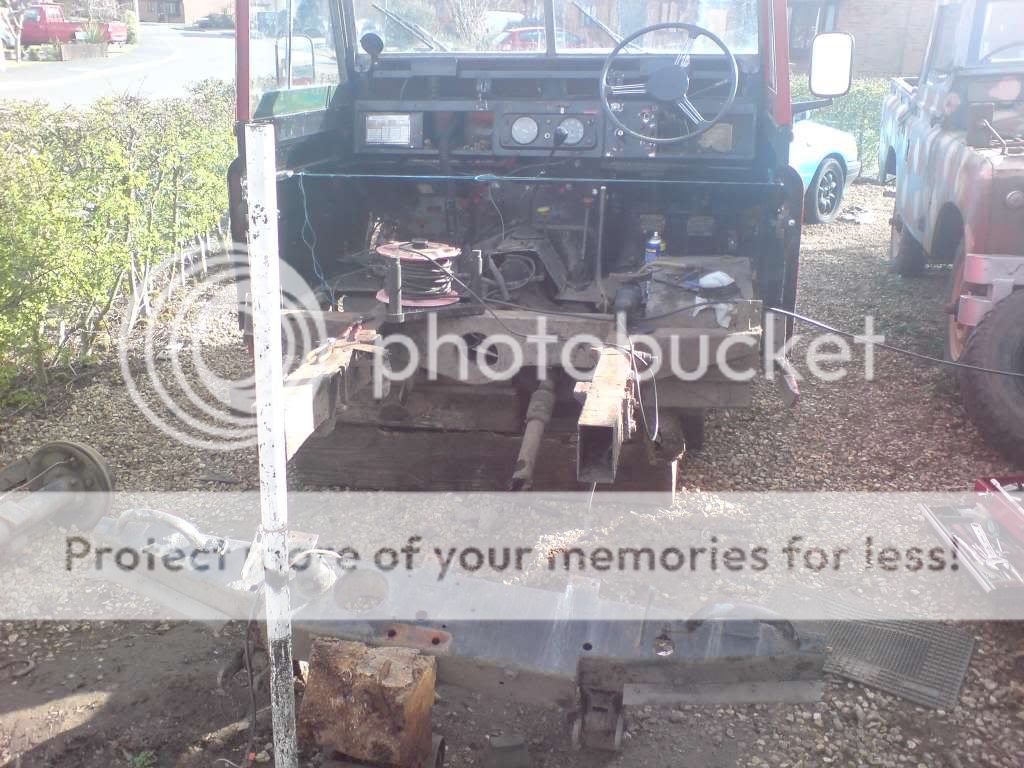
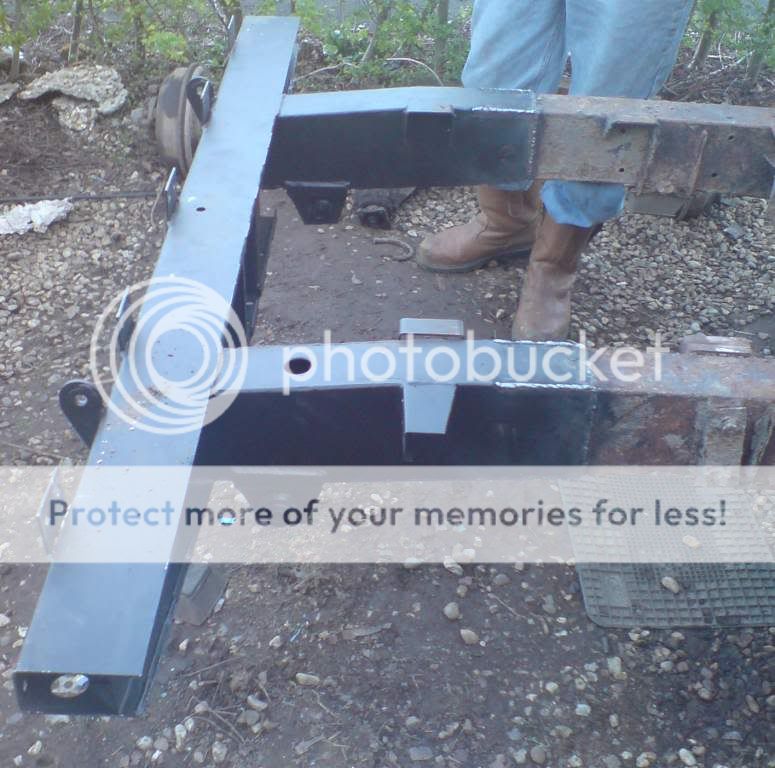
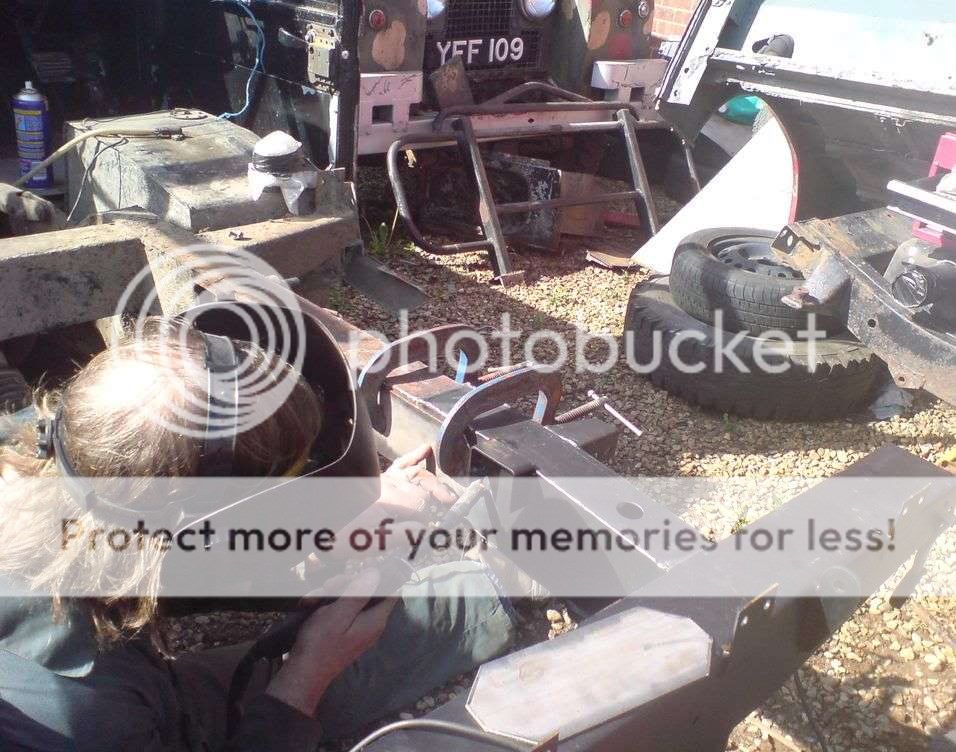
I'm going to cut off the front dumb irons I've just welded on and do the same to them or we'll have a pastry chassis before I know it.

As the for existing remaining chassis. The wire brush is working wonders on the outside of the chassis. For the inside, when the ends are cut off, (front and back) I'll use a wire brush on a broom stick to get rid of the muck and bullets in the tubes, spray in a rust dissolver several times in combination with a pressure washer. Spray in Red oxide on the inside of the chassis.

When it's all back together, I read one post where they use old engine oil and spray that inside the chassis, annually. Not a bad idea.

Pictures to follow.
 
Last edited:
Why cut off the dumb irons ? Nice warm waxoil in a parrafin gun on the compressor will fill the nicely. You will burn some of your paint off anyway.
 
you could always use a rust converter like fertan on the inside, its water based so you don't need a dry day to do it, then waxoyl/dinitrol/milspec whatever is your preference when it is dry

Home link to fertan
 
This is the unprotected metal I described....
tumblr_n8jornfGqH1texhg7o1_500.jpg


Stage on of the paint stripping. Applied in the morning and went to work. It looks like water droplets. It's crinkled up paint.

tumblr_n8jornfGqH1texhg7o2_250.jpg


After stripping with a paint scraper, adding more paint stripper and leaving overnight, this is the current status. Lots of surface rust which will disappear with a wire brush on the end of an angle grinder.

tumblr_n8jornfGqH1texhg7o3_250.jpg


Rain forecast for Saturday....
 
i'm not sure why you are paint stipping the 'new' xmember. why didn't you wirebrush and rust patches and paint them?

sorry to say, but britpart metal is known to be useless. you'd have been better off seeing if clive had any xmembers left.. or i think there was one in the for sale section.

with all the paint off have a look for the foxes logo.. or they might have changed biscuit tin brand :D

do your best to protect it inside and out or it'll rust very quickly.

i believe some people leave the tub on when doing this and use it to align the xmember with the rear tub holes... however don't freak out if yours don't line up, as it's probably classic britpart shoddiness.

gl!
 
How did you get on with this, I've just fitted one, absolute pig of a job, frightening how much chassis you have to remove, why do they put the stiffeners so close to the edge......that used up 2 more cutting disks! Tut tut!
 
Back
Top