You are using an out of date browser. It may not display this or other websites correctly.
You should upgrade or use an alternative browser.
You should upgrade or use an alternative browser.
L322 Range Rover L322 Project Thread Mods'n'Fixes
- Thread starter bitnix
- Start date
This site contains affiliate links for which LandyZone may be compensated if you make a purchase.

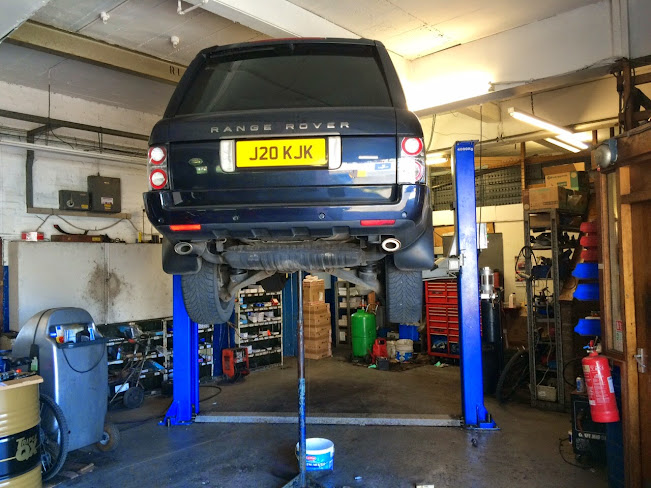
So I got the Range to the shop today to do some work.

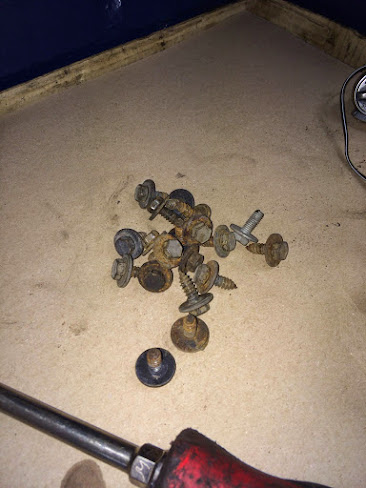
Who on earth designed this engine cover since it has to be screwed in by screws that weigh more than the cover
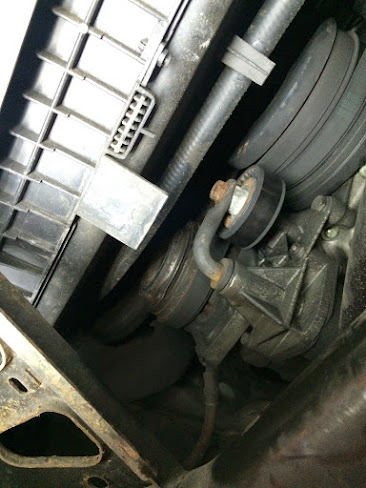
So last time I posted a picture of my air compressor wheel that came off. I've put it back on and aircon works crazy good!
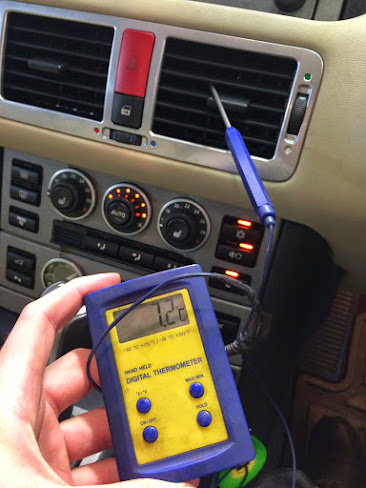
The lowest reading was getting around 4 degrees I just couldn't stay in it's too cold.
That was a lucky break and a simple fix just a bolt, washer and some thread glue.
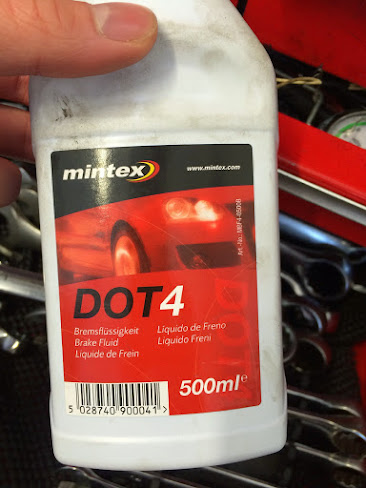
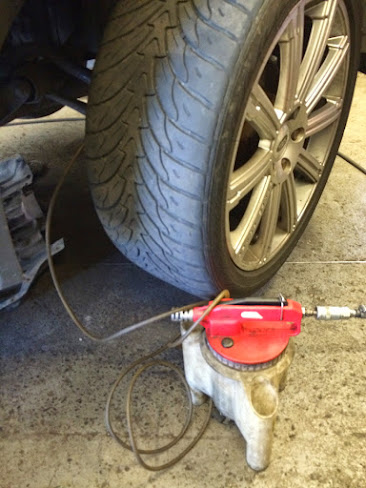
I figured since I have some tools and fluids I would replace the brake fluid.
I also replaced the oils in both differentials and transfer box today also.
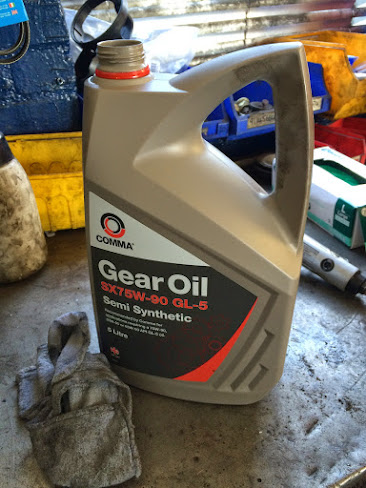
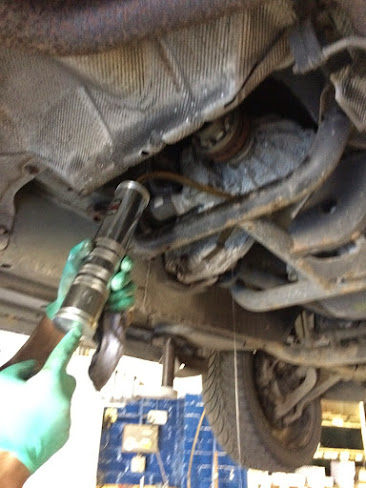
Takes exactly as per Autodata's specification. Although how easy is this. You can buy a 5L bottle of 75W-90 Semi Synthetic Oil and if you are stubborn you will change it on your driveway. That big syringe helps. Before you start hating on oil brand and type :director:....
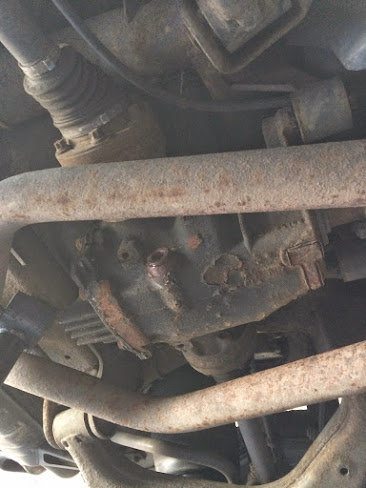
The oil in the rear diff was still quite clean and yellow where as the front diff and the transfer box not so much.

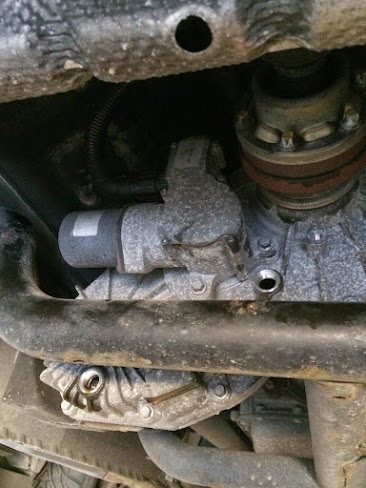
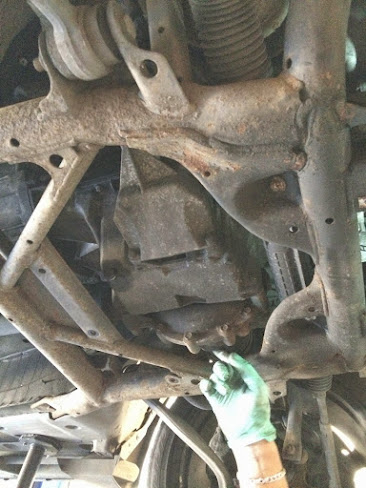
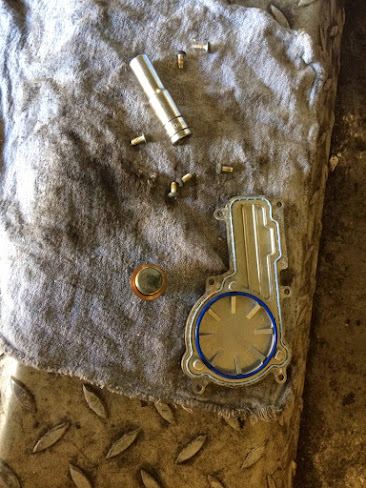
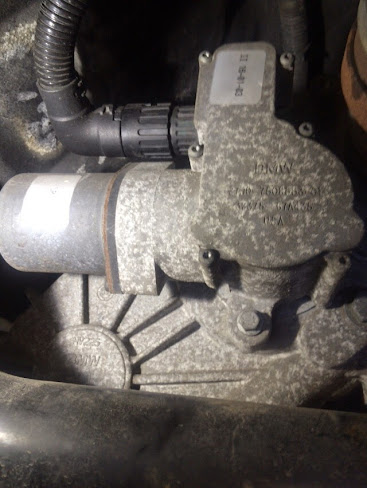
I also opened the transfer box slightly to get to the doomed potentiometer just to have a look at it. While I was at it I cleaned the contact cable since I did read somewhere that this can be problematic too.
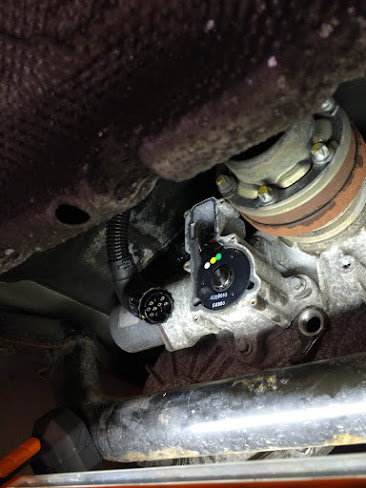
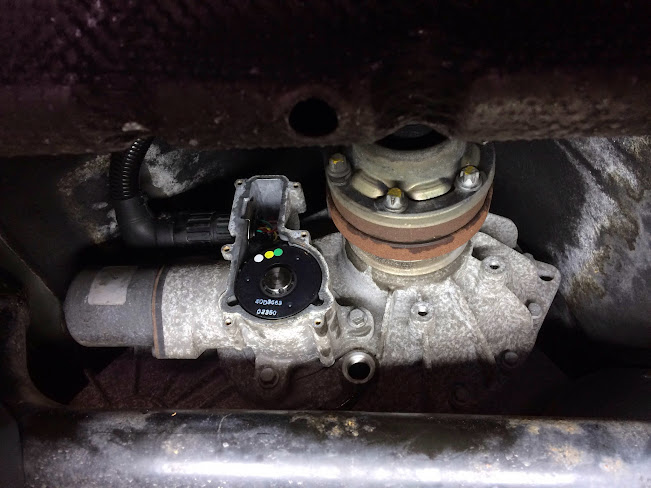
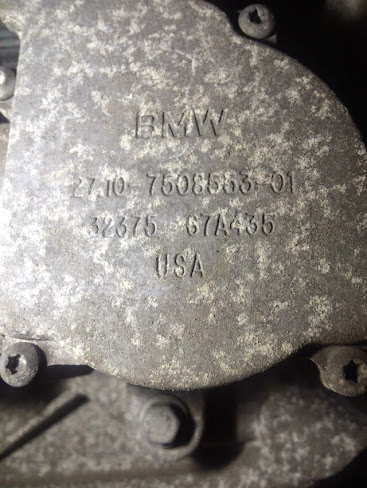
Here is some other pictures of the BMW part numbers on the transfer box since I'm still living in the world of getting that potentiometer from BMW.
I hadn't had time to take it apart and clean it fully but first I will move it few times from high to low range and vice versa to just give it that passive clean since it wasn't used for a long time.
Tomorrow I will crack on with the mirrors.
As per other items I will replace the oil and the filter in the gearbox with a full cooler flush etc.
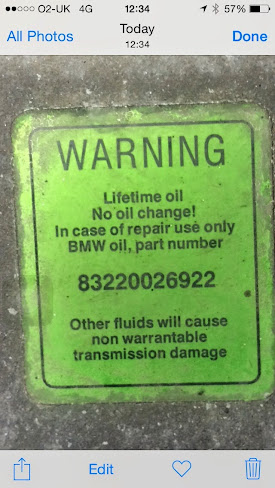
This is what I found on the gearbox and it's a good joke.
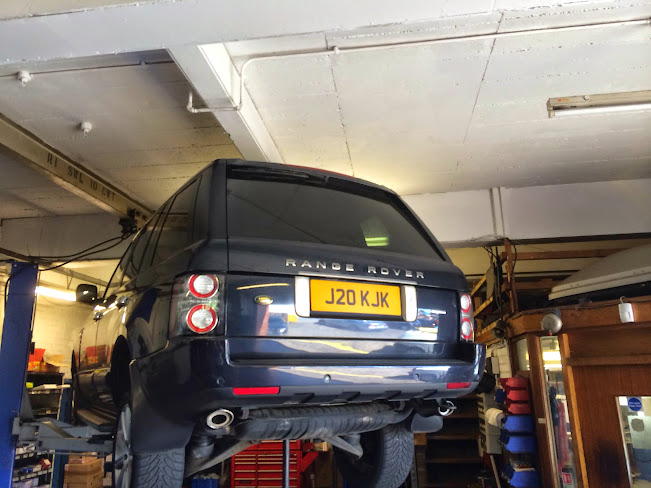
As well as tomorrow a new number plate will go on it too.
Who on earth designed this engine cover since it has to be screwed in by screws that weigh more than the cover
So last time I posted a picture of my air compressor wheel that came off. I've put it back on and aircon works crazy good!
The lowest reading was getting around 4 degrees I just couldn't stay in it's too cold.
That was a lucky break and a simple fix just a bolt, washer and some thread glue.
I figured since I have some tools and fluids I would replace the brake fluid.
I also replaced the oils in both differentials and transfer box today also.
Takes exactly as per Autodata's specification. Although how easy is this. You can buy a 5L bottle of 75W-90 Semi Synthetic Oil and if you are stubborn you will change it on your driveway. That big syringe helps. Before you start hating on oil brand and type :director:....
The oil in the rear diff was still quite clean and yellow where as the front diff and the transfer box not so much.
I also opened the transfer box slightly to get to the doomed potentiometer just to have a look at it. While I was at it I cleaned the contact cable since I did read somewhere that this can be problematic too.
Here is some other pictures of the BMW part numbers on the transfer box since I'm still living in the world of getting that potentiometer from BMW.
I hadn't had time to take it apart and clean it fully but first I will move it few times from high to low range and vice versa to just give it that passive clean since it wasn't used for a long time.
Tomorrow I will crack on with the mirrors.
As per other items I will replace the oil and the filter in the gearbox with a full cooler flush etc.
This is what I found on the gearbox and it's a good joke.
As well as tomorrow a new number plate will go on it too.
:nopics:
So today a little bit more progress.
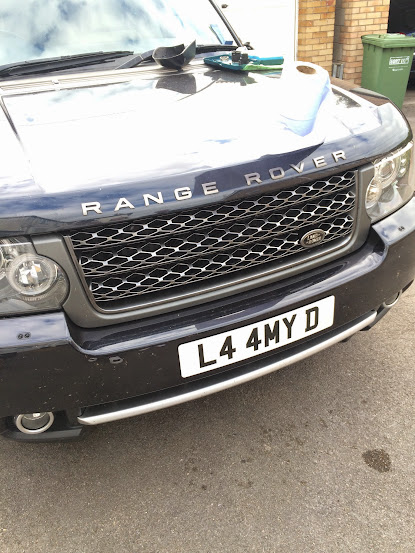
Number plate has been changed finally.
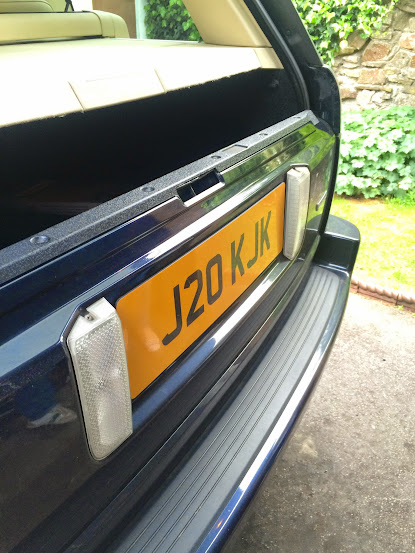
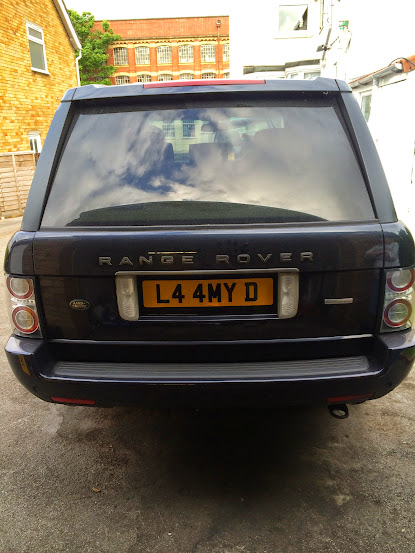
And I think I need to order a bigger plate for the rear.
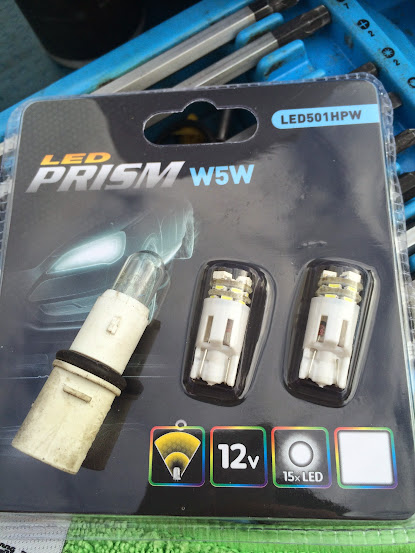
I forgot to order bulbs from eBay so I picked up some in Halfords - biggest rip off ever £10! And long story short one of them was faulty. But here are the pictures.
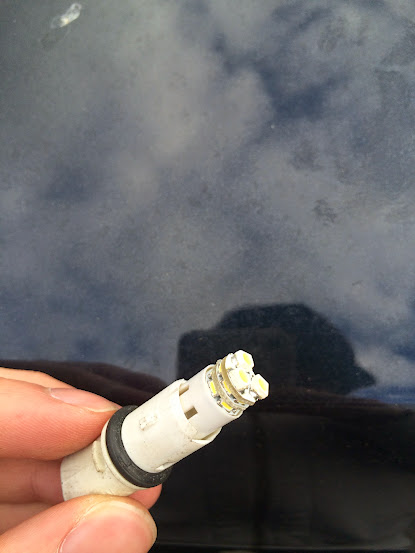
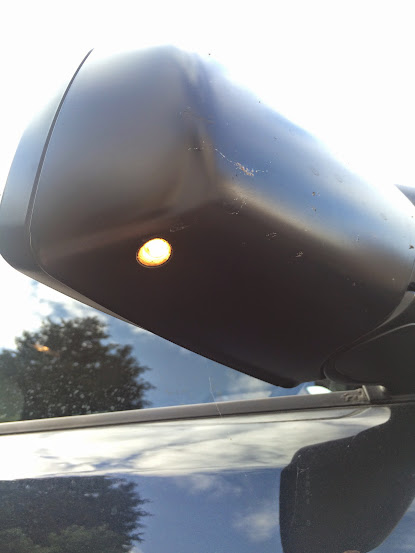
So this is how yellow and invisible it looks. I haven't put the new bulbs in permanently and put the cases back since I have to take them back.
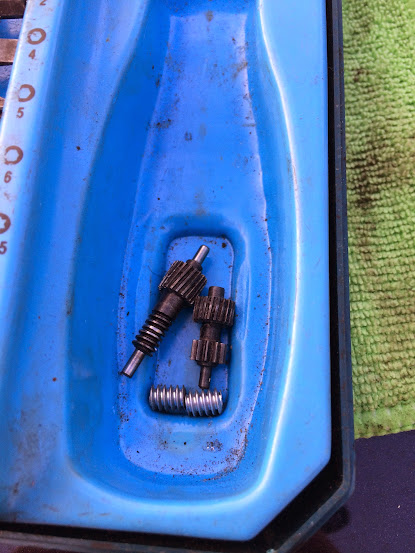
So I replaced the faulty cogs but I found another fault. There are positioning pins on the mirror motor and they have been broken which changes the motor position and it causes a jam and the motor keeps spinning and closing then opening the right mirror which works now. Somehow I think they are synced together and if one is not working correctly it will revert the mirrors back to the open position.
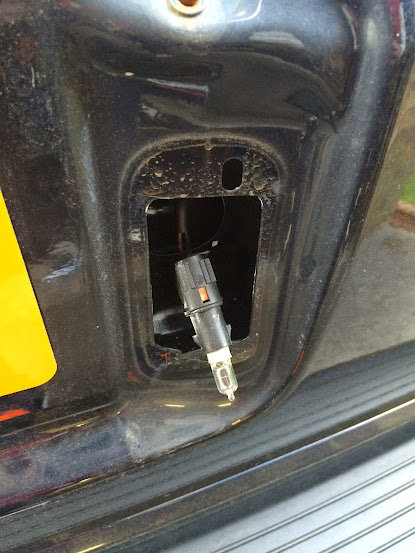
As per other items I looked at the reverse lights to upgrade them to LED. So now I know what they are so they will be put on order.

And after the Devon trip Rangie ate plenty of bugs so I soften them up before the major wash.
So today a little bit more progress.
Number plate has been changed finally.
And I think I need to order a bigger plate for the rear.
I forgot to order bulbs from eBay so I picked up some in Halfords - biggest rip off ever £10! And long story short one of them was faulty. But here are the pictures.
So this is how yellow and invisible it looks. I haven't put the new bulbs in permanently and put the cases back since I have to take them back.
So I replaced the faulty cogs but I found another fault. There are positioning pins on the mirror motor and they have been broken which changes the motor position and it causes a jam and the motor keeps spinning and closing then opening the right mirror which works now. Somehow I think they are synced together and if one is not working correctly it will revert the mirrors back to the open position.
As per other items I looked at the reverse lights to upgrade them to LED. So now I know what they are so they will be put on order.
And after the Devon trip Rangie ate plenty of bugs so I soften them up before the major wash.

So today the fan blower has died. No ventilation in the cabin.
I will look at it tomorrow perhaps the fuse is gone but it is never that easy.
The dial is on max all the lights are on and nothing is coming out of the vents.
Anyone had that failure? Common things to look for?
:scratching_chin:
I will look at it tomorrow perhaps the fuse is gone but it is never that easy.
The dial is on max all the lights are on and nothing is coming out of the vents.
Anyone had that failure? Common things to look for?
:scratching_chin:
benthomas
Active Member
- Posts
- 216
- Location
- Holmes Chapel Cheshire
£10 for 2 bulbs ?!!? i got 10 for £5.95 from e-bay, swapped side lights, reg plate lights, interior spots and still got 4 spares, bargain. they look smart too when lit.
holidaychicken
Well-Known Member
- Posts
- 4,014
- Location
- Kent
i bought some cheap ebay LEDs for my number plate, i manged to remove them just before they set fire to my l322 as they had started to melt the plastic inside the holder and were throwing dozens of light bulb faults.
i am lucky they didnt fry my LCM
i am lucky they didnt fry my LCM
benthomas
Active Member
- Posts
- 216
- Location
- Holmes Chapel Cheshire
Were they the error free CANBUS type? I thought LED's didn't get hot? i'll keep an eye on that.
Datatek
Well-Known Member
- Posts
- 46,516
- Location
- Near Poitiers SW France
LED's get hot, but not as hot as a tungsten filament lamp.Were they the error free CANBUS type? I thought LED's didn't get hot? i'll keep an eye on that.
RRkev
Active Member
- Posts
- 430
- Location
- Forest of Dean, Gloucestershire
yes leds do get hot i've noticed with my interior led festoon lamps they have a big heatsink on the back and when they get to hot they start to flicker (must be a thermal cut out) i'm going to try removing the metal plate on the rear of the lamp holders to cure it
Datatek
Well-Known Member
- Posts
- 46,516
- Location
- Near Poitiers SW France
If they get that hot they need a heat sink, it sounds like they have a parallel resistor to give the same load as a Tungsten lamp. a standard LED should not get hot enough to need heat sinking. I use flexible LED strips up to 5 metres long with 600 LED's, the only heat sinking is the thin copper tracks and it's always possible to touch the lamps without fear of burning yourself.yes leds do get hot i've noticed with my interior led festoon lamps they have a big heatsink on the back and when they get to hot they start to flicker (must be a thermal cut out) i'm going to try removing the metal plate on the rear of the lamp holders to cure it
holidaychicken
Well-Known Member
- Posts
- 4,014
- Location
- Kent
Were they the error free CANBUS type? I thought LED's didn't get hot? i'll keep an eye on that.
yep, they were supposed to be, they replaced them with some that had a heat sink on them but have never put them back in.
The pic below is from faultmate which is the errors that the faulty LED's caused along with dozens of the 'Death Bong' from the instrument cluster


benthomas
Active Member
- Posts
- 216
- Location
- Holmes Chapel Cheshire
yep, they were supposed to be, they replaced them with some that had a heat sink on them but have never put them back in.
The pic below is from faultmate which is the errors that the faulty LED's caused along with dozens of the 'Death Bong' from the instrument cluster
View attachment 71884
View attachment 71885
View attachment 71886
View attachment 71887
View attachment 71888
Thats worrying, think I'll be taking mine out. modern technology eh?
holidaychicken
Well-Known Member
- Posts
- 4,014
- Location
- Kent
I'm sure you can get some that are good, mine used to flicker as well even when the car was off and locked which was weird.
i think the canbus requires the LED circuit to have extra resistance so they aren't detected as a blown bulb and that extra resistance creates heat i would guess, combine that with cheap ****e chinese electronics and boom, there goes the dynamite
my front sidelight LED bulbs have been in for ages and they have been fine
RRkev
Active Member
- Posts
- 430
- Location
- Forest of Dean, Gloucestershire
also of course the heatsink needs air to cool, in the number plate lights it's in a confined space and nowhere for the heat to go
holidaychicken
Well-Known Member
- Posts
- 4,014
- Location
- Kent
yep, i am sticking to standard bulbs, the smell of burning when i finally found the problem and removed the covers was amazingly strong.
My little darling has enough reasons to catch fire without me thinking up new ones
My little darling has enough reasons to catch fire without me thinking up new ones
I polished mine. To give you a taster to what I've done here are some pictures.
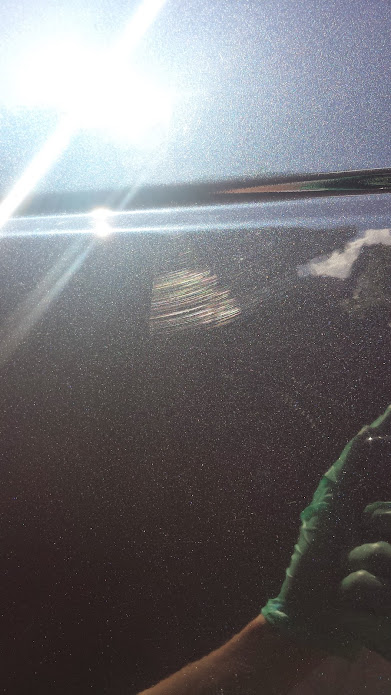
I have plenty of these type of scratches on the body so I decided to go back up to a flawless body by doing some work.
This is what the scratch looked under the microscope.

After the polish it looked like this.

The kit I used:
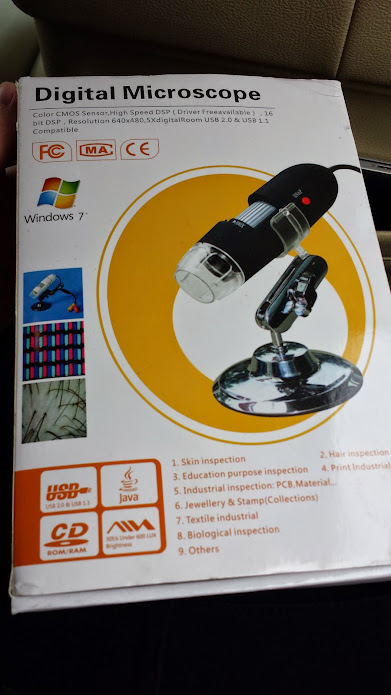
Cheap digital microscope.
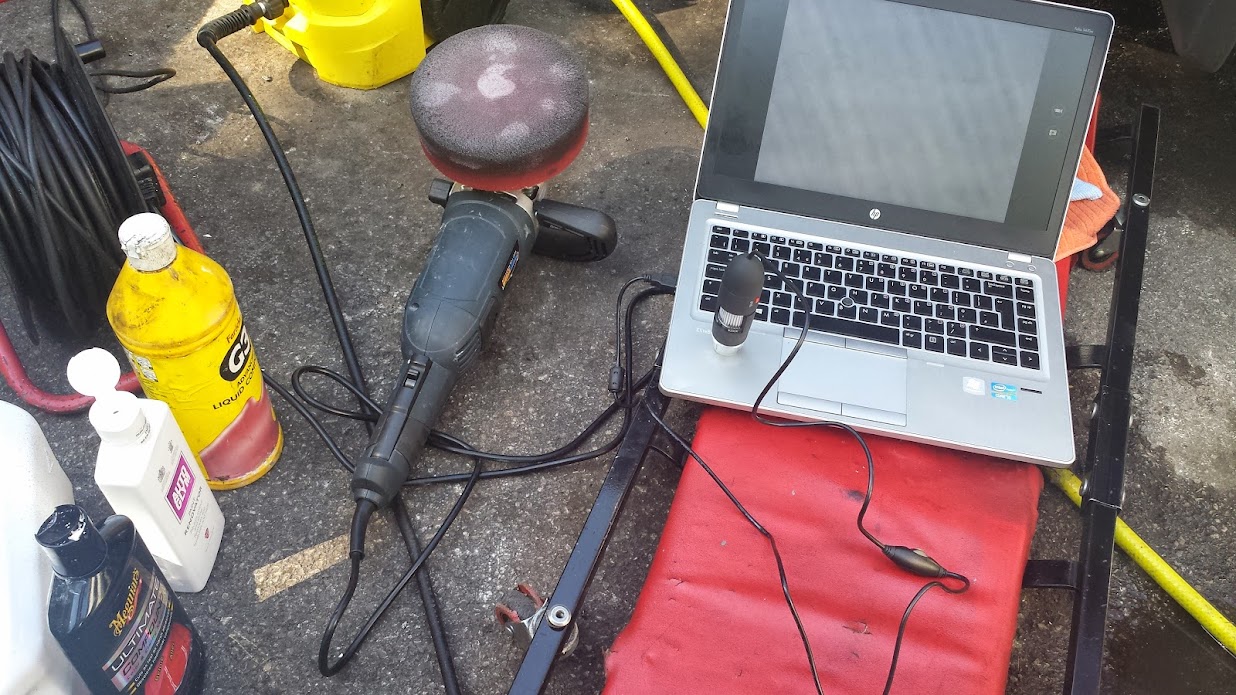
Just a simple orbital polisher with a sponge (not a dual action yet).
As per compounds I found that Meguiar's Ultimate Compound removed most of the swirls. The G3 and Autoglym Paint Restorer was not up to the job and put marks back in!
The polishing pad was too soft too since its made out of sponge. Next time I will get some cutting foam ones to go over the car some more. The swirls are gone but I want to level the clear coat for that mirror finish.
I have plenty of these type of scratches on the body so I decided to go back up to a flawless body by doing some work.
This is what the scratch looked under the microscope.
After the polish it looked like this.
The kit I used:
Cheap digital microscope.
Just a simple orbital polisher with a sponge (not a dual action yet).
As per compounds I found that Meguiar's Ultimate Compound removed most of the swirls. The G3 and Autoglym Paint Restorer was not up to the job and put marks back in!
The polishing pad was too soft too since its made out of sponge. Next time I will get some cutting foam ones to go over the car some more. The swirls are gone but I want to level the clear coat for that mirror finish.
holidaychicken
Well-Known Member
- Posts
- 4,014
- Location
- Kent
Did you use the G3 wet and yes it should be a white compound head for that ?
AlisRR
New Member
- Posts
- 9
- Location
- Shropshire
Rear wiper & washer
Just fixed my rear wiper and washer.
The rear wiper motor is a completely crap design. It has a hollow wiper arm spindle which is used to pipe water from the rear washer pump to the rear washer jets. The seal in the motor fails, the whole motor then gets filled with washer water and corrodes out the inside. Look on youtube to find out how to remove the trim, wiper motor and rear spoiler.
The wiper motor is driven by the electronics pack fitted to the back of it. Inside here is a solid state relay with current sensing. If the wiper motor is even a little bit sticky and not yet seized this increase of current is sensed and it shuts the motor down.
With your wiper motor in hand, remove the torx screws, open it up and clean out all the crap. Grease it well and reassemble. With a soldering iron de-solder the wire from the electronics pack to the motor. Then connect the motor contact to a battery and an earth to the frame and the motor should then run. If all is OK the current will be <1 amp and it shouldn't sound too laboured.
Solder the wire back on and refit the motor to the tailgate. It should now run OK.
Remove the culprit of all this anguish, "the washer hose that goes into the back of the motor". There is a non-return valve in the hose, mine was blocked solid so clean it out, get a new one or toss it and do without.
On the left top edge of the tailgate is a blank grommet, pop this out punch a hole in it to take the washer hose. Route the washer hose through this grommet into the rear spoiler. I drilled a 10mm hole in the lower edge of the spoiler so I could route the hose through it and back out so that it sprays water on to the rear screen and not into the wiper motor.
Problem fixed.
Similar threads
- Replies
- 5
- Views
- 406