Saltlick
Well-Known Member
- Posts
- 1,082
- Location
- Taunton, Somerset
Just a few pics from the repair work I'm doing (nearly done) on the disco after this.
So new parts bought have been:
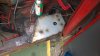
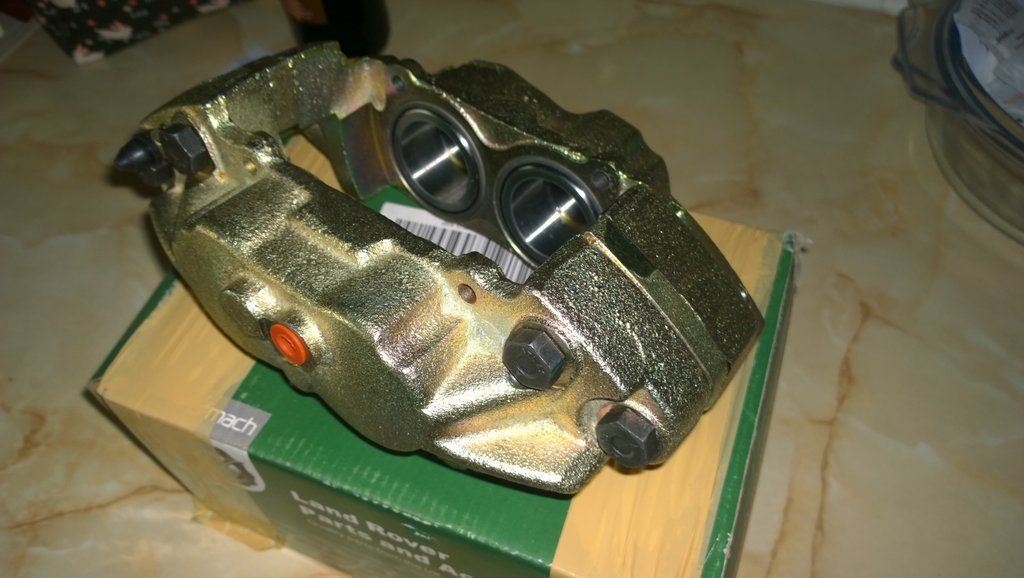
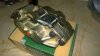
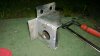
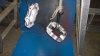
There was no particular order to the way I've done the work, so I started with the brakes first, by painting up the BM brake calipers with some high temp silver aluminium paint - 2 coats should keep them from crumbling for a couple of years.

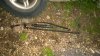
Then I fitted the Discs and made a couple of new brake lines for the new calipers - I was hoping that Clive (pressbrake) was going to be able to sell me some braided brake lines too, but apparently his machine has been
stolen and he's not getting another one as it's not worth it?!
With brake discs and calipers I put the pads in, except one of the four pads wouldn't fit - turns out the inside of that half of the caliper wasn't accurately machined, so I took the grinder to the pad backing and made it fit!! I'll see if I can get it replaced.
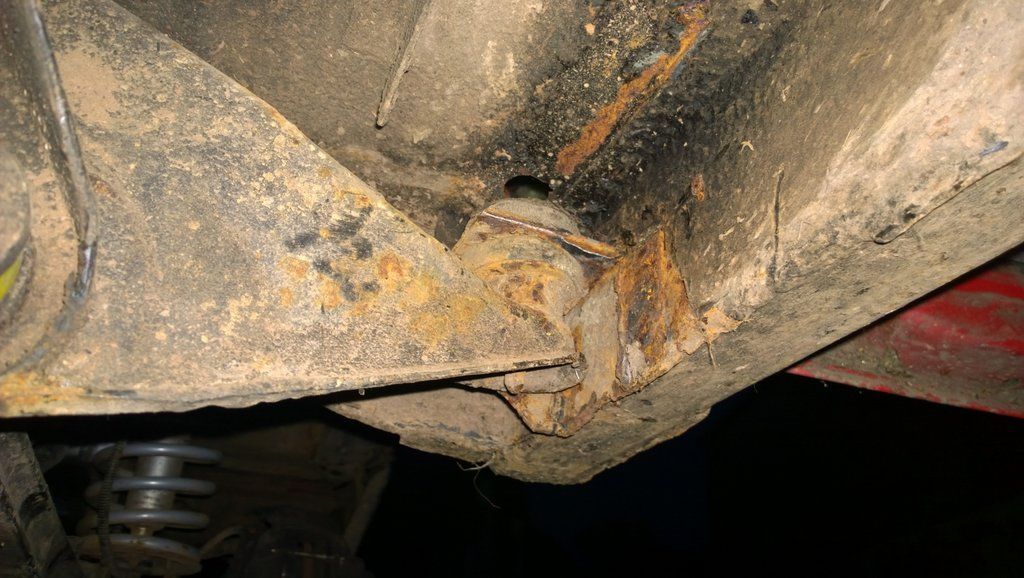
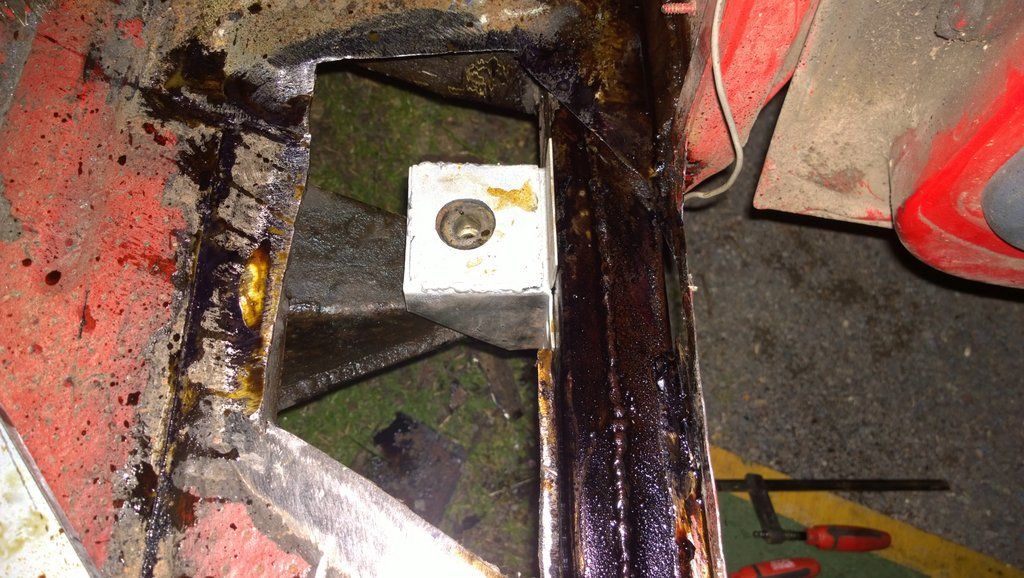
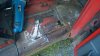
Then I got onto the inner sill body mount - I was going to get a replacement from froggats (easyon panel) but they couldn't get it to me for the weekend, so I made my own instead - I had some 2mm steel for the mount and a bit of 3mm for the reinforced top of the mount.
Here's the old:
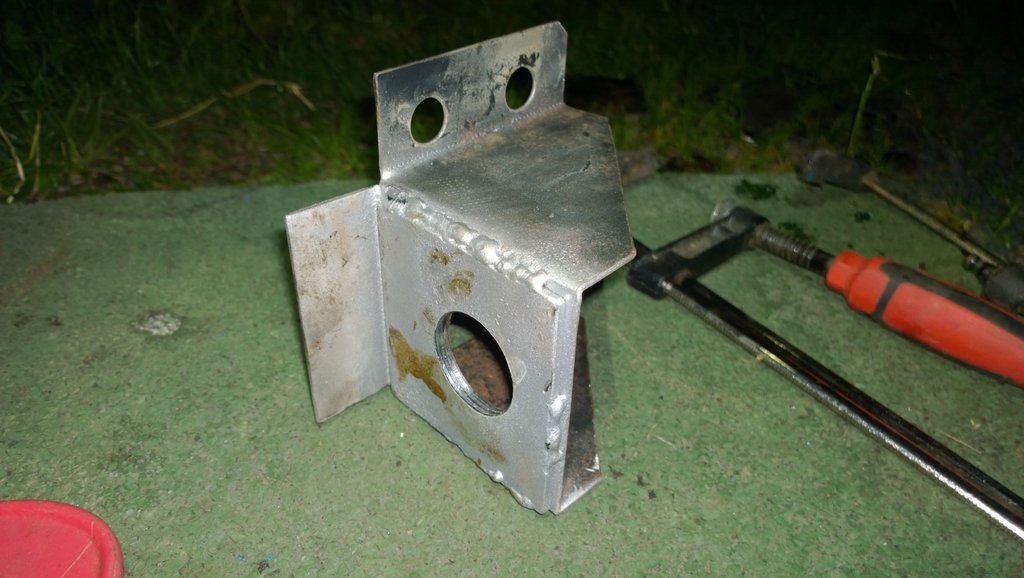
A bit of cutting after a project binky style CAD template, a bit of bashing with a BFH and a form, and a vice later and I had the basic shape.

Then I cut out a bit of 3mm mild, cleaned it up and zinc/ali painted before gluing it on top of the new mount with the melty thing.

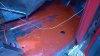
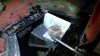
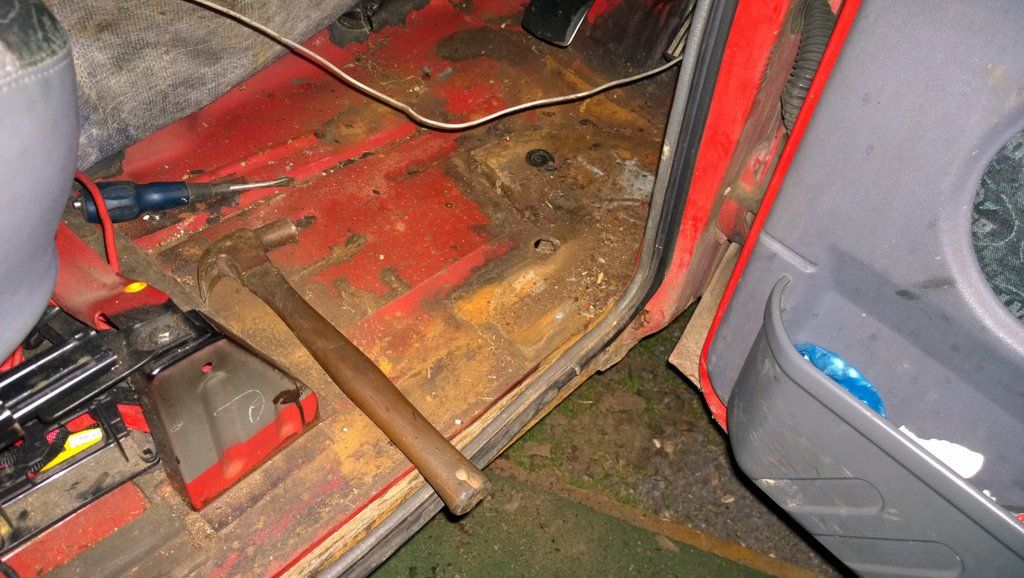
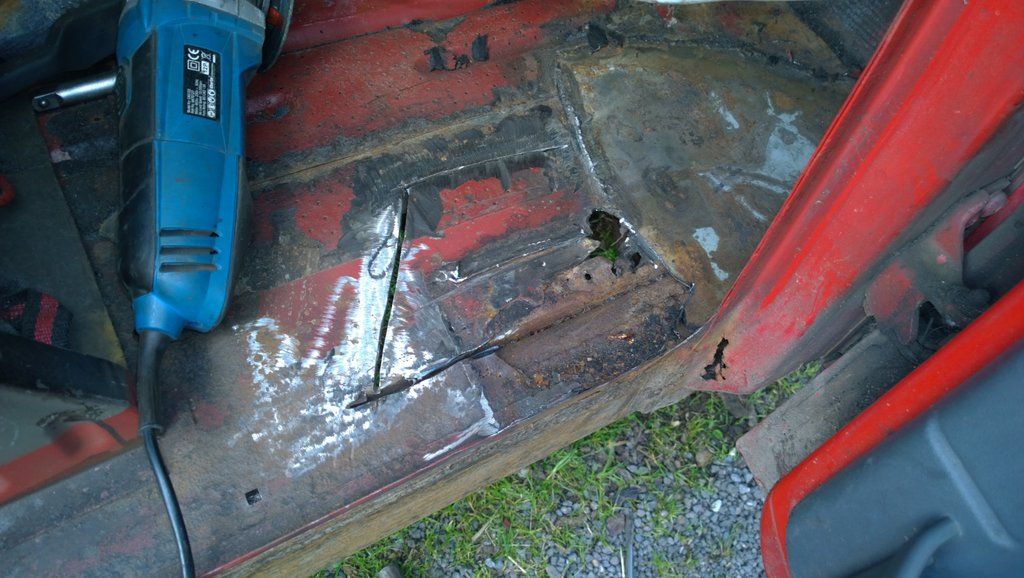
Before I could get the remnants of the old one off, I had to make some big holes in the floor to get in there with the bleedin grinder. :Cry:
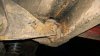
I remember the old mount now - it's about 2.5 years old! That was a froggatts easyon mount, and it really hasn't lasted very well. The reason for that of course is that I was in a bit of a hurry when it went together, so didn't do any proper rust prevention! oops... Looks like I'll need to do the other side too at some point this summer, along with the bottom of the door posts. Feck.

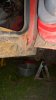
So, back to the mount: I clamped it in place, and marked with a drill the place for the new hole to go. Plenty of cutting oil needed to get through the now 5mm thick steel with me little 32mm hole saw!
No room for all the pics in this post...!
So new parts bought have been:
- Paddock performance vented front brake discs
- Bearmach Defender calipers (SEB500460 & 470)
- Mintex pads
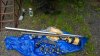
- Encompass 4x4 Steering bars, TR ends and damper relocator
- Britpart SuperGaz steering damper
- Some more synthetic diff oil (diff pan leak got worse!) and power steeering fluid.
- New to me, second hand steering box - a local ebay bargain which resulted in me gaining some Fallow Deer stalking too!
- 1Ltr Fertan with a cavity spray attachment
- 2.5L of Bonda zinc resin primer
There was no particular order to the way I've done the work, so I started with the brakes first, by painting up the BM brake calipers with some high temp silver aluminium paint - 2 coats should keep them from crumbling for a couple of years.
Then I fitted the Discs and made a couple of new brake lines for the new calipers - I was hoping that Clive (pressbrake) was going to be able to sell me some braided brake lines too, but apparently his machine has been
stolen and he's not getting another one as it's not worth it?!
With brake discs and calipers I put the pads in, except one of the four pads wouldn't fit - turns out the inside of that half of the caliper wasn't accurately machined, so I took the grinder to the pad backing and made it fit!! I'll see if I can get it replaced.
Then I got onto the inner sill body mount - I was going to get a replacement from froggats (easyon panel) but they couldn't get it to me for the weekend, so I made my own instead - I had some 2mm steel for the mount and a bit of 3mm for the reinforced top of the mount.
Here's the old:
A bit of cutting after a project binky style CAD template, a bit of bashing with a BFH and a form, and a vice later and I had the basic shape.
Then I cut out a bit of 3mm mild, cleaned it up and zinc/ali painted before gluing it on top of the new mount with the melty thing.
Before I could get the remnants of the old one off, I had to make some big holes in the floor to get in there with the bleedin grinder. :Cry:
I remember the old mount now - it's about 2.5 years old! That was a froggatts easyon mount, and it really hasn't lasted very well. The reason for that of course is that I was in a bit of a hurry when it went together, so didn't do any proper rust prevention! oops... Looks like I'll need to do the other side too at some point this summer, along with the bottom of the door posts. Feck.
So, back to the mount: I clamped it in place, and marked with a drill the place for the new hole to go. Plenty of cutting oil needed to get through the now 5mm thick steel with me little 32mm hole saw!
No room for all the pics in this post...!
Attachments
-
 new caliper.jpg87.1 KB · Views: 525
 -
 rotten mount.jpg120.4 KB · Views: 497
 -
 door post rot.jpg89.7 KB · Views: 491
 -
 cut floor.jpg116.8 KB · Views: 493
 -
 uncut floor.jpg124.5 KB · Views: 495
 -
 mount top welded on.jpg91.2 KB · Views: 453
 -
 mount with rhs.jpg144.6 KB · Views: 474
 -
 Formed mount.jpg120.9 KB · Views: 529
 -
 painted calipers.jpg94.5 KB · Views: 499
 -
 mount clamped in place.jpg147.3 KB · Views: 462