New here - Realizing my dream of building a NAS spec 90

This site contains affiliate links for which LandyZone may be compensated if you make a purchase.
Hi all,

Thought i'd provide an update on progress. Its all been happening of late, with various discussions ref roll cages, tyres and the like but last weekend I really knuckled down and got some jobs on the to-do list done.

First up for me was sorting the temp sender which was registering way too hot due to the wrongt sender being fitted. Landranger in Stockport sold me the two types of sender and low-and-behold the first one I fitted was the right one! This means I can take back the other one for a refund. There ws also a small leak coming from the plastic cap on the water filler so I replaced this at teh same time with a shiney new one also. After topping up the fluid all is now well with the cooling system :)

new temp sender and plastic cap fitted :)

The dashboard lights were not work and neither was the interior light so it was diagnosed as a faulty switch - I got one of these from Landranger and now all work great! (though as you can see below, the headliner has seen better days..)


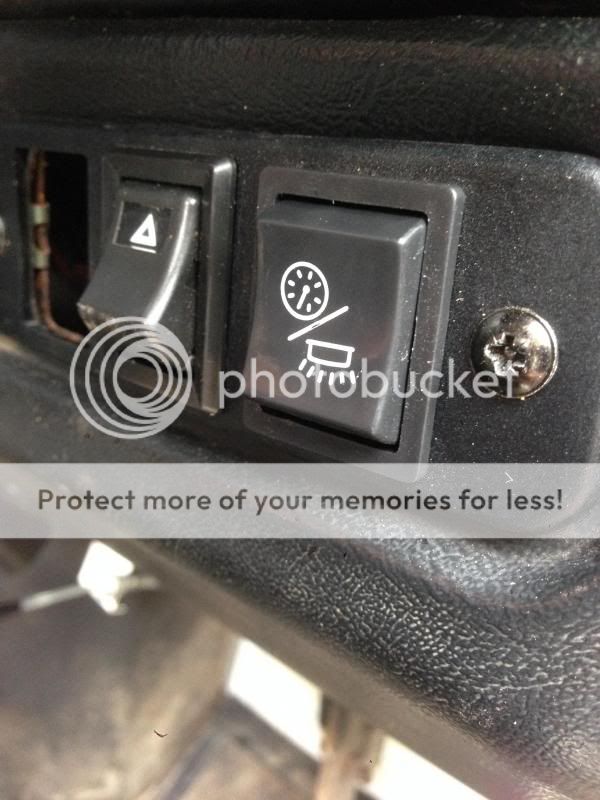
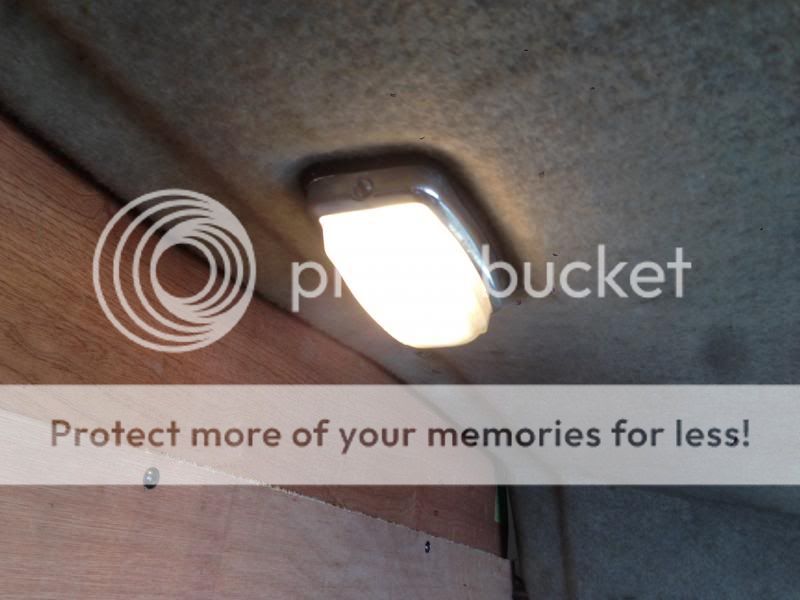
Let there be light(s)!

The seatbelt buckle has also been renewed but turns out I need a new seatbelt mechanism too so just after taking the pic below I had to take the new one off again, doh! lol


So, on to the more glamourous jobs. I spent most of Monday night cleaning up and polishing the new wheels and tehn set about with the tyre paint paint filling in the writing on the side walls - Lary to some but the US spec cars I have seen had thsi done and I think it added something to the look so i've given it a shot


Saturday morning was the big moment of putting them on


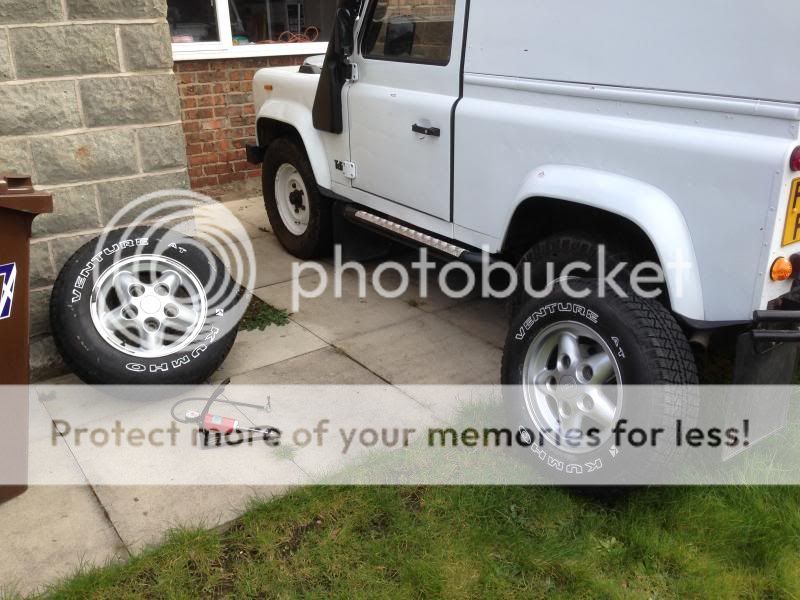
I like the look but have decided to fit the higher profile and more hardcore tyres that the 90 came with on the steel wheels so these will be swapped over next weekend (If I can find a tyres place that won't try and charge me £167 for doing this - I poop you not, i've been quoted that!!) I have done the white writing on the existing tyres and its a bit more subtle so happy with that also :)


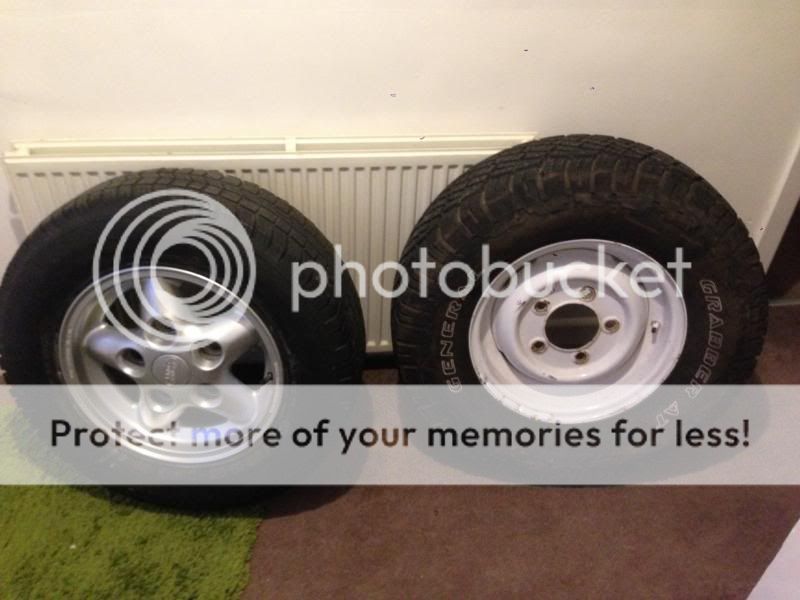
Spare tyre and wheel on left, I will put the tyres on the right onto the Freestyle rims next weekend.

Next up was a trip to Paddock's to get some parts last Saturday. I got;
Full genuine Wipac Nas light kit
All the connectors for the above
2 x new front seat re-trim kits in techno cloth design
A swing out spare wheel carrier
A halogen headlight conversion including integrated side lights

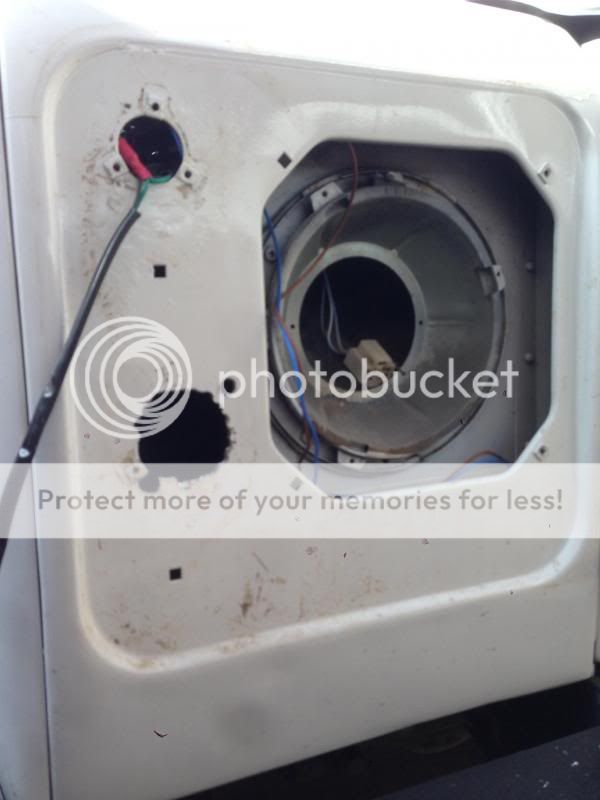
Once I returned (3 hour round trip!) I got on with one of the jobs I was looking forward to the most; the Nas front light upgrade.

The existings front lights had been updated to great quality (and very bright) angel eyes and LED side lights but this isn't the look I wanted for my 'truck'


First the light surrounds came off and I started drilling holes for the Nas plinths, then test fitted the indicators. While I was there I also polished and waxed the headlight retainers which now look awesom :)


Next up I modifed the front wings to accept the larger units by marking out and drilling lots of small holes to create a neat finish. Once they were drilled I primed and painted everything to ensure no tarnishing later on


By the time all this was done and wired back in it was dark so i'd had to wait til the morning to check the overall success of the job :(


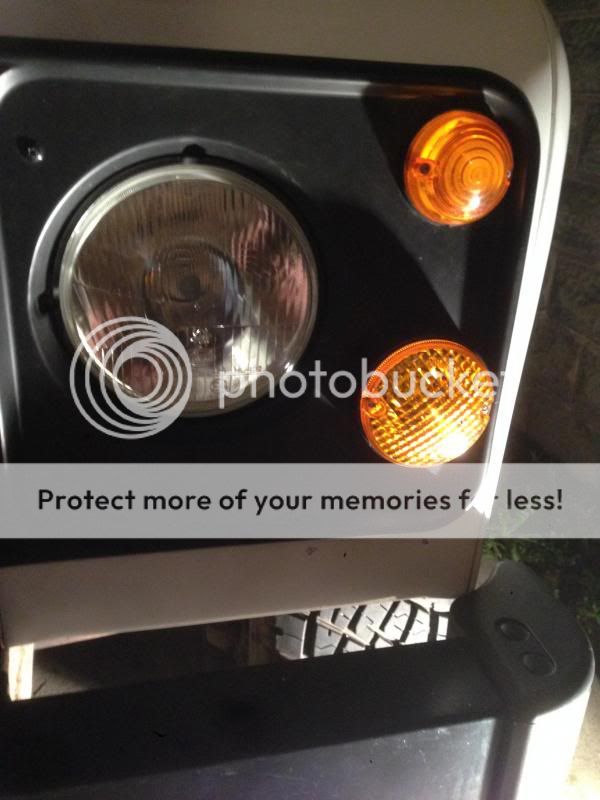
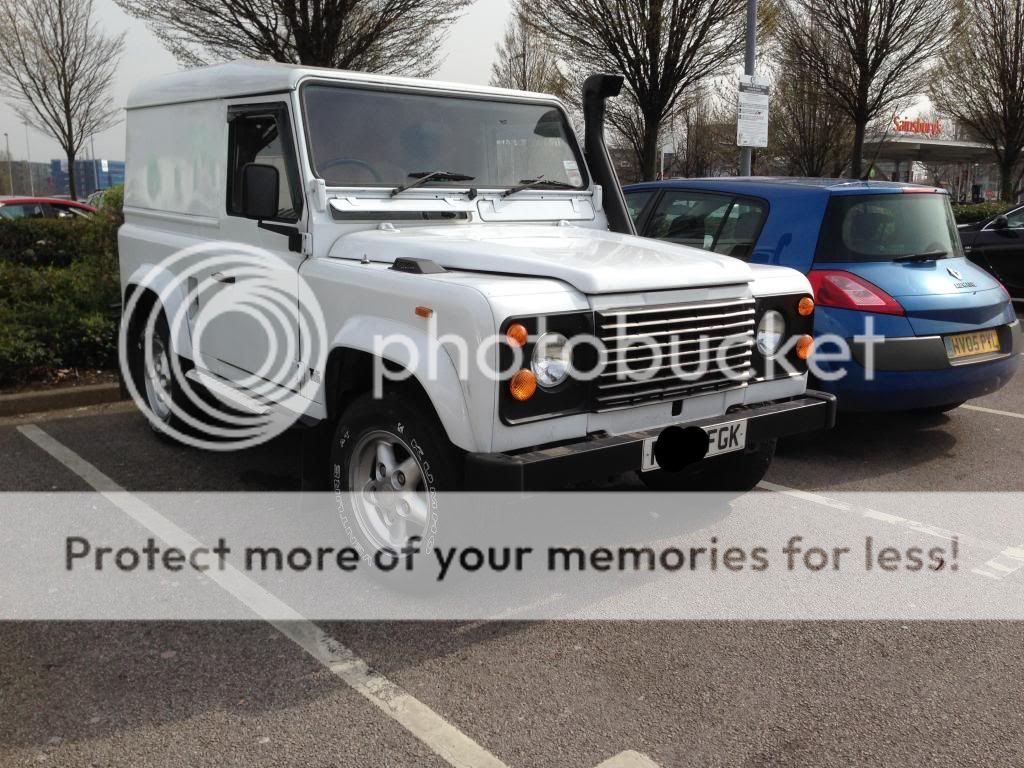
So here it is the following day - I'm happy with it, what do you think?


I'm looking forward to getting teh new tyres on and next up is some sorting out of some electrical earths (my mate Chris is helping with this) followed by replacing the rear door lock which won't let me in!!

Nas lights will be going on at the back next weekend and i'm looking for a guide as to how to fit side windows myself - Don't want to risk getting that one wrong with cutting the wrong sized holes! lol

Cheers guys,

o :)
 
Last edited:
The interior light switch you show pictures of is 3 position, you have it in the middle position which turns off dash lights. If you press the top the dash lights should work. If you press the bottom of the switch it should put the interior light on.
 
Or no roof at all
bfg-nas.jpg
 
Hey guys!

The Defender NAS was initially a soft-top but they later launched 90 estate and 110 versions and i'm modeling mine on the White USA 3.9 V8 Press car from 1993 (As tested against the Jeep Warngler 4.0 in Car & Driver magazine).

More parts have been arriving today and I have got online to order more so I can take advantage of the few days I have off next week to fit them all!

So, bits on order / in the hall way are;

4 x Hella 3000 spot lights with built-in side lights
Front external roll cage to mount the above on
Haynes manual!
USA spec front headlight surrounds
USA spec side marker lights
USA spec rear reflectors
USA spec wiring for side repeaters
Alpine lights
Side windows
Rear swing-out spare wheel carrier
Front seat re-trim kits x 2
Front seat heating kit
USA rear aluminium badge

Can't wait to get going on it over the weekend!

Comments welcome, cheers

o :)
 
Hey all,

Its been quite a weekend of fettling and i'm enjoying seeing the progress.

Nas rear lights were on the agenda and I've taken time to ensure spacing and execution is as it should be.

First up was taking out the reverse light and marking out for the first plinth to go on. I had to cut away some metal to create clearance for the light unit. Also seen here is the newly wired connector.


Stop-tail light in place


Careful measuring up on the left hand side was required so that the inner-most light (I'm fitting a 3rd light on this side so I can fit a fog light) didn't catch the door hinge. I created the right-sized holes by drilling lots of small holes then filing through. Everything was then painted.


As I mentioned, clearance was certainly tight but it works!


And here it is all finished - I think it looks wicked!


Last thing I need to do is find a solution to where the original stop/tail light was - I have added the original front side light lens and added some clear LED bulbs with the intention of wiring both of them to the reverse light to help with parking at night - What do you think? Should I remove the lights and put circular red reflectors on instead? Opinions and comments would appreciated.

o :)
 
Hey all, haven't done an update for a while and had a very busy day with the Landy so wanted to share.

I've had it nearly 1.5 years so thought some quality time on the mechanicals was called for. It was fully serviced when I bought it and i've only done 2k miles since but a good renewal of the fluids with top quality replacements is always a good idea. There were also some other jobs that needed doing so I booked the car into my local rent-a-ramp place with a load of new fluids and parts and the fixing party commenced..

First up, when ordering the fluids I could not believe how much this thing needed!!! Here is a pic of the fluids I needed and even these didn't include a transmission oil change!!
 
First job was to drain both axles, the final drive and the engine oil. Next up was the swapping of the sometimes temperamental starter motor with a new one. Quick easy job that needed the air box removing followed by 3 bolts


While the air box was out I cleaned it up and replaced the air filter with a new one. You can see the old one on the left was past its best so glad I checked it.


Next up was fitting the genuine NAS front badge id spent a while looking for - Cost a fortune (£36!) but fits perfectly and suits the look i'm going for


After that it was time to change the oil filter and start re-filling the fluids. The transfer box had to be filled from inside the cabin taking out the centre console but the axles were straightforward enough.
 
We found a small hole in the right hand chassis so made up a plate and welded it on, followed by a few coats of paint. Once that was done it was onto the main event - bring on the Waxoil The car was professionally treated in all the box sections and across all parts of the chassis


Whilst it was setting I got about the last job of the day, renewing the brake fluid. The easi-bleed system made it, well, easy and the pedal is now nice and firm.

Busy day but well worth it,

Cheers,

o
 
Back
Top