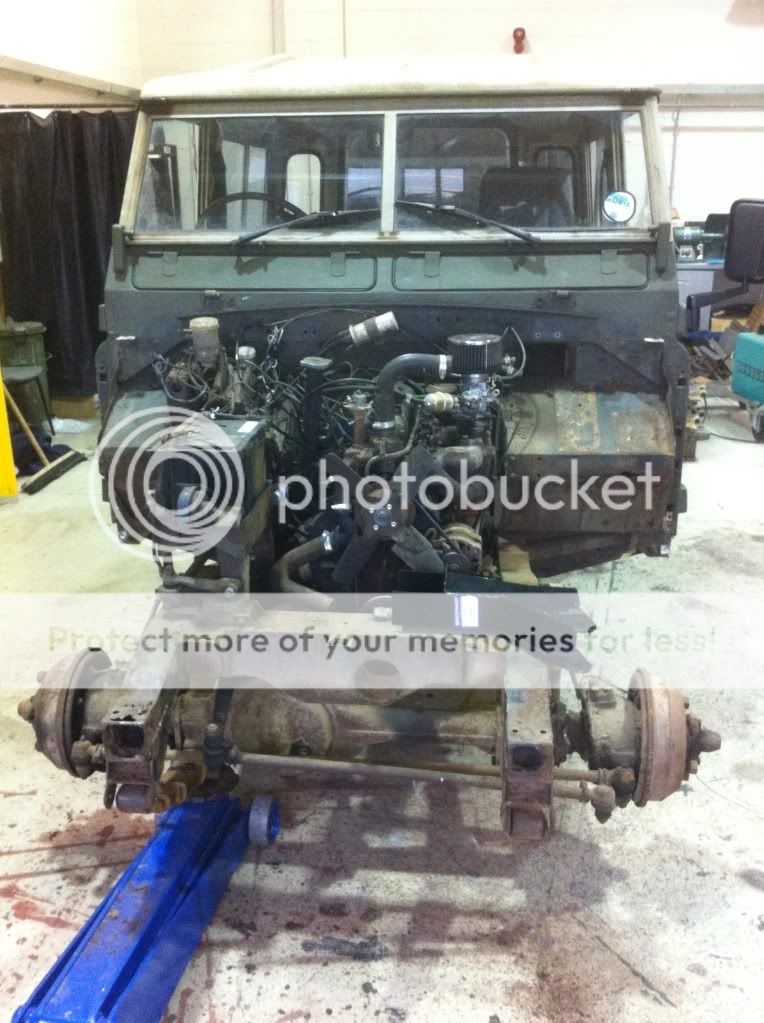
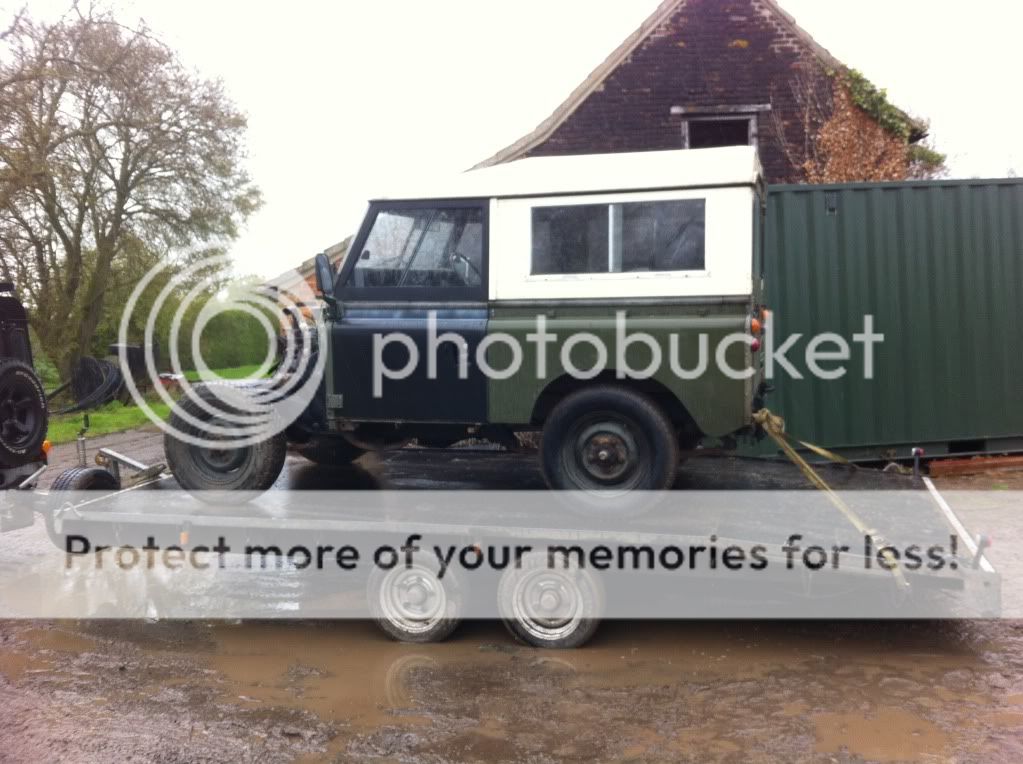
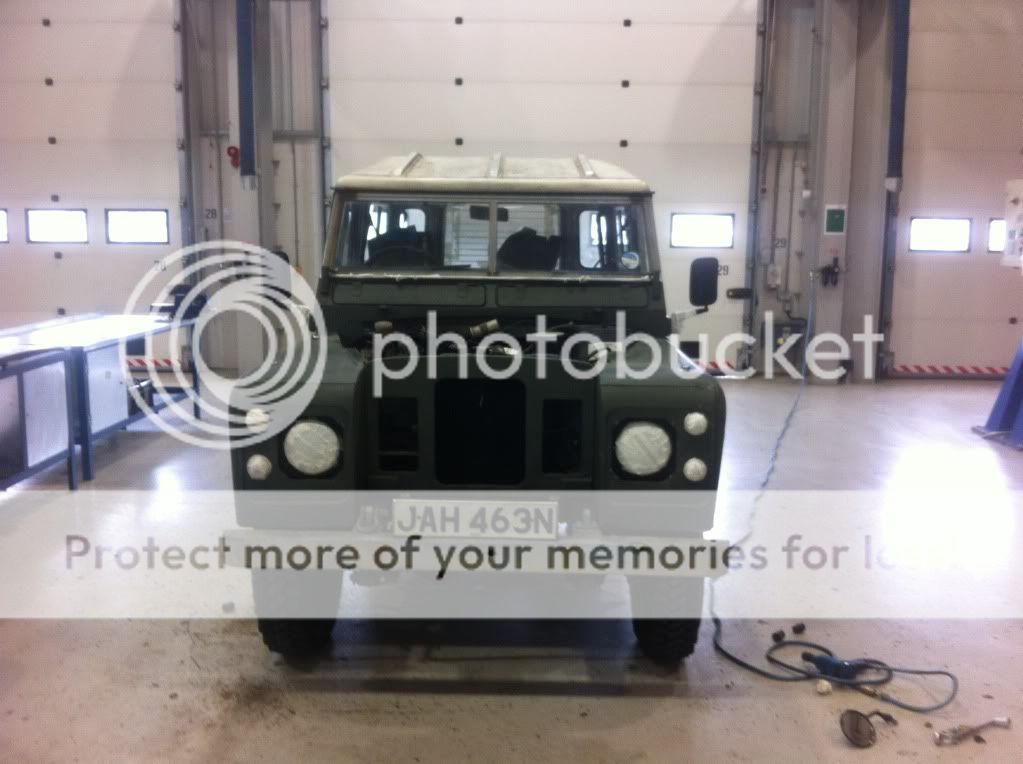
I bought Jack after selling my Freelander and Bike from a member of my local Land Rover club, I fell in love with him straight away and was slightly blind to the amount of work needed! I saw that the doors were completely rusted out, that there were a couple of spots on the bulkhead and the dumb irons needed a couple of patches but the engine ran so quietly you couldn't hear it at idle and all gears selected, well at least they seemed to!
I picked him up the next day and sat at home and ordered a mountain of parts including doors, a water pump, front and rear axle rebuild kits including swivels.
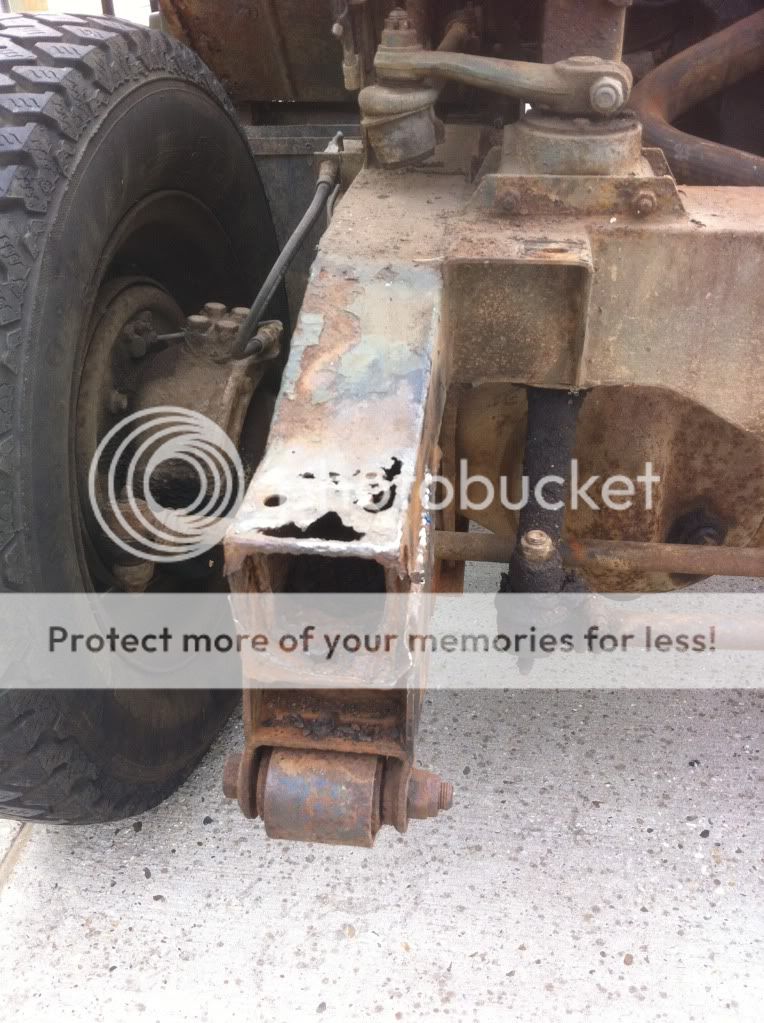
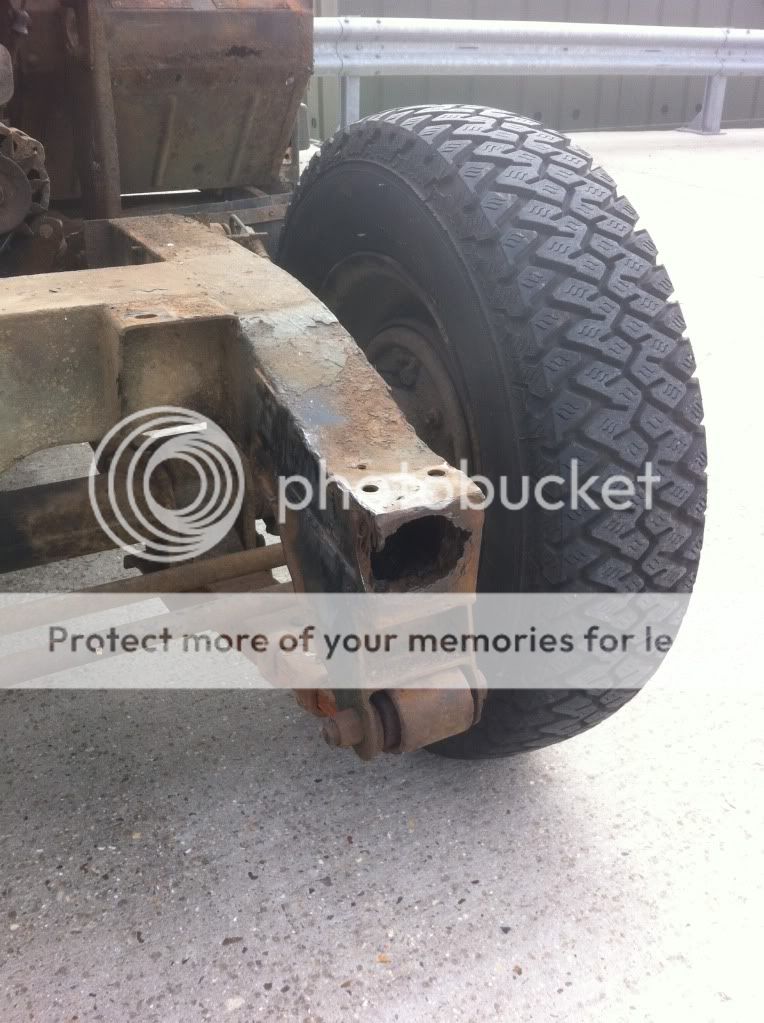
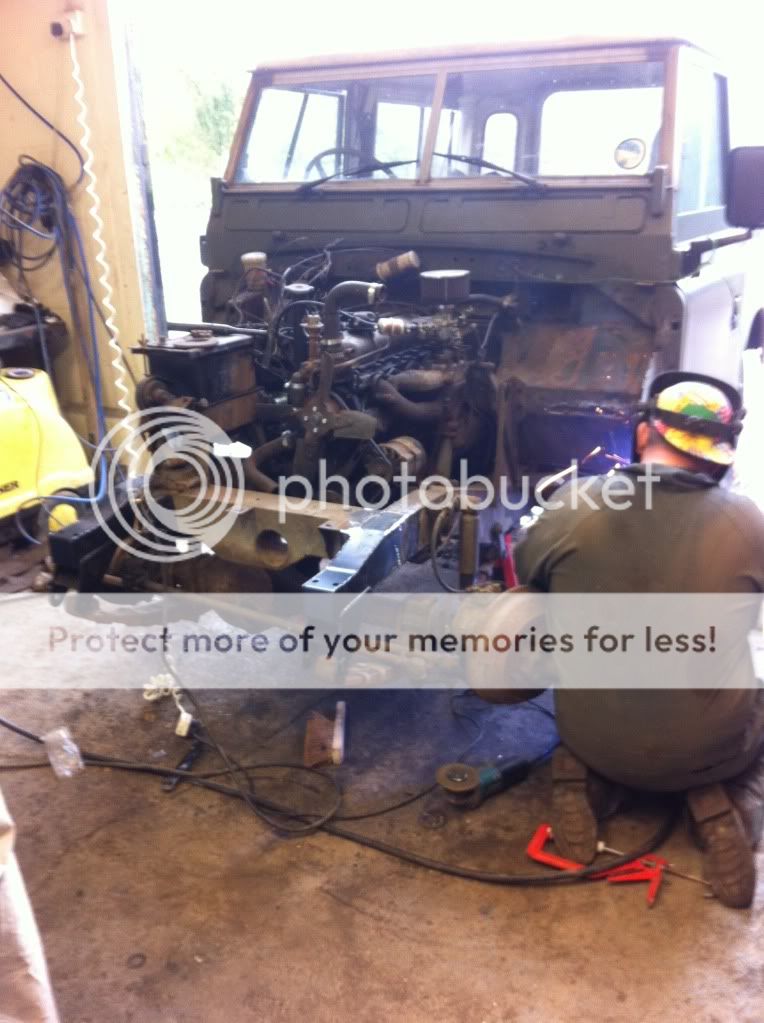
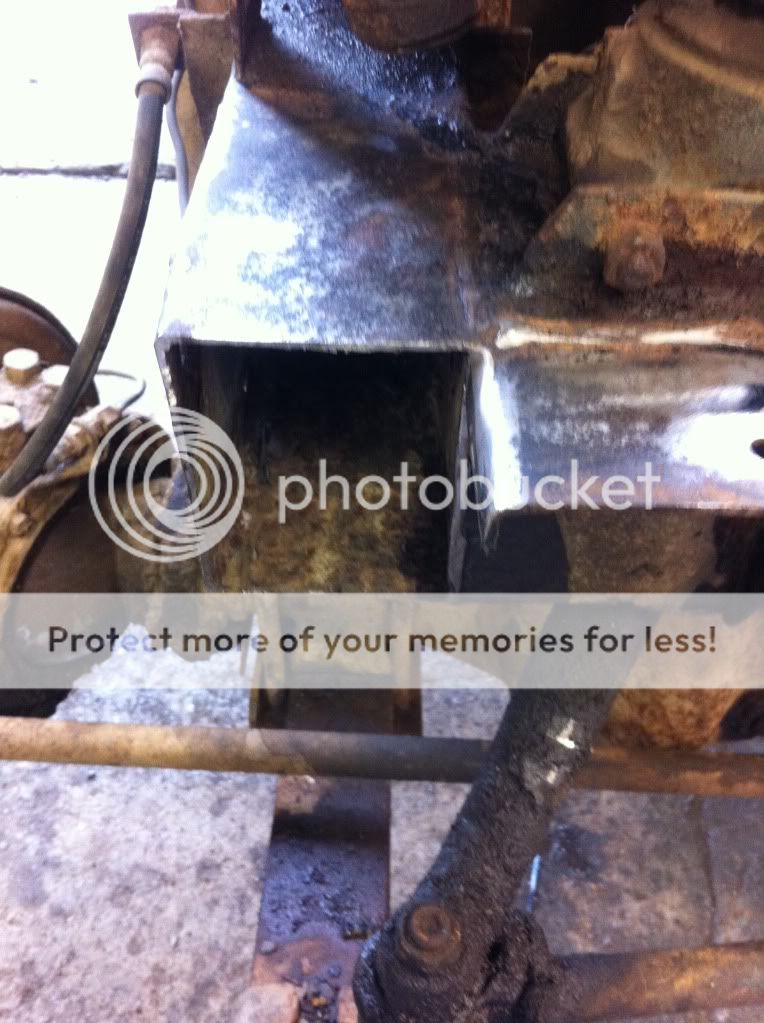
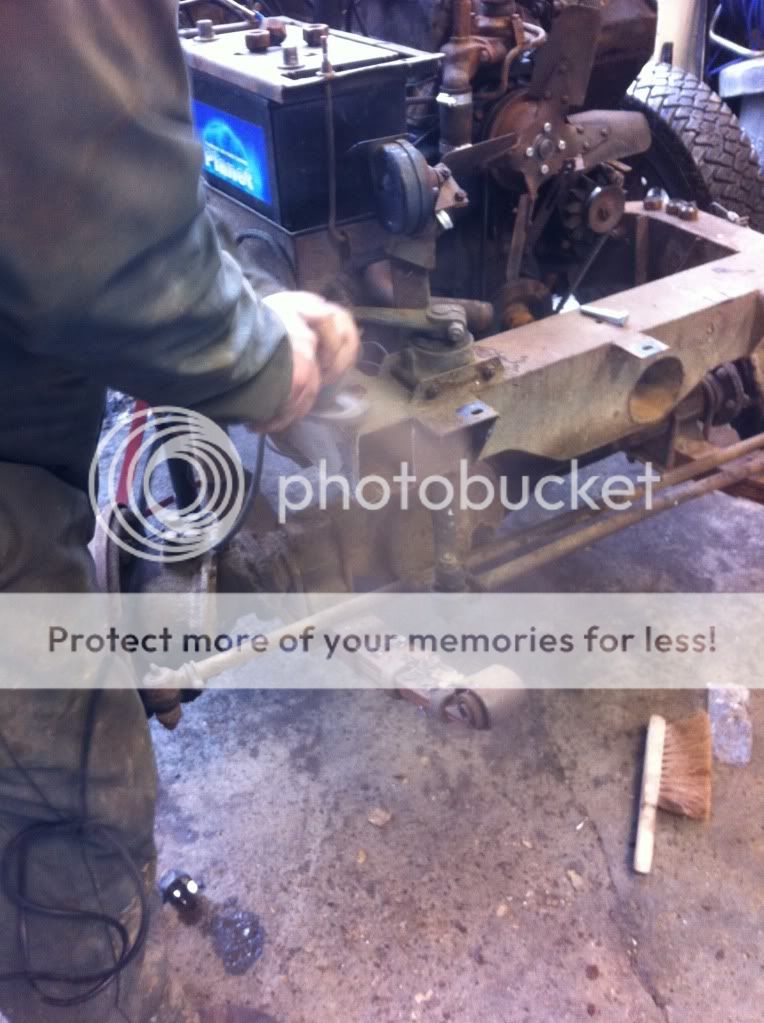
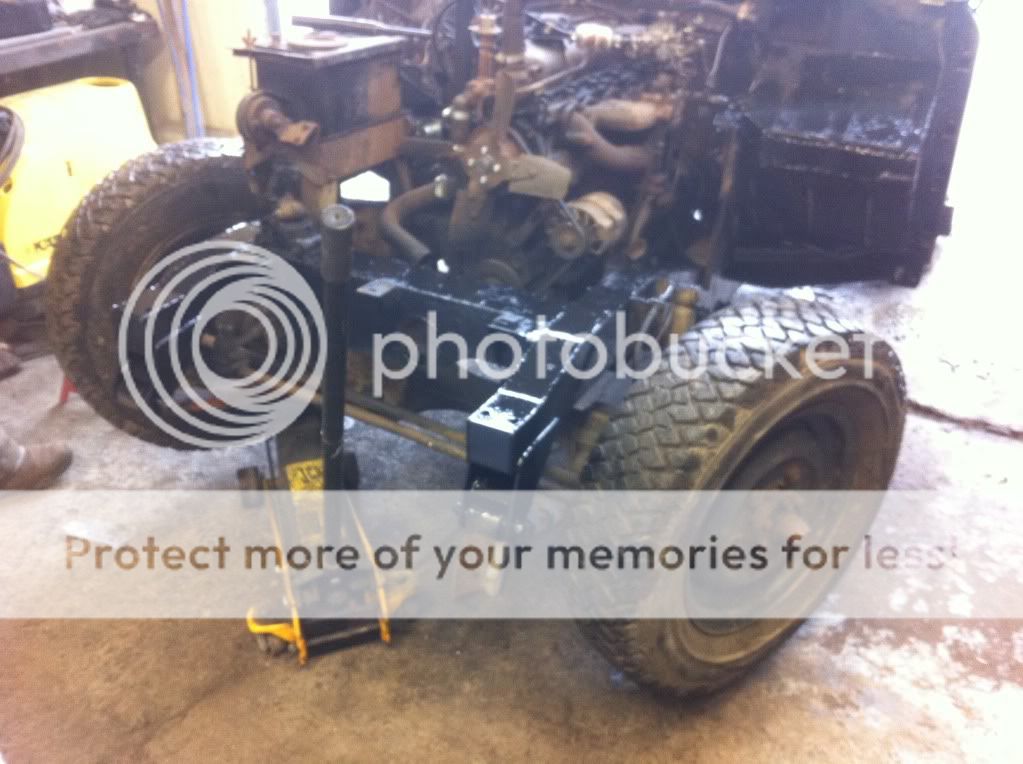
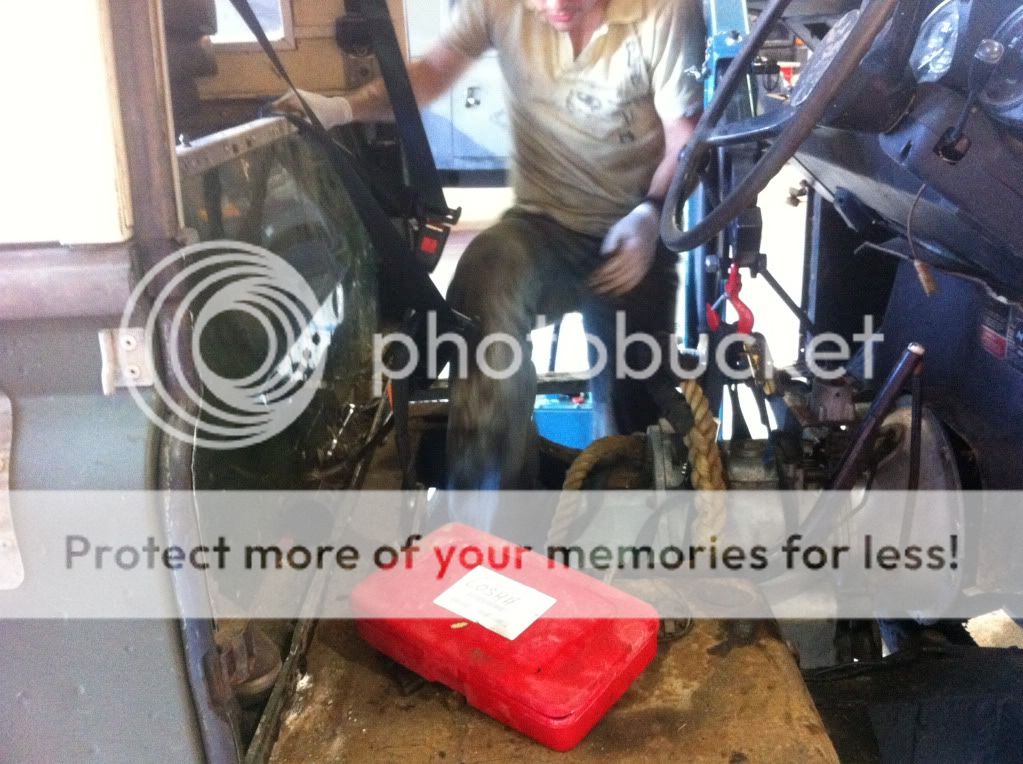
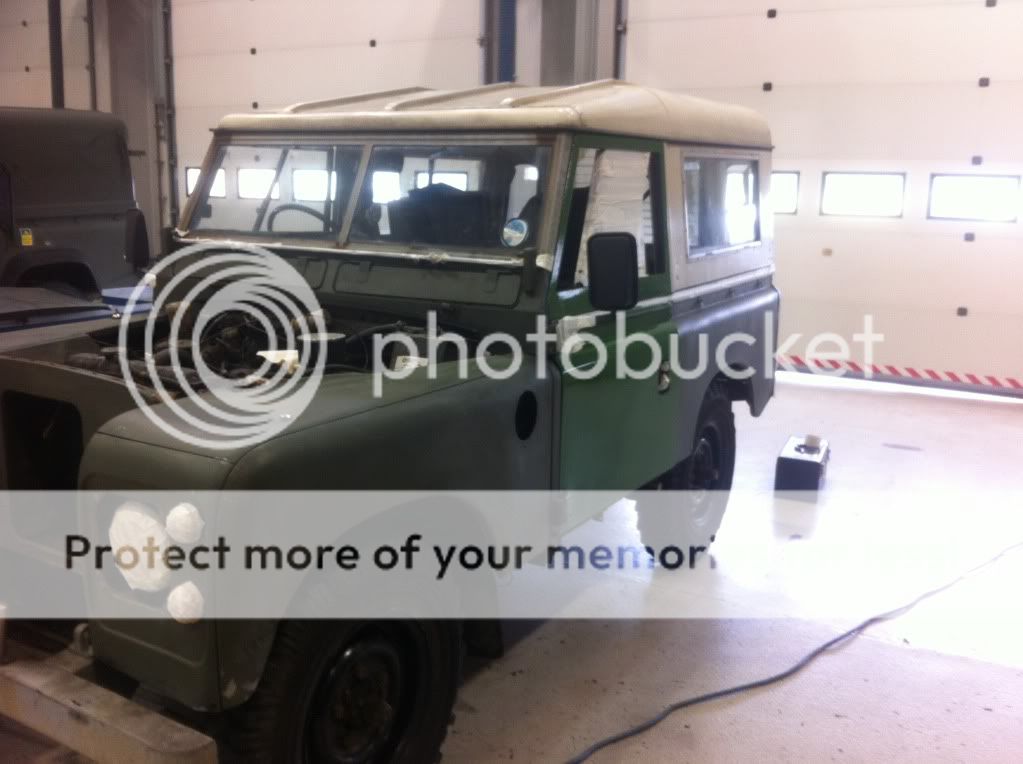
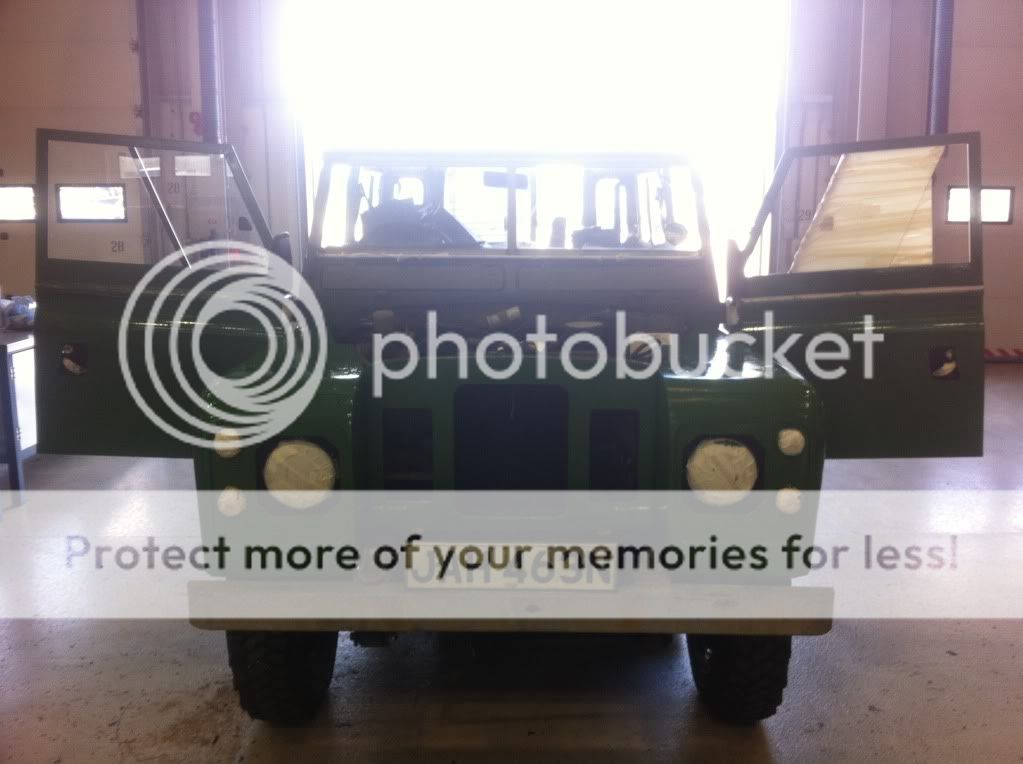
I then took advantage of everyone else being at work being on leave and took him in to get him up on the ramps. nothing too scary underneath, the springs have blown and will need to be changed soon and a small amount of surface rust so I started attacking it with a wire brush, it was then that I realised that the dumb irons were going to need a little more work! complete replacement looked like the way forward so replacements were acquired and the wings and front panel removed for access.
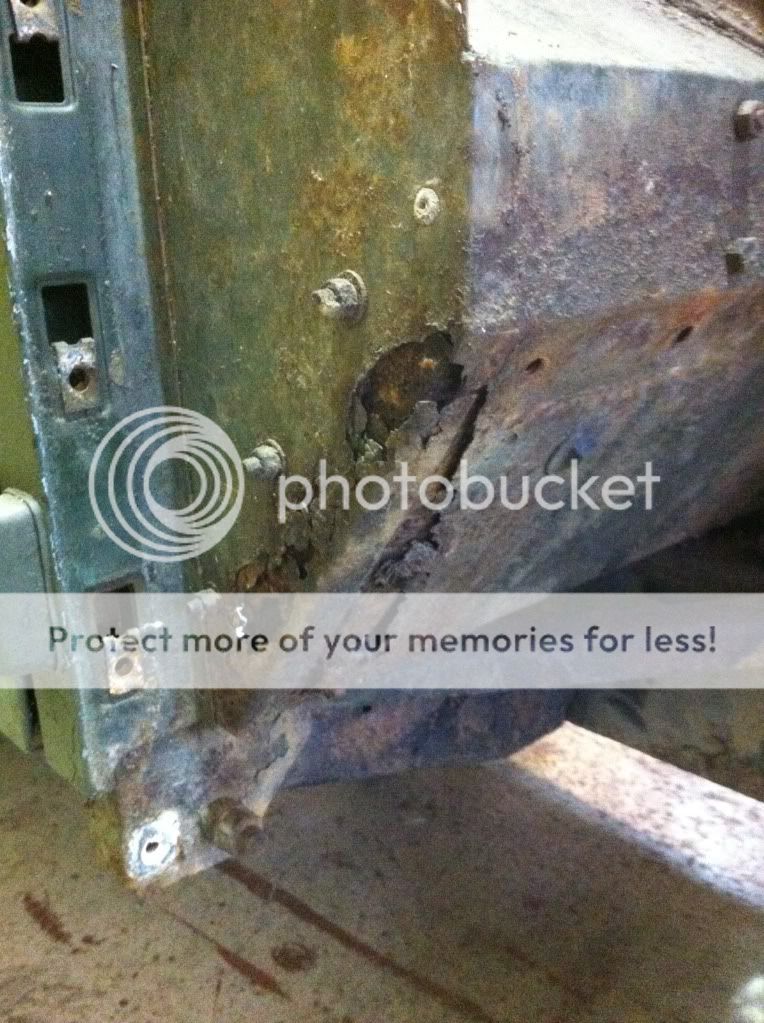
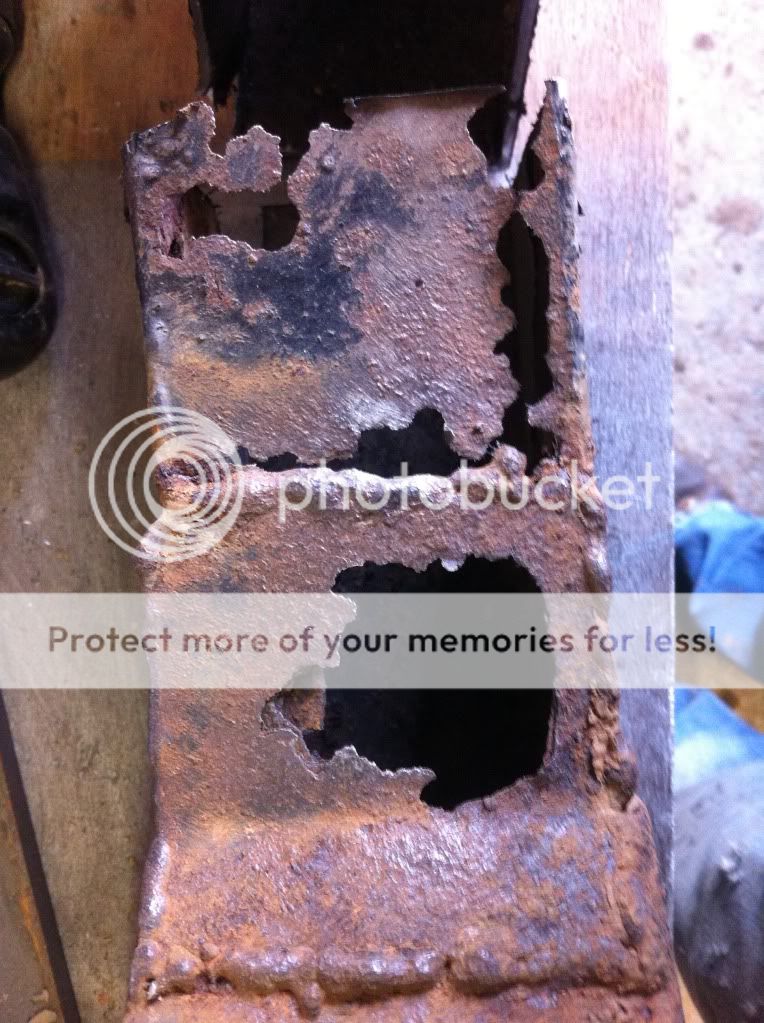
I at this point realised that the holes in the footwells were worse than I thought.

It was also at this point I ran into difficultly, after originally agreeing to do the work, Jack sat in the workshop stripped down until I lost patience with being fobbed off so I reached out to the forums and my Land Rovering friends and a friend of mine, who I had met when I went to view his Land Rover, agreed to pick up Jack, take us both to the workshop, Do the welding and then bring us both back again!
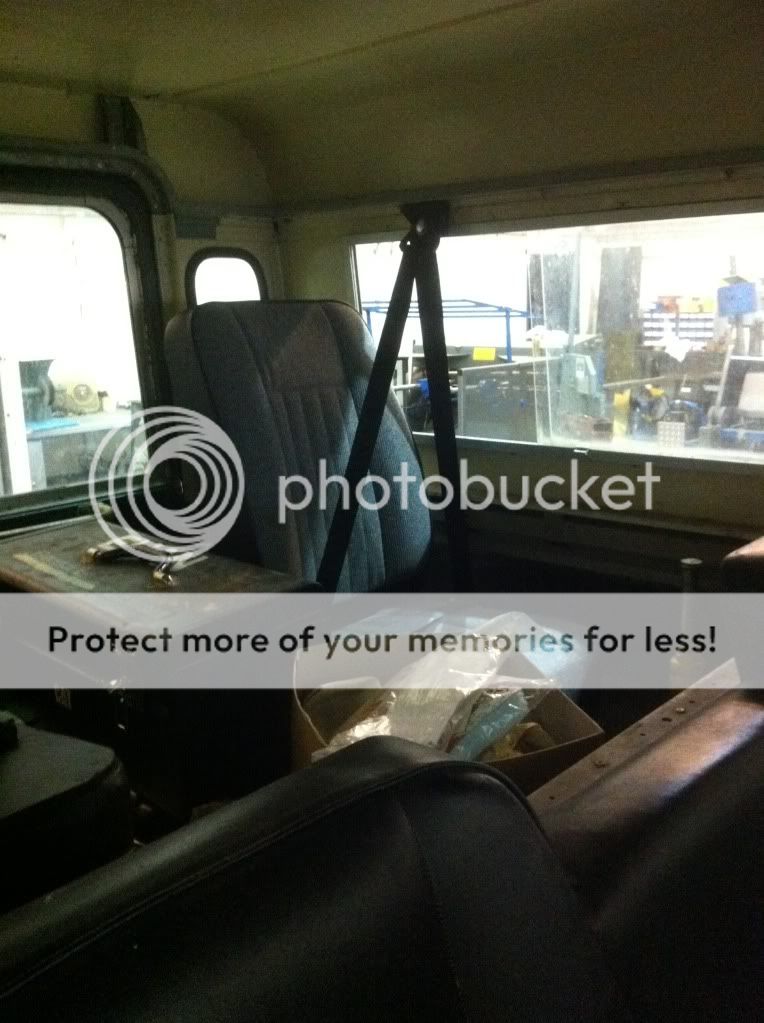
So then I replaced the front end, and finished fitting the forward facing seats. After much working I discovered the best way to do the rear seatbelts was with a pair of Defender front belts and lower mounting brackets bolted to the rear of the roof and with spreader plates made out of 3mm steel. The picture shows an alternative idea I had and not the finished product!
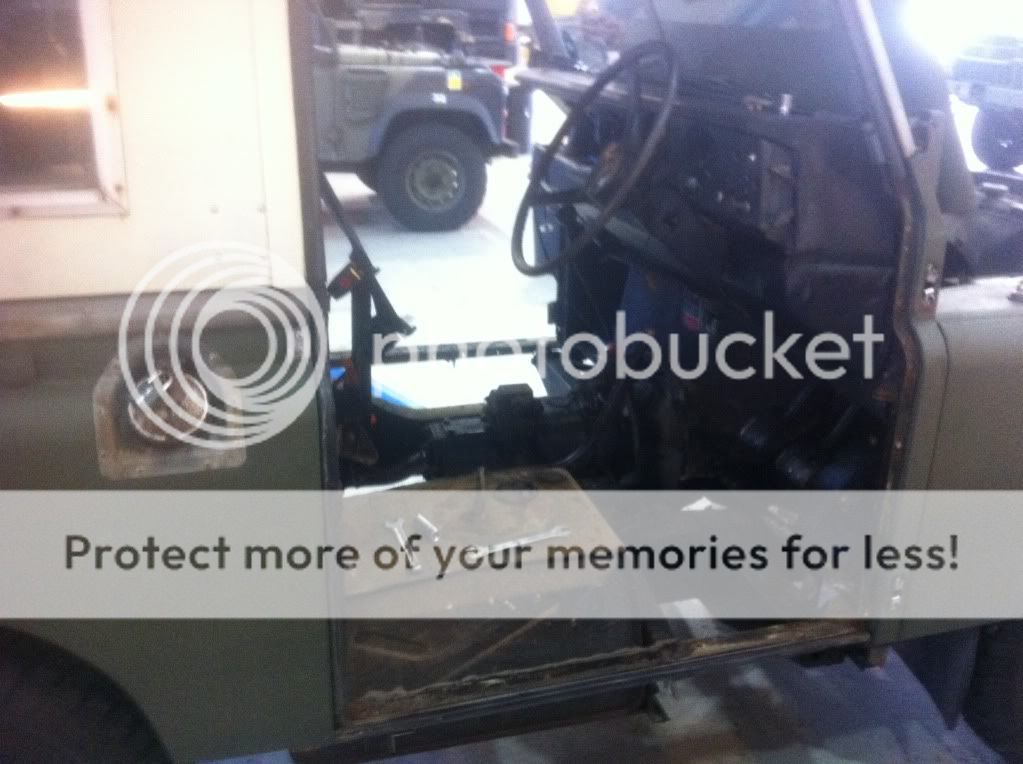
I also removed the dashboard and have purchased new vinyl to recover them and have planned out a new dashboard layout using LED switches as the old plastic is looking a bit tired and the toggle switches are a bit temperamental!
Next my attention moved to the dashboard and one night I successfully re trimmed my upper dash pad!


Just got to cut the holes for the vents and refit, had a bit of a drama with the lower dashboard but will retackle that over the weekend!
Also fitted my new tyres, 7.50 XZL's

the next weekend I fitted my dash, well almost!


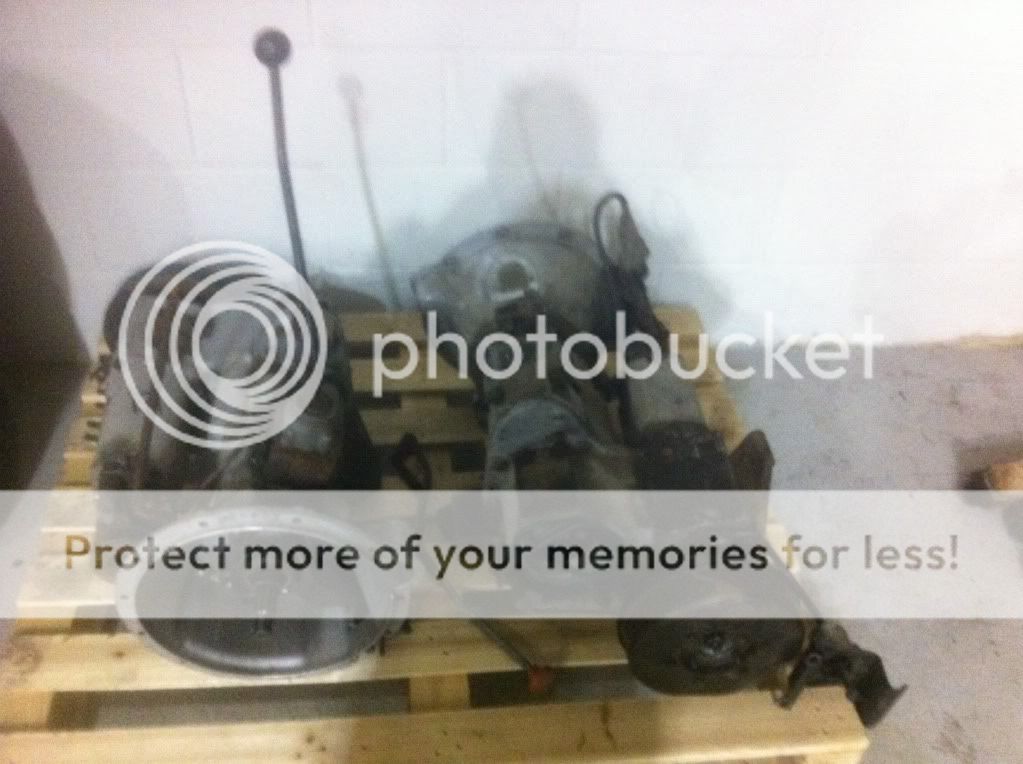
I started having more of a problem with jumping out of second gear, so after a bout of Eblag surfing I found a series three gearbox which came with a free Series two box! Luckily they were also just down the road from one of my friends and he very kindly picked them up for me and brought them to work!
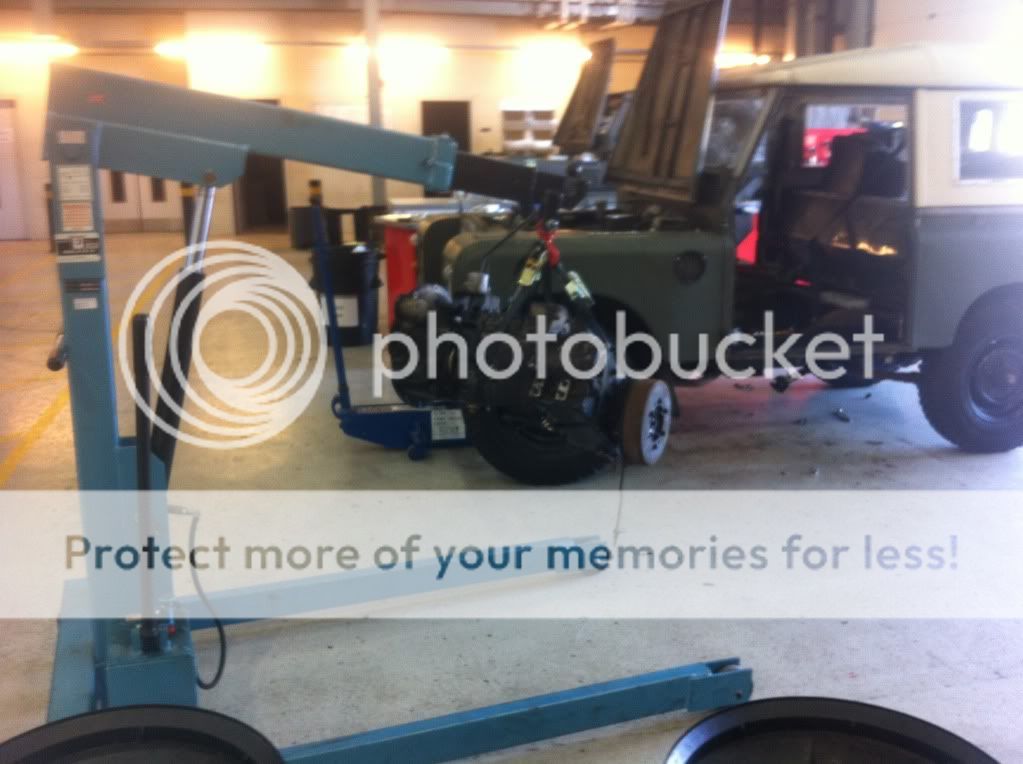
So the strip down begun, Seatbox first, not too difficult apart from someone had used a number of the worlds longest m6 bolts which after goodness knows how long are nicely corroded and take forever to undo!
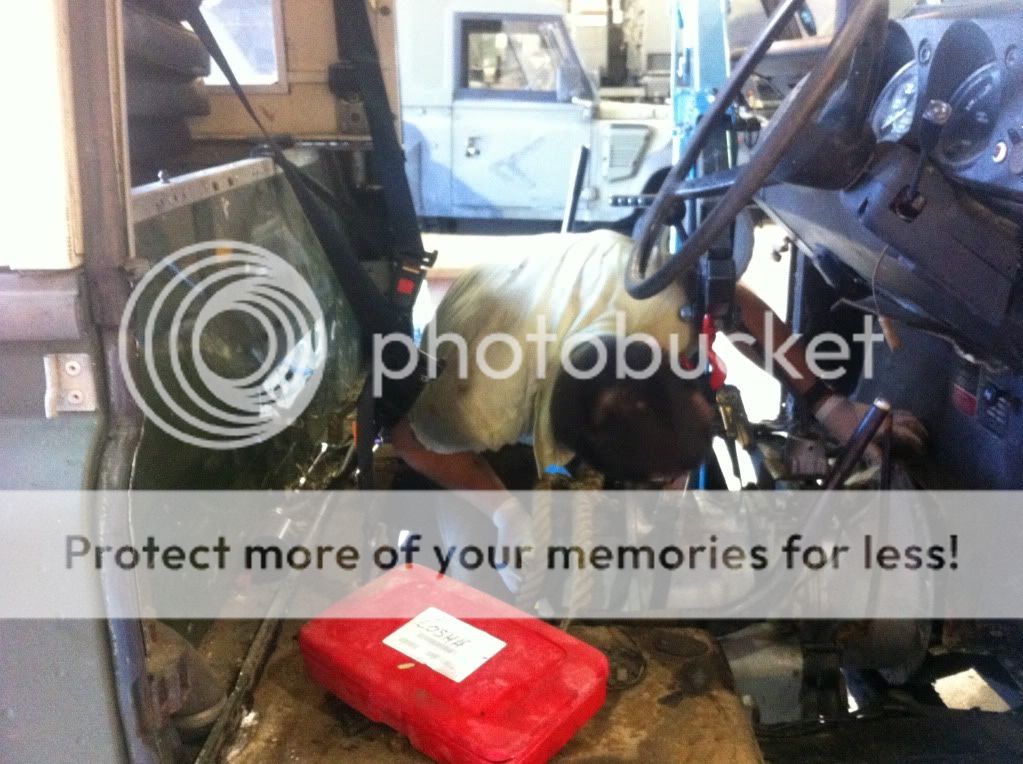
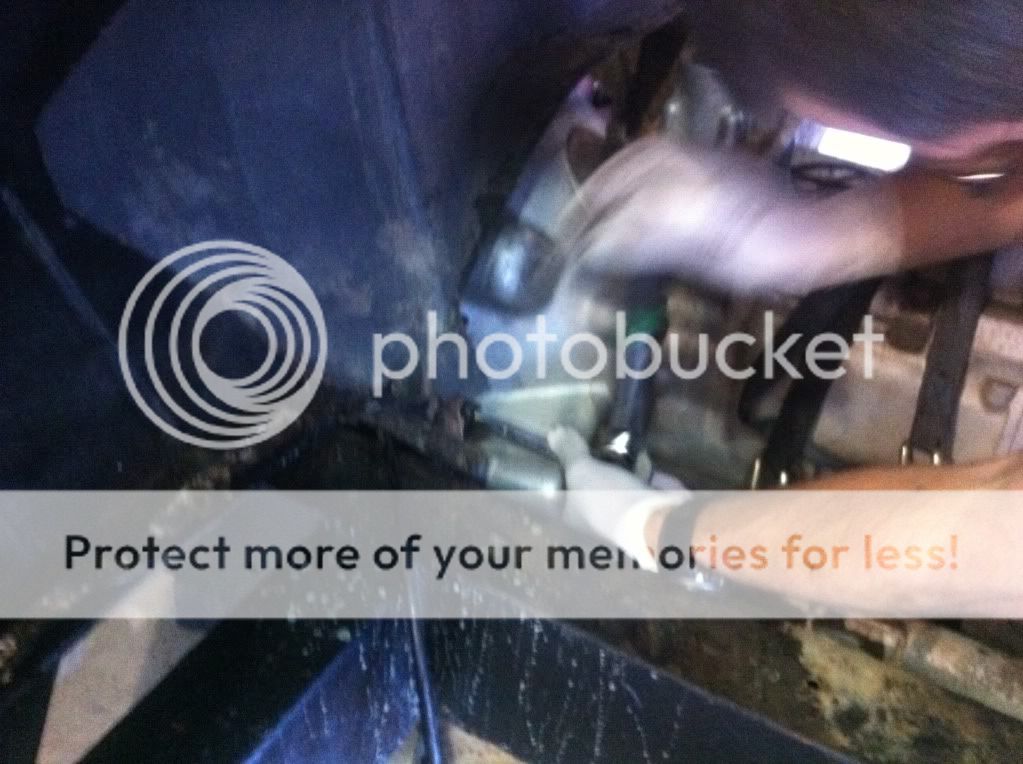
Next it was time to undo the gearbox, this went fine, all of the bolts came undone fine, it attached fine to the engine crane but it wouldn't quite come off one of the mounts so I grabbed a lever bar and set to, levering it off but unfortunetley it slipped the the next thing in the way was my forehead!

That was my work done for the day so I went home to be stuck together with nail glue and have a beer!
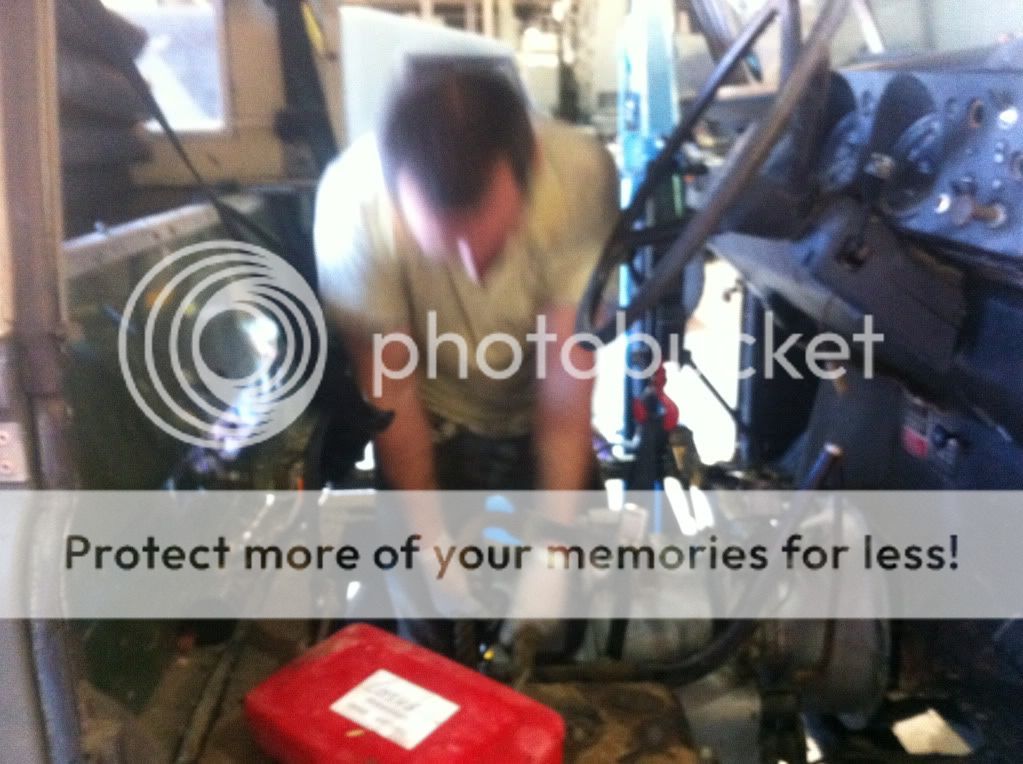
The next day arrived and I was straight back into work to finish off, the gearbox came away beautifully and was soon out.
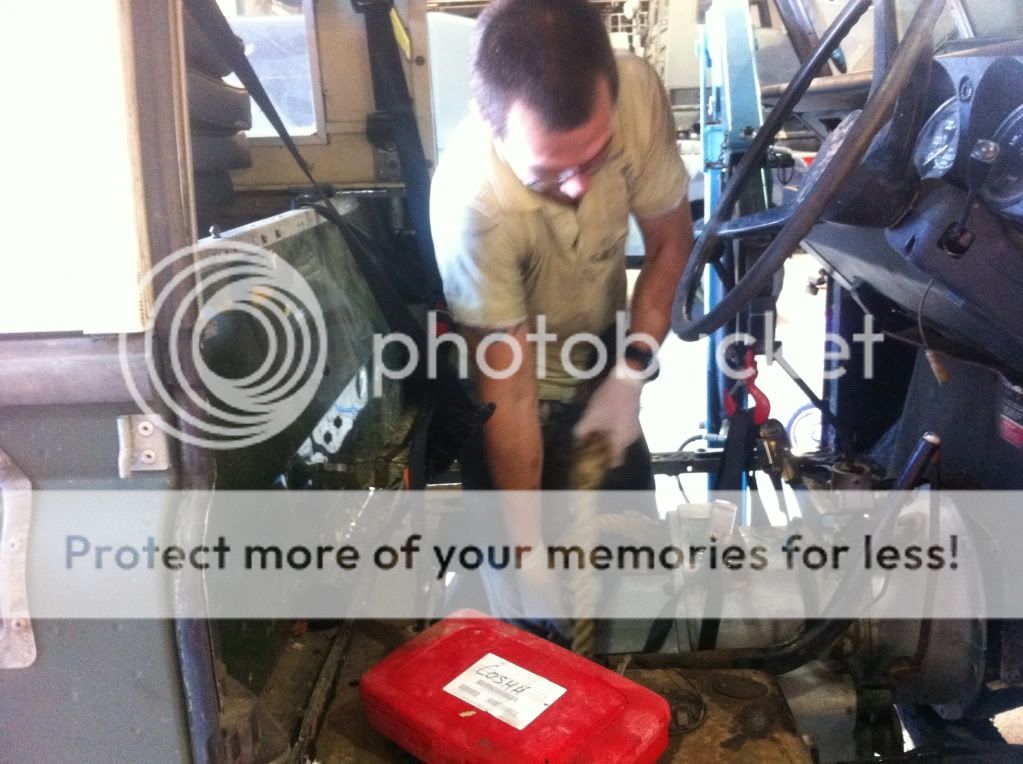
A quick swap over of the drive gear, a reseal of the bottom plate and it was attached to the crane to be swung in, it was lined up...
Jiggled
lifted by rope
and kicked!
But soon it slide home and was bolted up!
I then filled it with oil and took it for a quick test drive, running beautifully and without a hitch, apart from me getting carried away and forgetting I was sat on the fuel tank with no belt or door and high speed(!) cornering wasnt the best idea!
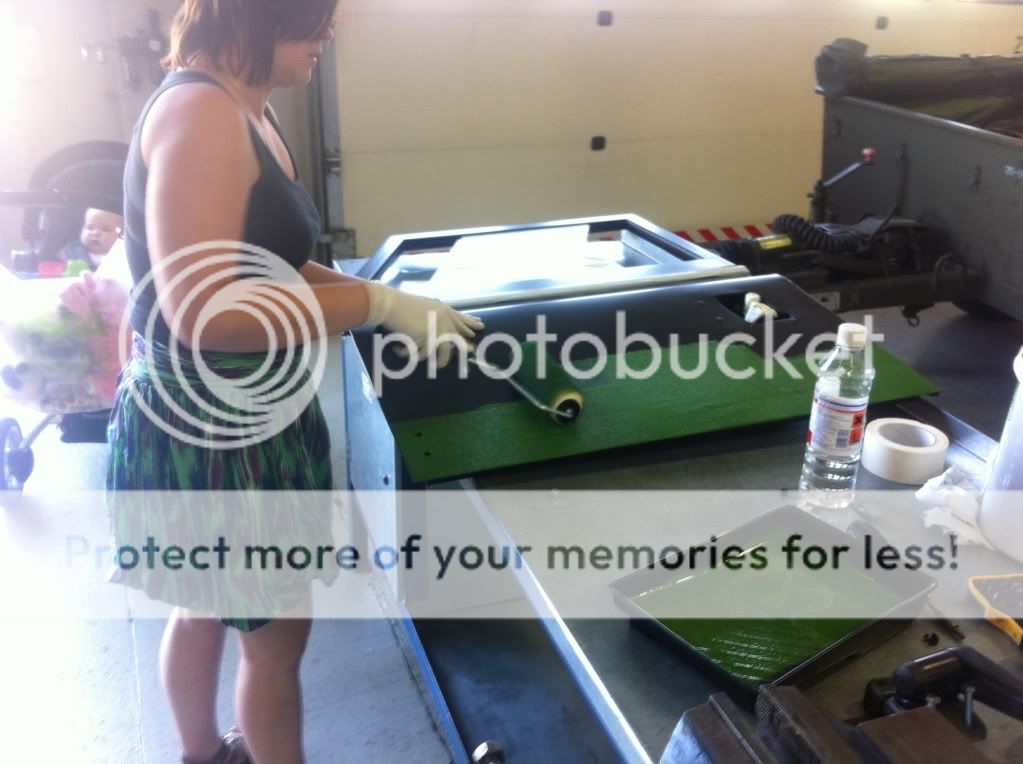
Meanwhile, and probably wanting to keep and eye on me, my wife came with me to the workshop and so set about painting the doors in the new colour
A little brighter than I was expecting but I am looking forward to seeing him all painted.
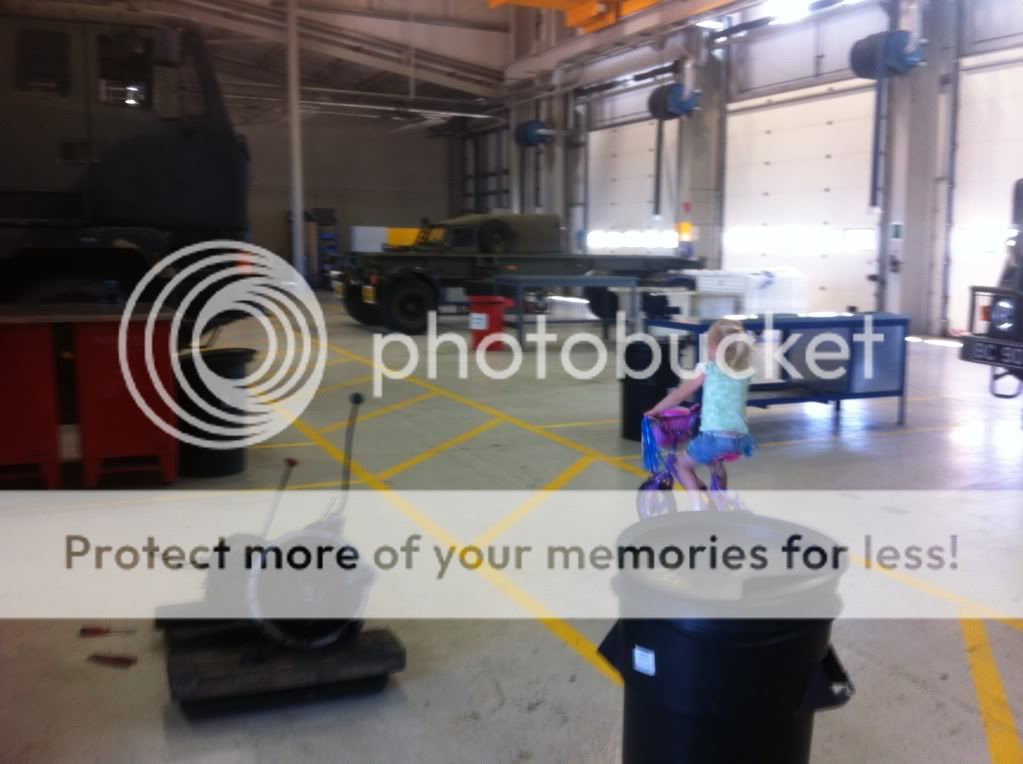
and my daughter filled the time cycling up and down the workshop!
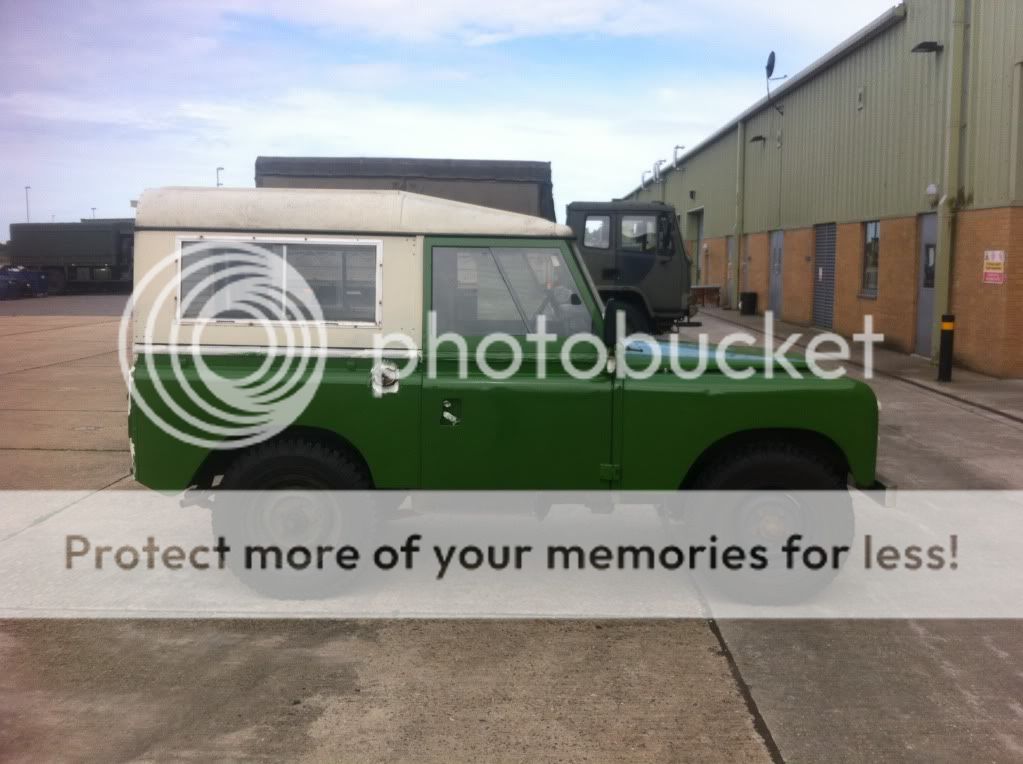
And now the pictures of the completed paint! Prepare yourselves!
On Saturday I spent the day masking up all of the areas
And while I was there I couldn't resist giving the bonnet a coat to see how it looked!
And then the next day it was painting time! While I changed the front output seal my wife made start on the painting. Soon it was all done!

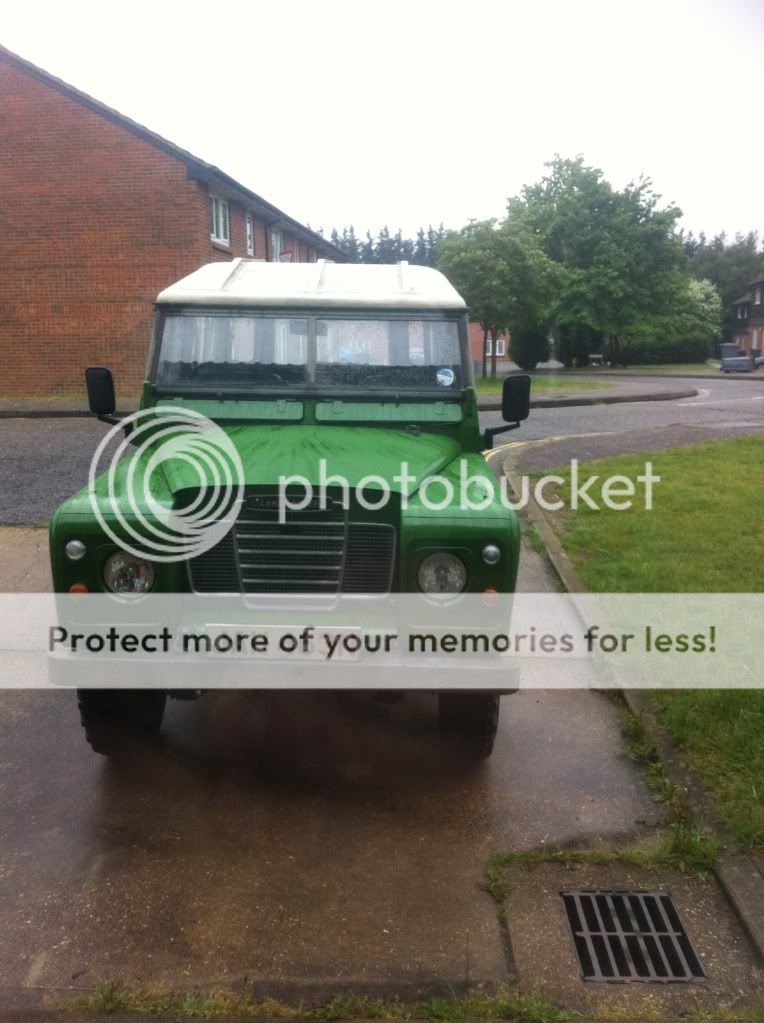
And then outside my House So the unmasking could take place!
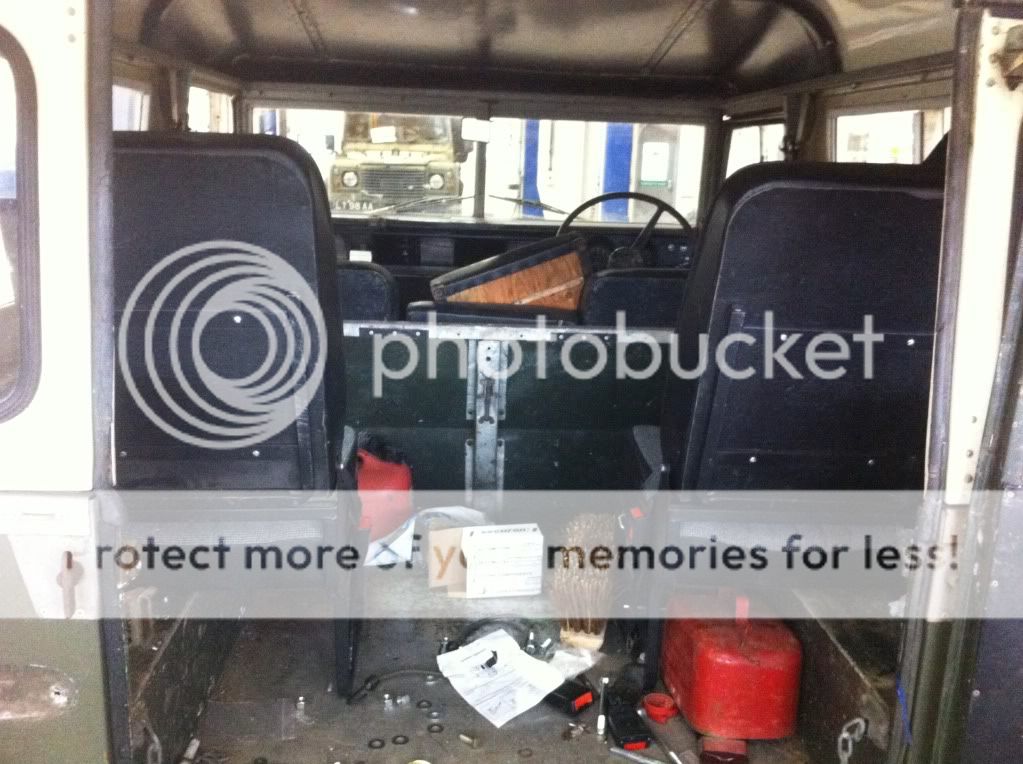
I did get a little carried away and painted the footwells and lower half of the bulkhead, it does get hard with a Land Rover working out where the outside finishes and the inside begins!
Teabag
I picked him up the next day and sat at home and ordered a mountain of parts including doors, a water pump, front and rear axle rebuild kits including swivels.
I then took advantage of everyone else being at work being on leave and took him in to get him up on the ramps. nothing too scary underneath, the springs have blown and will need to be changed soon and a small amount of surface rust so I started attacking it with a wire brush, it was then that I realised that the dumb irons were going to need a little more work! complete replacement looked like the way forward so replacements were acquired and the wings and front panel removed for access.
I at this point realised that the holes in the footwells were worse than I thought.
It was also at this point I ran into difficultly, after originally agreeing to do the work, Jack sat in the workshop stripped down until I lost patience with being fobbed off so I reached out to the forums and my Land Rovering friends and a friend of mine, who I had met when I went to view his Land Rover, agreed to pick up Jack, take us both to the workshop, Do the welding and then bring us both back again!
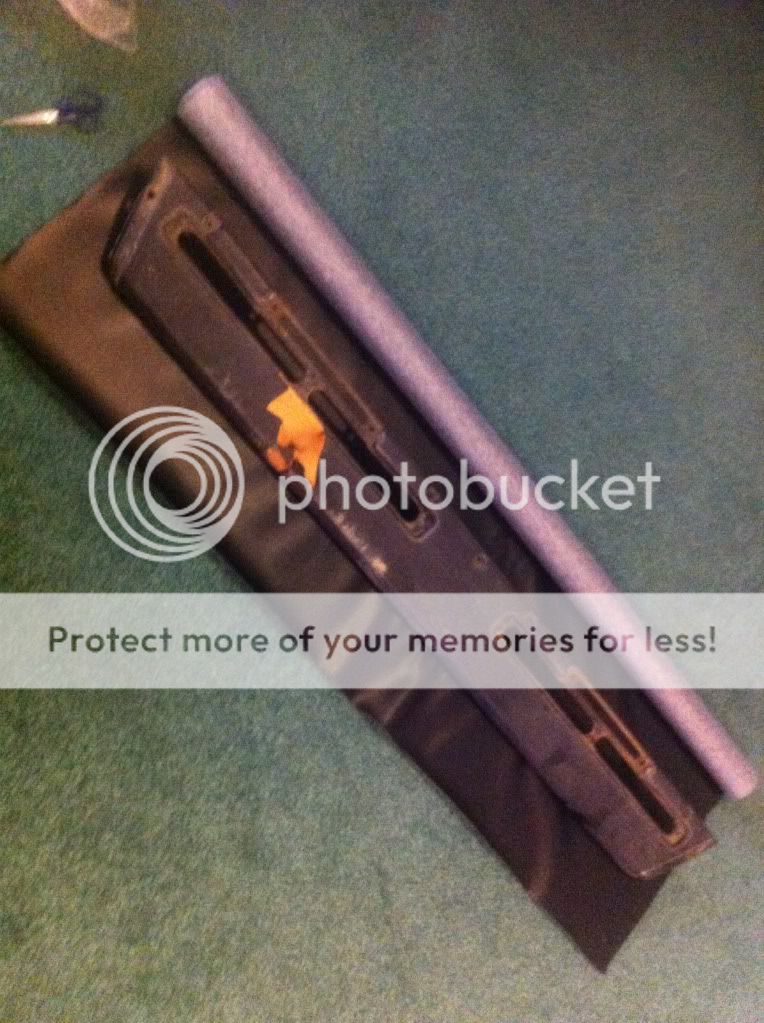
So then I replaced the front end, and finished fitting the forward facing seats. After much working I discovered the best way to do the rear seatbelts was with a pair of Defender front belts and lower mounting brackets bolted to the rear of the roof and with spreader plates made out of 3mm steel. The picture shows an alternative idea I had and not the finished product!
I also removed the dashboard and have purchased new vinyl to recover them and have planned out a new dashboard layout using LED switches as the old plastic is looking a bit tired and the toggle switches are a bit temperamental!
Next my attention moved to the dashboard and one night I successfully re trimmed my upper dash pad!
Just got to cut the holes for the vents and refit, had a bit of a drama with the lower dashboard but will retackle that over the weekend!
Also fitted my new tyres, 7.50 XZL's
the next weekend I fitted my dash, well almost!
I started having more of a problem with jumping out of second gear, so after a bout of Eblag surfing I found a series three gearbox which came with a free Series two box! Luckily they were also just down the road from one of my friends and he very kindly picked them up for me and brought them to work!
So the strip down begun, Seatbox first, not too difficult apart from someone had used a number of the worlds longest m6 bolts which after goodness knows how long are nicely corroded and take forever to undo!
Next it was time to undo the gearbox, this went fine, all of the bolts came undone fine, it attached fine to the engine crane but it wouldn't quite come off one of the mounts so I grabbed a lever bar and set to, levering it off but unfortunetley it slipped the the next thing in the way was my forehead!
That was my work done for the day so I went home to be stuck together with nail glue and have a beer!
The next day arrived and I was straight back into work to finish off, the gearbox came away beautifully and was soon out.
A quick swap over of the drive gear, a reseal of the bottom plate and it was attached to the crane to be swung in, it was lined up...
Jiggled
lifted by rope
and kicked!
But soon it slide home and was bolted up!
I then filled it with oil and took it for a quick test drive, running beautifully and without a hitch, apart from me getting carried away and forgetting I was sat on the fuel tank with no belt or door and high speed(!) cornering wasnt the best idea!
Meanwhile, and probably wanting to keep and eye on me, my wife came with me to the workshop and so set about painting the doors in the new colour
A little brighter than I was expecting but I am looking forward to seeing him all painted.
and my daughter filled the time cycling up and down the workshop!
And now the pictures of the completed paint! Prepare yourselves!
On Saturday I spent the day masking up all of the areas
And while I was there I couldn't resist giving the bonnet a coat to see how it looked!
And then the next day it was painting time! While I changed the front output seal my wife made start on the painting. Soon it was all done!
And then outside my House So the unmasking could take place!
I did get a little carried away and painted the footwells and lower half of the bulkhead, it does get hard with a Land Rover working out where the outside finishes and the inside begins!
Teabag
