Land Rover Defender 90 TD5 Tribute Build

This site contains affiliate links for which LandyZone may be compensated if you make a purchase.


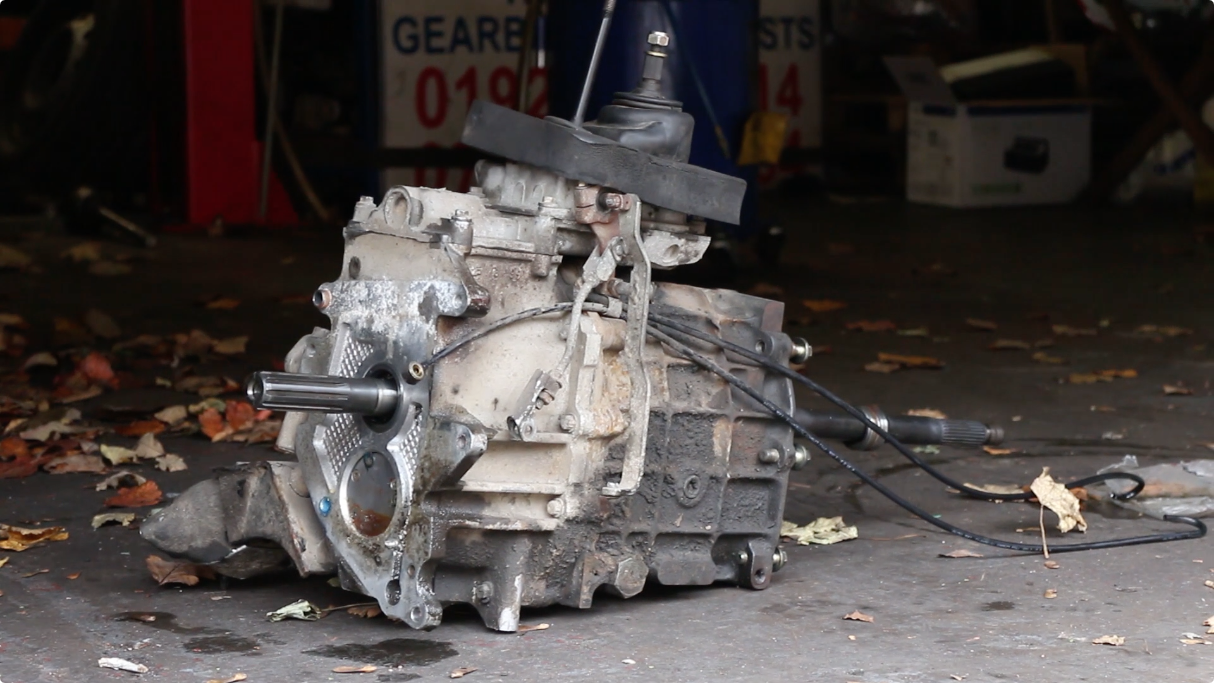
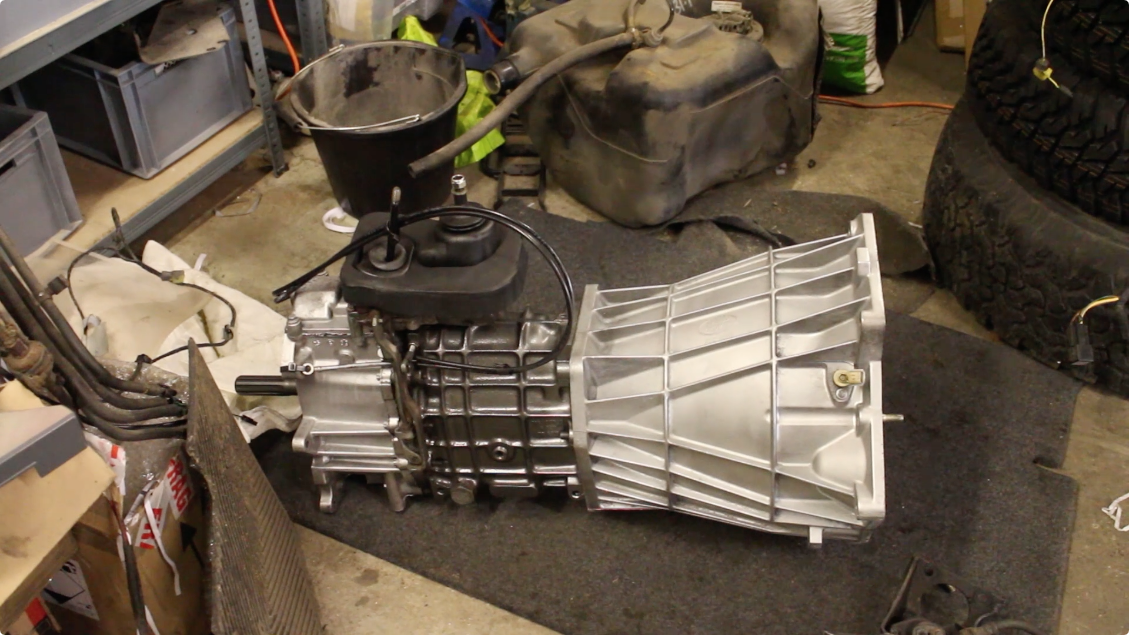
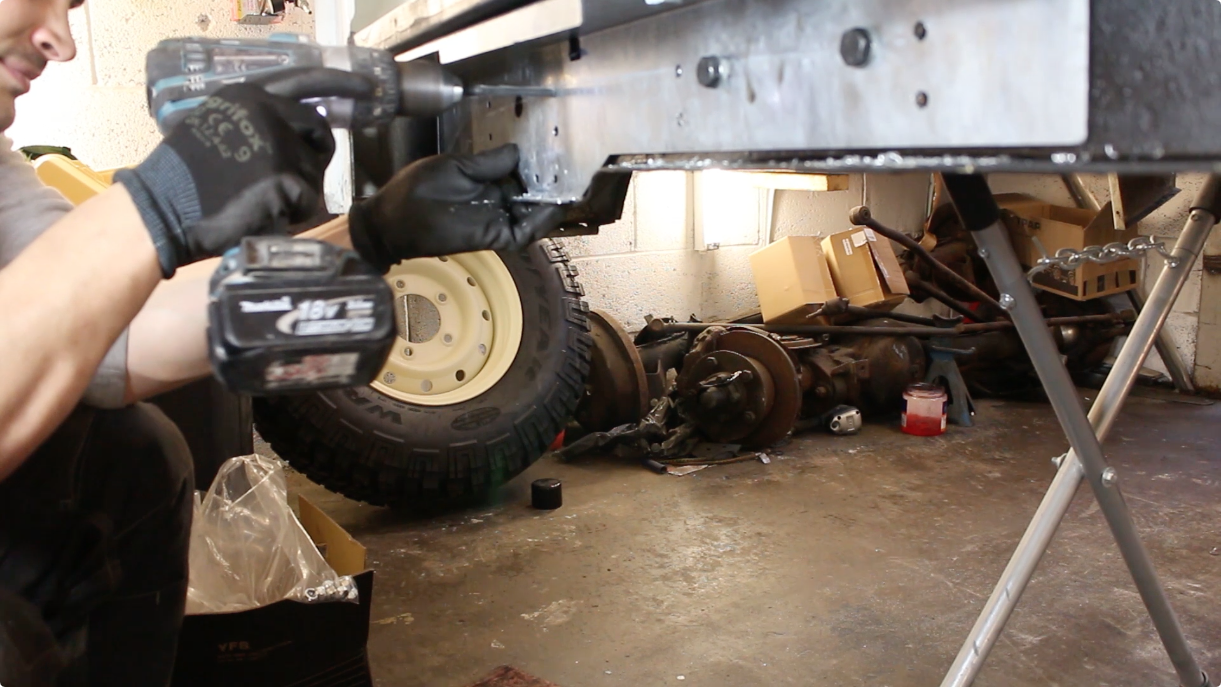
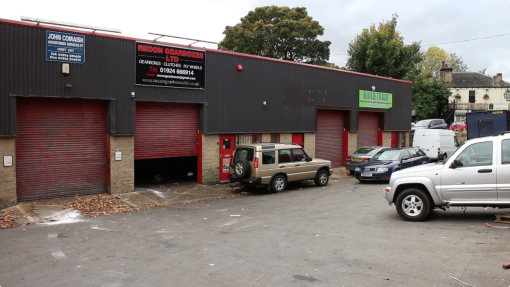
This week, we headed over to a local gearbox specialist to get our R380 stripped down and inspected.

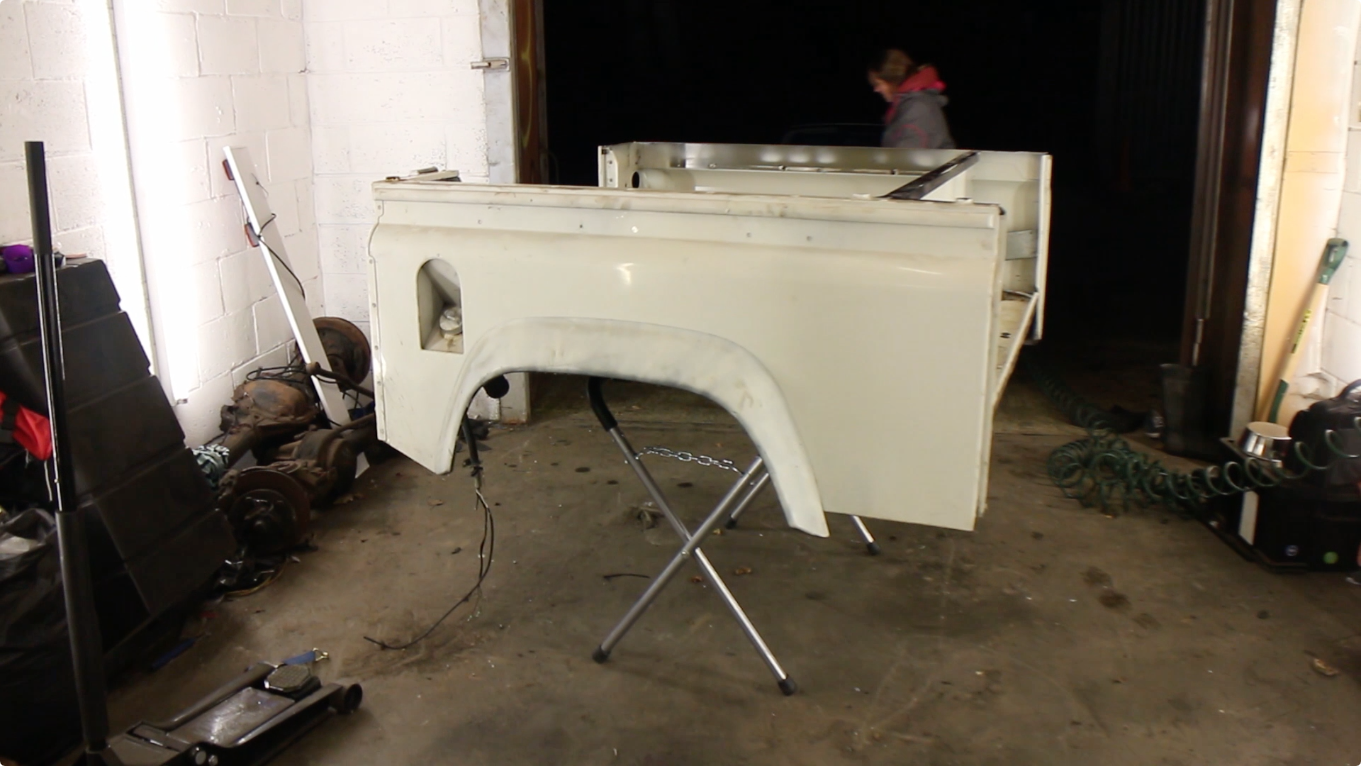
Here it is after we dropped it off, looking a little sad. The plan is to have it inspected, have all bearings & seals replaced then the outer cases will be fully cleaned and painted before reassembly.


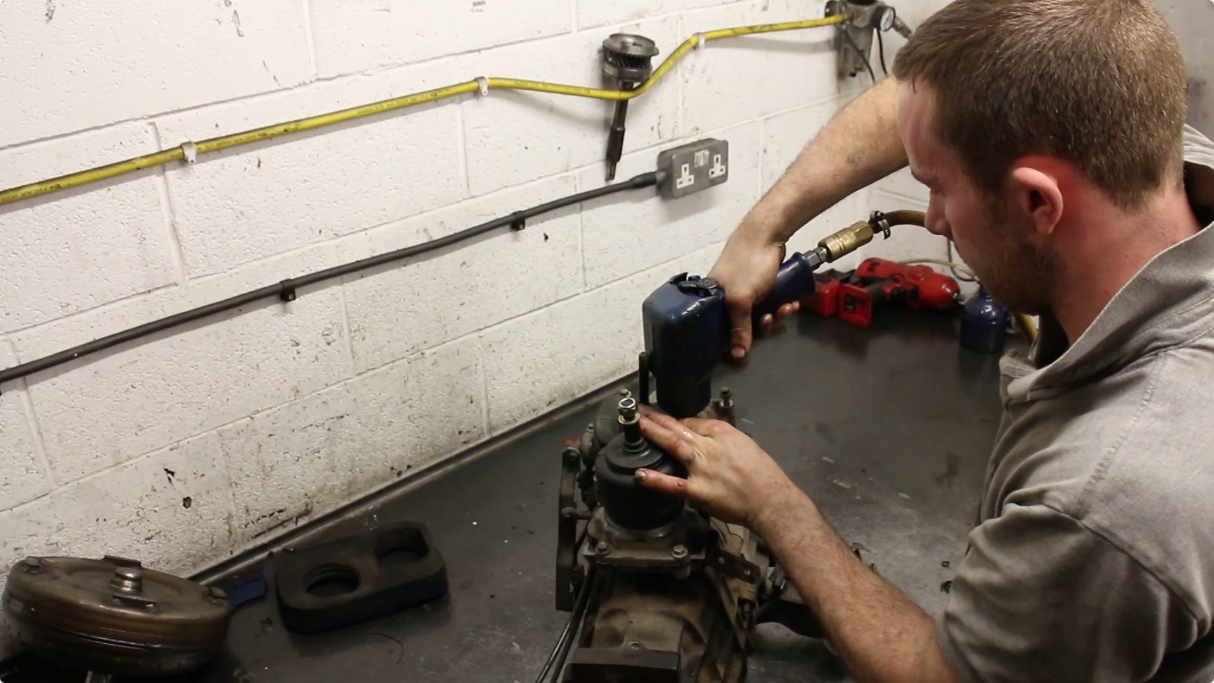
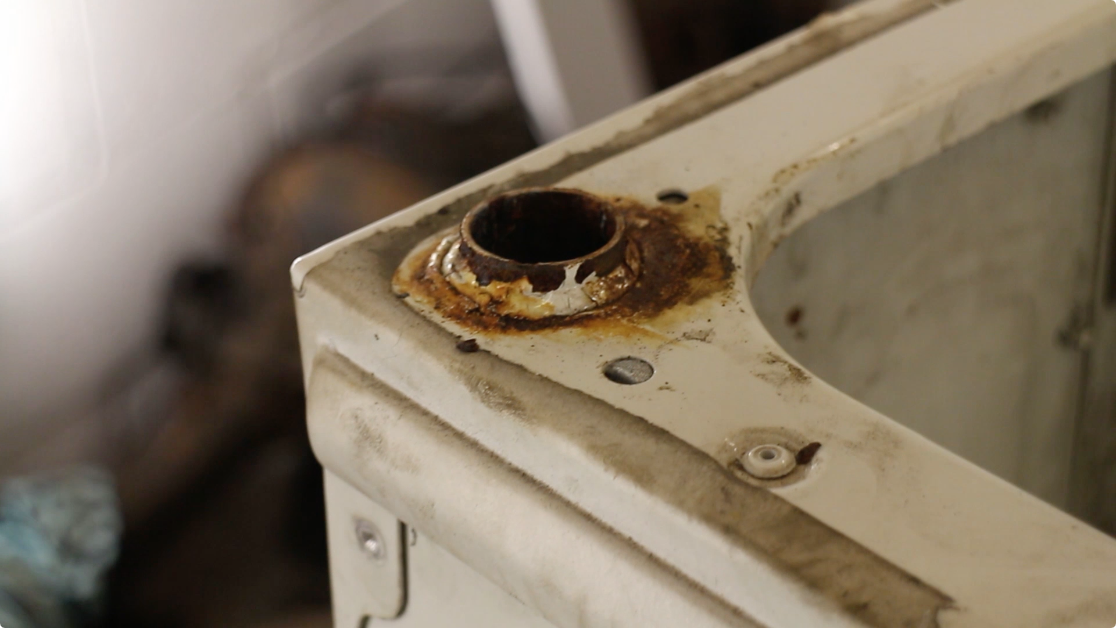
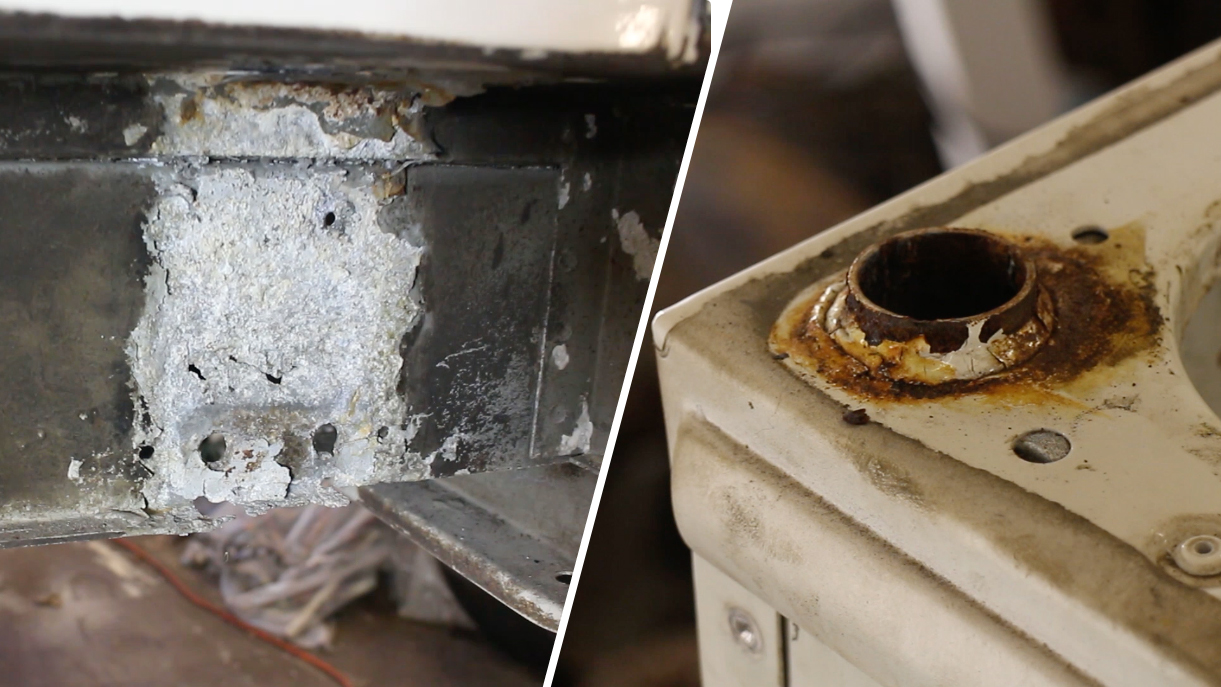
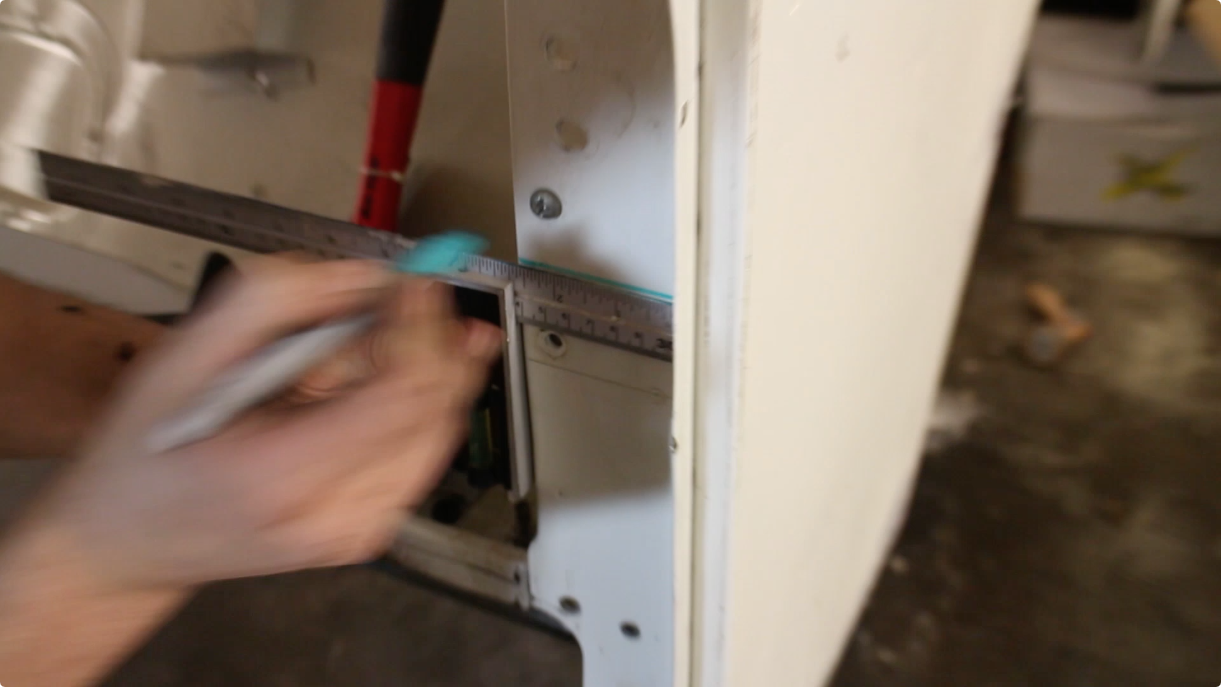
If you look in the R380 manual, it lists the tools need to remove this oil selector collar: LRT-37-009 and LRT-37-010


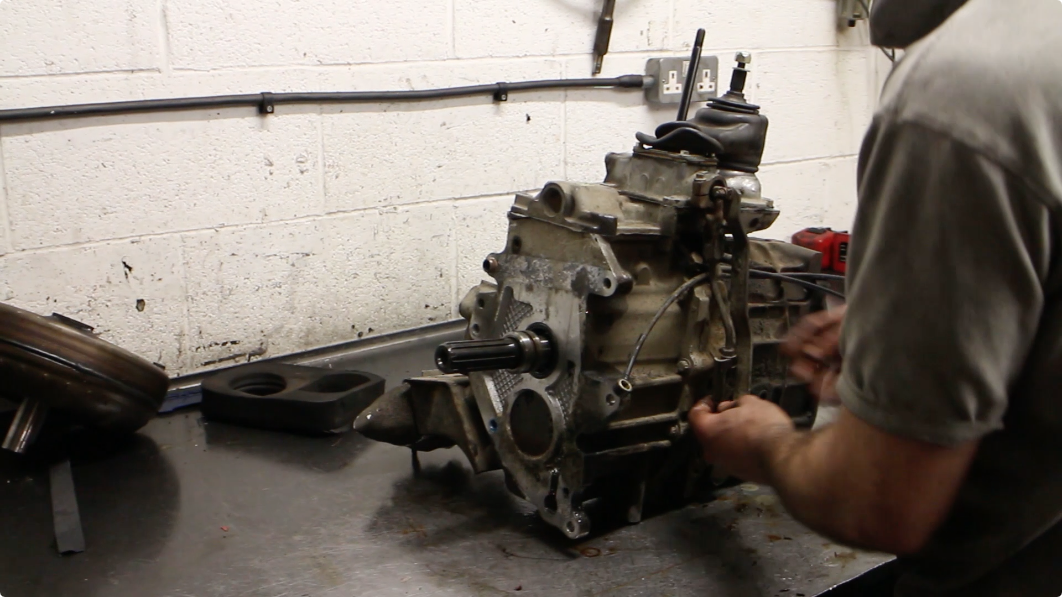
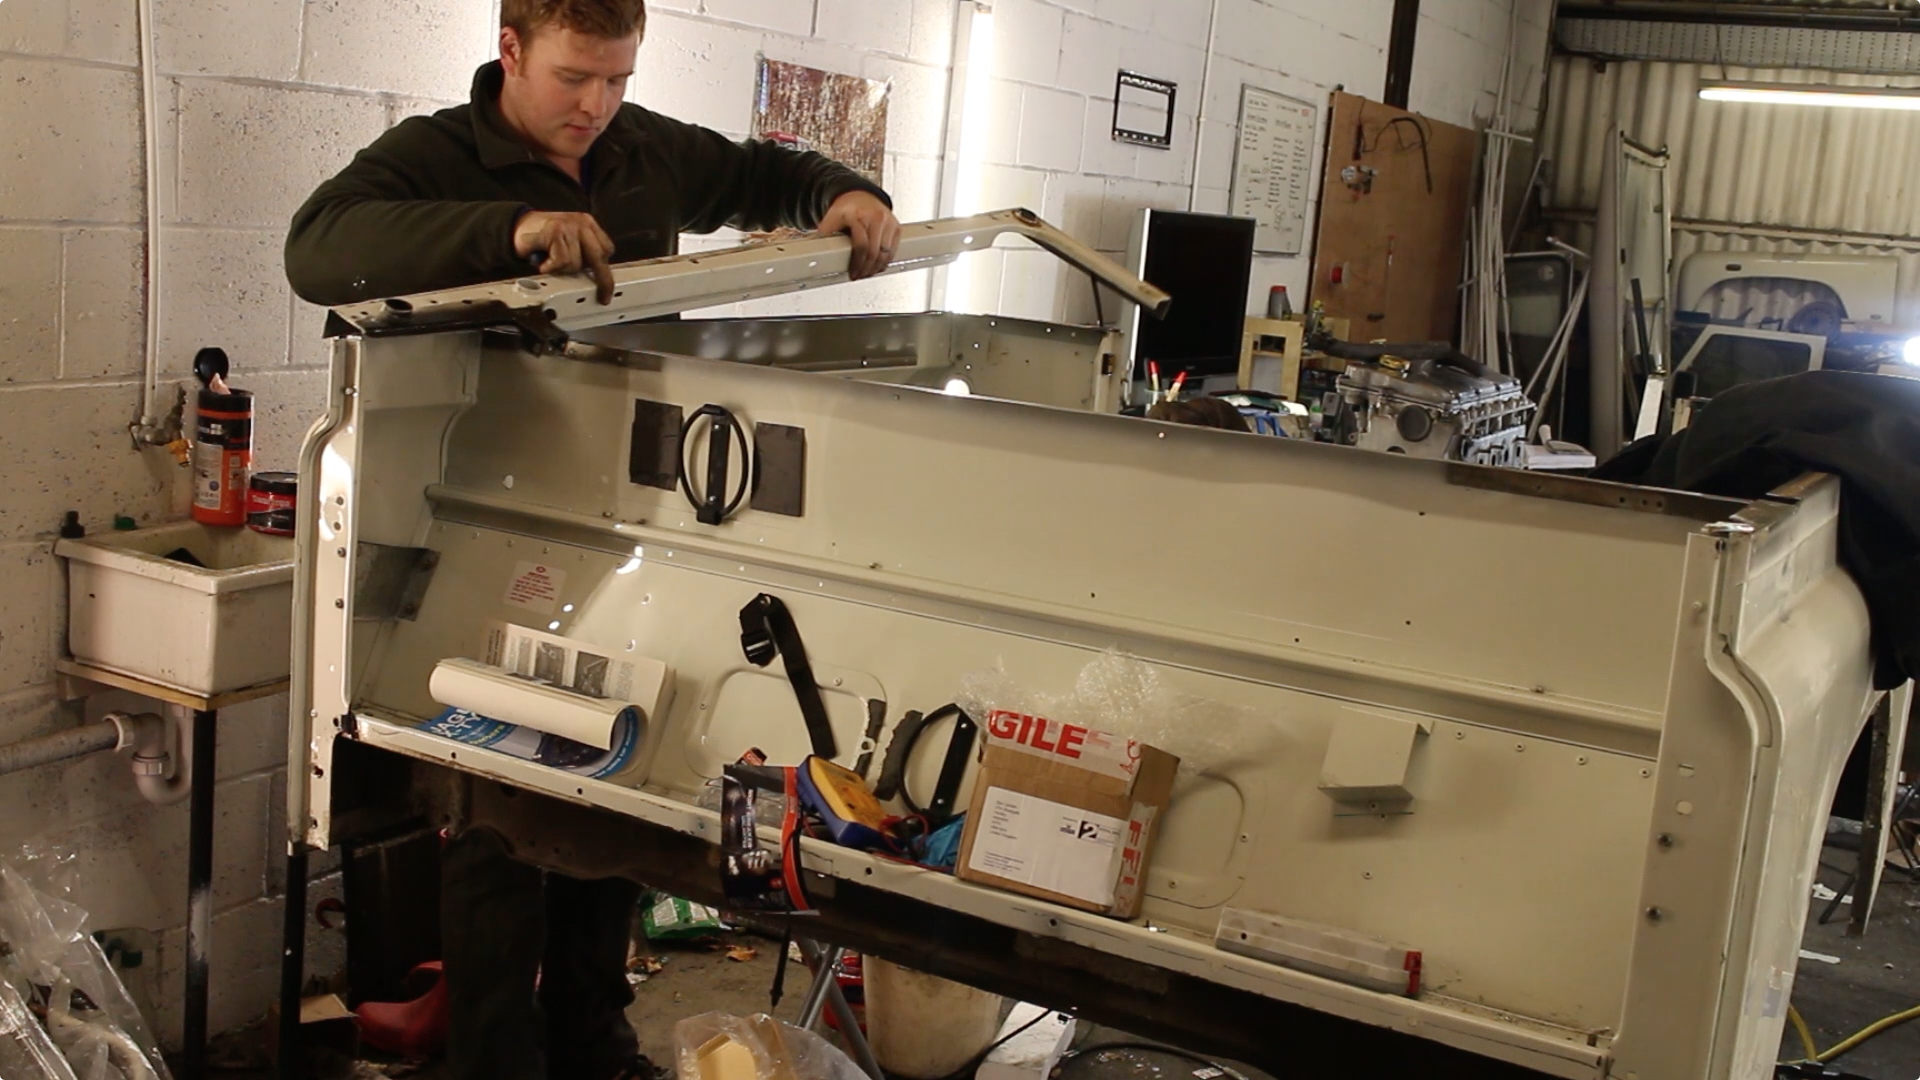
Glenn then removed the foam insulation that sits in the tunnel over the gear selector housing and gear knobs. He then went on to remove the extension housing upper bolts, the ones that go through the remote and gear change housing.


The high low and centre diff lock linkages were also removed as were the breather pipes that were still bundled with the gearbox.


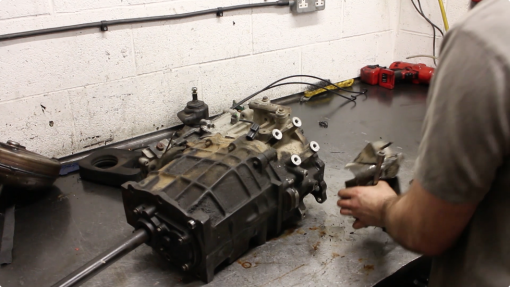
Next Glenn removed the 4 bolts left on the remaining gearbox mounting bracket.


The remote housing was then free to remove.


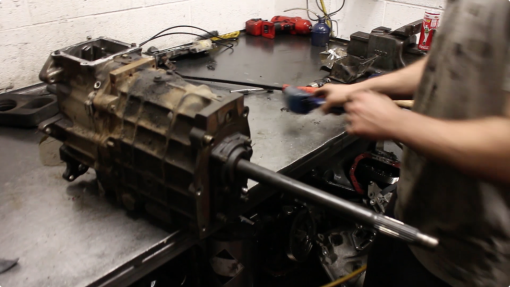
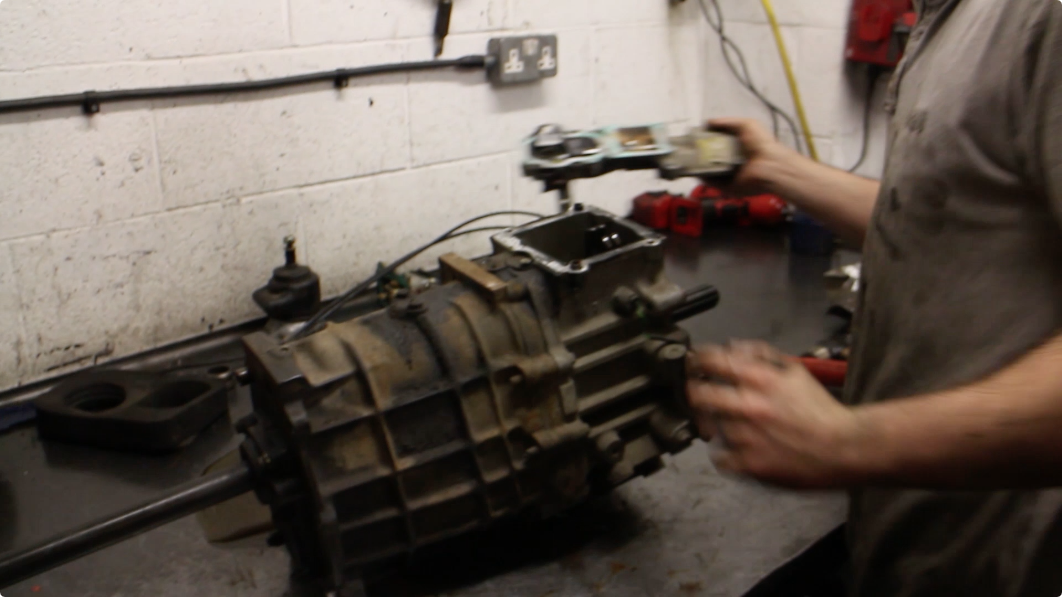
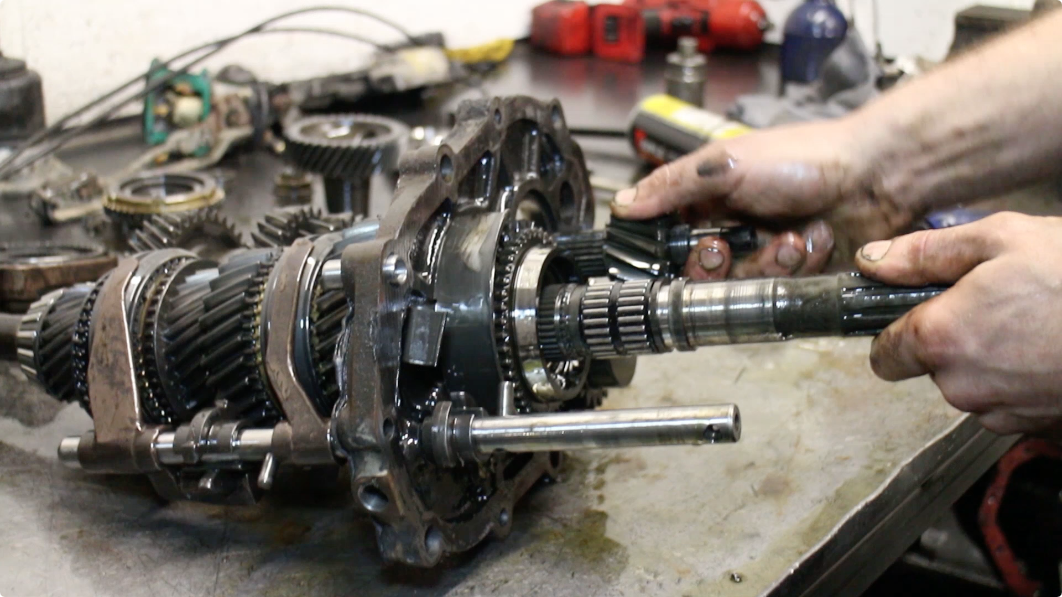
The front cover is held on with 6 bolts. This can be tapped loose using a soft faced hammer.


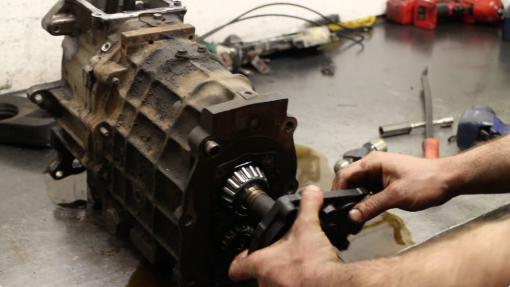
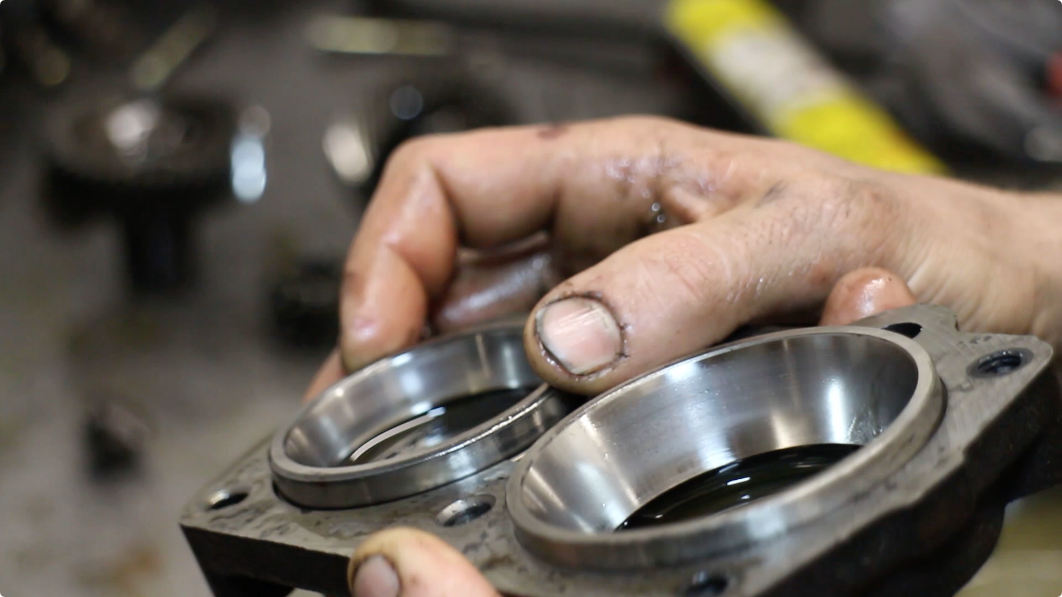
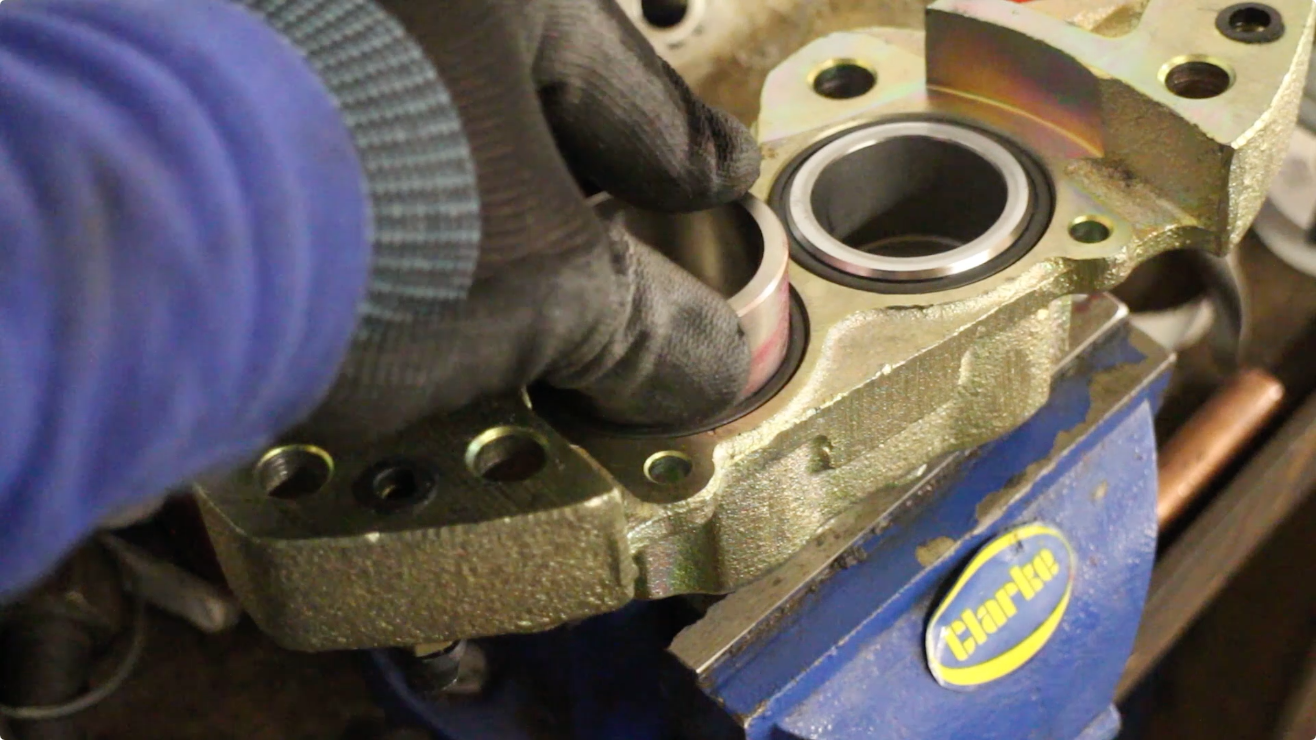
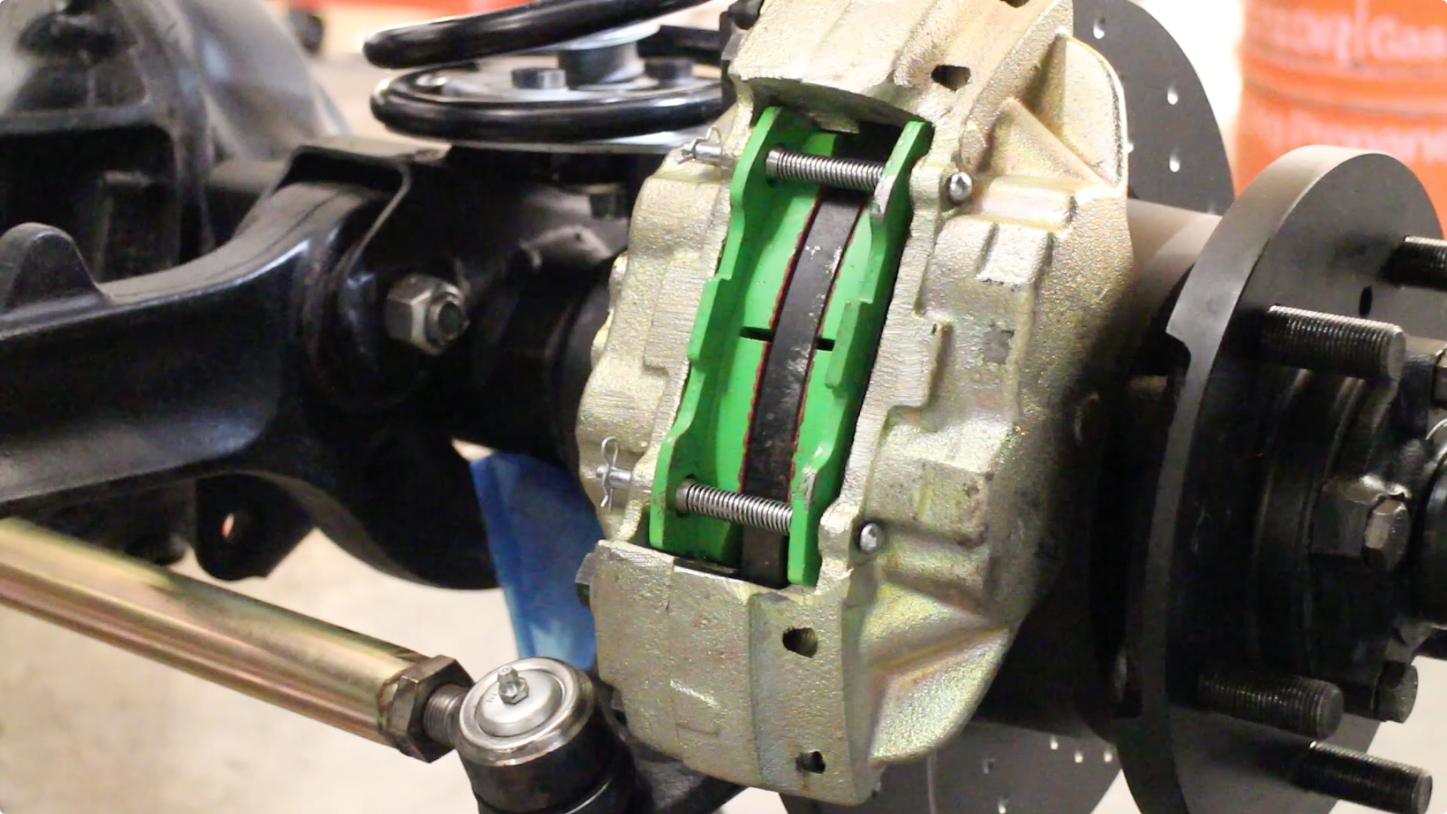
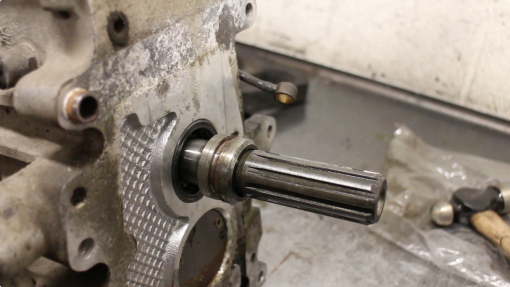
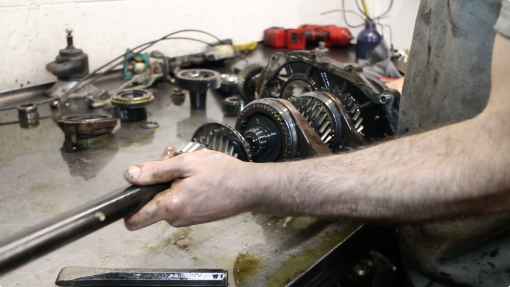
The input shaft front taper bearing is in good condition


The bearing races themselves though have a little scoring, only light - but then this gearbox has covered 75 thousand miles.


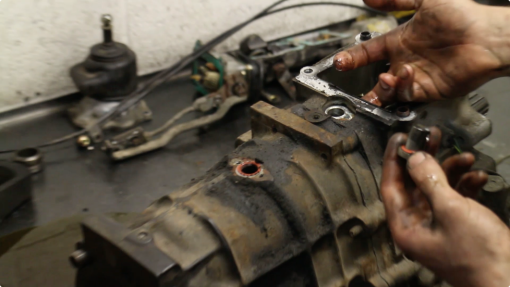
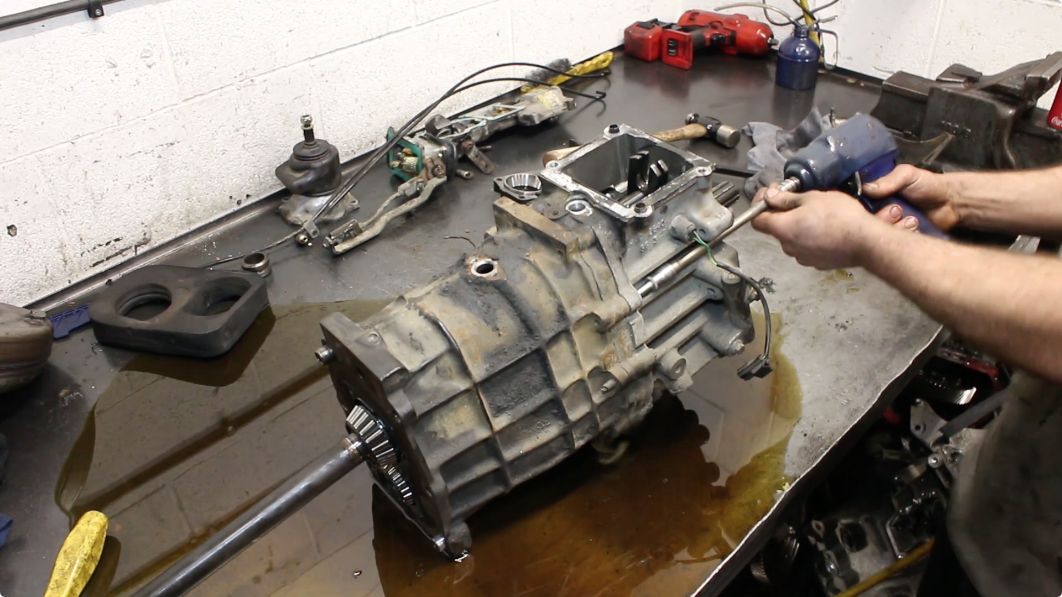
The spool retainers also need removing, there's one in the gearcase and one in the extension housing.


Next out comes the inhibitor camshaft, then Glenn removed the bolts holding the extension housing to the centre plate and gearcase.


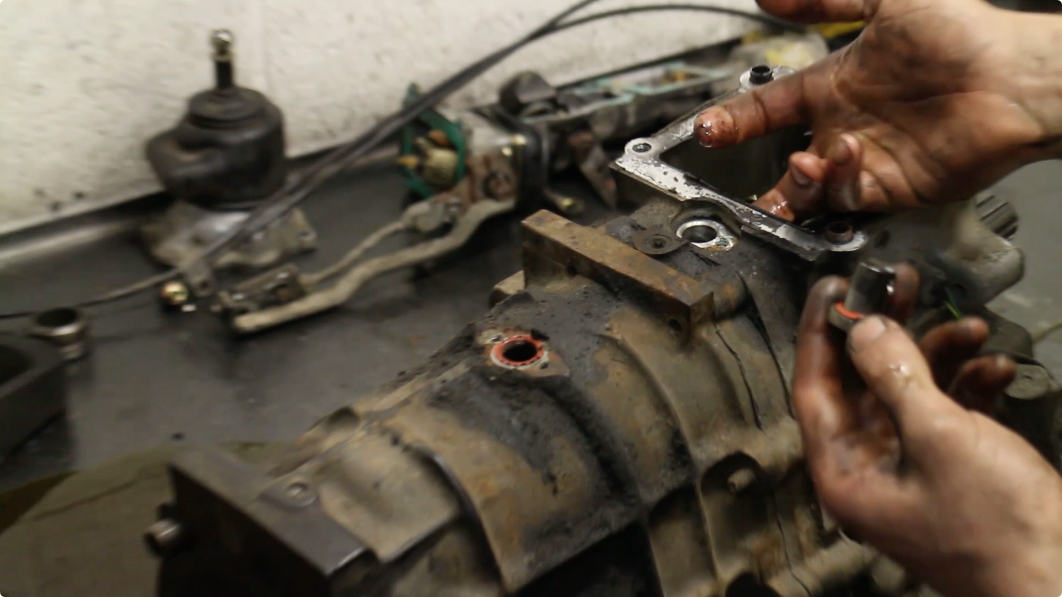
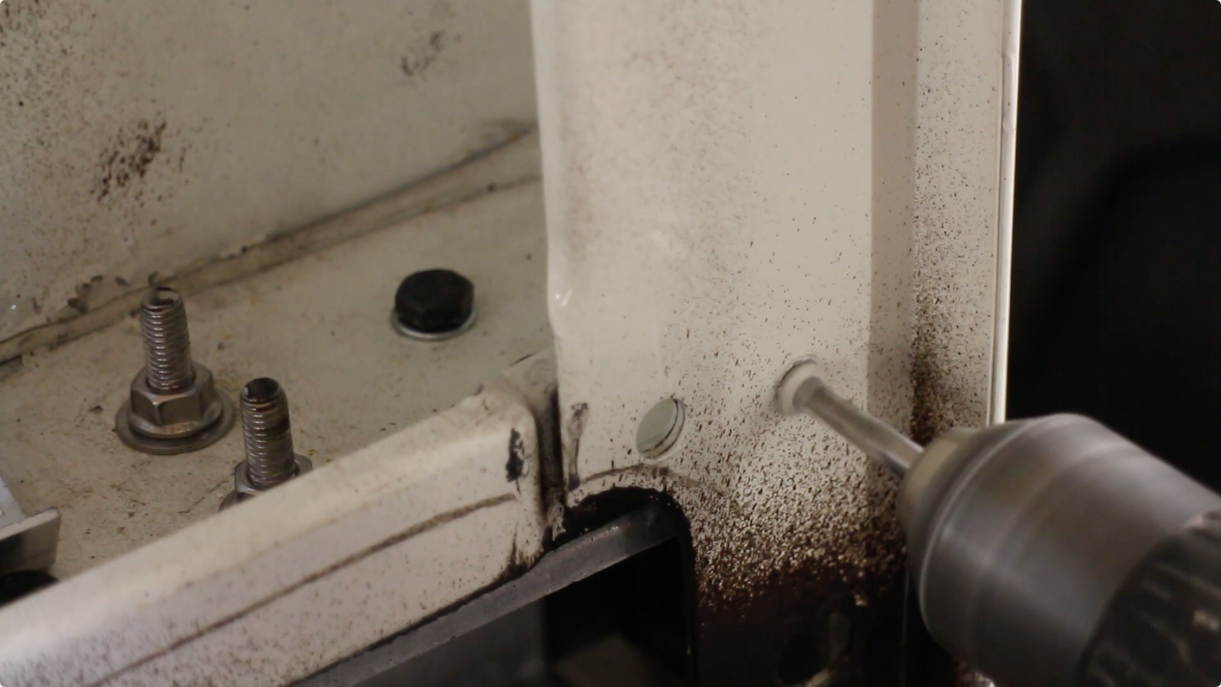
The outer Detent ball and spring need removing, these have a torx screw holding them in on this box. After a liberal spray of penetrating fluid and heating with a propane torch, this came out much easier. The detent ball and spring can be retrieved with a magnet. The gearcase and extension housing are then separated, before removing the selector quadrant and completely splitting the outer cases.


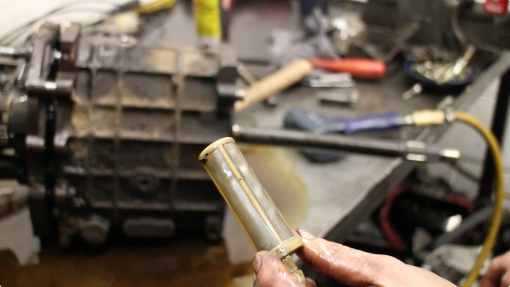
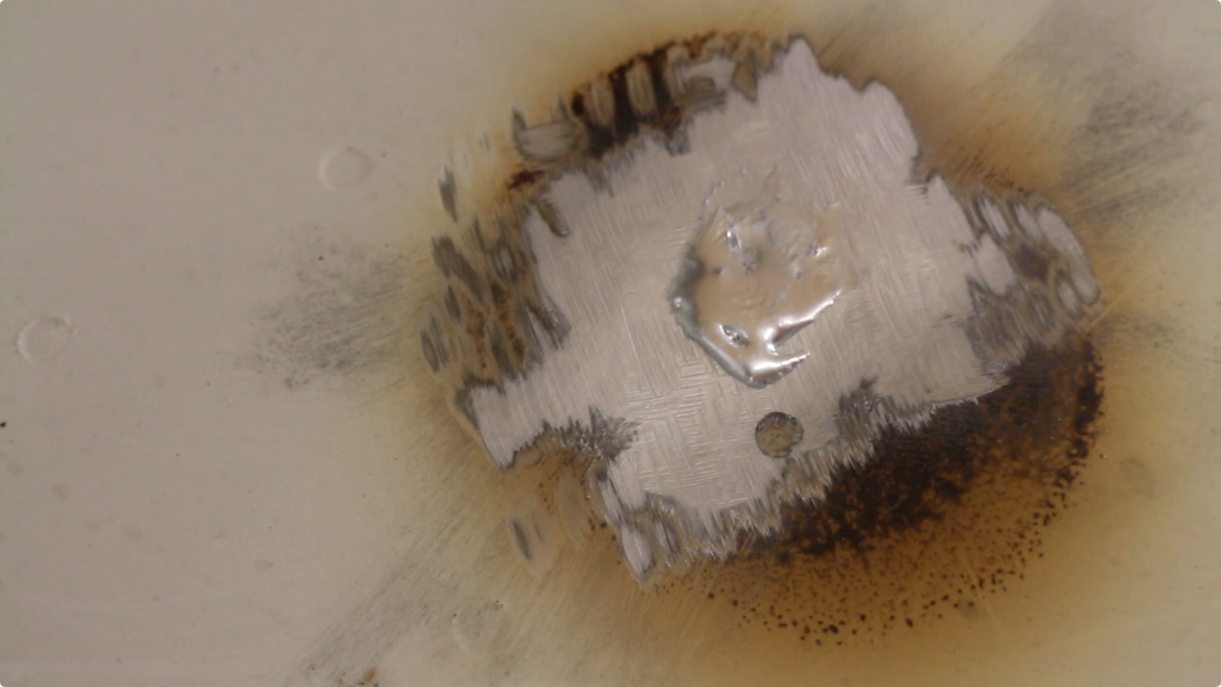
The oil filter was retrieved and appeared to be in good condition


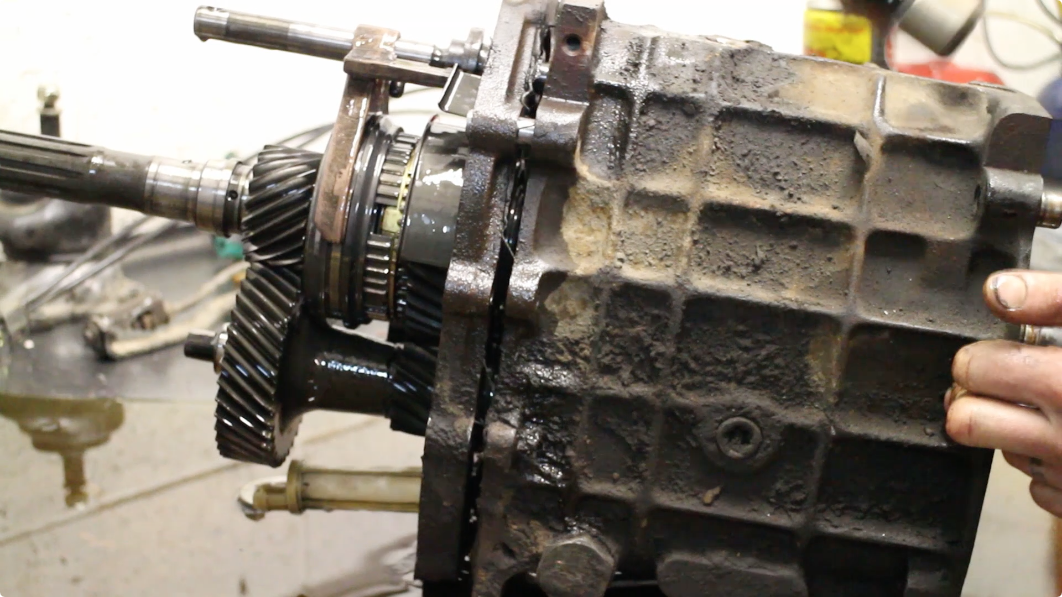
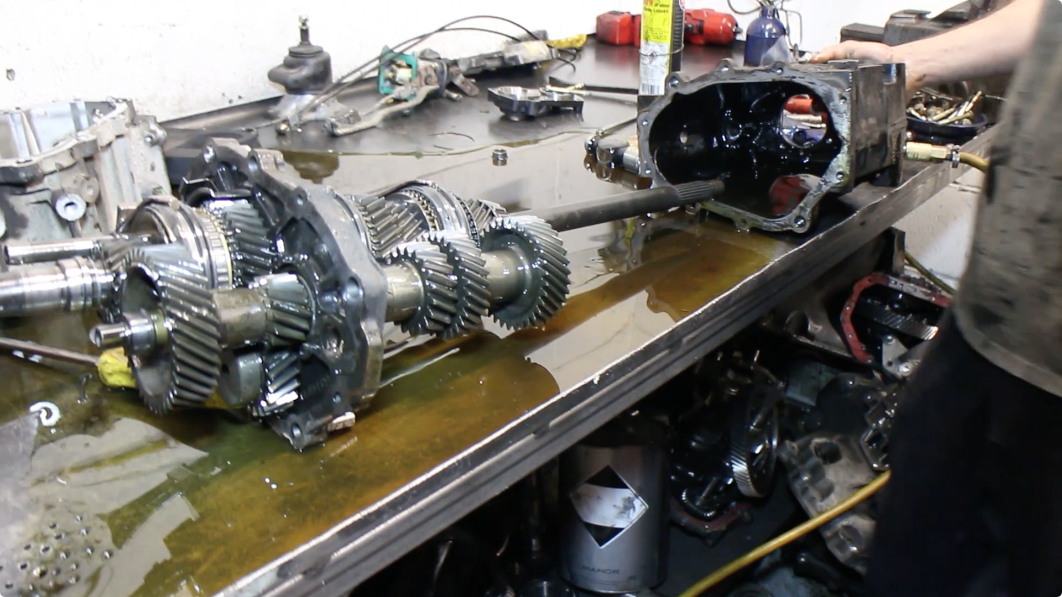
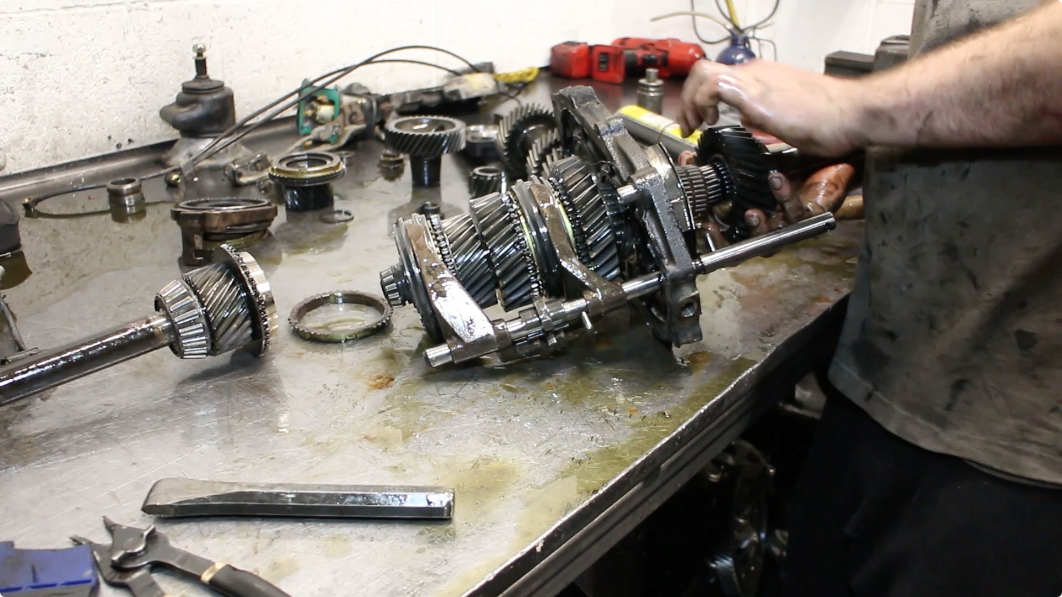
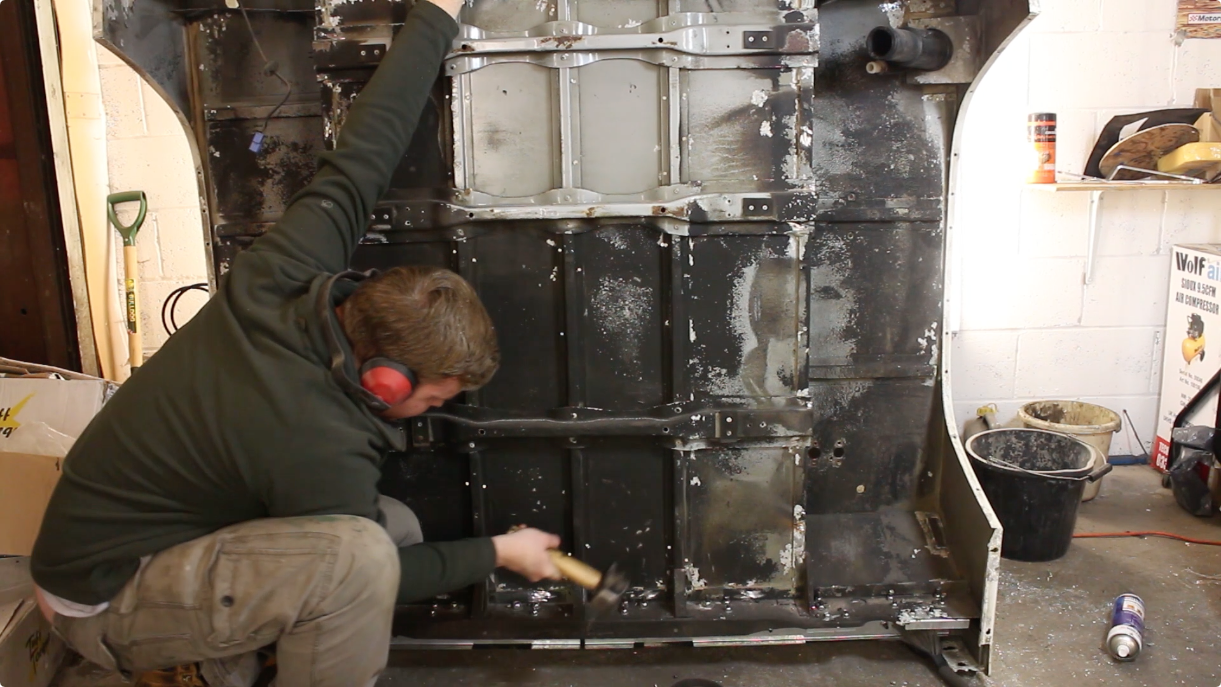
And that's the internals removed.


The bank / synchro rings are also in decent condition, they haven't worn sharp.


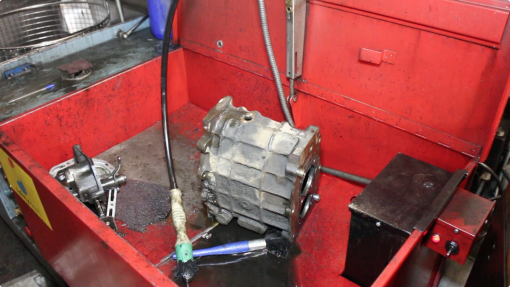
The housings are then put into the parts washer and a hot wash tank for a thorough degrease before painting.


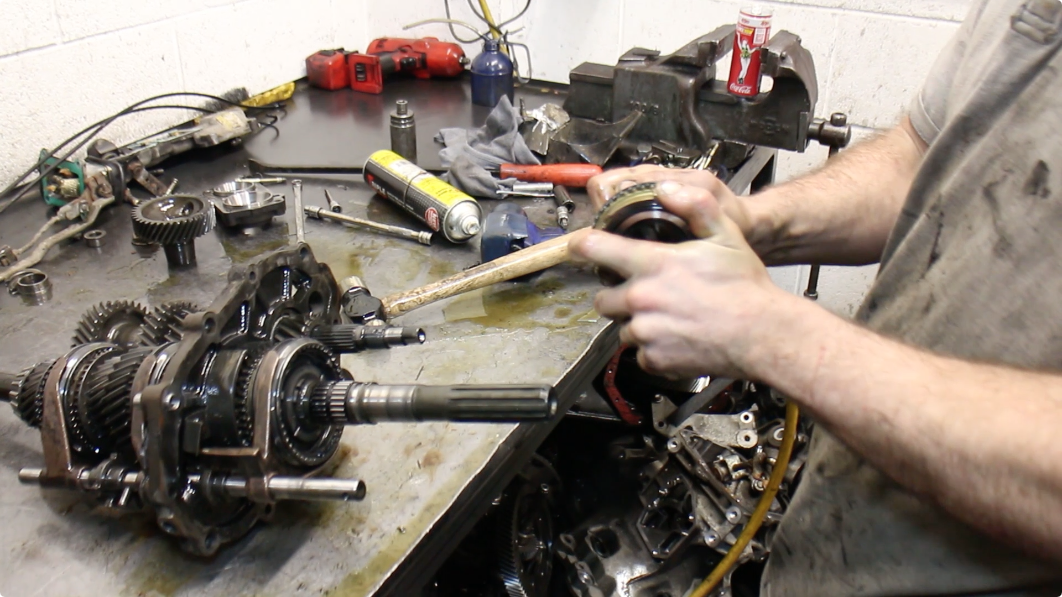
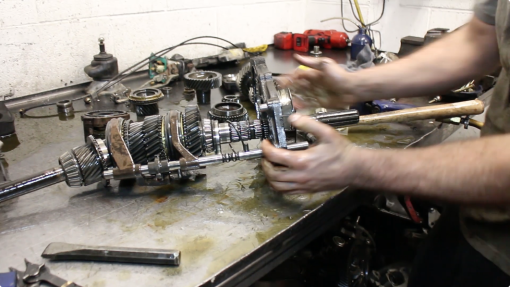
On the gearbox internals, glenn first removes the 5th gear nut - then the layshaft 5th gear


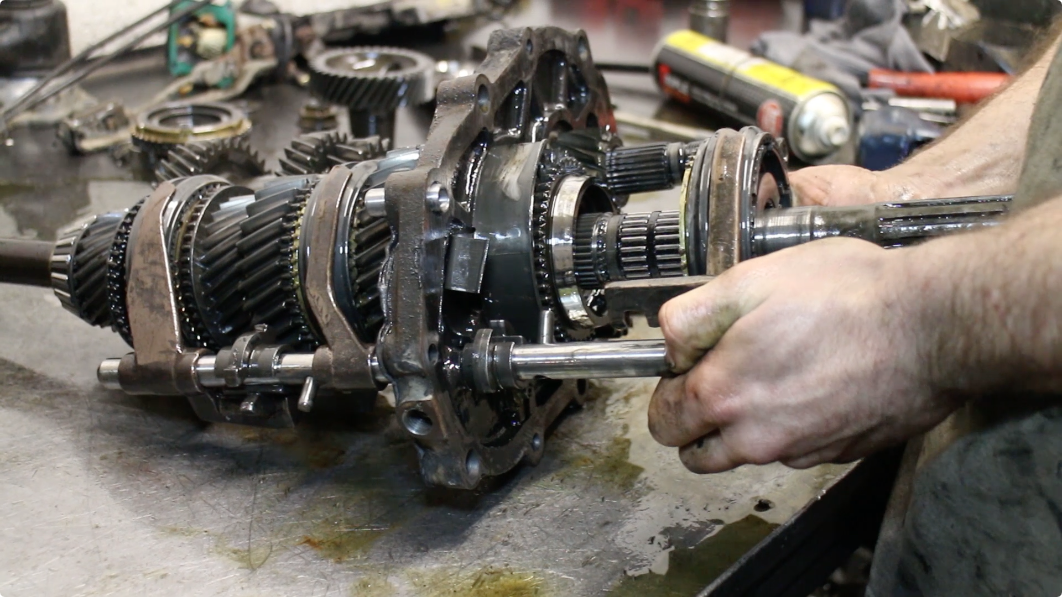
Before moving onto the mainshaft and removing the mainshaft 5th. The syncro here was in excellent condition. After removing the 5th gear, you need to remove the circlip that holds the Reverse/5th gear synchro hub and sleeve in place, then the hub itself.


Reverse gear comes off next.


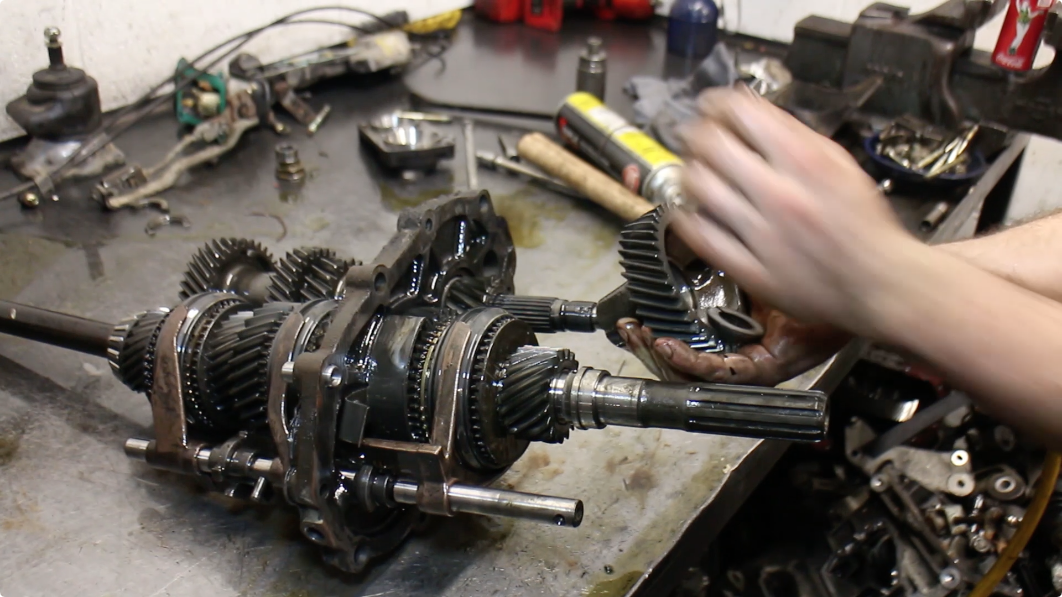
The input shaft slides off now along with the 4th gear syncro ring.


Then reverse comes off.


When taking the center plate off, watch out for the lower detent spring and ball. The Selector fork and shaft can be removed next and that’s the gearbox done. It’ll then be cleaned, any worn parts replaced and painted - we should be able to pick that up in the next episode!


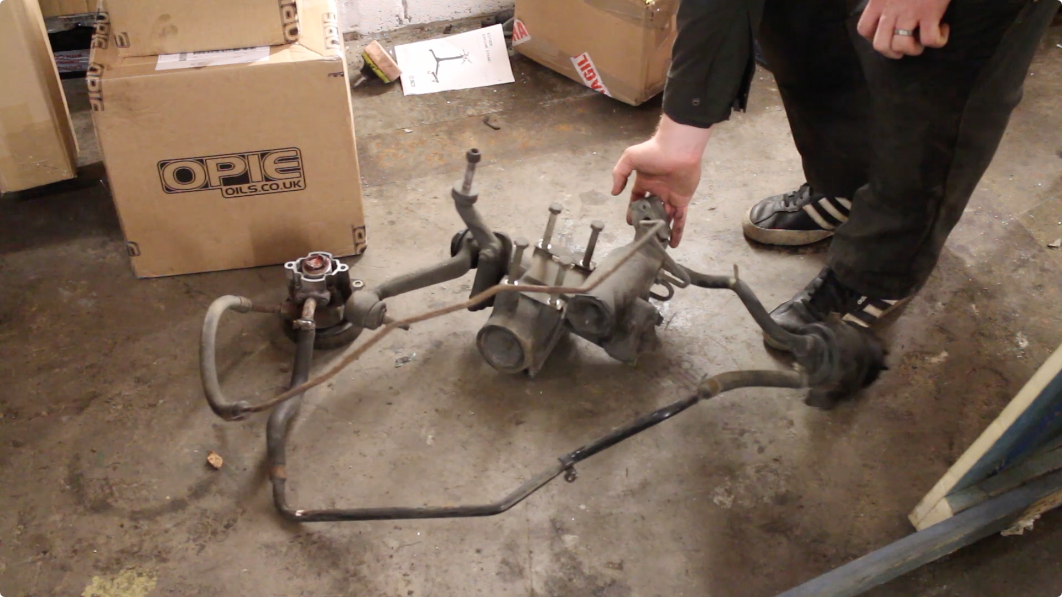
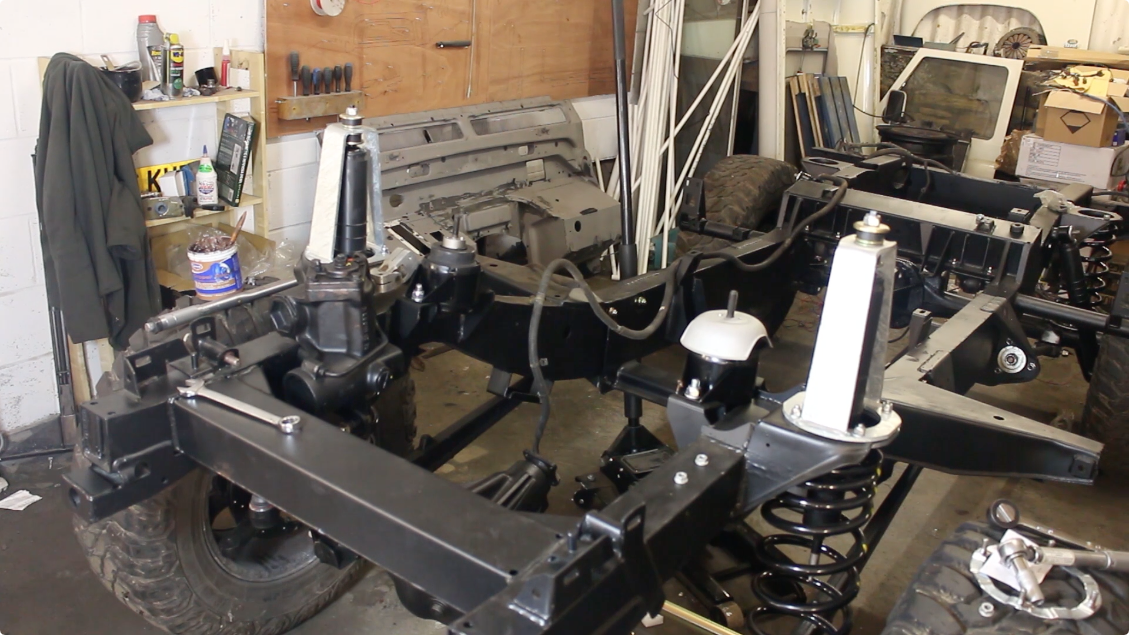
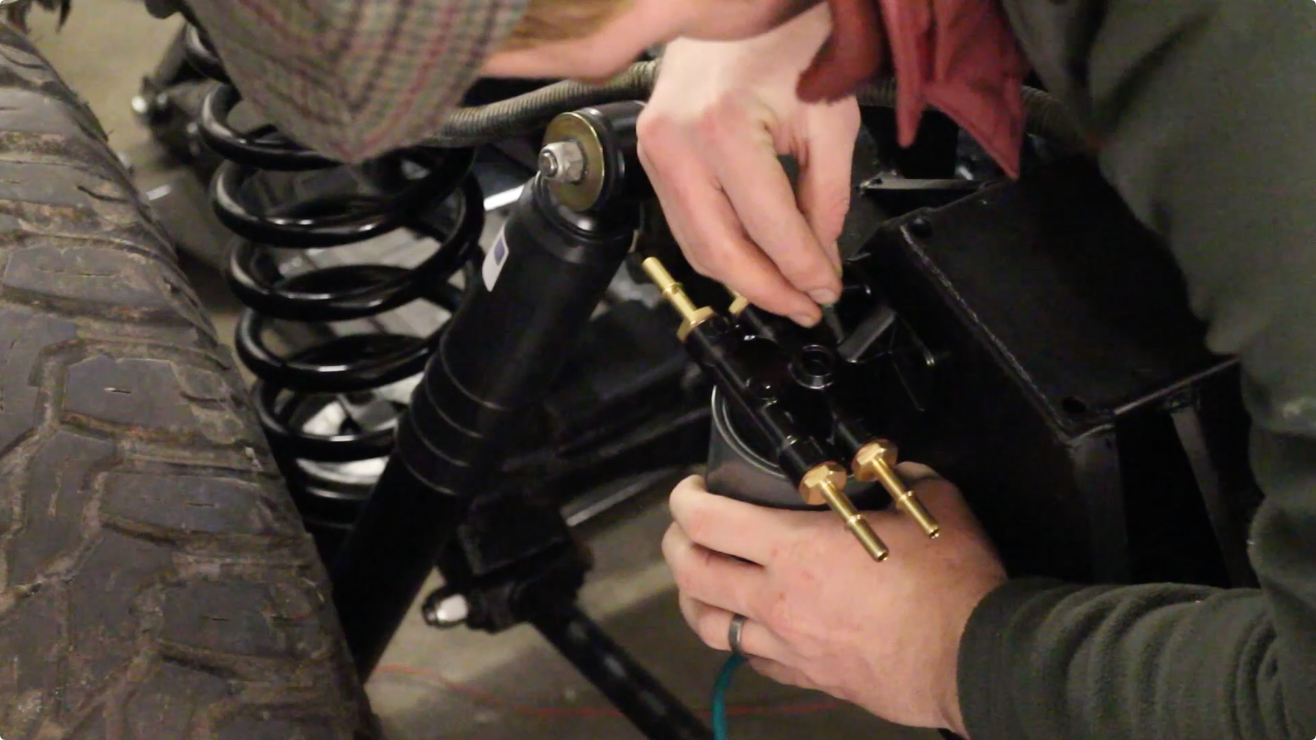
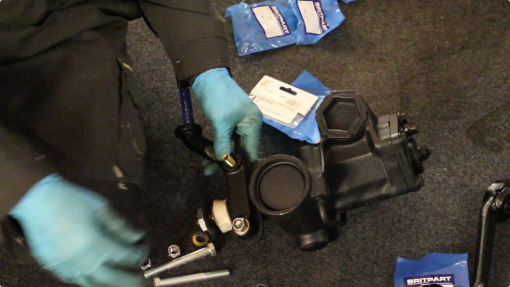
Back at FunRover HQ - we’re working on the steering box. We purchased a recon steering box as the old one would make quite a grumble as it was turned from lock to lock. This was supplied by LrParts.net. Once this is fitted, we can send the old one back, it’s a neat way of saving cash and recycling Land Rover parts. Empty as much steering fluid out the system as you can. Will need to be centred and bled and the torque will be rechecked after our shake down drive.
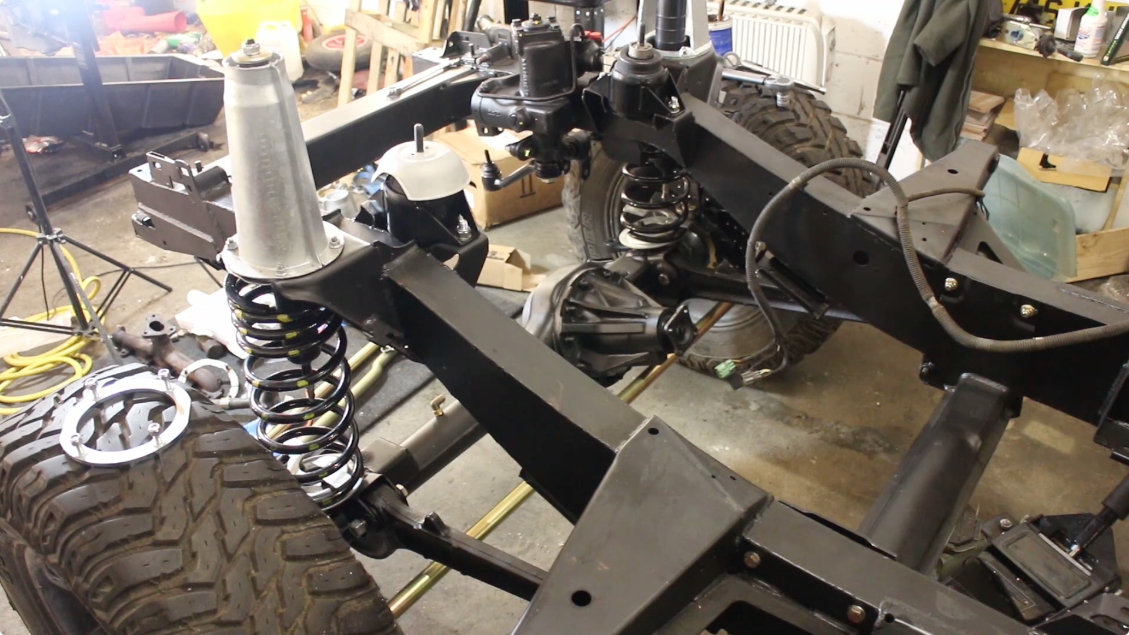
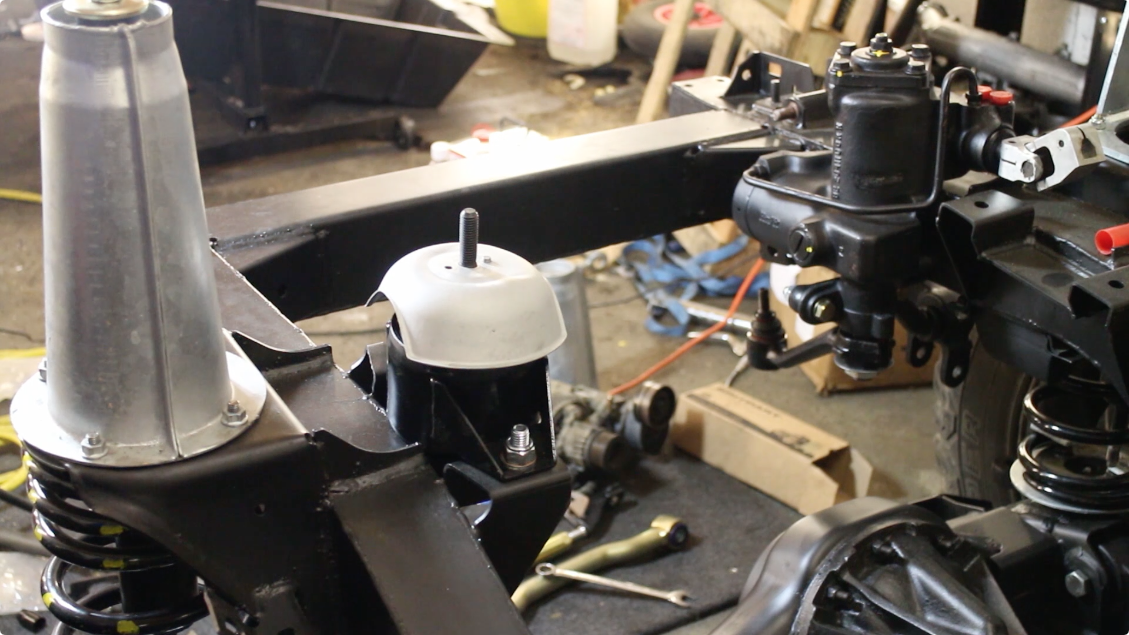
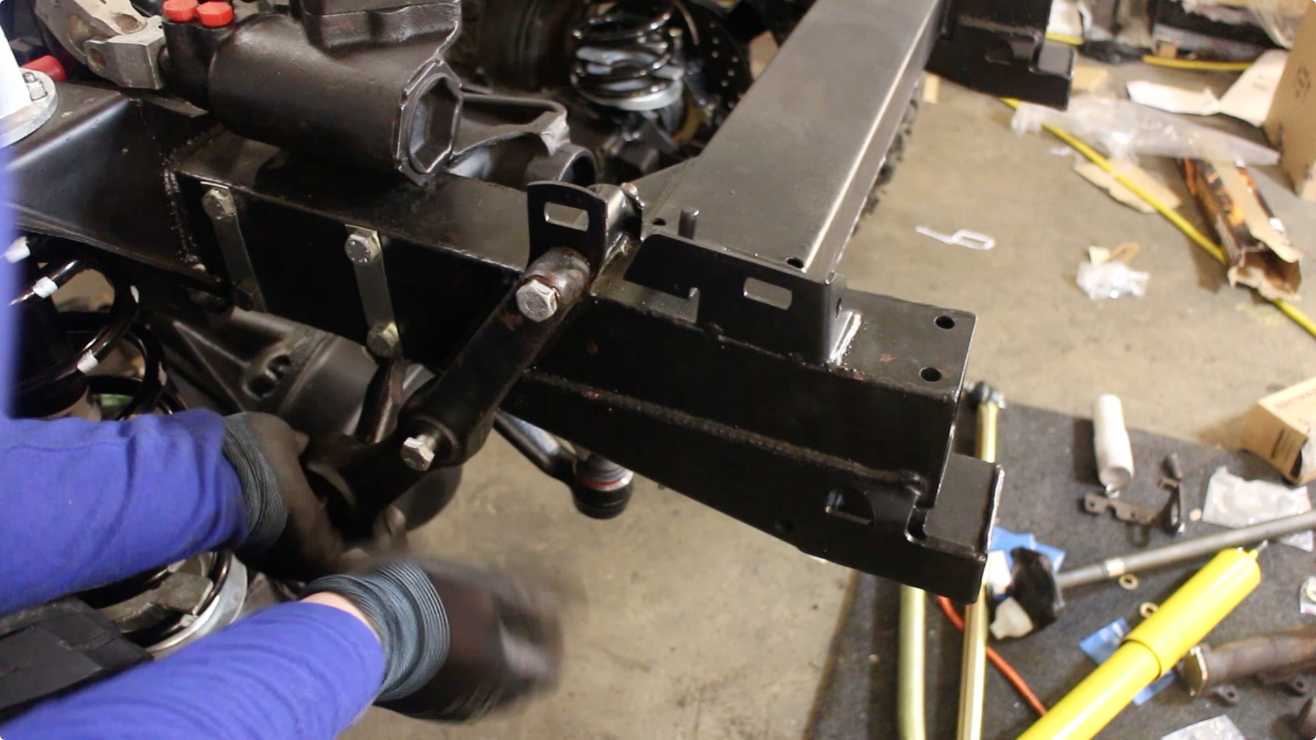
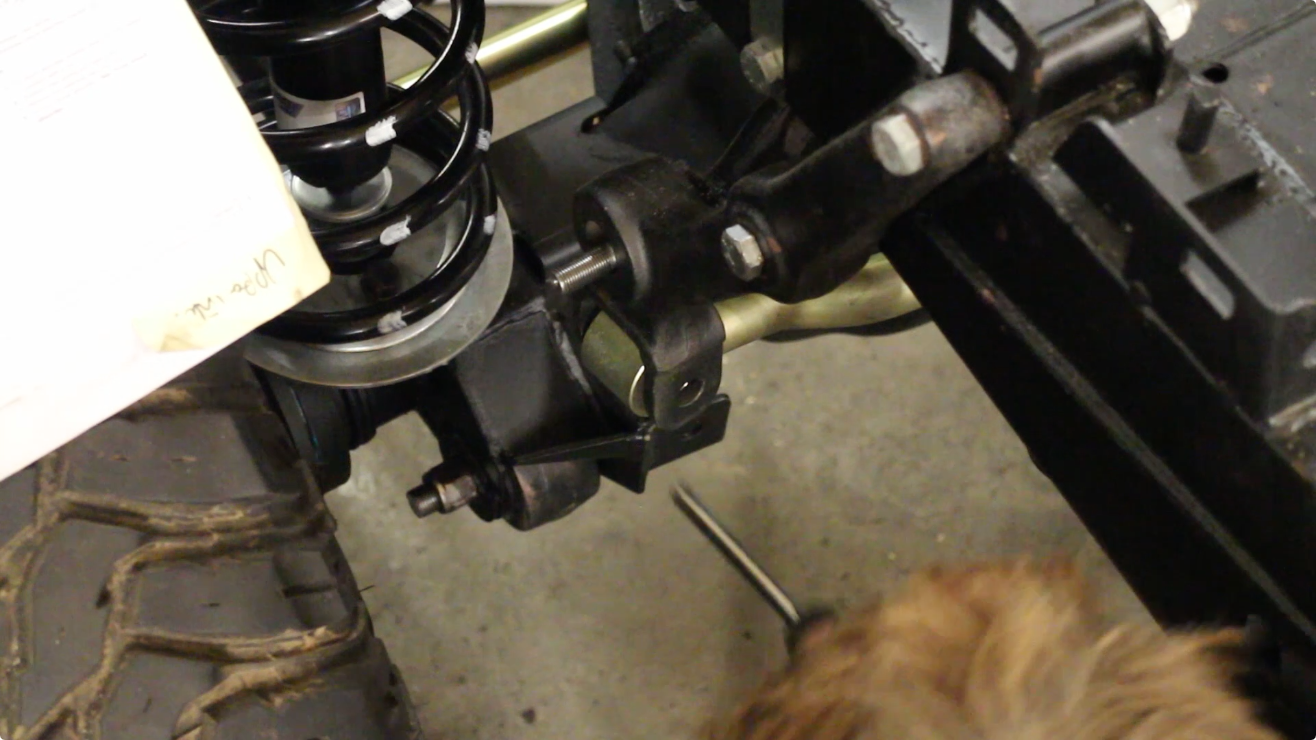
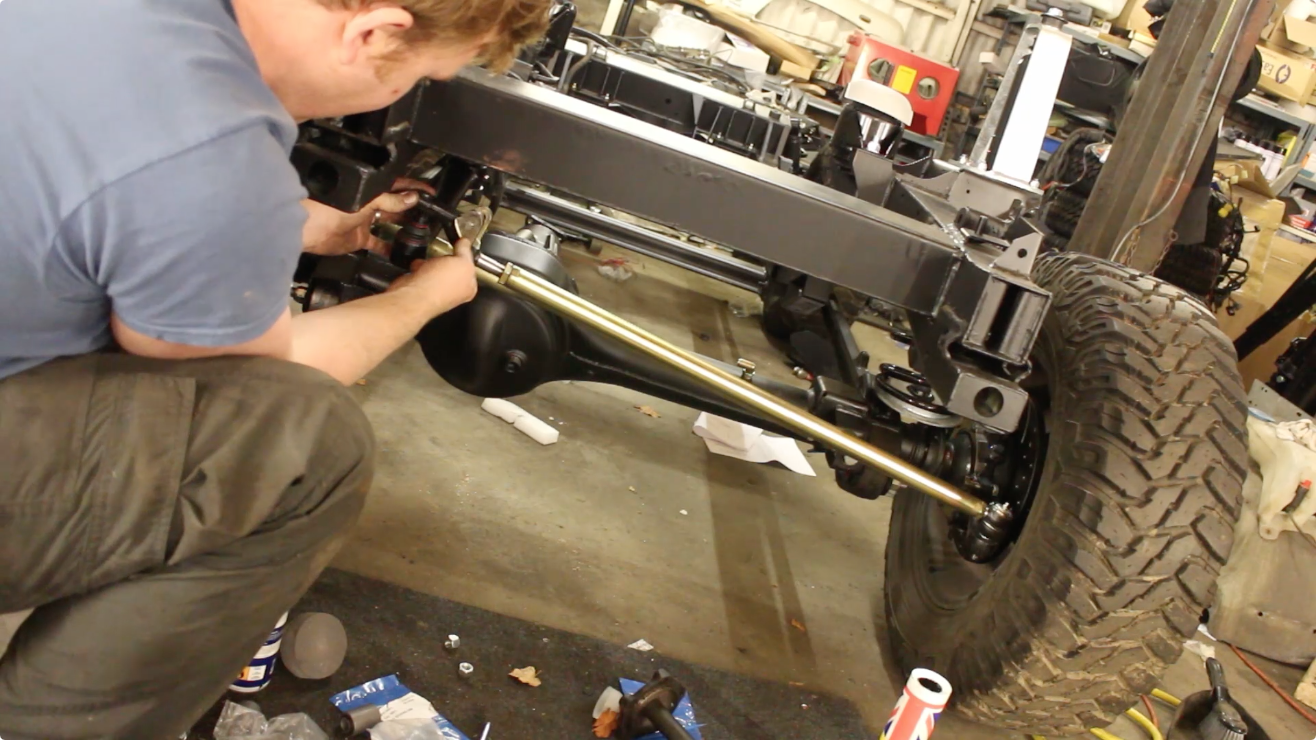
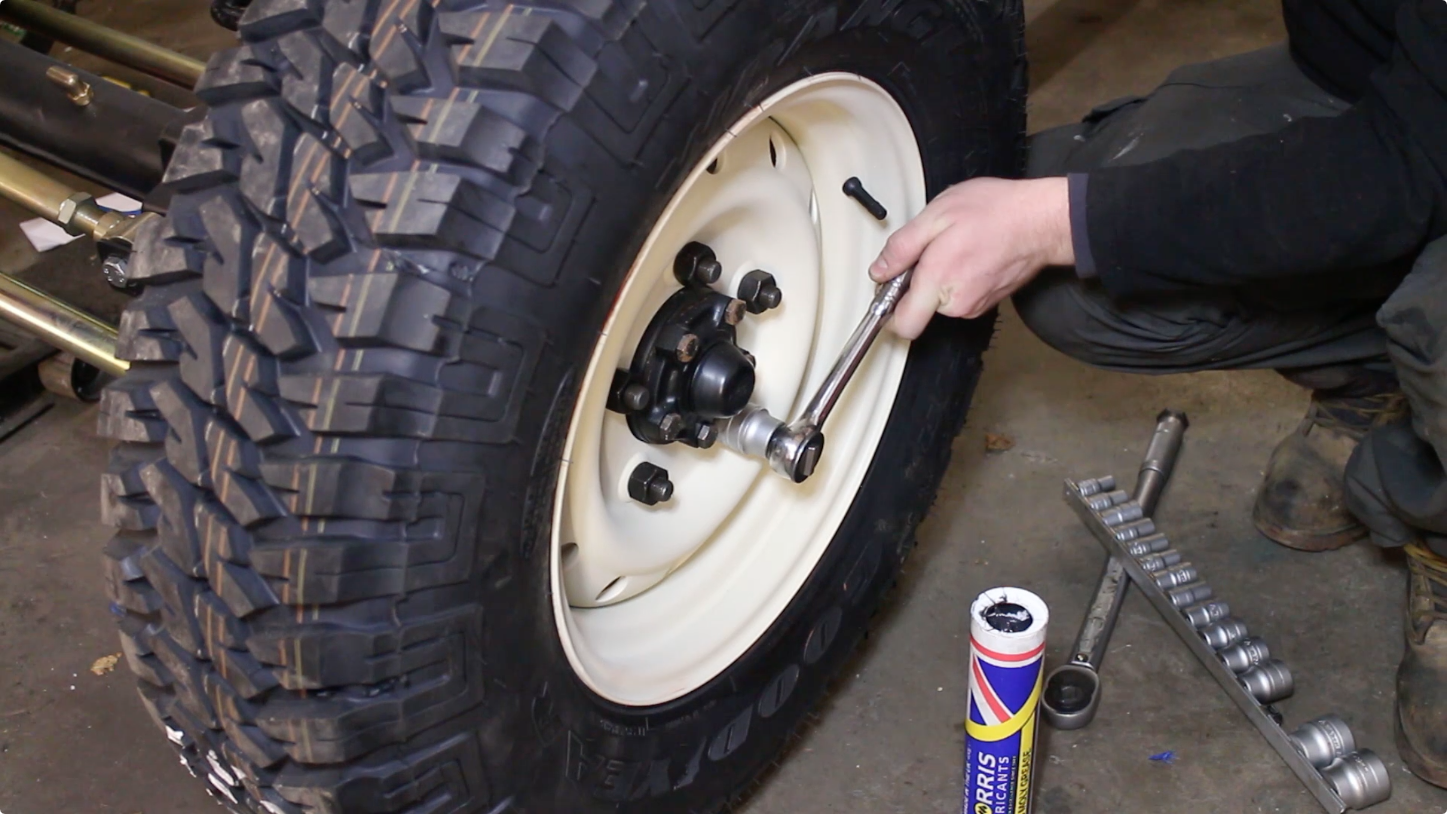
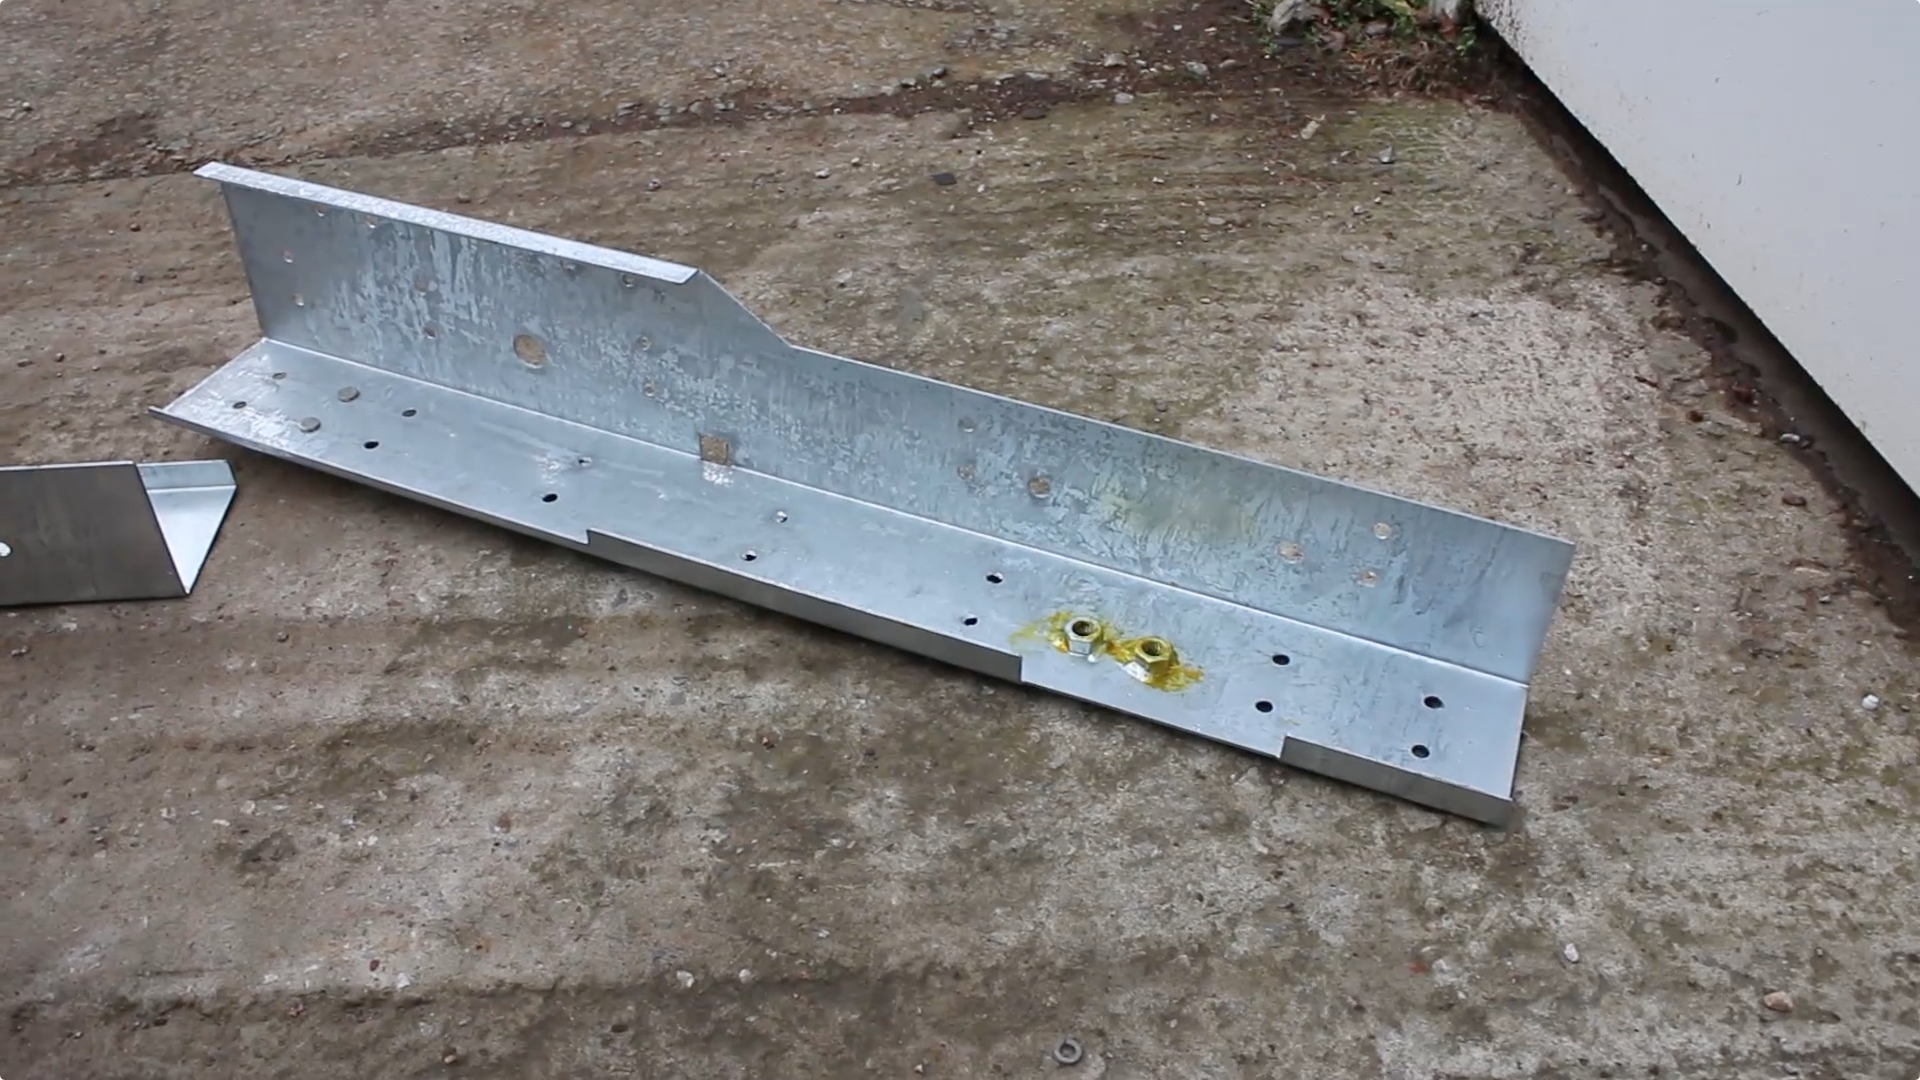
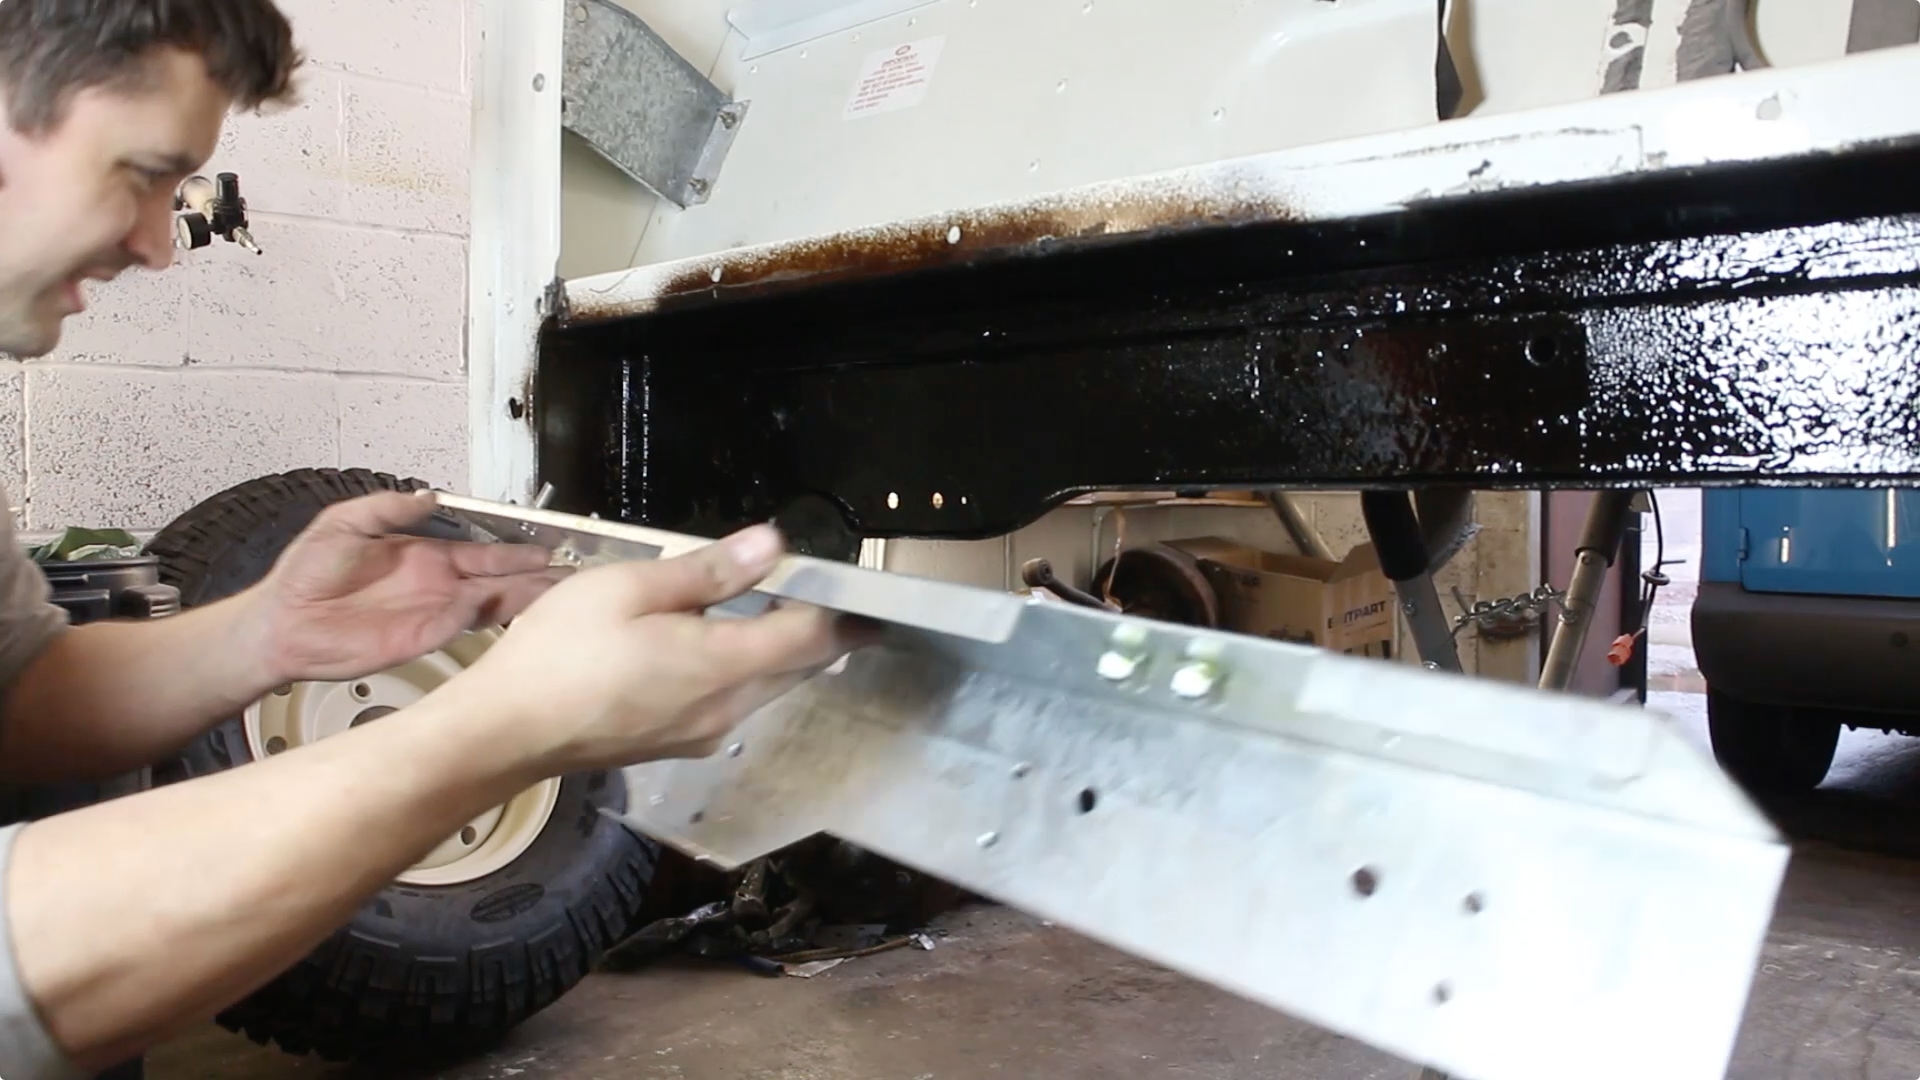


Adding the tie bar


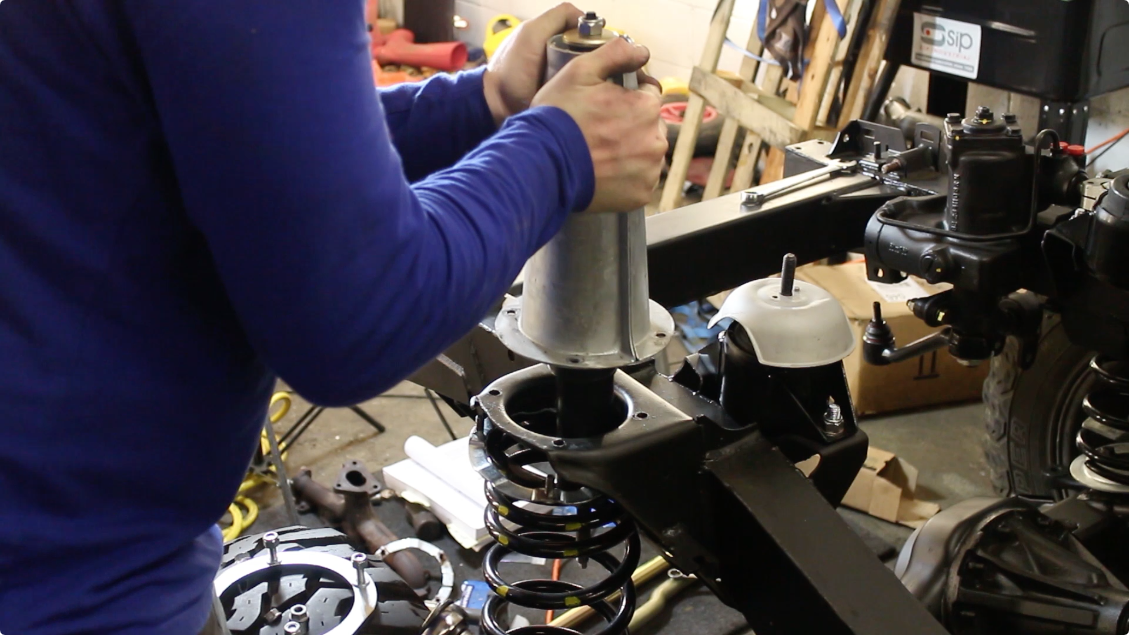
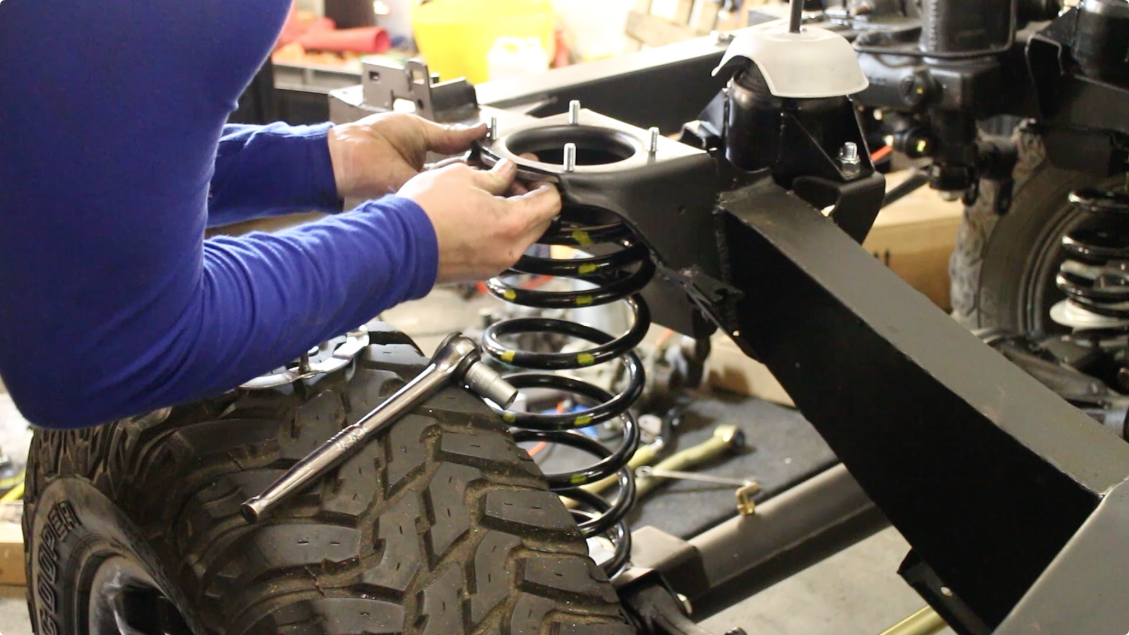
This can be lifted into place and bolted up, it's much easier if there are 2 of you.


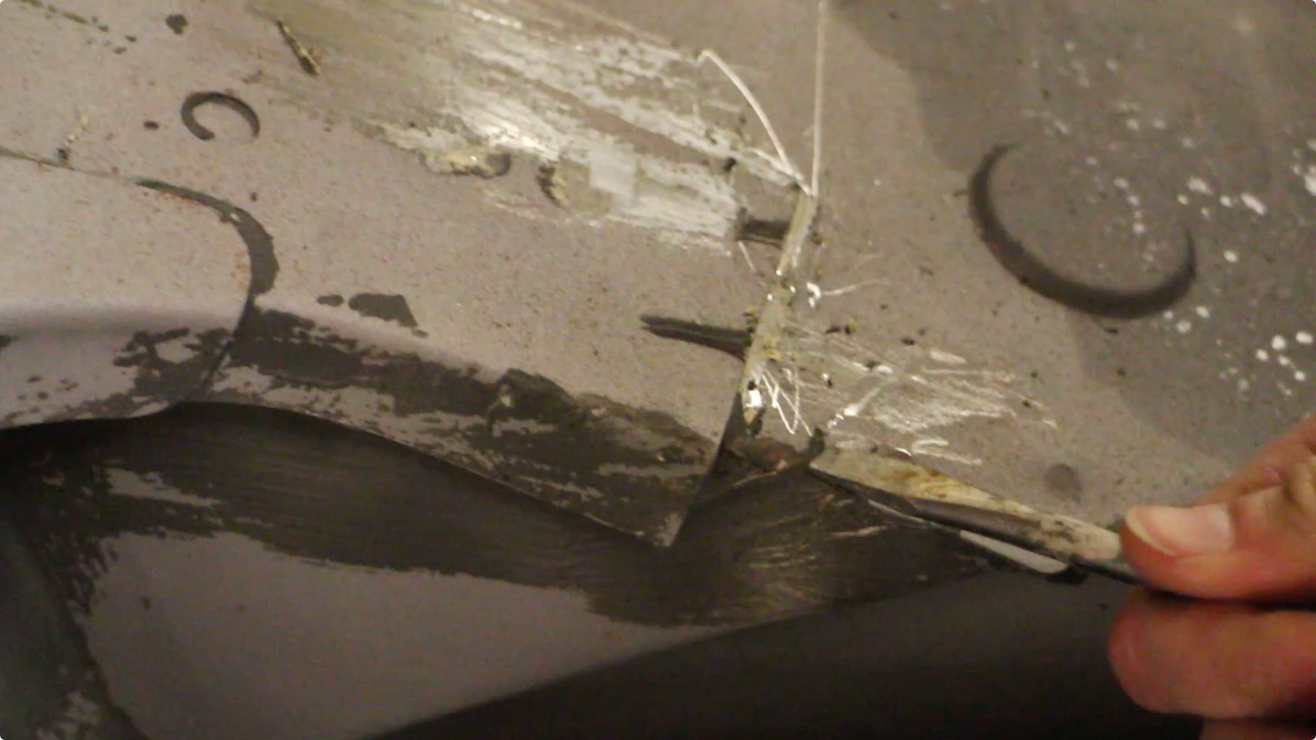
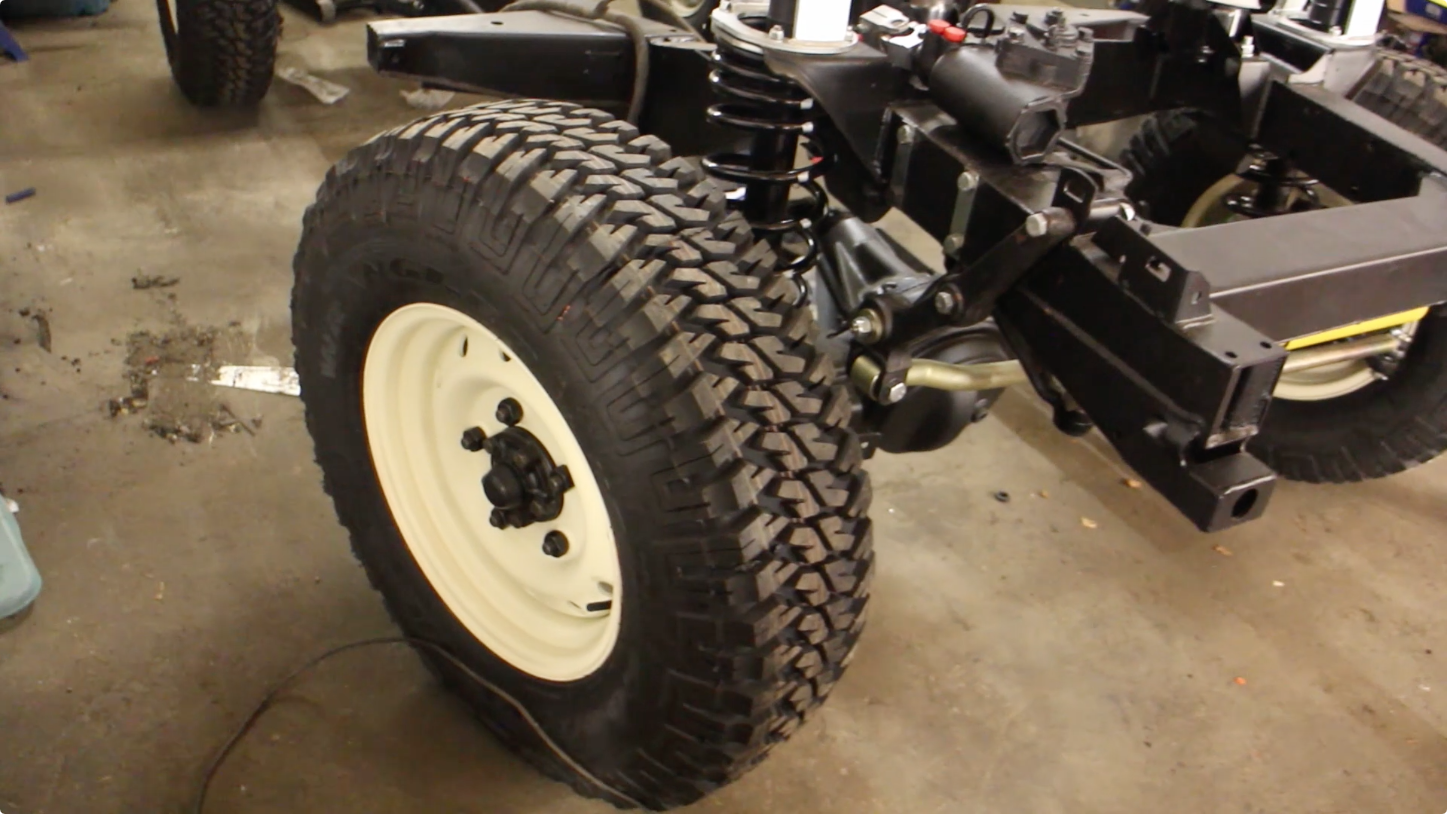
One shot grease was added to the swivel housings. It was necessary to remove the steering stop locks to turn the housing past the end of the swivel ball. This allows you to insert the grease bag filling tube right into the housing and get the grease in the right place, rather than it spewing back out all over.


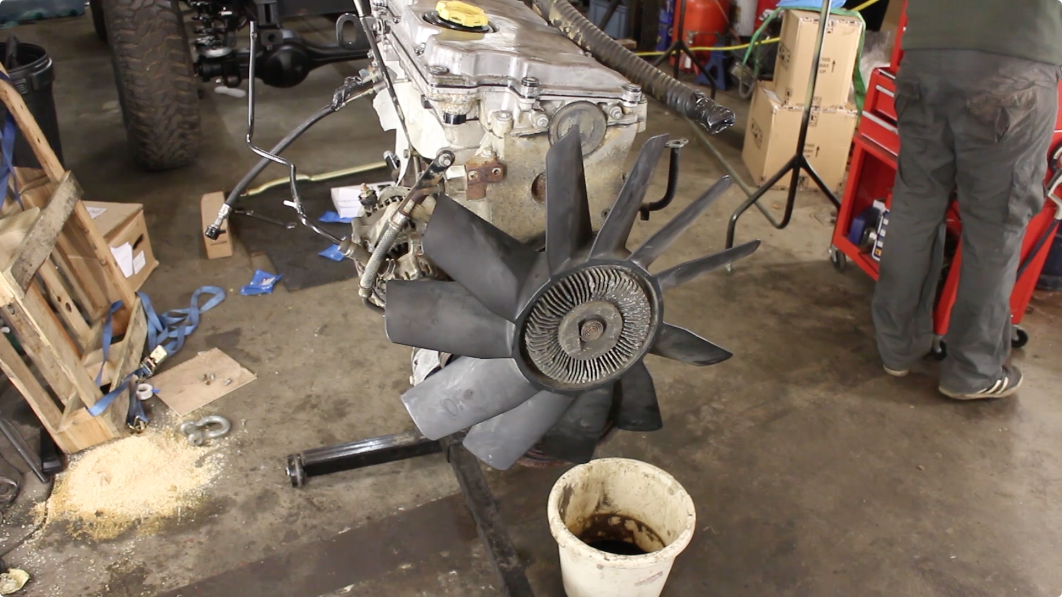
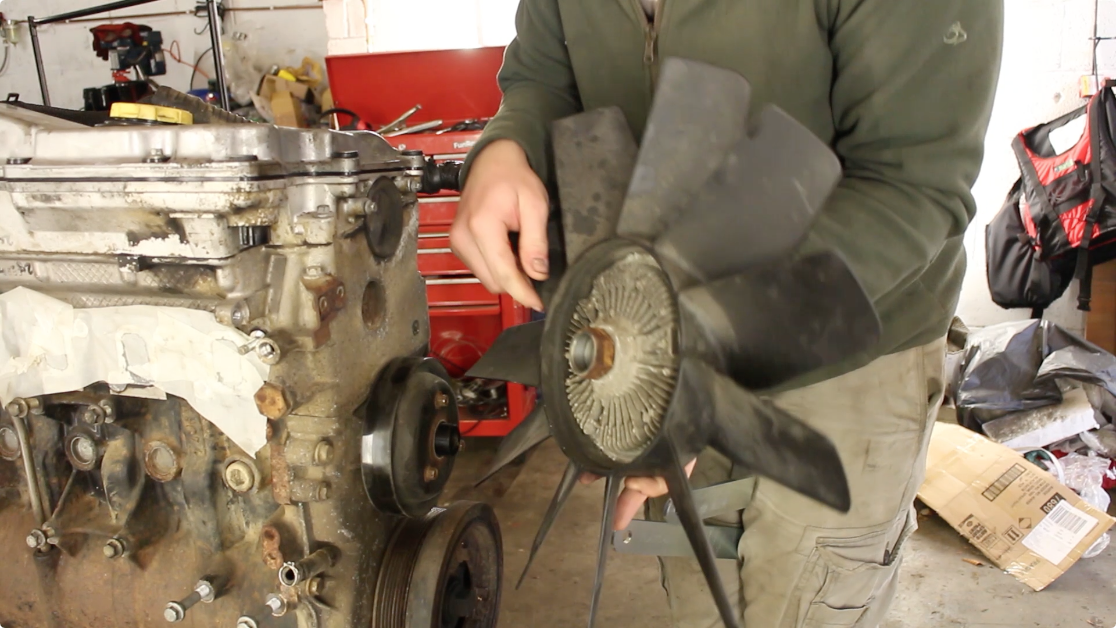
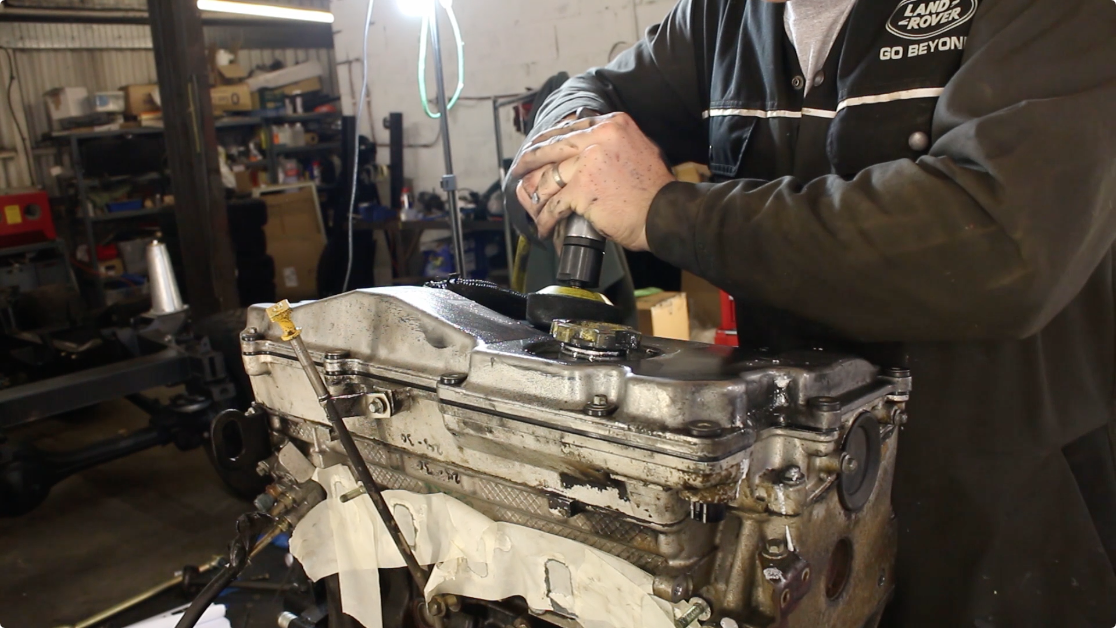
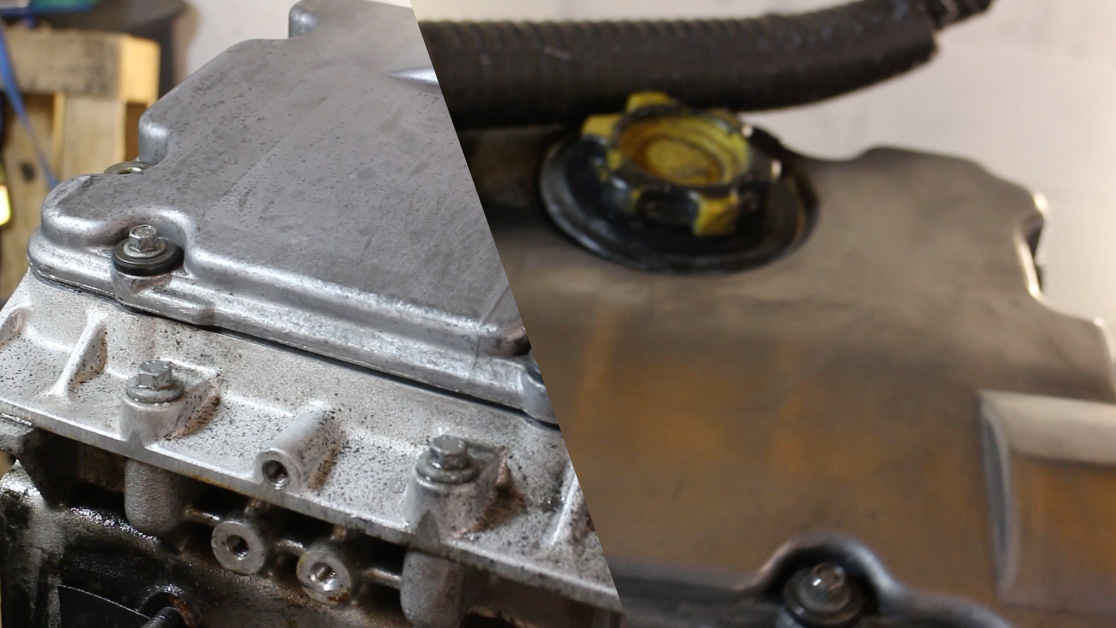
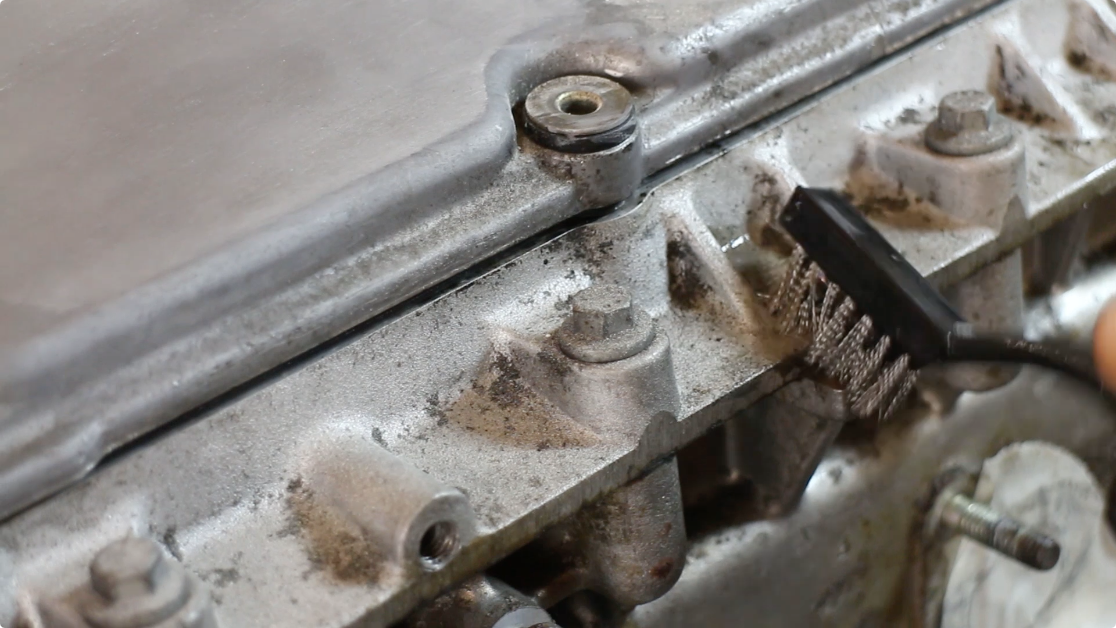
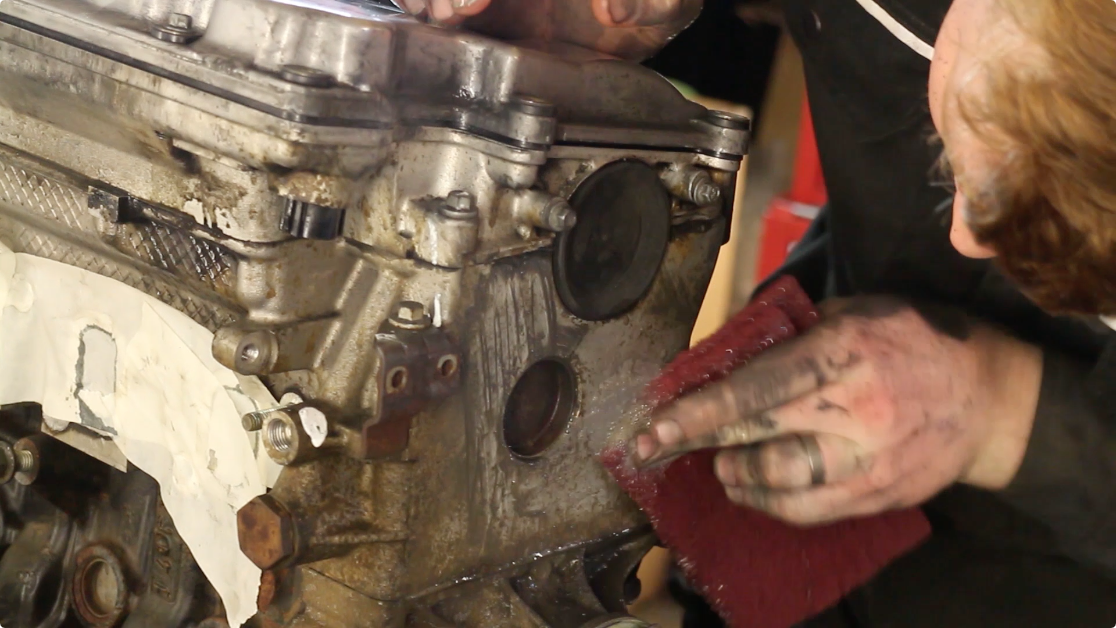
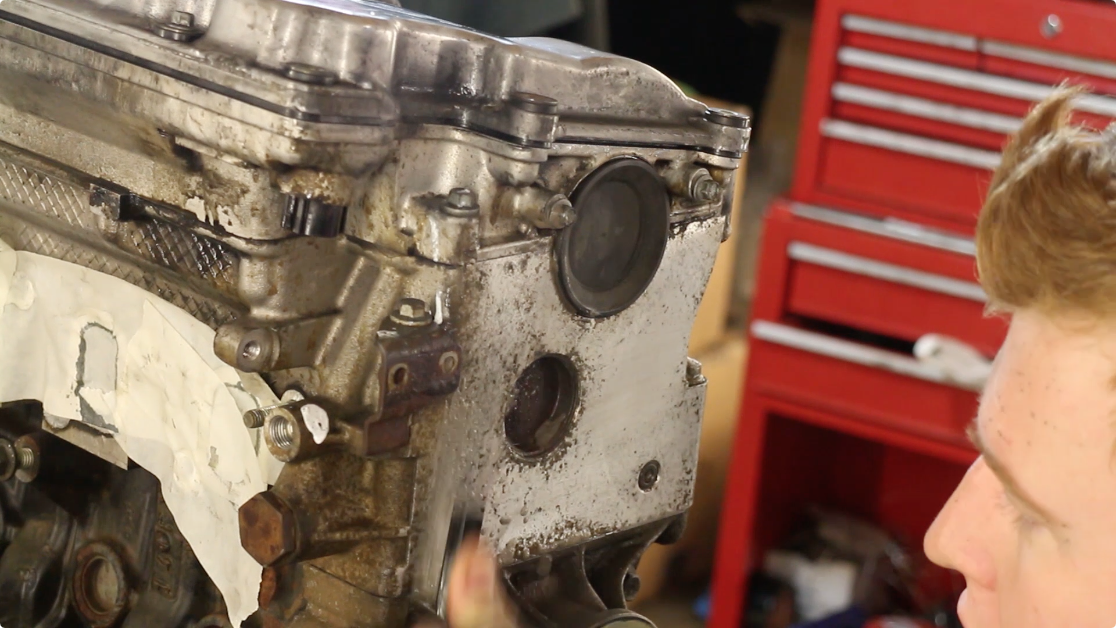
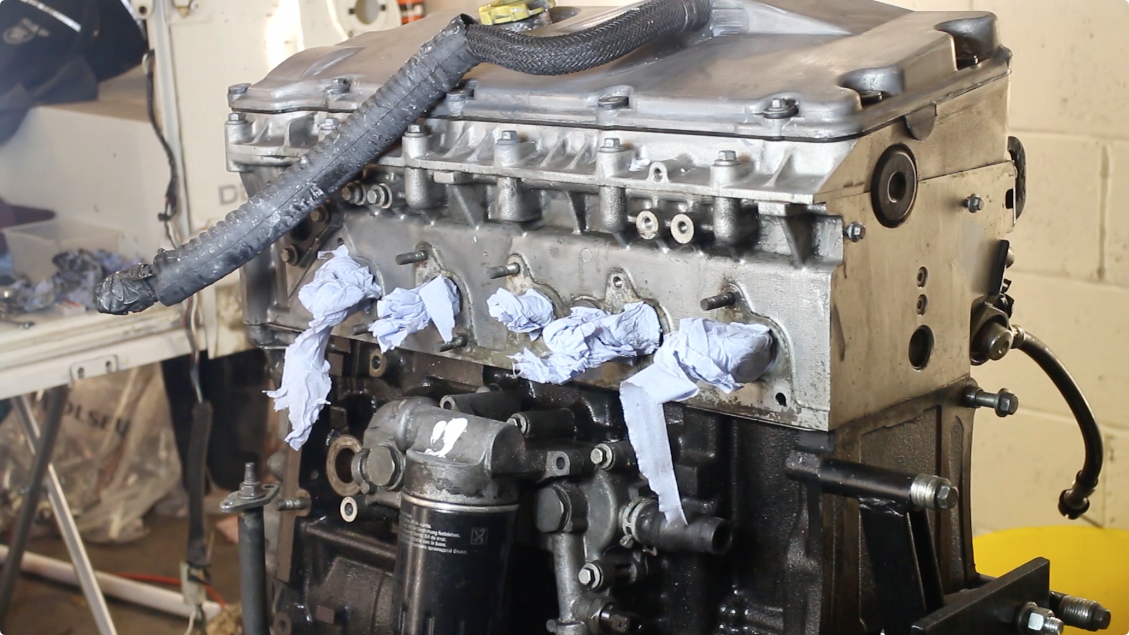
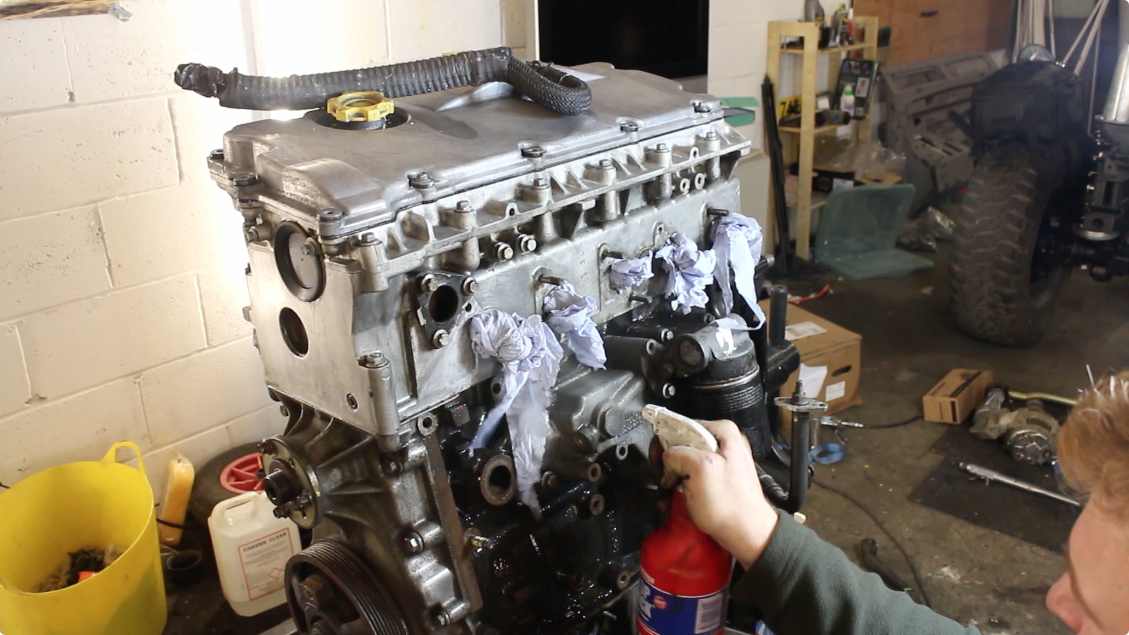
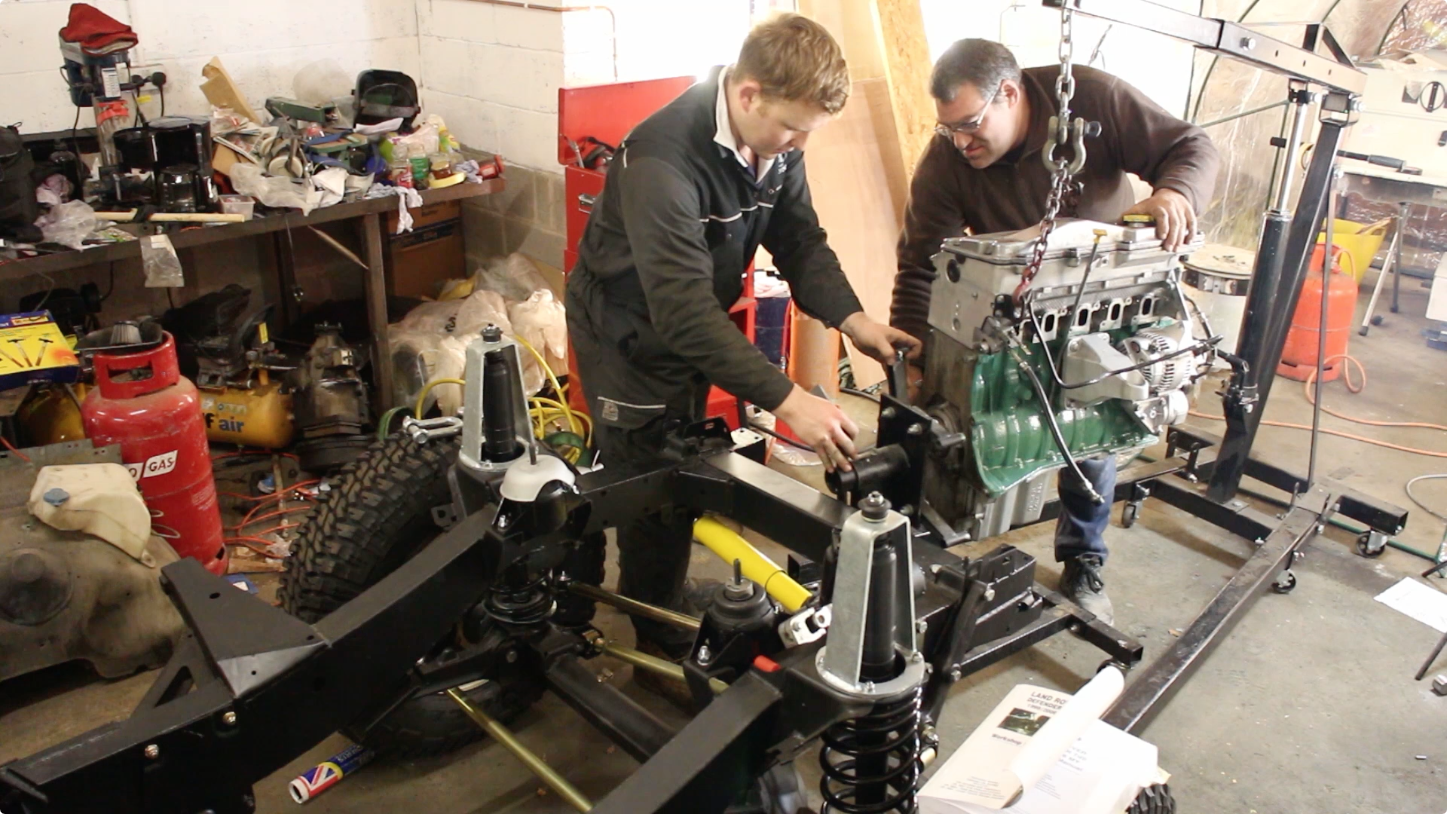
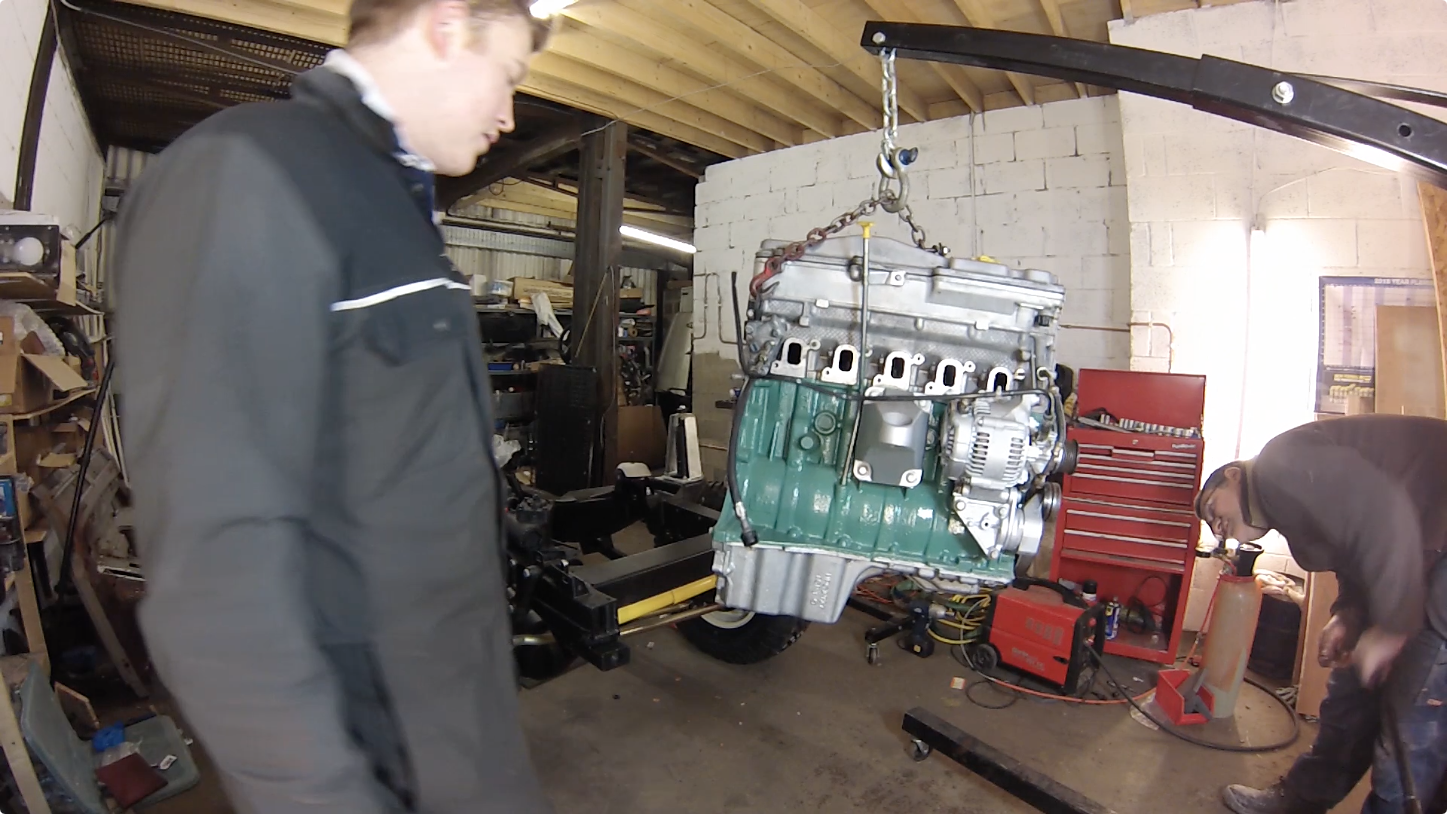
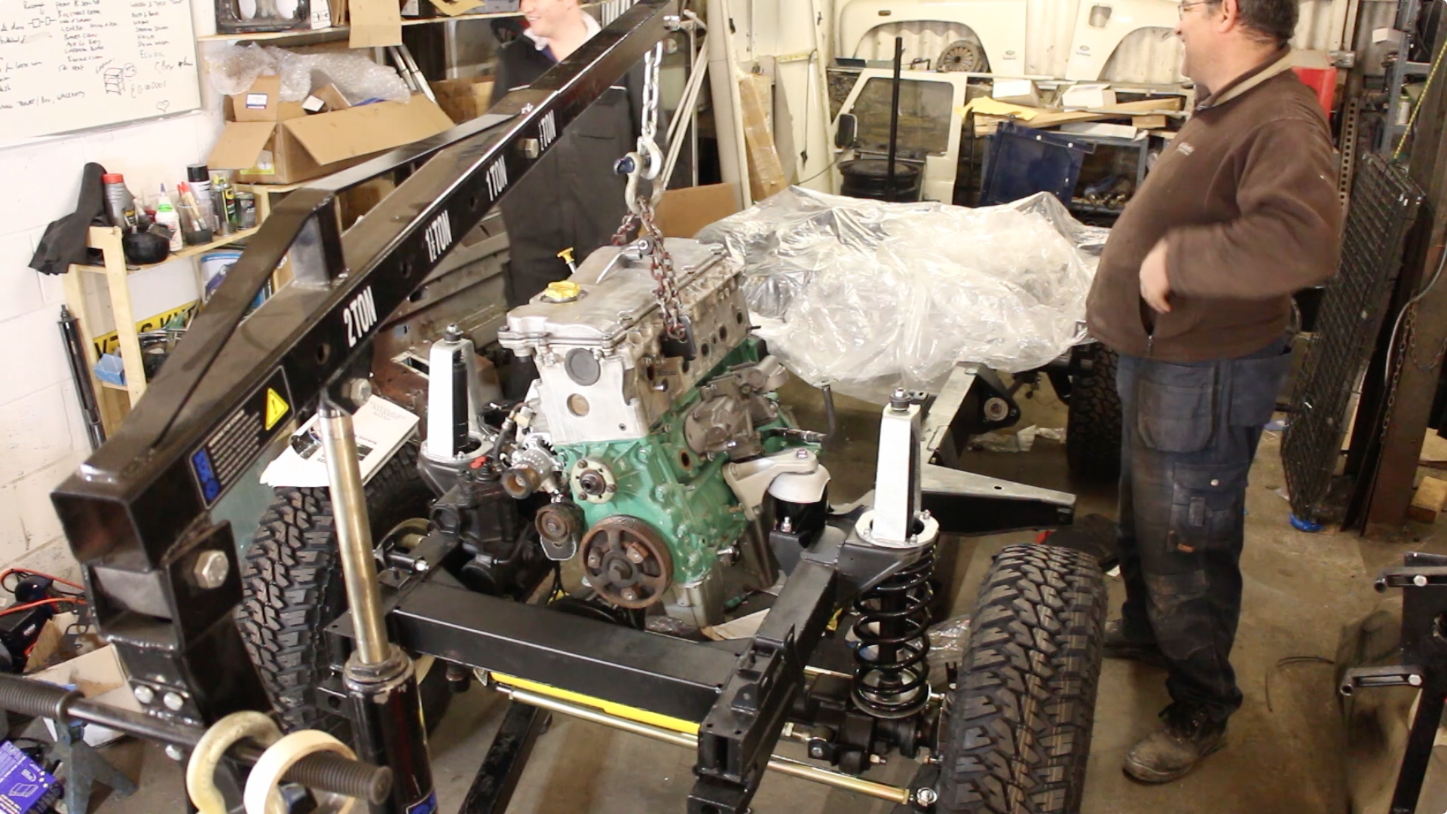
Next, we moved onto the TD5 lump. This needs cleaning up, as we're going to paint and polish it. Unnecessary? Perhaps, but it would look out of place in the build if we had a dirty old engine.


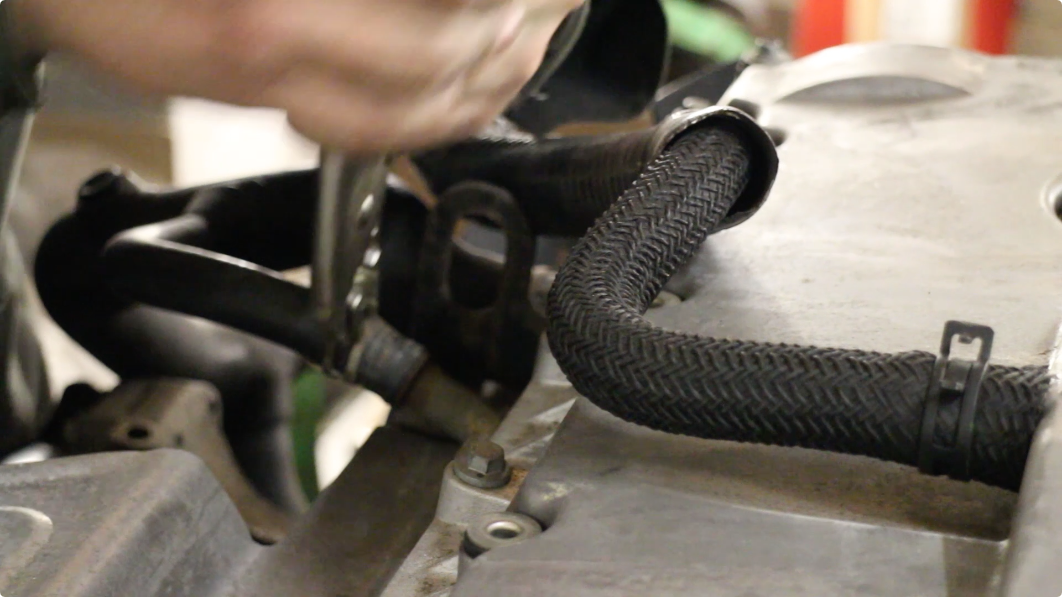
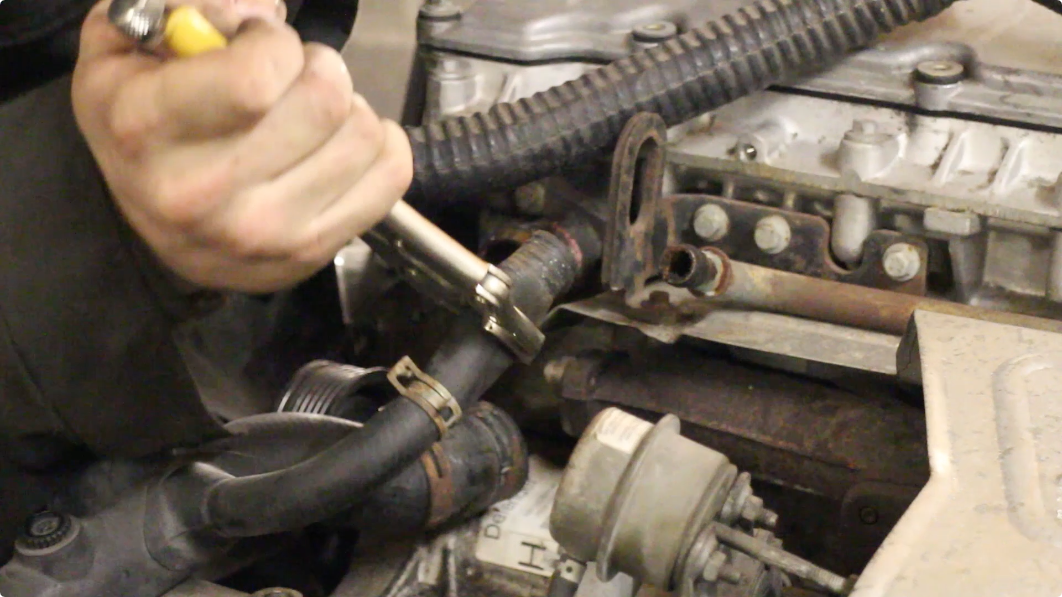
First off, I started by removing all hoses.


Some of the pipes had quite an amount of corrosion in them.


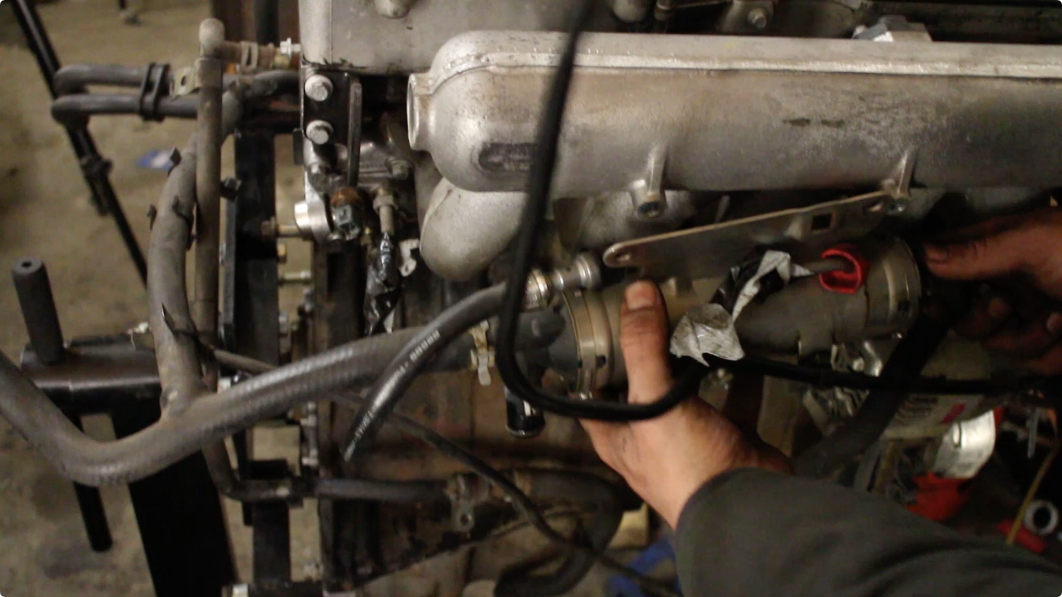
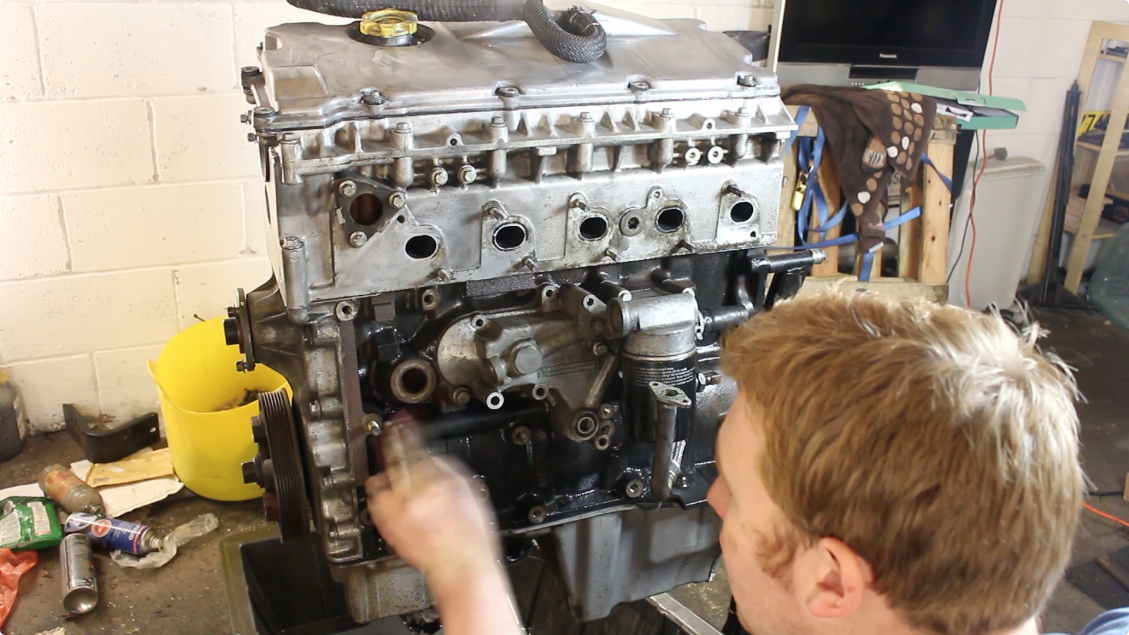
Next, the fuel cooler was removed. It's helpful to put bolts back in their respective holes so you can remember where they came from later.


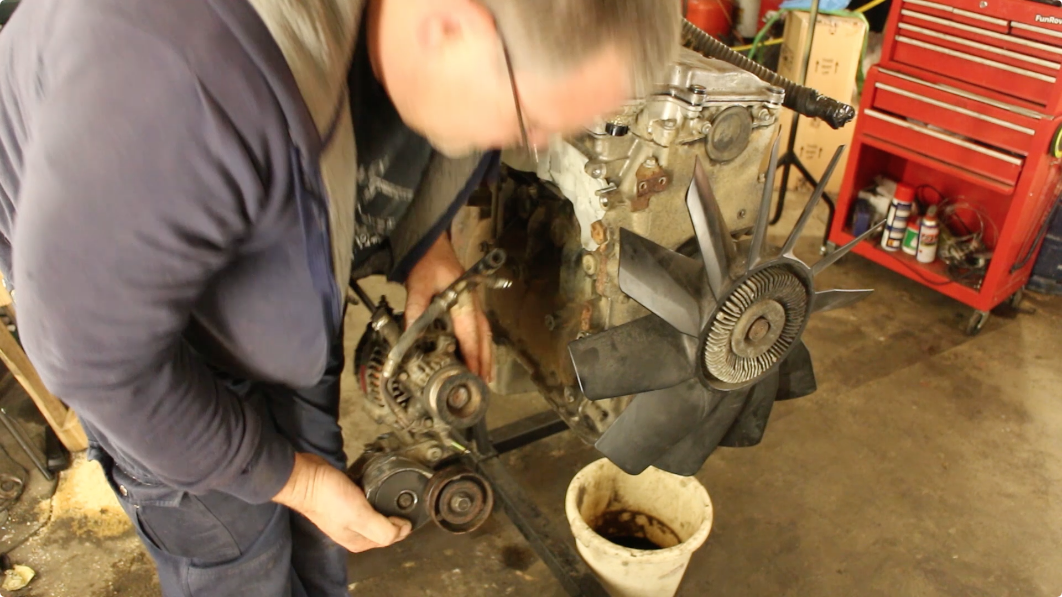
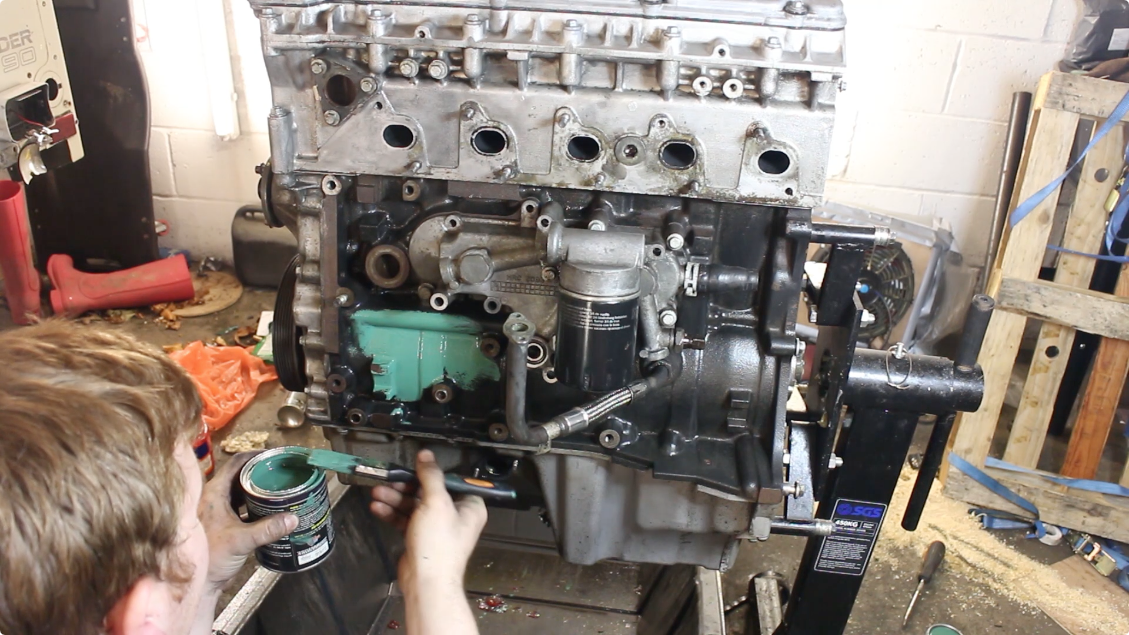
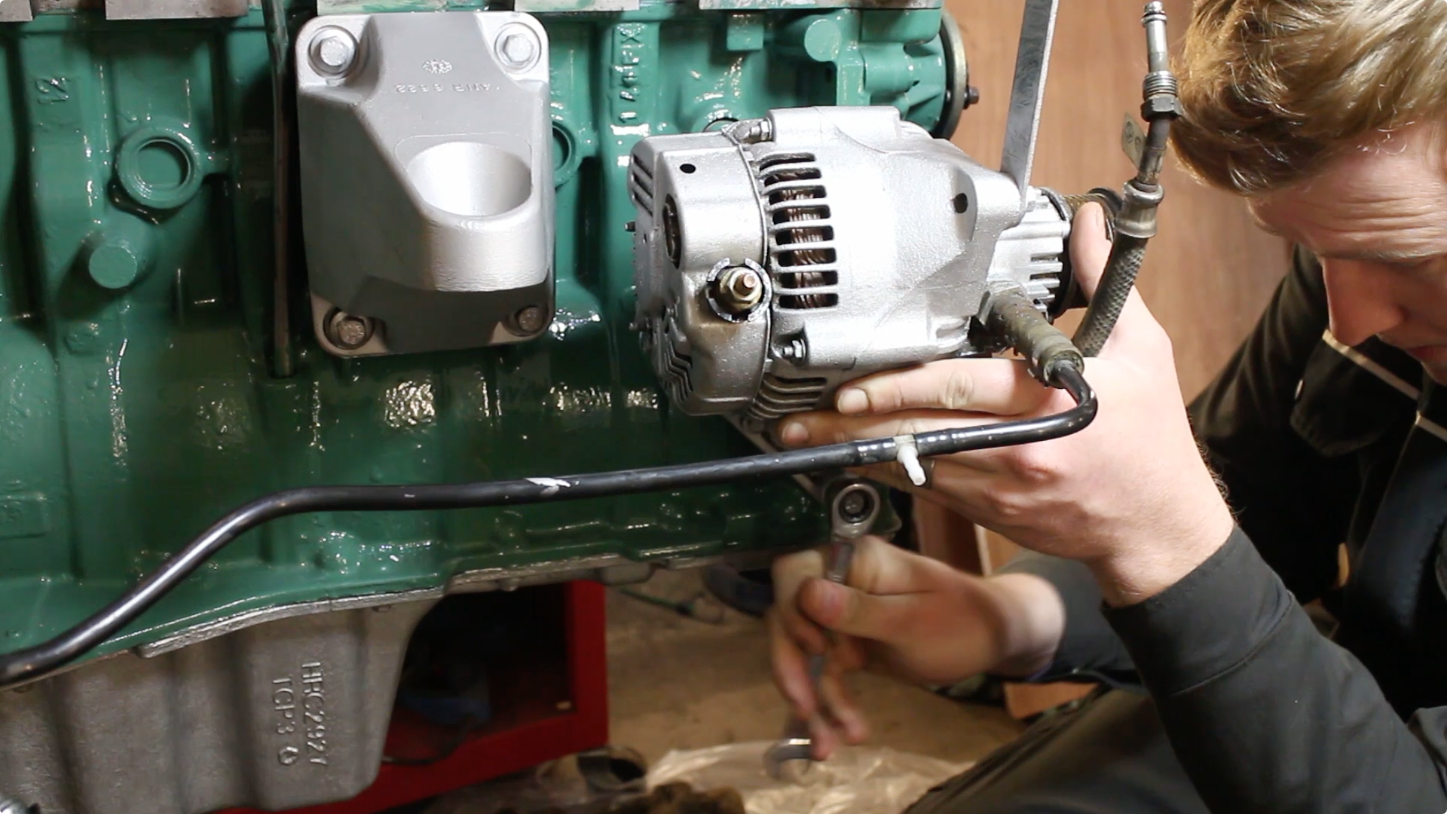
The Alternator and associated belt pulleys were next.


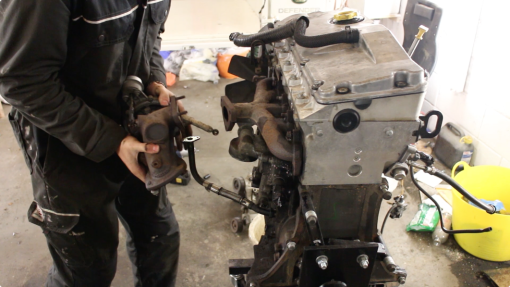
The turbo came off afterwards, revealing the all too common snapped exhaust manifold stud problem. Not one stud had snapped but two!


The answer is to get the manifold machined flat (as it has warped due to the exhaust gas temperatures) then have some of the casting removed to help it flex little. We'll also fit longer, more heavy duty studs with spacers and this should stop it ever happening again.


This week, we've been mainly working on our engine, as well as inspecting the rear tub.


It's a good idea to get the tub sat on an body painting trestle. These can be found on eBay pretty reasonably. They give you really good access to the underside and as an added bonus, fold away when not needed.


The inside of the tub has accumulated a lot of grime from the workshop and so it needed a good clean out. We used a strong road and traffic film remover to strip away any oils that might have been on the surfaces of the tub.


After cleaning, the body mappings have revealed some rust, not to worry, these are going to be blasted and then galved.

Screen-Shot-2015-11-10-at-07.58.46-510x287.png


There are a lot of holes left in the tub. We'll try alloy brazing to fill them in.


This seat belt mounting bracket is corroded, fortunately YRM metal solutions produces laser cut reproduction panels that we can simply rivet on. The part isn't too expensive either!


Use a TD5 / V8 Viscous fan set from FlatDog UK we removed the viscous fan in preparation for cleaning and painting the engine.


Using a 75mm air polisher and white diamond metal polish and sealer. Why are we polishing the rocker cover? Well, we're not refitting the acoustic cover on the engine, so we want it to look as good as the rest of the vehicle.


Here's a before and part way through, the White Diamond polish is great, it takes very little effort to get to the finish on the right. A few more passes and we'll have a chrome like finish that is protected from further oxidisation thanks to the sealer in the polishing compound.


Then we moved onto cleaning the engine, which had a lot of baked on oils, carbon deposits, mud and corrosion.


First, it was given a thorough scrub down with some small stainless steel wire brushes and a degreasing detergent.


Once dry, we could then tackle the corrosion. Here we're working the corroded areas with the brush more, before switching to a dremel with a wire cup.


Areas such as the end of the block were pretty corroded so it was knocked back with a red scotchbrite pad, polished and then sealed.


Still a little more corrosion that was removed with a flapper wheel on the dremel.]


Recon Gearboxes LTD completed our R380 and it's looking superb! We're having the brackets blasted and galved so hope to put that back in soon!


Following a suggestion from one of the forum posts we've been running for the build, we swapped our Britpart galvanised turrets for some heavy duty
Gwynn Lewis turrets


. These replacement turrets are stronger, galvanised, easier to clean / maintain and once fitted, will make shock replacement much faster! These have been designed for challenge trucks and are extremely well made. We're also fitting matching
Gwynn Lewis turret rings


. These have 10.9 tensile bolts welded into the ring and feature a chamfered edge to stop tyres rubbing at full articulation.


Fitting these turrets is a doddle. The easiest way is to undo the lower nut on the shock, then jack the chassis up to release the spring from it's seat about an inch or two.


Then, if you unbolt the access panel in the wheel arch, and carefully undo the four nuts on the ring, the whole assembly will lift out in one piece. You may have to use a propane torch on the nuts as these can shear quite easily on corroded parts.


Then the ring can be slipped into place, the turret offered up and bolted down to 24nm or 17.7lb ft.


One key benefit of the Gwynn Lewis shock is that you can fit a shock absorber without removing the turret or spring.
Engine Painting


The TD5 rocker cover has been polished up and cleaned, so now it's the blocks turn for some attention. First off, all holes are plugged and bolts are temporarily placed back into their holes.


Look how clean that head is! Took a lot of work, but the results are worth it! Now using a bottle of brake cleaner, the block was throughly scrubbed down and agitated with brushes.


This is why it's so important! Even after 3 wash downs already, there's still dirt and oil left behind!


I'm using POR 15 Engine Enamel from
Frost.co.uk

to paint the block, it is recommended that bare aluminium surfaces should be treated with metal prep first before painting.


Then blown down with the air gun to get rid of any final bits of debris and moisture that might effect our paint.


Almost ready to paint, I keyed off the surface with a 3M scrotchbrite pad, just for a little extra adhesion!


Finally! Painting time! I'm using a good quality brush and POR 15 Engine enamel from Frost. It's designed specifically to be used on engine blocks so will withstand higher temperatures and comes in a selection of colours. I've chosen Buick Green, which is as near as makes no difference to the final build colour, Pastel Green. This colour has become ever so popular recently, however, I bought mine about a year ago. Oh well, this is one Defender that isn't just following the crowd!


Looks good! Need to leave this 6 days to fully cure before starting the engine, but we can be on with putting it back in over the next week!
Engine Mounts


Engine mounts have been refitted, we've replaced the tired originals for some OEM replacements. These need to be torqued to 85NM. We also took the time to shot blast the original heat shield and paint that in a high temperature spray paint.
Fuel Tank and Guard


The old fuel tank guard looks a bit sorry for itself. On the TD5 90 this is all that holds the fuel tank in place - it also offers a little protection against terrain when off-roading. We could have replaced it with an original style guard, but these were actually more expensive than an aftermarket, heavy duty galvanised guard (bought from
http://paddockspares.com

). So we cleaned up the tank, and fitted up the replacement item


I used a trolley jack to line it up and hold the guard in place, it's quite cumbersome to do this on your back by yourself. Once bolted up, it looks great and is very tough! I can stand on the guard and it will take all 16 stone (100kg) of me no worries.


A great value replacement / upgrade!
 
It's looking great. I particularly like that cleaned up engine. I give mine a blow over with Gunk occasionally and a hose down, but it would be so good to get it out of the car and clean it up and paint it.
 
It's looking great. I particularly like that cleaned up engine. I give mine a blow over with Gunk occasionally and a hose down, but it would be so good to get it out of the car and clean it up and paint it.

It's a time consuming job, one that would be a lot quicker if you could get your hands on a steam cleaner! But I have to say, I am happy with it and it will really make it stand out from the crowd of "Special editions" that companies make these days


This week, I've had my better half working on the bulkhead, removing the remains of the seam sealer so the bulkhead can be sent off to the shot blasters, then to the galvanisers and back to me for painting.


The filter housing corrodes on the TD5, the one we removed was unusable. I replaced it with this new part which is anodised and also took the time to spray the casting cavity with Dinitrol.


Then I fitted up this bracket, ready to accept the panhard rod.


I've chosen to use a heavy duty adjustable panhard rod from Terrafirma. It's well made and looks good. I had to tap it in place with a soft faced hammer.


To get it to fit, I had to adjust it slightly - then use a screwdriver to align the bolt hole. Both bolts then need*torquing*down. I'm having the Defender professionally set-up and aligned at a later date, so the steering arms e.t.c will be adjusted then.


Then I fitted the cross rod eye into the steering arm. This has a counter clockwise thread so it tightens opposite to what you're normally used to.


Then offered up the steering arm. Unfortunately, I've lost the castellated nuts that go onto the track rods so will need to replace those, along with the split pins.


Next I dropped in the new Old Man Emu steering damper. This is a very heavy duty damper, it's fairly easy to fit though I did have to file down the lower bush race slightly (mostly just the powder coat really).


Moving onto the brake callipers, we were shot blasting our old ones, which brought them up a treat. But when you have 4 callipers that need blasting, painting, the seals replacing then refitting 0 the time taken quickly adds up. So, the decision was made to replace them with 4 OEM new brake callipers. We are also swapping*the standard steel*piston callipers with stainless steel replacements. In the past, I've had to rebuild the brakes almost everytime I swapped brake pads - as we cover very little miles in the Land Rover, it allows the callipers to corrode. Then when you come along to replace the pads, the callipers will not retract. Lots of people say "just force them", but if your pistons are binding, this is more friction and thus a less efficient brake.


The easiest way to remove the old pistons is using an air line and blow gun. Be careful though, they fly out with tremendous force! I've had caliber pistons fly 30 feet easily! Then unbolt the calliper halves (this is not recommended by us or any brake manufacturer) but if you do so - you must have a spotlessly clean work area.


This is the*stainless steel replacement, they can be picked up quite reasonably nowadays and should prevent any problems in the future!


When assembling, smear Red Rubber Grease on the piston calliper. These has numerous benefits:
  • It prolongs the life of the rubber seal
  • It reduces the effects of wear from moving parts
  • It helps helps to resist*water ingress / hydroscopic action
  • It's a rust inhibitor
Once smeared in red rubber grease, the piston*should slide smoothly back into place. Repeat for the remaining pistons. When doing the calliper bolts up, it's best to do these as tight as you can.


We sold our 90's old wheels. These were aftermarket & oversized*alloys that wouldn't suit our build, to a fellow Land Rover enthusiast and FunRover fan. In their place, we're fitting Wolf steel rims. We're trying to stick very closely to Land Rover factory fitment options so these suit our build perfectly, whilst still giving us a more vintage Land Rover appearance. Wolf rims are also impressively strong with a high load ratings per corner. These need painting though to match our concept drawings. We've chosen the classic Land Rover wheel colour: Limestone.
Screen-Shot-2015-11-27-at-13.12.32-510x287.png
Throughly keying*off our wheels with a 3M red scotchbrite*pad, and blowing away the resulting dust. Anywhere that isn't keyed off will likely not adhere correctly with the paint.
Screen-Shot-2015-11-27-at-13.13.01-510x287.png
The whole rim was degreased. After the degreaser evaporated, it was then tack clothed.


Finally, onto painting. We're using a single pack, matt finish acrylic enamel. This one uses Xylene industrial thinners, at a ratio of around 10 / 15%. However, since it's so cold in the workshop, I had to add more to suit. A light coat of paint was added for*the first layer. Subsequent layers were*medium wet. We;d been firing up the space heater prior to painting to raise the ambient temperature and burn off some of the humidity. Paints work best when applied around 20 degrees, so the closer to this mark you get, the better.


The wheels will then be left to cure for a week at least before mounting the tyres. The coat here is still drying, hence the high gloss appearance.


This is Spray booth MK2 which I'll show in a future episode, it's working very well, cutting humidity to the low 30s and upping the air temp to a solid 20+ celsius. It means that I can get the whole car painted even if it's freezing outside and the workshop is only 1 or 2 degrees warmer.


Once the wheels had been cured in the booth I took them along to a local tyre fitters


I've chosen the Wolf HD rims (as seen on Heritage edition Defenders). These are tough, strong and quite cheap.


Along with tubeless Goodyear MTR tyres, another factory fit option.


The tyre fitter used a product known as Rim Seal that has anti-corrosion properties as well as adding lubrication for the next step


The tyre fitting machine has a large guide that eases the tyre bead of the lip of the wheel.


Finally, the tyres are inflated to manufacturer specifications, this helps to seat them too (watch the video too see how loud this stage is!)


Here they are mounted up in daylight, the colour and finish is perfect! The SIP HVLP gun I used works well for the money!


The tyre fitting guide can score the lips of the wheel, which is no real problem!


I simply wiped it clean with alcohol then used an artist brush to touch in the scrapes.


Whilst the repairs are drying, I dropped in the pads - EBC Green stuff to match the EBC performance disks. This Land Rover will stop on a penny if needs be!


Not keen on the colour, but the wheels will cover them up!


Lifting the wheels onto the longer Wolf FRC7577 extended wheel studs - expensive but designed to work with the Wolf rim


Nipping the nuts up, they need to be torqued to 170NM after lowering the Landy of it's jacks.


All 4 wheels fitted!


Fitting up the alternator / vacuum pump whilst the engine is still on the stand


This has been painted with a high temp paint to match the rest of the engine


Now it's time to finally drop the engine back in the 90! This feels like it's finally getting somewhere!


The engine needs to be lifted over the front crossmember between the dumb irons. The engine crane is an extremely useful tool, I love it! It's also useful to have 2 people here, one to jack and watch the near side, whilst the other guides in the engine from the other.


Fitting an engine to a rolling chassis is great, there's nothing in the way! Takes about a minute!


And that's it for this week, need to get cracking now as I would still like to hit my deadline of January 1st XD
 
The engine looks great, I want to have a go at my TD5 next year but I think i will use the blue engine paint.
One question what did you use to clean up the alternator, it looks new but I think you have to be careful what you put on it when you de grease it.
 
The engine looks great, I want to have a go at my TD5 next year but I think i will use the blue engine paint.
One question what did you use to clean up the alternator, it looks new but I think you have to be careful what you put on it when you de grease it.

Just used isopropanol (alcohol) and then POR 15 Aluminium paint from Frost.co.uk
 
cracking work mate, :D think ya need to get a wiggle on to be done for the 1st of jan ;), all faith in ya :D keep up the great work and the the vids, and good luck fella.
 
If you ever want to come help, feel free ;)
:oops: might be more of a hindrances than help, lol, even though i am mechanicly minded, never worked on a landy, or owned one, :( am happy reading and watching other peoples threads/vids of there amazing rebuilds.
hope ya do hit ya deadline mate, whats the paint colour gonna be, cant remember if ya have said or not.
Haha, no worries Andy. Not sure about the deadline, but I'm going to try my hardest. Final colour will be pastel green


The rear tub is in need of some minor repairs. The tub cappings will be removed and sent off for galvanising. Everywhere else, we have replacement repair sections.


Using a 6mm drill bit, we're drilling into the rivet head, which typically shears off.


Then the crush section of the rivet can be tapped out, this is the quickest way to remove rivets.


There are quite a number of rivets all told on the cappings


In addition to rivets, the cappings are typically held on with some mild adhesives / foam tape and can then be lifted away. Those will be going to the galvanisers along side the bulkhead and will be fitted unpainted to the 90 for that classic Land Rover appearance.


Cappings gone, you can see the Zinc Phosphate primer applied at the factory. Over the primer, the tub is currently overcoated in 2 pack (Chawton White). We'll be going to the classic (and now rather popular) Pastel Green, a Series 1 colour


These seatbelt mount brackets panels came from YRM Metal Solutions. They've been laser cut, CNC folded and galvanised. The result is excellent tolerances and a lasting repair!


Fitting is easy, the old seat belt mount bracket is removed.


And any flaky aluminium corrosion is stripped away with a wire wheel.


We applied Dinitrol cavity wax to the tub, before offering up the repair section.


It's supplied in 2 pieces (otherwise it wouldn't fit), there are a few holes that have captive nuts so bolts were installed to hold the panel in place, along with a G clamp.


Before drilling the holes for each fixing.


There are a total of 48 M8 bolts required. Once secured, these panels are very strong! There's zero movement and the whole lot will be overcoated with stone chip for further protection.


Moving onto the strike plate, this often corrodes where the tub fits to the sill rail, due to bimetallic reaction. The aluminium turns to a powder and is completely unusable.


So to repair we'll fit new strike plate sections from YRM too. These are pretty simple to fit, and once prepared and painted, it should be as good as new.


We're starting by marking off where we'd like to cut off the strike plate.


And using a spot weld drill to remove the spot welds and rivets below the line, including on the seal retainer.


Then, using a bolster chisel and a scraper, we can begin to prise the 2 skins apart


Finally, we scored a mark with a Dremel multi tool along the line. Then we were able to fracture the corroded part off, with a clean break formed along our score.


I'll be fitting the new sections in another video, shown here is the exposed rear skin.


The floor too has suffered with some corrosion and needs replacing. The dome rivets need to be ground down, others will need to be drilled and others still, cut with a grinder.


The floor has adhesives applied in key areas, so it can take some time with a breaker bar & hammer to separate the floor from the supports.


After all rivets have been drilled out, the floor will lift out


Now's a good time to assess the condition of the tub supports. We can also throughly rust proof these whilst they're exposed.


Finally, my plumber wife kindly began brazing some of the redundant holes in my tub, using the excellent Lumiweld from Frost.co.uk. You can check out the results at the end of the video, it's impressive stuff! And is formulated to work on Birmabright!
 
Back
Top