johnny curt 1
Well-Known Member
- Posts
- 9,118
- Location
- manchester
right so here goes as the title says im gonna show you how i deal with siezed and sticky brake slave cylinders
youll have to excuse the fact that in this thread im not useing a landy one as this is the only one i have to hand at the moment ( actually came off a mk4 cortina ) but the principle method and design of them are all just the same
s without further a doo here we have one verry sorry looking cylinder pay not attention to the fact that one outer seal is missing ( its why its in me shed and not on a car )
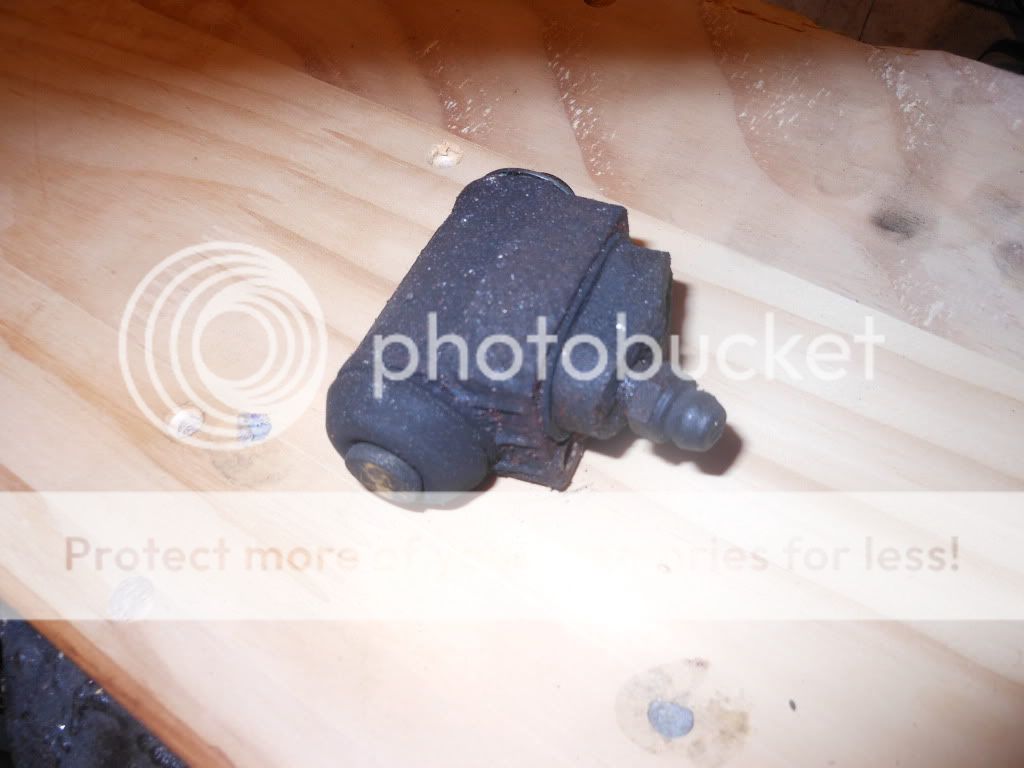
this particular one is rusted solid and full fo crap n gunk typical of never haveing a brake fluid flush in its entire life
so we start by removeing the outer rubber dirt cover seal wich will usualy come off pretty easy with a bit of teasing from a coctail stick ( preferrable as the wood wont tear or puncture the rubber like a screwdriver will )
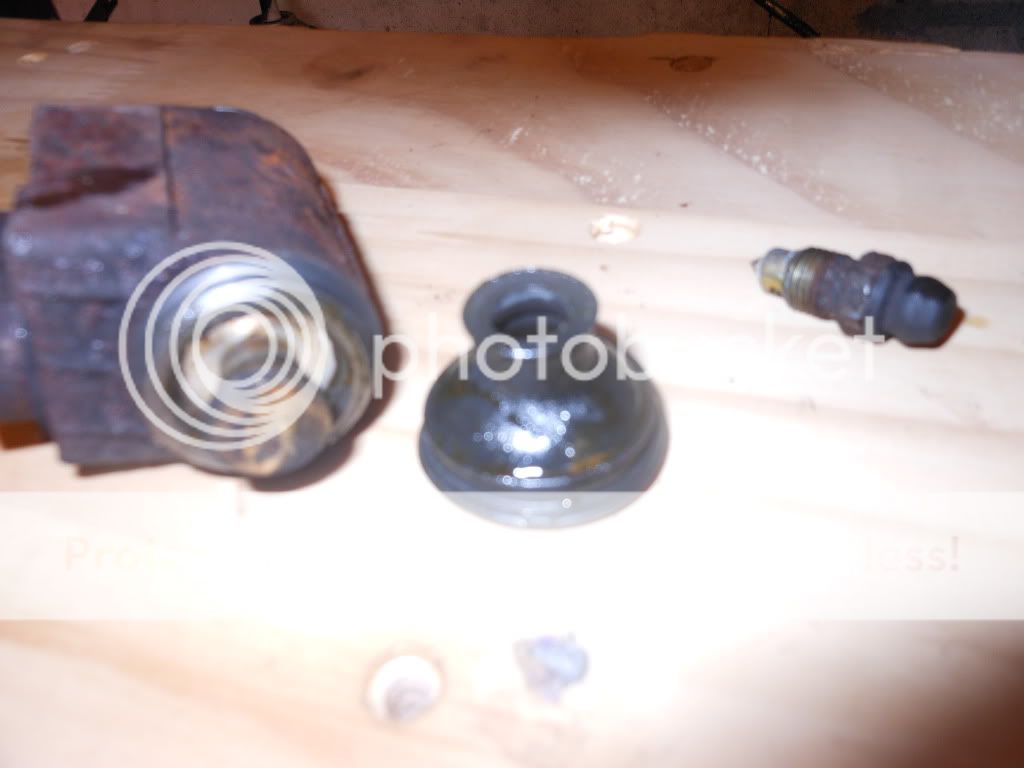
as you can also see ive also removed the bleed nipple at the same time just for conveinience as the rubber seals and nipple are the last things to go back on
once you have removed these items and put them to one side for later its time to inspect the guts
first things first look for any sign of leakage past the internal seal round the piston in this case there is some leaking on one side but not the other
totaly not good
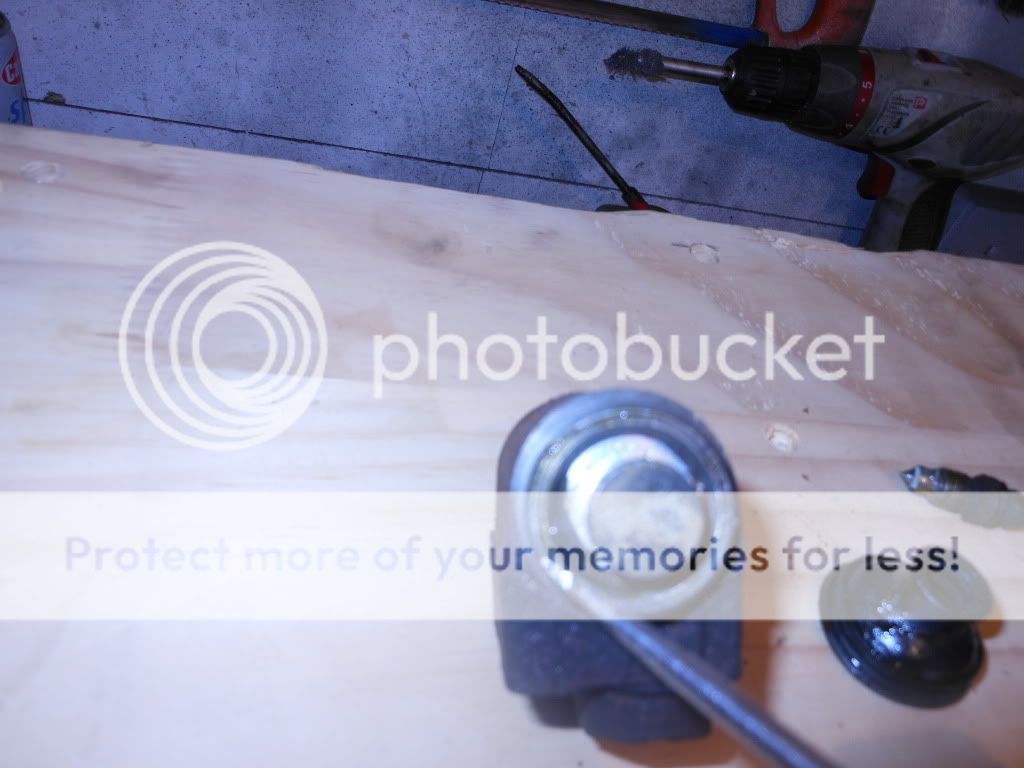
me camera work is a bit pants but at the end of the screwdriver you can just make out the pile of grob down the side of the piston
this is the worst case scenario exactly the reason i dont do this for real without a set of new seals at the ready but for demonstration purpouses this will do
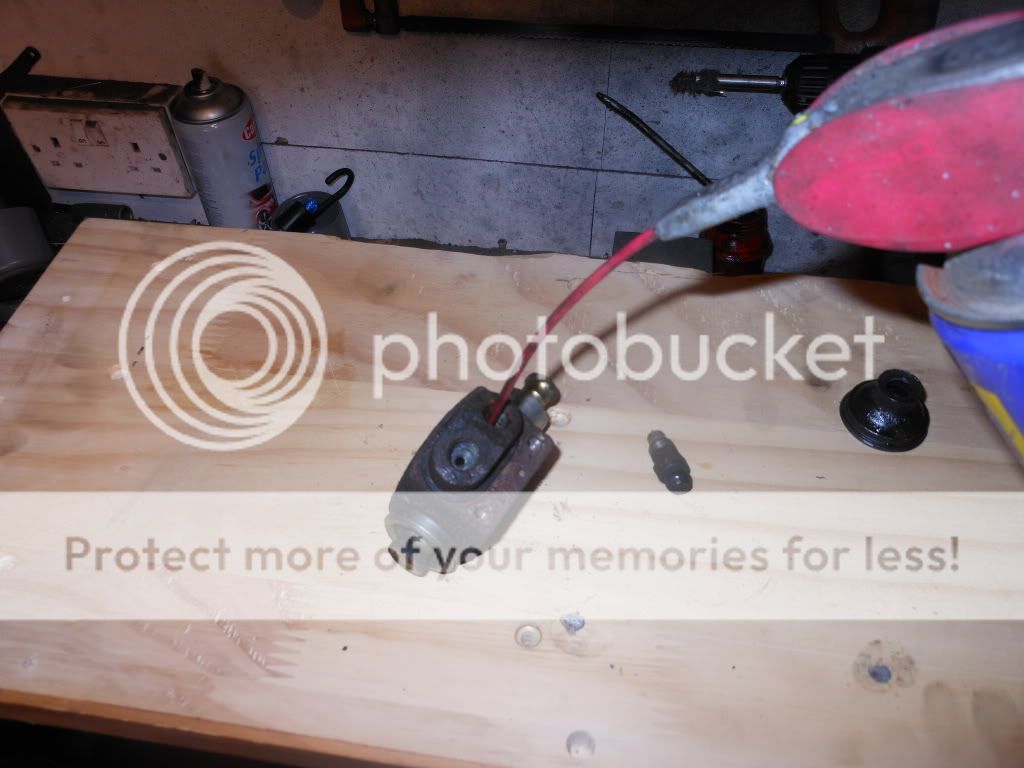
first we need to losen the pistons and get some movement to them so the next piccie we fill it with Wd40 and go for a ciggie while it soaks in
now i feel better for that you need to work on getting things to move the best way i know of is not trap it in the vise and swing on the handle for dear life but to tap it on the counter and keep trying to squeeze it with your hands only
this minimises potential damage to the seals inside
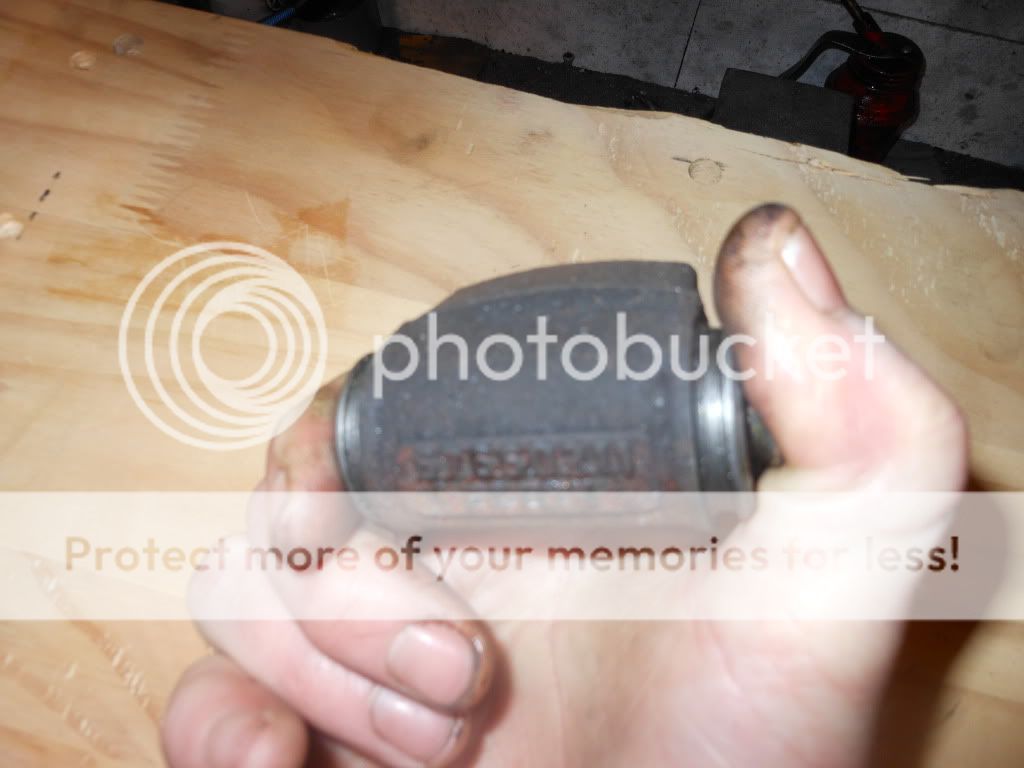
once you have movement its time to get the little beggers out wich can be done gently with a rag round the stub on the end of the piston and a pair of grips
at this point if its tubborn to get out rotate the grips a little and pull gently itll come out in the end
( caution shut the workshop door before doing this as the internal spring could fly out you dont wanna be rooting in the garden for this spring )
and goggles are a must have at this point
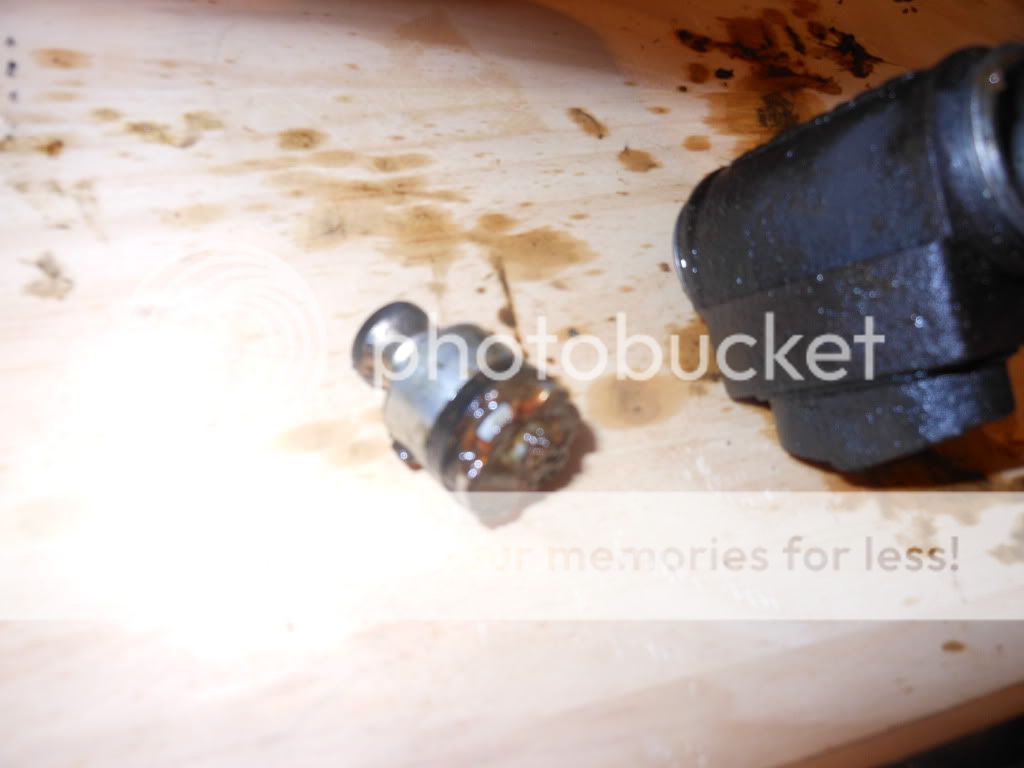
now take evrything out of the cylinder and clean them up proppa good
starting with the pistons rub them clean with bogroll wd40 and a plastic cheap scouring pad as the plastic wont damage the metal nor the rubber ( a steel brillo pad will so forget that )
heres a few pics of the process
before
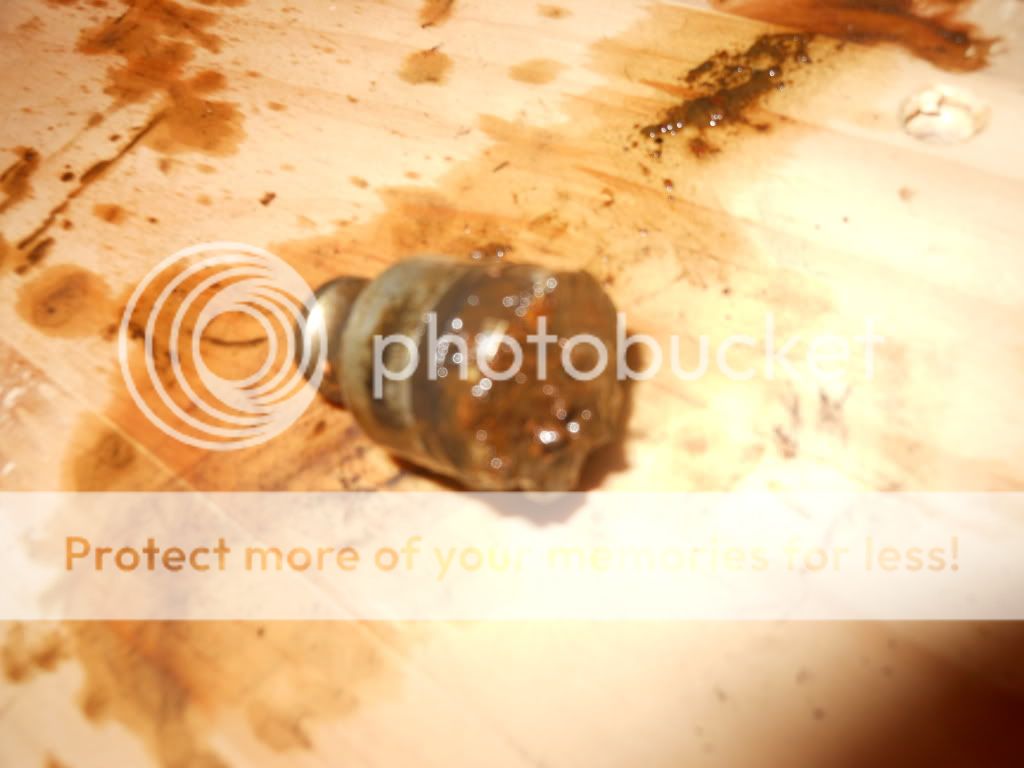
and after ( note the coctail stick and artists paintbrush used to get absolutely all the grit out from under the seal lip on the piston
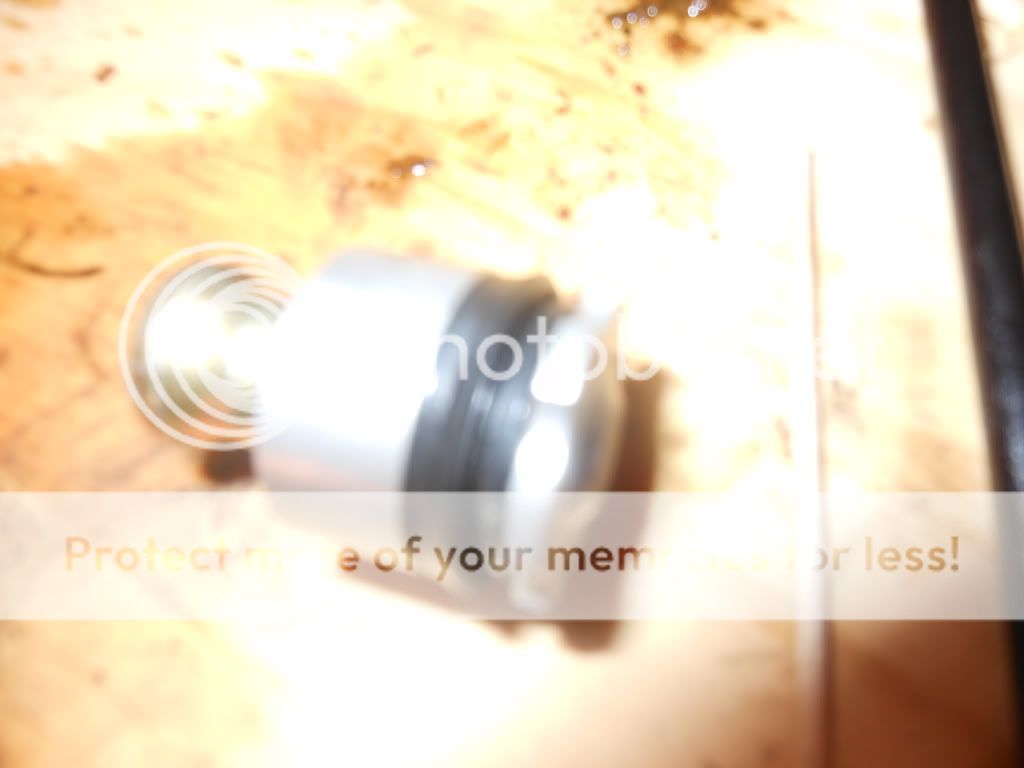
now the ikky part use the plastic pan scourer to clean the bore on the cylinder with a bit of lighter fluid parraffin or WD40 get the best finnish you can on this surface as the cleaner and smoother it is the better the seal will be

now put evrything back into the cylinder in the order it came out if you find it difficult to get the rubber piston seals back in use a light smaring of lard to lubricate the seal against the cylinder wall (this helps emmensely )
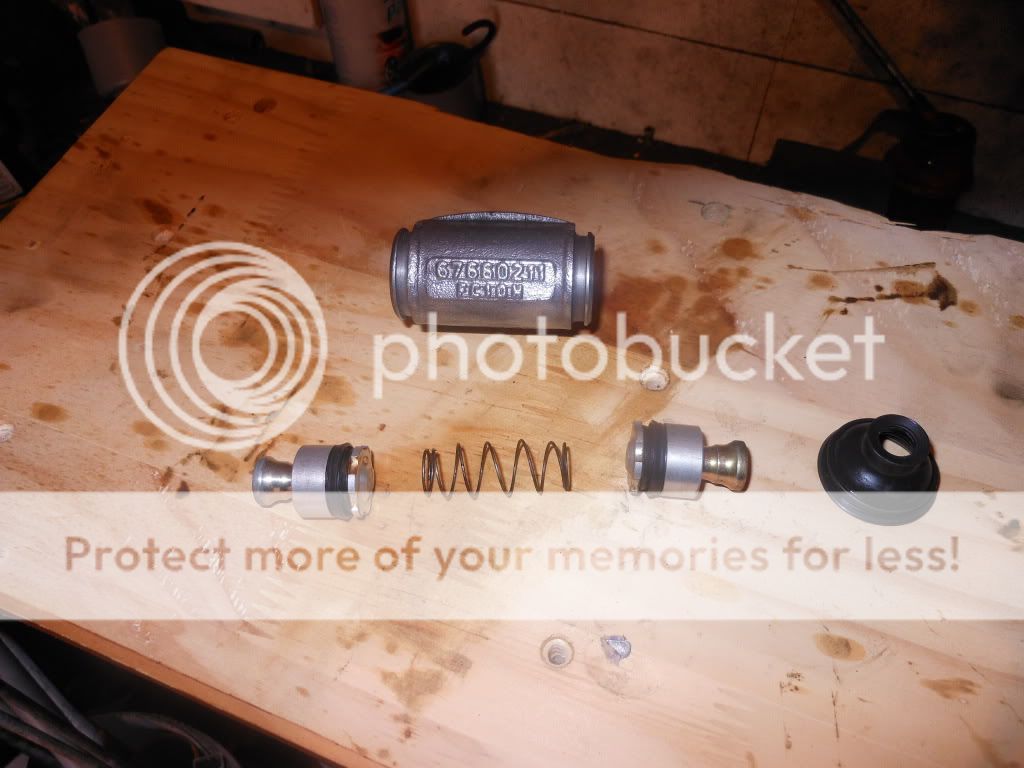 now the outer seal its easier if you turn the seal inside out first then work it over the piston knuckle and then turn it the right way in
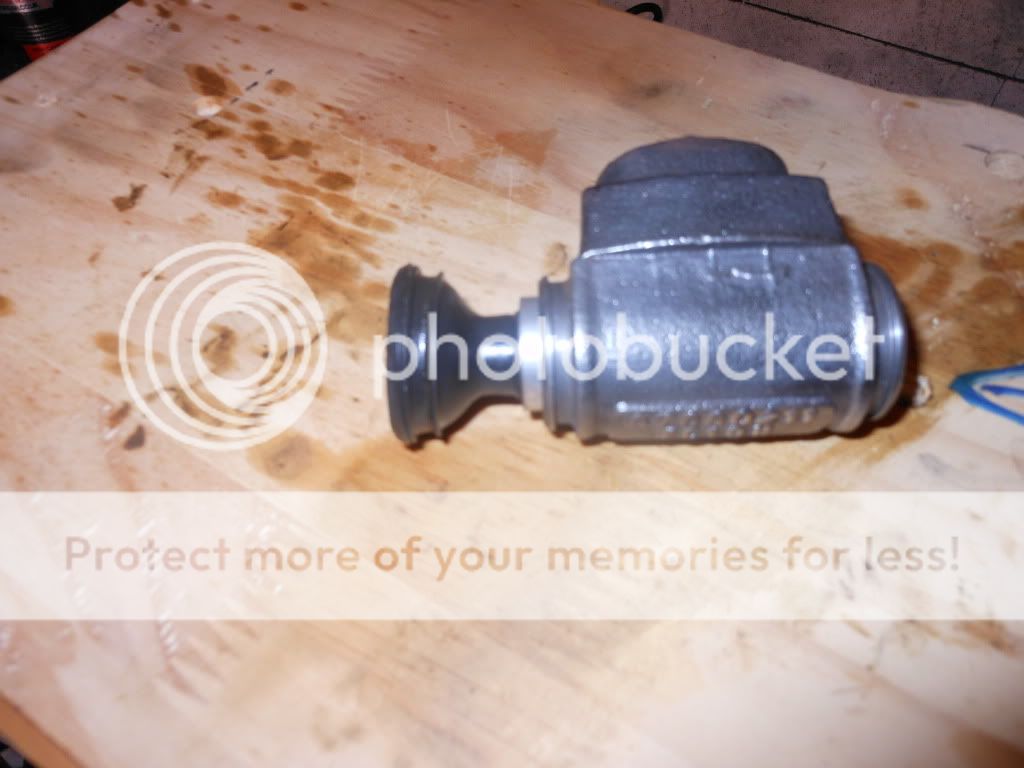
and voilla a perfectly useable brake cylinder

when refitting this part its good practise to set it up fit the brake drum and bleed it up and test the brakes a few times under pressure then remove the brake drum to check for any signs of weeping roiund the seals
if it persists to leak try this process again once only if it still fails get new cylinders as its not worth your life risking it
but if theres absolutely no sign of leakage the jobs a good un


hope this helps somebody on here as this was a long hard thing to learn on my own through the years
youll have to excuse the fact that in this thread im not useing a landy one as this is the only one i have to hand at the moment ( actually came off a mk4 cortina ) but the principle method and design of them are all just the same
s without further a doo here we have one verry sorry looking cylinder pay not attention to the fact that one outer seal is missing ( its why its in me shed and not on a car )

this particular one is rusted solid and full fo crap n gunk typical of never haveing a brake fluid flush in its entire life
so we start by removeing the outer rubber dirt cover seal wich will usualy come off pretty easy with a bit of teasing from a coctail stick ( preferrable as the wood wont tear or puncture the rubber like a screwdriver will )

as you can also see ive also removed the bleed nipple at the same time just for conveinience as the rubber seals and nipple are the last things to go back on
once you have removed these items and put them to one side for later its time to inspect the guts
first things first look for any sign of leakage past the internal seal round the piston in this case there is some leaking on one side but not the other
totaly not good

me camera work is a bit pants but at the end of the screwdriver you can just make out the pile of grob down the side of the piston
this is the worst case scenario exactly the reason i dont do this for real without a set of new seals at the ready but for demonstration purpouses this will do
first we need to losen the pistons and get some movement to them so the next piccie we fill it with Wd40 and go for a ciggie while it soaks in

now i feel better for that you need to work on getting things to move the best way i know of is not trap it in the vise and swing on the handle for dear life but to tap it on the counter and keep trying to squeeze it with your hands only
this minimises potential damage to the seals inside

once you have movement its time to get the little beggers out wich can be done gently with a rag round the stub on the end of the piston and a pair of grips
at this point if its tubborn to get out rotate the grips a little and pull gently itll come out in the end
( caution shut the workshop door before doing this as the internal spring could fly out you dont wanna be rooting in the garden for this spring )
and goggles are a must have at this point

now take evrything out of the cylinder and clean them up proppa good
starting with the pistons rub them clean with bogroll wd40 and a plastic cheap scouring pad as the plastic wont damage the metal nor the rubber ( a steel brillo pad will so forget that )
heres a few pics of the process
before

and after ( note the coctail stick and artists paintbrush used to get absolutely all the grit out from under the seal lip on the piston

now the ikky part use the plastic pan scourer to clean the bore on the cylinder with a bit of lighter fluid parraffin or WD40 get the best finnish you can on this surface as the cleaner and smoother it is the better the seal will be

now put evrything back into the cylinder in the order it came out if you find it difficult to get the rubber piston seals back in use a light smaring of lard to lubricate the seal against the cylinder wall (this helps emmensely )
 now the outer seal its easier if you turn the seal inside out first then work it over the piston knuckle and then turn it the right way in
and voilla a perfectly useable brake cylinder

when refitting this part its good practise to set it up fit the brake drum and bleed it up and test the brakes a few times under pressure then remove the brake drum to check for any signs of weeping roiund the seals
if it persists to leak try this process again once only if it still fails get new cylinders as its not worth your life risking it
but if theres absolutely no sign of leakage the jobs a good un
hope this helps somebody on here as this was a long hard thing to learn on my own through the years
