frostythor
Well-Known Member
- Posts
- 611
- Location
- NEW FOREST
Hi All
well the weather was good enough to let me remove my Headliner it was falling apart and dropping all over, I had found the rear sun roof seal was not in correctly and leaking, and the front sun roof was no even sealing on the roof as I could move it, and it never fully worked as I could never slide the glass back,
so out it came
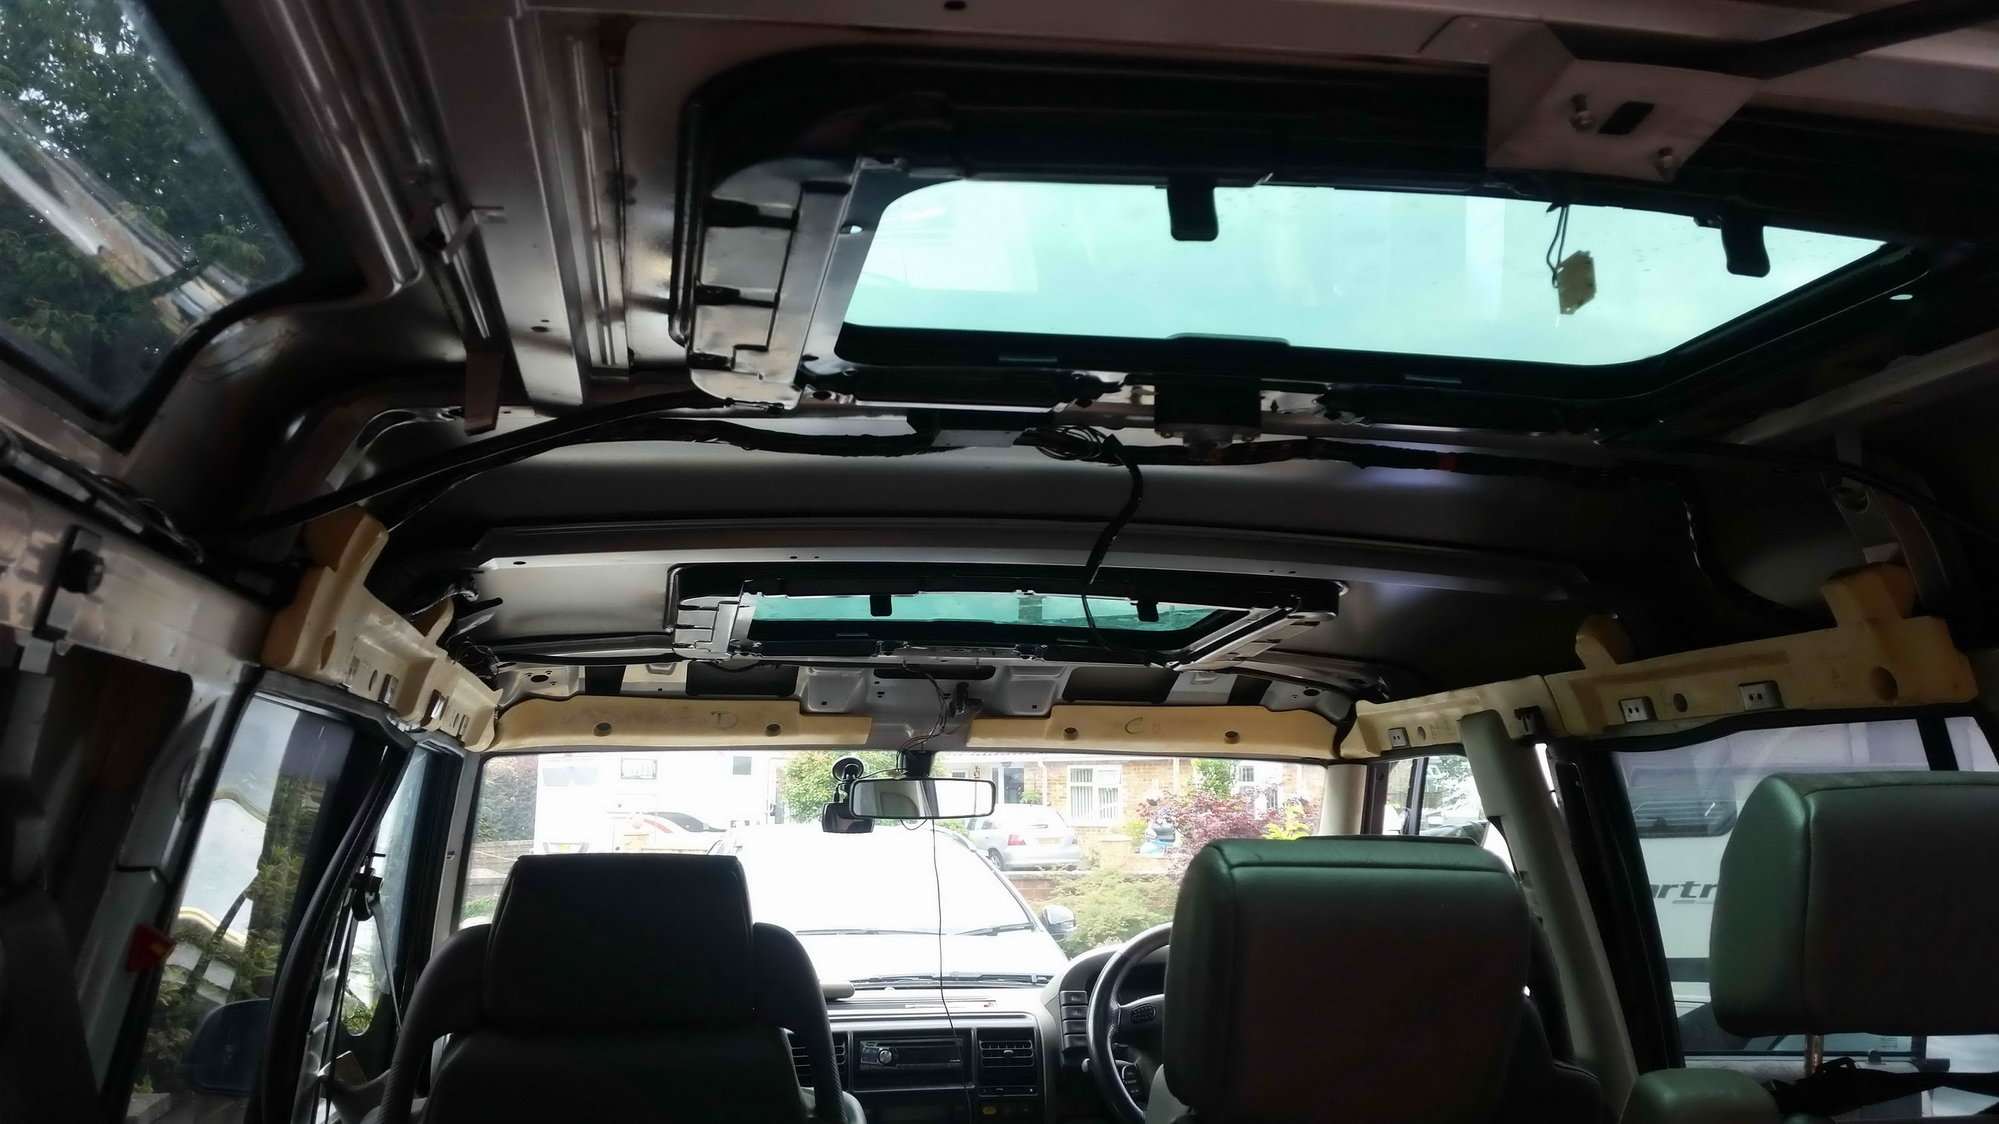
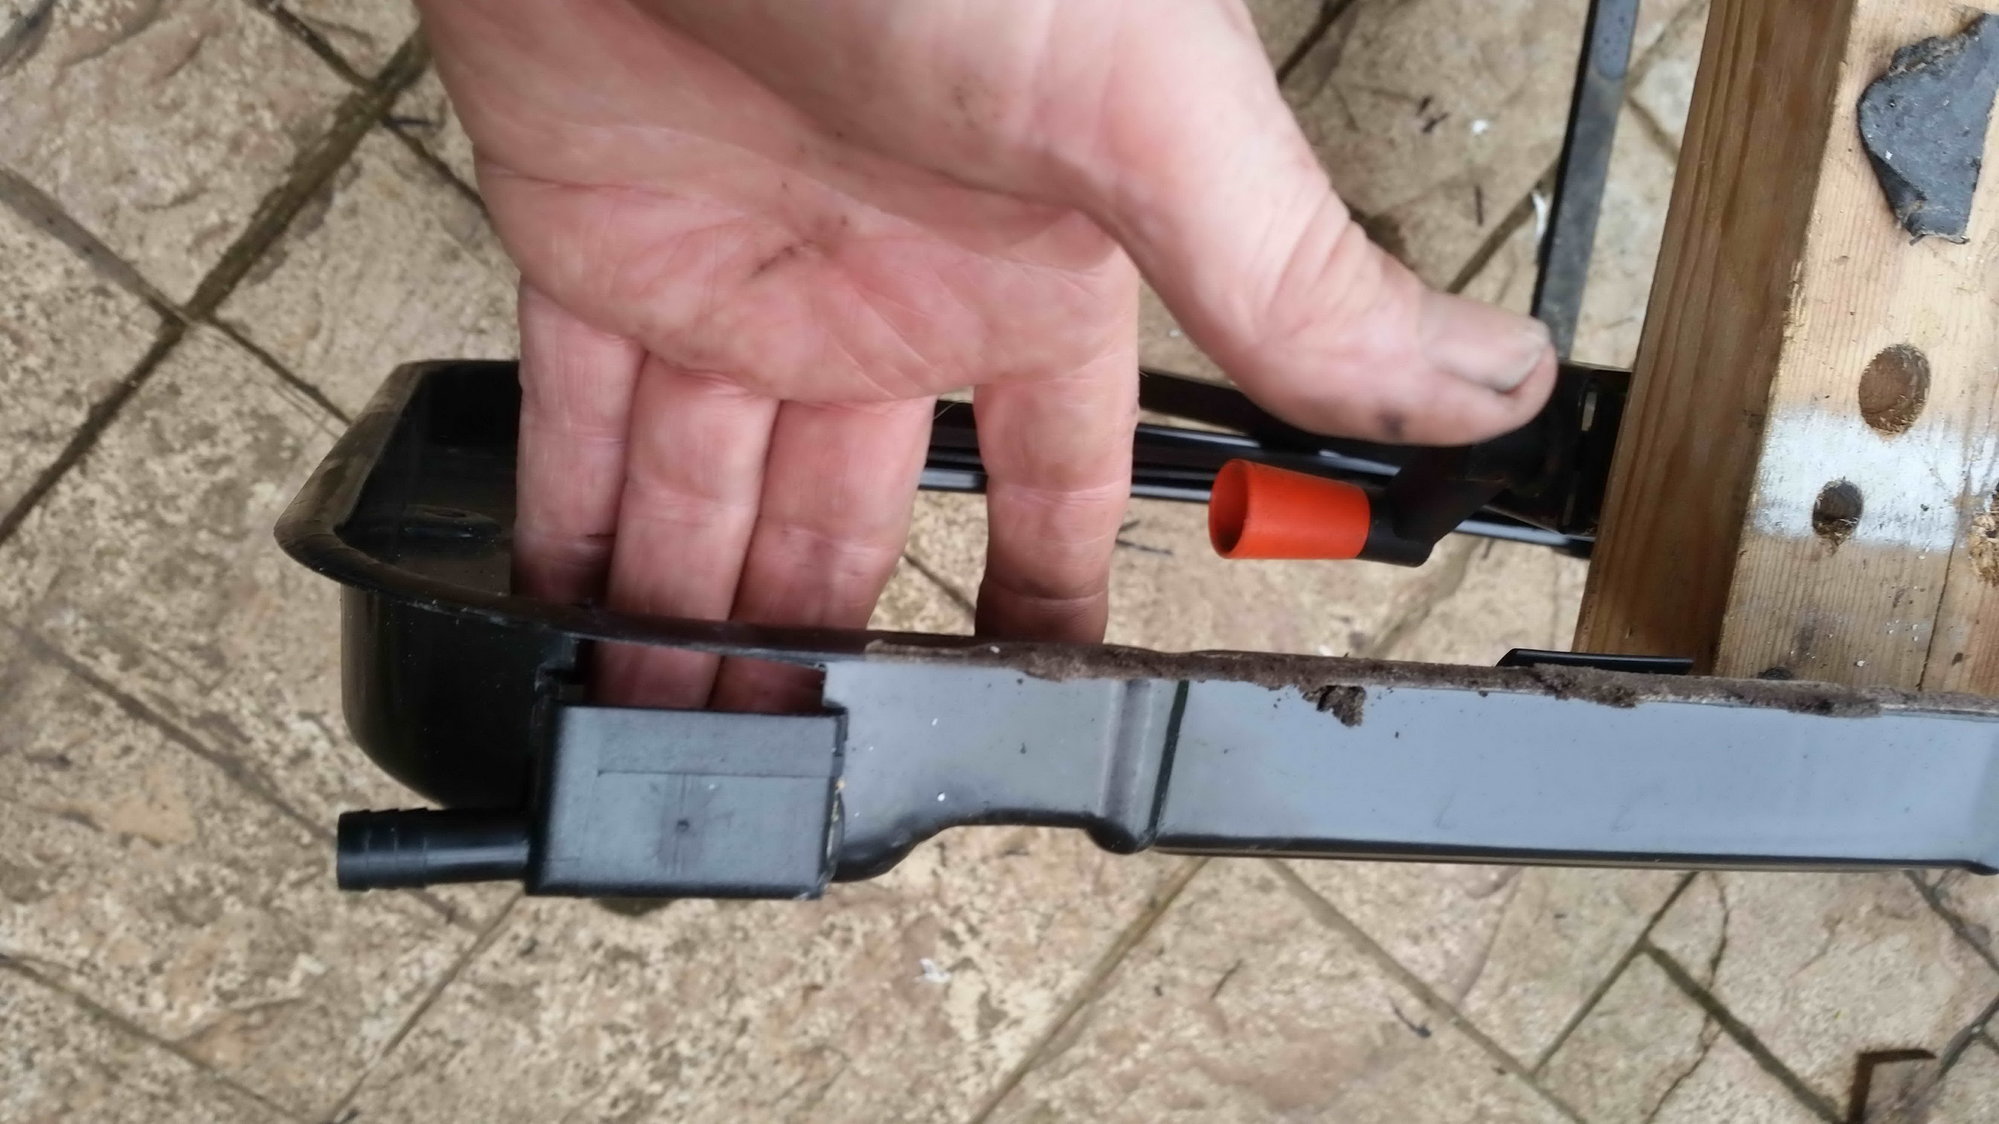
I then removed the front sun roof and when I checked out the mechanism , I found the guide on the slider arm had broken, it a 5mm thick plastic pieces, with a 6 mm hole I made one out of an old bit of plastic, it worked fine the as I was about to put it back I noticed the drip tray drain point has an opening so I cut a couple more pieces of plastic and stuck the in place
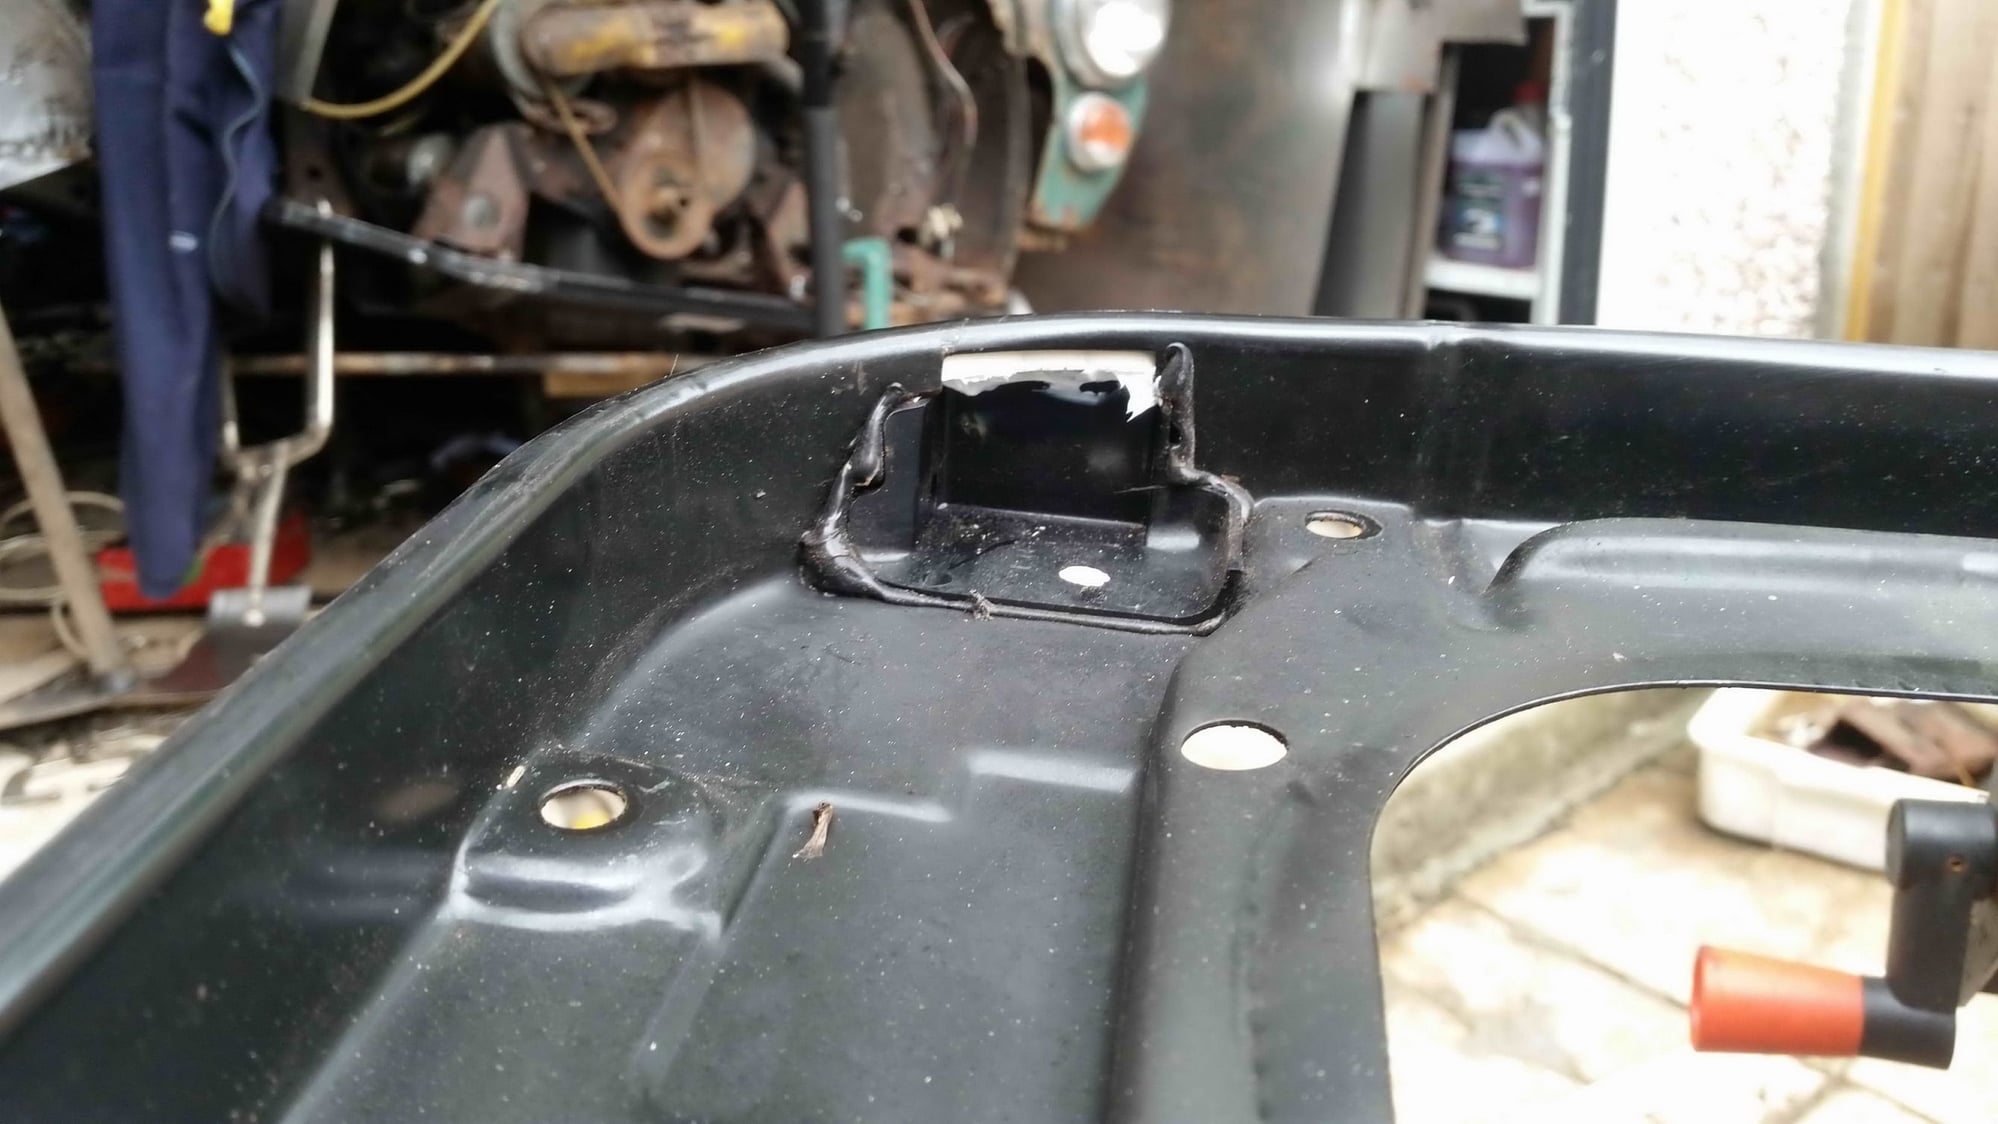
I replace the drip tray and seal the whole tray to the inside of the roof, I then removed the rear drip tray and did the same, and blow out the rubber pipes before replacing them and securing with a plastic tie, the a hose pip on the roof to see if I had any leaks, and checked any water was coming out of the 4 drains all good so nex the headliner
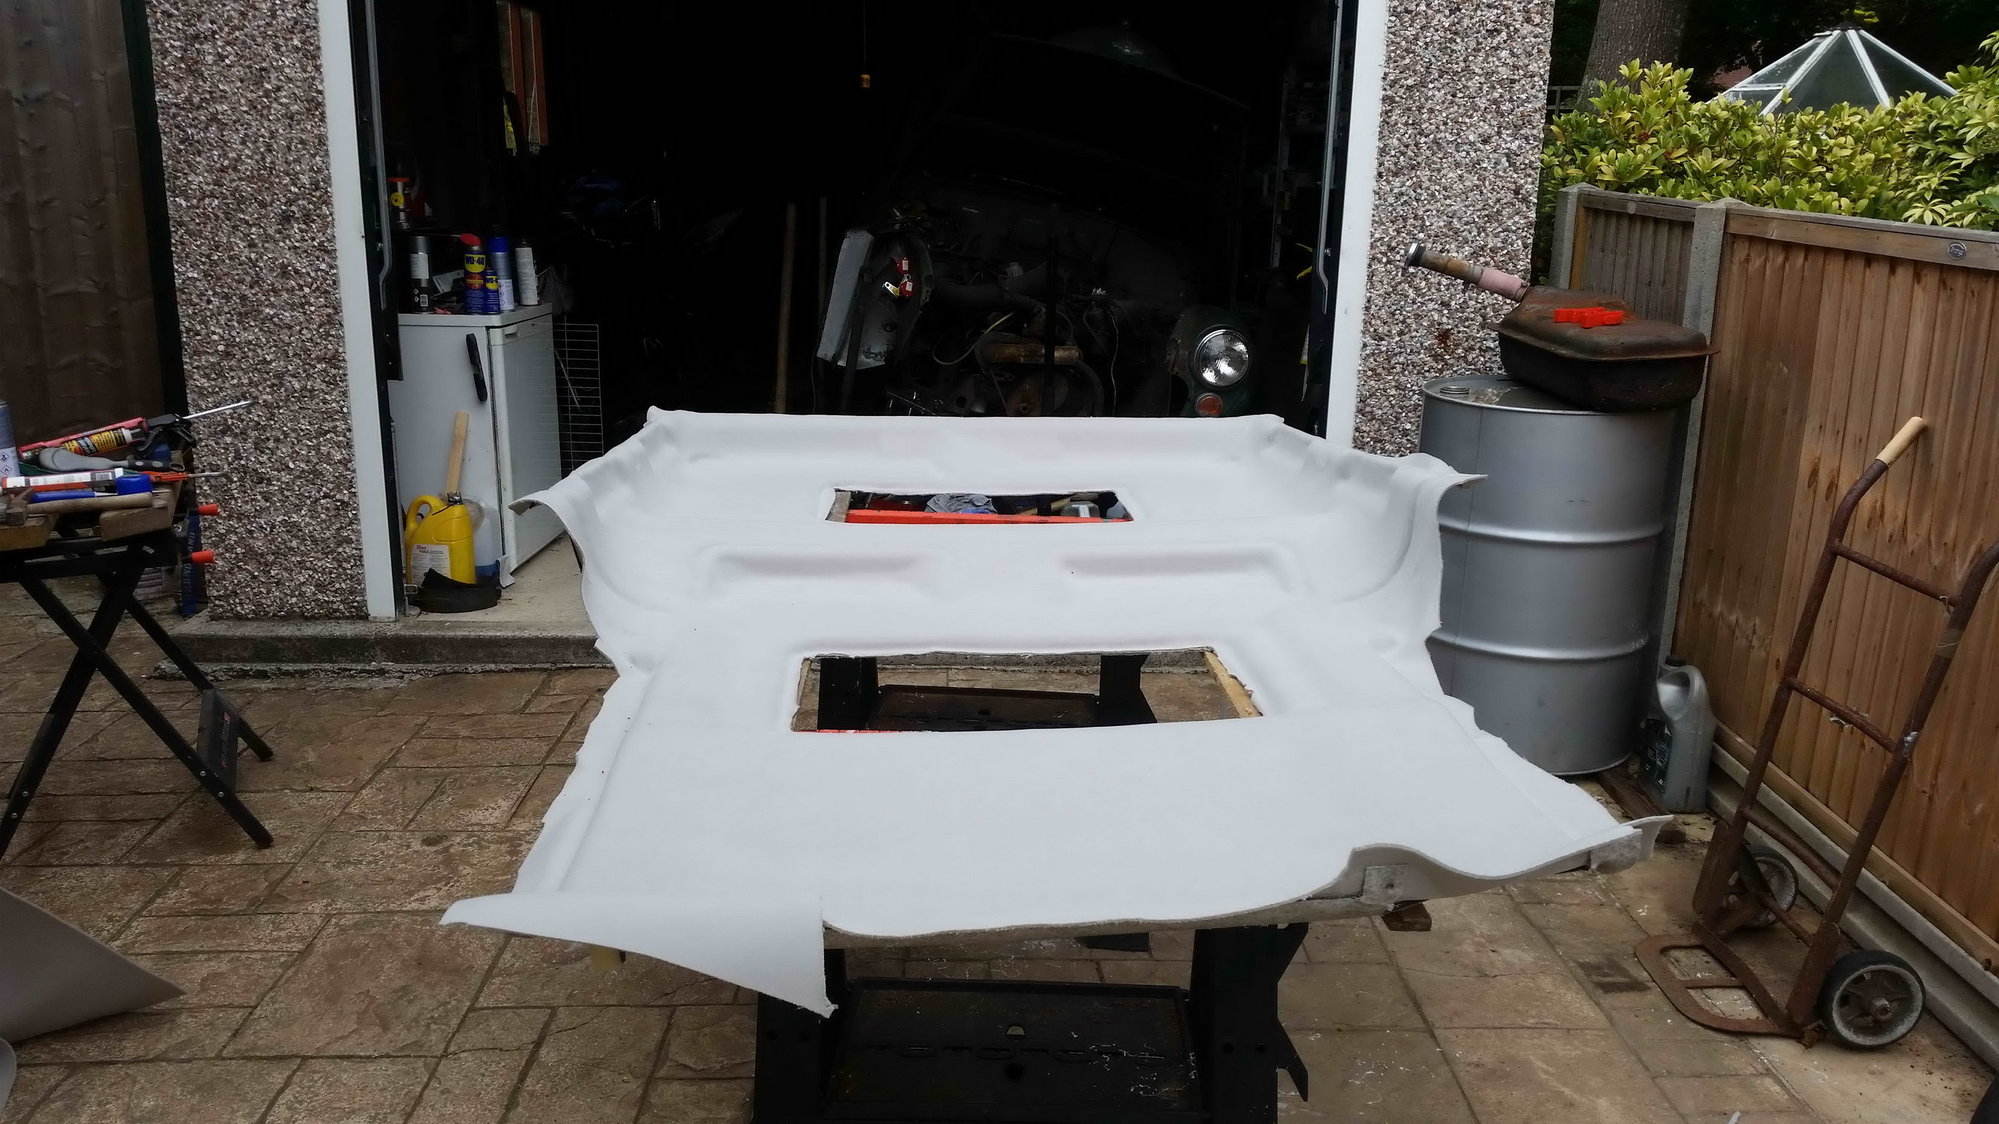
not to bad, for a first attempt, I cut all the big opening with a single sided razor blade and all the small holes with a round point hot soldering iron,
OK its not perfect but its 1000% better than it was, I only lost 1 screw which I replaced from, the only other problem was the last Items I put in was the sun visor clips, I has missed the holes so burned the out carefully , the pushe the clip in, all good so far, then disaster, I had replaced the driver tip, for a new one not noticing it was alot shorter the the original one I was using so in do this as I pushed to tighten the screw in the clips the I broke both of them .....
new ones ordered from Rimmer....Ill just need a long screw driver to fit them this time..
next job replace the rear ACE, mount and dust cover
well the weather was good enough to let me remove my Headliner it was falling apart and dropping all over, I had found the rear sun roof seal was not in correctly and leaking, and the front sun roof was no even sealing on the roof as I could move it, and it never fully worked as I could never slide the glass back,
so out it came
I then removed the front sun roof and when I checked out the mechanism , I found the guide on the slider arm had broken, it a 5mm thick plastic pieces, with a 6 mm hole I made one out of an old bit of plastic, it worked fine the as I was about to put it back I noticed the drip tray drain point has an opening so I cut a couple more pieces of plastic and stuck the in place
I replace the drip tray and seal the whole tray to the inside of the roof, I then removed the rear drip tray and did the same, and blow out the rubber pipes before replacing them and securing with a plastic tie, the a hose pip on the roof to see if I had any leaks, and checked any water was coming out of the 4 drains all good so nex the headliner
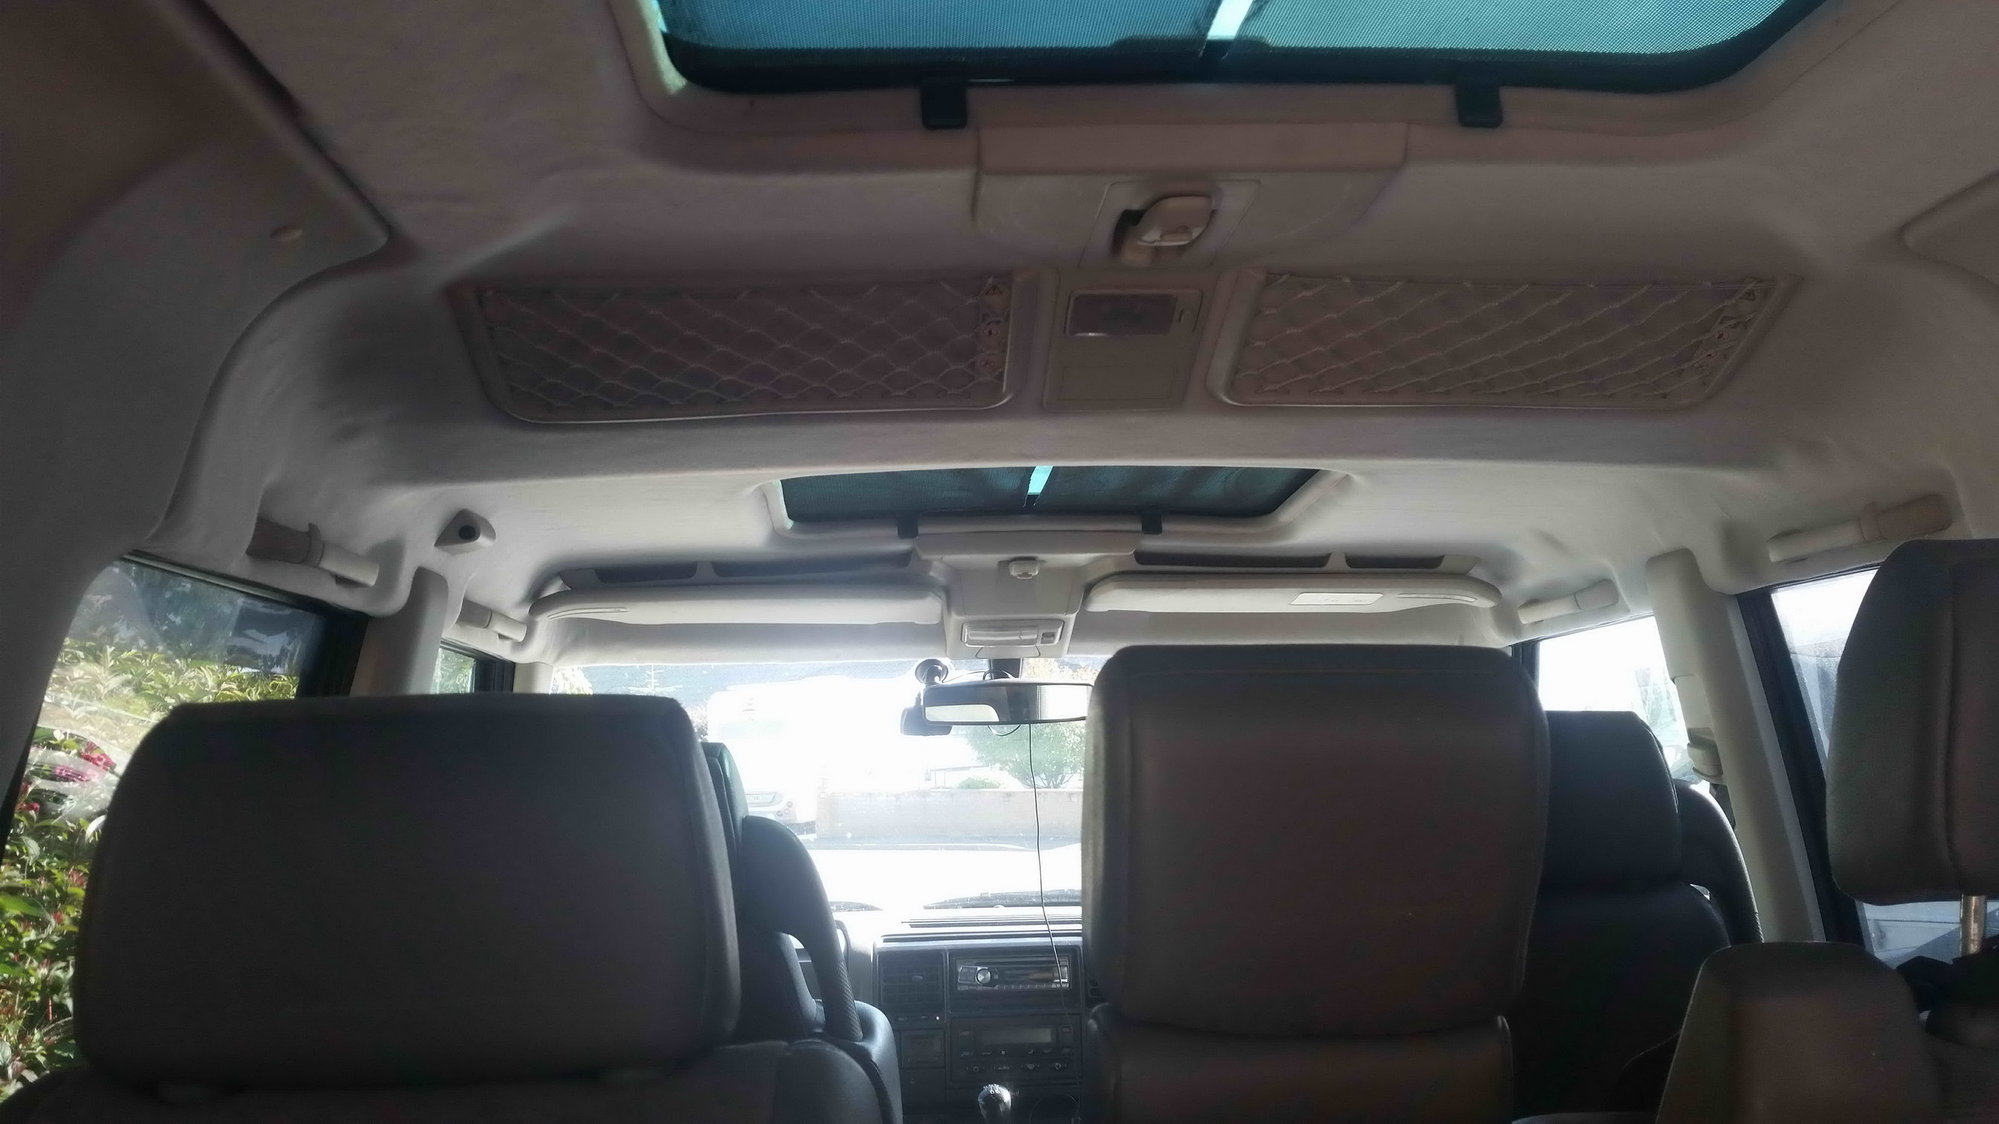
not to bad, for a first attempt, I cut all the big opening with a single sided razor blade and all the small holes with a round point hot soldering iron,
OK its not perfect but its 1000% better than it was, I only lost 1 screw which I replaced from, the only other problem was the last Items I put in was the sun visor clips, I has missed the holes so burned the out carefully , the pushe the clip in, all good so far, then disaster, I had replaced the driver tip, for a new one not noticing it was alot shorter the the original one I was using so in do this as I pushed to tighten the screw in the clips the I broke both of them .....
new ones ordered from Rimmer....Ill just need a long screw driver to fit them this time..
next job replace the rear ACE, mount and dust cover