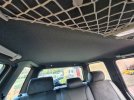
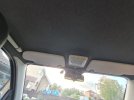
@martin41076 Absolutely first class! I REALLY need to do my headling and whilst I have the Alpaca leather interior with a similar colour lining, I really like the look of colour you used, which contrasts well with the fittings!
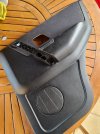
Any tips for getting the edges of the door card pannels to fit well? I'd like to replace mine with leather but haven't worked out how to get the edges to fit neatly into the groove and look professional.
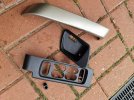
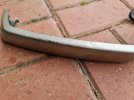
I'm painting the handle/pull insert/window buttons tray tomorrow - Cairns Blue to match the exterior, painted the door release today - Gun Metal Grey (not a fan of the LR Champagne Silver).
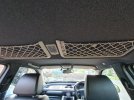
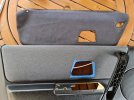
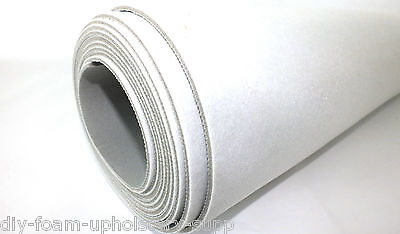
The old fabric on the cards practically fell off. Cleaned the old foam off with a stiff brush. Used the old cloth as a template for the new scrim foam/grey fabric that went on, cutting it to the same size and cutting out all the holes.
On the outer groove of the door card, I ran a strip of electrical tape (so when it came to glueing I could get right into the groove without getting any on the rest of the panel.
Placed the new foam on the card, lining it up.
Once I was happy, I placed some masking tape around the door release hole to the back of the panel and some at the top of the foam to hold it in position.
Carefully poked the excess foam into the groove with a pair of scissors (flat head screwdriver will do the same job).
Once everything was in place and I was happy, I ran a length of masking tape horizontally around the centre of the card overlapping at the top down onto the plastic of the door card. This allowed me to peel half the foam back without the whole thing shifting. Glued using a brush contact adhesive (getting right into the groove), removed the electrical tape and then stuck the foam down, repeating pushing into the groove with scissors/screwdriver, masking taped the top of the fabric over onto the back of the panel (until glue dries. Removed the central line of masking tape and repeated on the other side.
Sounds like a lot of faff, but didn't actually take that long - especially after the first one, I got into a bit of a rhythm.
It's all in the prep, the actual sticking down is the quick and easy bit. Like the roof lining, you only want to do it once, so take your time to get it right.